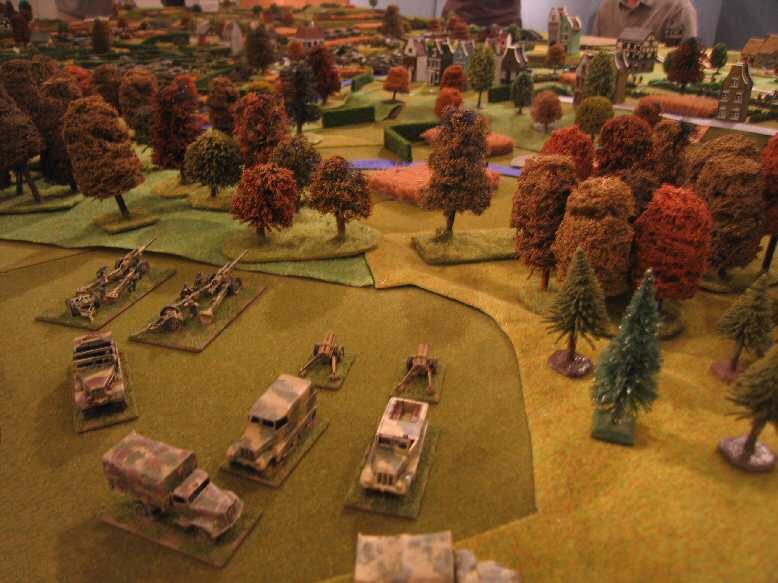
Scottish Corridor 01

Scottish Corridor 02
| Click on the Thumbnail for a full-size photo | Description |
|---|---|
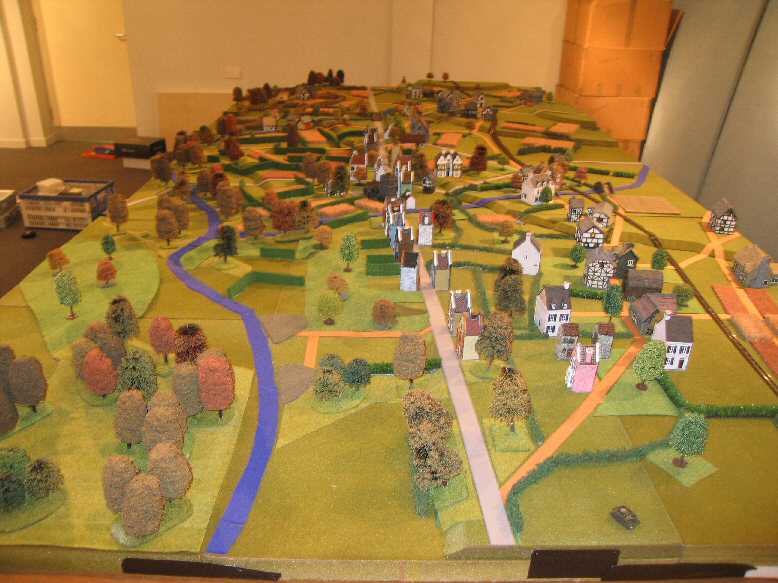
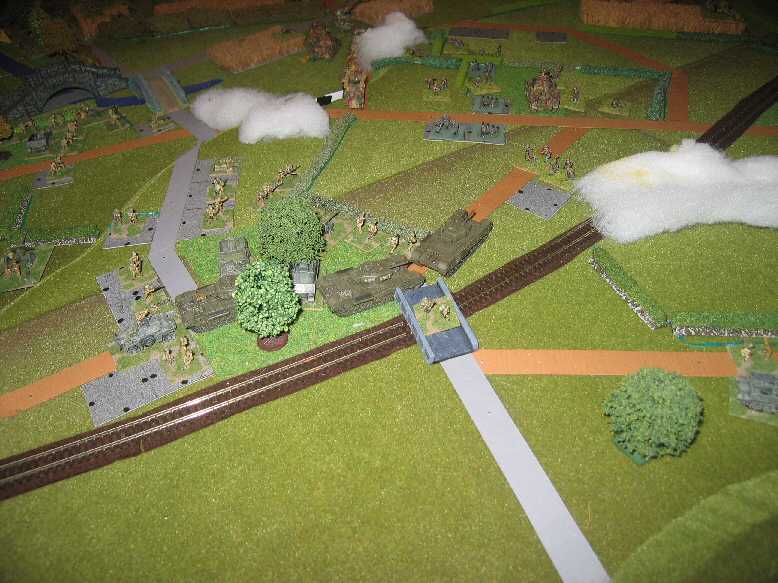
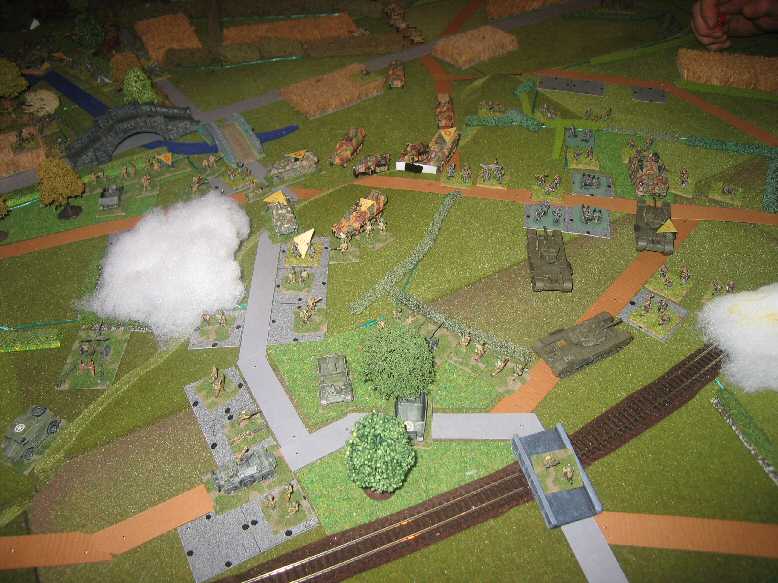
Scottish Corridor 01 |
Looking west from Verson.Looking east from the Rauray spur. |
Scottish Corridor 02 |
Looking east from the Rauray spur. |

| Click on the Thumbnail for a full-size photo | Description |
|---|---|
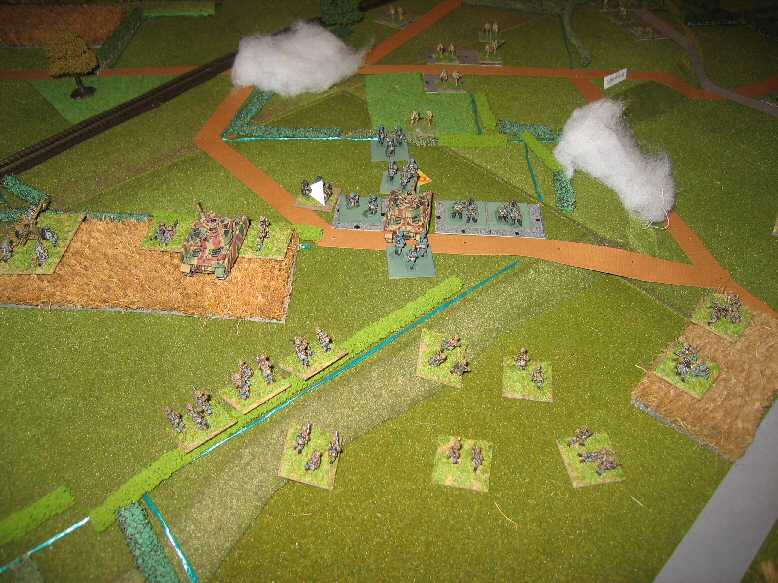
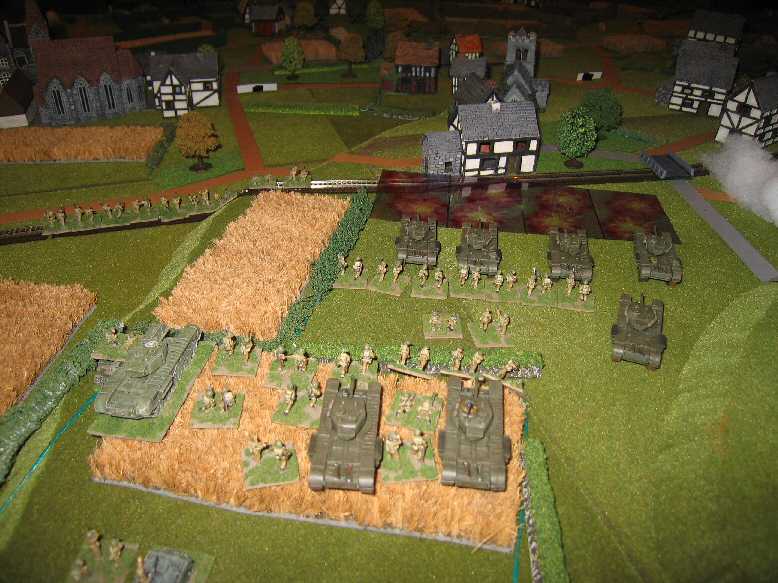 Scottish Corridor 03 |
Cameronians and B/RTR advance on Grainville behind an artillery barrage. |
Scottish Corridor 04 |
Armoured cars move away south of the railway. |
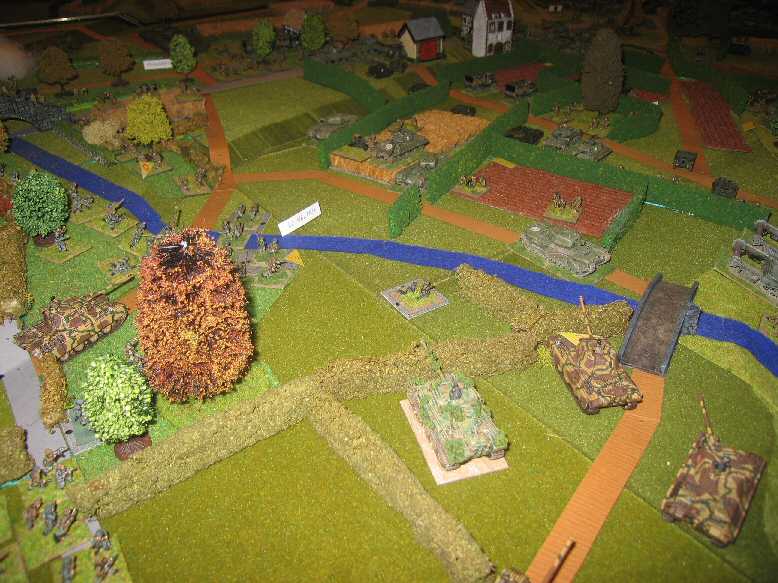
 Scottish Corridor 05 |
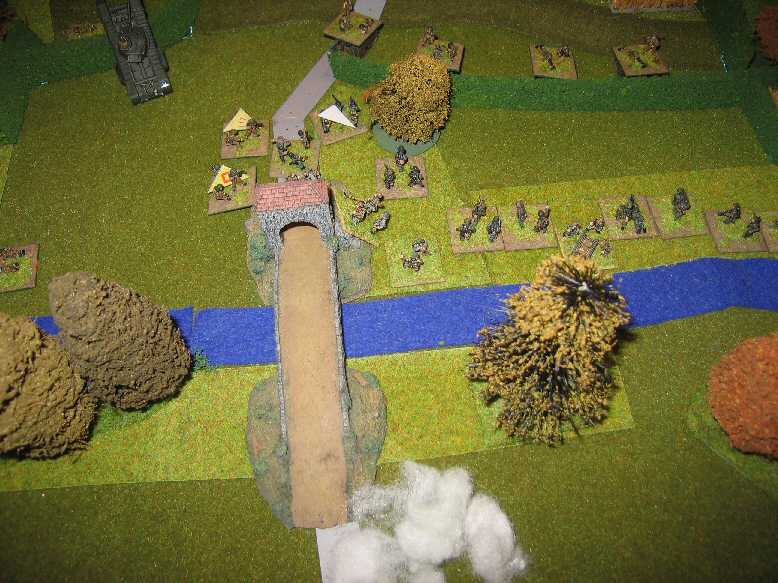
German Pioneers approach the Tourmauville Bridge. |
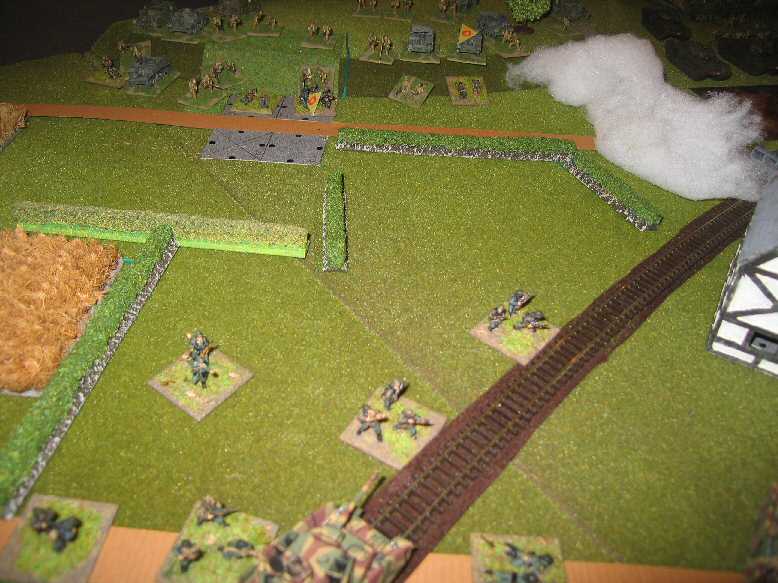
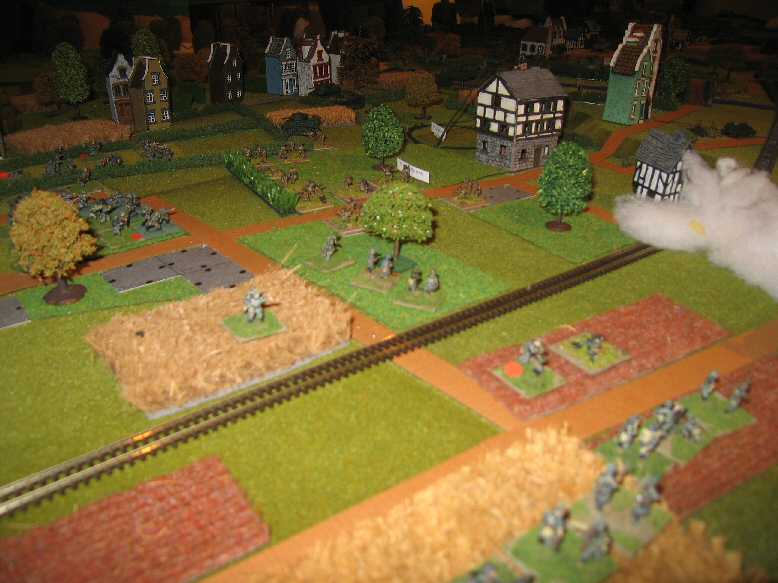
Scottish Corridor 06 |
Hitlerjugend dug-in behind bocage await the Seaforths and A/9RTR. |
 Scottish Corridor 07 |
The Cameronians move against the Chateau northwest of Grainville. |
 Scottish Corridor 08 |
Seaforths and C/9RTR approach Mondrainville, traffic fills the Corridor. |
| Click on the Thumbnail for a full-size photo | Description |
|---|---|
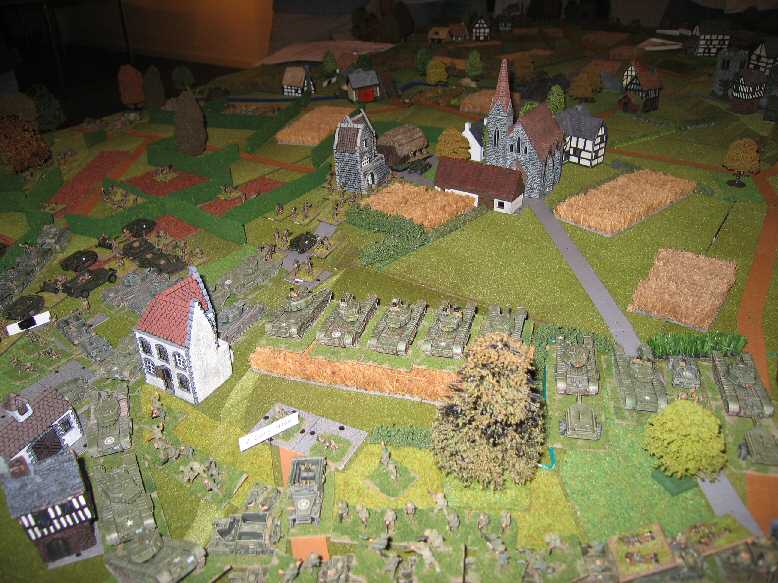
 Scottish Corridor 09 |
Cameronians and B/9RTR cross the railway into Grainville. |
 Scottish Corridor 10 |
Ambush! Hitlerjugend open up on 9/RTR's Honeys and Churchills. |
 Scottish Corridor 11 |
German Pioneers move in to blow the Tourmauville Bridge. |
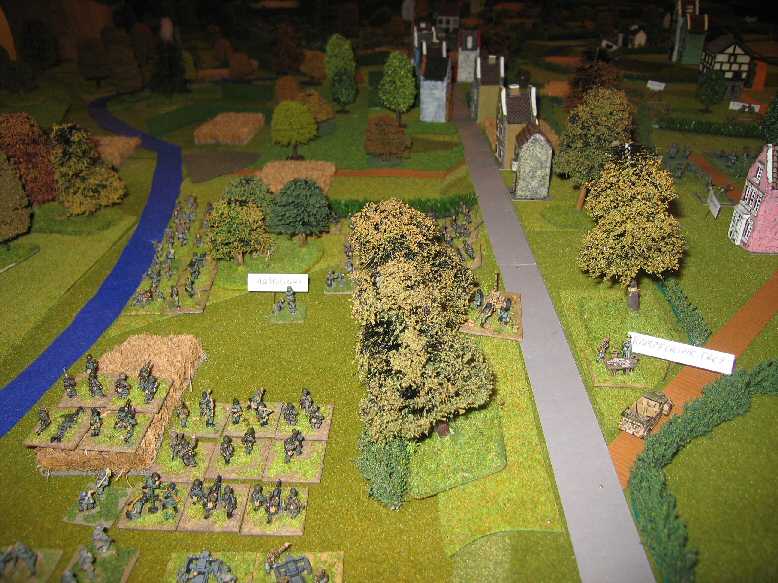
 Scottish Corridor 12 |
Seaforths outflank 5 II/26 whilst AVREs move round from the north. |
| Click on the Thumbnail for a full-size photo | Description |
|---|---|
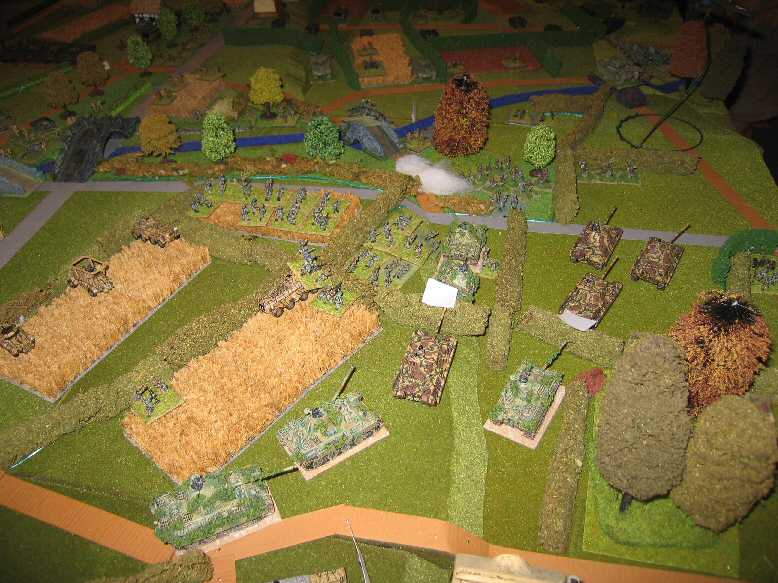
 Scottish Corridor 13 |
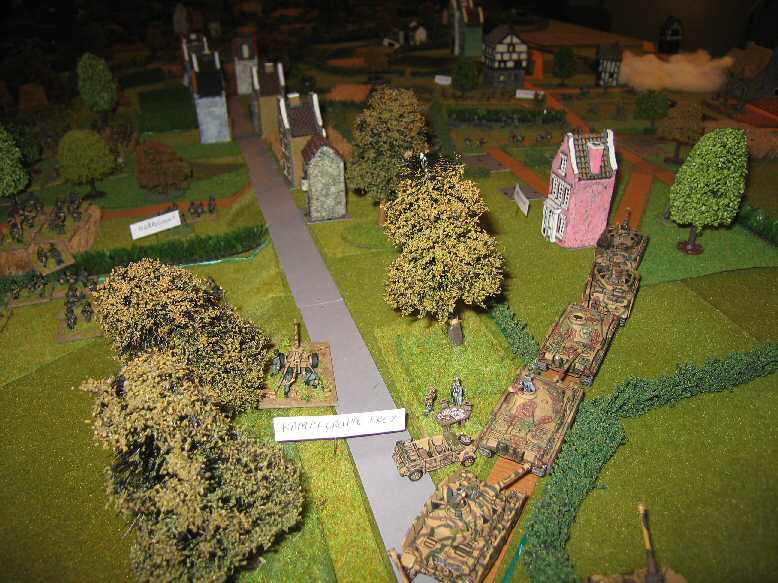
Nebelwerfers and Field Howitzers in position to support KG Frey. |
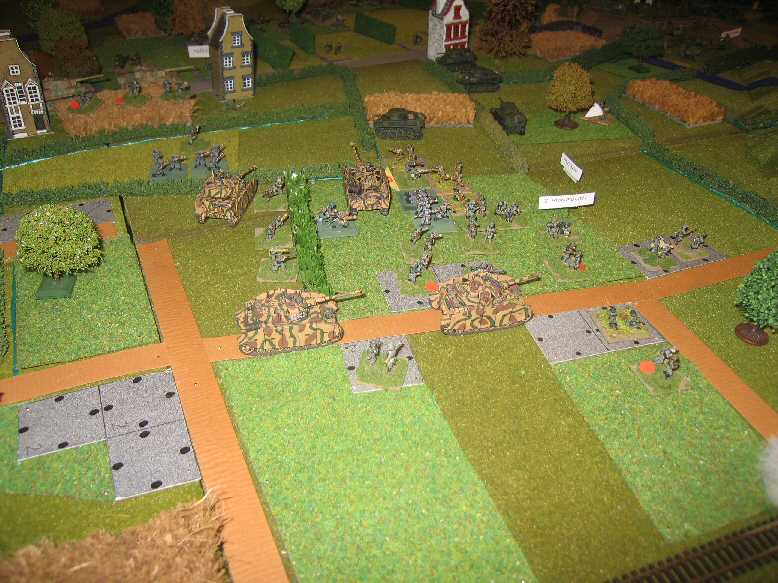
 Scottish Corridor 14 |
The 12SS lead the assault back into Grainville. |
 Scottish Corridor 15 |
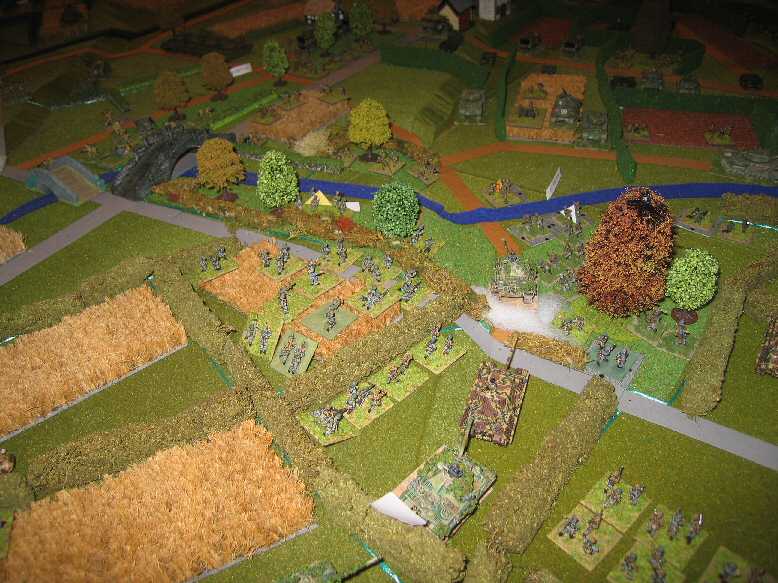
KG Frey's Panzergrenadiers close on Mouen. |
 Scottish Corridor 16 |
KG Frey's other Battalion moves along the River Odon. |
| Click on the Thumbnail for a full-size photo | Description |
|---|---|
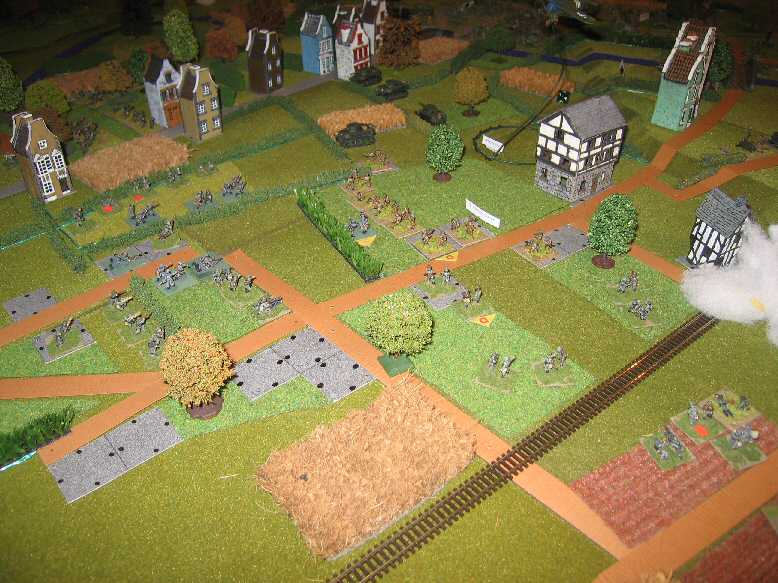
 Scottish Corridor 17 |
KG Weidinger approaches the main part of Grainville. |
 Scottish Corridor 18 |
Weidinger's Panthers are spotted in the bocage south of Le Valtru. |
 Scottish Corridor 19 |
The 12SS lead the assault into Mouen. |
 Scottish Corridor 20 |
Glasgow Highlanders in trouble against the 12SS on the Odon. |
| Click on the Thumbnail for a full-size photo | Description |
|---|---|
Scottish Corridor 21 |
Weidinger's Armoured Pioneers move against Grainville. |
 Scottish Corridor 22 |
Weidinger's forces move against the Seaforths in the bocage. |
 Scottish Corridor 23 |
German armour passes Frey at his command post. |
 Scottish Corridor 24 |
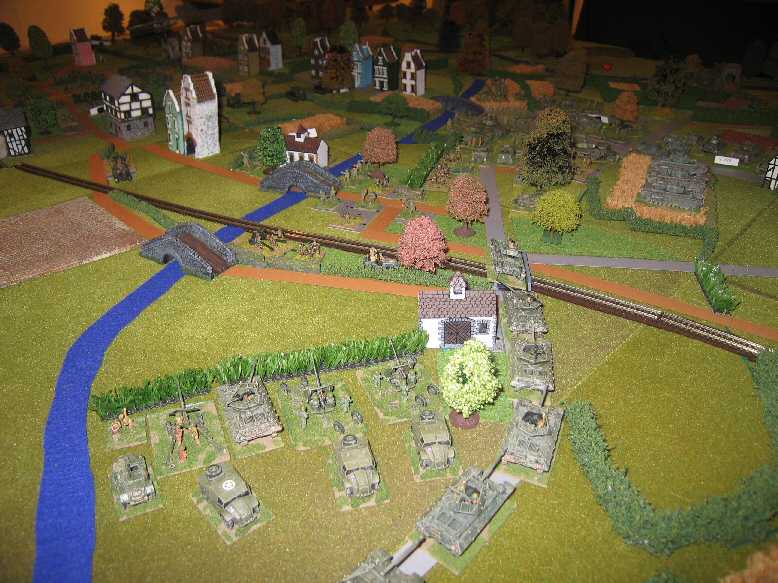
Brigade HQ deploys 17-pdrs to cover the approach to Colleville. |
 Scottish Corridor 25 |
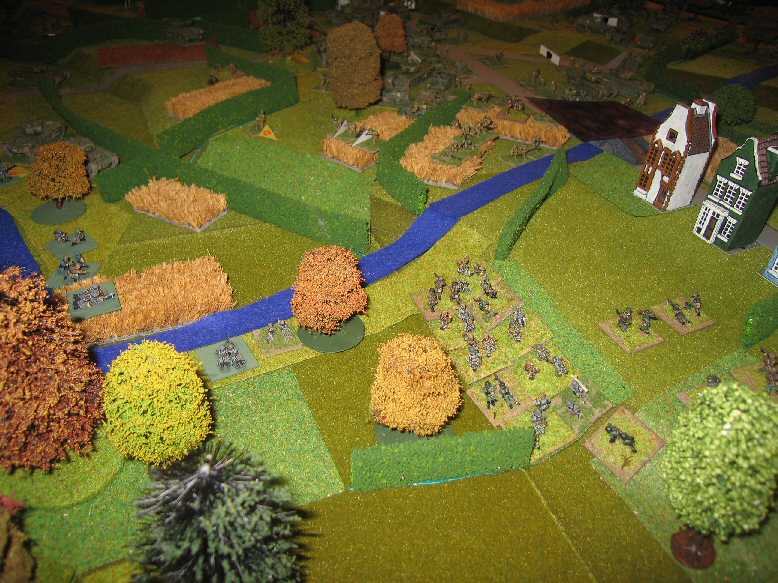
Frey's Panzergrenadiers approach the River Salbey. |
| Click on the Thumbnail for a full-size photo | Description |
|---|---|
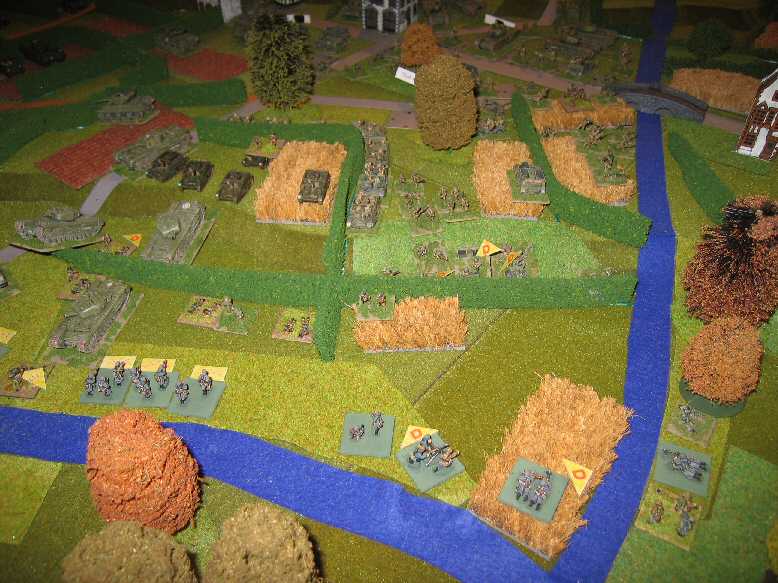
 Scottish Corridor 26 |
Weidinger's Pioneers are checked at the outskirts of Grainville. |
 Scottish Corridor 27 |
The Germans struggle to push the Seaforths out of Le Valtru. |
 Scottish Corridor 28 |
The arrival of Panzer IV's in Mouen - the end for the Monmouths. |
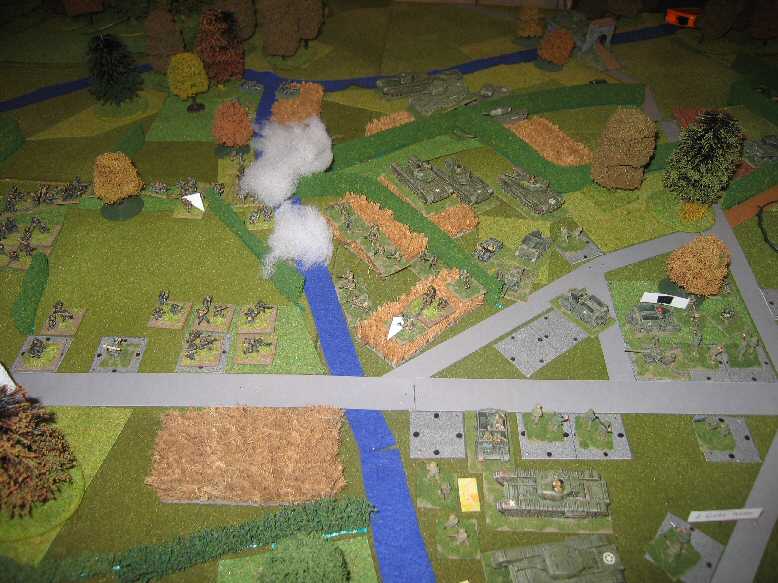 Scottish Corridor 29 |
Holding the line of the River Salbey. |
| Click on the Thumbnail for a full-size photo | Description |
|---|---|
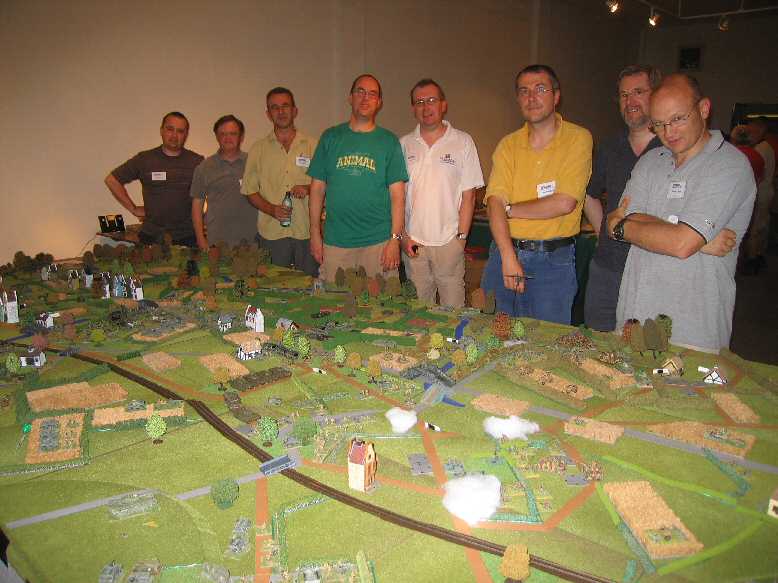 The cast (day two) |
Mike Hobbs, Paul Smith, Mark Middleton, Gary Loosen, Mark Davies, Steve Uden, Chris Ginn, Andy Stenhouse. |
Copyright 2000-2019 Fire and Fury Games, all rights reserved
Web page maintained by
Webmaster@FireAndFury.com.