The Venue
Merville Battery
| Click on the Thumbnail for a full-size photo | Description |
|---|---|
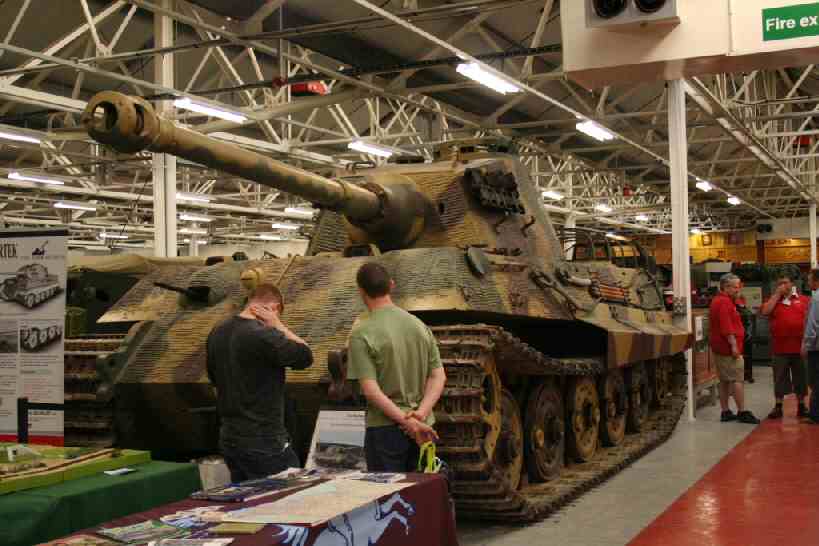
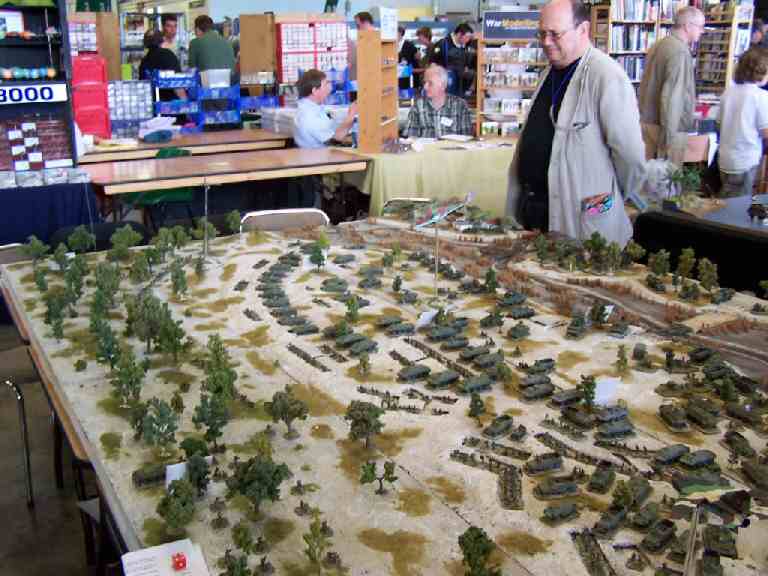
The Venue |
Not every convention has an actual King Tiger in the gaming hall. |
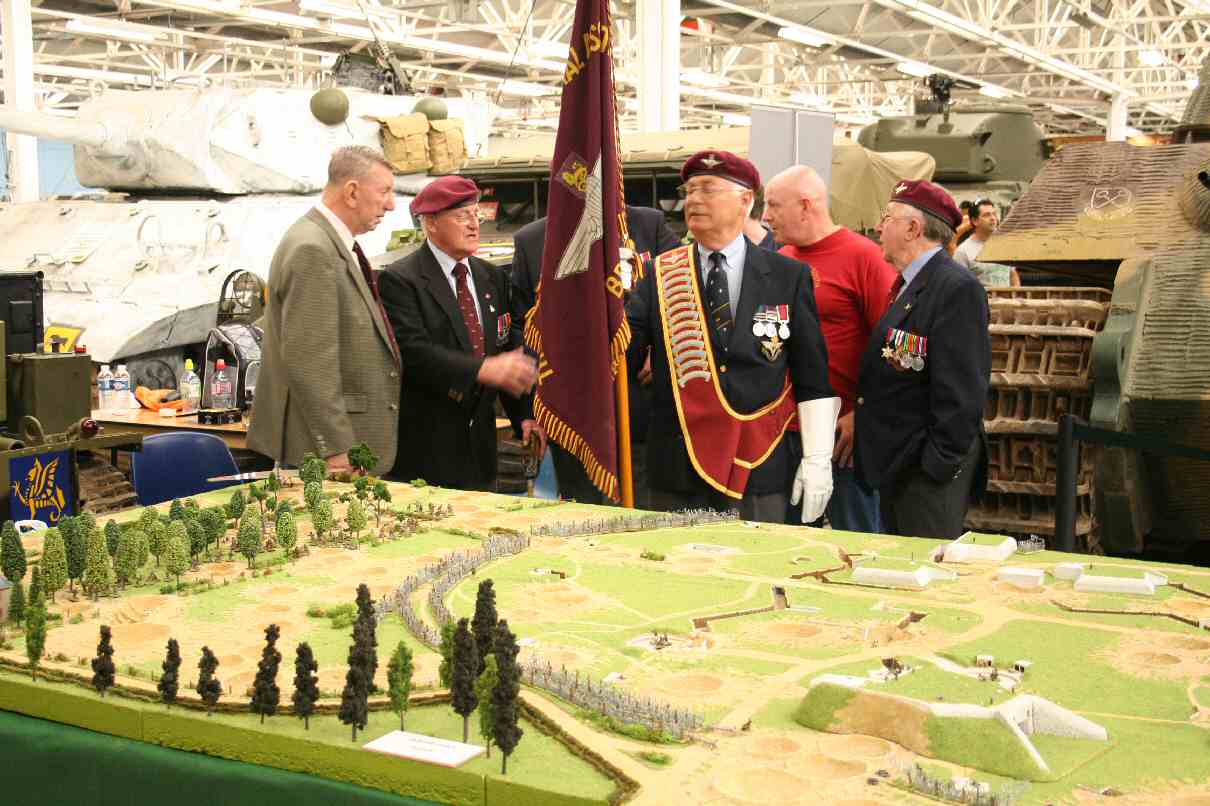
Merville Battery |
One of the games at the convention was a Merville battery game. One of the veterans in the photo was a paratrooper who took part in the Assault. |
| Click on the Thumbnail for a full-size photo | Description |
|---|---|
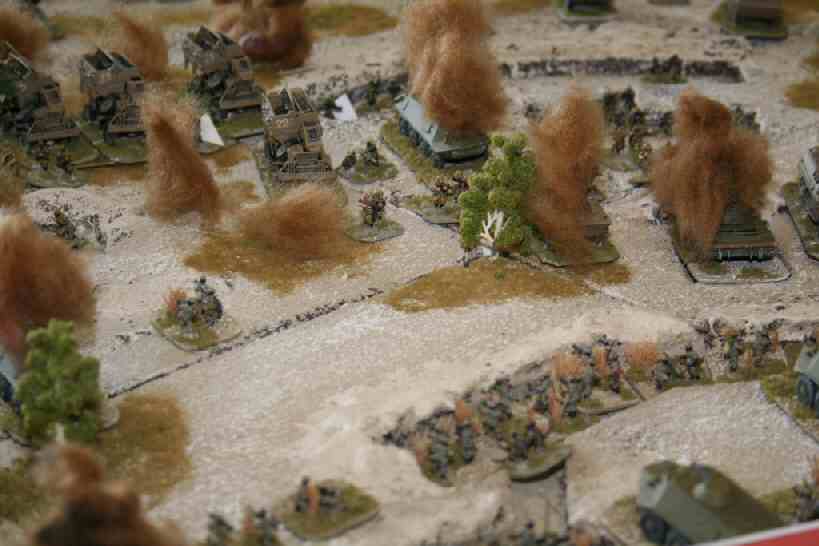
 omterr01 |
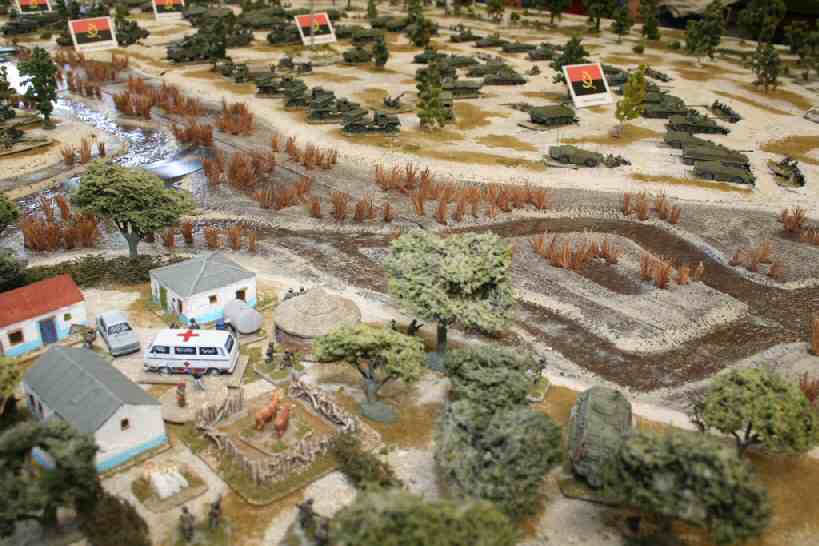
A town with some NGOs tending to the populace. |
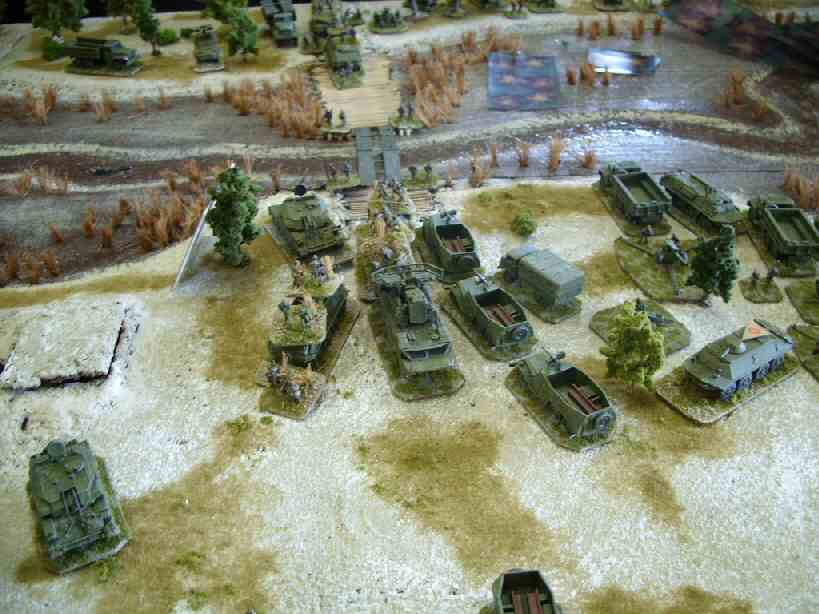
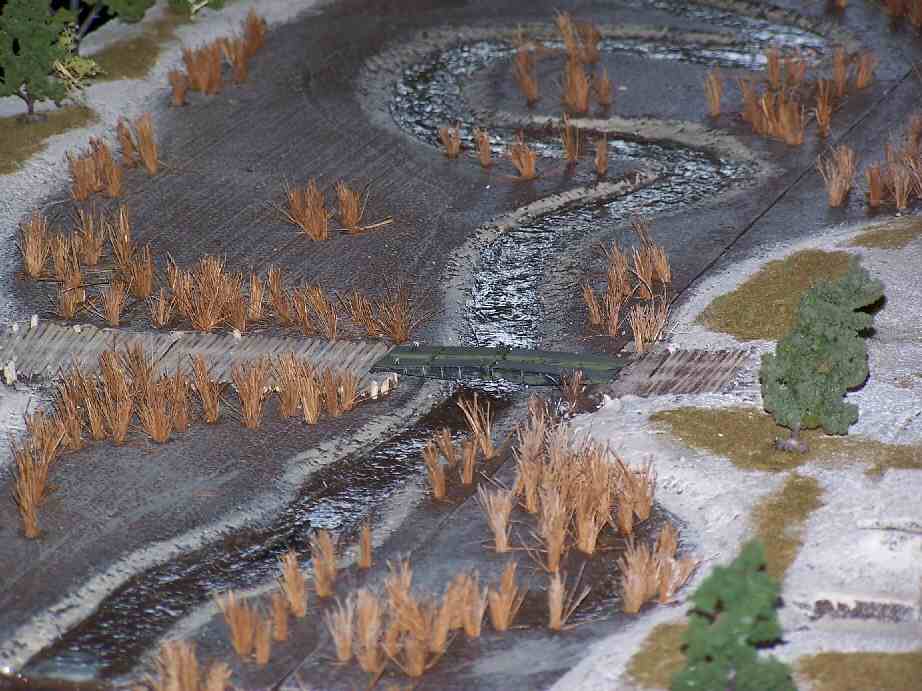 omterr02 |
The bridge. |
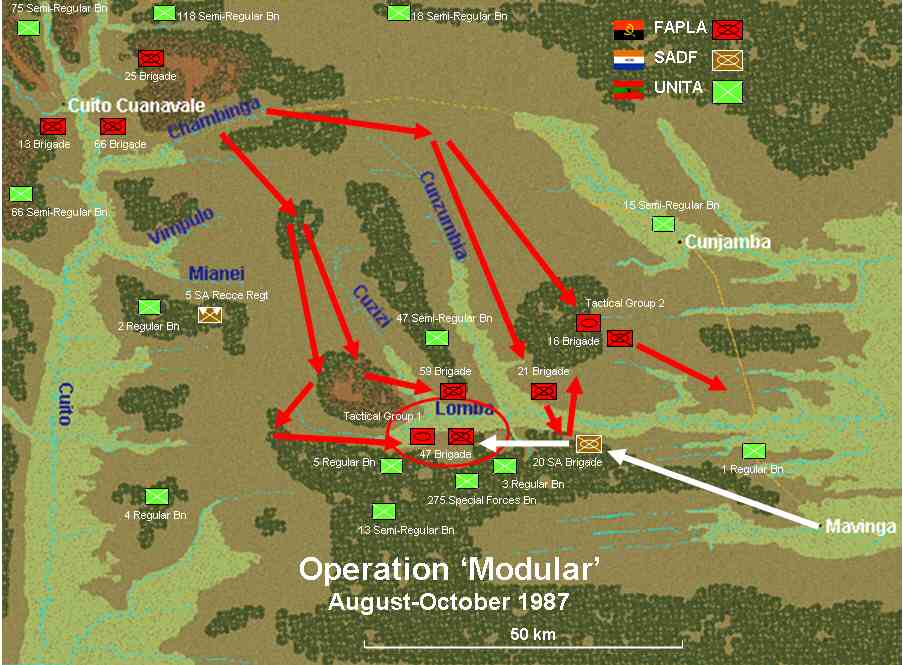
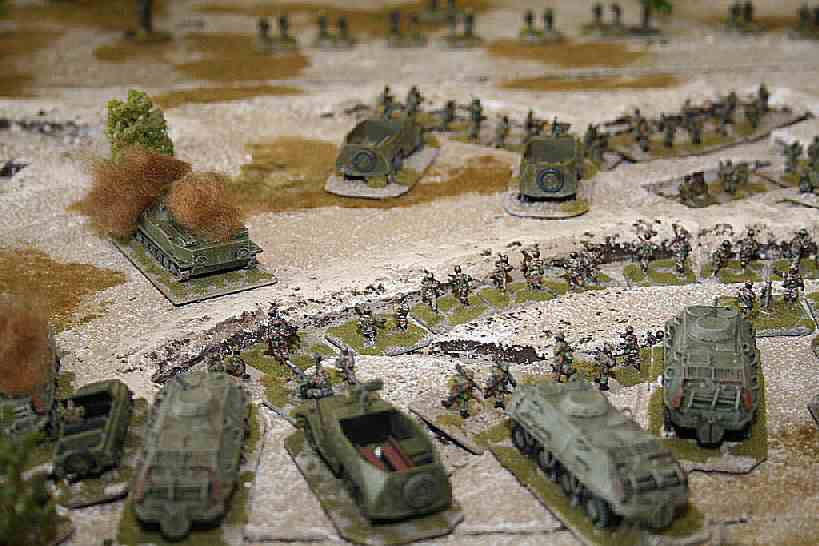
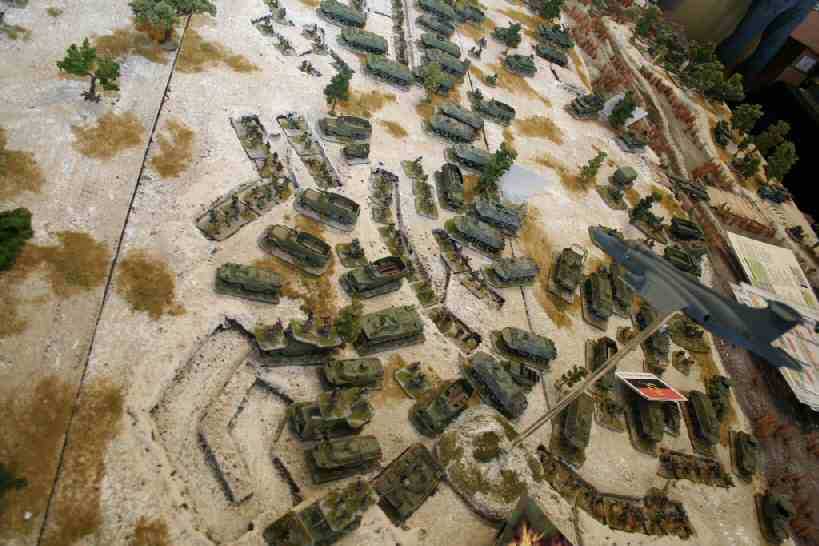
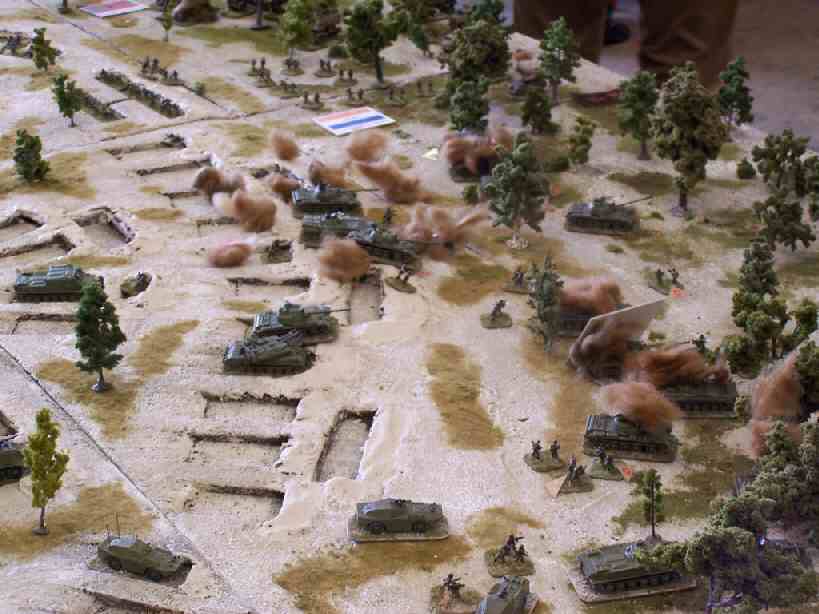
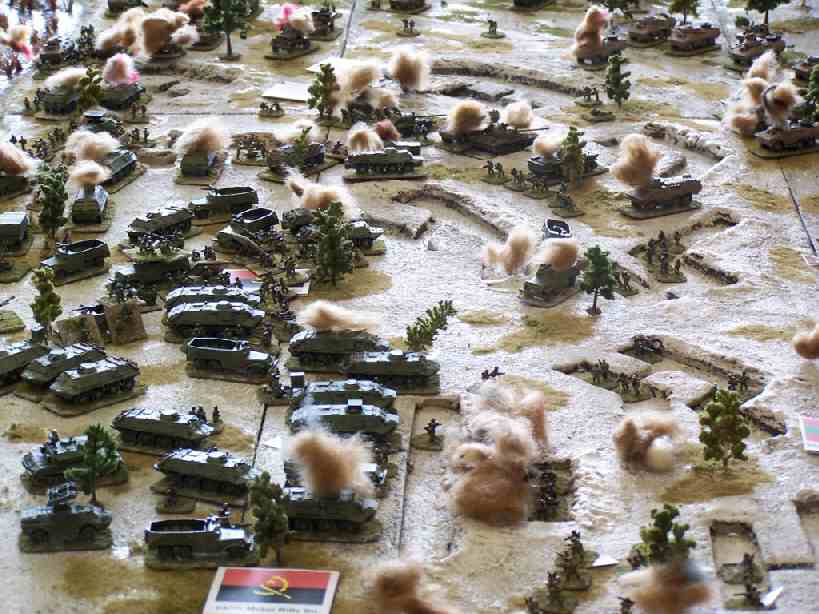
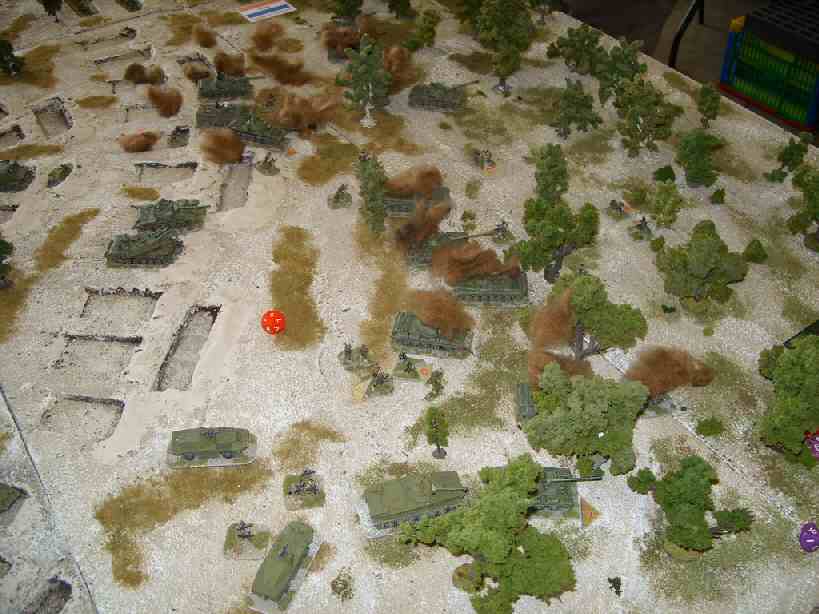
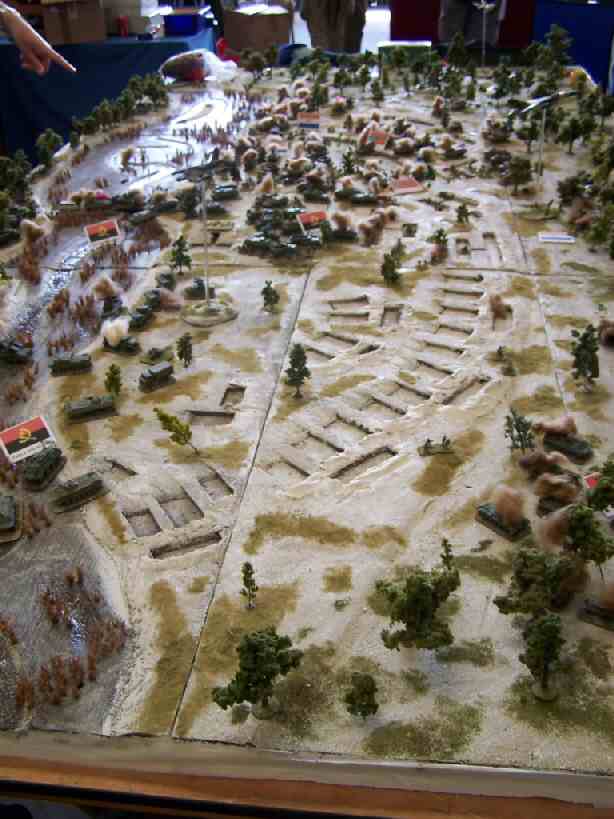
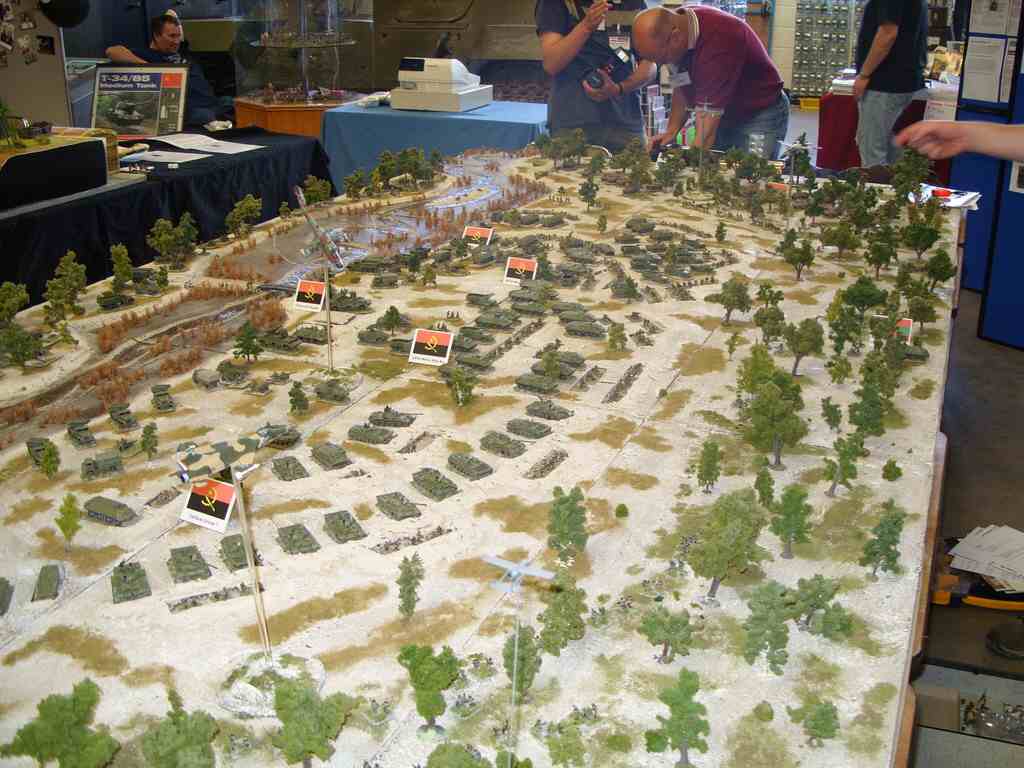 om0100 |
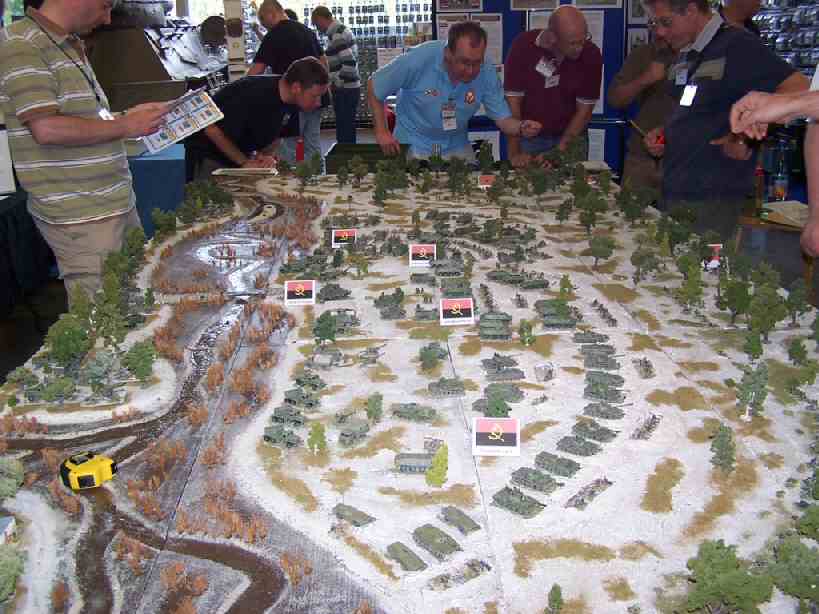
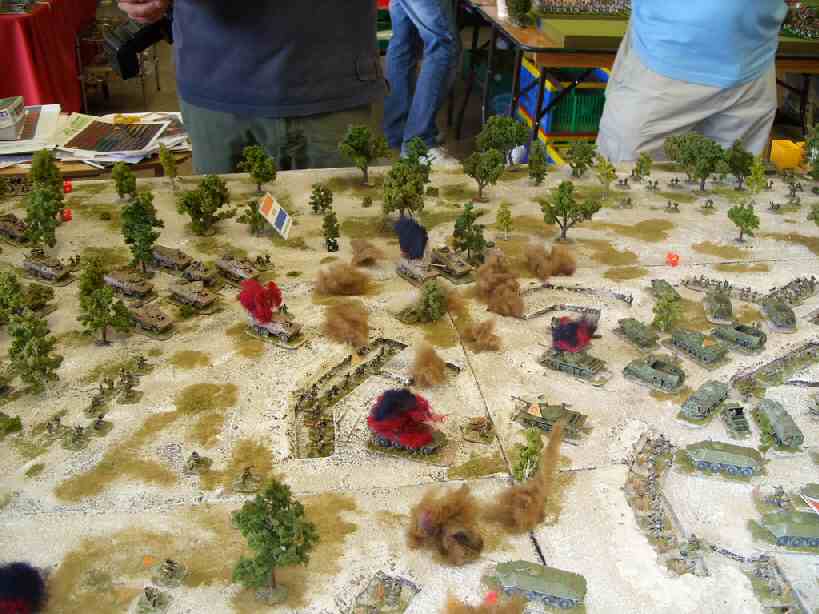
The Battlefield |
 om0101 |
The Calm Before The Storm |
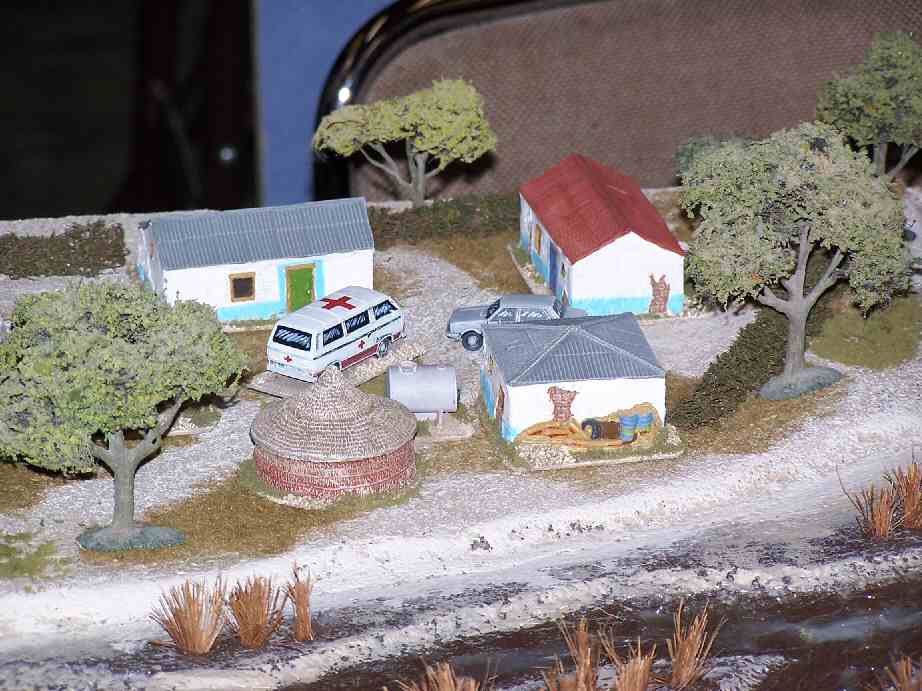
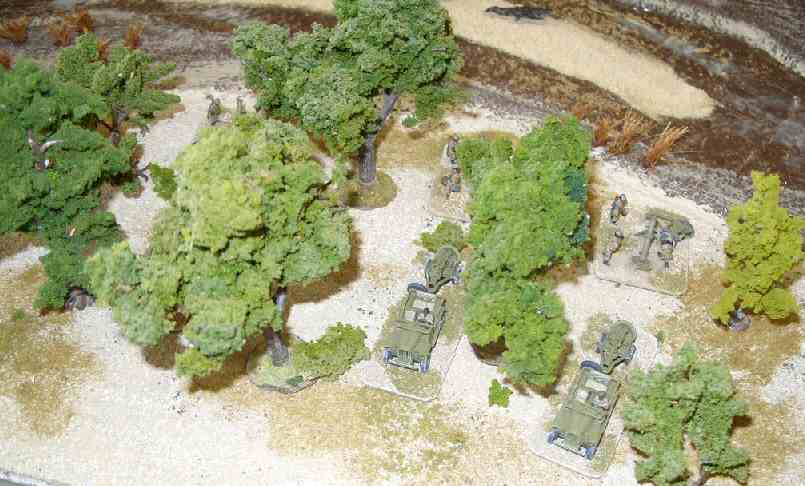
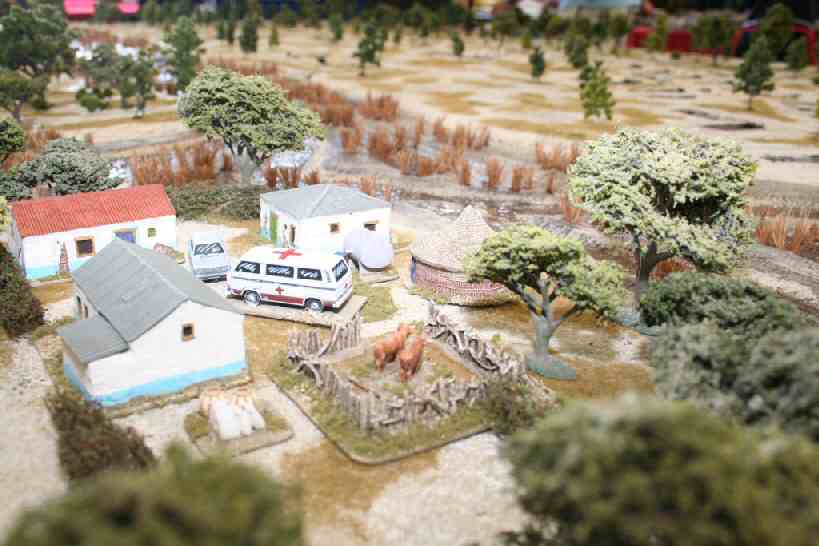 om0102 |
Angolan Village Scene |
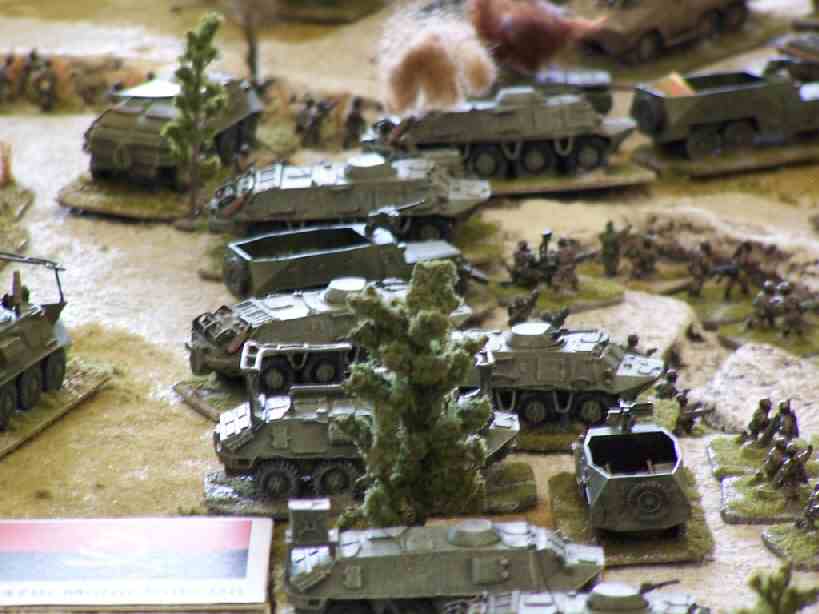
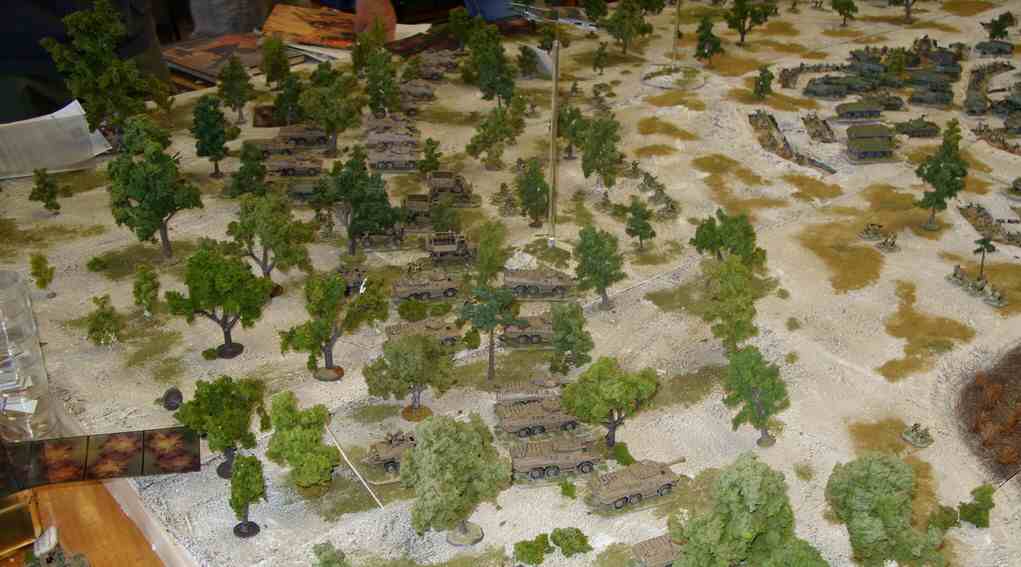
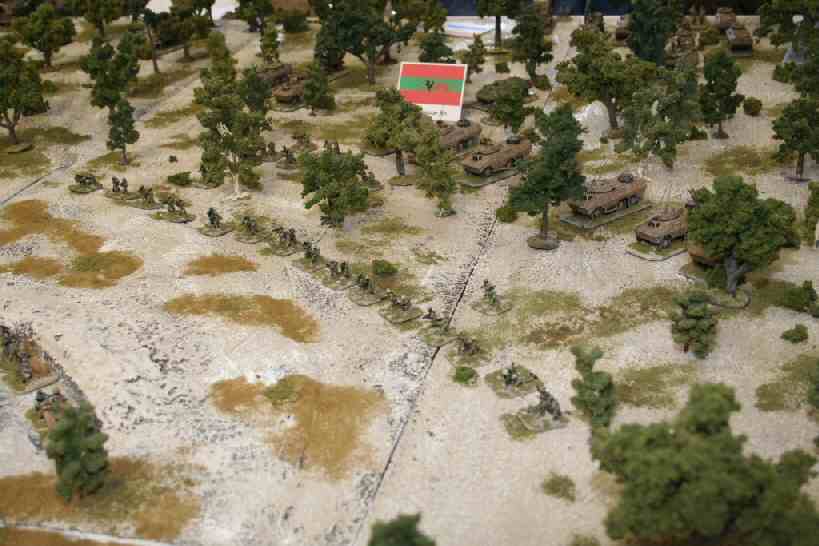
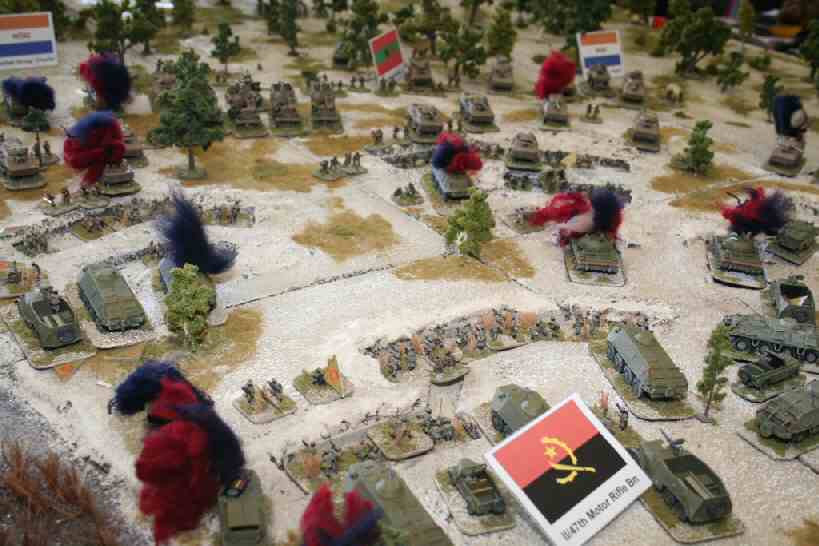
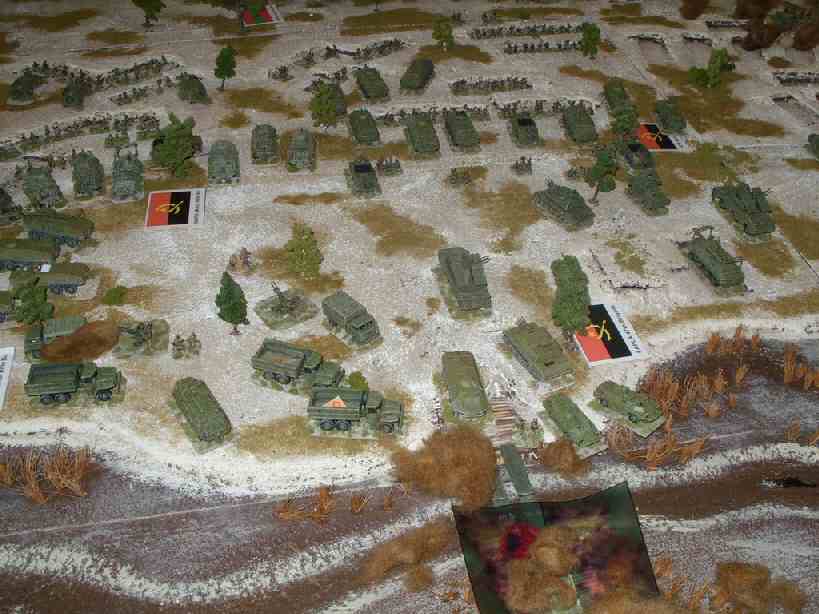
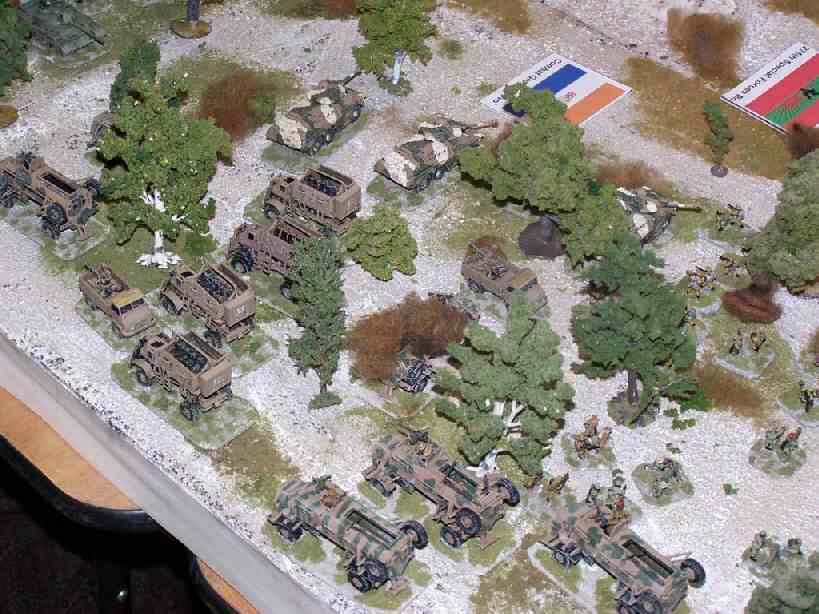
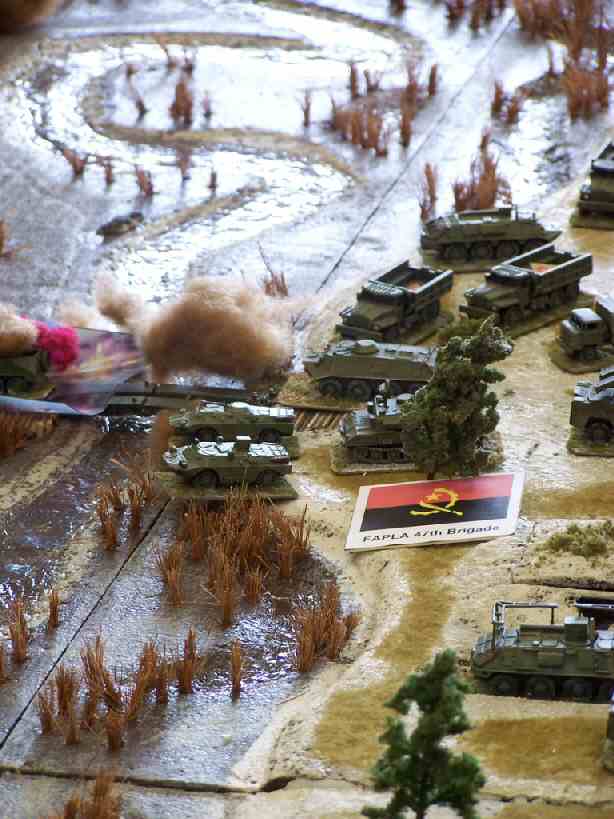
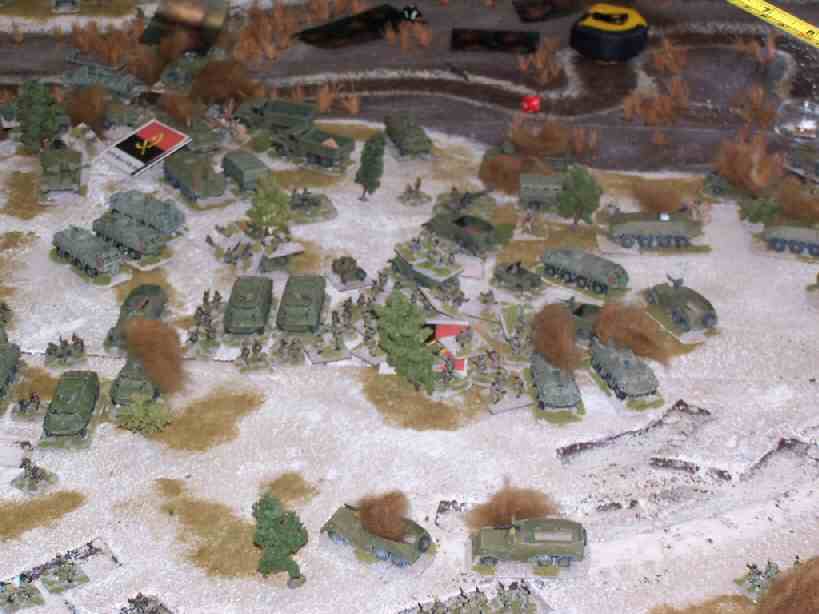
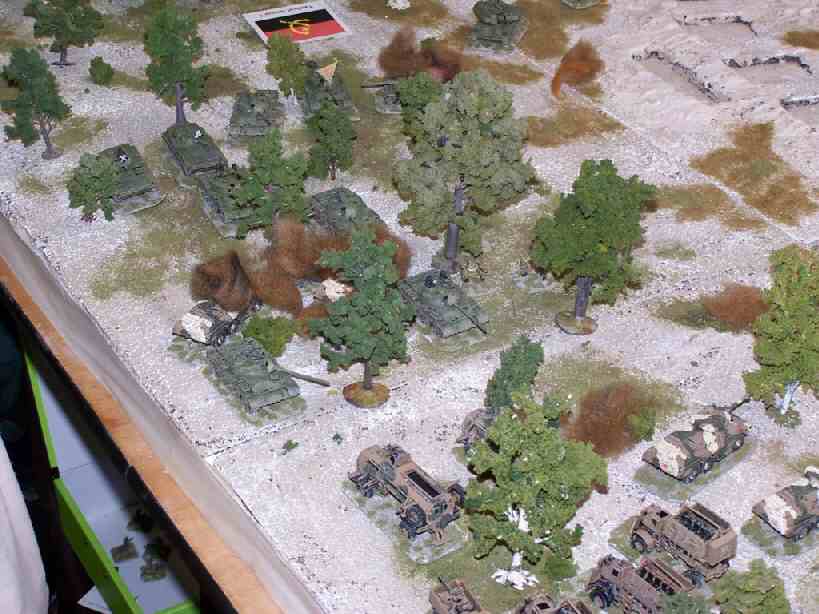
 om0103 |
FAPLA 47 Bde |
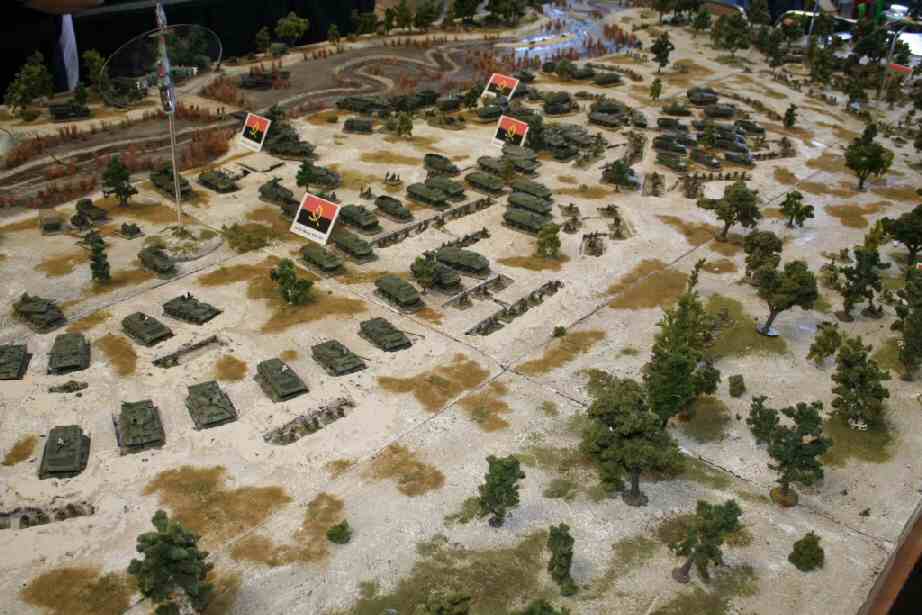 om0104 |
FAPLA 47 Bde - Another View |
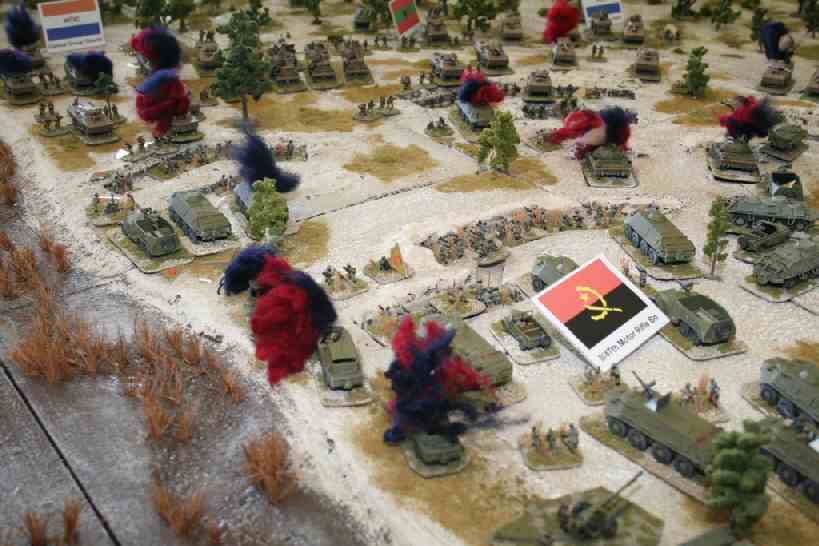
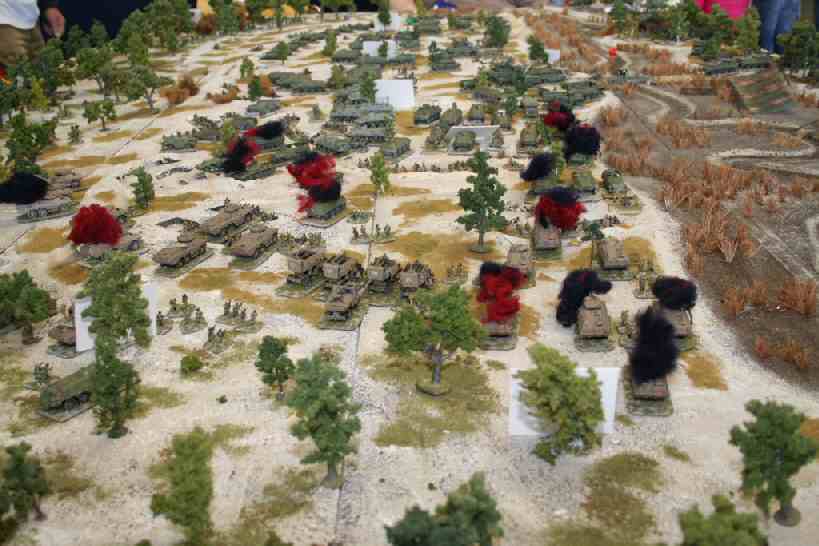
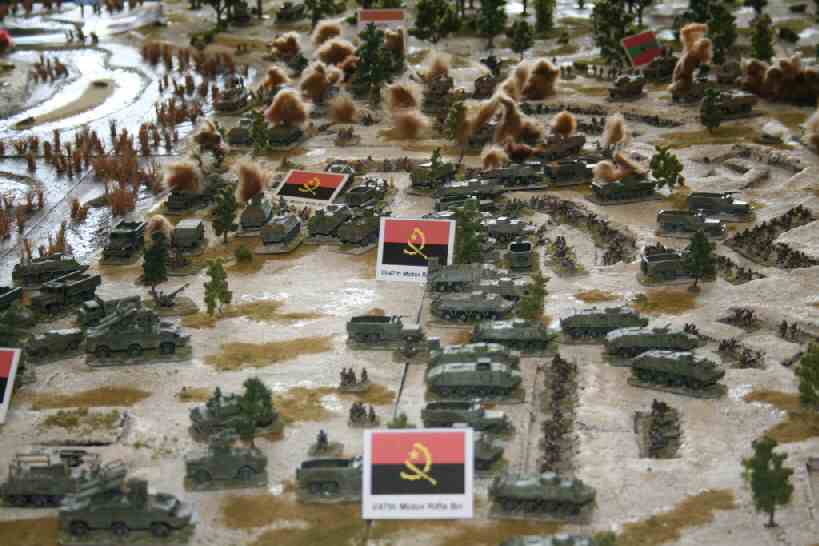
 om0105 |
Centre of FAPLA 47 Bde |
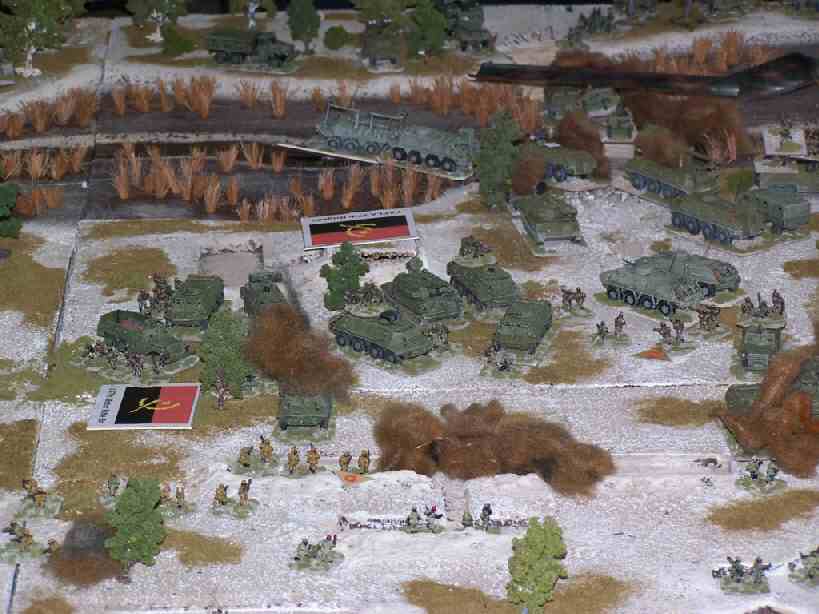
 om0106 |
FAPLA 47 Bde HQ |
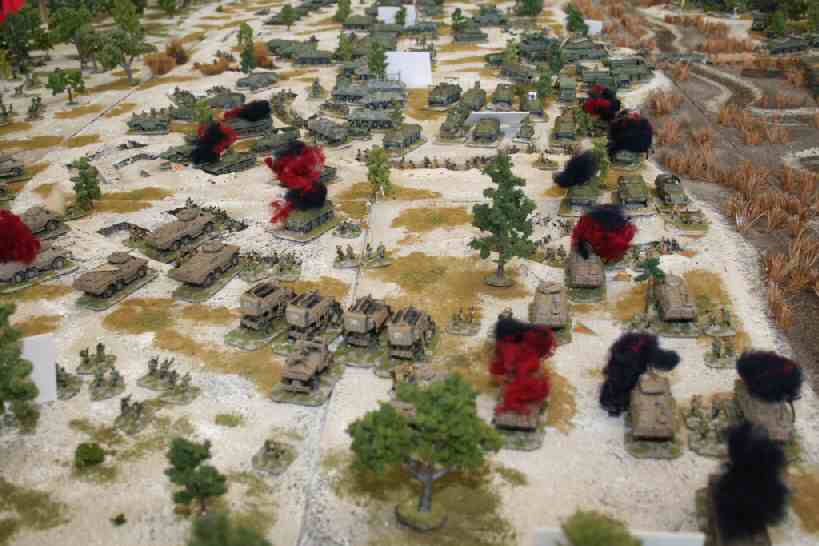
 om0107 |
FAPLA 2-47 Bn |
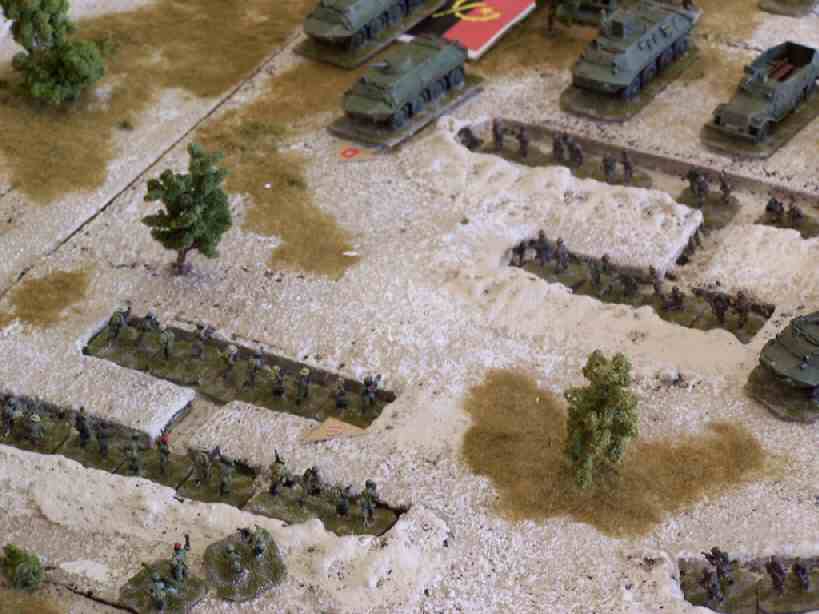
 om0108 |
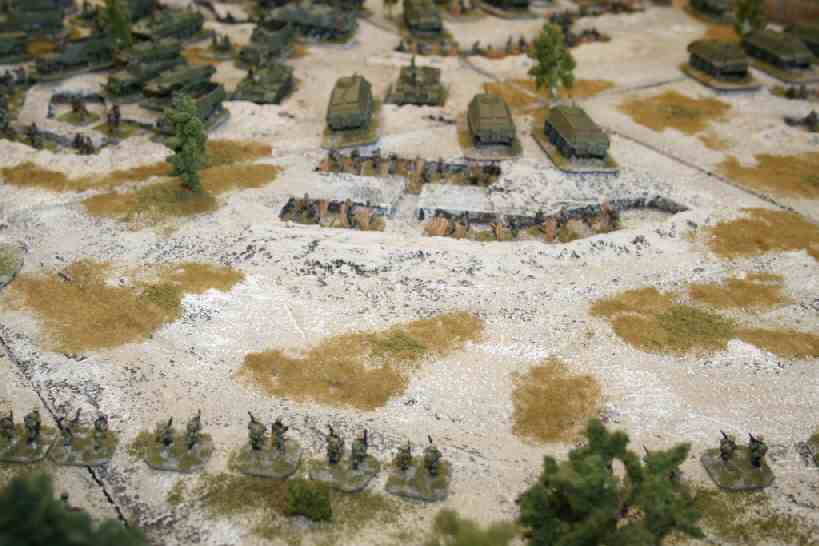
FAPLA 3-47 Bn Digging In |
 om0109 |
FAPLA 3-47 Bn HQ |
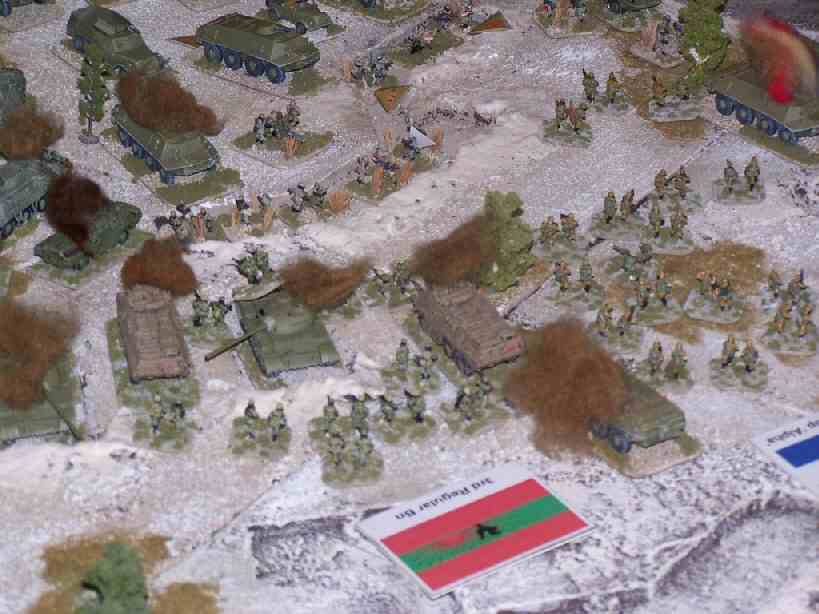
 om0110 |
FAPLA 3-47 Bn Waits |
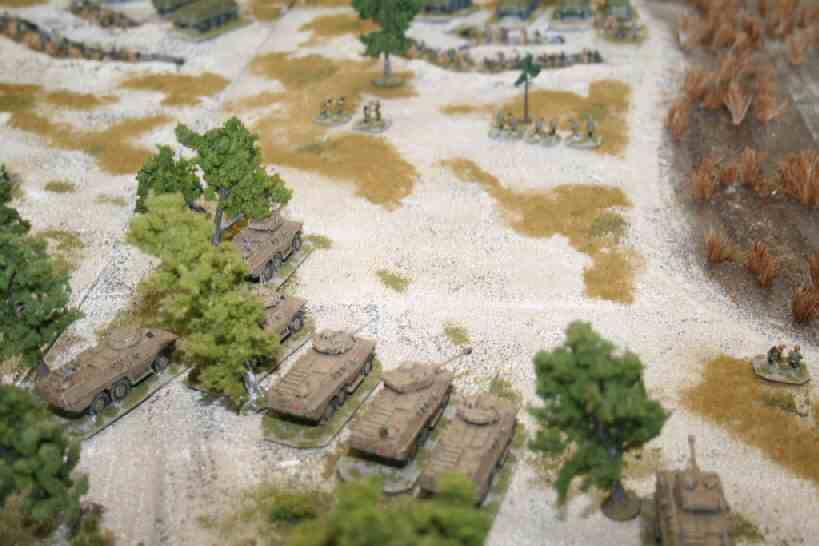
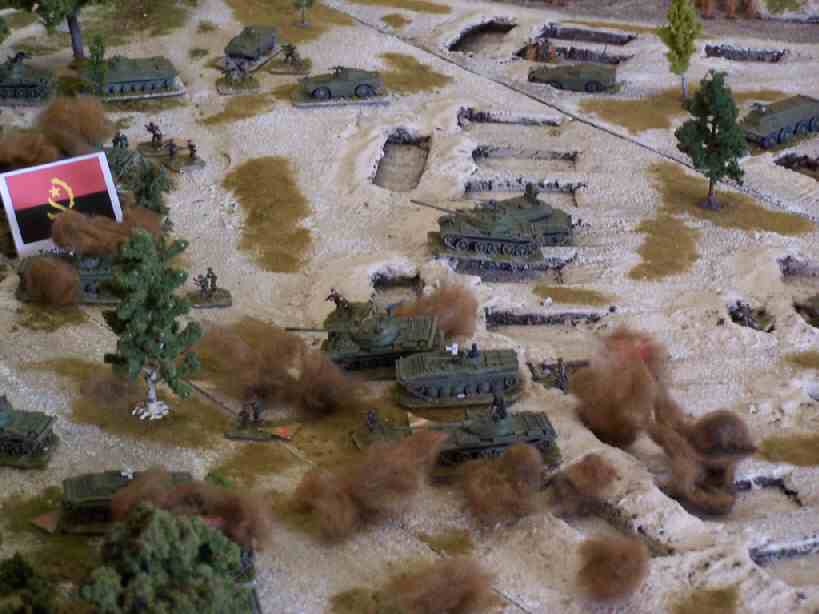
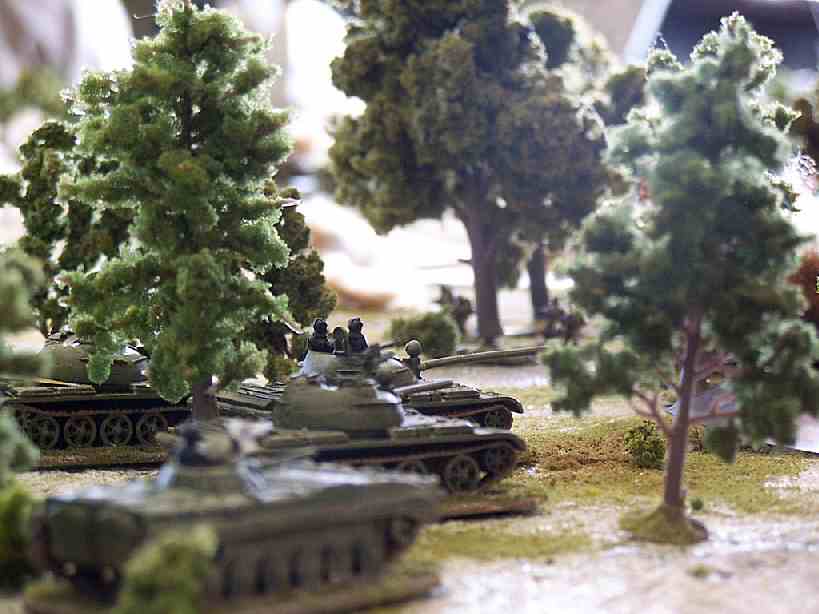
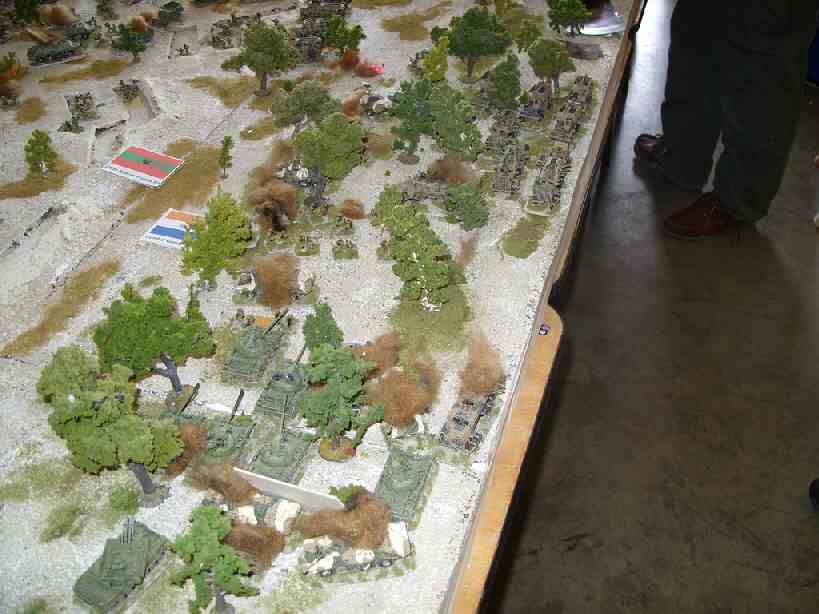
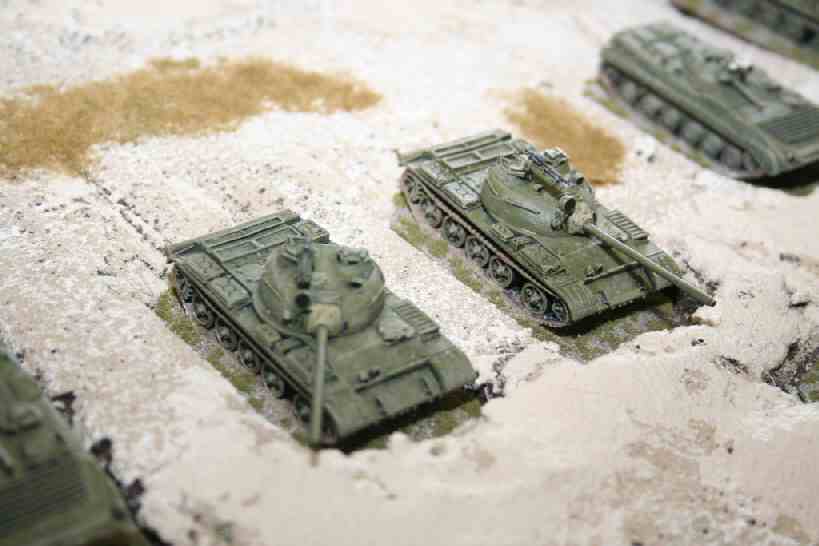 om0111 |
FAPLA T-55s |
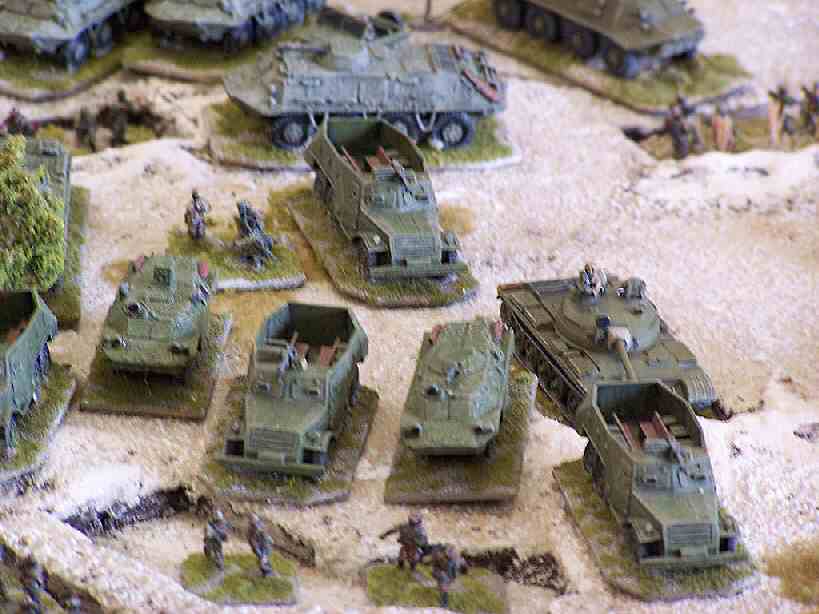
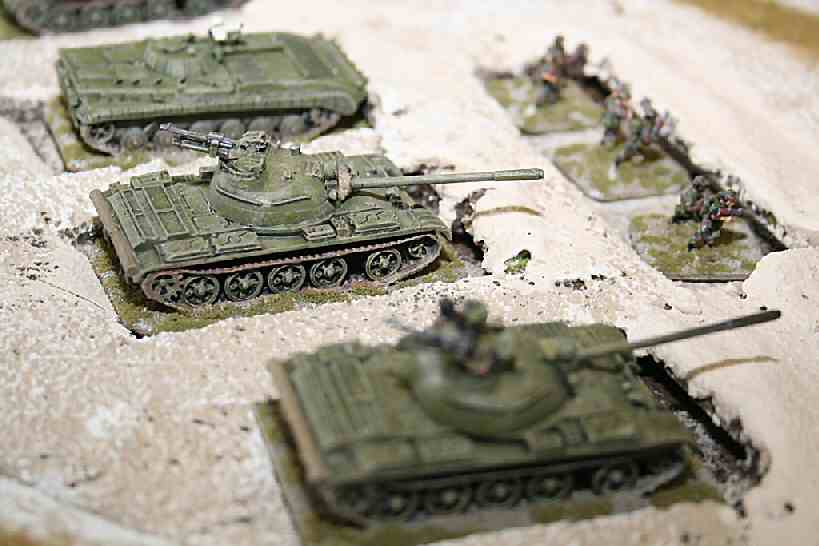 om0112 |
FAPLA T-55s & BMP-1 |
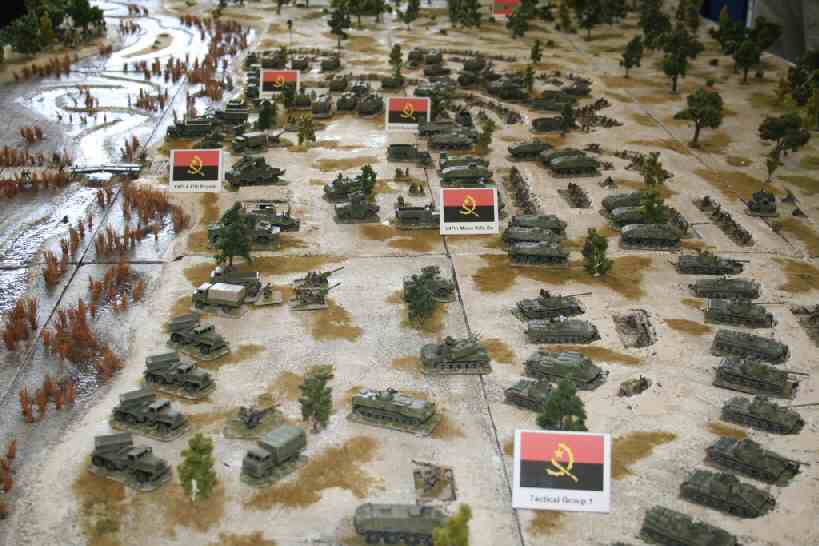
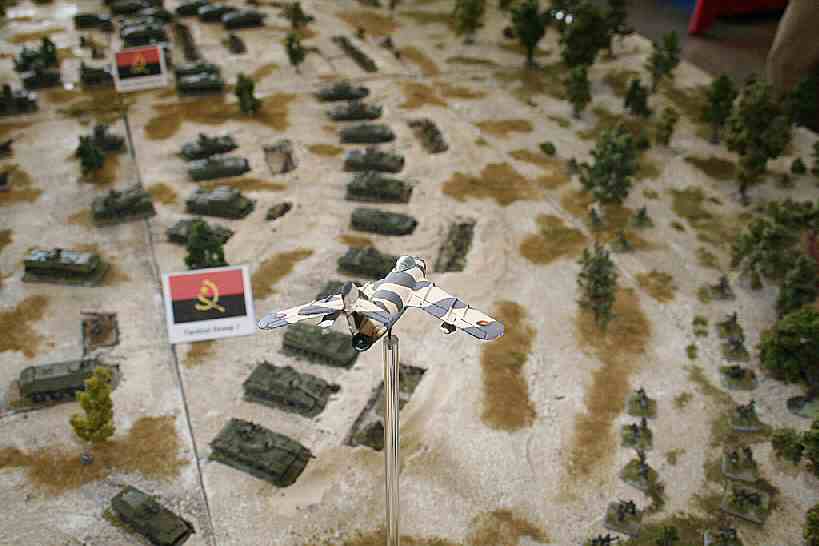
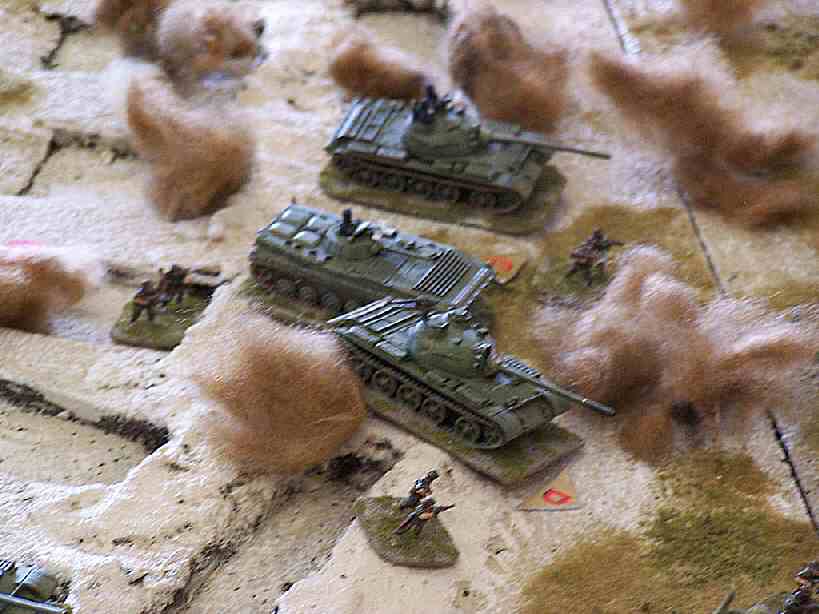
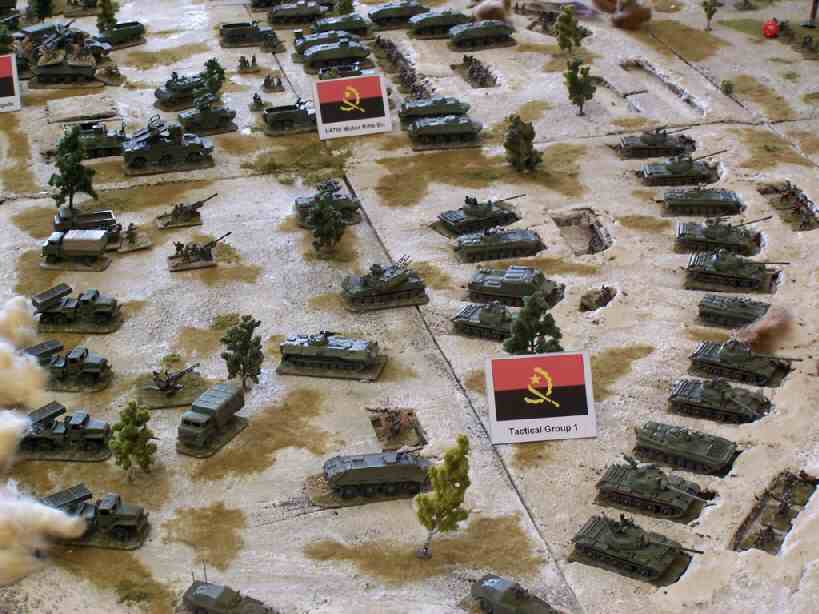 om0113 |
FAPLA Tactical Group 1 Digs In & Waits |
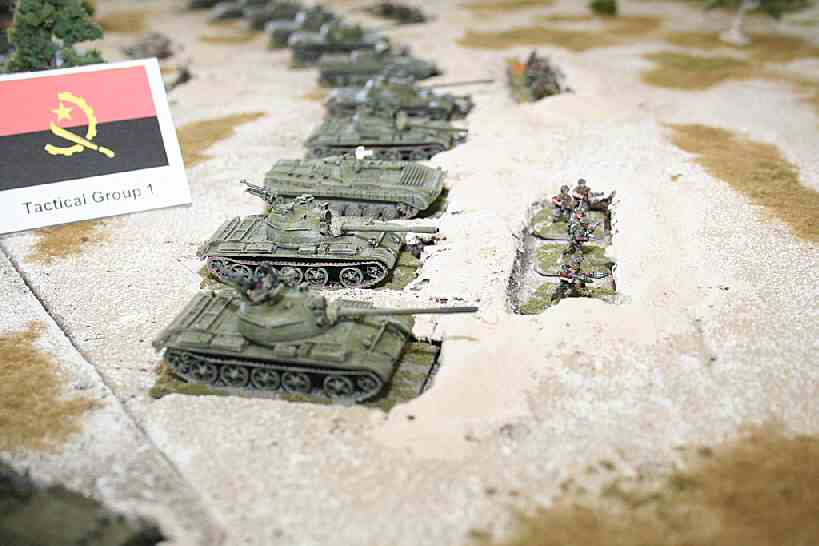 om0114 |
FAPLA Tactical Group 1 Waits |
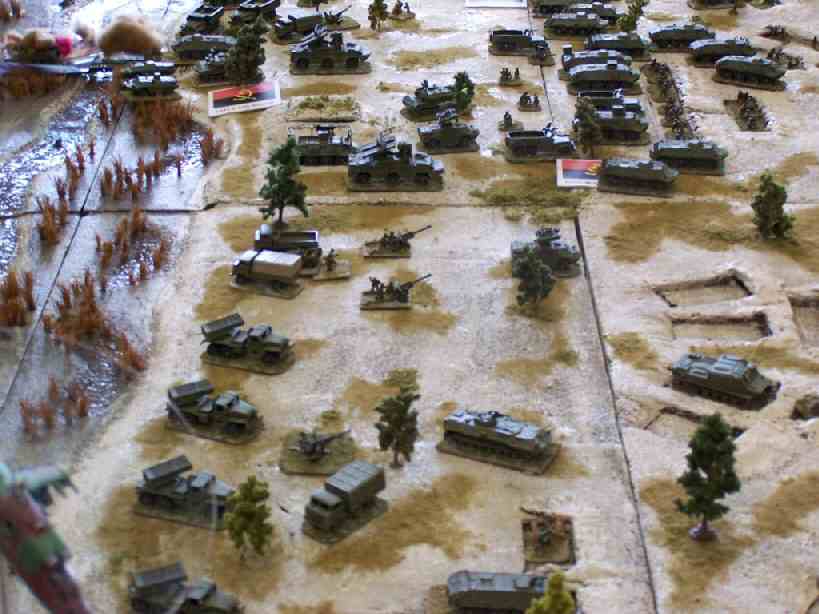
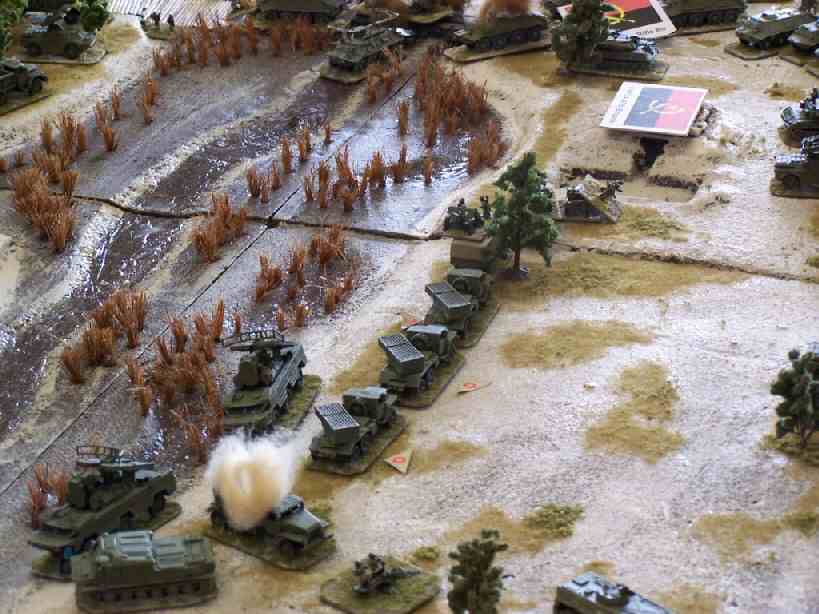
 om0115 |
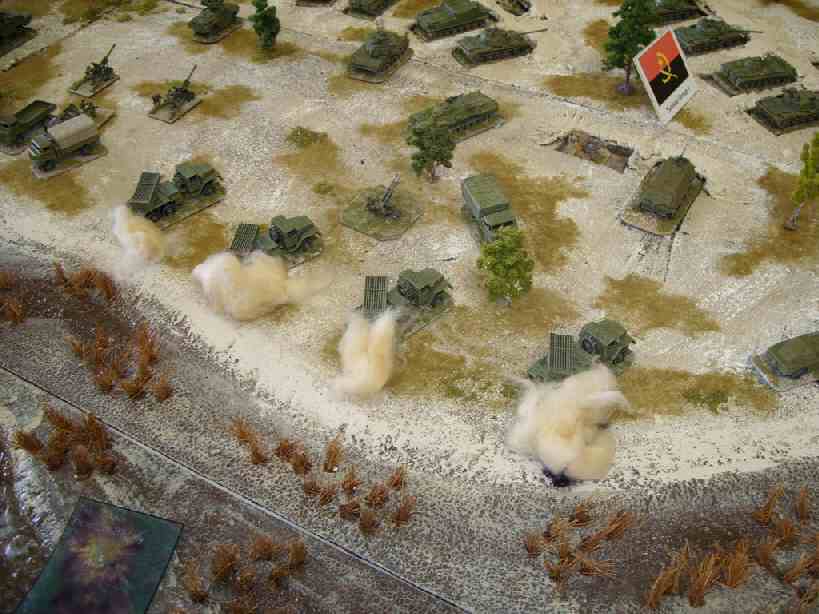
FAPLA 120mm Mortar Battery |
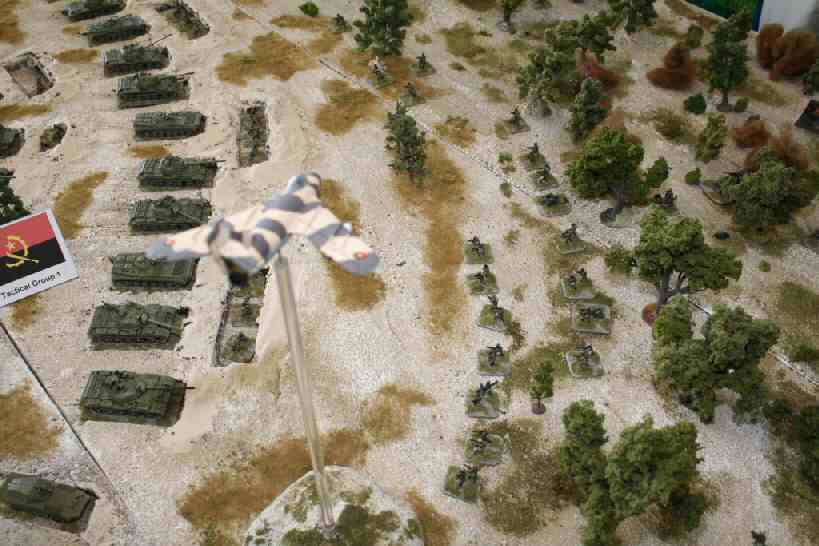
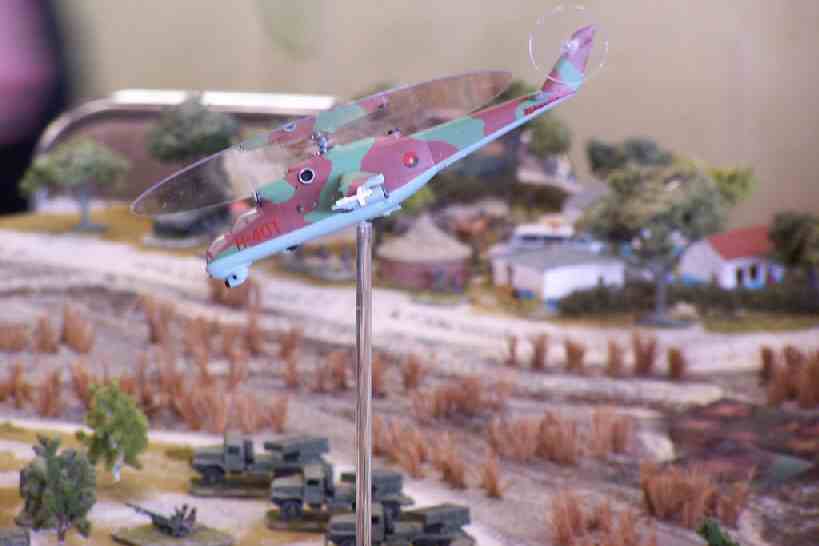 om0116 |
FAPA-DAA Hind Strafes UNITA |
 om0117 |
SADF Ratel-81 |
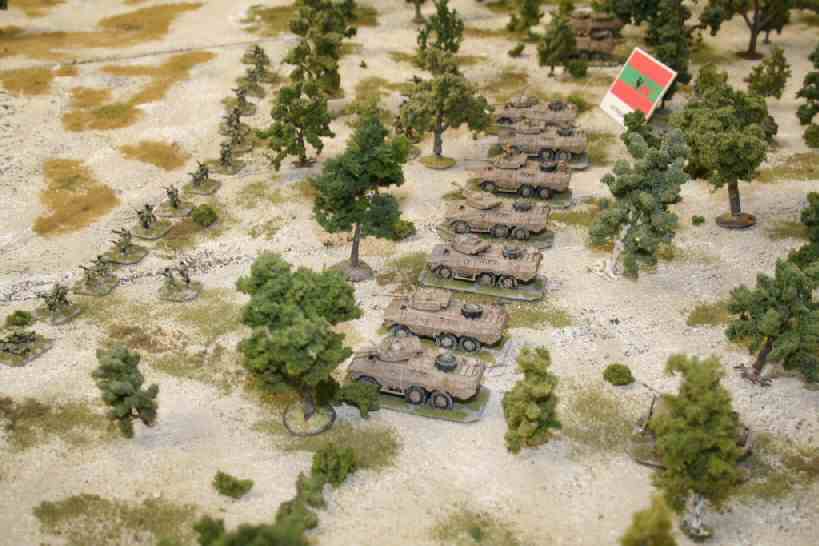
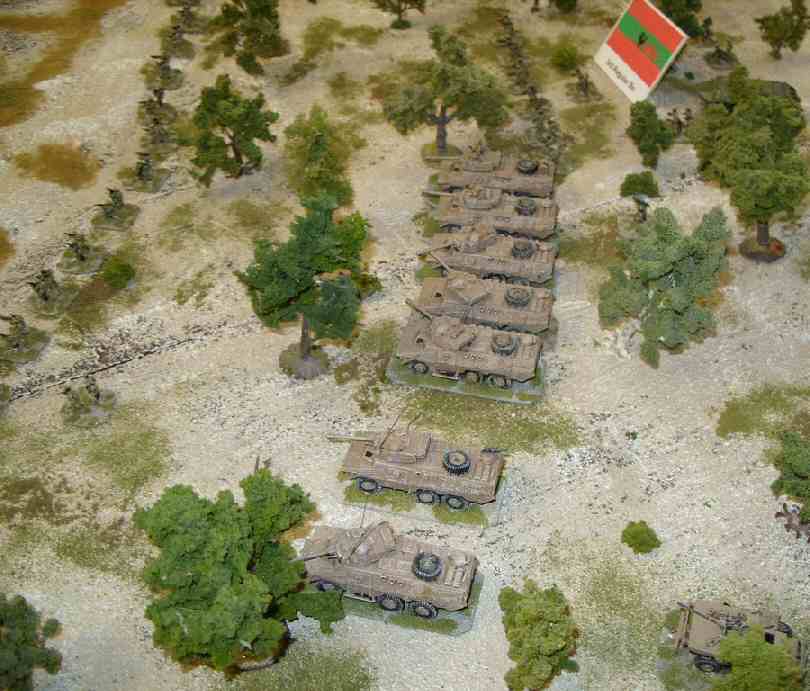 om0118 |
SADF 61 Bn Recce Sqn |
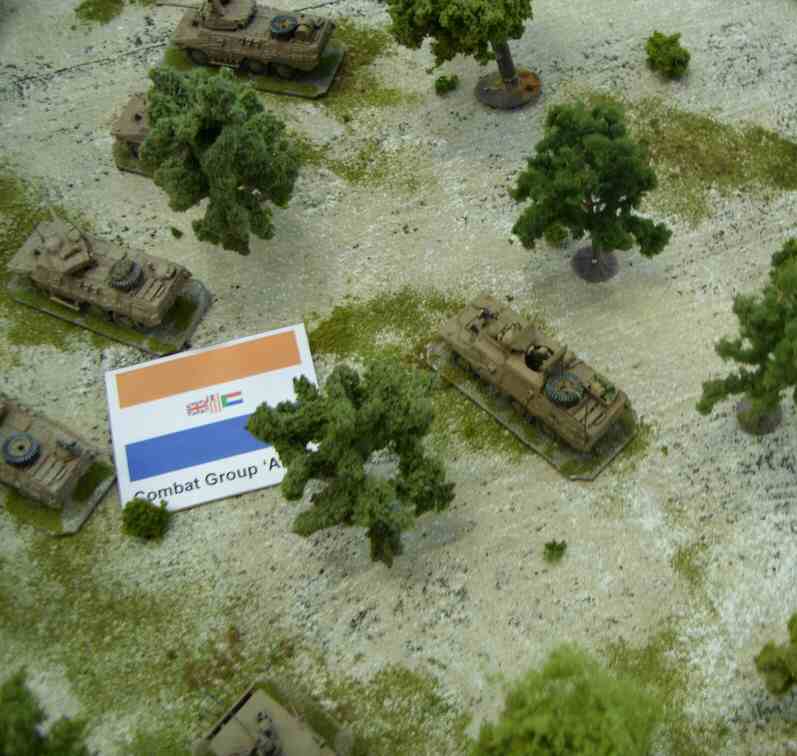
 om0119 |
CG Alpha |
 om0120 |
CG Alpha Moves Up |
 om0121 |
CG Charlie Probes Along The Riverbank |
 om0122 |
SAAF Buccaneers Roll In To Strike 47 Bde |
 om0123 |
SAAF Impala Conducts Preparatory Strike |
 om0124 |
UNITA 3 Bn Moves Forward |
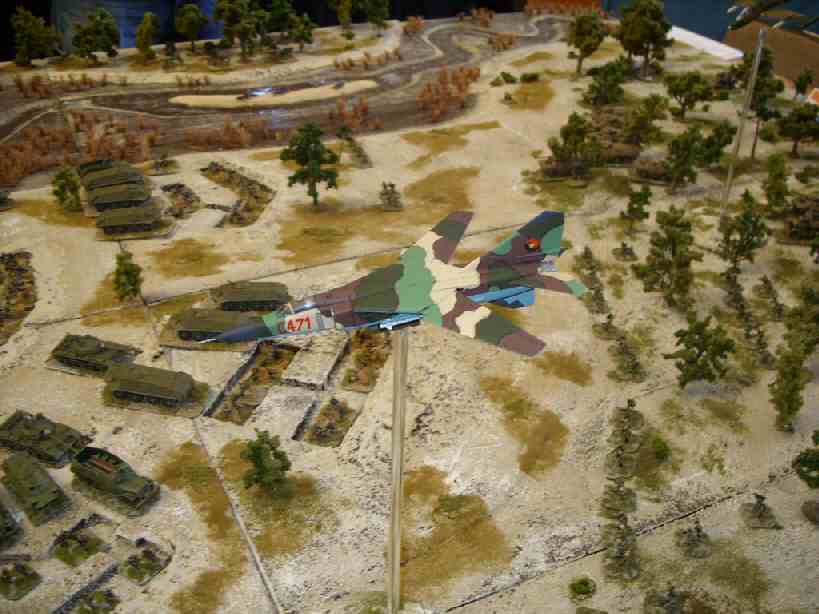 om0125 |
FAPA-DAA MiG-23 |
| Click on the Thumbnail for a full-size photo | Description |
|---|---|
 om0200 |
Buffels of CG Charlie |
 om0201 |
FAPA-DAA MiG-17 Strafes UNITA 5 Bn |
 om0201a |
UNITA 5 Bn Moves Up Under Air Attack |
 om0202 |
CG Alpha Closes With The Enemy |
 om0203 |
CG Alpha Moves In Support of UNITA |
 om0204 |
CG Alpha's Ratels Providing Close Support |
 om0205 |
CG Charlie Attacks FAPLA 2-47 Bn |
 om0206 |
CG Charlie's Ratels Are Engaged By Saggers |
 om0207 |
CGs Alpha and Charlie Attack |
 om0208 |
FAPLA 2-47 Bn Comes Under Intense Pressure |
 om0209 |
FAPLA 2-47 Bn HQ |
 om0210 |
FAPLA BM-21s |
 om0211 |
Ratels Supporting UNITA 3 Bn |
 om0212 |
Rear Of FAPLA 47 Bde |
 om0213 |
The First FAPLA Withdrawal |
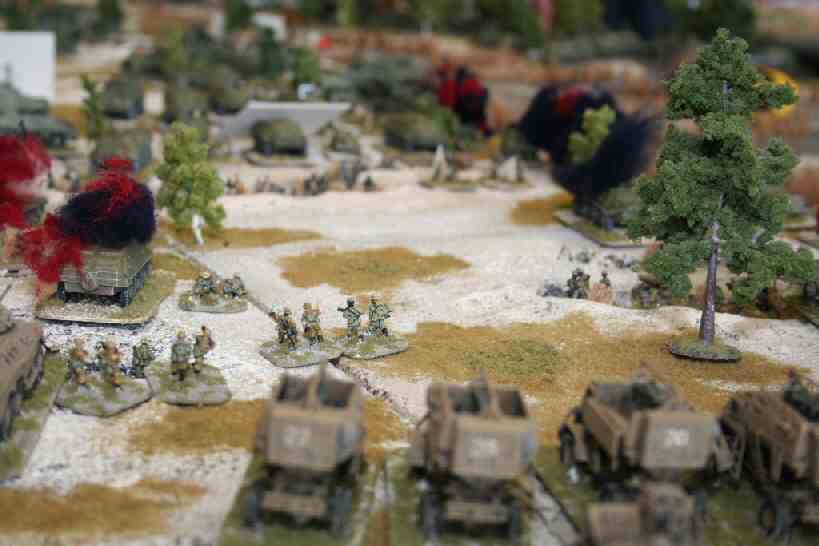
 om0214 |
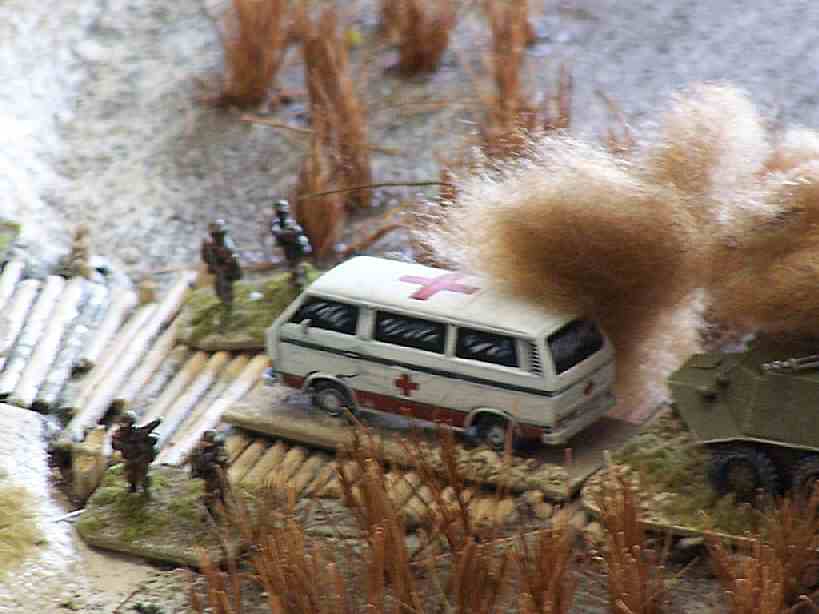
The Peace Of The Village Is Shattered |
 om0215 |
The SADF Attacks |
 om0216 |
UNITA 3 Bn Attacks FAPLA 2-47 Bn |
 om0217 |
UNITA 3 Bn Attacks |
 om0218 |
UNITA 3 Bn Overruns The First Trench Line |
| Click on the Thumbnail for a full-size photo | Description |
|---|---|
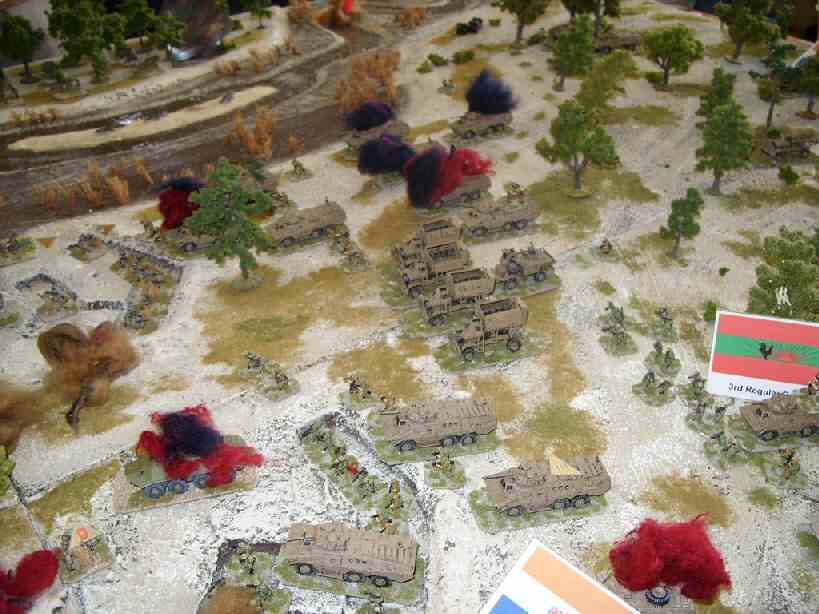
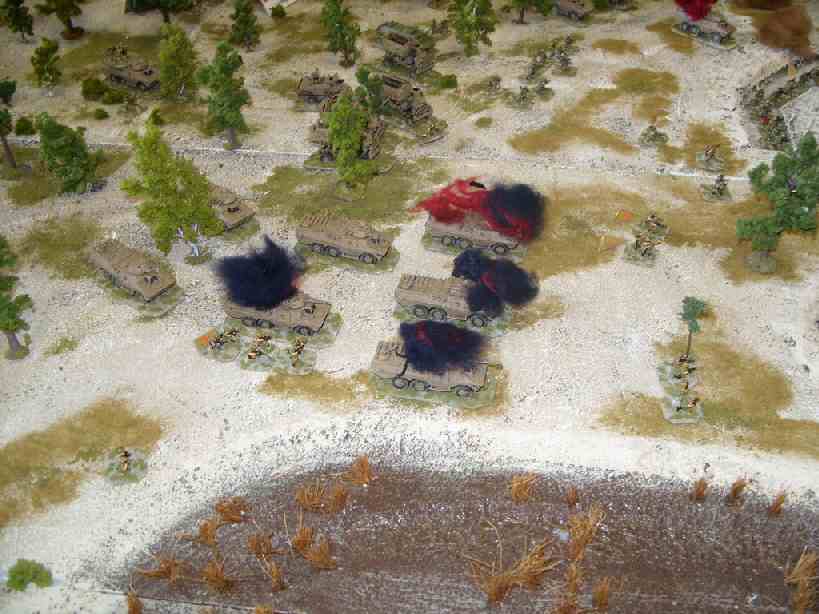
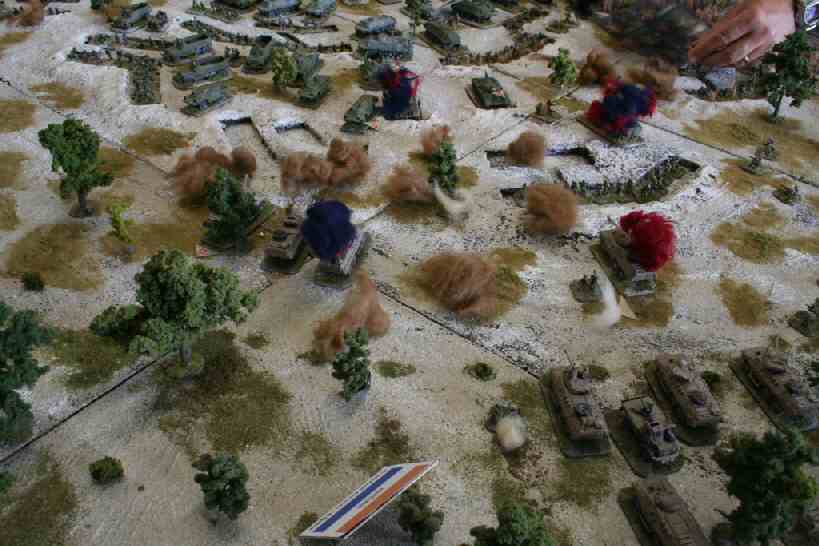
 om0300 |
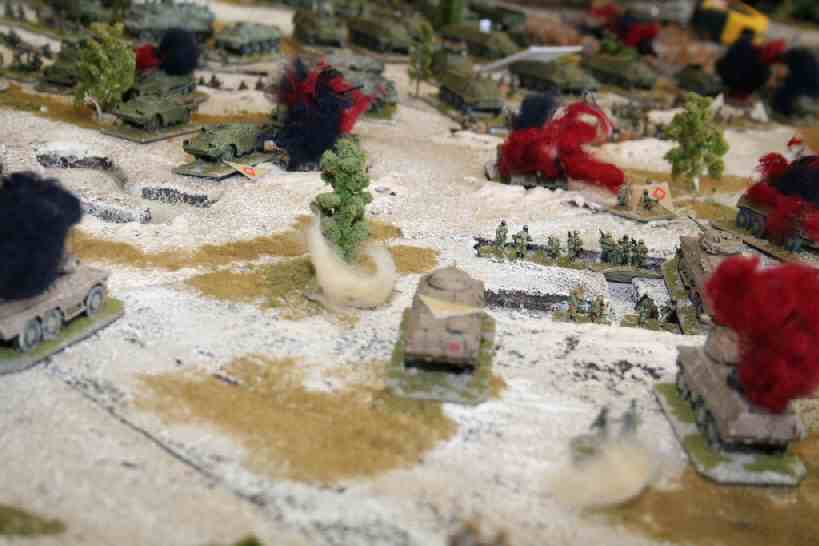
Burning Vehicles Everywhere! |
 om0302 |
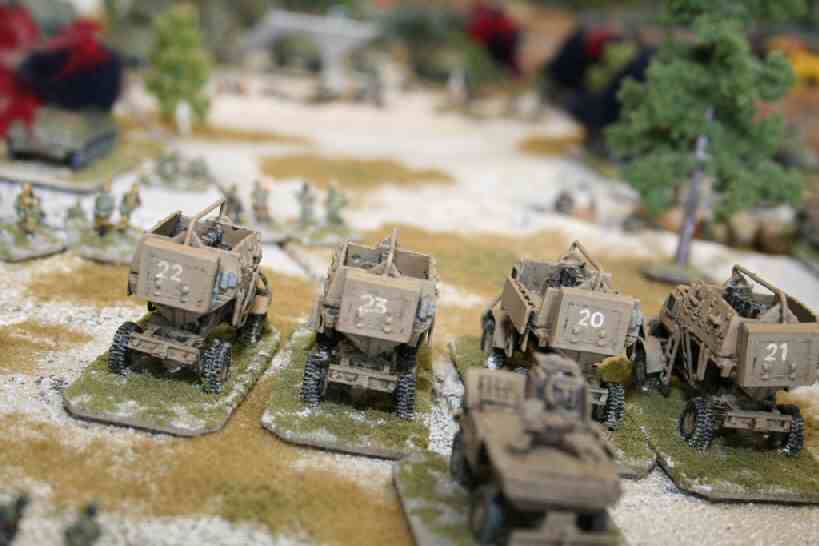
CG Alpha's Buffels & Ystervark |
 om0303 |
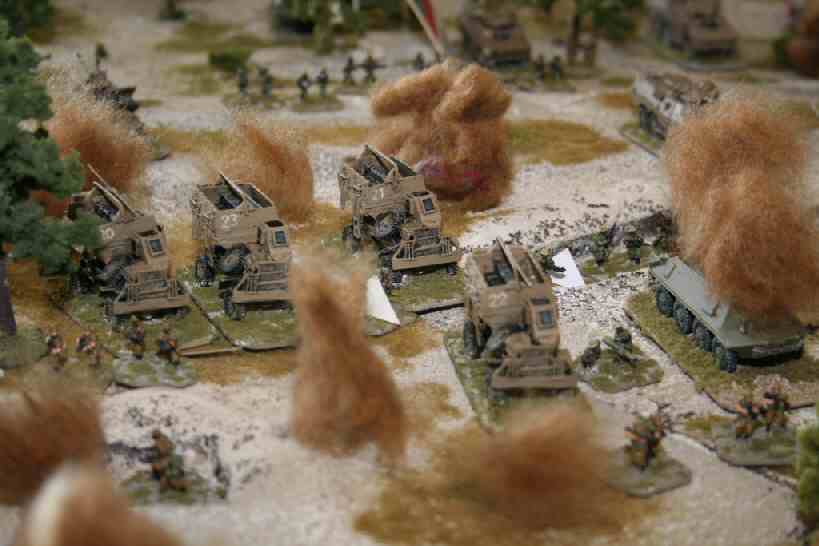
CG Alpha's Buffels Wade In |
 om0304 |
CG Bravo Arrives |
 om0305 |
CG Bravo Attacks |
 om0306 |
CG Charlie Overruns FAPLA Left Flank |
 om0307 |
CG Charlie Suffers Heavy Ratel Losses To ATGMs |
 om0308 |
CG Charlie's Infantry Presses Home The Attack |
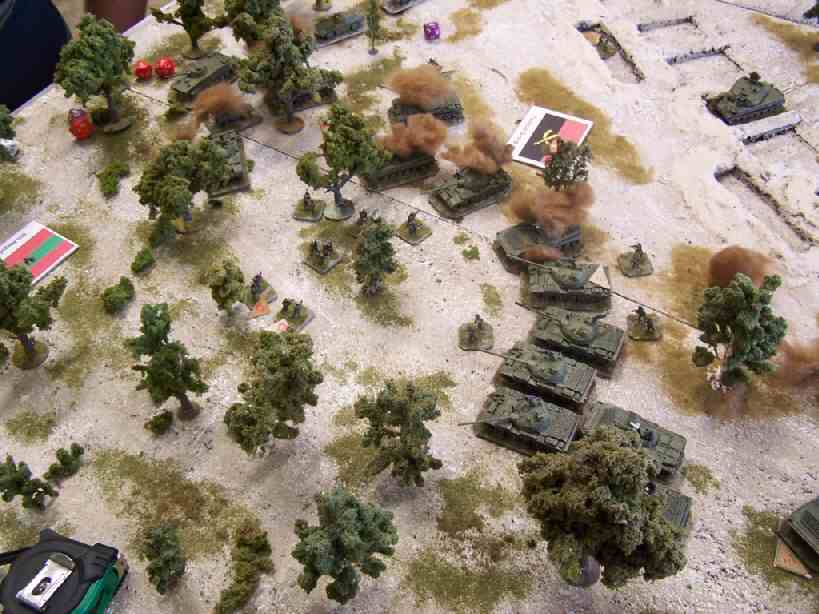
 om0309 |
FAPLA Tactical Group 1 Attacks UNITA 5 Bn |
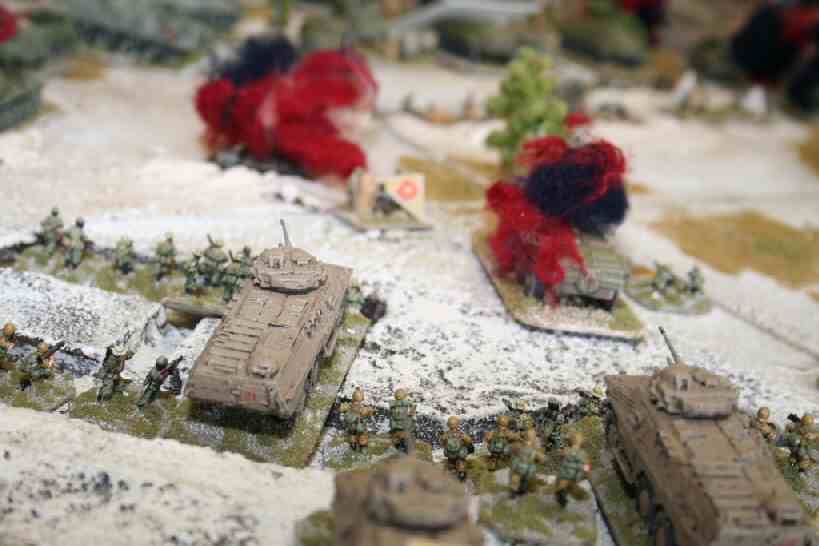
 om0310 |
FAPLA Tactical Group 1 Attacks |
 om0311 |
FAPLA Tactical Group 1 In The Bush |
 om0312 |
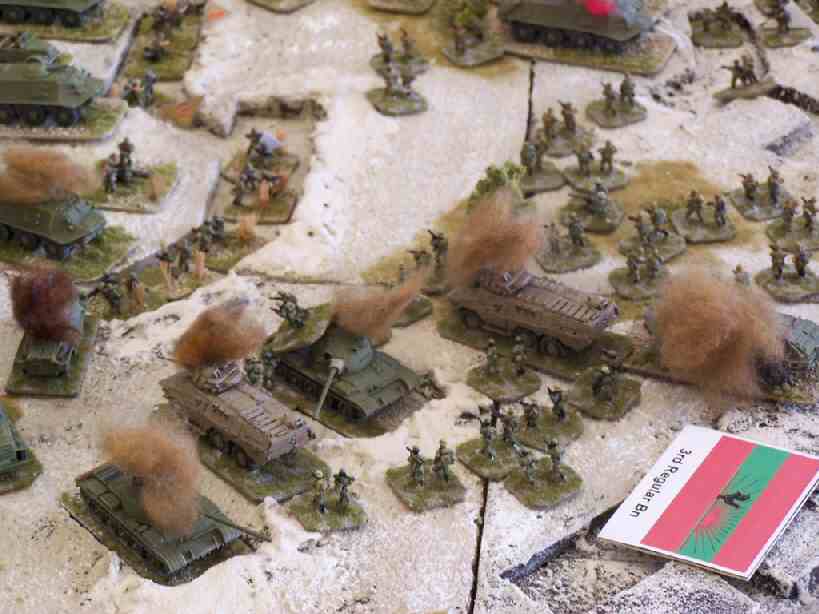
FAPLA Tanks Under Artillery Fire |
 om0313 |
Last Stand of UNITA 5 Bn |
 om0314 |
SA Artillery Interdicts The Bridge |
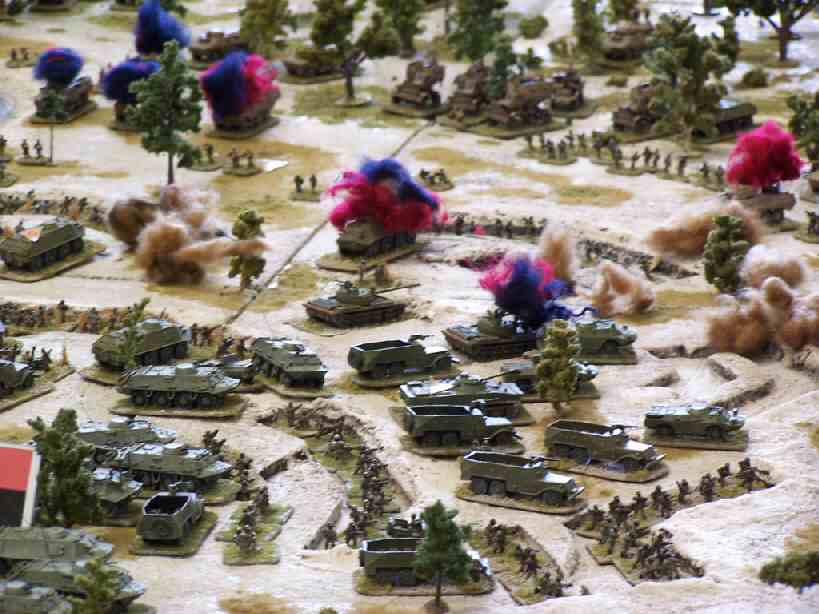
 om0315 |
The Battle Intensifies |
 om0316 |
UNITA 3 Bn Overruns 3-47 Bn |
 om0217 |
UNITA 275 Bn Attacks FAPLA 1-47 Bn |
| Click on the Thumbnail for a full-size photo | Description |
|---|---|
 om0401 |
47 Bde's Left Flank Collapses.JPG |
 om0402 |
CG Alpha Overruns 2-47 Bn.JPG |
 om0403 |
FAPLA 1-47 Bn Retreats.JPG |
 om0404 |
FAPLA Artillery Withdraws Under Fire.JPG |
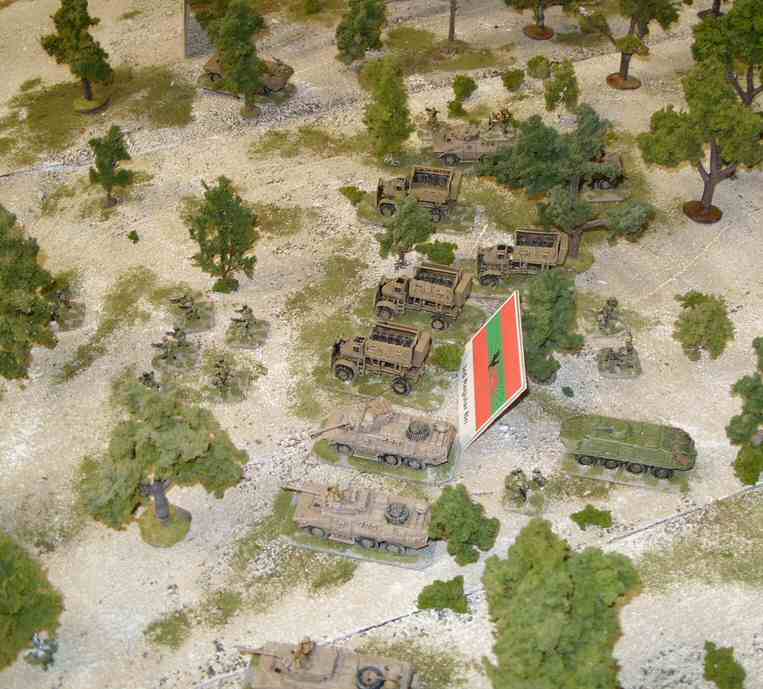
 om0405 |
FAPLA Propaganda.JPG |
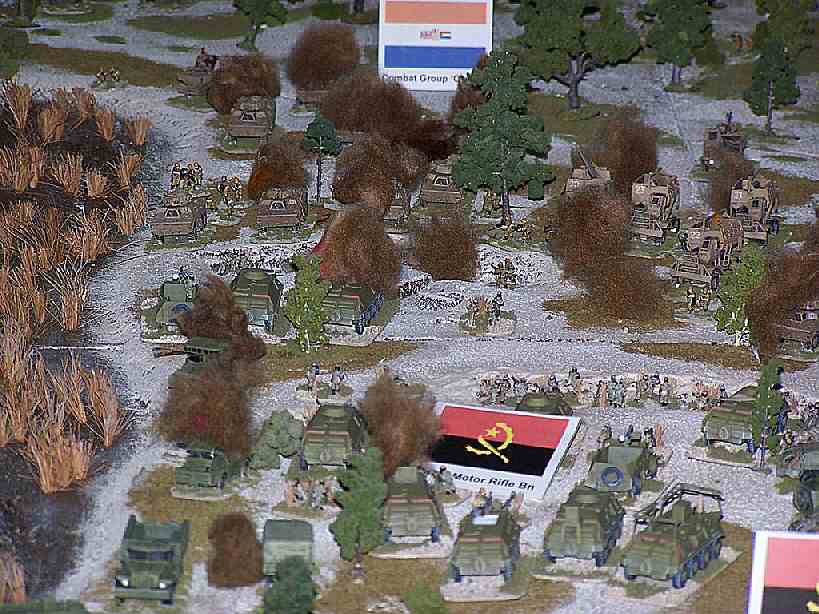
 om0406 |
FAPLA Tactical Group 1 Surprises CG Bravo |
 om0407 |
FAPLA's 47 Bde Begins To Rout |
 om0408 |
Tactical Group 1 Overruns 32 Bn AT Sqn |
 om0409 |
Tactical Group 1 Takes on CG Bravo |
 om0410 |
UNITA 5 Bn Is Crushed |
 om0411 |
The Final View |
| Click on the Thumbnail for a full-size photo | Description |
|---|---|
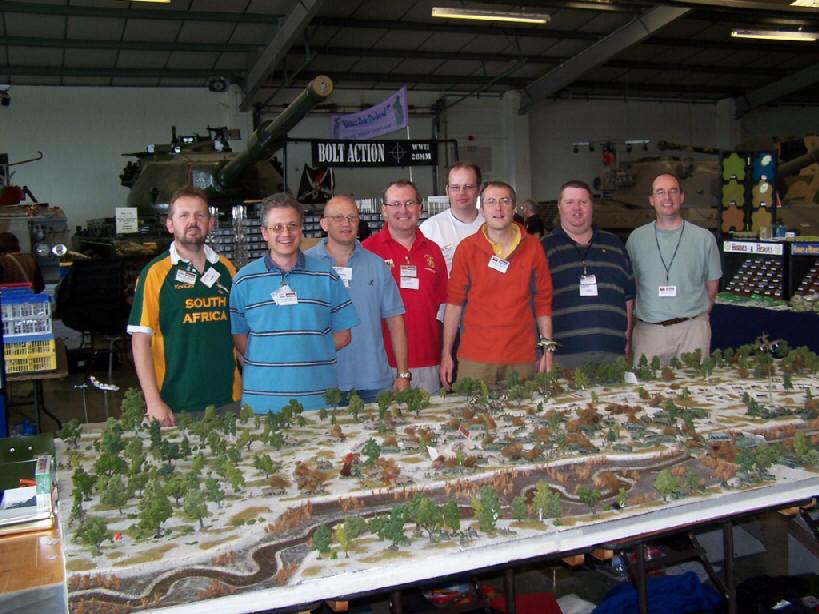 The Team |
Martin, Richard, Andy, Mark, Paul, Steve, Ken, and Gary. |
Copyright 2000-2019 Fire and Fury Games, all rights reserved
Web page maintained by
Webmaster@FireAndFury.com.