| Click on the Thumbnail for a full-size photo |
Description |
|---|

alanaar01
|
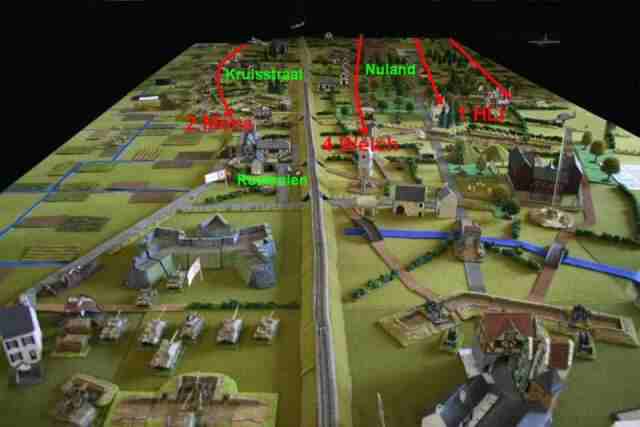
The British have to advance down the length of the 14 foot table along 3 designated routes.
CUP (north) - a winding dyke road used by 2 Mons Battlegroup
SPUR (central) - an unpaved through woods used by 4 Welch Battlegroup
PAN (south) - a paved main road, the north boundary for 1 HLI Battlegroup
A fourth battalion waits in reserve - Operation SAUCEPAN - 1 East Lancs are mounted on RAM
Kangaroos as part of an armoured breakthrough column to be launched along any one of the designated routes. |

alanaar02
|
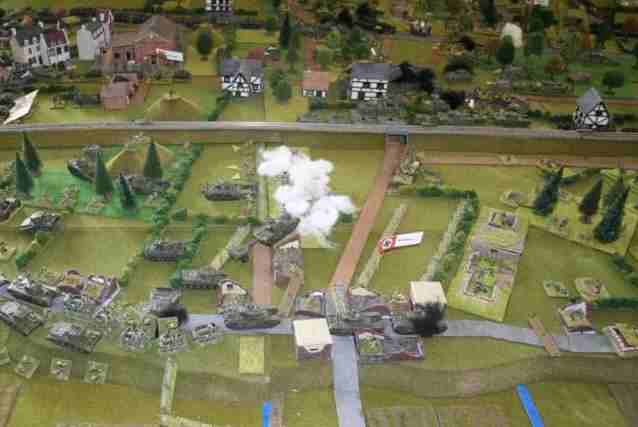
Operation Alan Battlefield. |

alanaar03
|
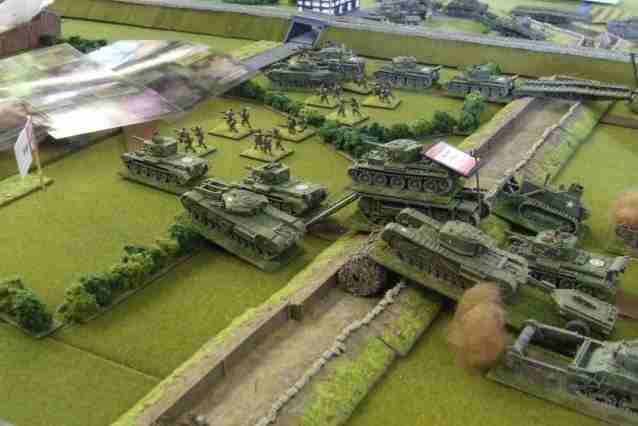
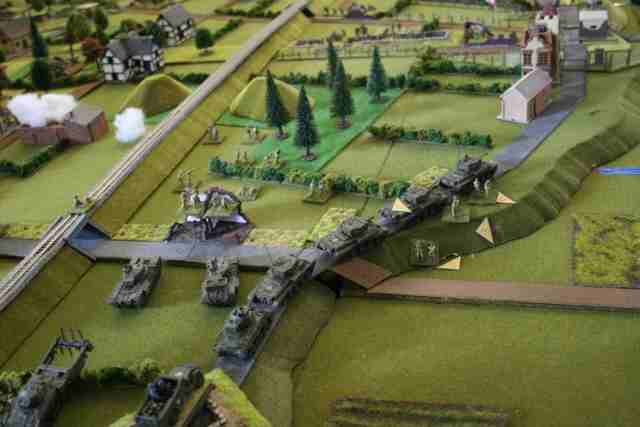
The British advance up to the first defence,
the anti-tank ditch. AVRE fascines/ SBGs, ARKs, engineers and bulldozers rapidly get to work with bridging the ditch -
the narrow front between the railway embankment and polder for 2 Mons and south of the embankment for 4 Welch |

alanaar04
|
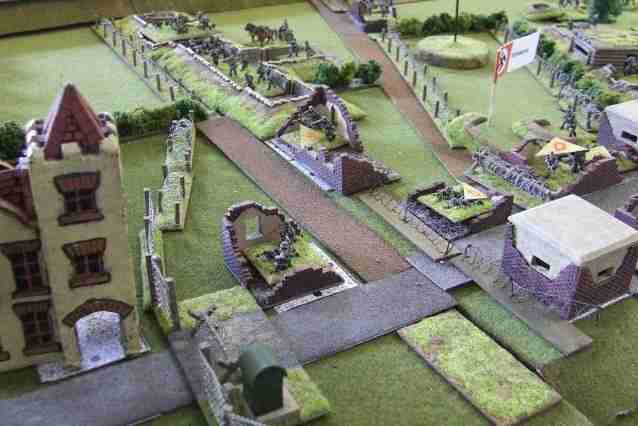
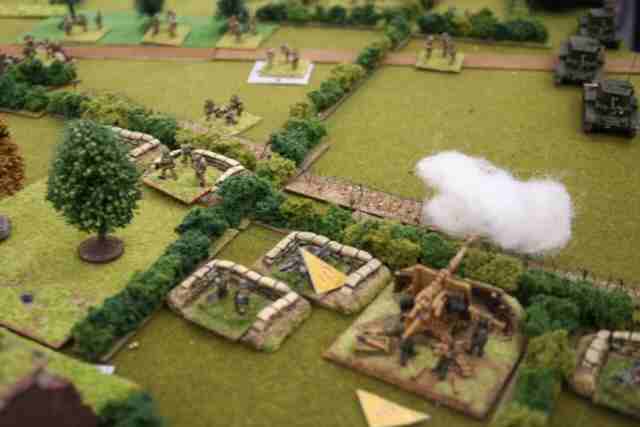
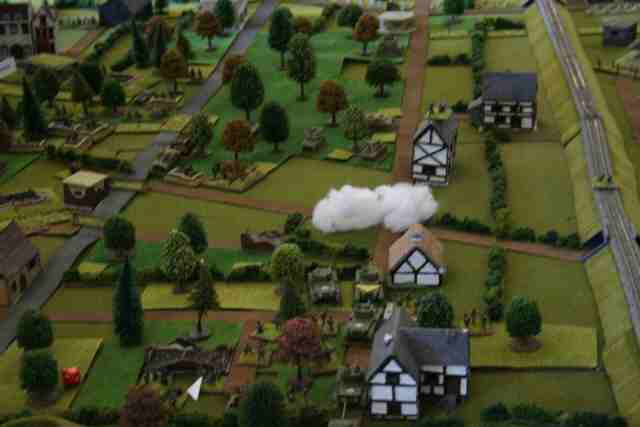
Awaiting 2 Mons at the outskirts of Kruisstraat; a typical German defensive position with trenches, minefields,
barbed wire and AT guns adding teeth to a weak infantry company.
The German defenders of Kruisstraat have been spared the worst of the artillery onslaught.
|

alanaar05
|
3 AGRA pound the village of Nuland with medium & heavy artillery. Both roads to Nuland on SPUR route are opened by the engineers. 4 Welch,
supported by the RIDG, cross the AT ditch in strength, closing on the shattered Fusilier Battalion holding the ruins of Nuland. |

alanaar06
|
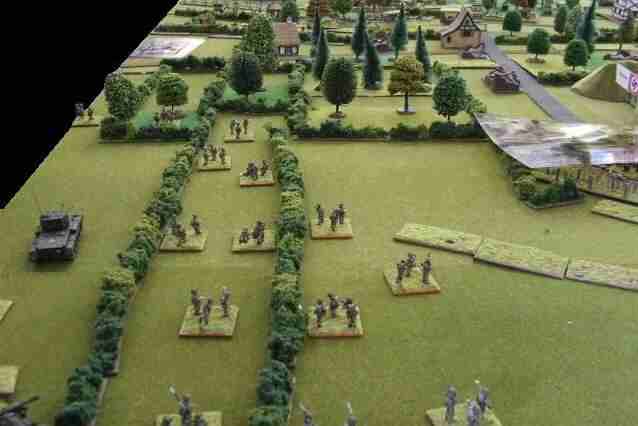
South of Nuland and below PAN route, 1HLI Battle-group make good
initial progress. They encounter no opposition as they advance east into the woods and towards Maleskamp |

alanaar07
|
Similarly, to the north, the 2 Mons Battlegroup also encounters little initial
opposition on CUP route. But, hemmed in between the embankment & the soggy polder,
disruption by German artillery further slows progress |

alanaar08
|
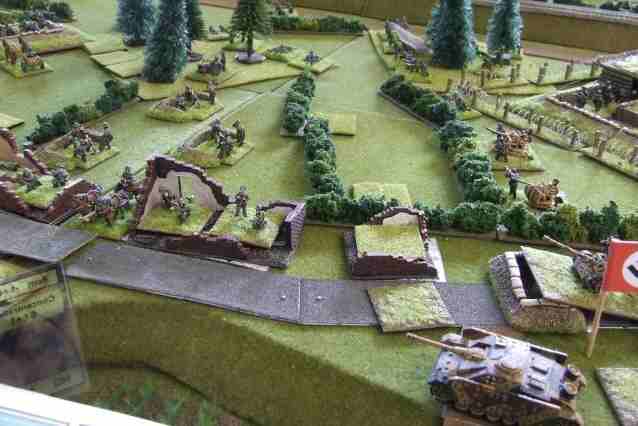
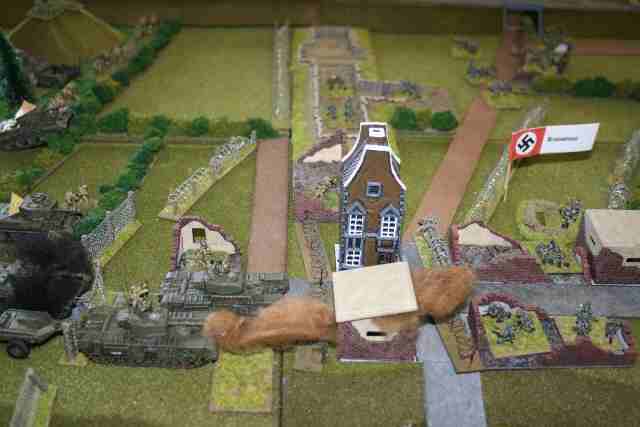
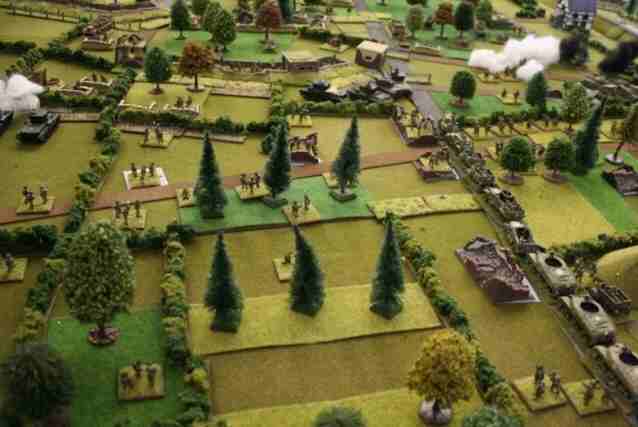
An illustration of the depth of the German defences. A StuG waits alongside a Pak40 at the Bruggen road junction with the trenches
and wire at the outskirts of Rosmalen in the background |

alanaar09
|
On central SPUR route, 4 Welch Battlegroup rapidly clears the ruins of Nuland and artillery starts to fall
on the factory complex beyond Nuland. Disrupted communications prevent
the German artillery taking advantage of the bottle-neck although mortar fire does continue |

alanaar10
|
Although the ruins of Nuland fall quickly, mopping up in the factory complex is held up by strong resistance.
AVREs move into position to help clear the strongpoints
Despite this, elements of 4 Welch battlegroup are able to push past the factory and move along SPUR route.
Forward Observers and FACs take advantage of elevated positions on the railway embankment and industrial spoil heaps.
|

alanaar11
|
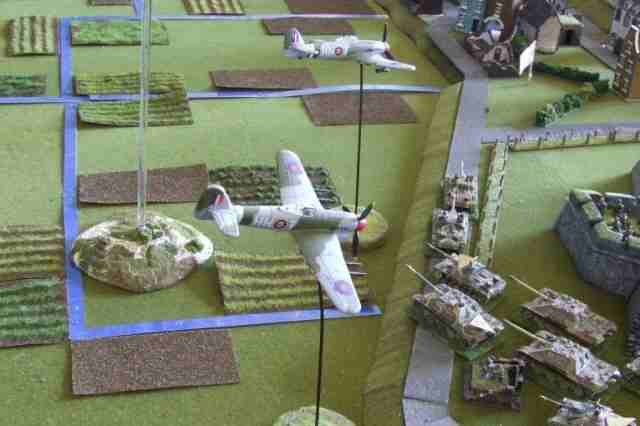
A pre-planned strike by a squadron of Typhoons hits the Bruggen road junction. However, by sheer luck, the German commander has massed two
entire flak companies in the immediate vicinity and the RAF suffers heavy losses for little gain |

alanaar12
|
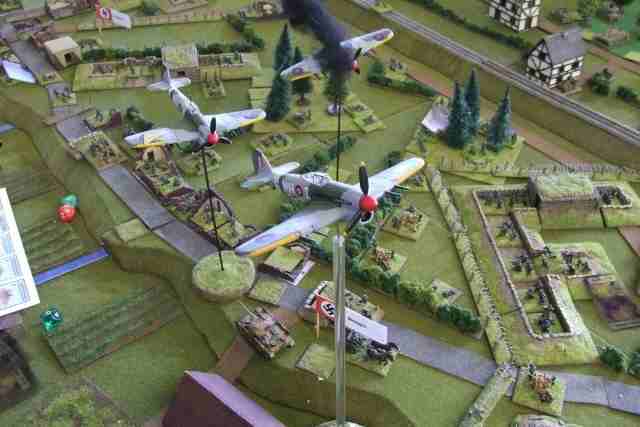
The Luftwaffe puts in a rare appearance over the battlefield but lacks the determination and numbers to make its presence felt |

alanaar13
|
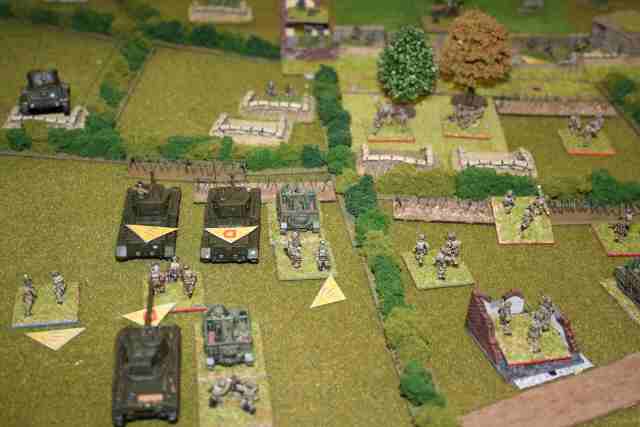
Back on ground level, on northern CUP route, 2 Mons Battlegroup makes contact with the defenders at the outskirts Kruisstraat The lead Cromwell falls victim to ambush
fire from a concealed PaK40. Vehicles behind, avoiding the polder, struggle to find room to deploy and support the 2 Mons |

alanaar14
|
On the south flank, the HLI Battlegroup also makes definite contact with the Germans.
An 8.8cm Flak, part of the defence of Maleskamp, fires on the lead Cromwell . |

alanaar15
|
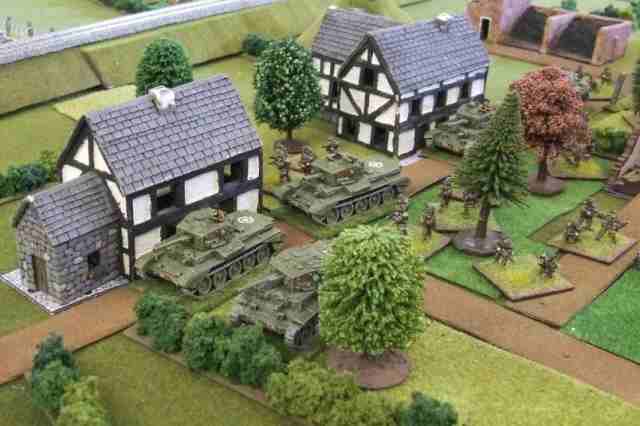
A close up of 4 Welch and
5 RIDG as they leave the area around Nuland. In closed & difficult
terrain more reminiscent of Normandy than Holland, they unknowingly approach
the next German strongpoint. |

alanaar16
|
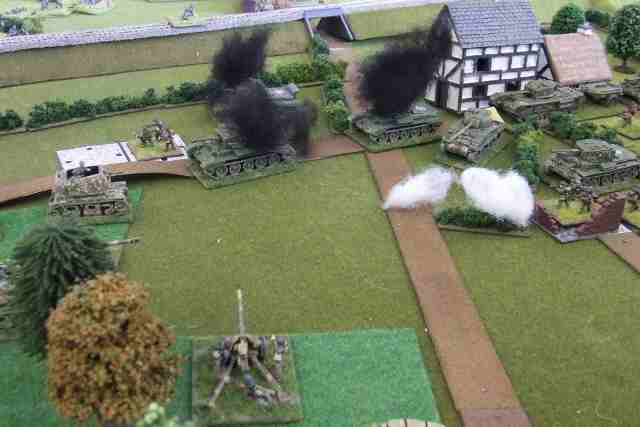
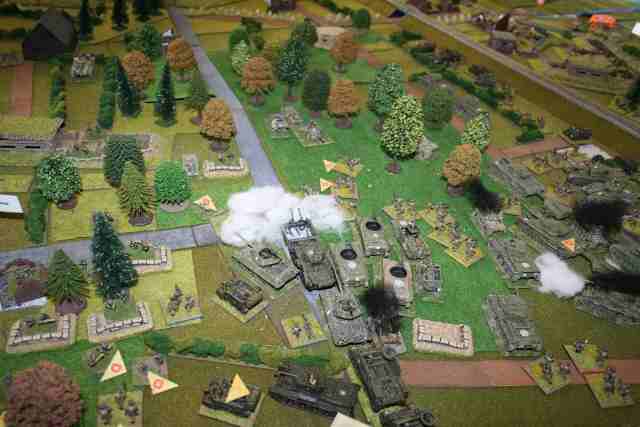
PaK front!
The edge of the woods holds a strong force of 8.8cm FlaK, PaK 40s, SP guns, Panzerschreks and the soon-to-be-feared 4.7cm PaK mounted on the 35R chassis.
Heavy anti-tank fire from the edge of woodland brings a halt to the advance on
central SPUR route. 4 Welsh battalion mortars hurriedly lay a smoke-screen. |

alanaar17
|
To the north on CUP route, an immediate response to the ambush at the edge of Kruisstraat.
Pushing past the burning Cromwell, strongpoints are given short shrift by the
supporting Crocodiles. |

alanaar18
|
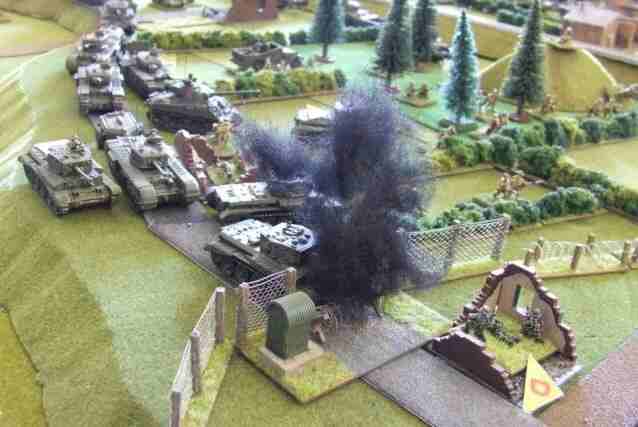
Pressure mounts from Brigade HQ to secure a route for Operation SAUCEPAN. Accurate artillery
fire destroys an 8.8cm FlaK but the first attempt to overwhelm the PaK front still ends in a
costly failure. |

alanaar19
|
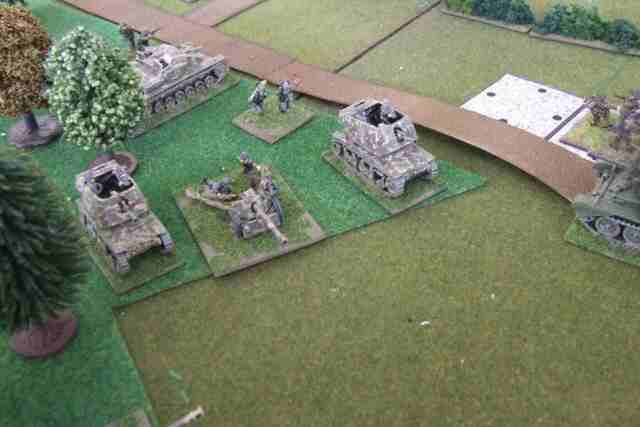
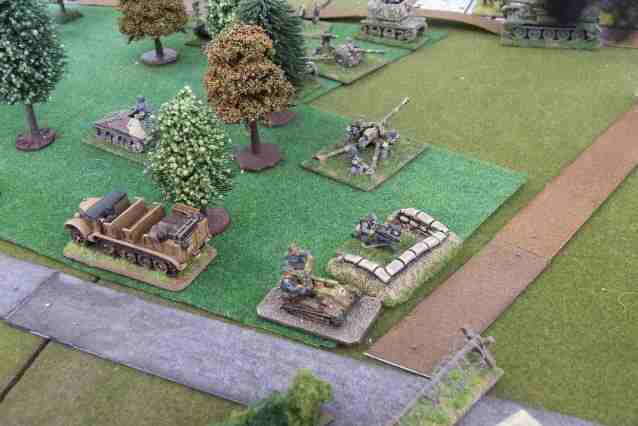
Part of the PaK front in close-up - a PaK 40 is flanked by two Panzerjäger 35R(f)s,
while a StuG III B and Panzerfaust team cover the flank. |

alanaar20
|
The "secret weapon" in the PaK front - 37mm PaK 36 on a UE 430(f)
A flank shot succeeded in disordering a Cromwell which was then finished off by a Panzerschreck. |

alanaar21
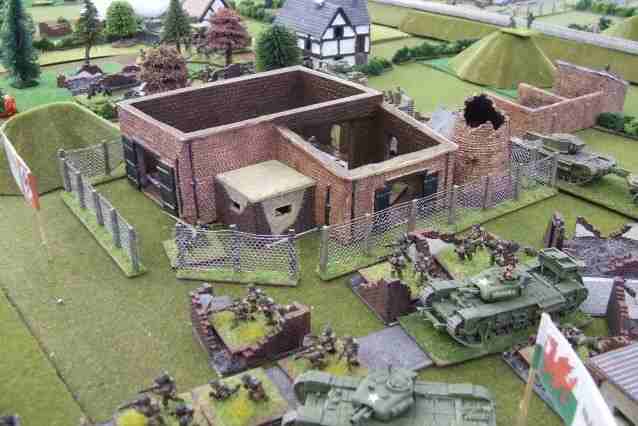
|
Aware of the disintegration of the first line of defence, the Kommandant of Festung
's-Hertogenbosch releases Jagdpanthers from the reserve. Their move forwards,
past Fort Alexander, does not go unnoticed by the circling Typhoons but once
again heavy AA fire (from a Wirbelwind) disrupts the attack and little damage is done. |

alanaar22
|
With northern CUP route still firmly closed at Kruisstraat and central SPUR route
blocked by the PaK front, General Ross decides to launch Operation SAUCEPAN along
the southern PAN route.
Behind a troop from 53rd Recce Regiment, A company from the 1 East Lancs, mounted in RAM Kangaroos, moves over a crossing point on the anti-tank ditch. |

alanaar23
|
Operation SAUCEPAN is given priority on PAN route and Cromwells supporting 1 HLI
(attacking trenches around Maleskamp) are ordered off the road.
However, initial rapid progress soon stalls when the lead armoured cars also fall
victim to fire from the PaK front.. |

alanaar24
|
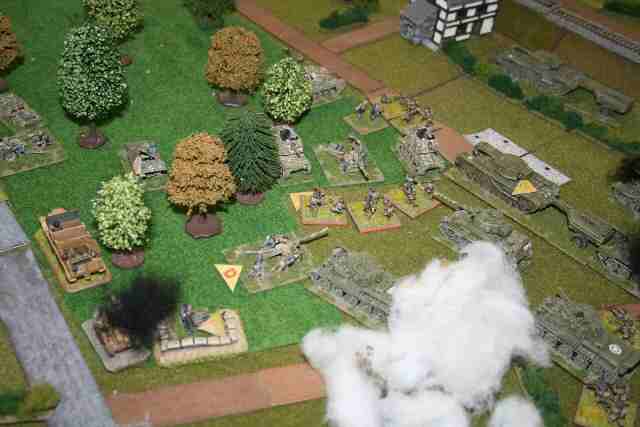
Another major attack is mounted on the PaK front:
Softening up with MIKE concentrations from two Field Artillery Regiments is followed by thick
smoke from the 4.2" mortars. Then 4 Welch, with Cromwells and
Crocodiles in support finally start to make progress in clearing the position. |

alanaar25
|
On the southern flank, 1 HLI Battlegroup has finally succeeded in neutralising the 8.8cm FlaK and
closes in on one of the defensive positions in Maleskamp. |

alanaar26
|
On CUP route, 2 Mons Battlegroup mops up resistance in the first trench line.
But progress beyond Kruisstraat rapidly stalls as the lead Cromwell falls victim to
fire from the PaK 40 at Bruggen.
In the background, a strong force from 4 Welch Battlegroup
moves along the line of the embankment in an attempt to outflank the PaK front. |

alanaar27
|
Operation SAUCEPAN bogs down:
With a smoke screen protecting against anti-tank fire down the length of the road,
an armoured Dozer clears the wrecked armoured cars. However the RAM Kangaroos carrying
the lead company of 1 E Lancs are forced off PAN route, losing vital momentum. |

alanaar28
|
As Kruisstraat finally falls, a heavily armoured Crocodile impetuously ignores the fire
from the PaK 40 and moves to clear out the next trench line. |

alanaar29
|
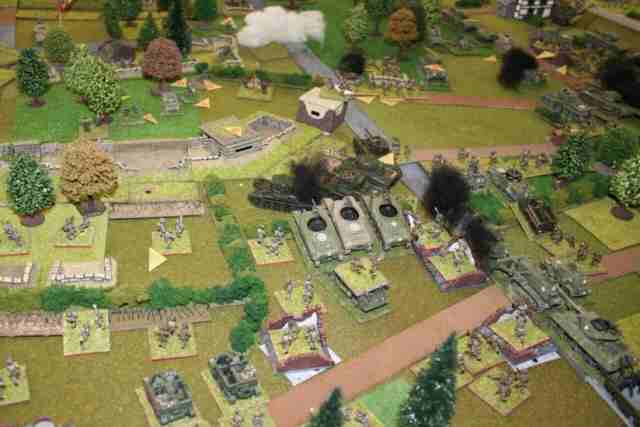
The German central PaK front is finally overwhelmed. 4 Welch and the Cromwells from
5 RIDG have finally broken into the woods in strength. A Sherman Flail clears a minefield
on PAN route. The road ahead looks open for the Operation SAUCEPAN column
But where are those Jagdpanthers? |

alanaar30
|
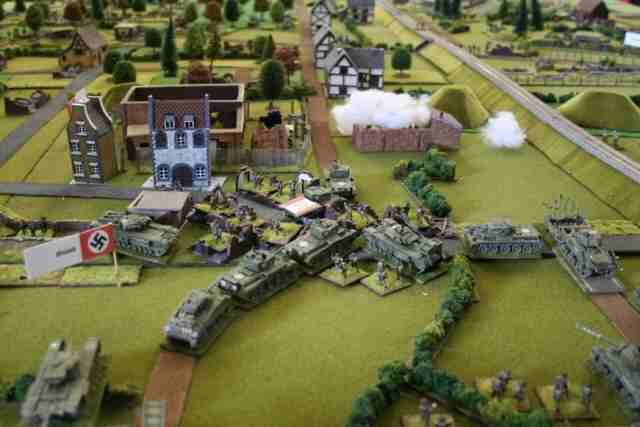
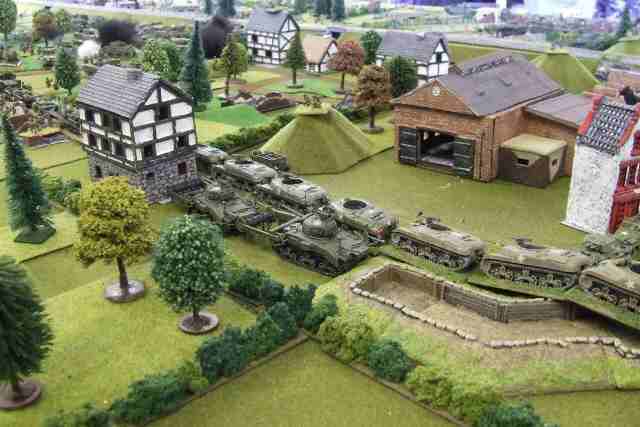
Operation SAUCEPAN vehicles fill the road. Flails wait off road as a long column
of RAM Kangaroos moves up PAN route past the Nuland factory complex. |

alanaar31
|
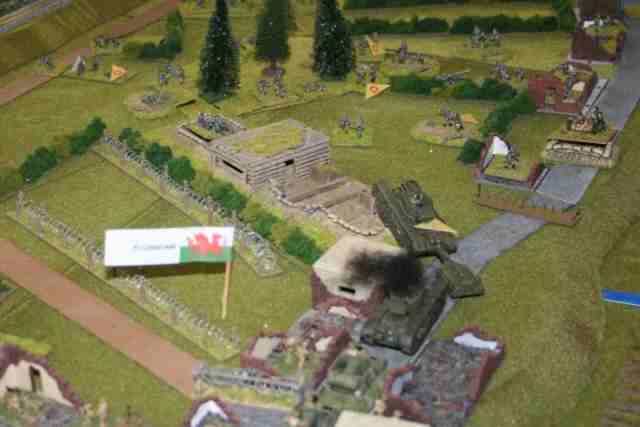
The high-water mark: 4 Welch Carrier Platoon continues to advance alongside
the embankment, now approaching minefields and dragon's teeth at Molenhoek. |

alanaar32
|
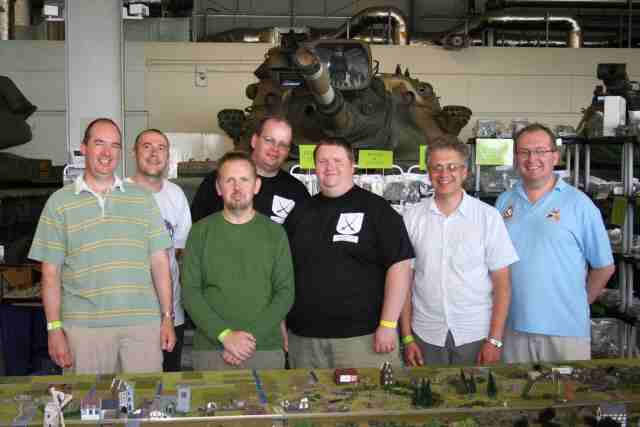
The cast from left to right:
Gary Loosen (2 Mons), Stephen Uden (1 HLI), Martin Small (British armour),
Paul Davison (Germans - north), Ken Natt (Germans -south), Richard de Ferrars
(4 Welch & Saucepan day 2), Mark Davies (Umpire)
Left out of battle - Paddy Green (4 Welch on day 1). |
At this point, we had to bring the game to a close. Dogged defence by the German players had definitely earned them the honour of a minor German victory for the weekend's work.