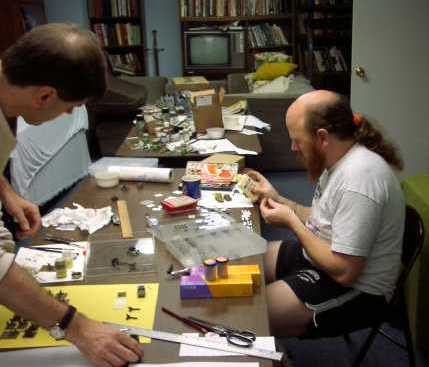
Richard at Work
The Models
More Models
More Richard
Dave Joins In
Yet More Richard

Doug the Photographer
The First Model
Some Serious Photo Equipment
| Click on the Thumbnail for a full-size photo | Description |
|---|---|
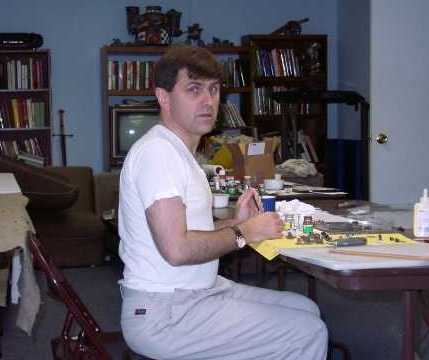
Richard at Work |
We were busy painting and mounting figures until the last minute. Here is Richard at work in his basement. |
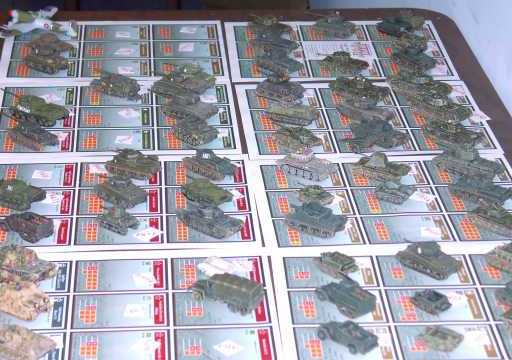
The Models |
The vehicle models are arranged on the prototype cards. We want to thank all of you who helped us prepare for this supplement, especially our compatriots in England, R. Mark Davies and Ken Natt. When the game came out last year, they wrote to us with some extremely knowledgable questions and criticisms and our response was "Want to Join the Team?" Fortunately they said Yes. Most of our models come from Battlefront, Old Glory (Command Decision), Quality Castings, and Peter Pig. We also found some unusual models from QRF (Quick Reaction Force), and I may have missed some manufacturers. |
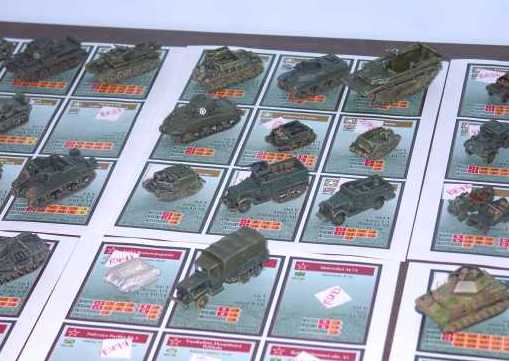
More Models |
Another look at the models. |
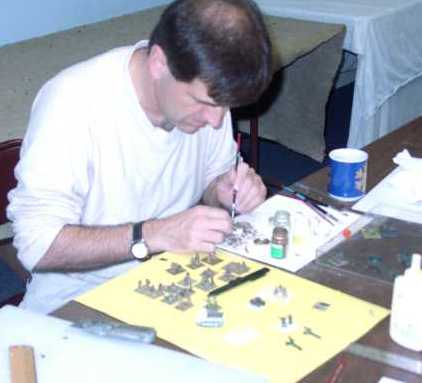
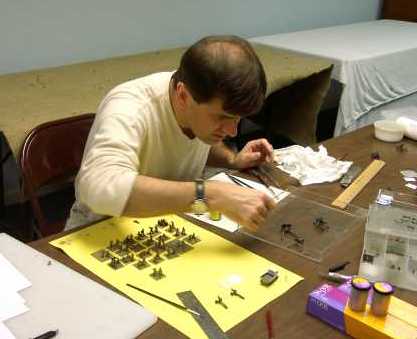
More Richard |
Richard furiously mounts infantry in preparation for the photography. |
Dave Joins In |
Dave Choat arrives and starts helping us mount some stands. |
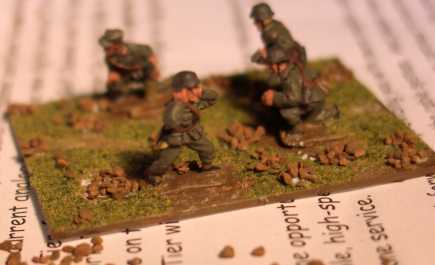
Yet More Richard |
The infantry stands and anti-tank guns near completion. |
Doug the Photographer |
Doug LaFon arrives to take the pictures. |
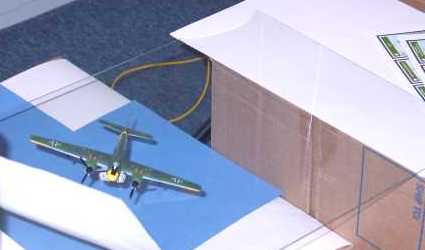
The First Model |
The first model (a Henschel) is set up for the shoot. Note the use of the glass to get rid of shadows and the blue background that will masked out when we move the picture to the cards. |
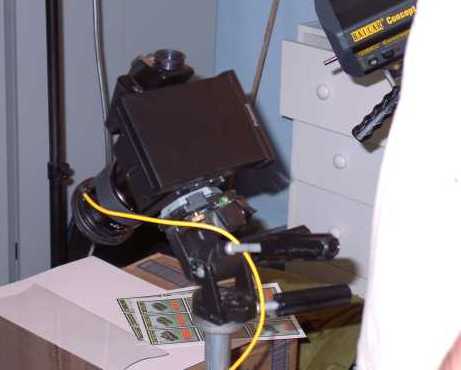
Some Serious Photo Equipment |
A view of the photo equipment that Doug uses. |
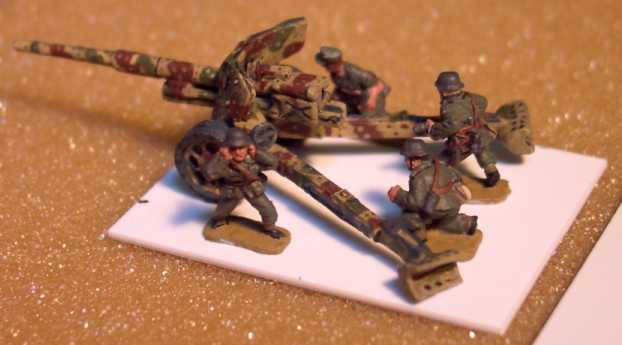
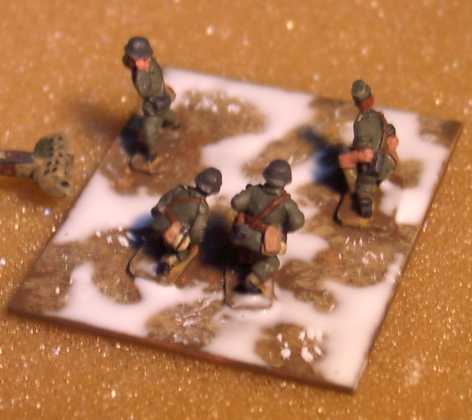
| German Paras on a golf course | |
|---|---|
| Your humble webmaster has often been accused (with justification) of mounting his figures on a golf course (see the base on the right) as I have generally used a uniform turf blend to cover the base. For this photo shoot, Richard developed a simple technique that adds texture to the bases with a minimum amount of work. In mass production, such as we used for the shoot, you can turn out lots of good looking bases in minimal time. As the result was quite good for the effort we expended, I decided to demonstrate this technique with a Pak 41/43 and crew that I had painted but not mounted. |  |
| Click on the Thumbnail for a full-size photo | Description |
|---|---|
Before mounting |
After painting the figures and gun, we remove them from the paint stand and prepare the base. I like .03 or .04 thick plastic as a base material, because it scores with a hobby knife and is easy to work with. |
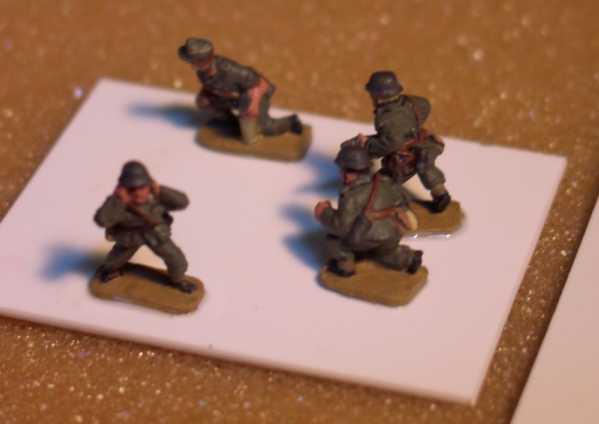
 Arrange the figures |
At this point, the figures are not glued to the base. I moved them around to where I wanted them to be. |
 Glue the crew |
I glue the crew on to the base without the gun in the desired positions. I use superglue, but Richard prefers wood glue to allow for rearranging if needed. |
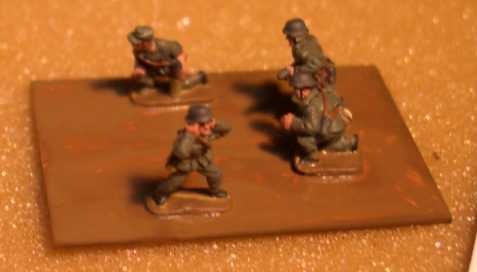 The base color |
We used a dark earth color for the base stand color. We paint it completely and allow it to dry. |
 A second color |
Using a lighter color (sand or yellow ochre), we add speckles of a second color. This is done by dipping just the end of a larger brush in the paint, removing most of the paint from the brush and then lightly speckling the dark brown base. |
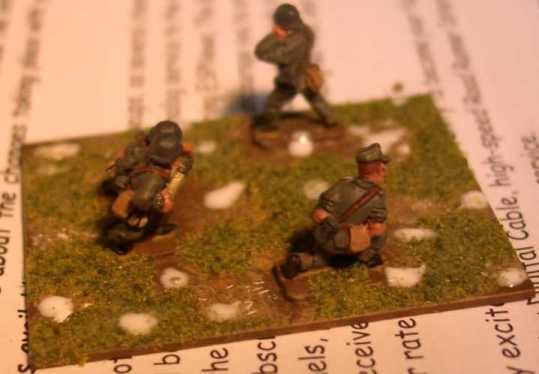
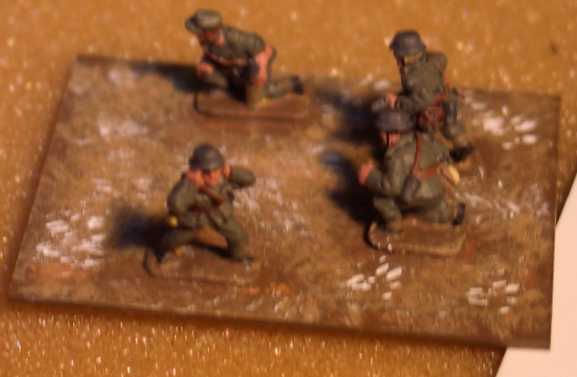 A few spots of white |
We do the same thing with some white. |
 A random pattern of glue |
The glue is put on in a random pattern. Unlike my golf-course technique, we do not cover the entire base, but create a jigsaw-like pattern. |
 Apply the turf |
The base is dipped in fine blended turf, which will then stick to the random glue patterns. This kind of basing material can be found at most hobby stores, especially those which stock a lot of model Railroading material. |
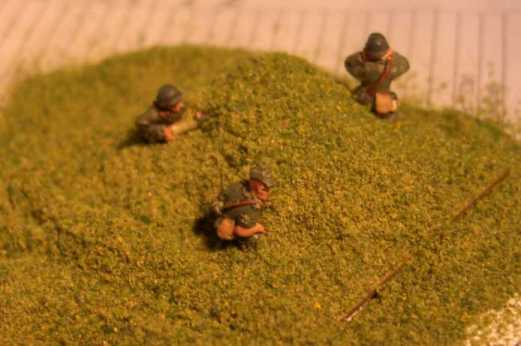
 Random turf patterns |
The turf sticks to the glue, leaving a random pattern over the base color. |
 Small glue spots for the rocks. |
After the turf dries, we put small glue spots in preparation for adding some rocks (model RR ballast). |
 Add the rocks |
You can either dip the base in the ballast, as we did with the turf, or use tweezers to put the rocks in the glue. |
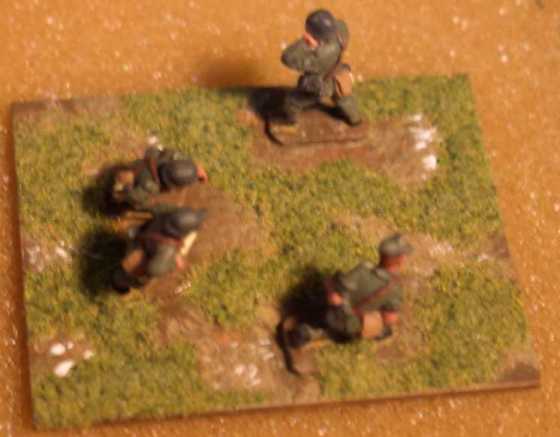
 Add some vegetation |
Using Coarse turf, we simulate bushes by putting down some more glue spots and using tweezers to move it into place. |
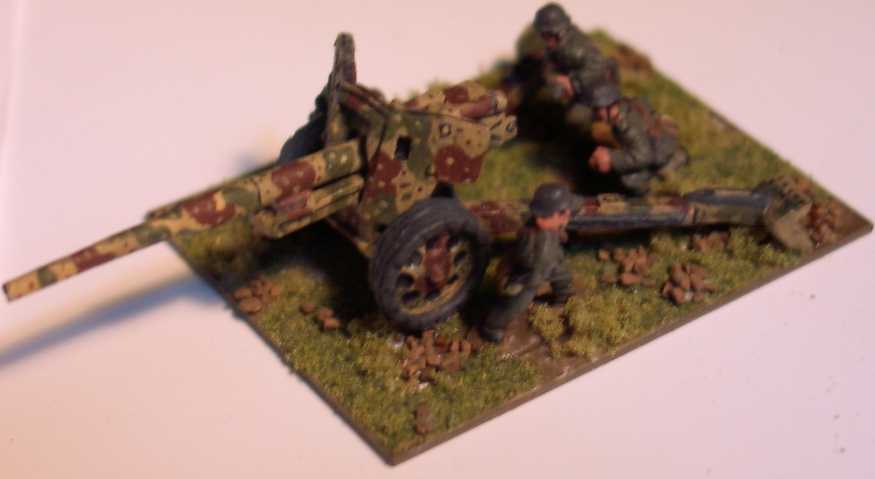 Add the Gun |
Finally we glue on the AT gun and spray the stand with a flat sealant. The results are much nicer than the golf-course technique. During the photoshoot we had an assembly line going where one of us would put on the base color, the next would do the turf, etc. |
Copyright 2000-2019 Fire and Fury Games, all rights reserved
Web page maintained by
Webmaster@FireAndFury.com.