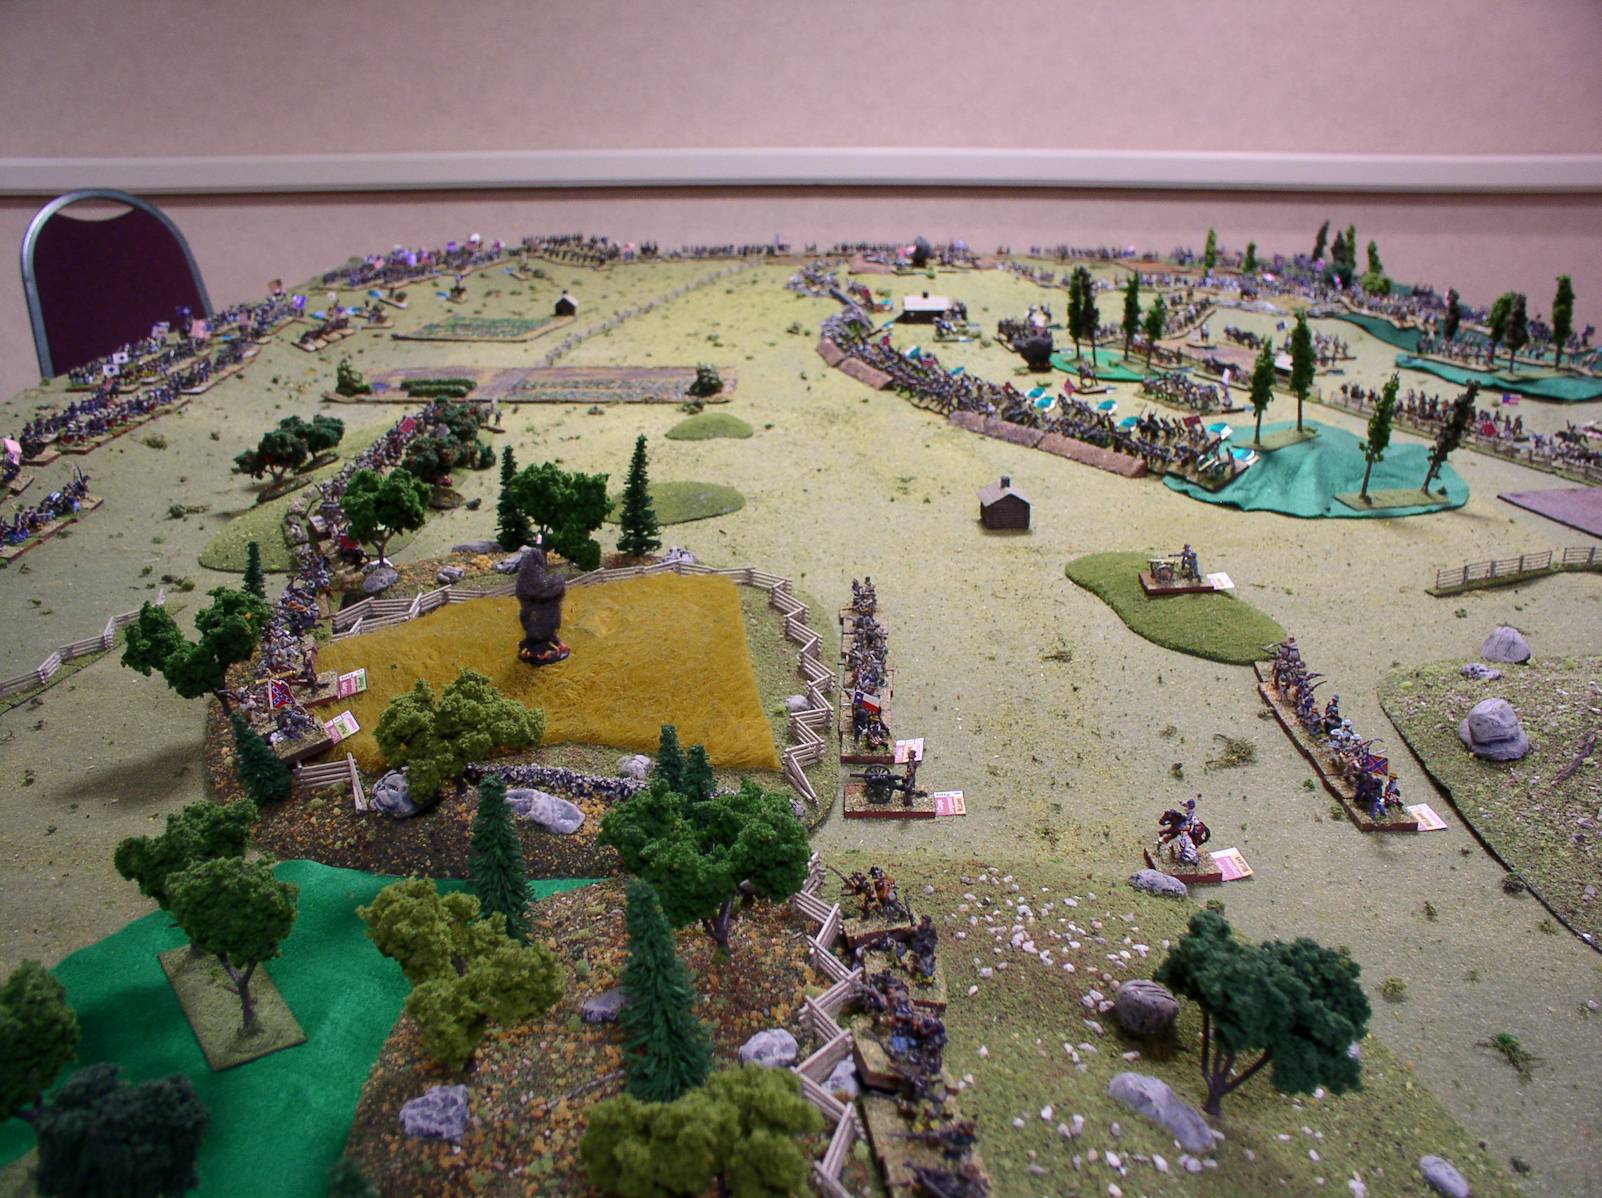
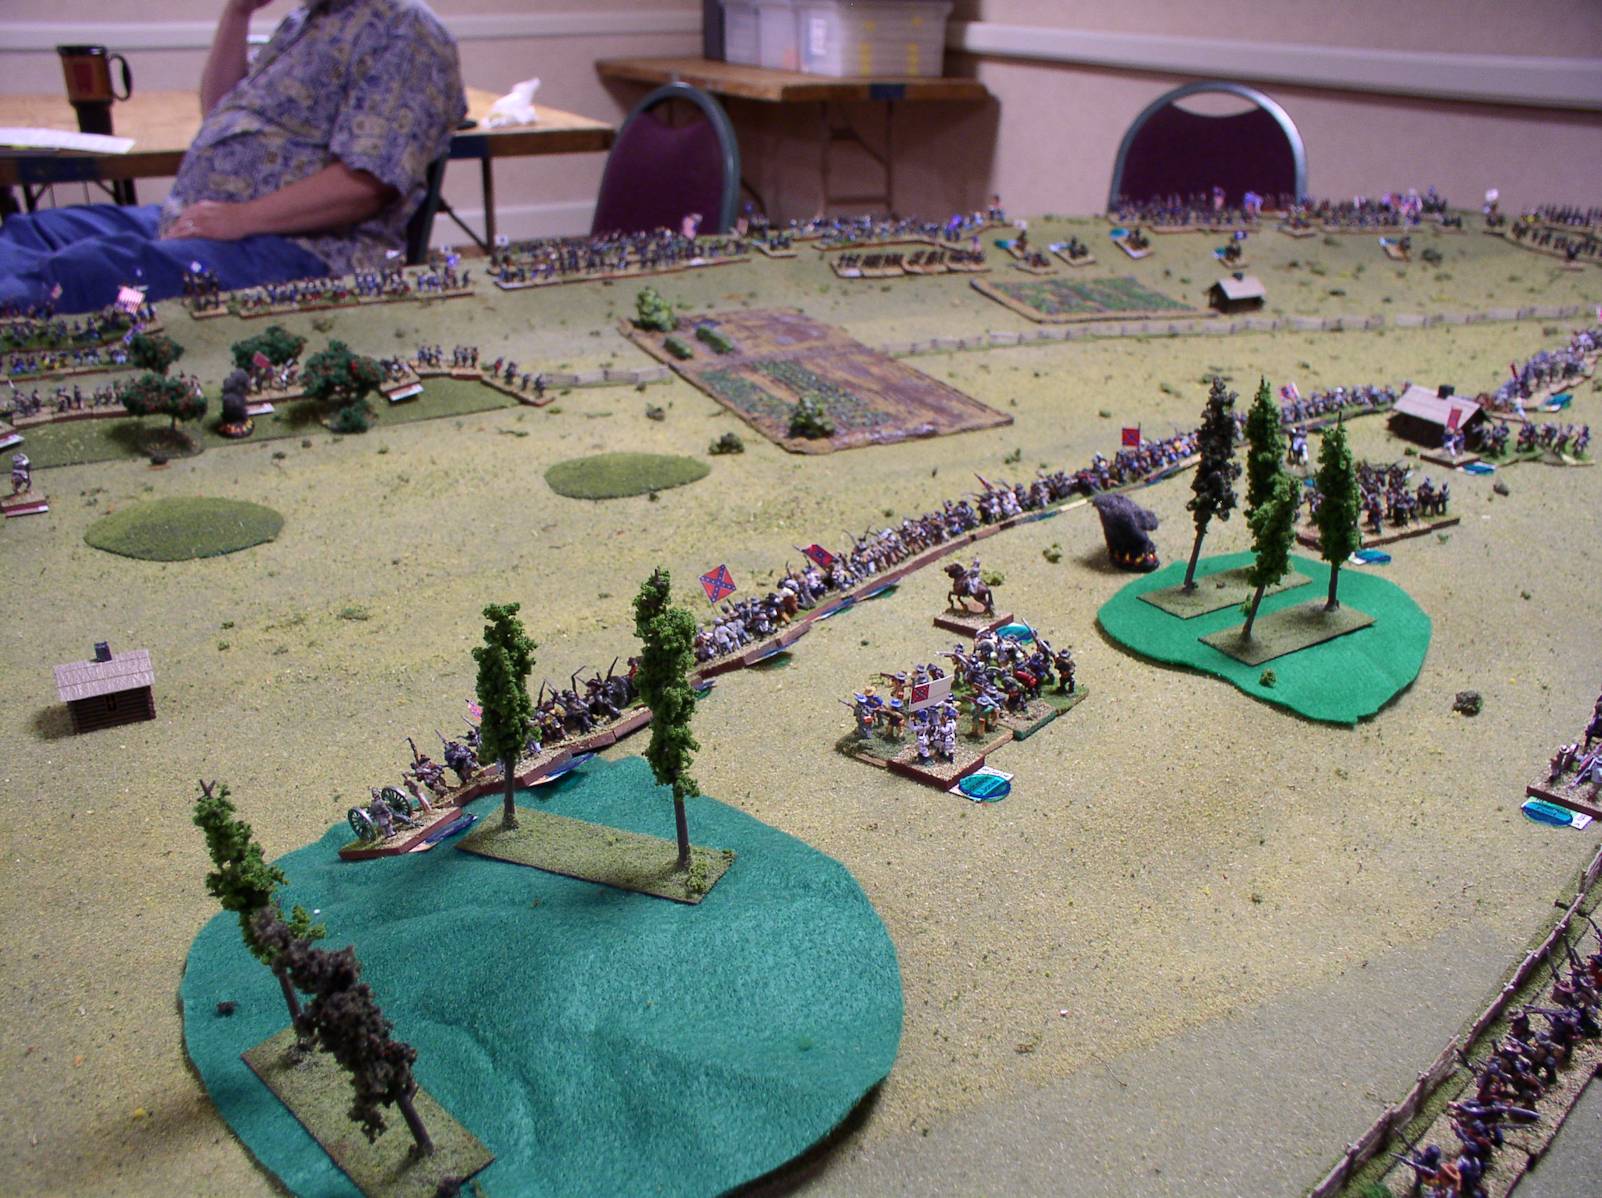
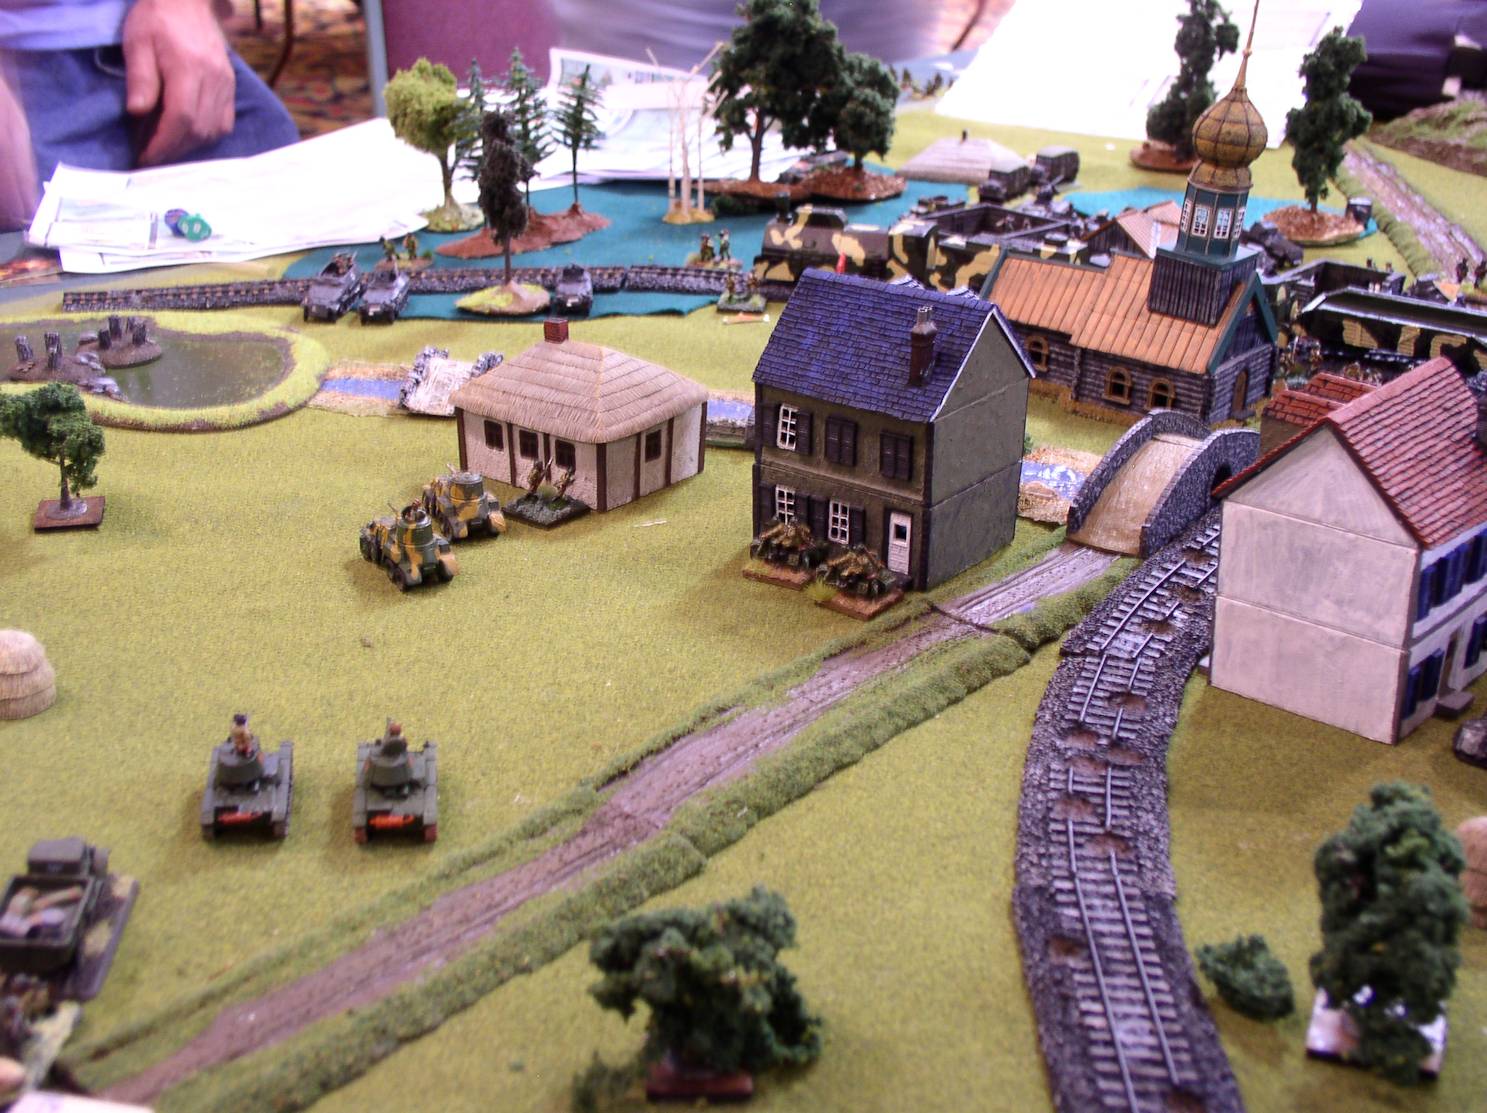
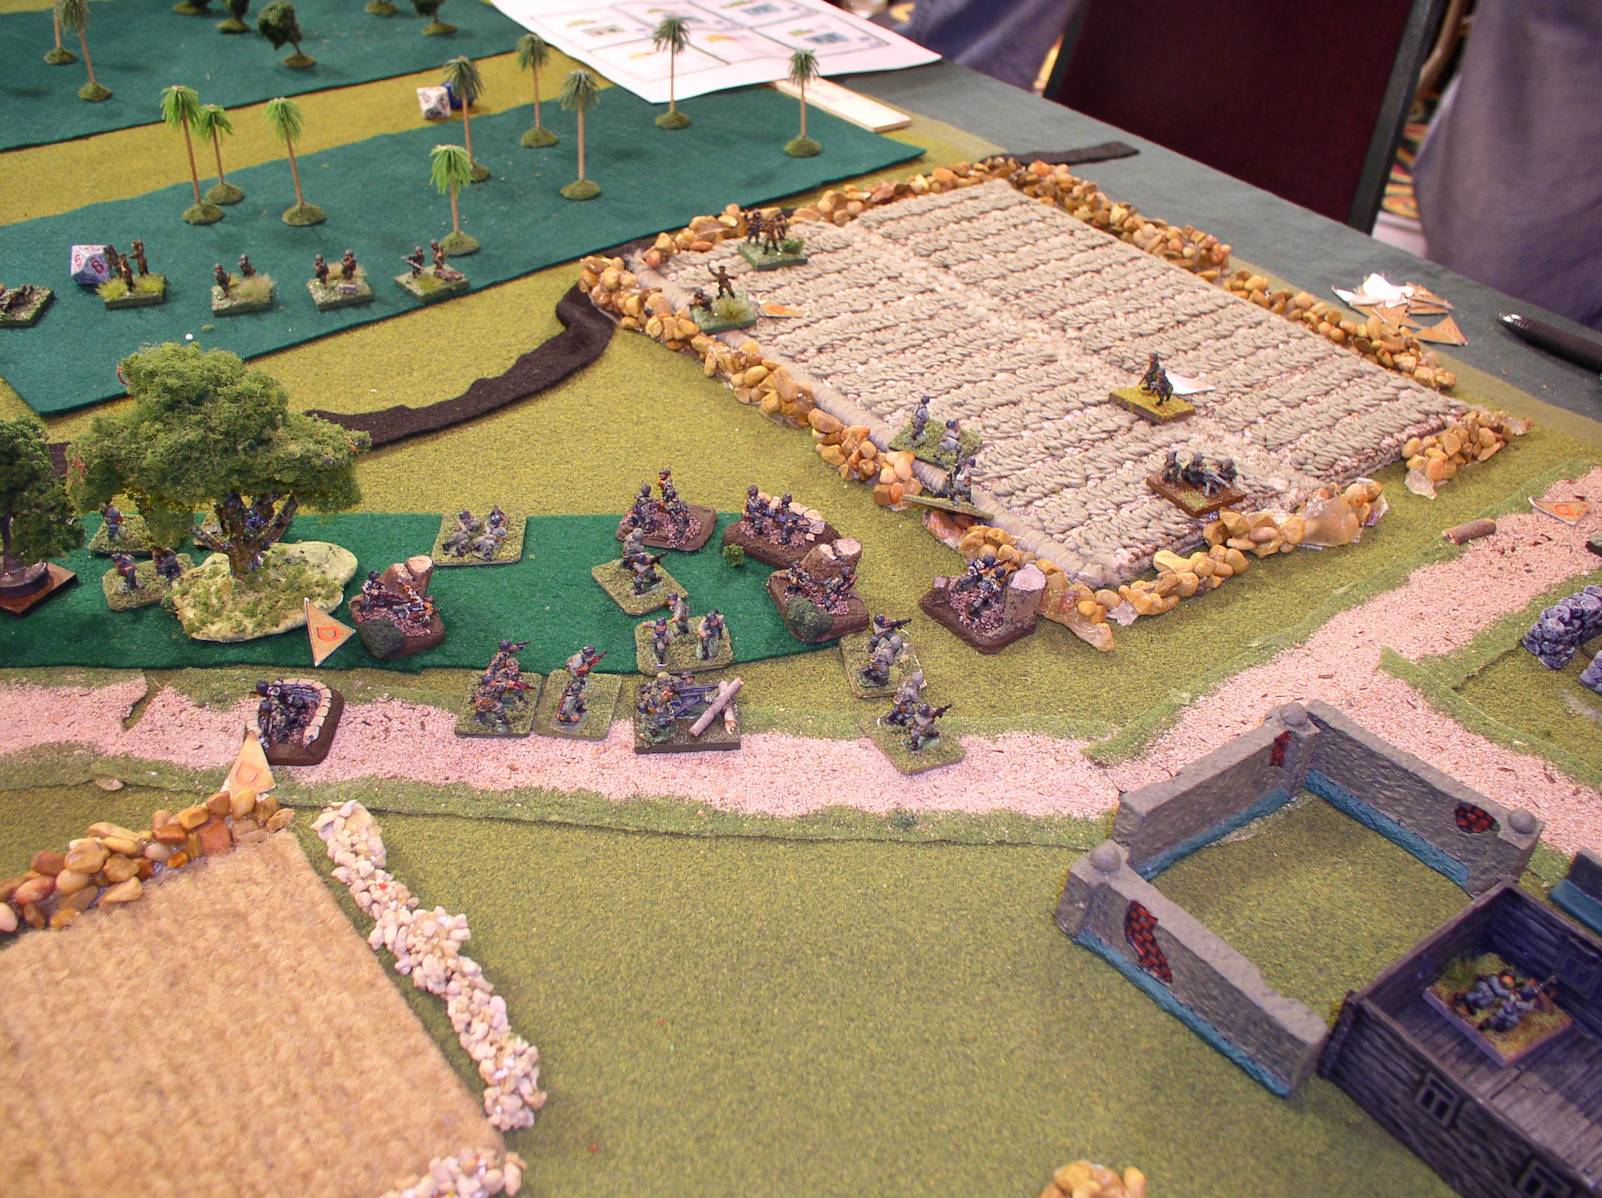
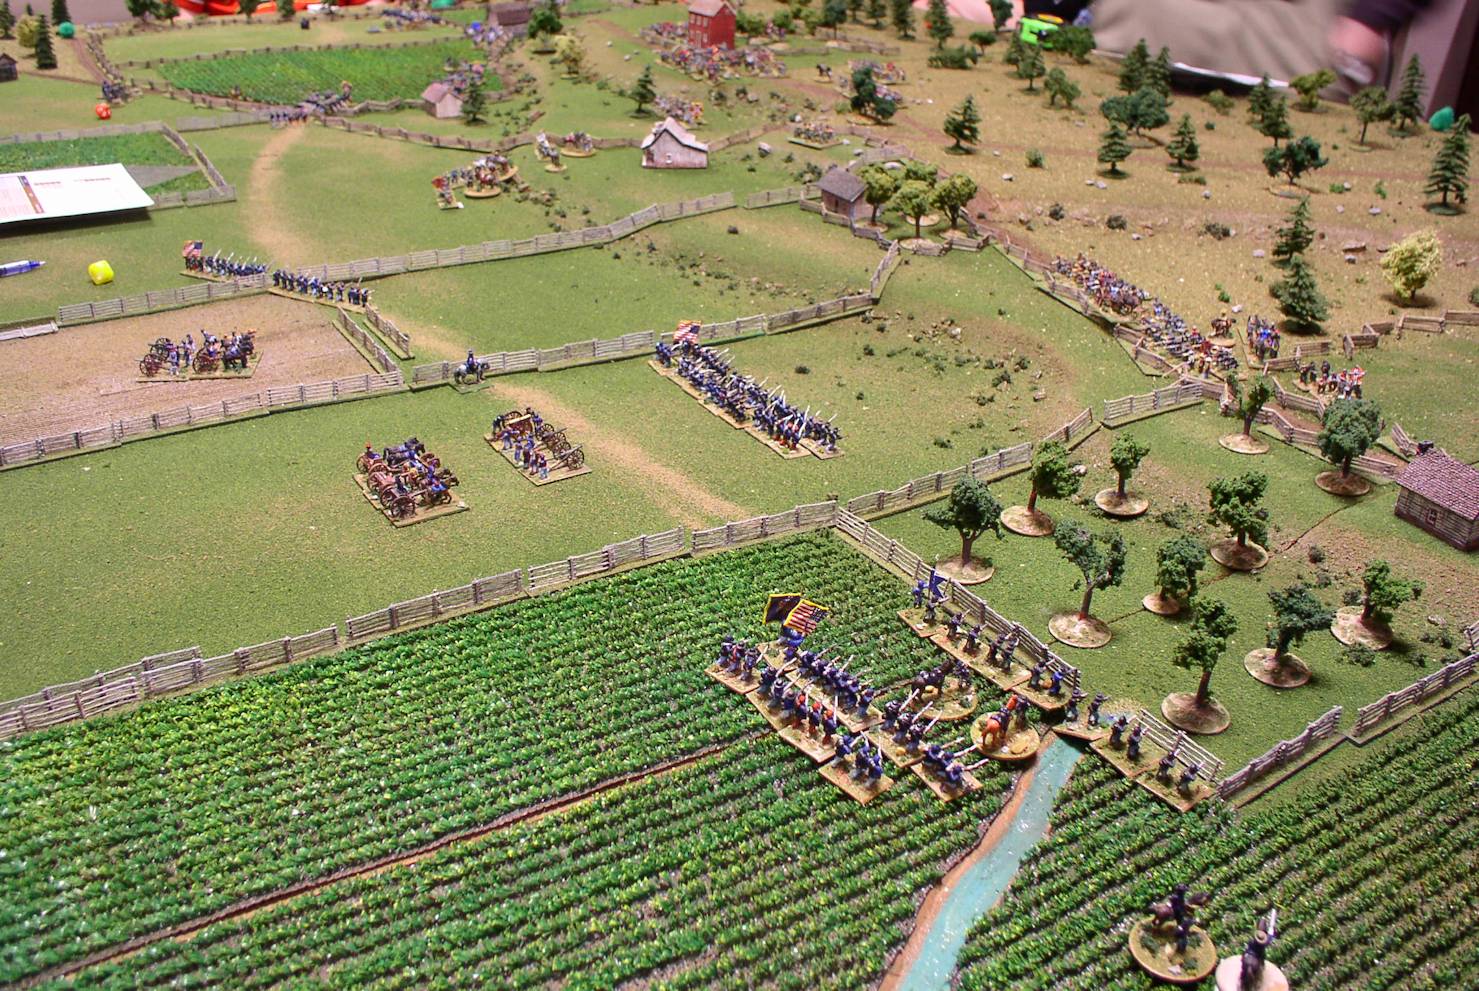
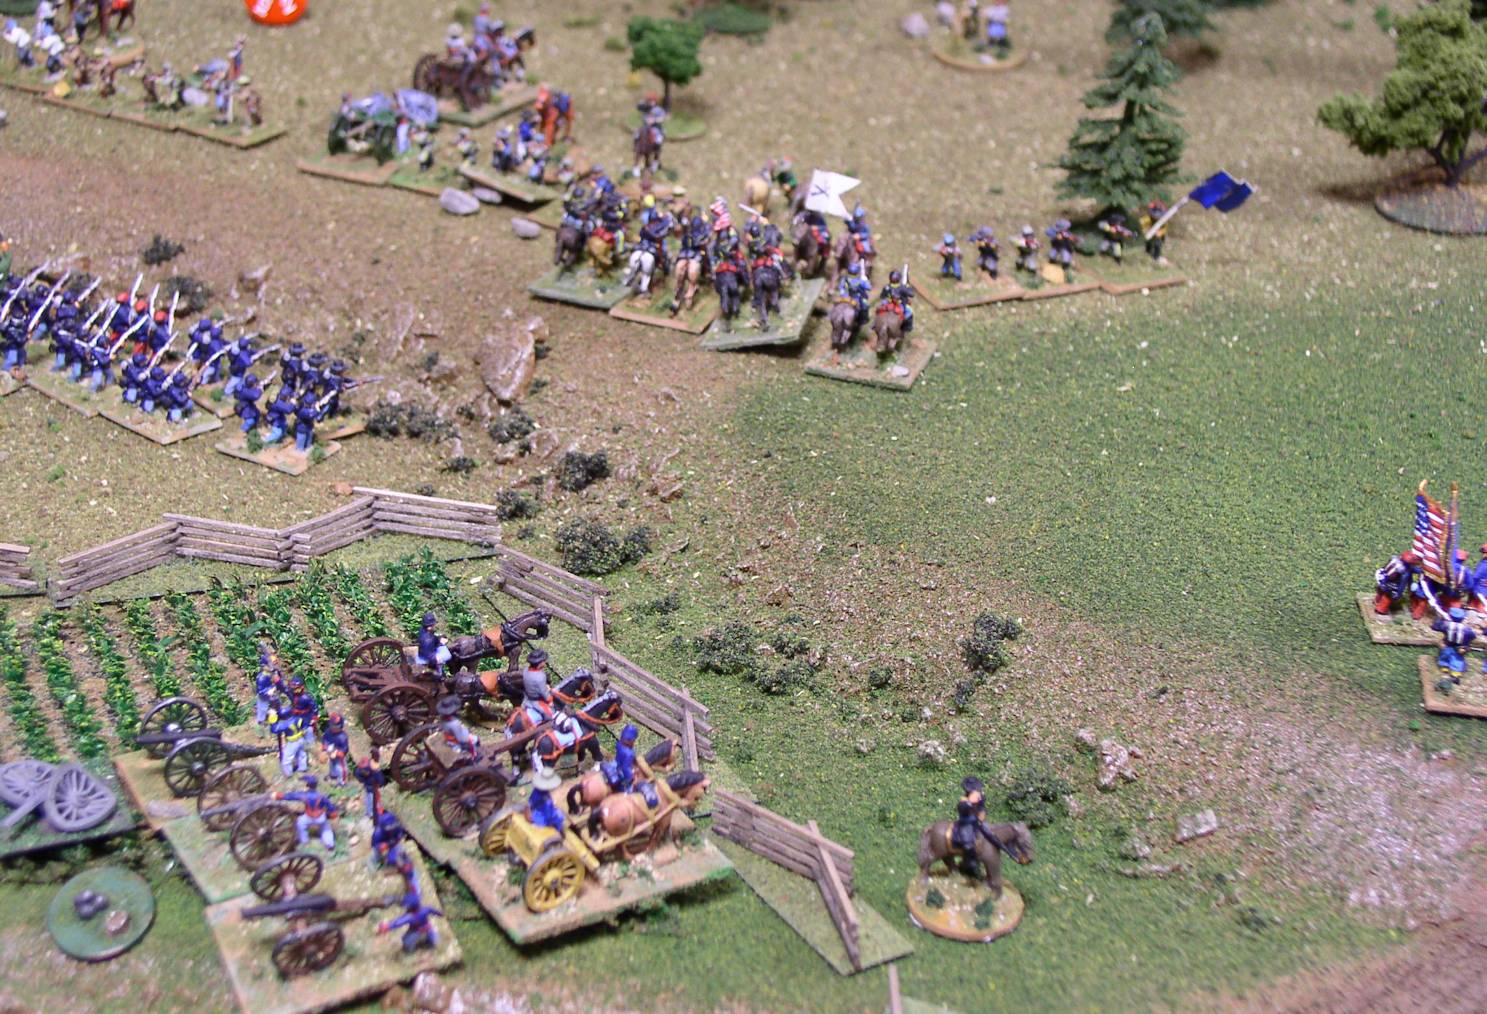
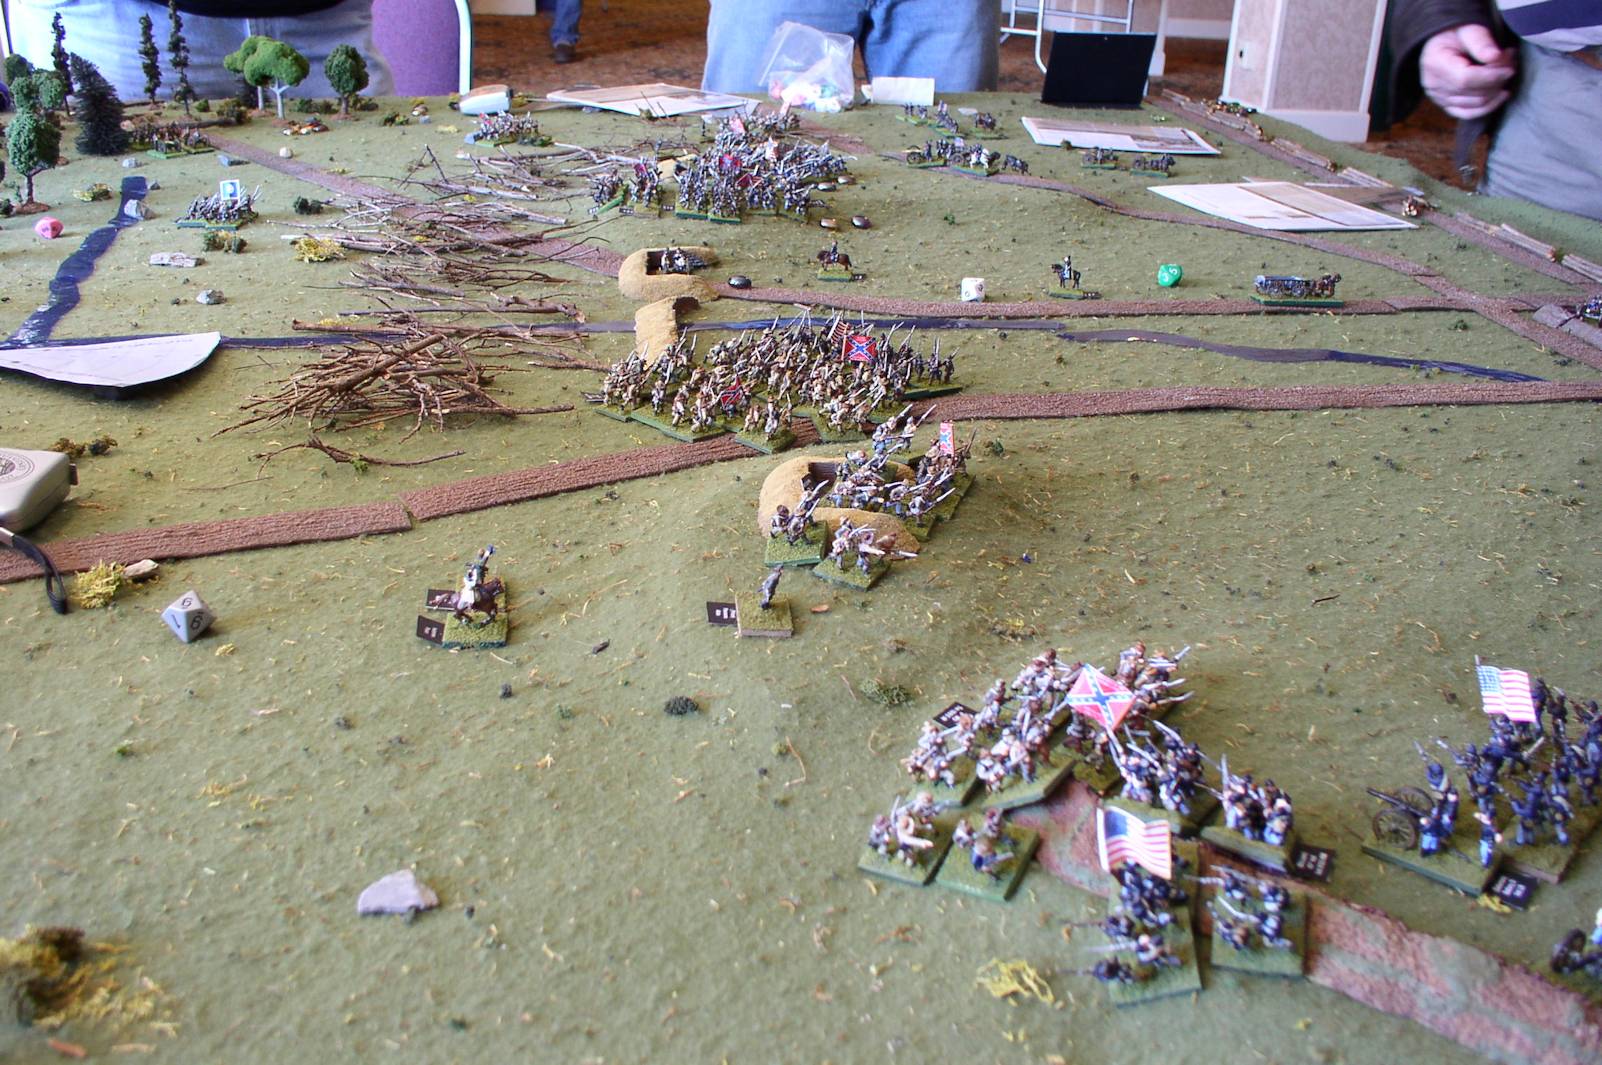
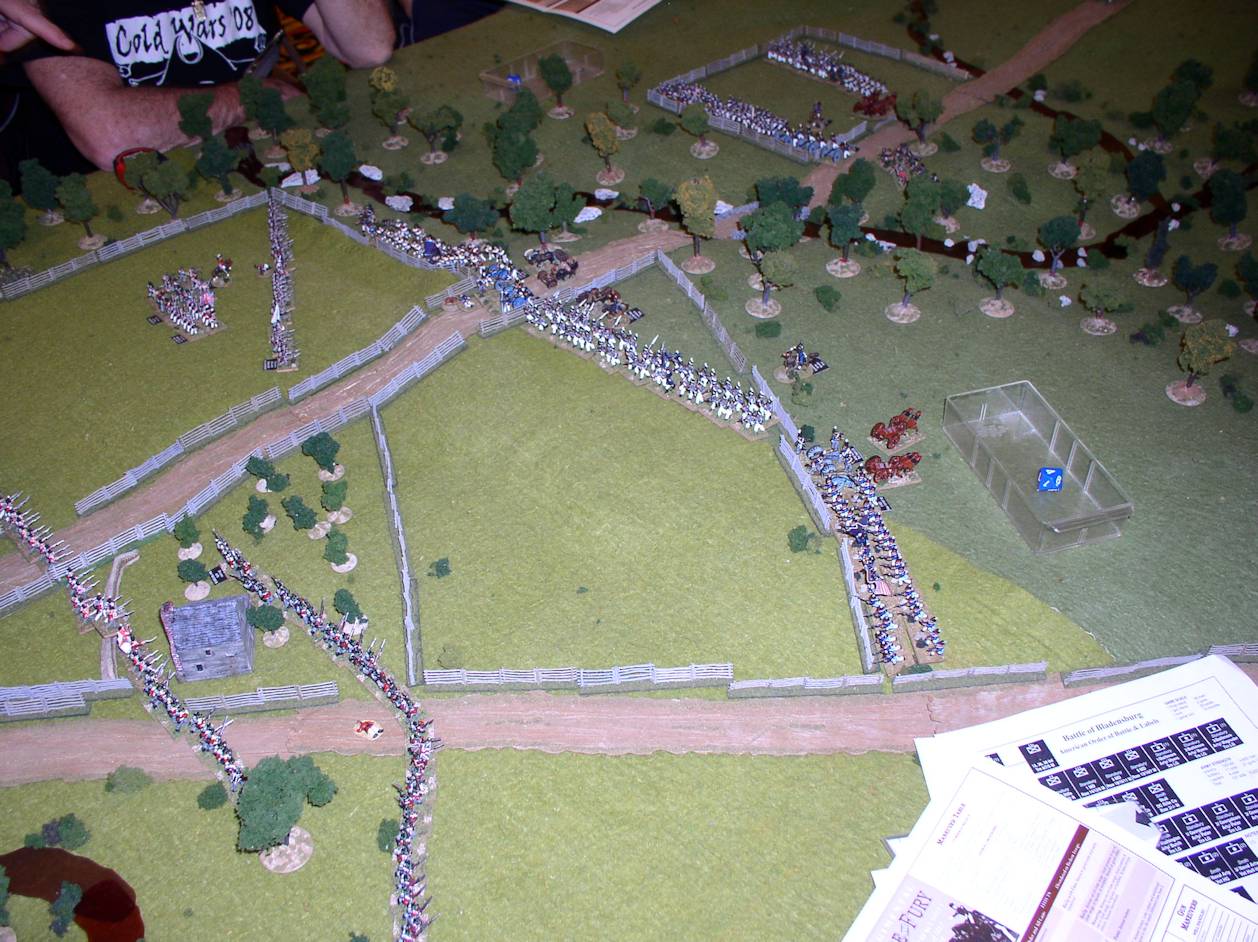
The Wheatfield
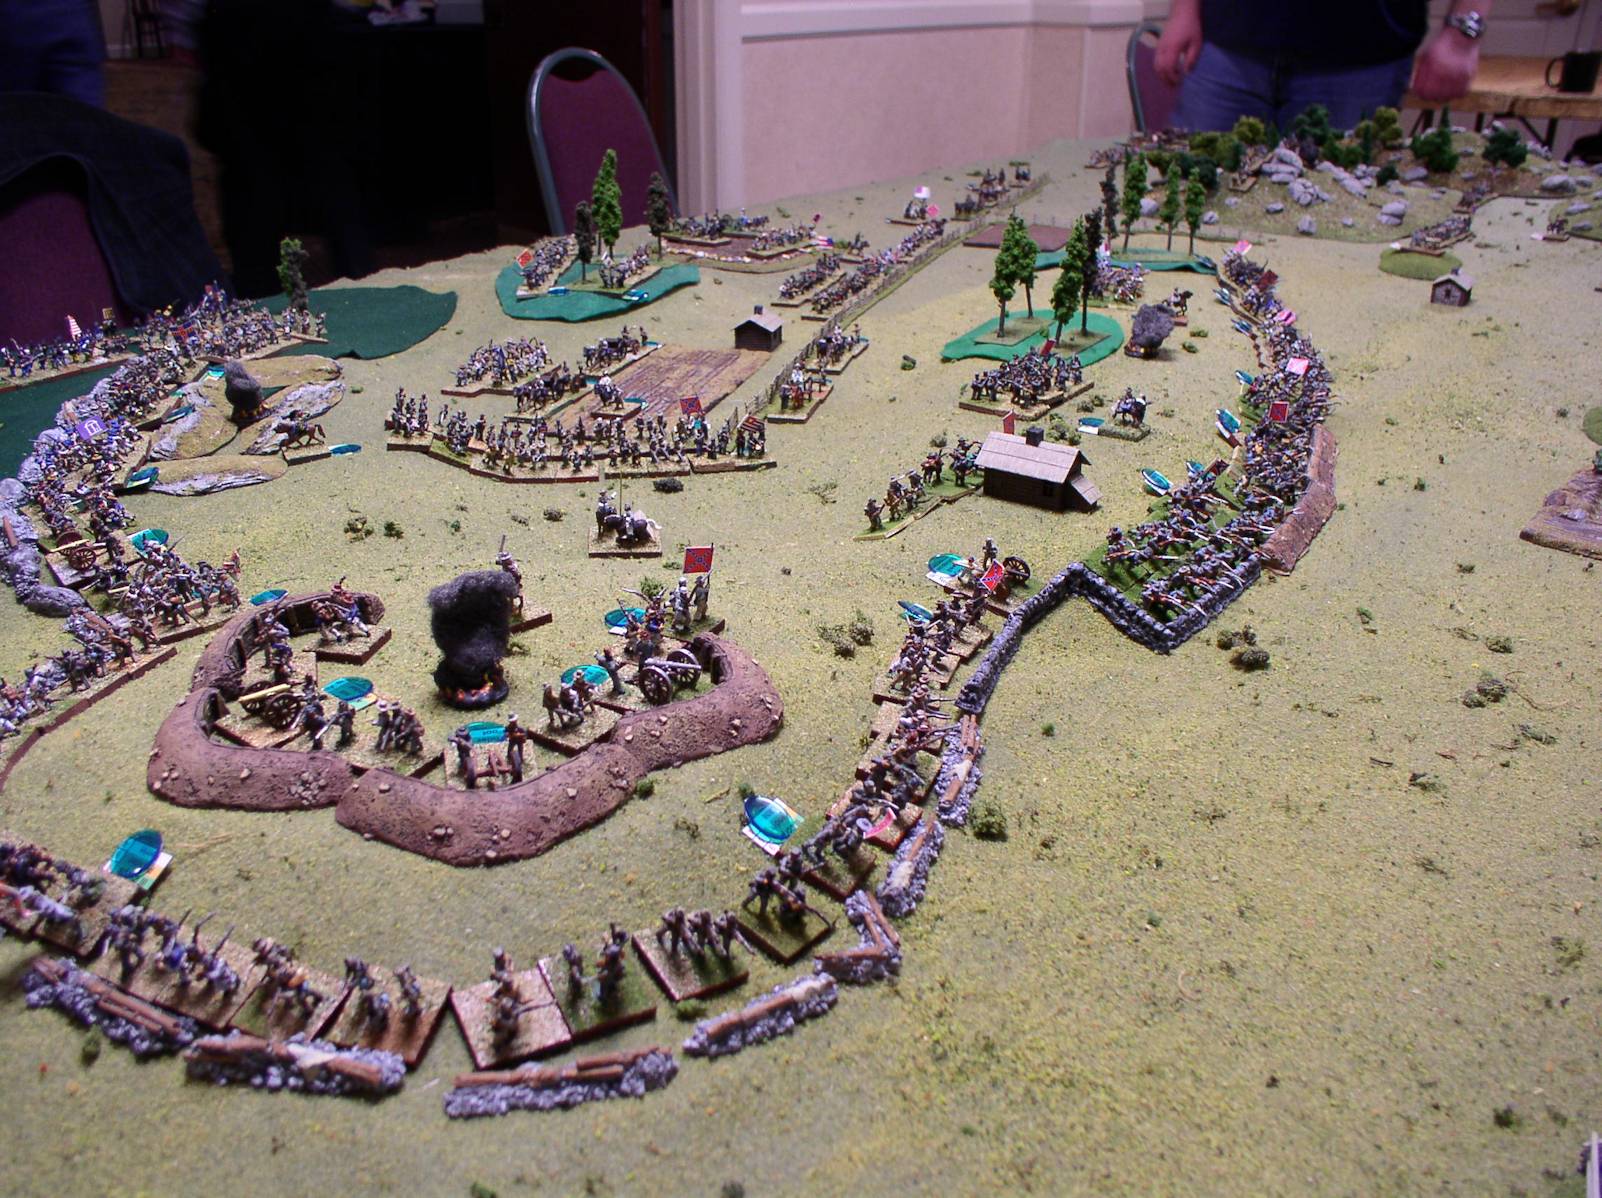
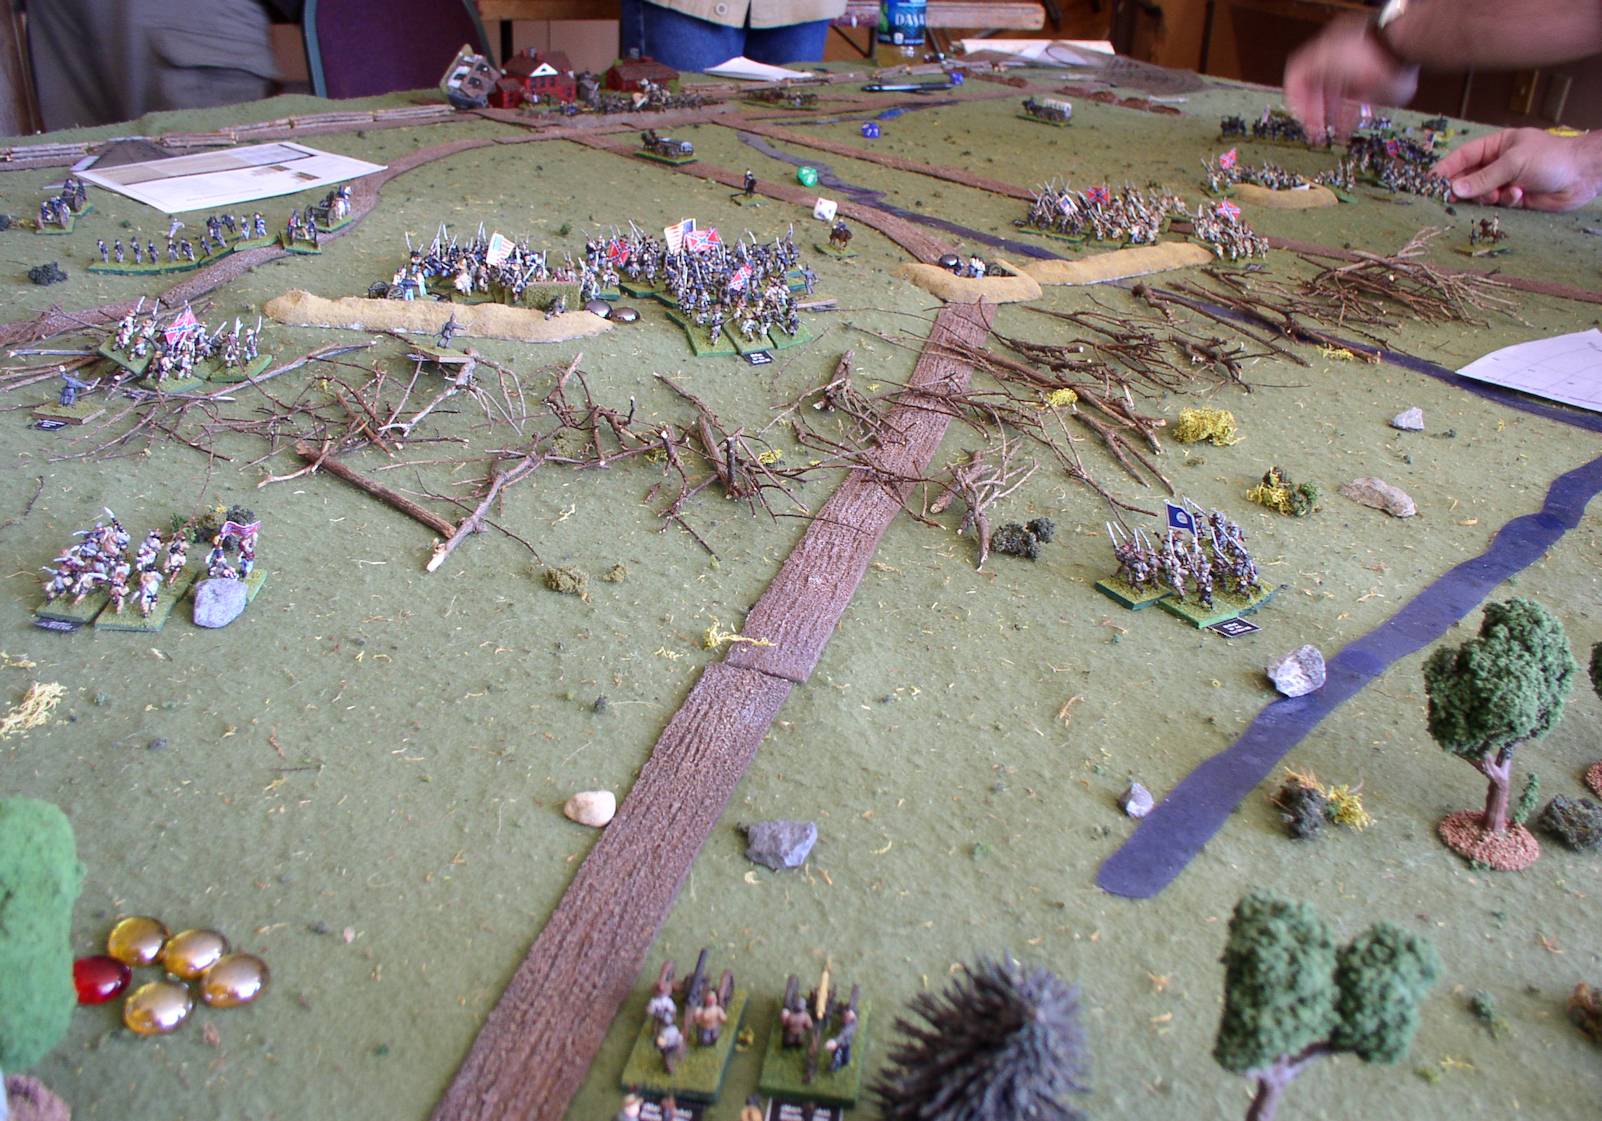
Cemetary Ridge
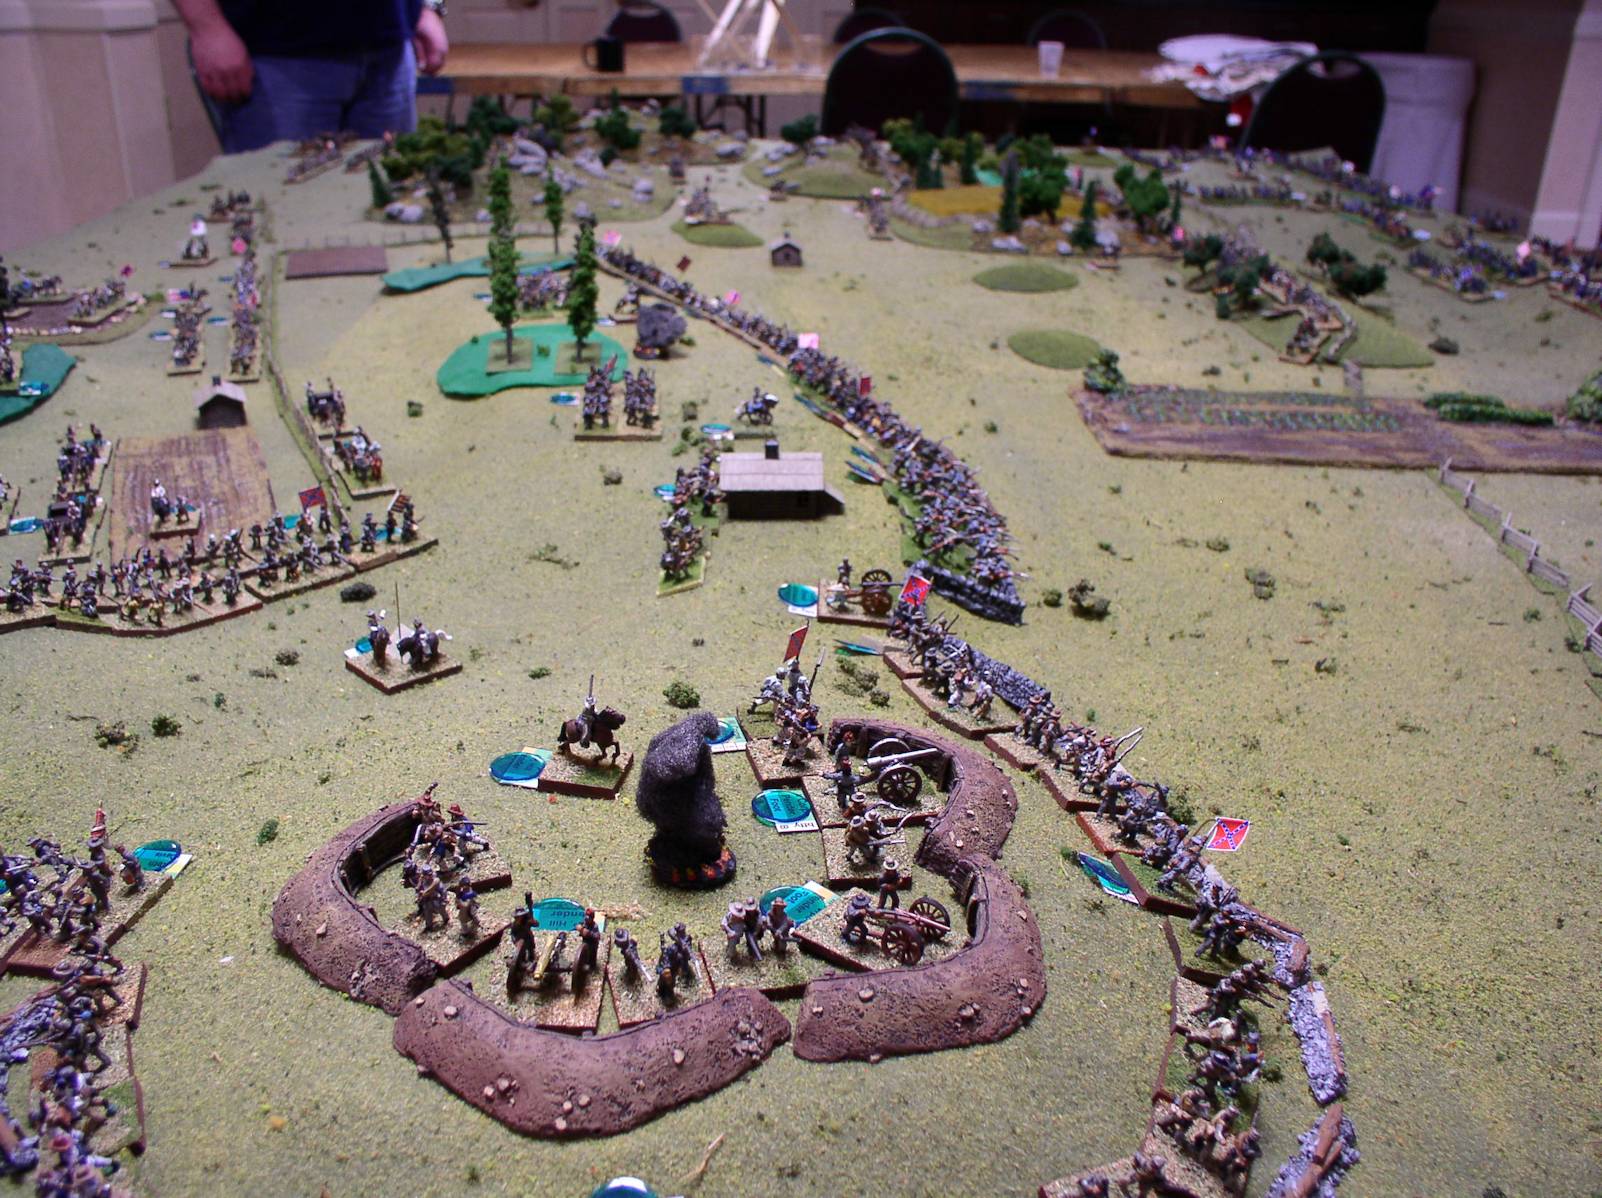
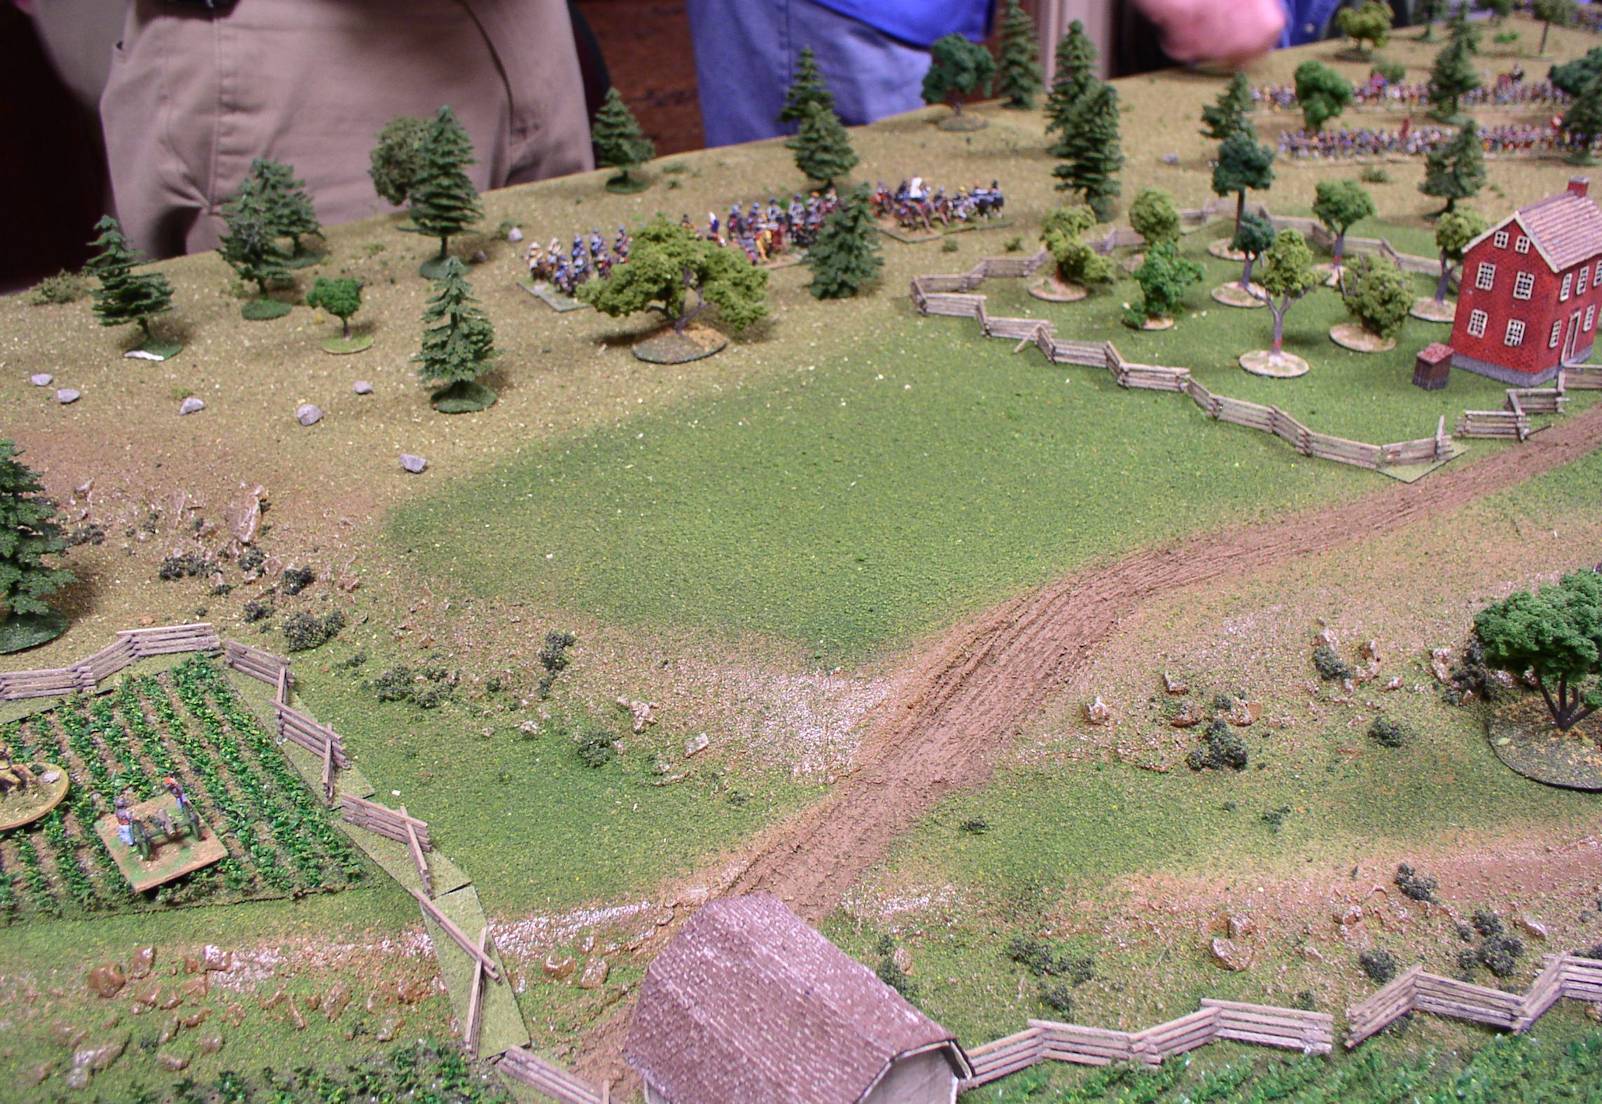
South along Cemetary Ridge
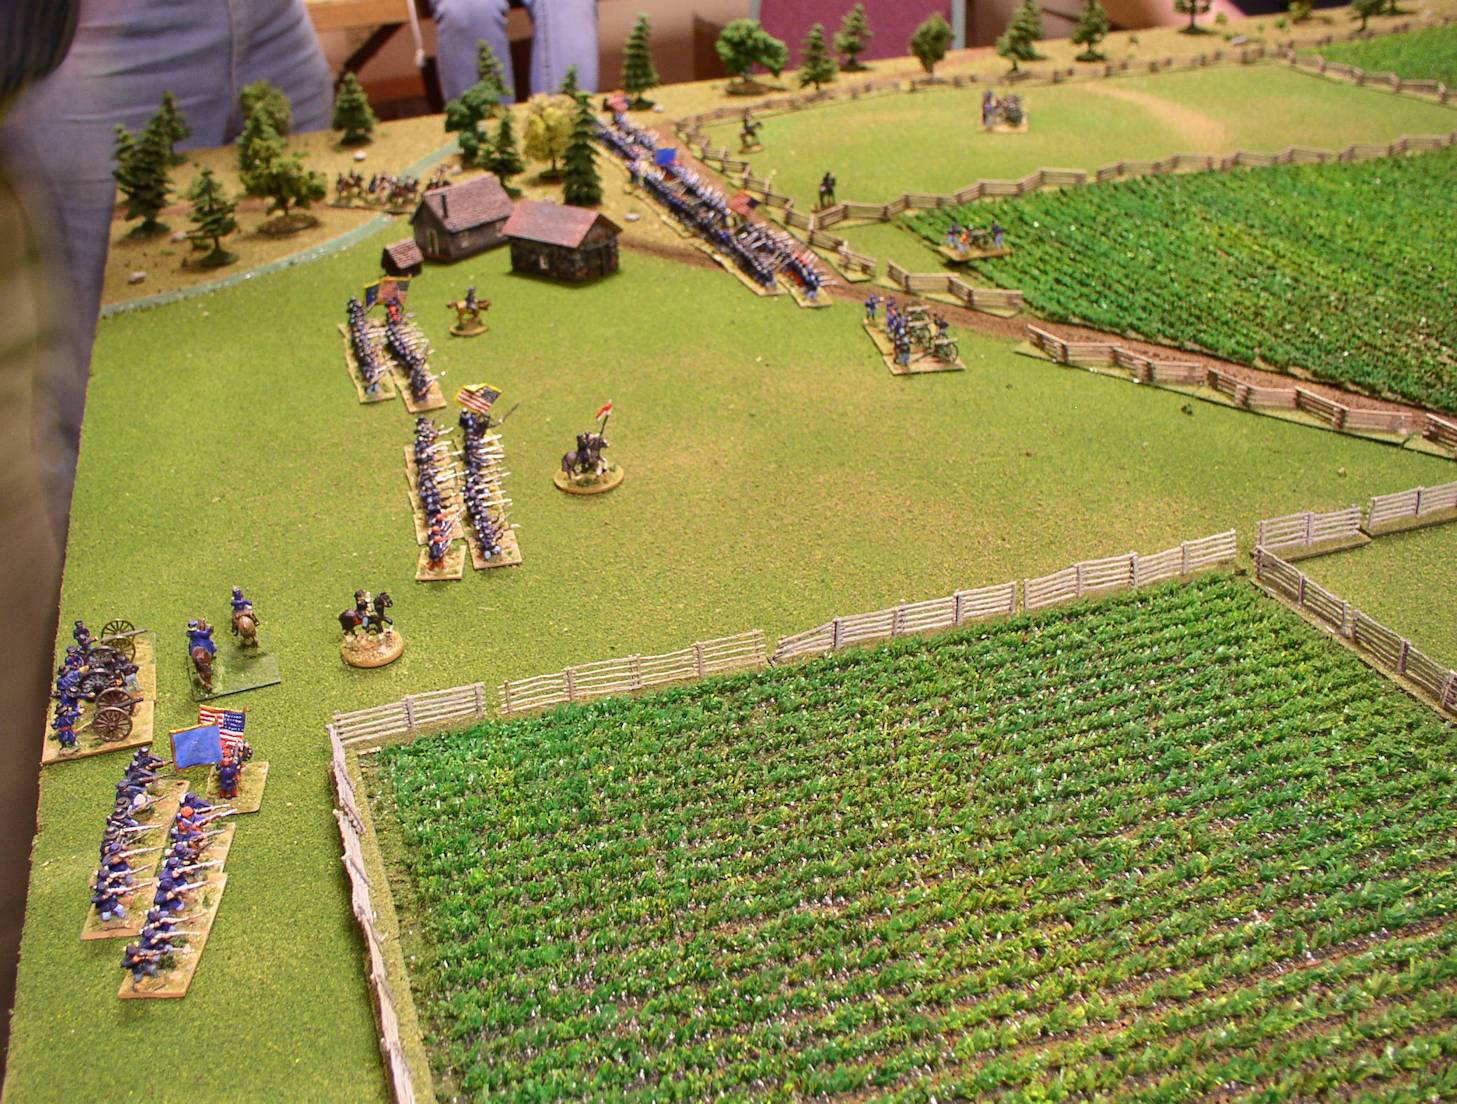
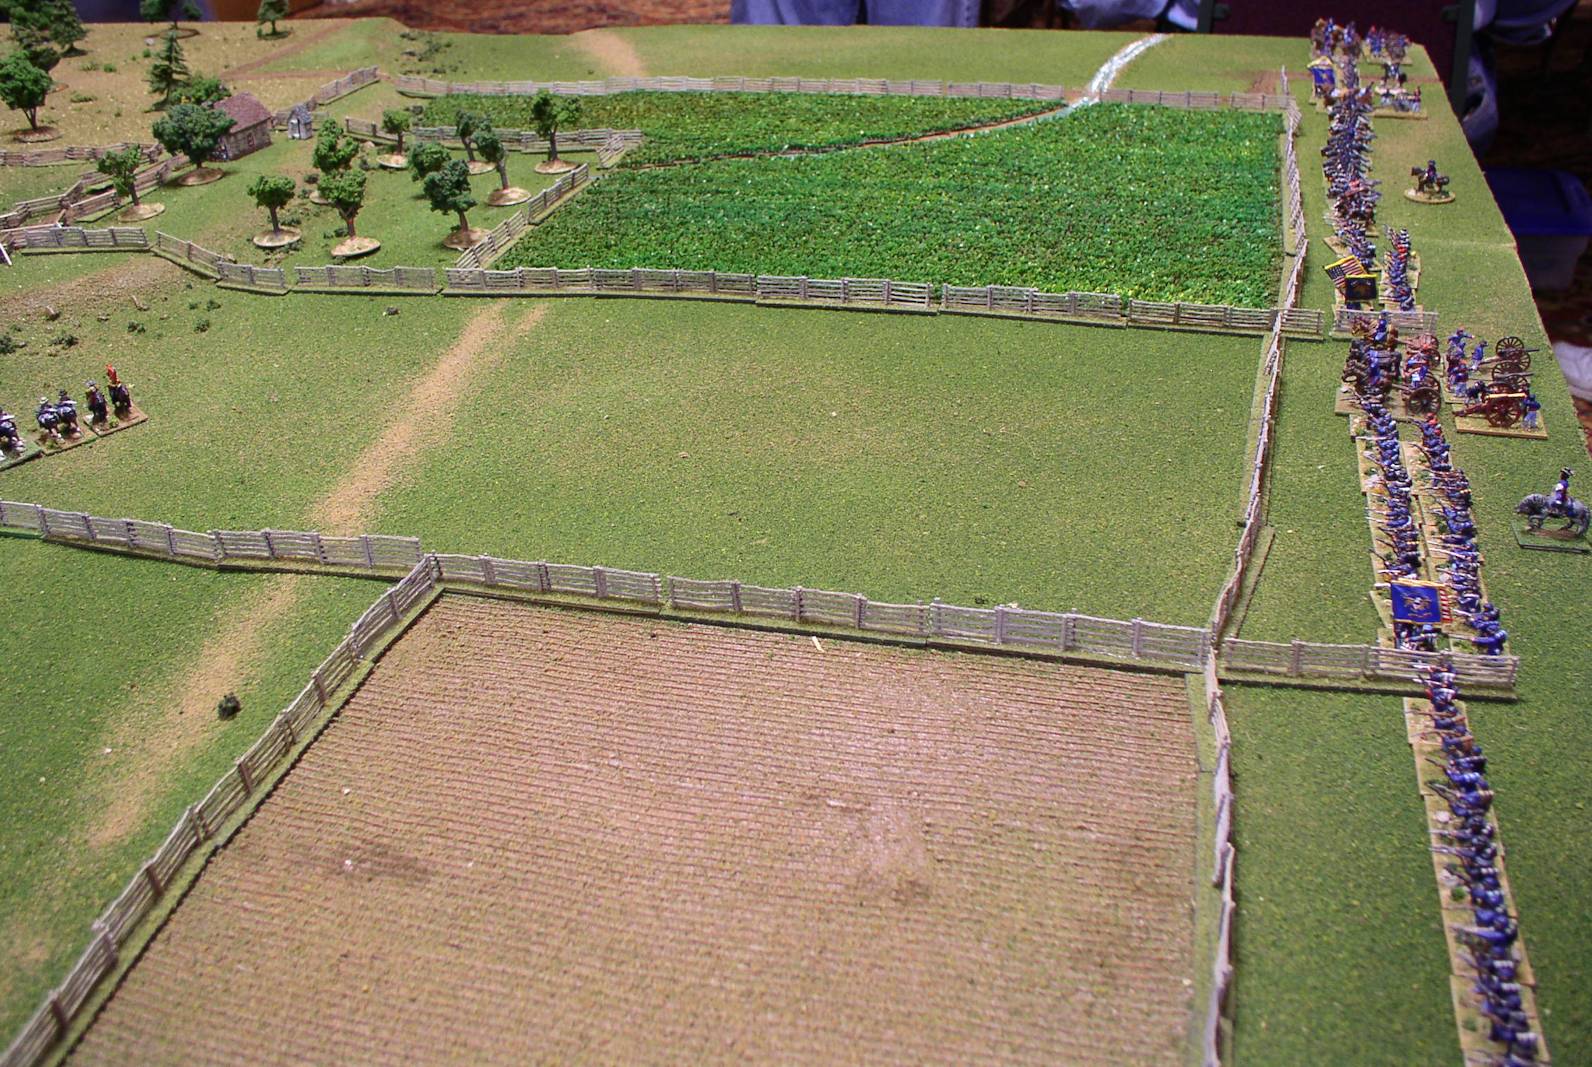
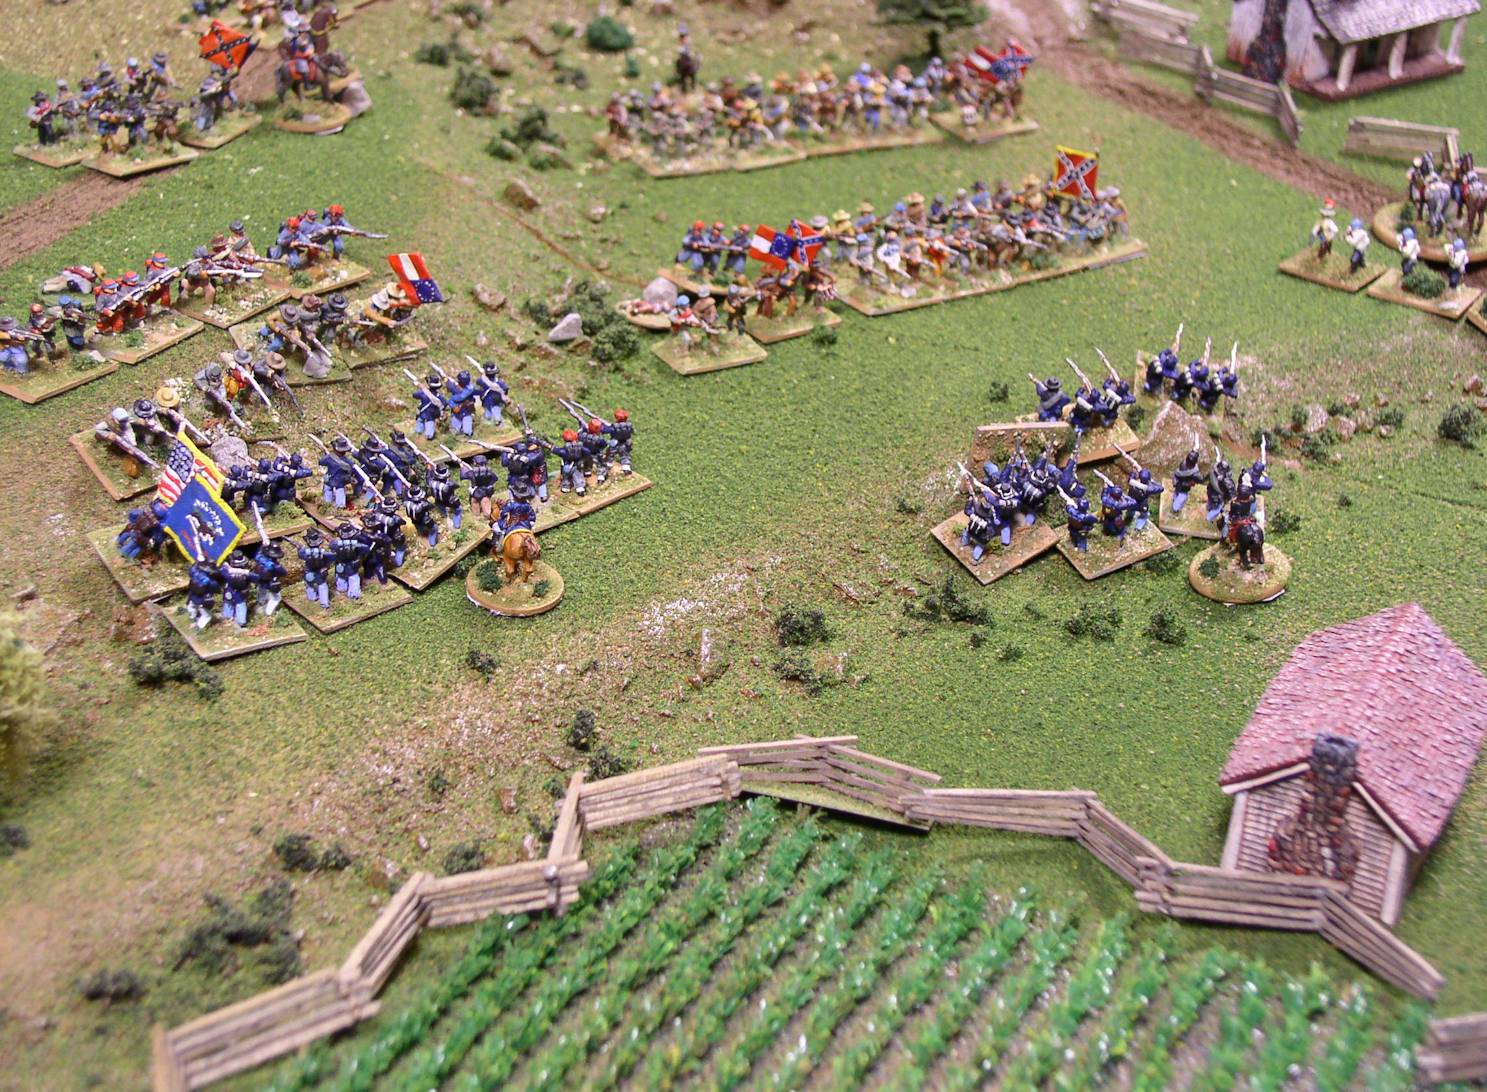
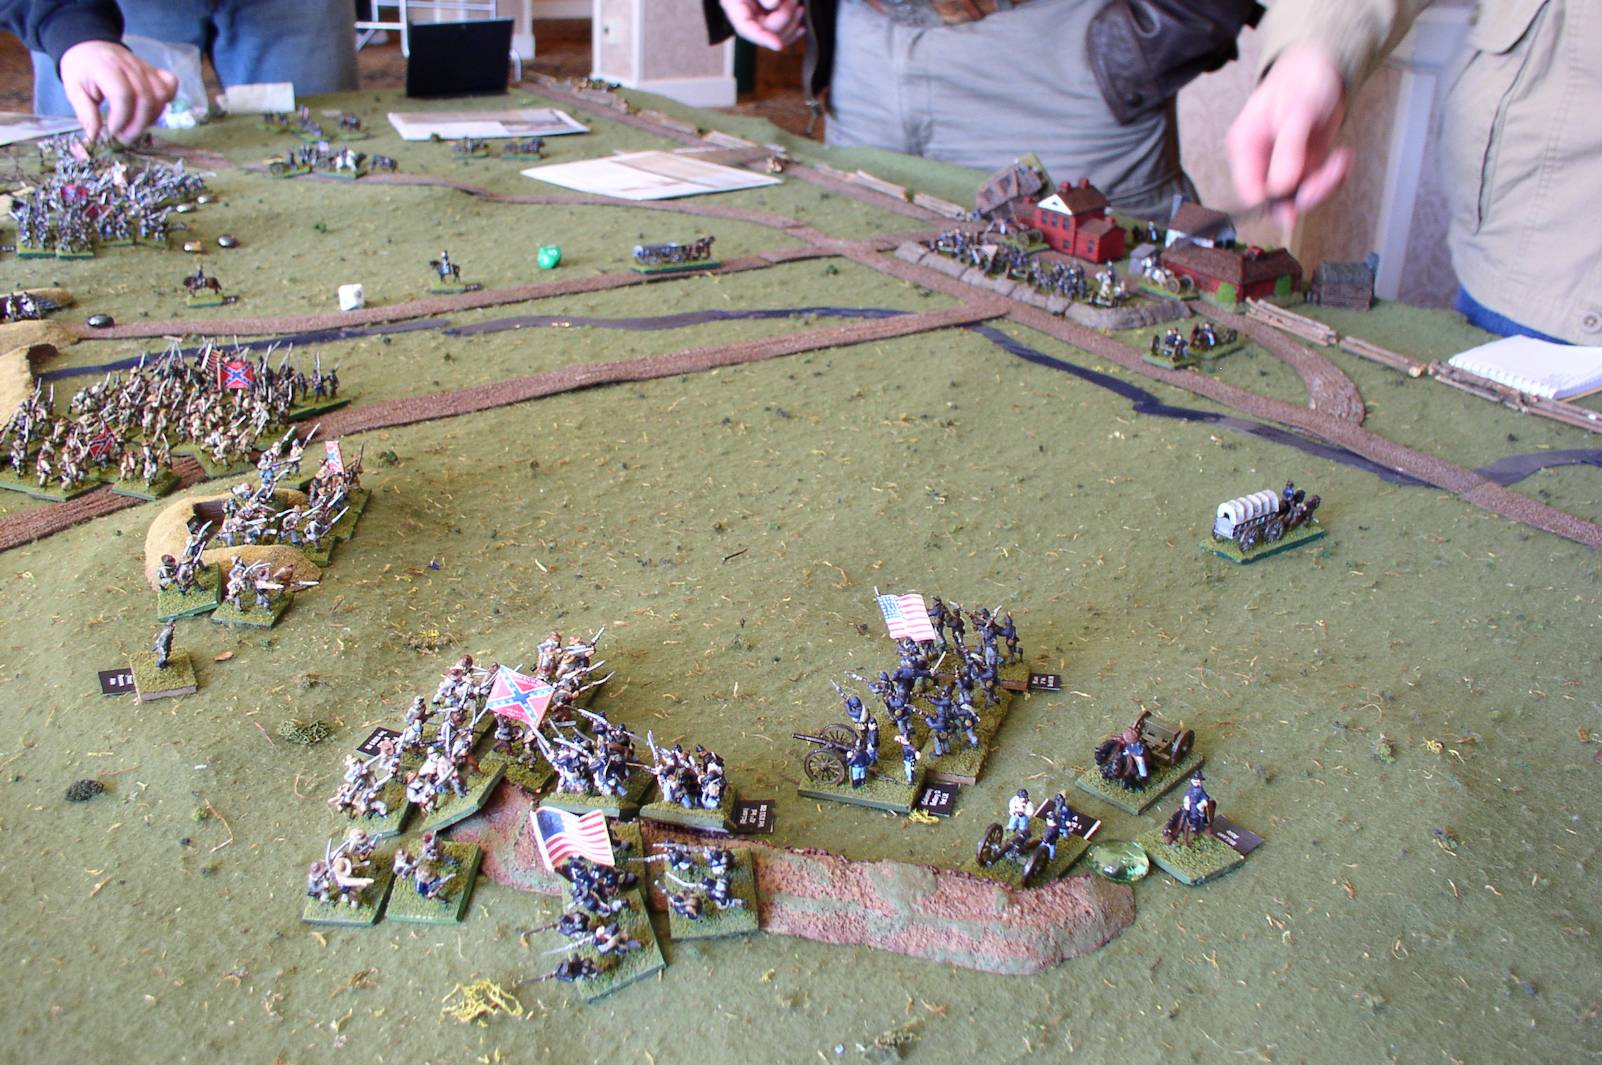
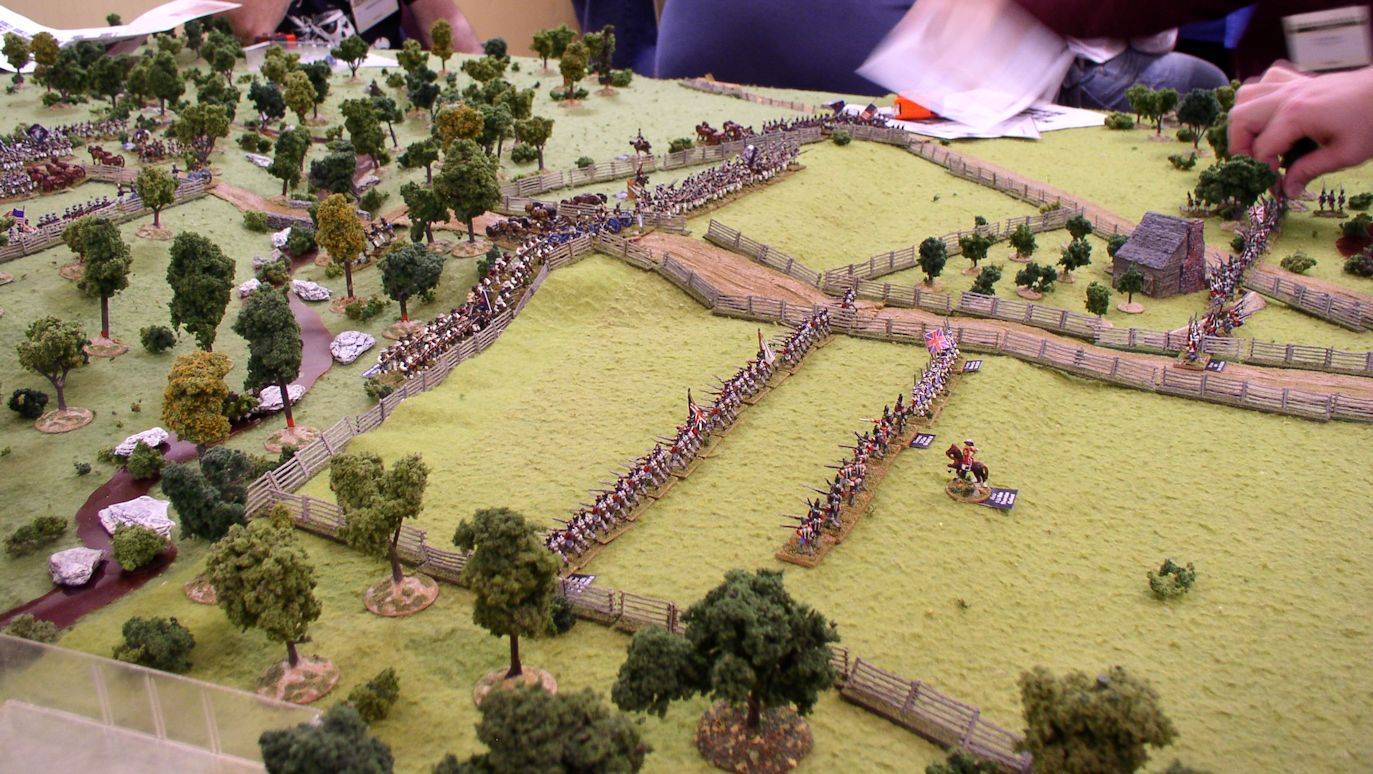
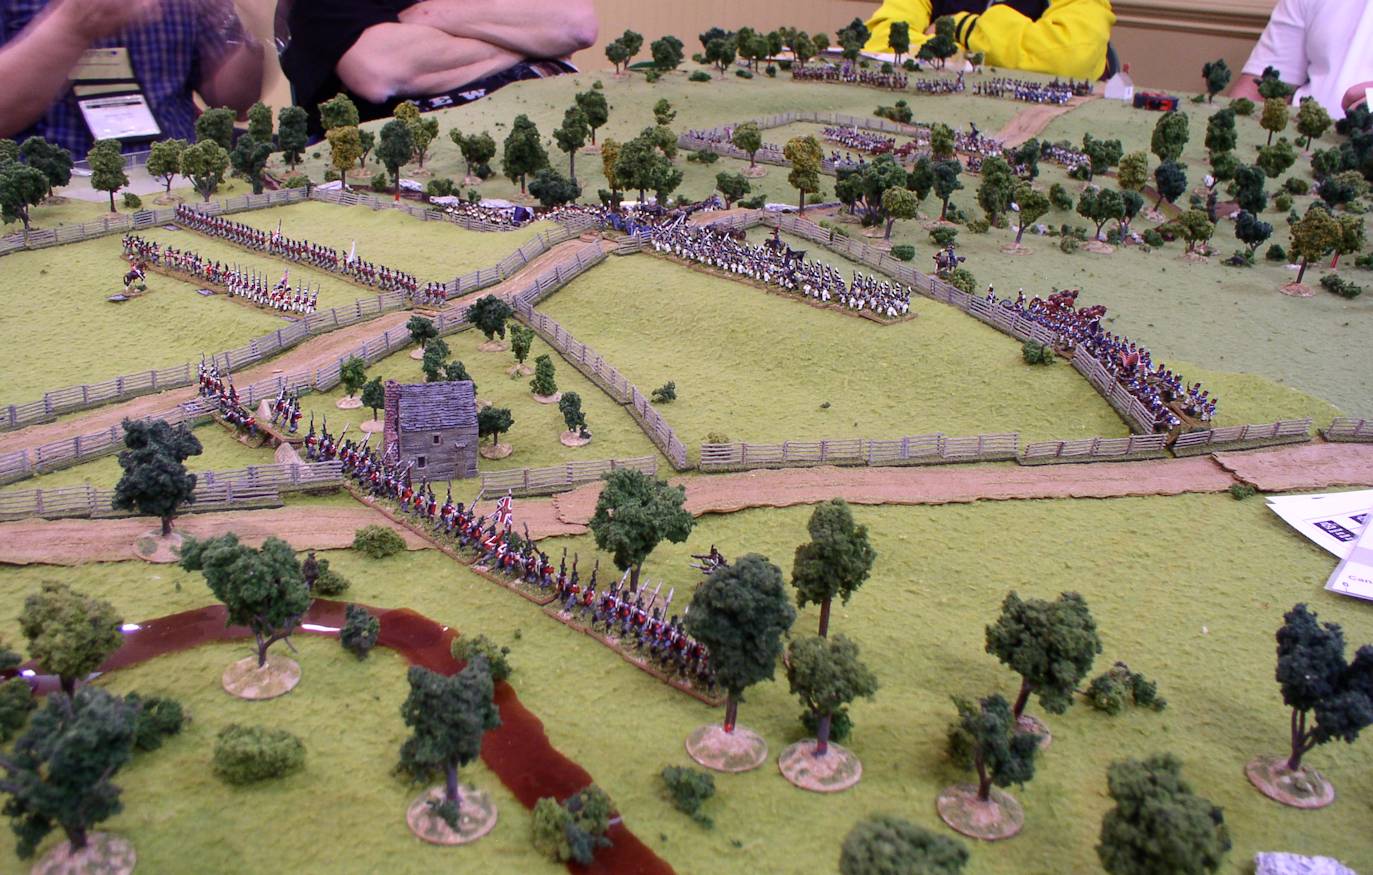
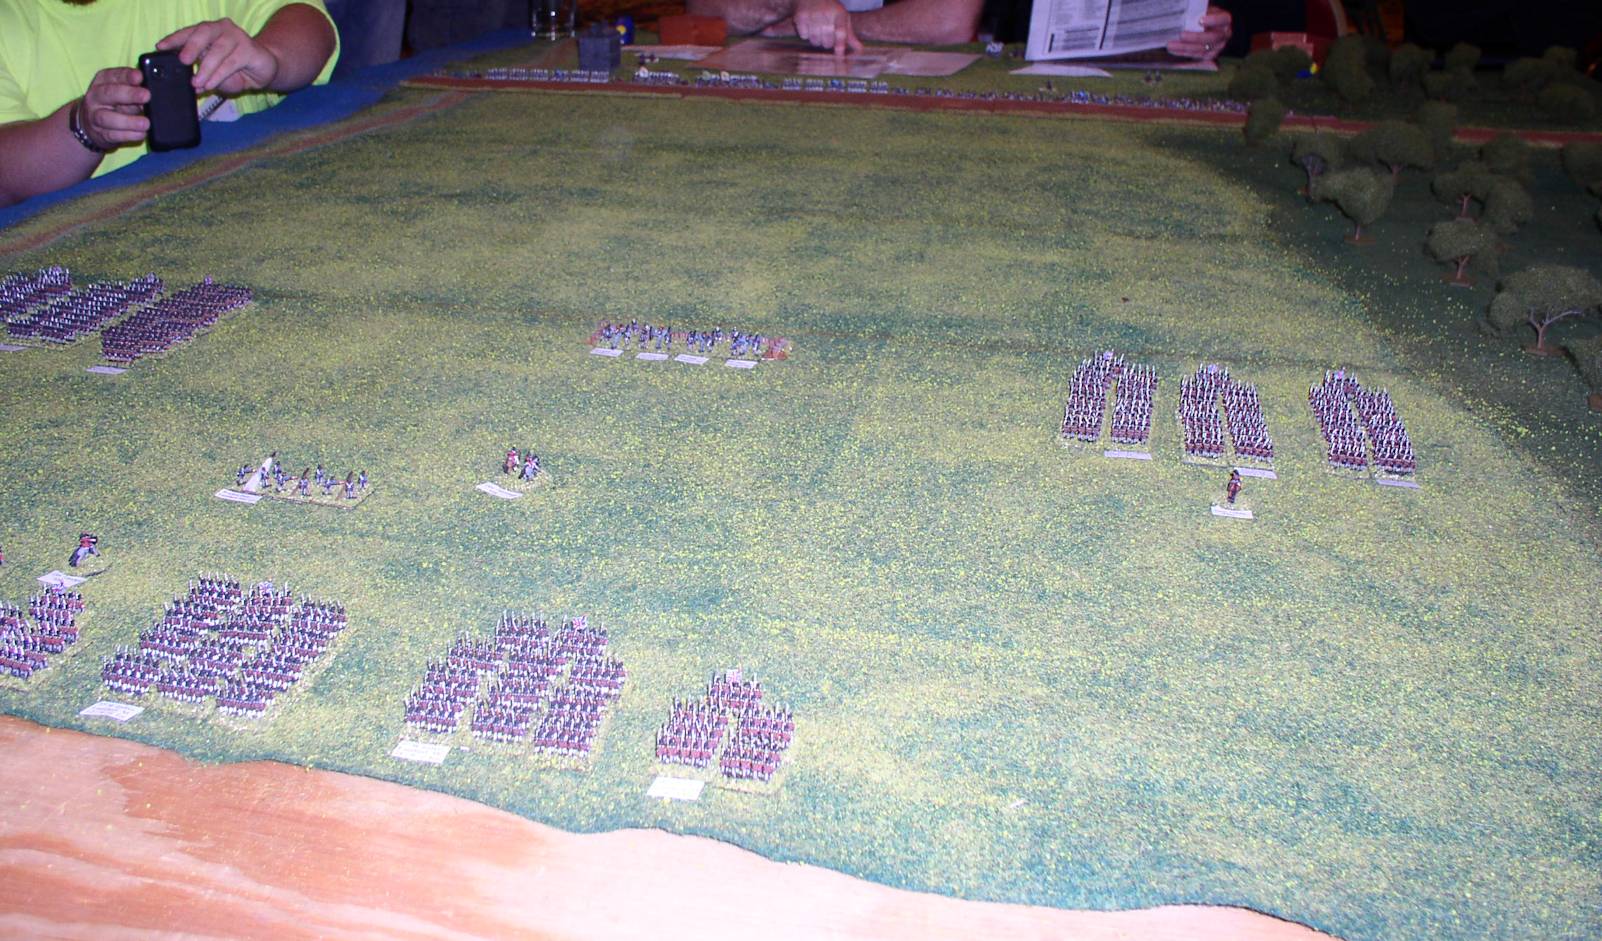
The Union Lines
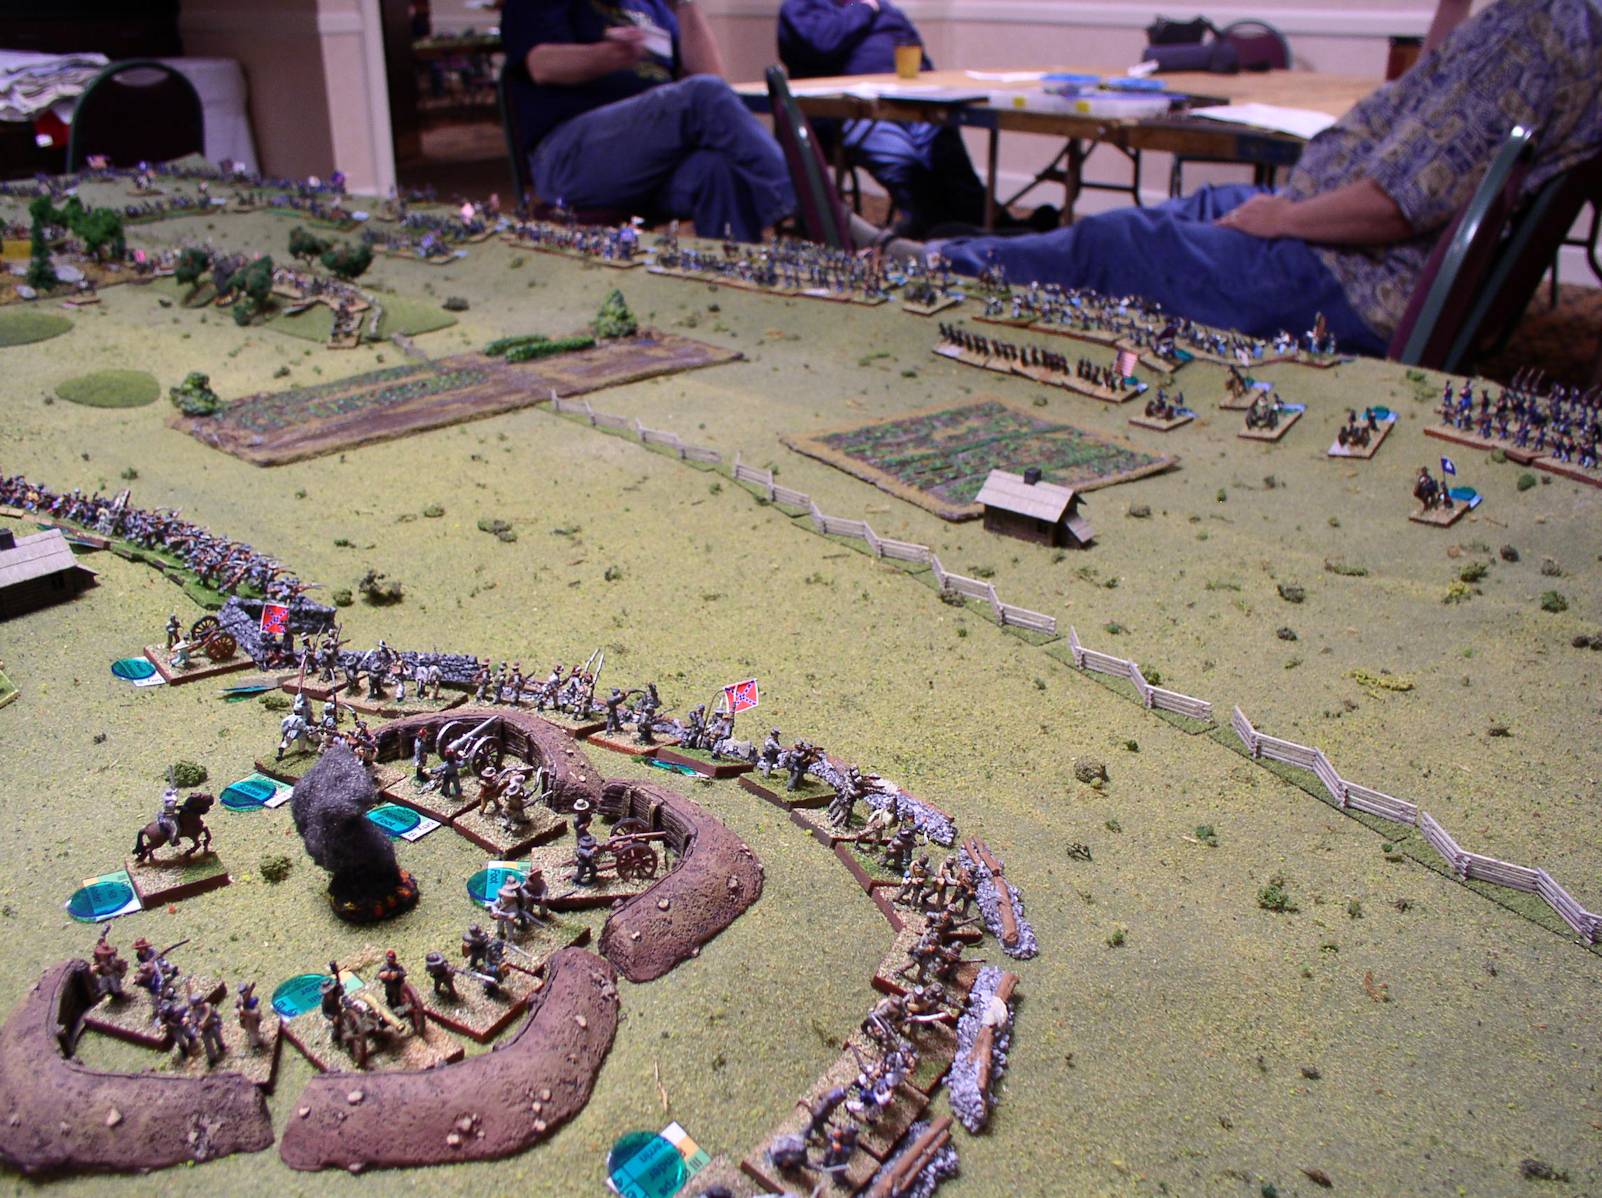
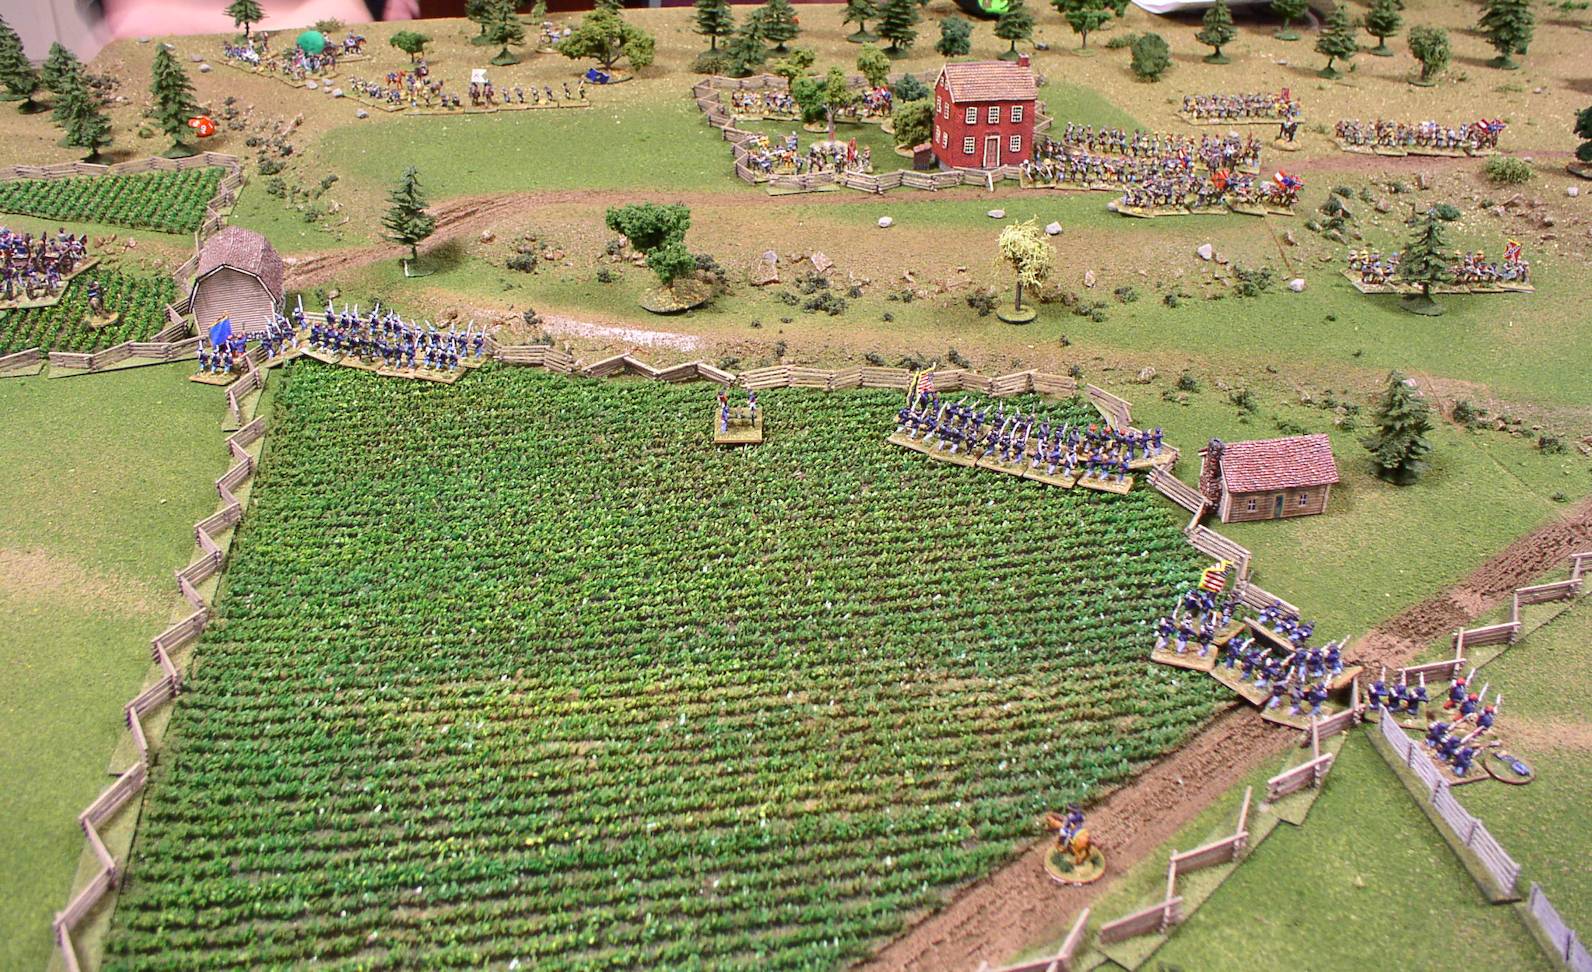
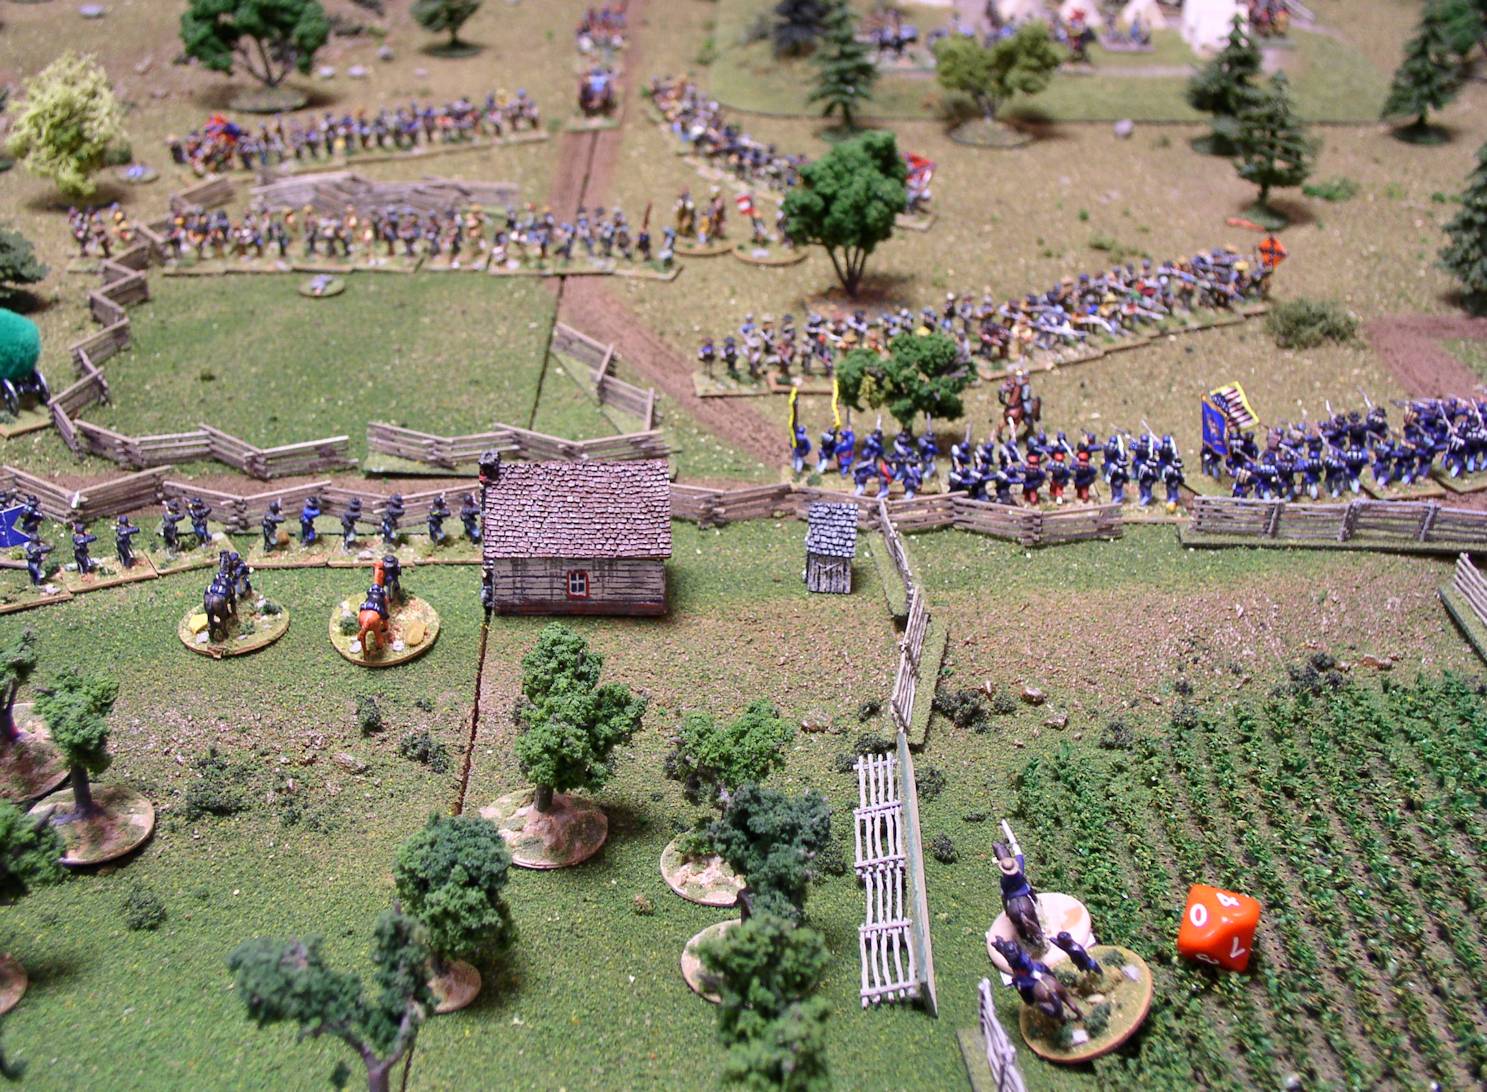
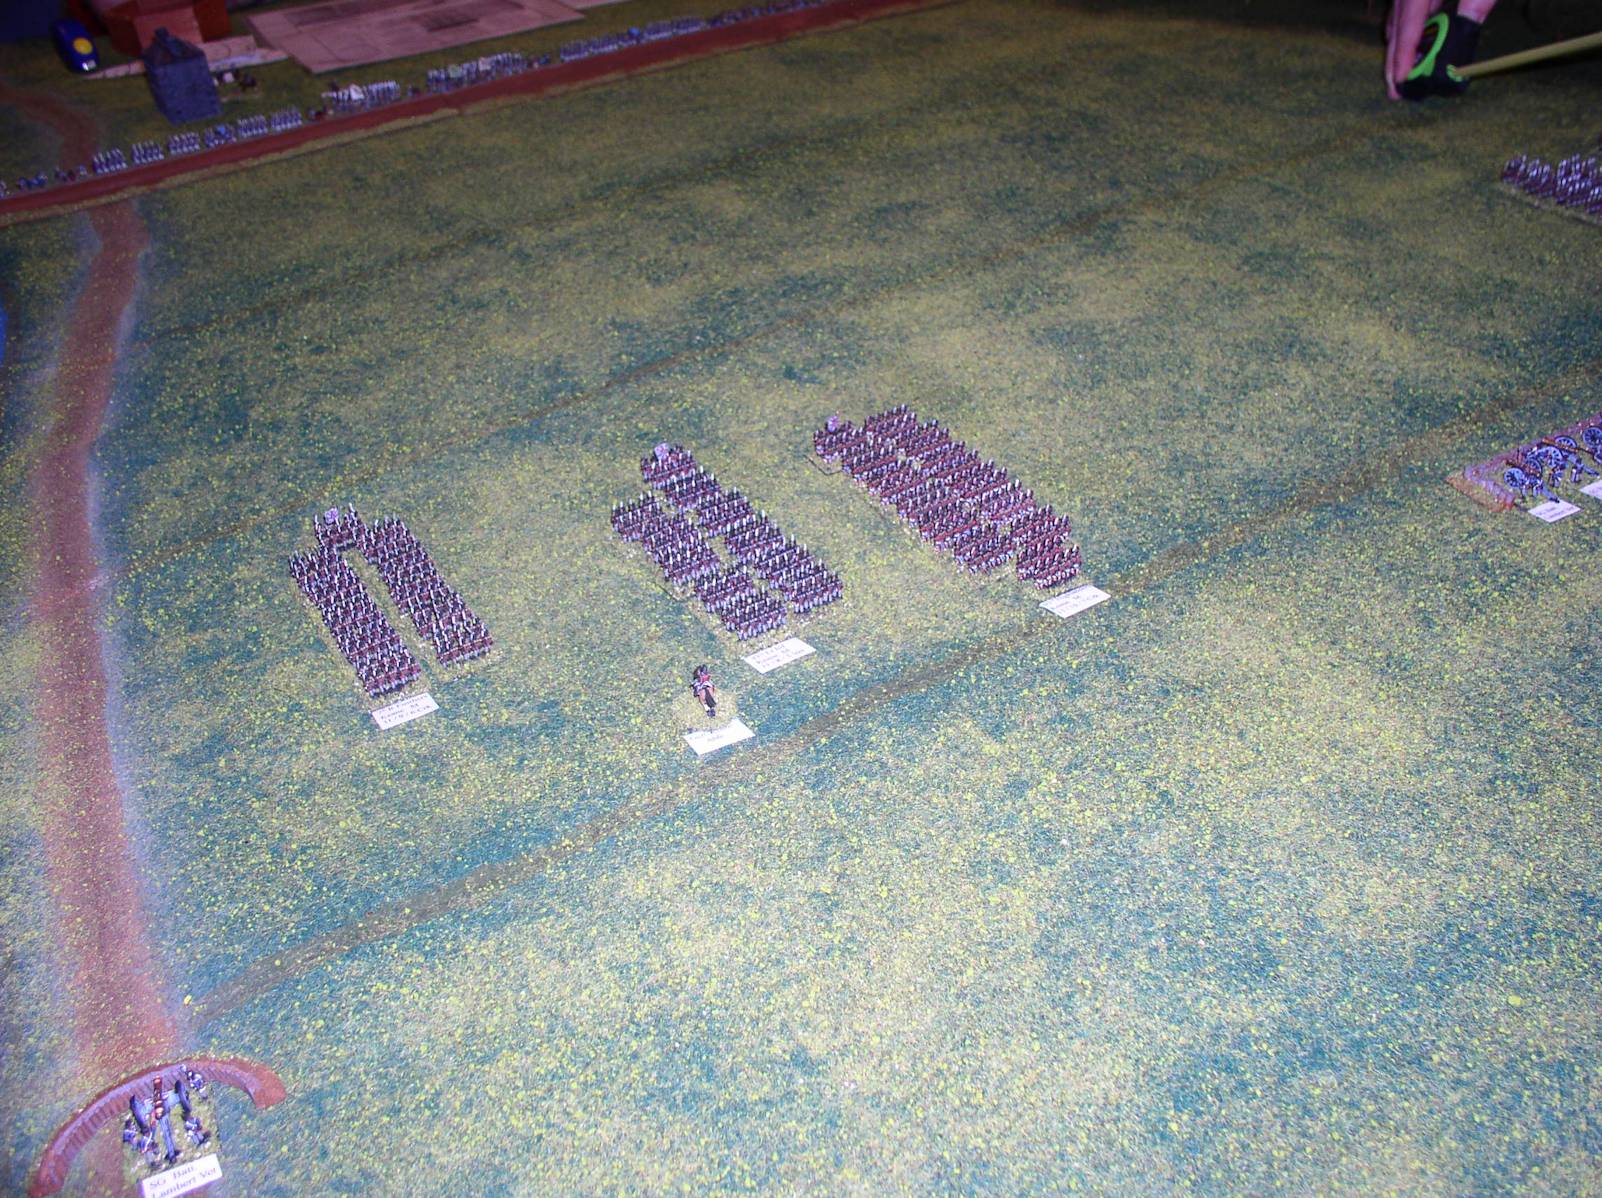
The Union Lines from the center
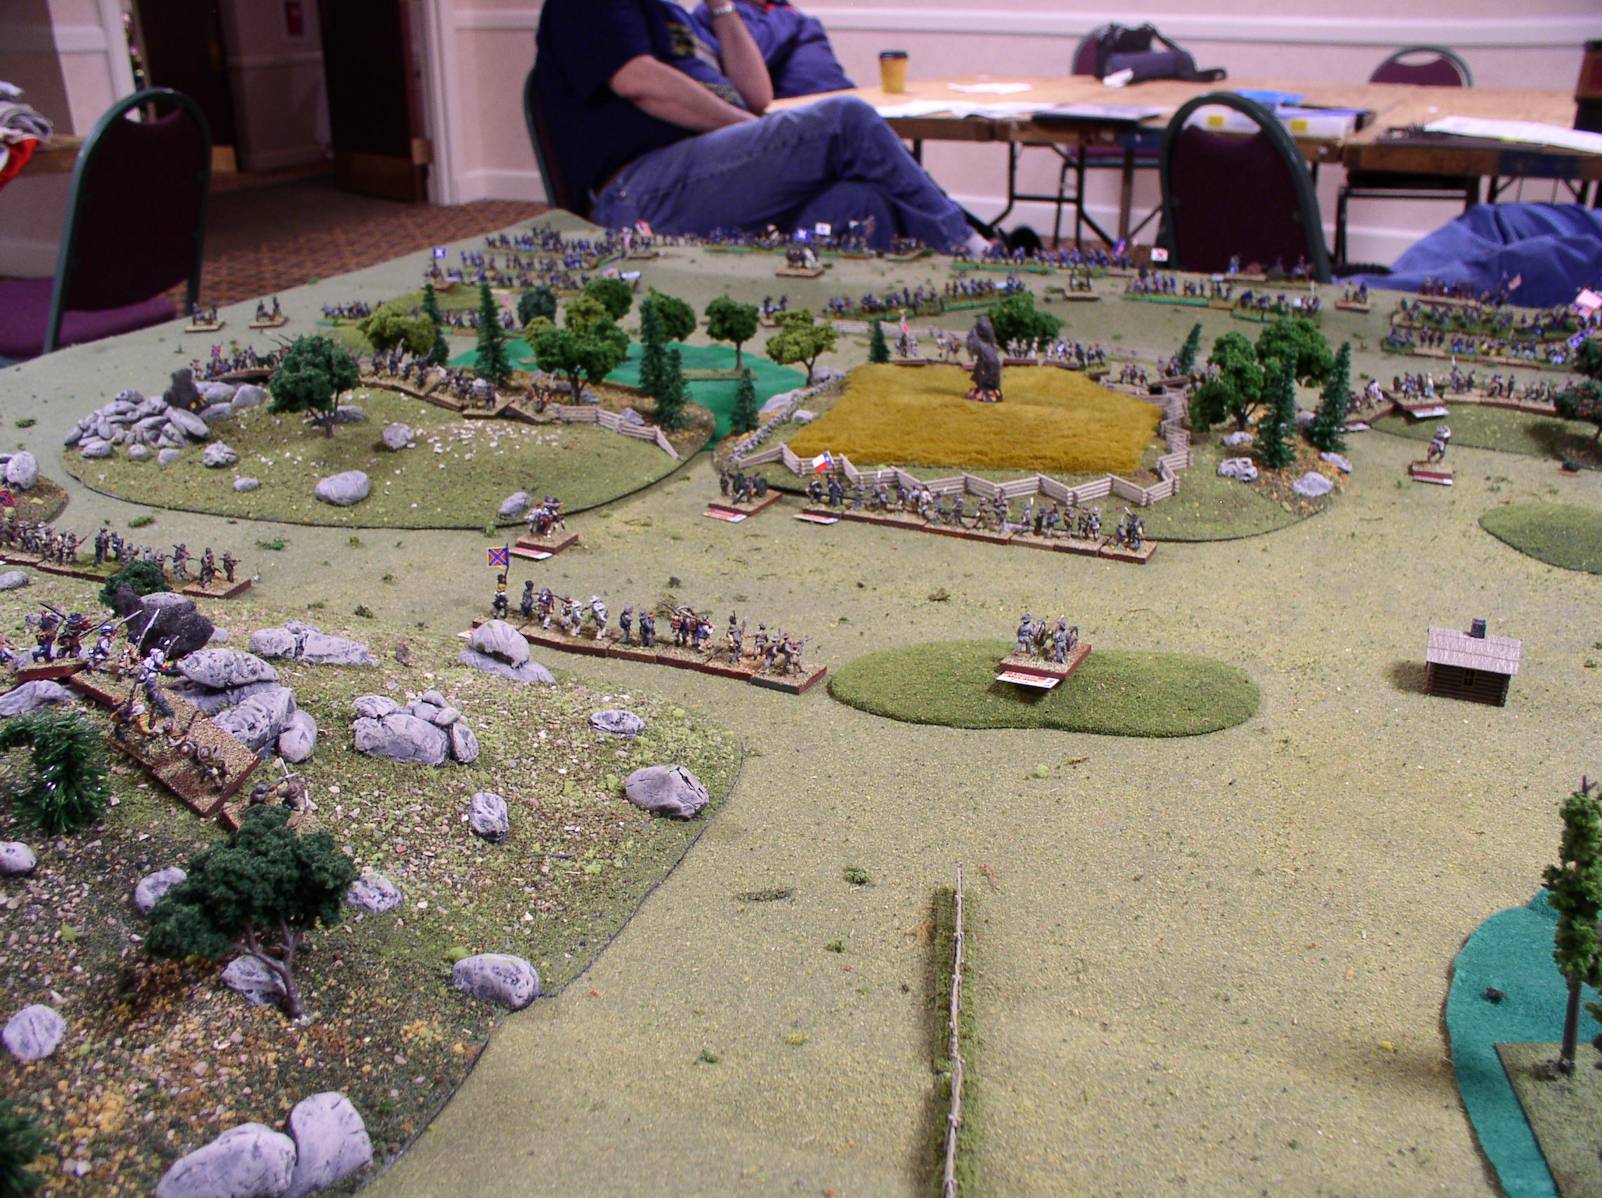
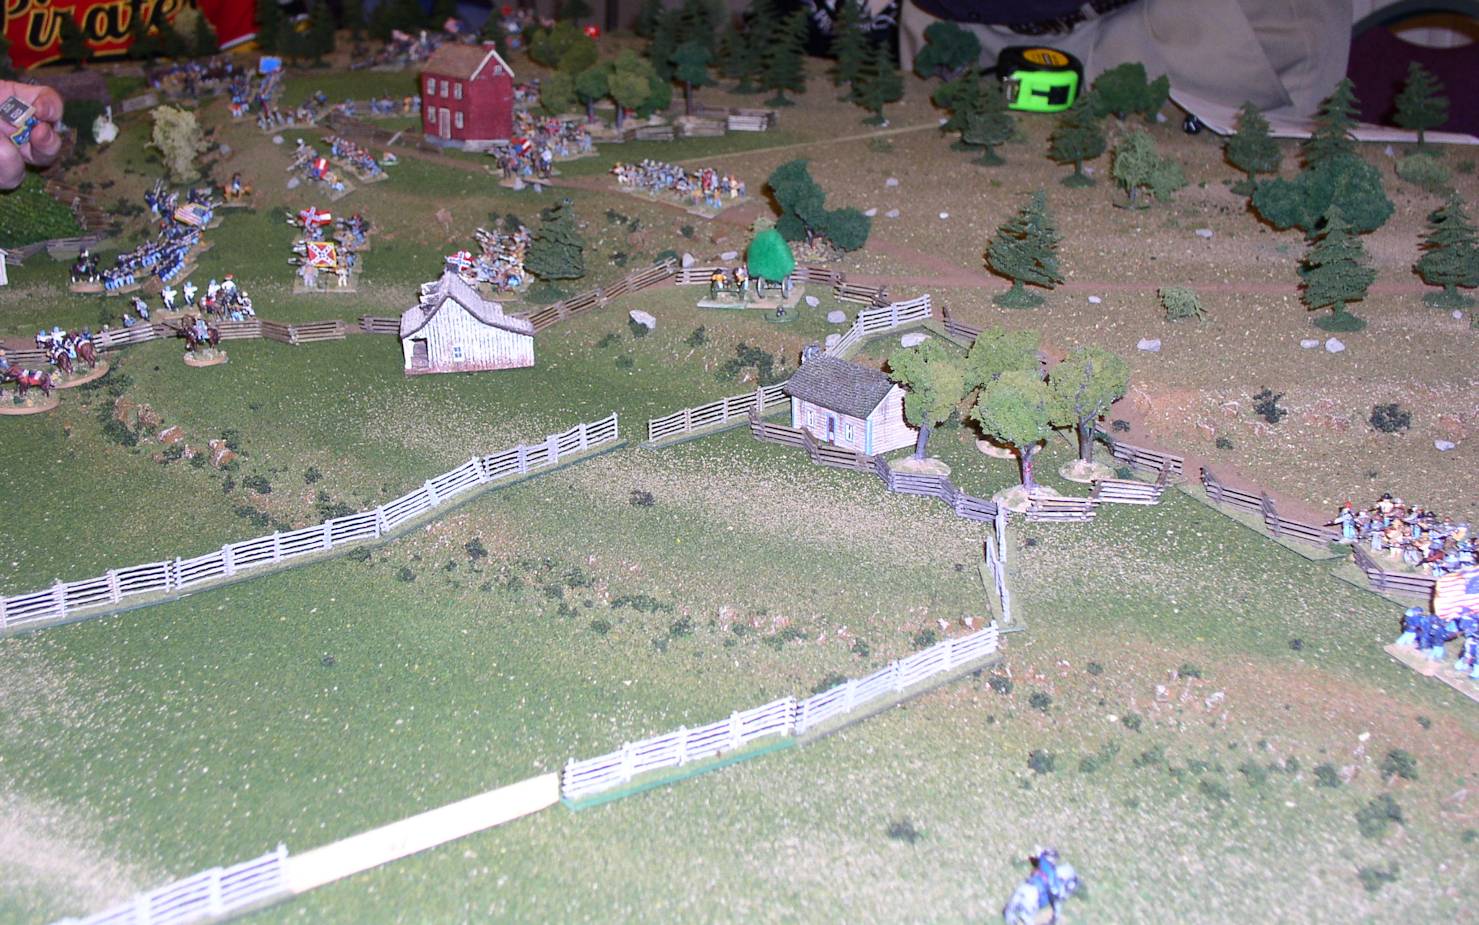
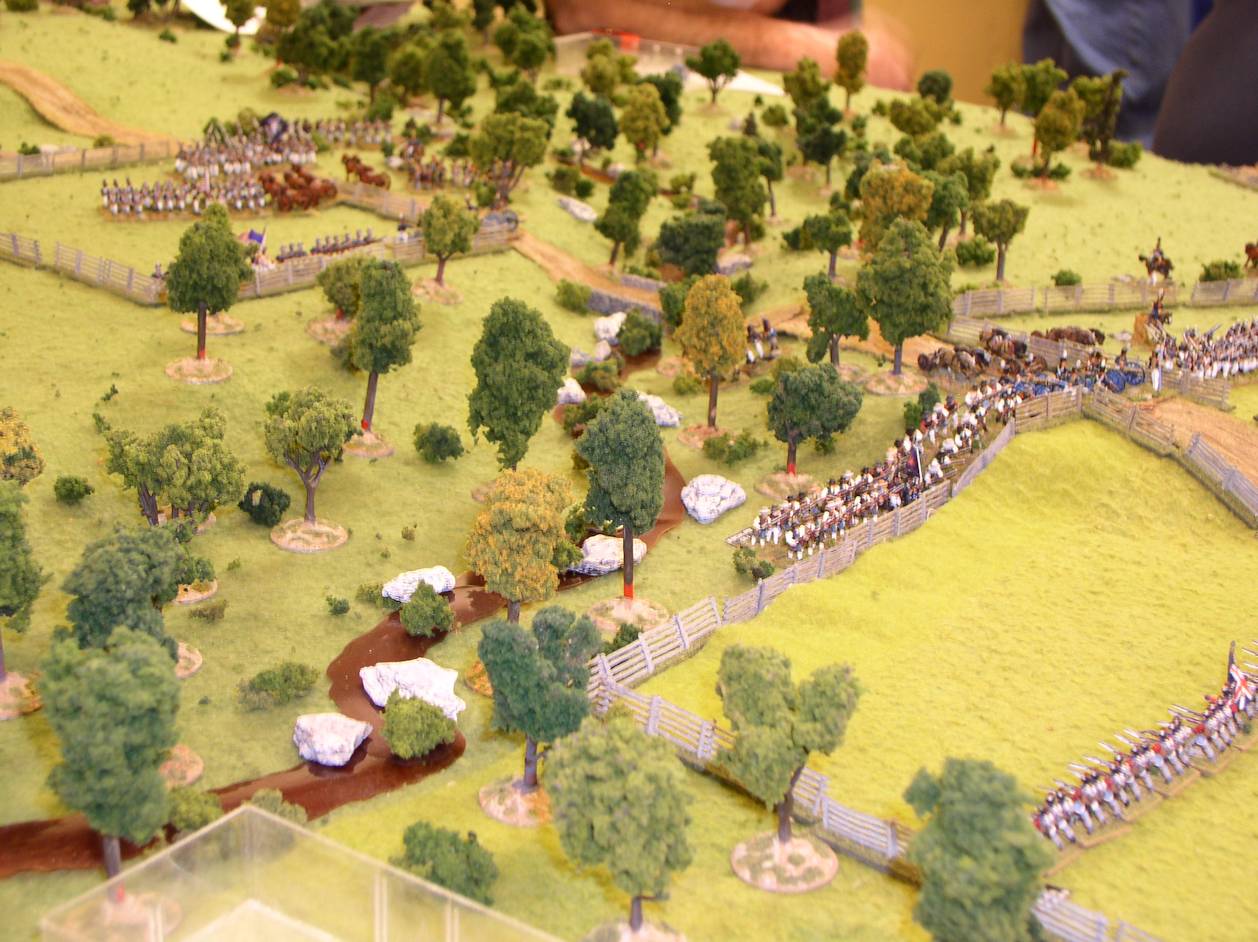
Devil's Den and the Round Tops
| Click on the Thumbnail for a full-size photo | Description |
|---|---|
The Wheatfield |
Looking North over the wheatfield. The Flaming thing is an objective marker. |
Cemetary Ridge |
Looking South over the main line of defence. |
South along Cemetary Ridge |
Looking South toward the Round tops. |
The Union Lines |
From the Confederate positions looking at the Union troops in the distance. |
The Union Lines from the center |
From the Confederate positions looking at the Union troops in the middle of the position. |
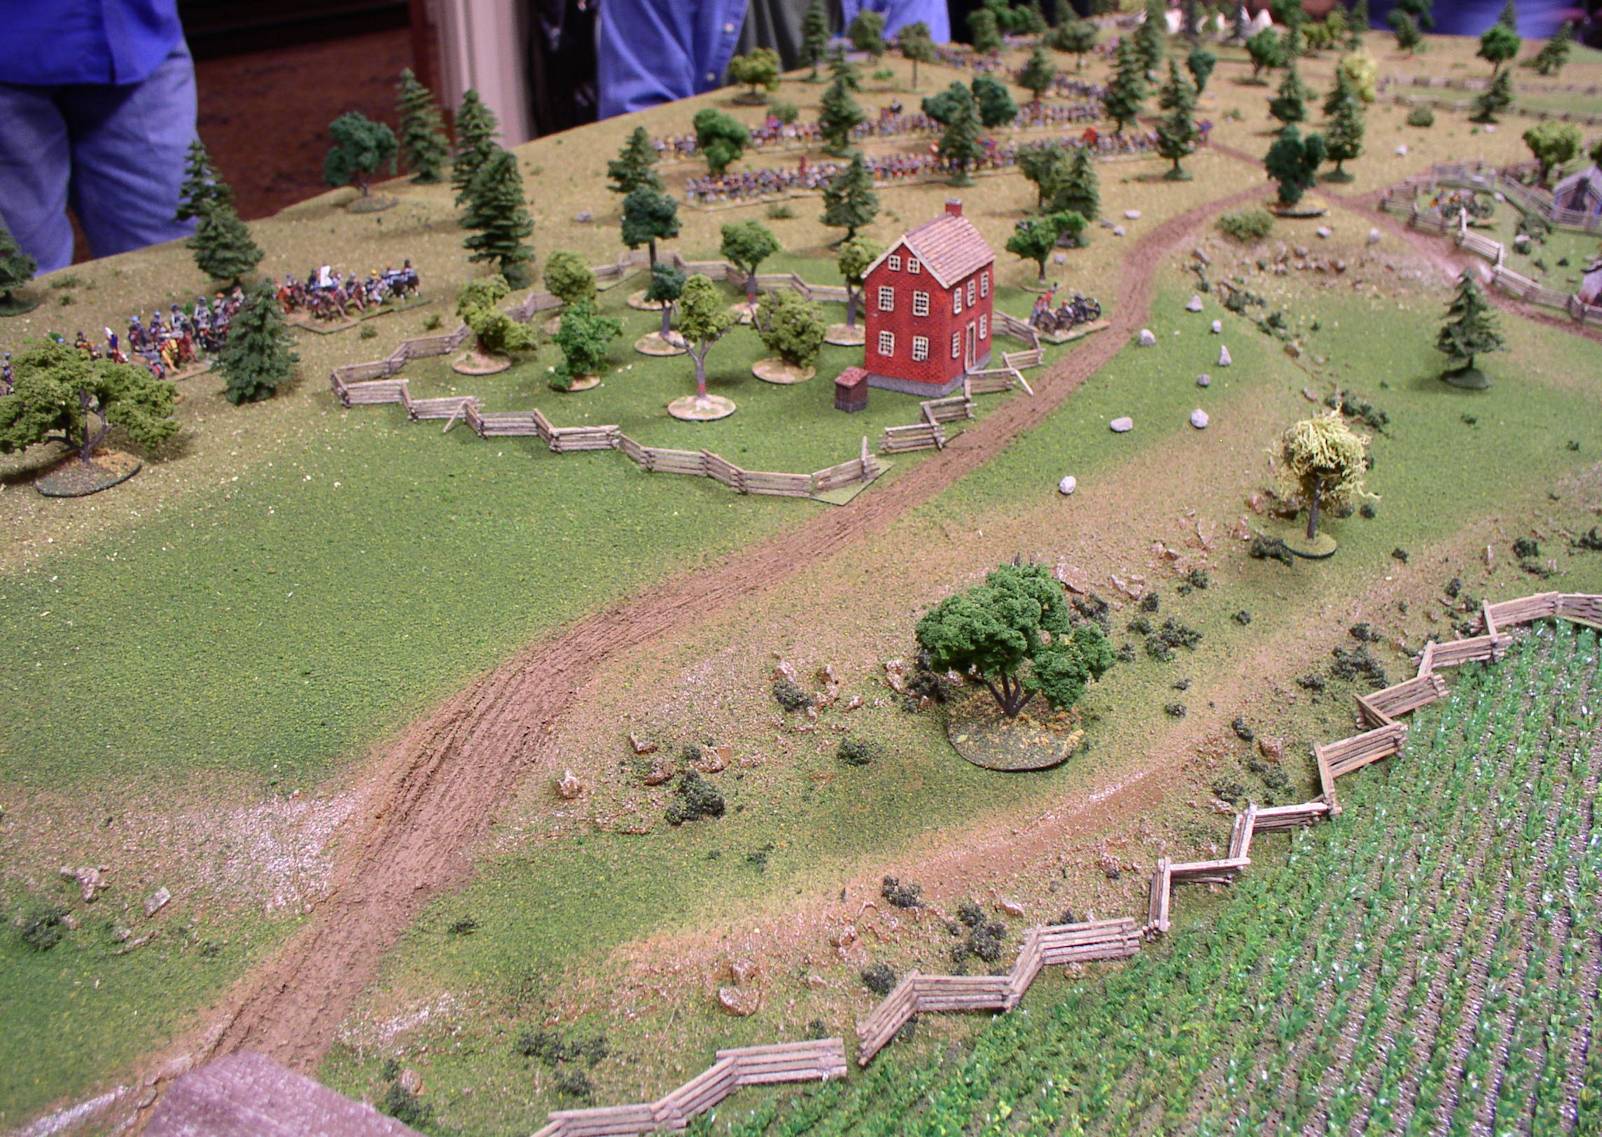
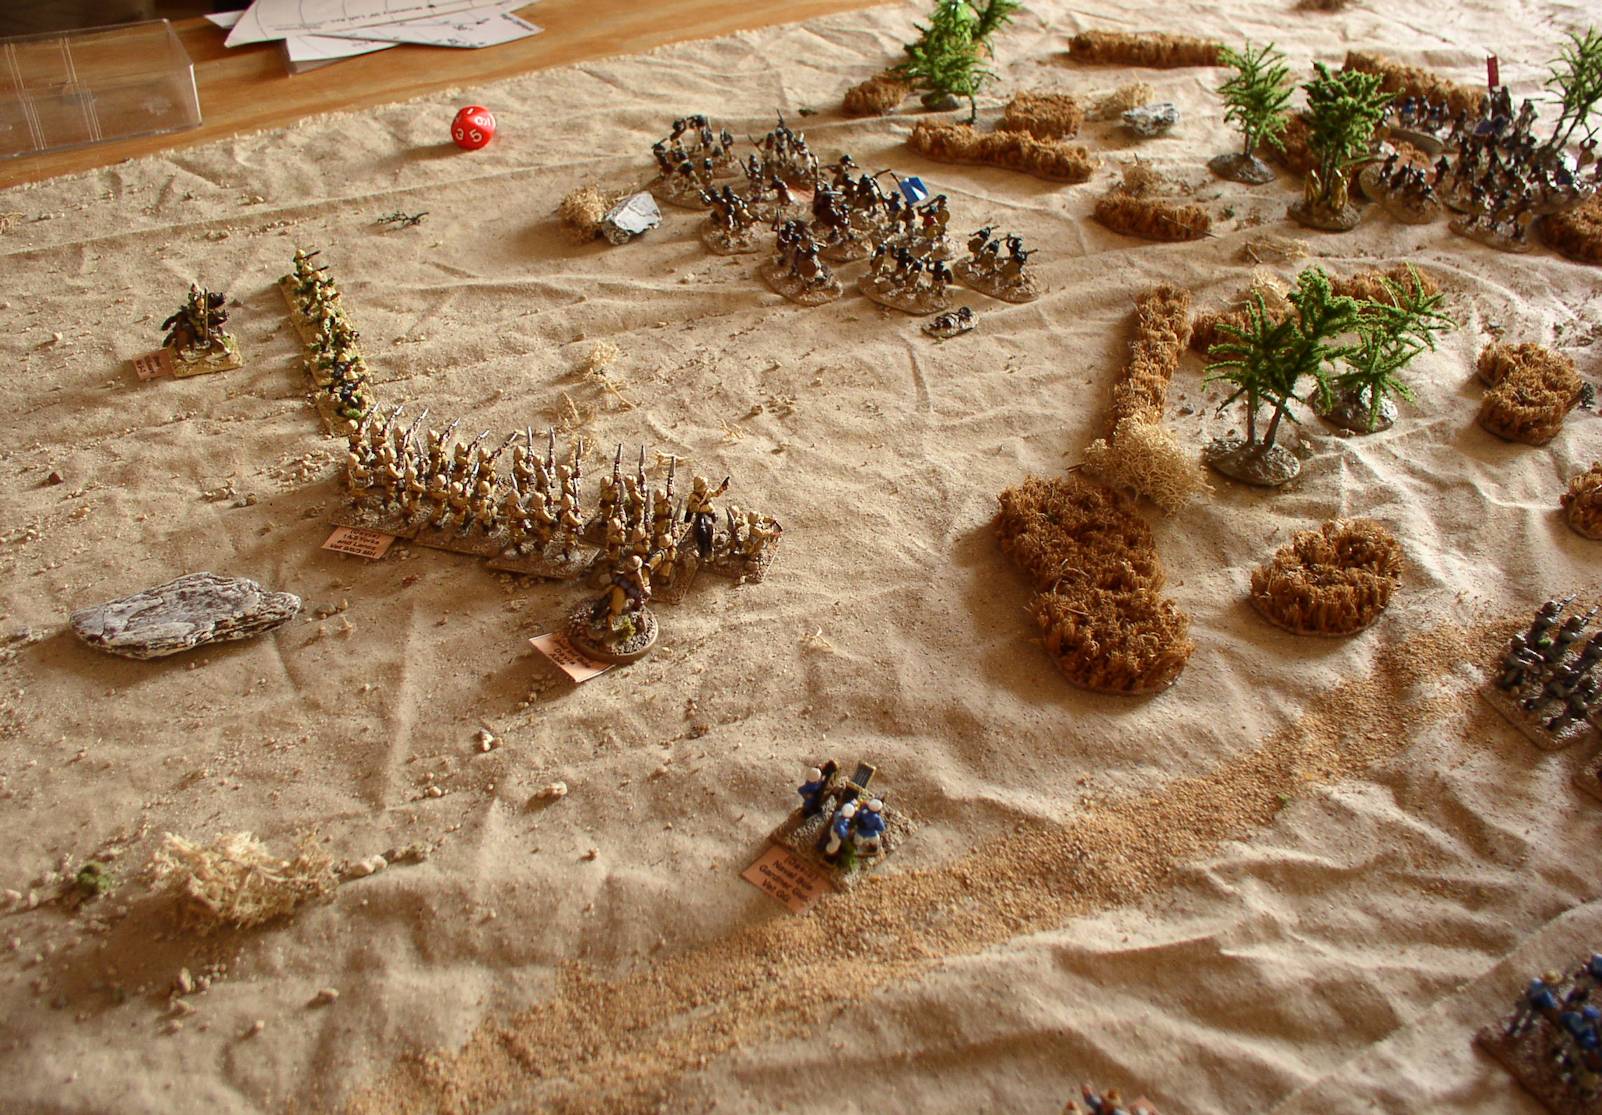
Devil's Den and the Round Tops |
The Southern part of the line. |
| Click on the Thumbnail for a full-size photo | Description |
|---|---|
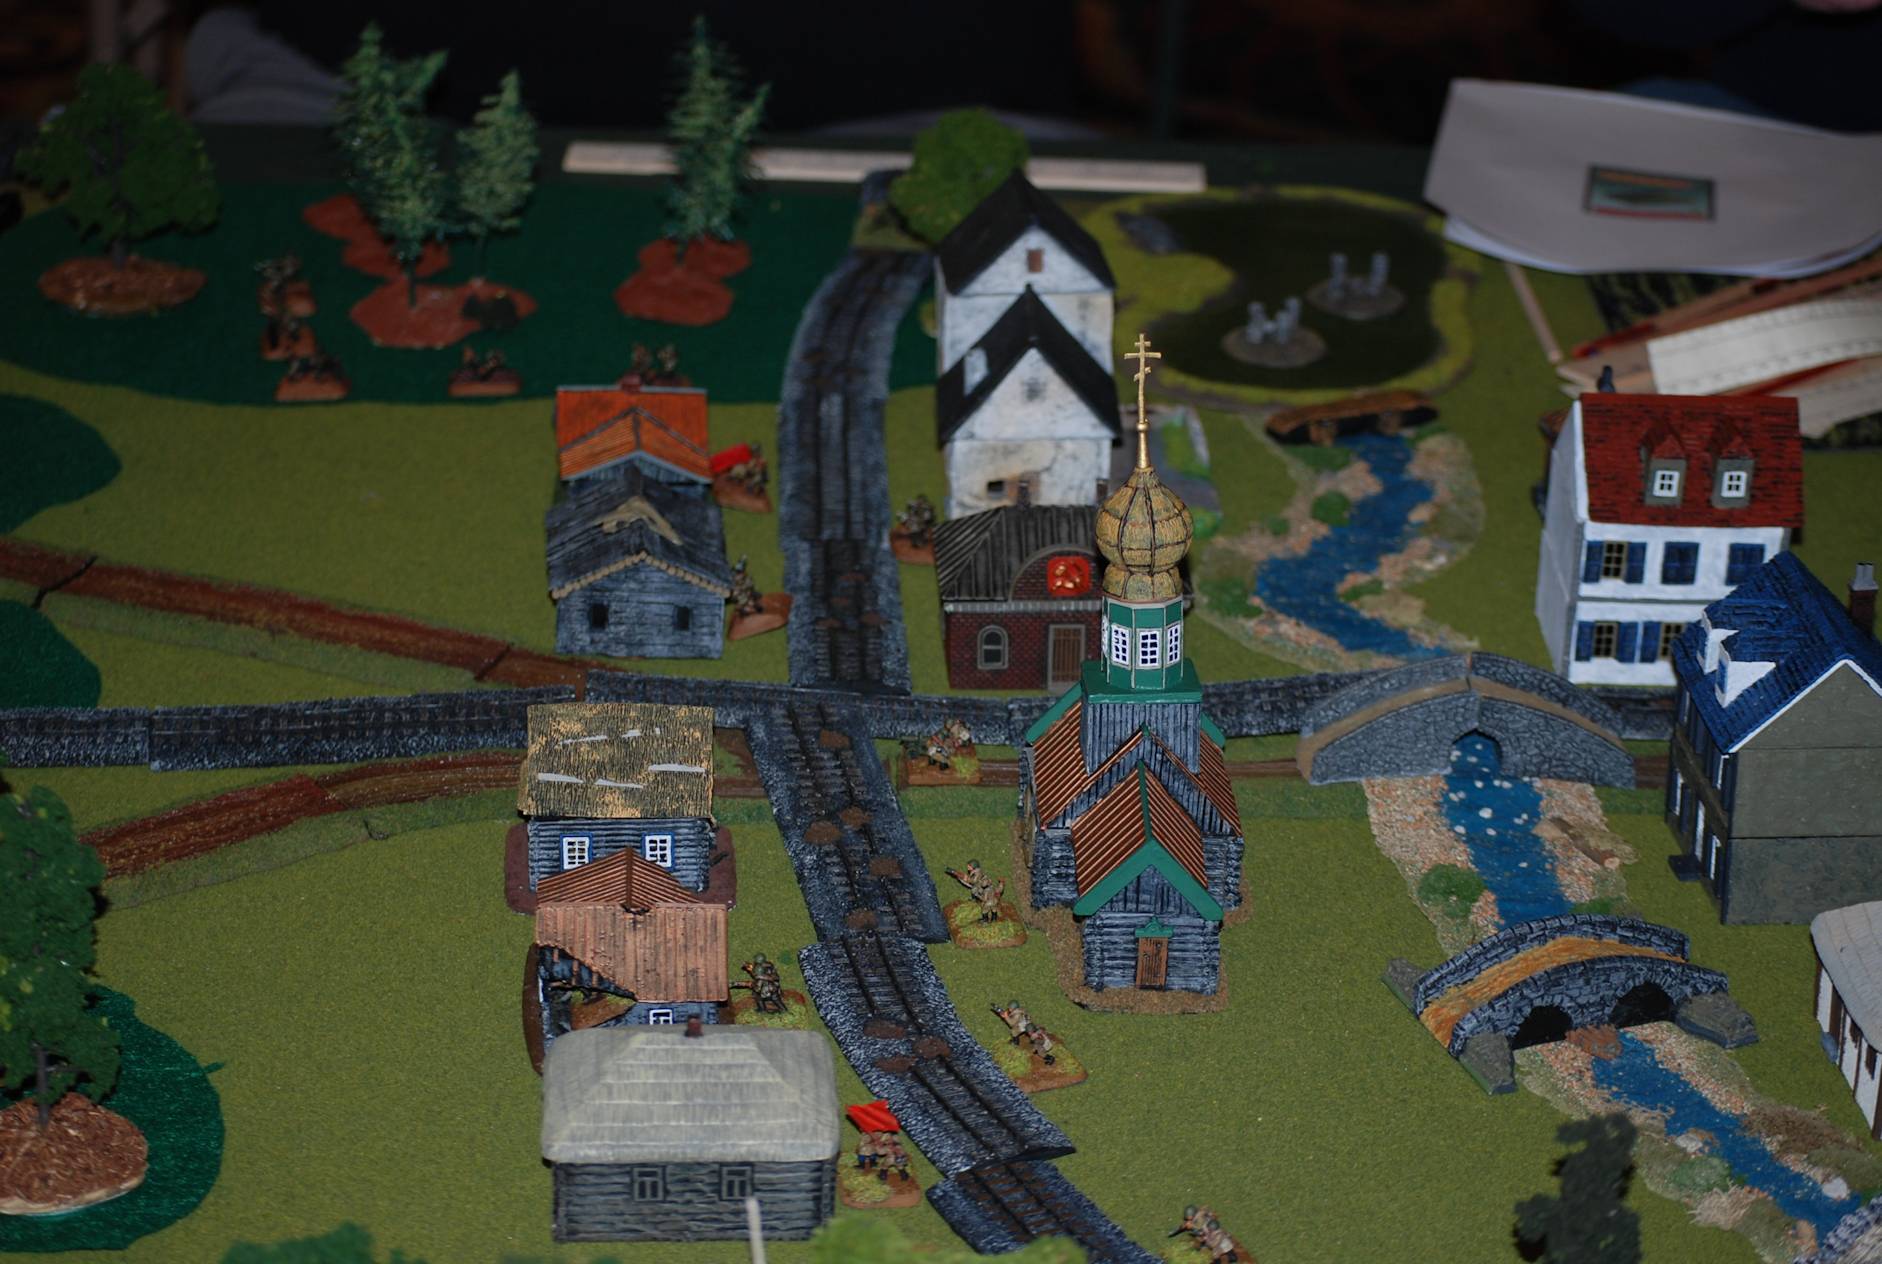
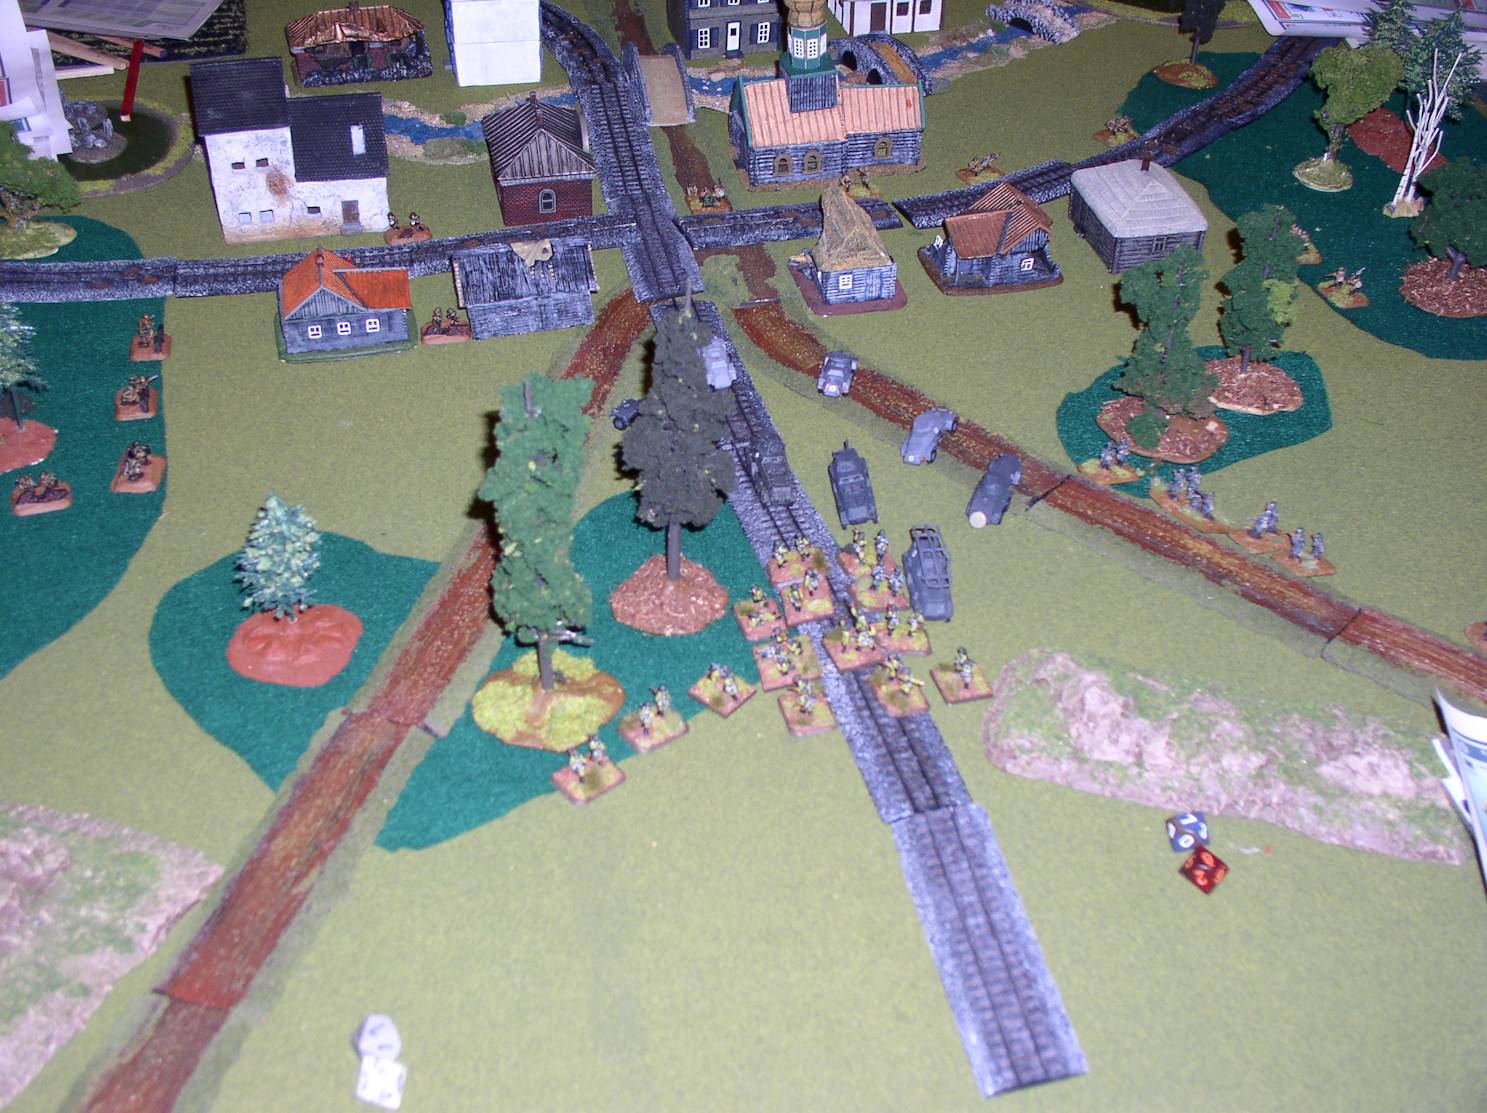
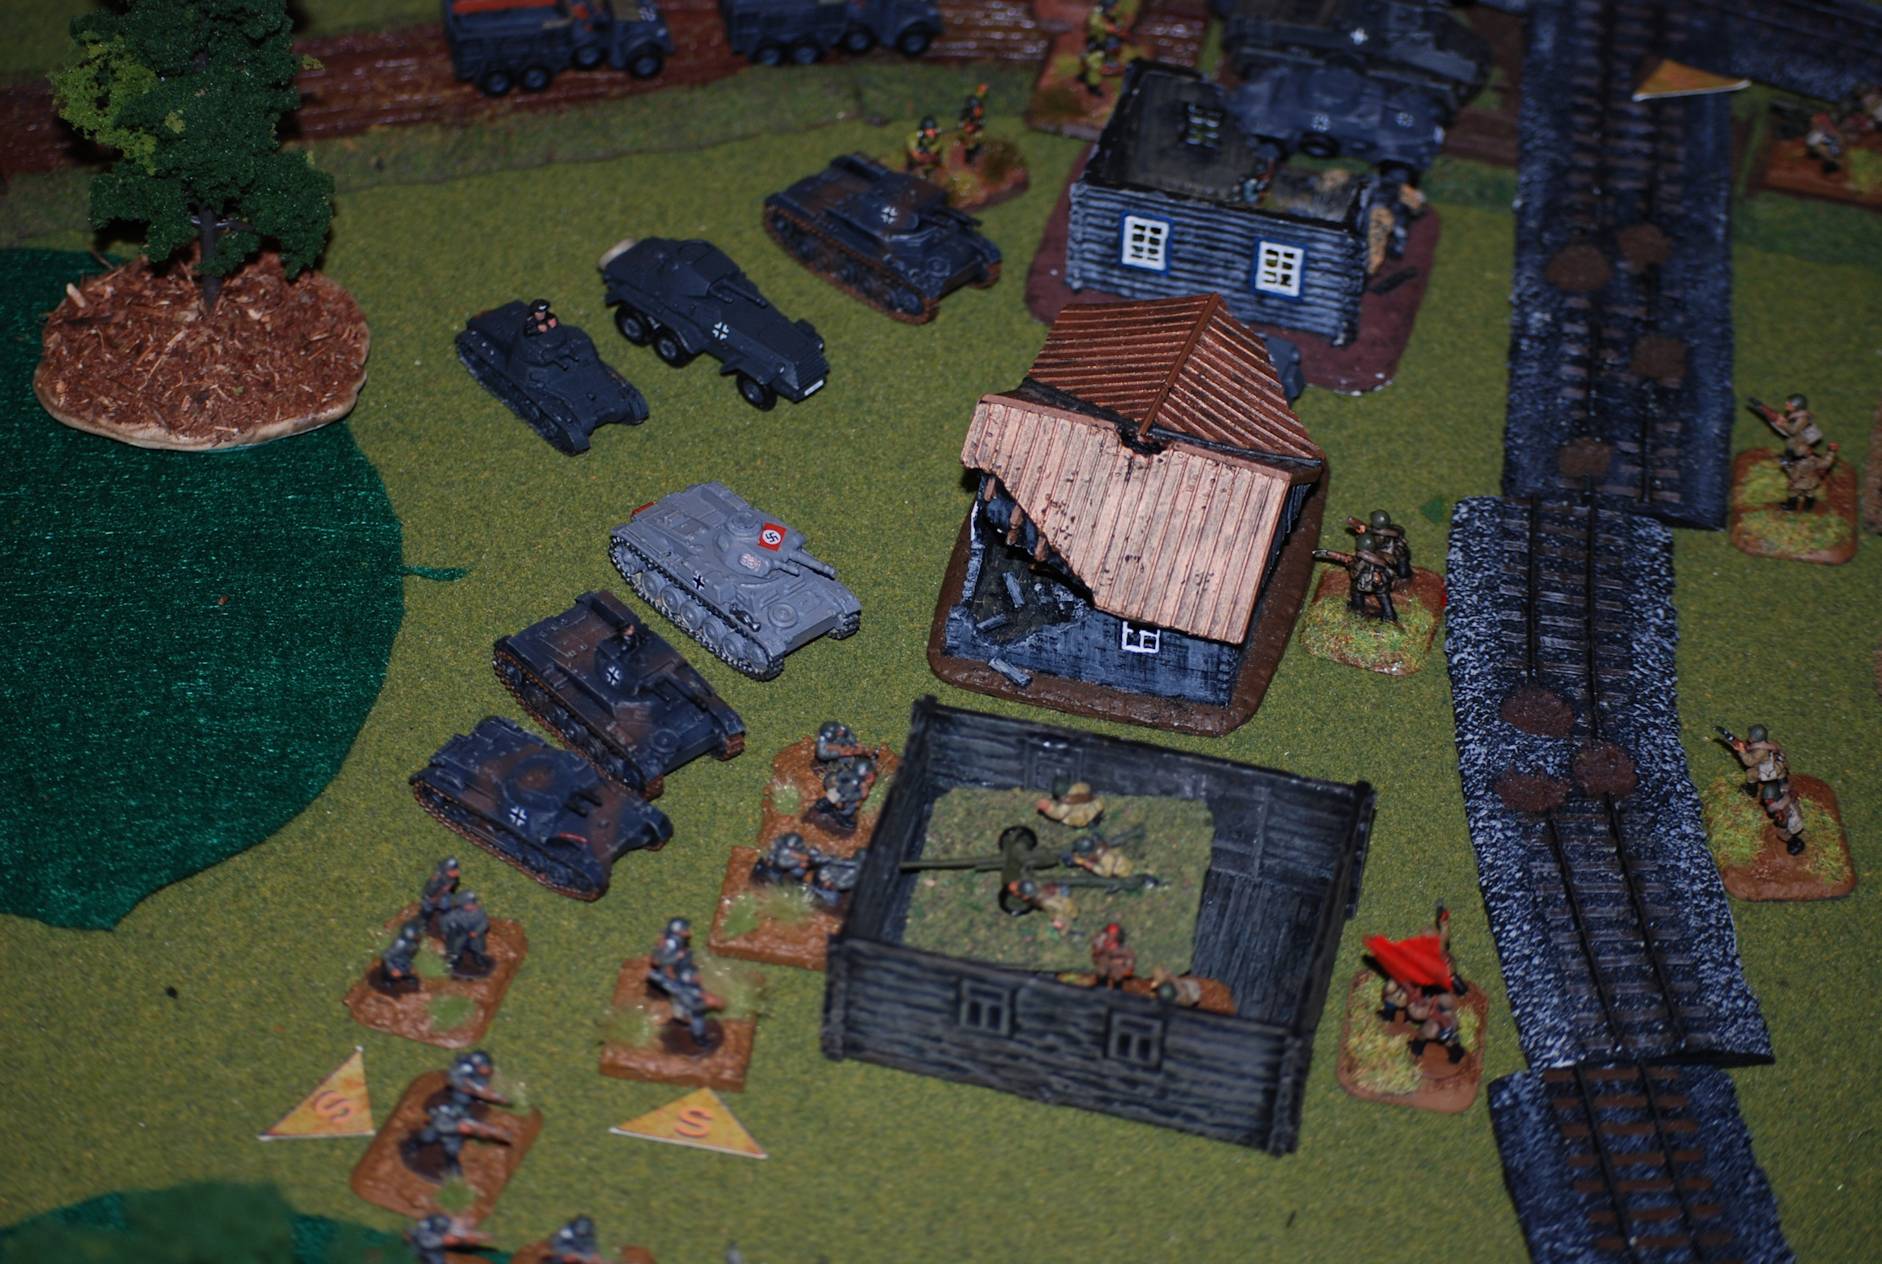
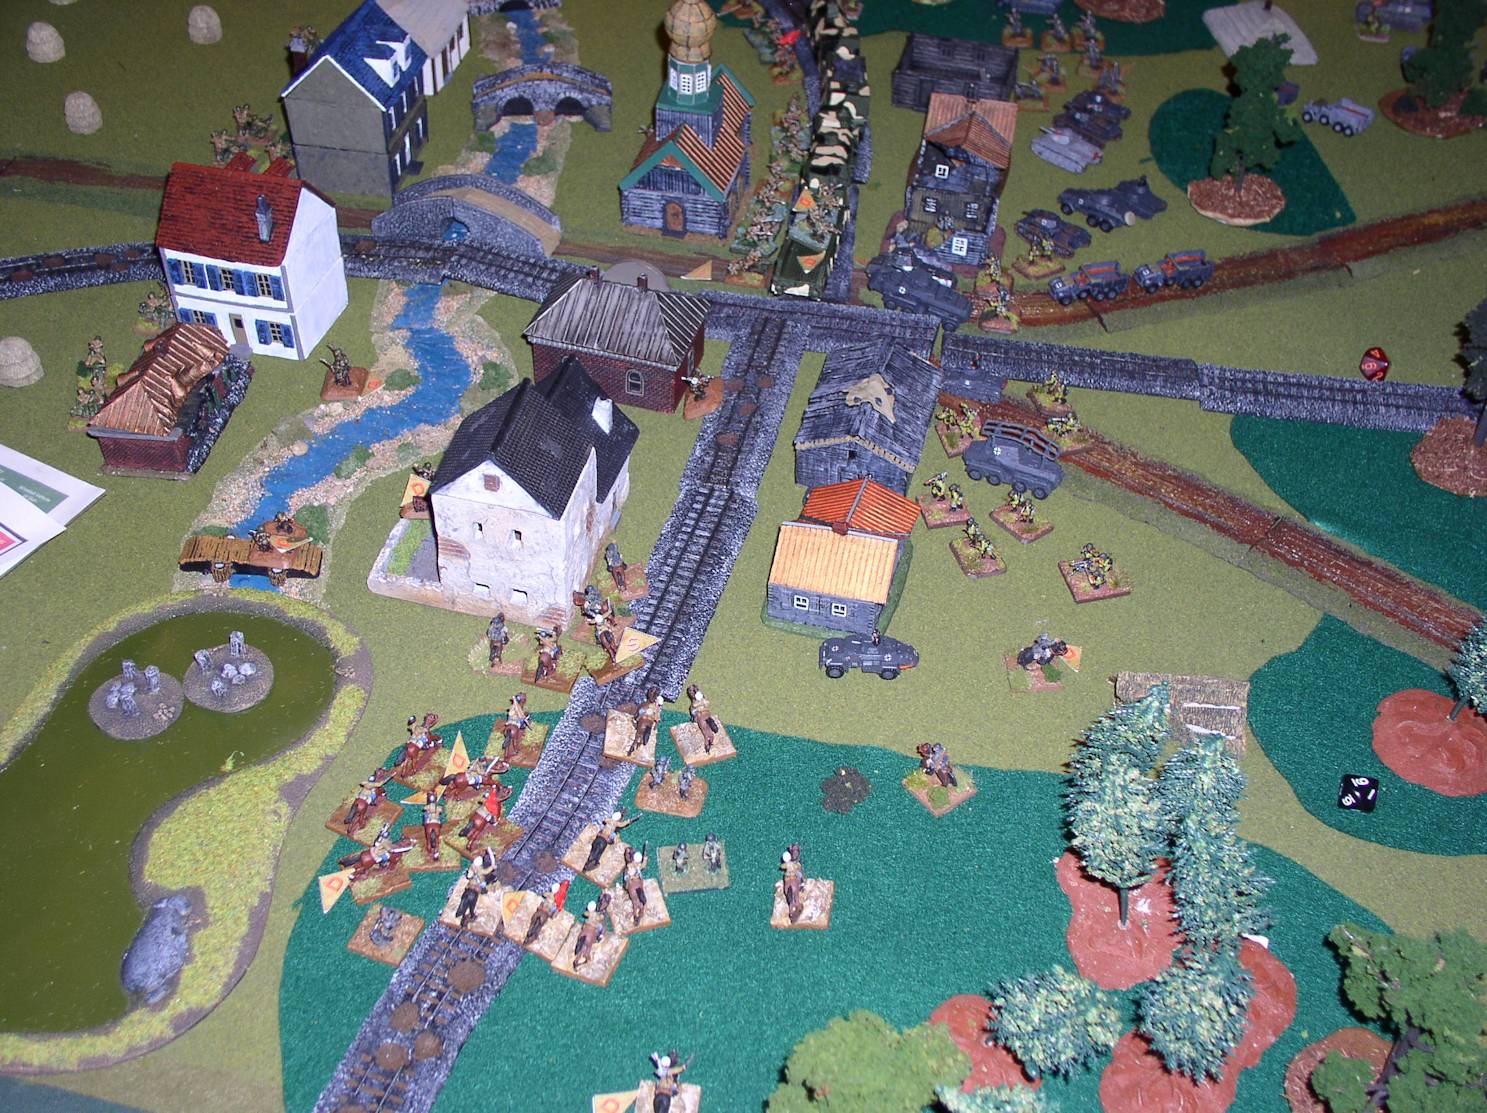
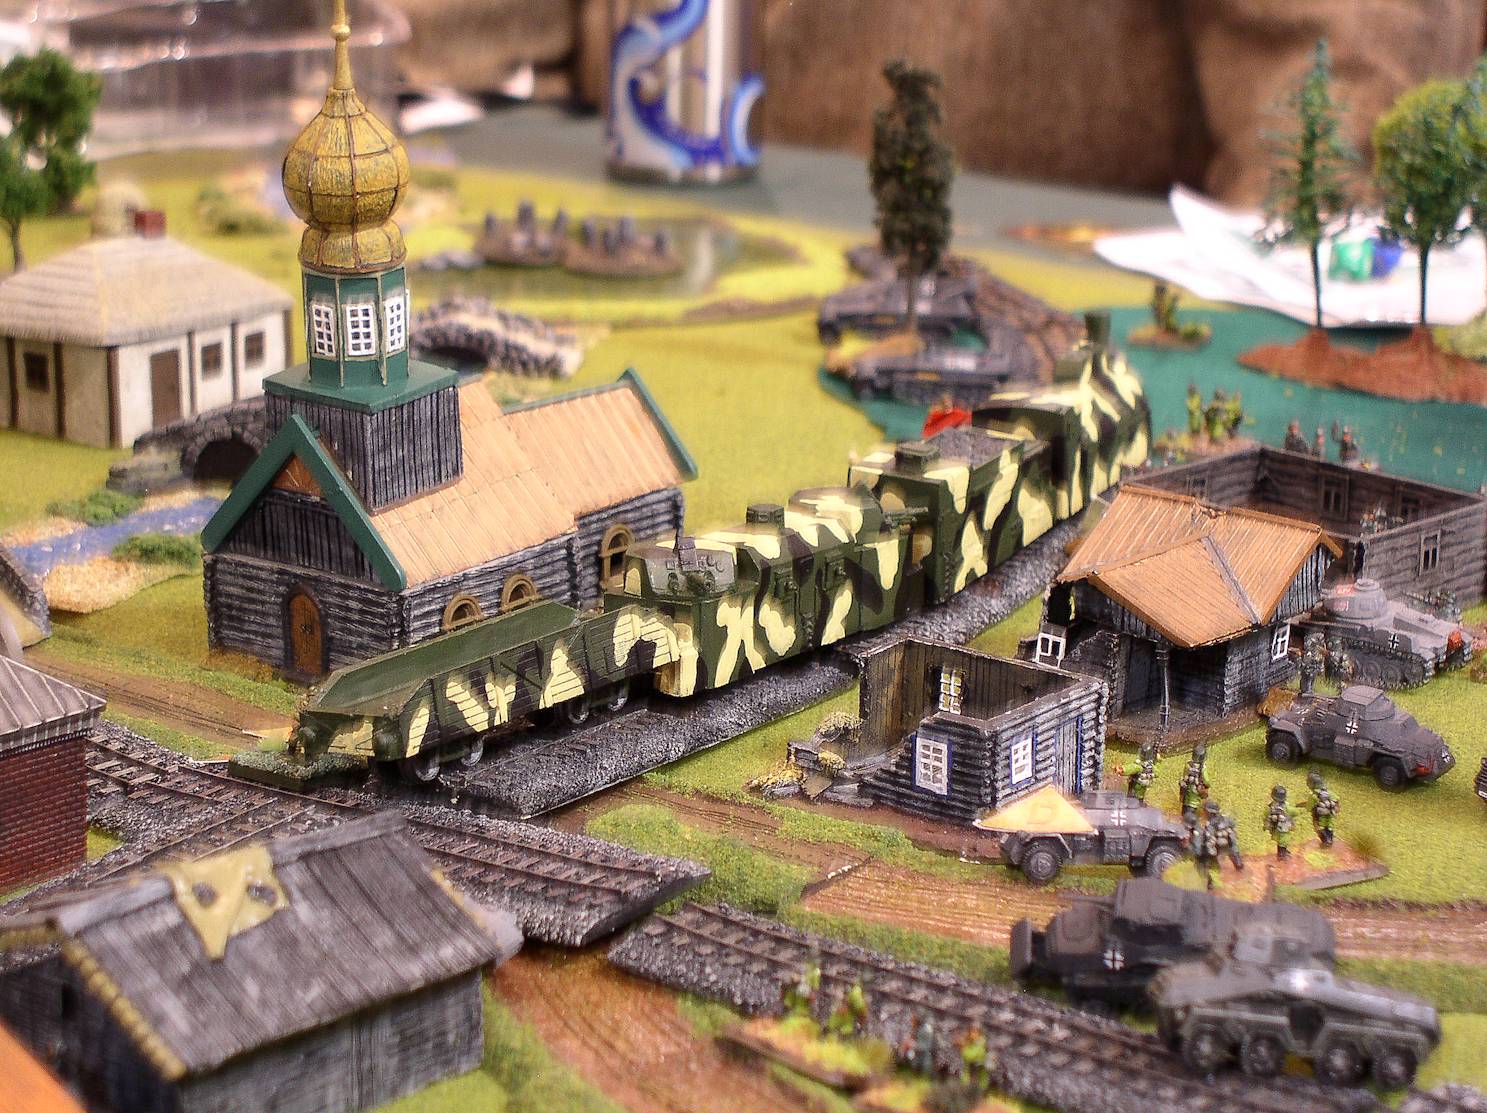
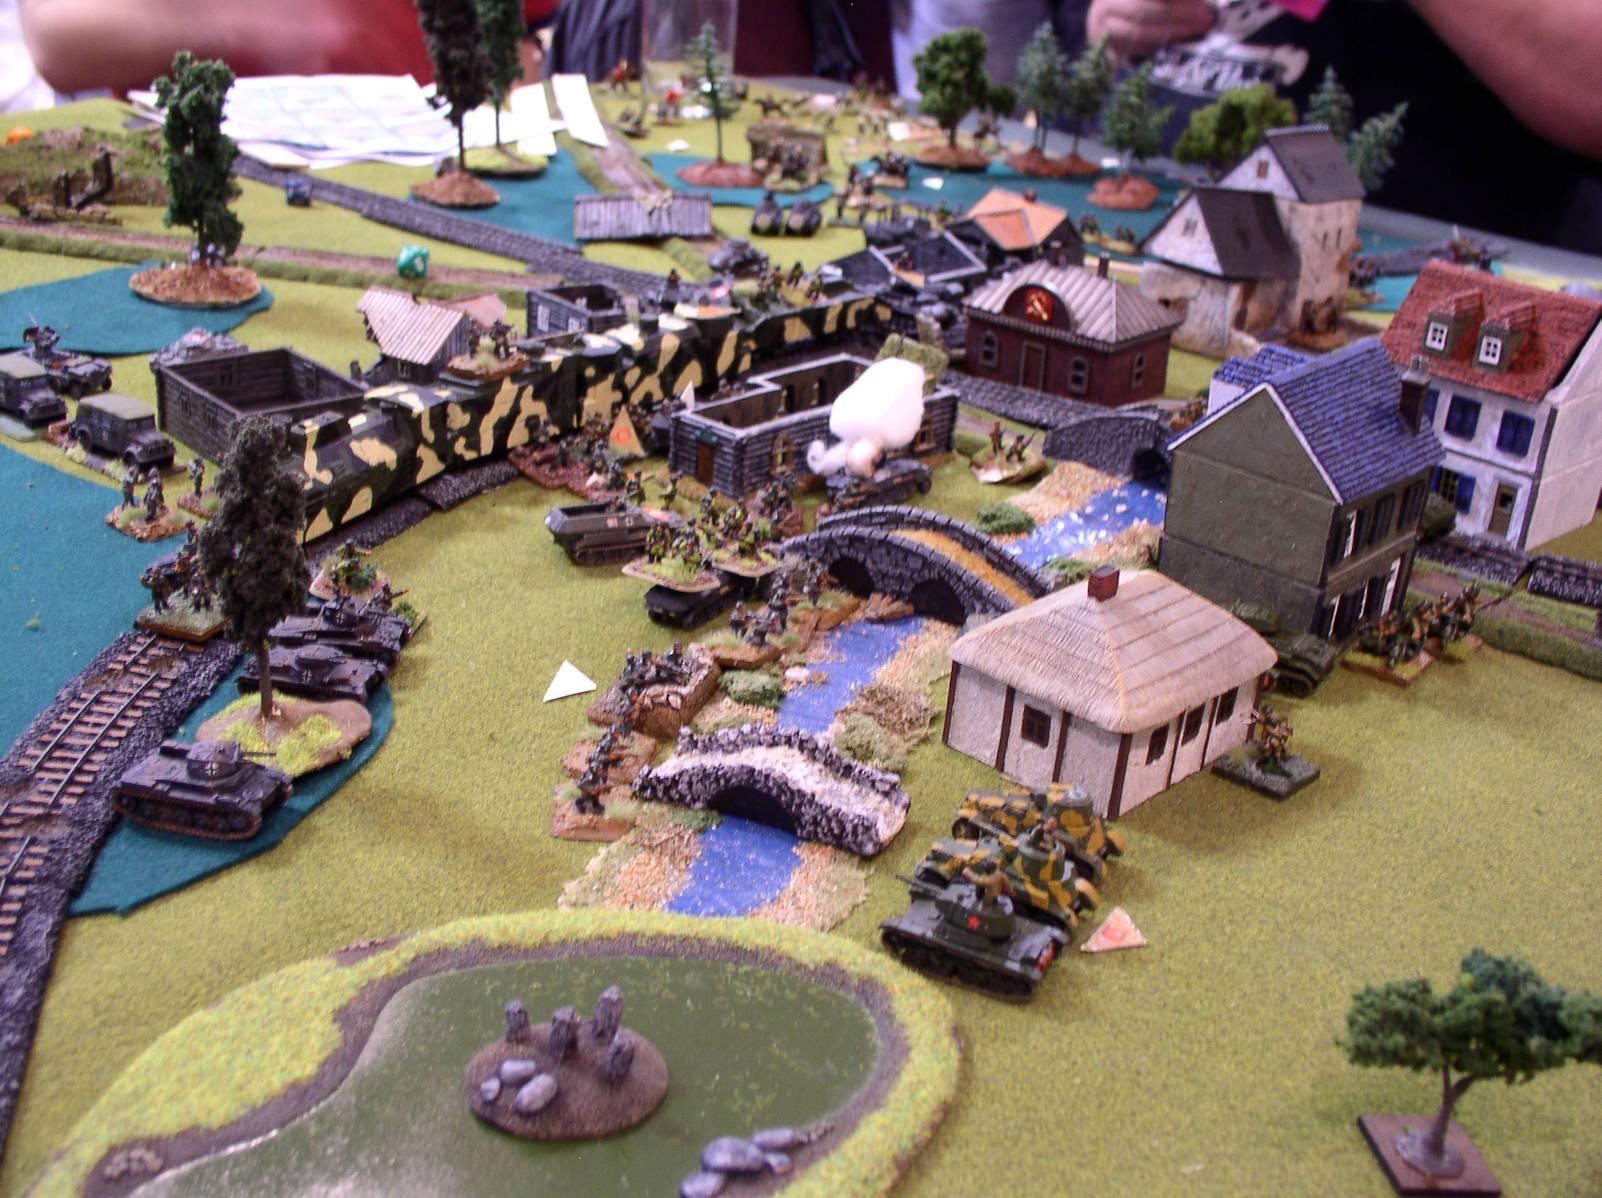
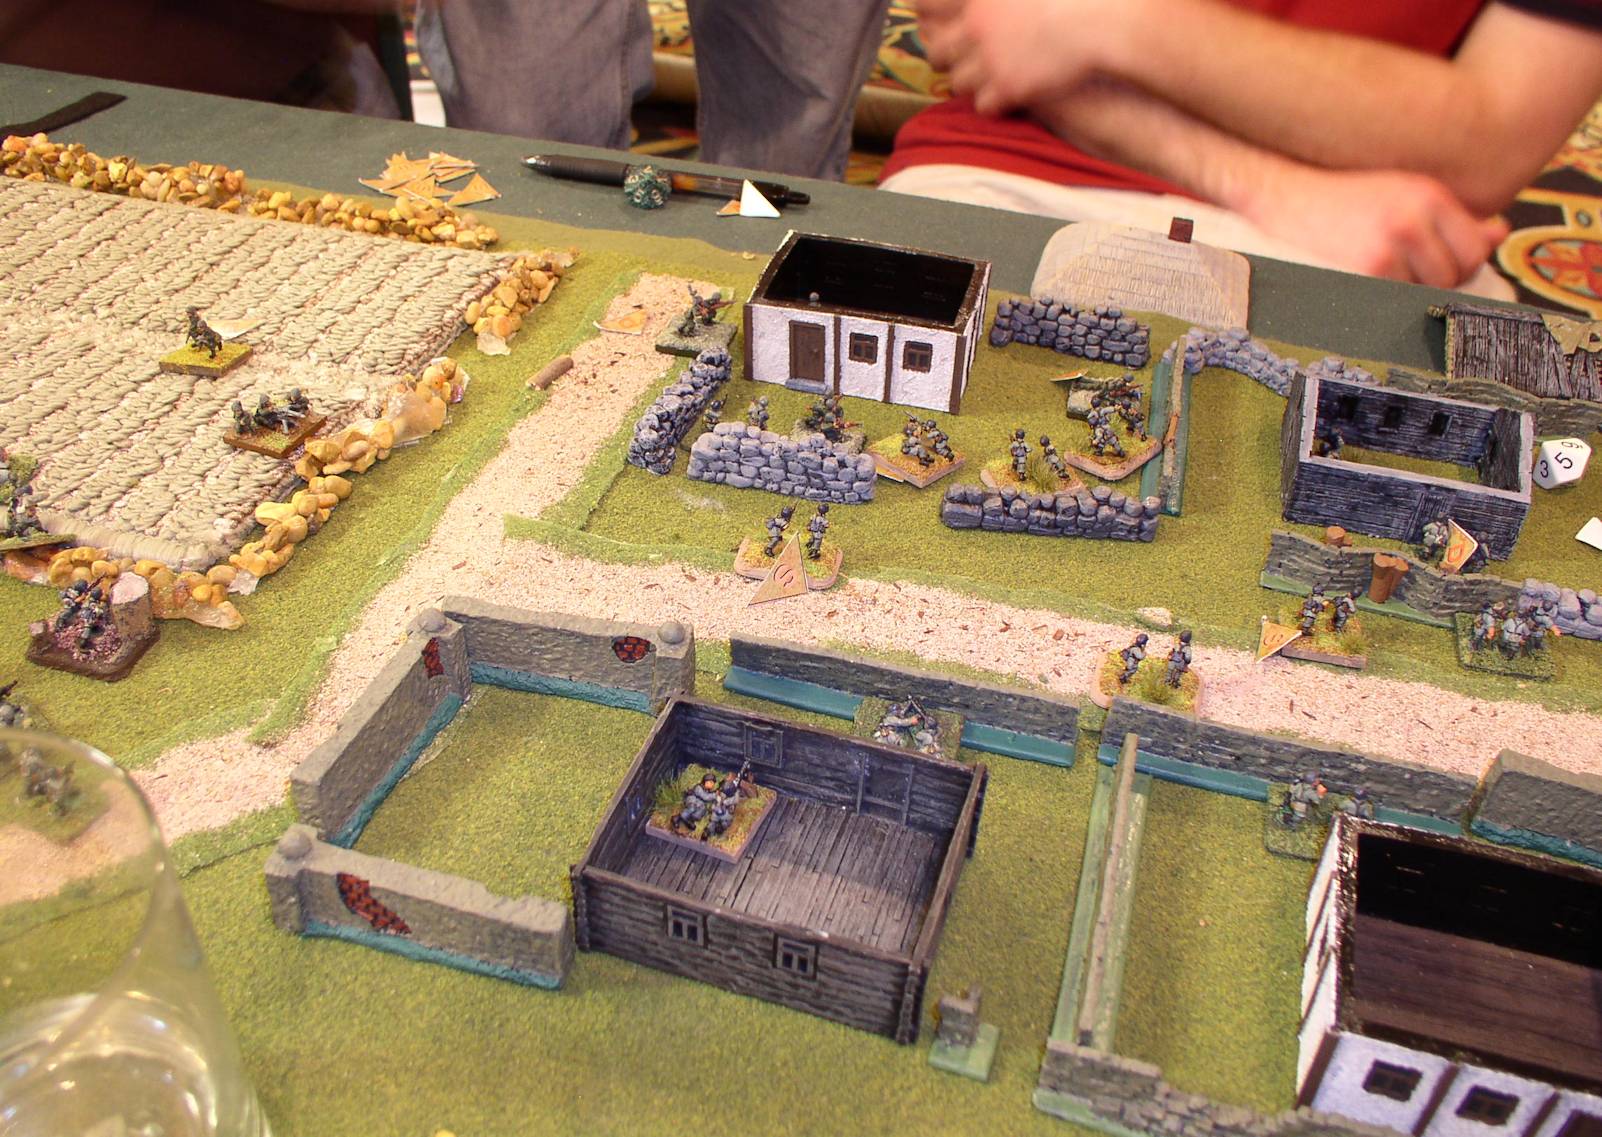
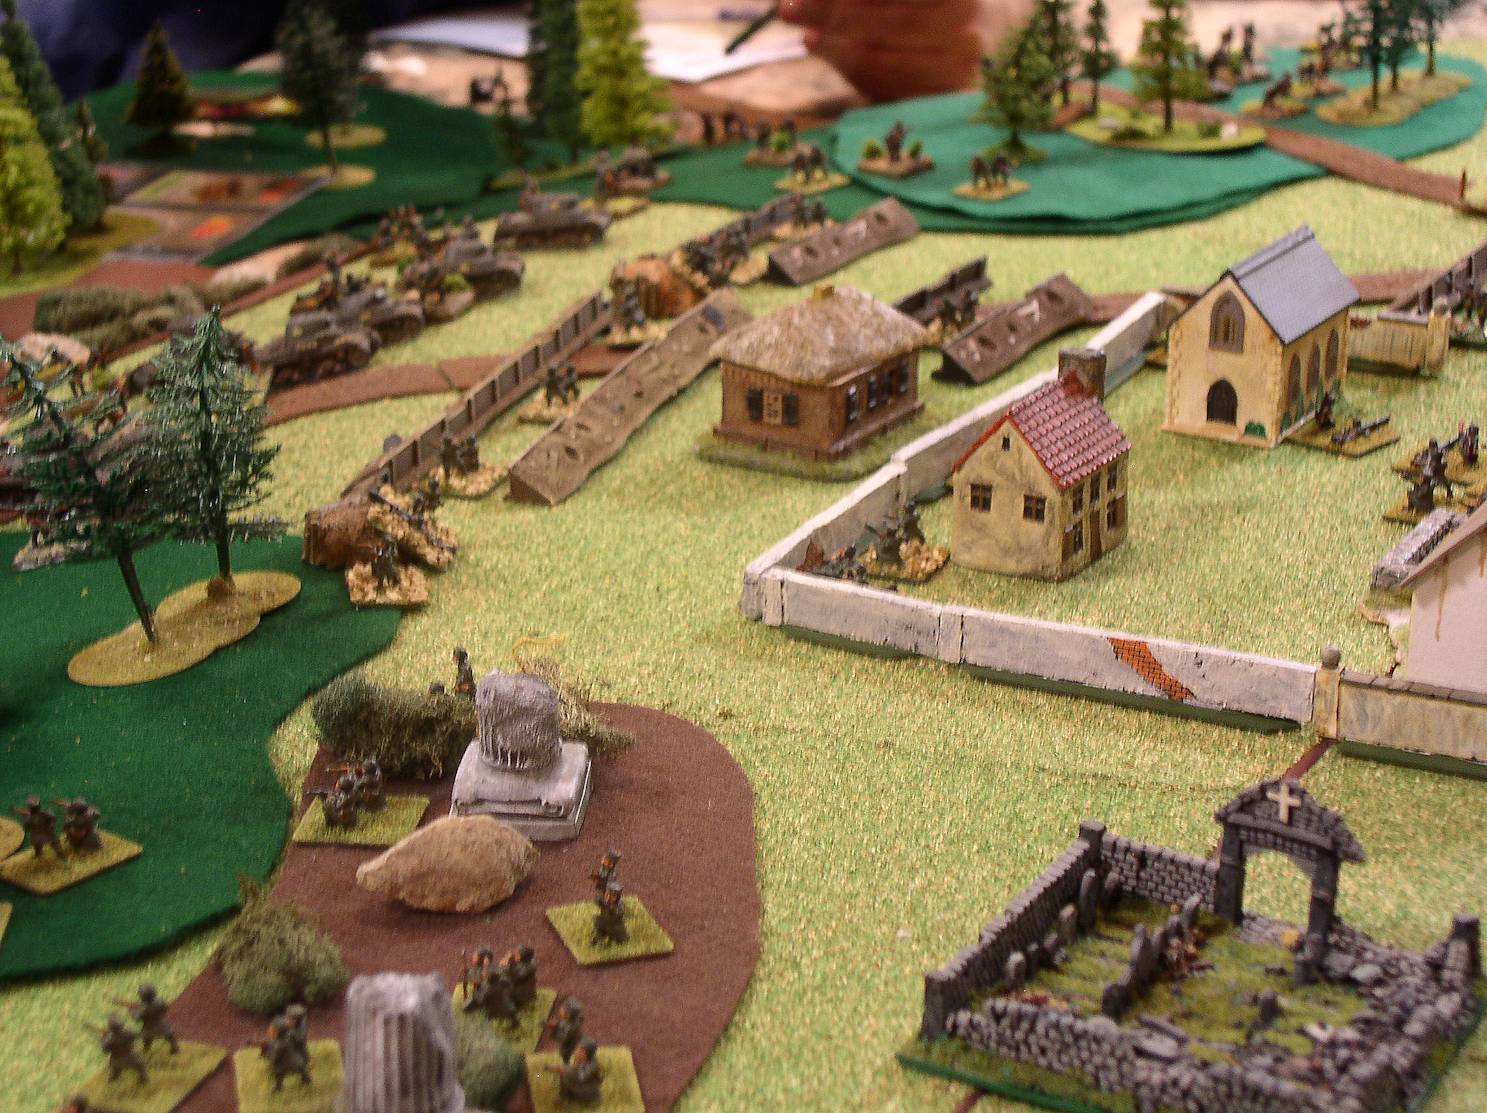
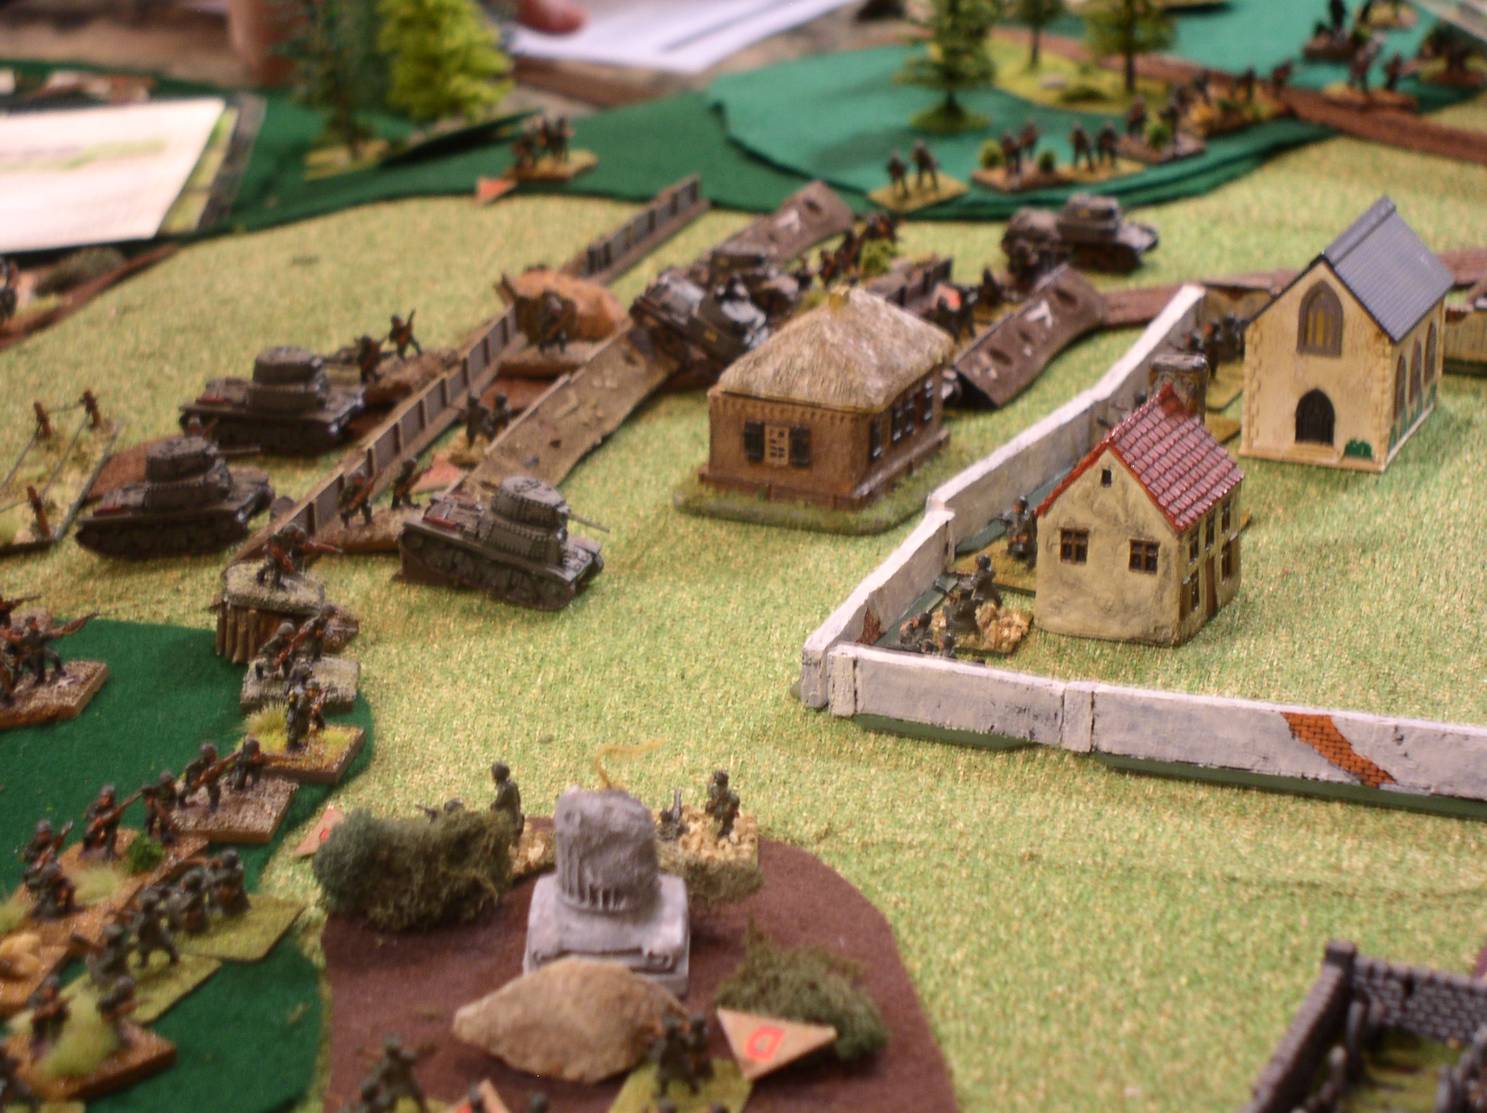
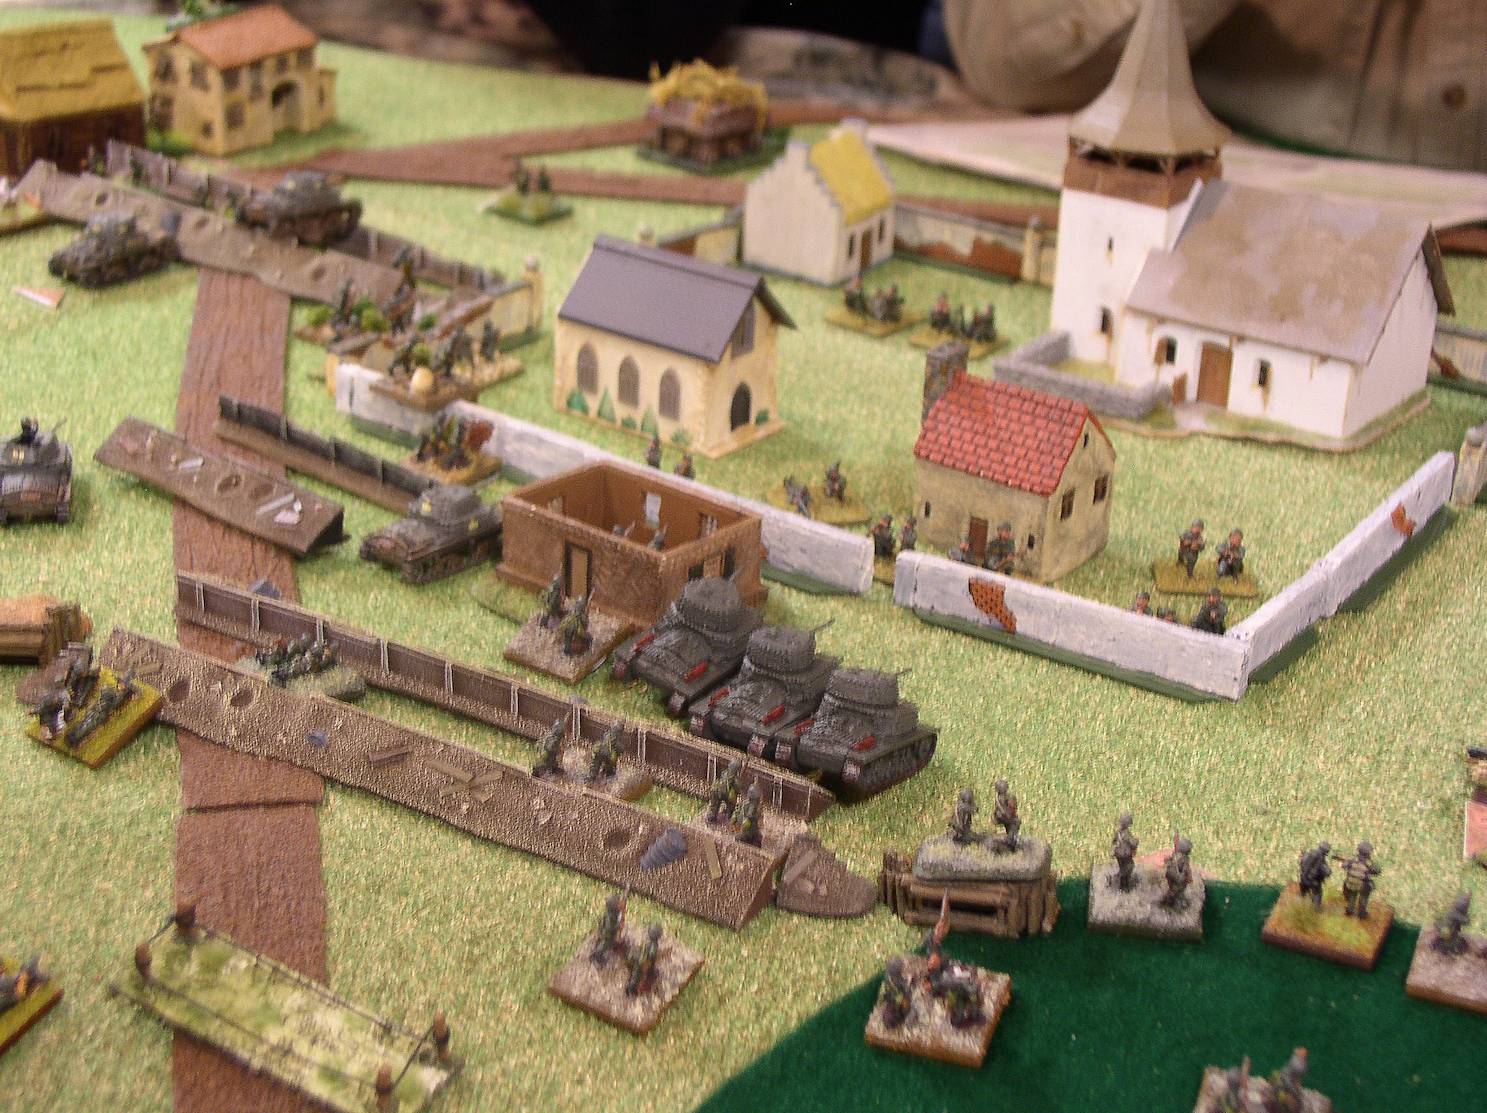
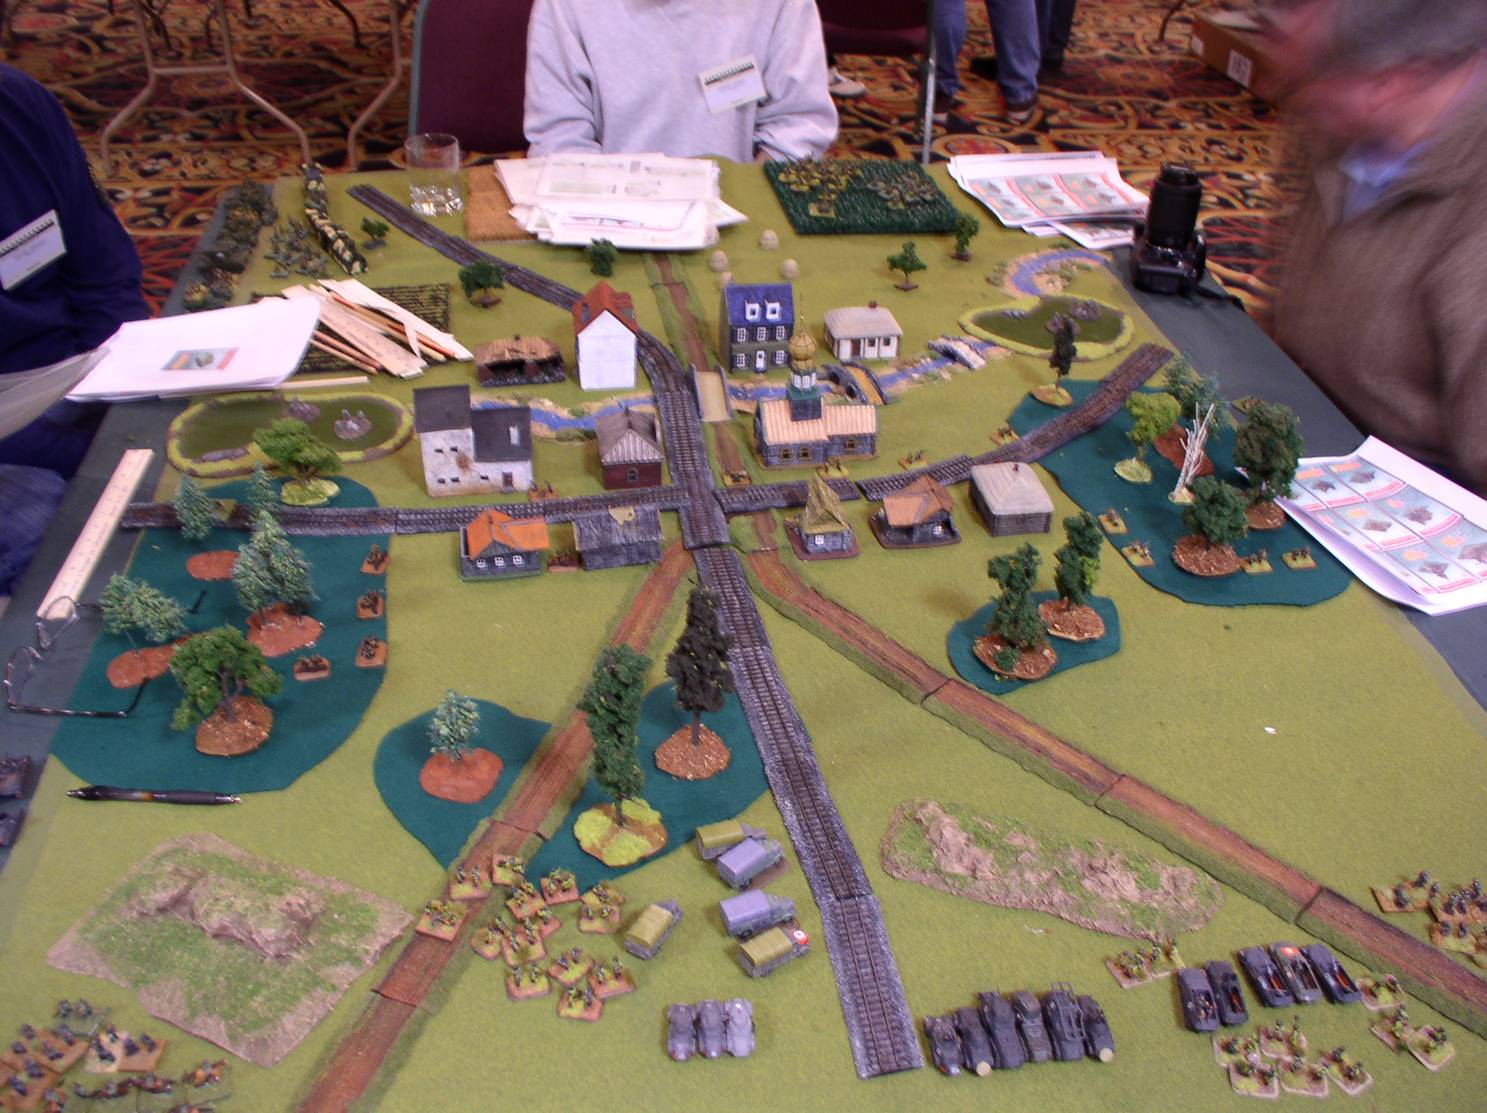 A peaceful Russian Village |
The initial setup (the Germans at the bottom are not on the table yet). The German objective was to clear 8 houses. |
 Russians defend |
Peter Lowitt - Russian initial deployment: Goal is to contest the first tier of village buildings, keep Germans on their side of the water and hold the rail embarkment and 2nd tier of buildings at all costs. |
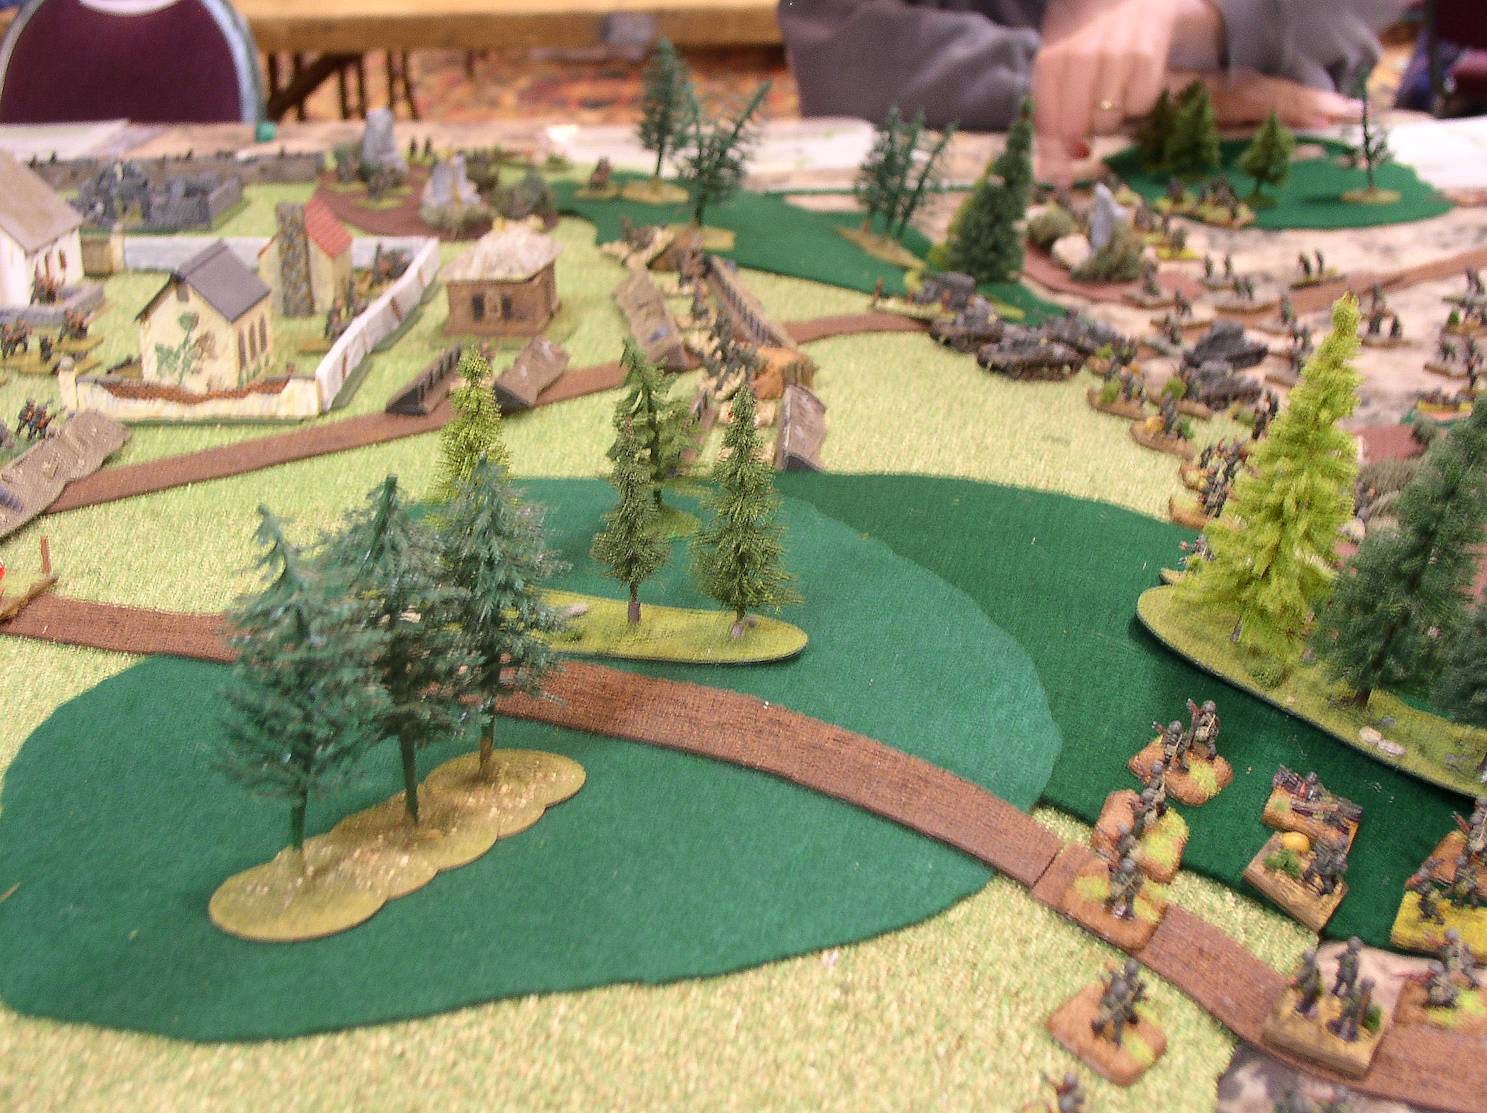
 German Recon advances |
German recon armored cars (controled by your humble webmaster) move into the center of the board, screening the advance of infantry. One of the big advantages the Germans had was the maneuver roll modifiers caused by armor, which were devastating on trained troops in disorder, so they are getting close enough to cause these while looking for the Russian anti-tank assets. |
 Attack on the Right |
On the right flank, German motorcycles and engineers engage Russians in the woods and head for the town. |
 Surprise Cavalry Charge |
On the left flank, a German Cavalry unit was able to enter in the rear of the Russian position. Rather than move and dismount, they launched a charge into the rear of the defense, sending them reeling. |
 Forward in the center |
With the Russians on the flank in trouble, the recon and supporting infantry close on the first line of buildings, the tactic was 1) discover, 2) suppress/disorder with fire (keeping some units on overwatch to engage newly discovered units, 3) move close and assault. Things were looking good for the Germans. |
 Germans Attack |
Peter Lowitt - German combined arms hunting for Soviet anti-tank assets. |
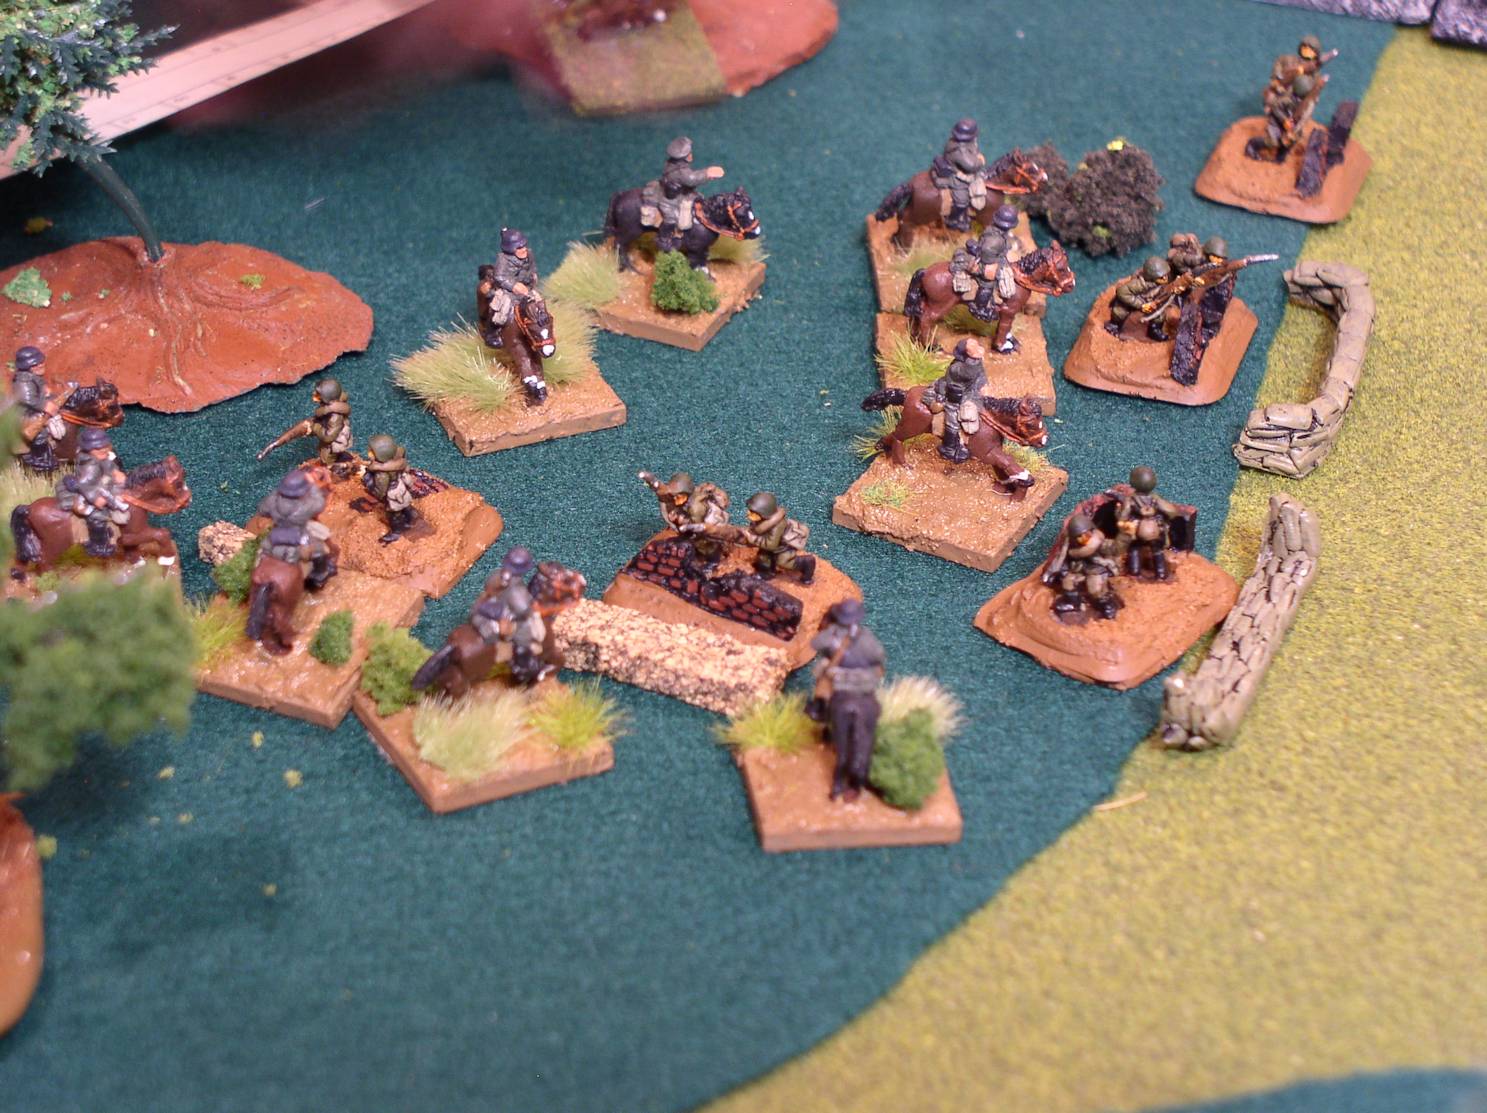
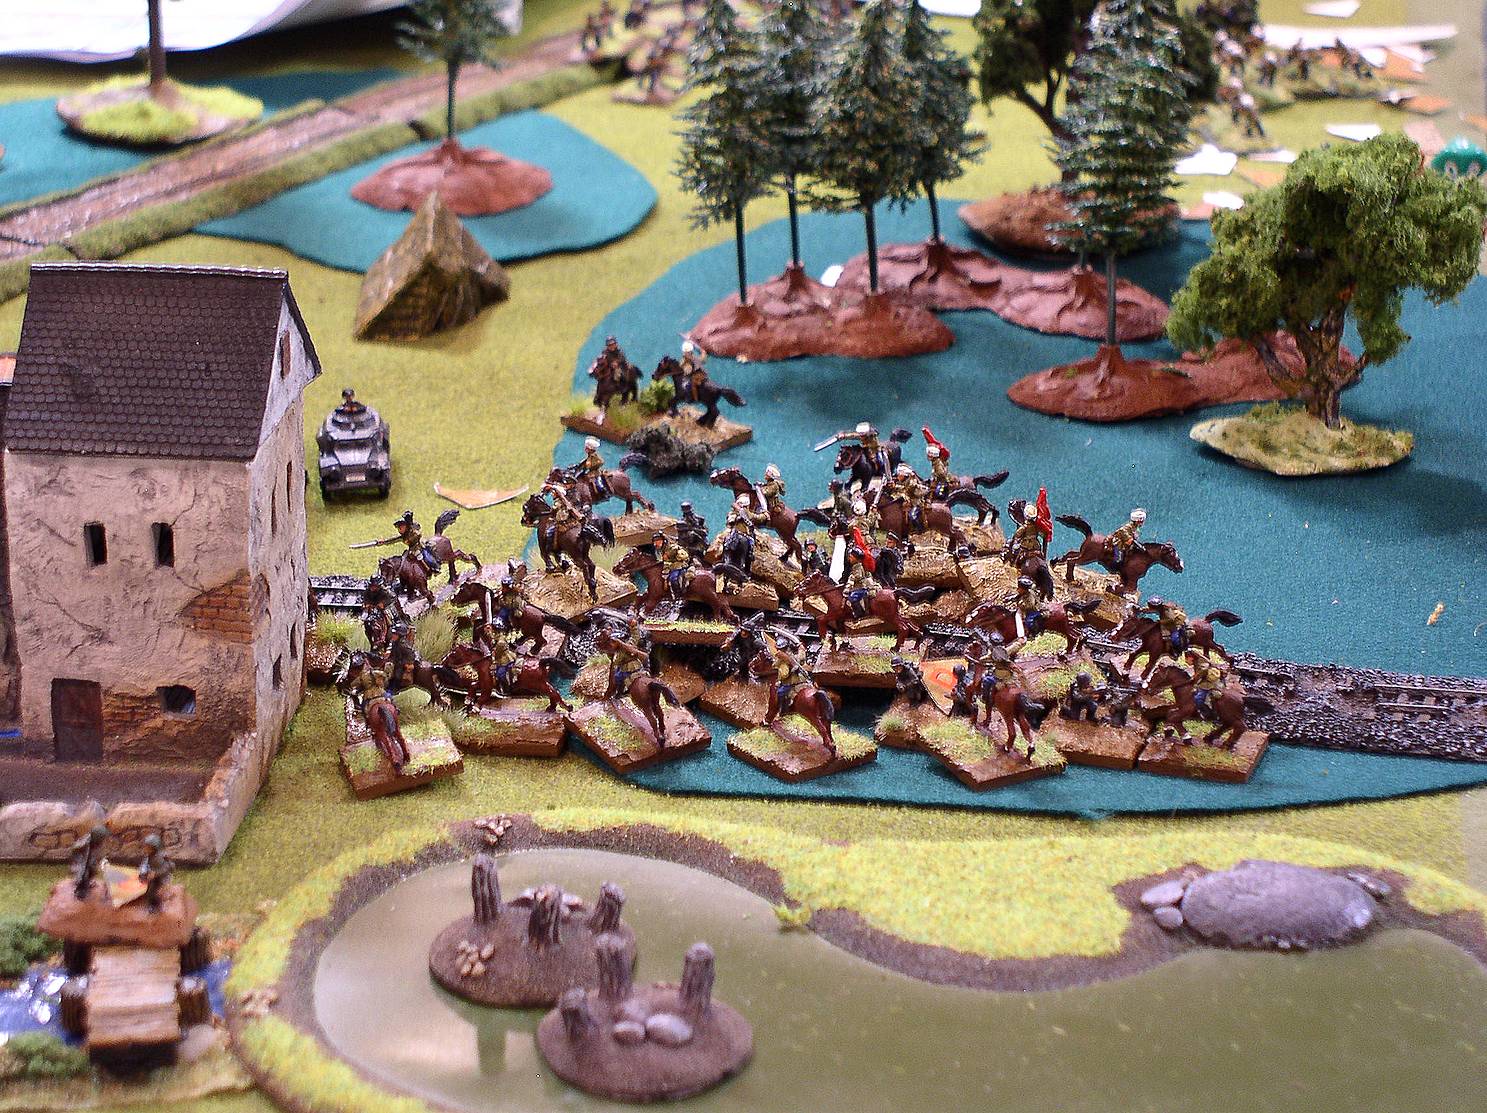 Nasty Surprise 1 - Cavalry Charge Redux |
With the German cavalry and infantry engaged in the town, the first of two nasty surprises appeared. Russian Cossacks charged the rear of the German cavalry in almost a repeat of the earlier maneuver but from the other side. |
 Close up of the Cav Melee |
Peter Lowitt - Another shot of the Cossack and German Cavalry set too in the woods. |
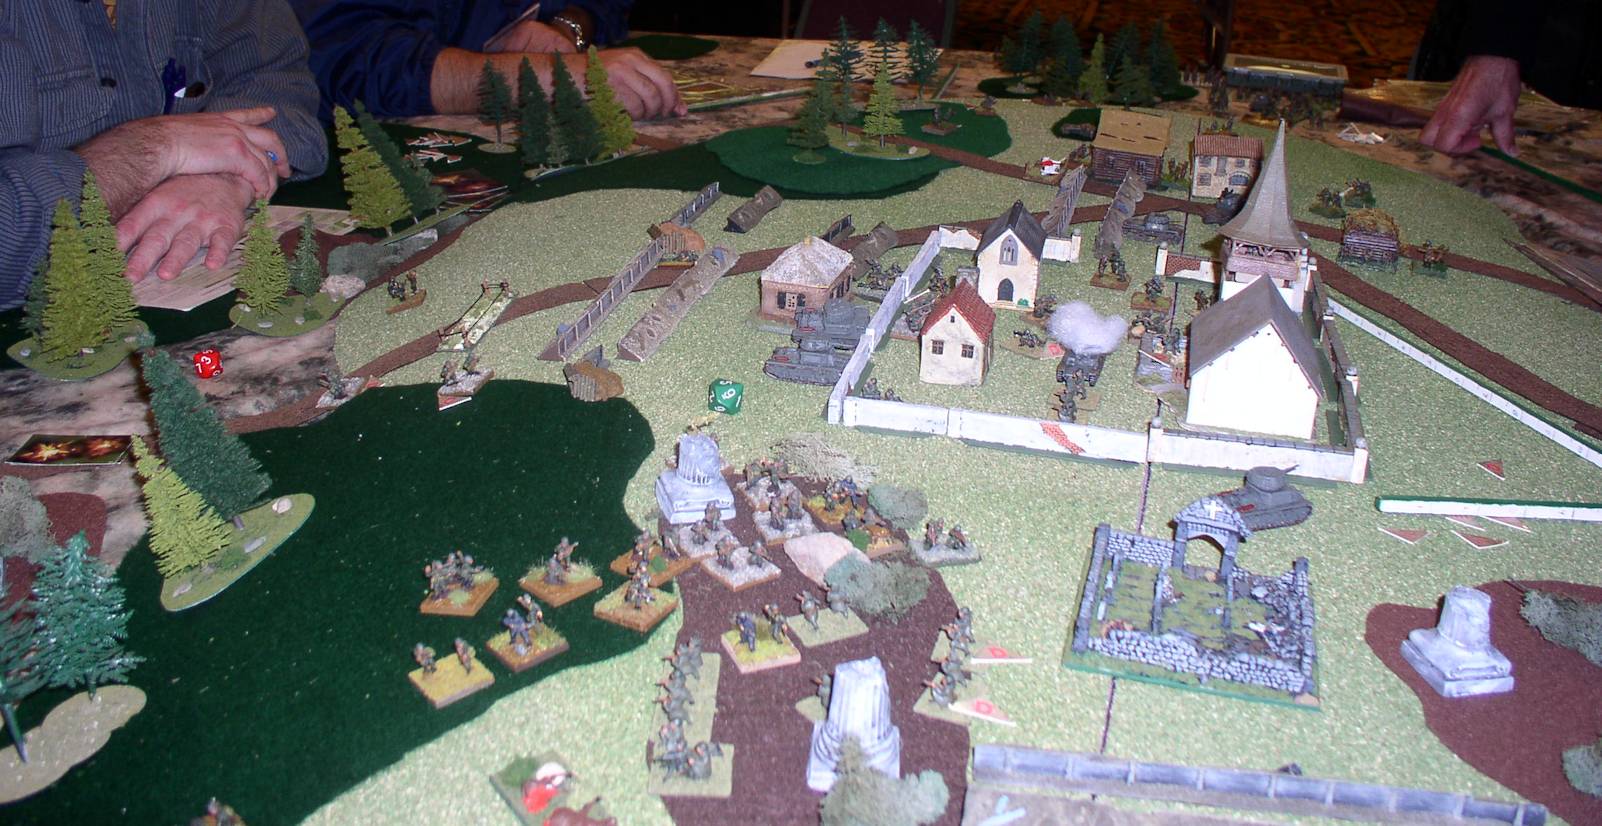
 Nasty Surprise 2 |
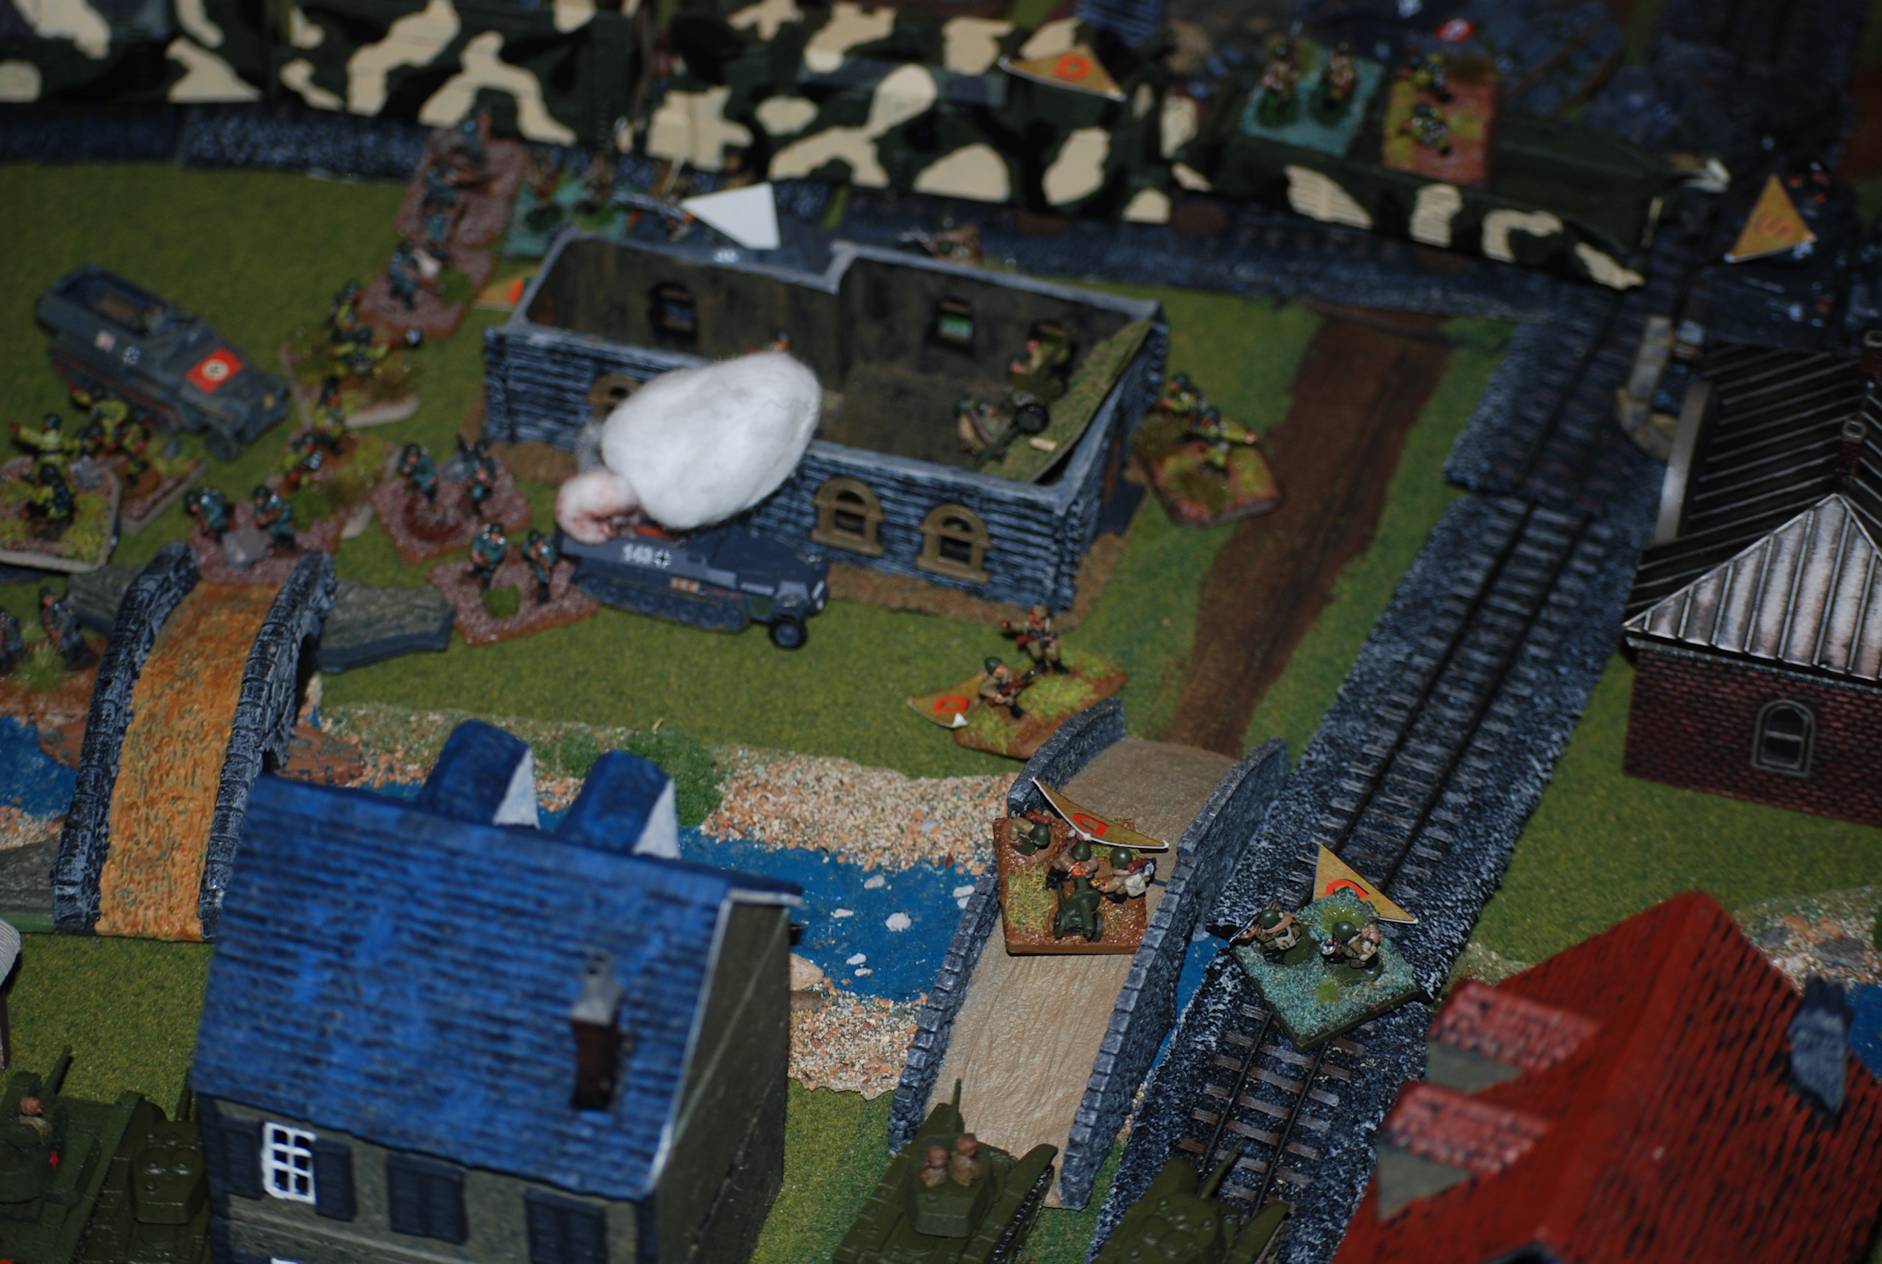
A Russian Armored train appears, sporting two T34 turrets, 2 HMG ports, an armor value of 4, and a trainload of infantry. At this point in the game, the Germans had nothing that could effectively engage the weapon car with fire combat, but they were able to immobilize the train by close assaulting the locomotive. |
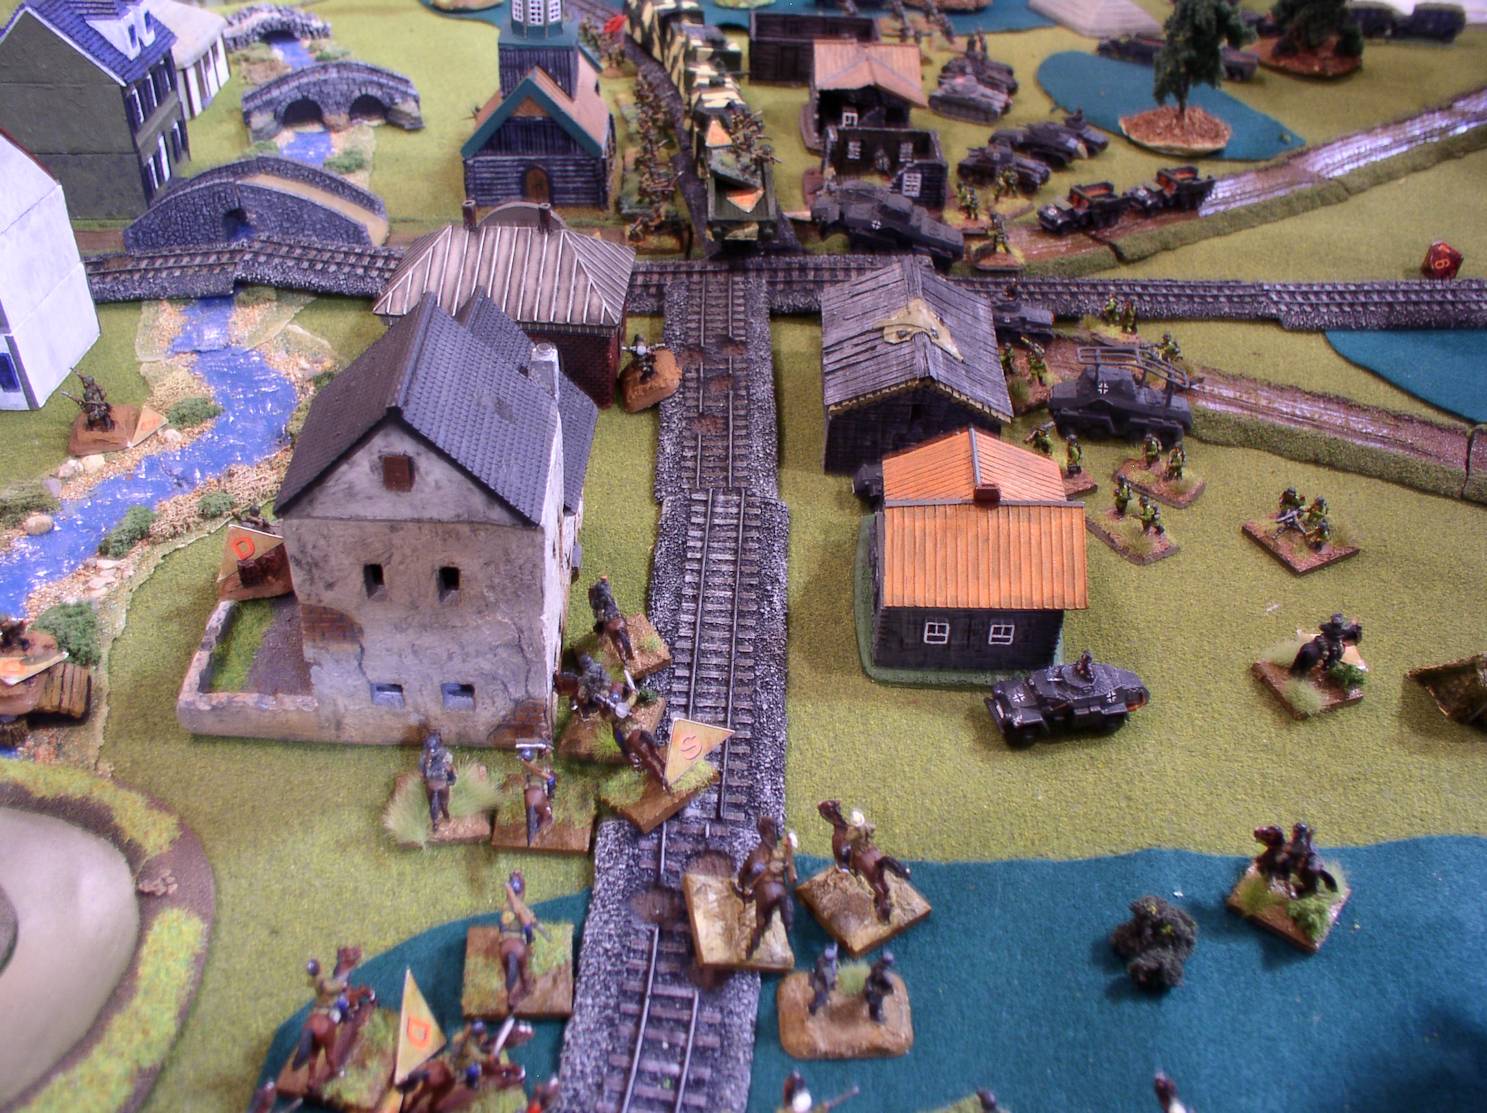
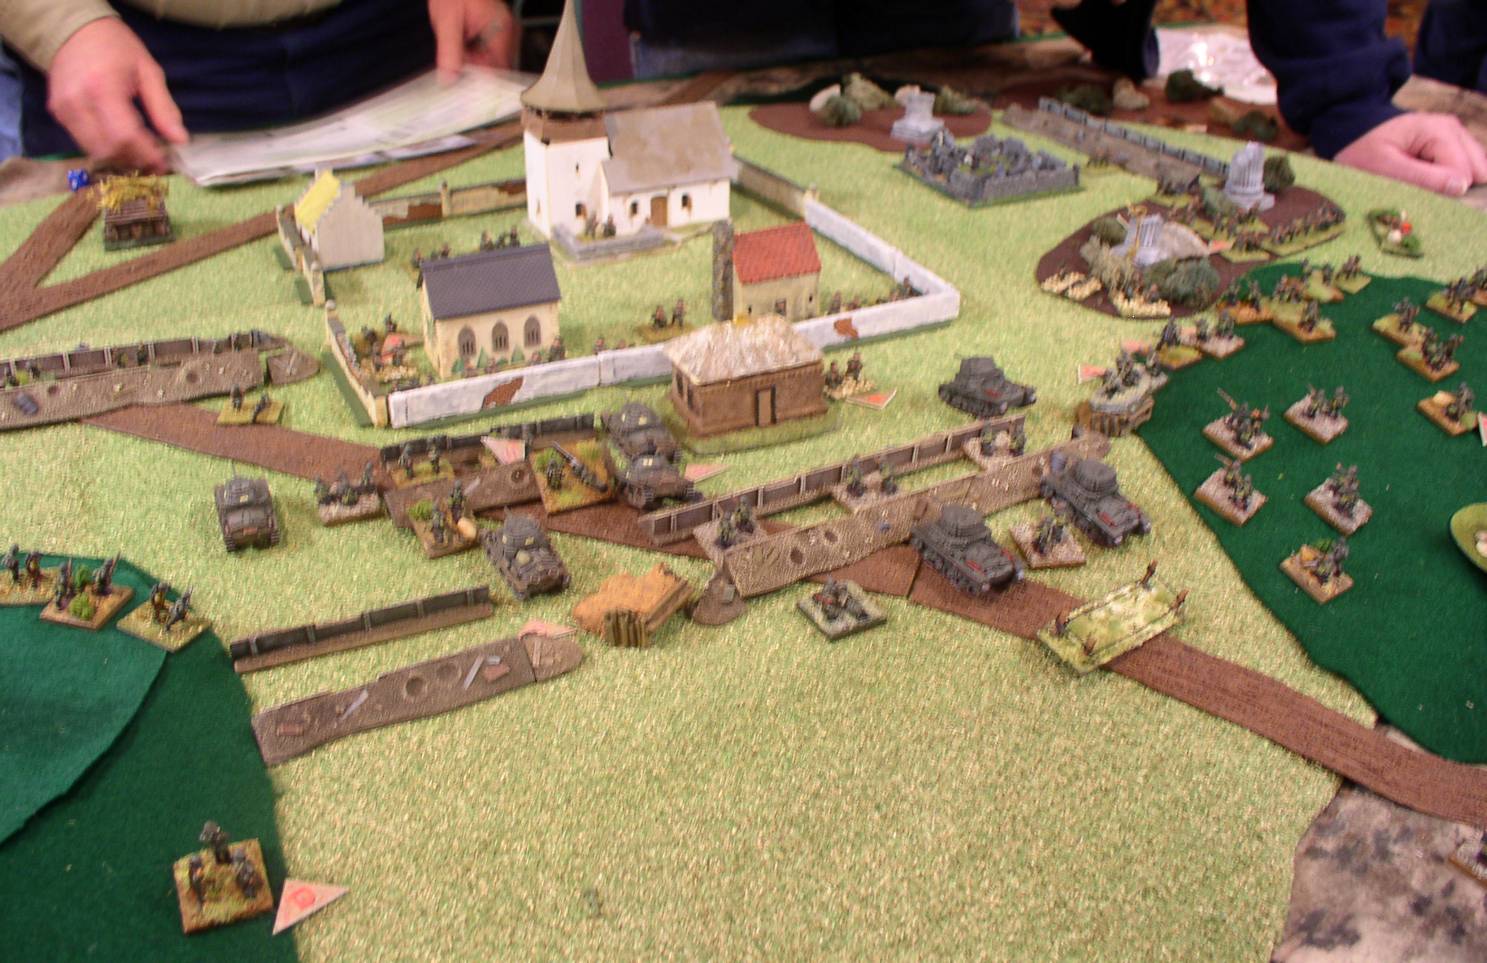
 Coming in on Track 2 |
Peter Lowitt - While successful german use of combined arms (infantry and Armor) have pushed the Soviets out of the first line of village building, the timely arrival of the Soviet Armored Train puts a wrinkle in their advance. |
 Melee |
The Russian cavalry engages the German infantry. The German armored cars attempt to balance supporting the infantry with not getting toasted by the train. |
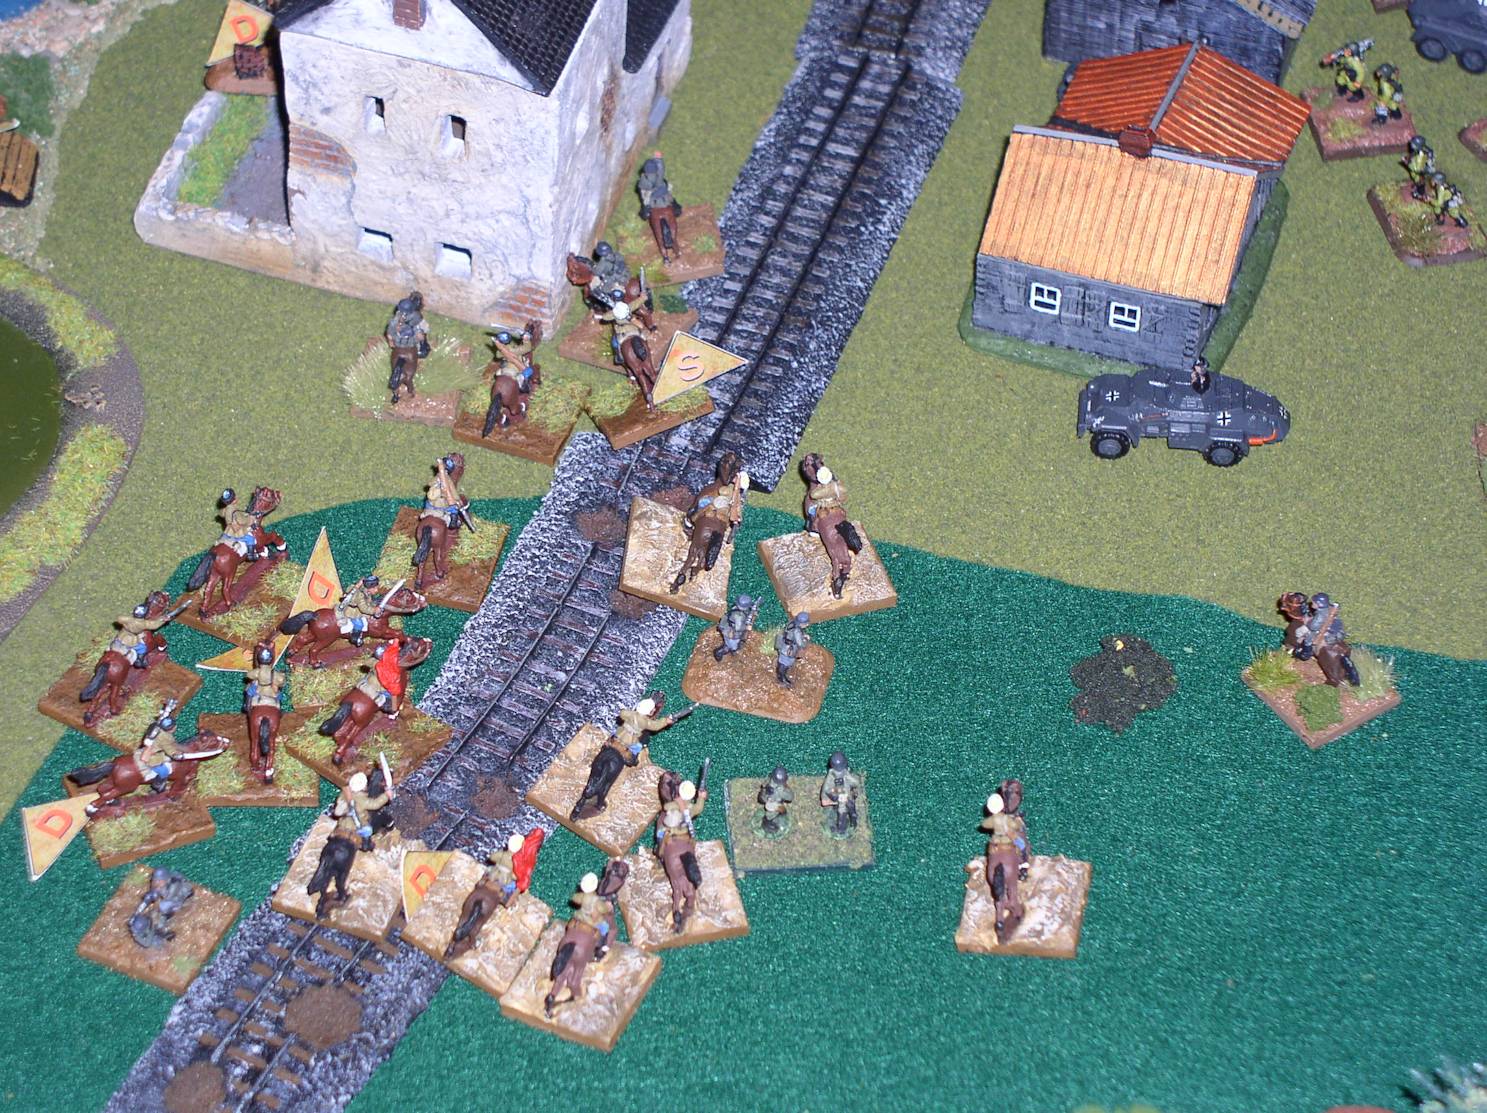 Swirling cavalry |
The Russian cavalry continues to charge, but is starting to lose cohesion. The discipline rating of the Germans allows them to get out of bad situations and not break and run. |
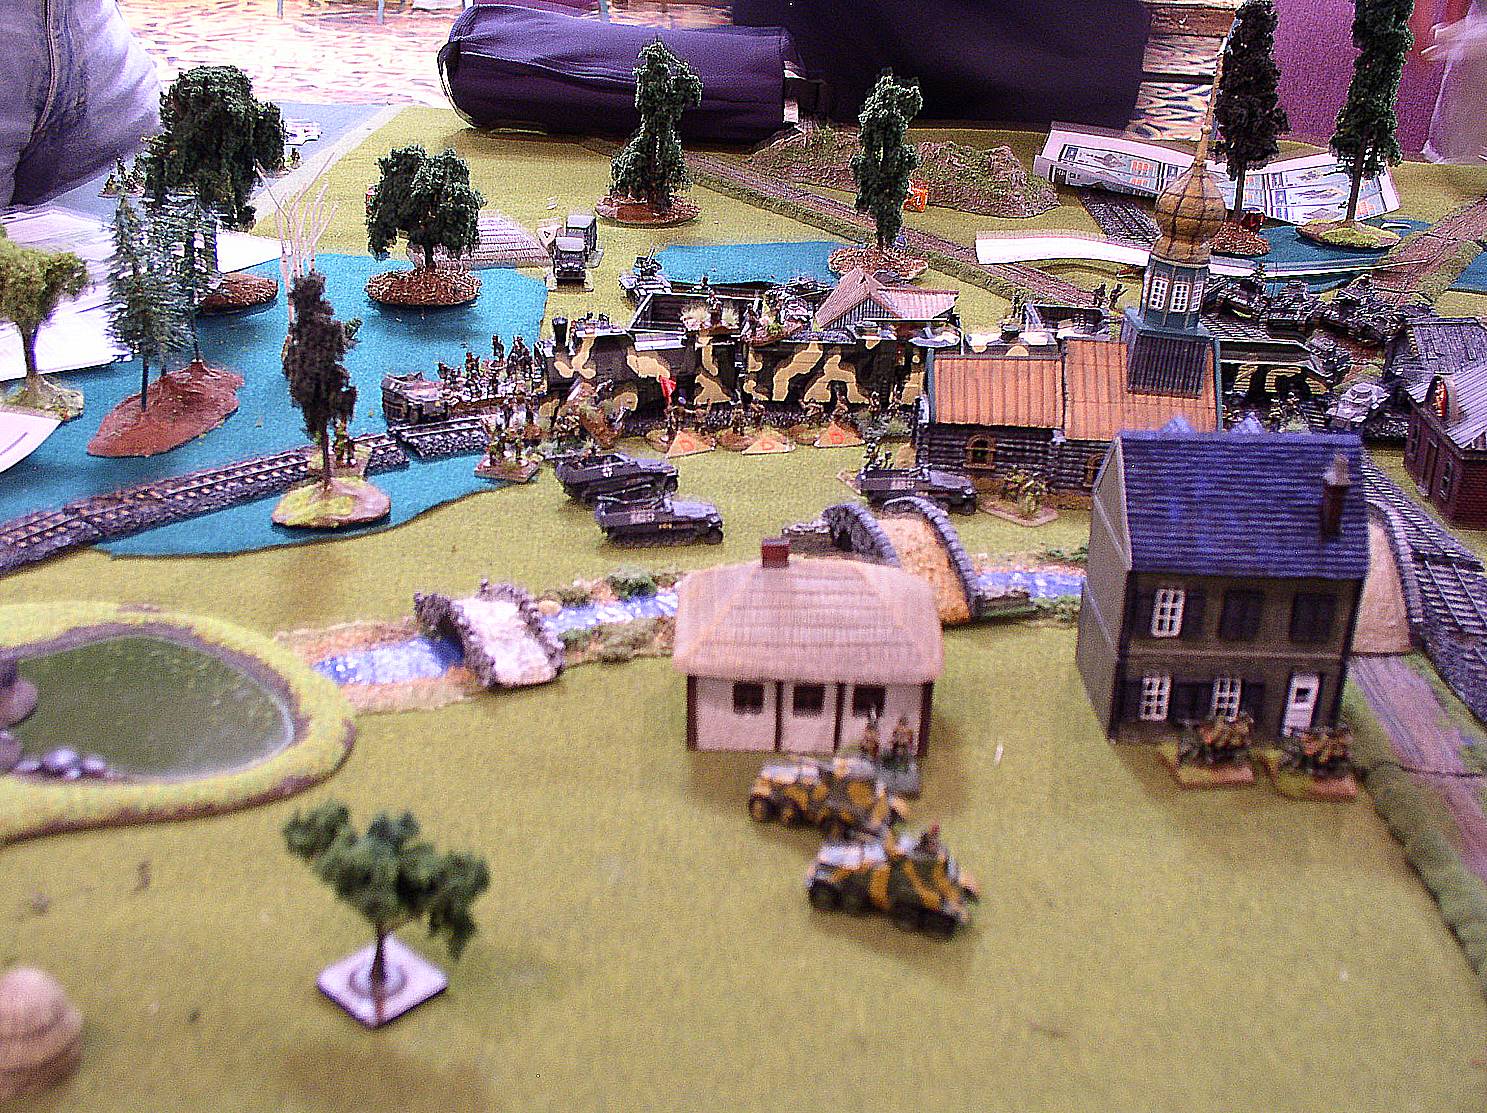
 Russian Armored Reinforcements |
The first Russian tanks and armored cars start to arrive. Facing them are 20mm and MG armed tanks (the best German AT vehicle - the command halftrack - was toasted early in the engagement). However, the German engineers and motorcycle troops are starting to get the upper hand on the right flank. |
 Soviet Armored reinforcements |
Peter Lowitt - Soviet armor arrives, too little too late; though we do toast a few engineering half tracks and cause the engineer unit to break. |
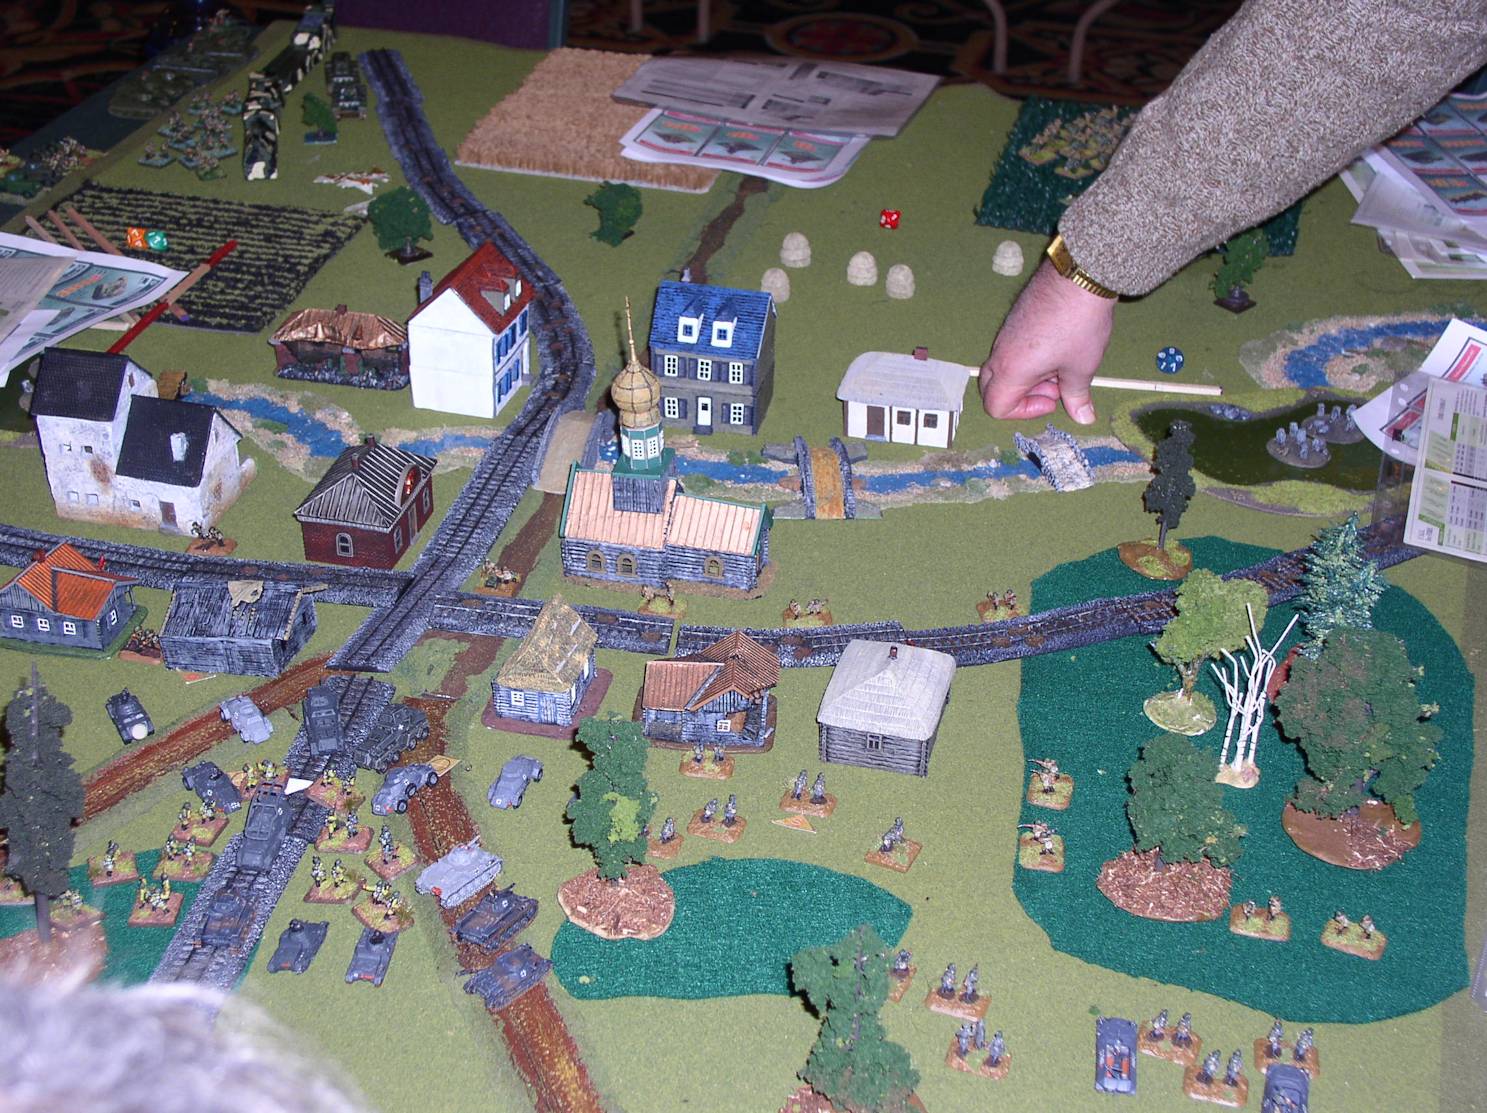
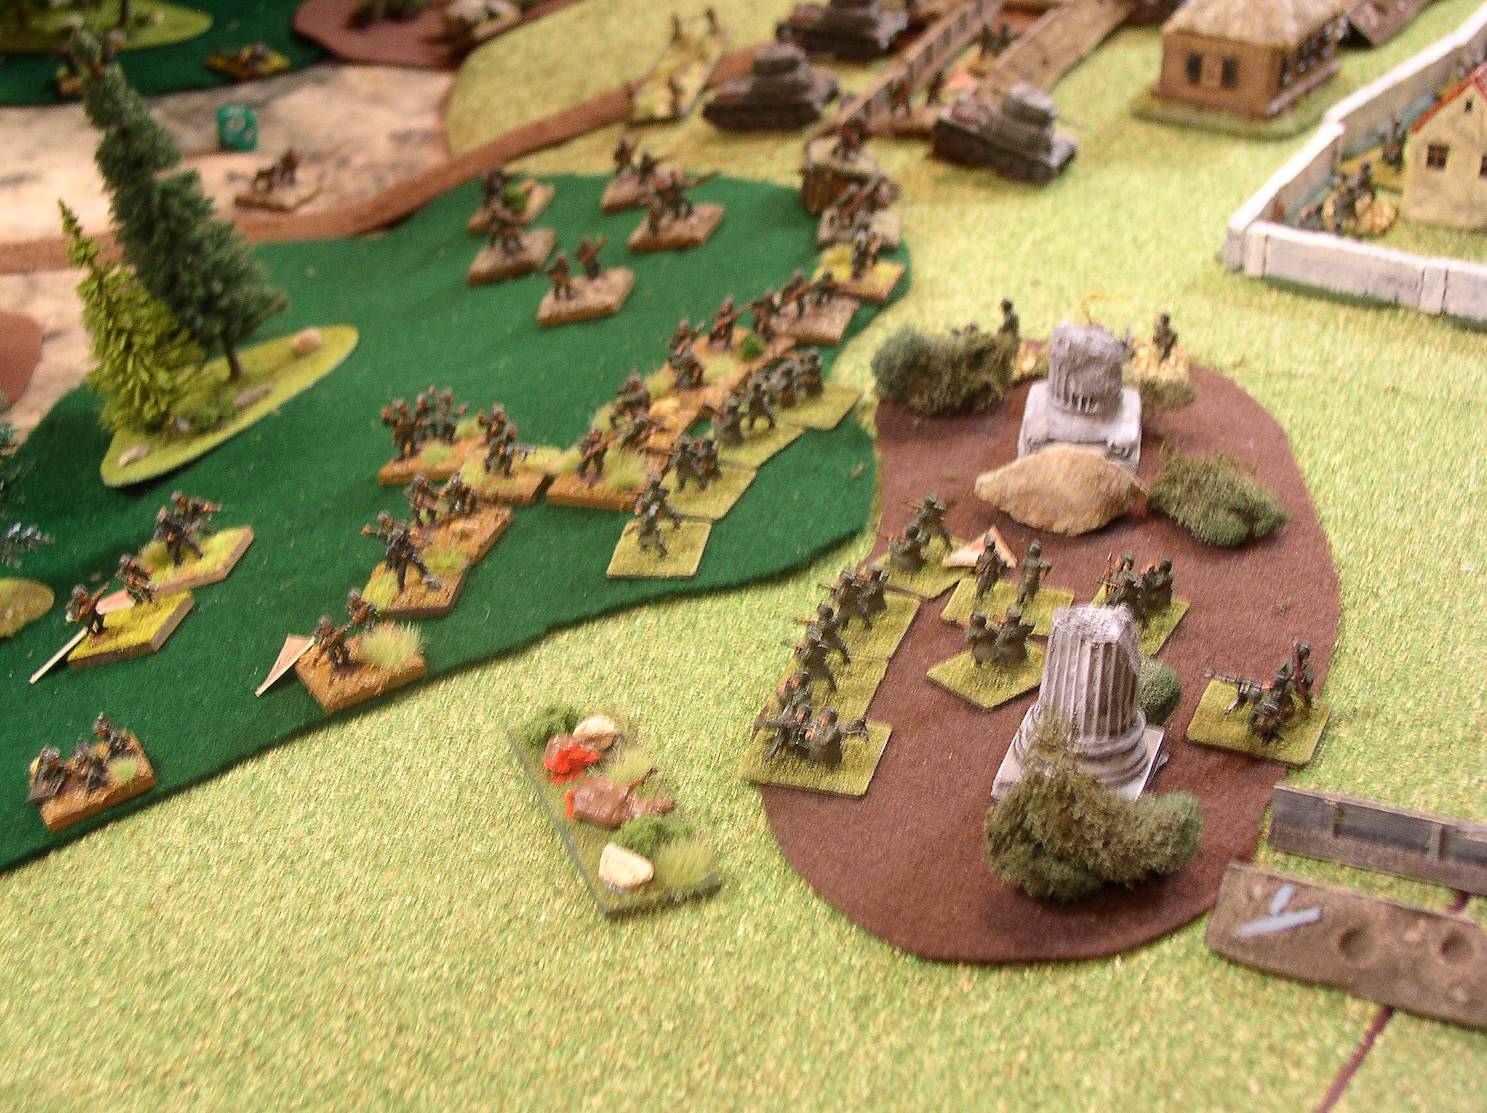
 Stalemate in the Center |
The T34 turret points ominously at the center, daring the German Armored cars to poke their heads out. Fortunately for the Germans, the train can't move. |
 Assault on the German Right (Russian Left) |
The engineers assault the Russians on the flank. |
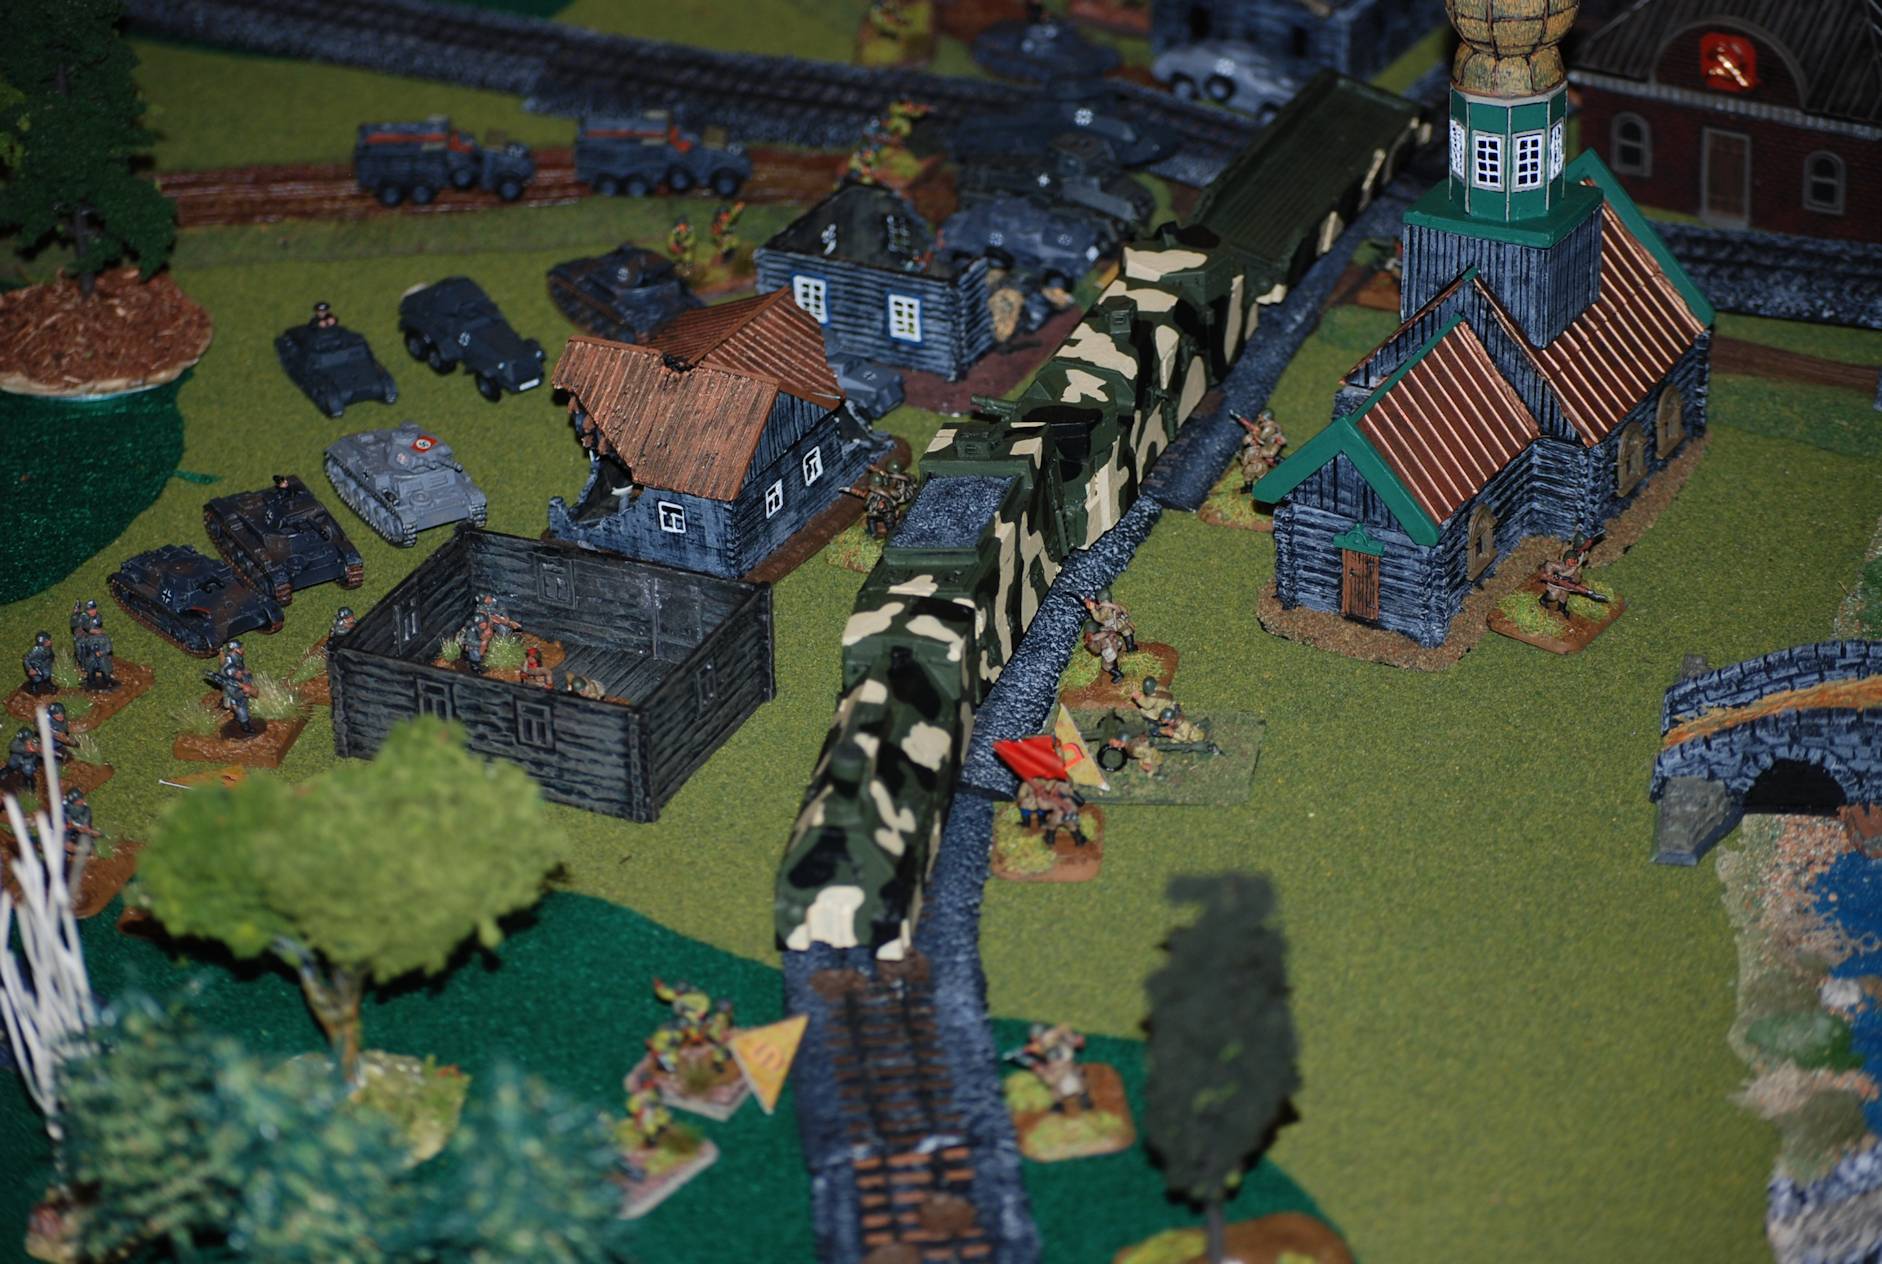
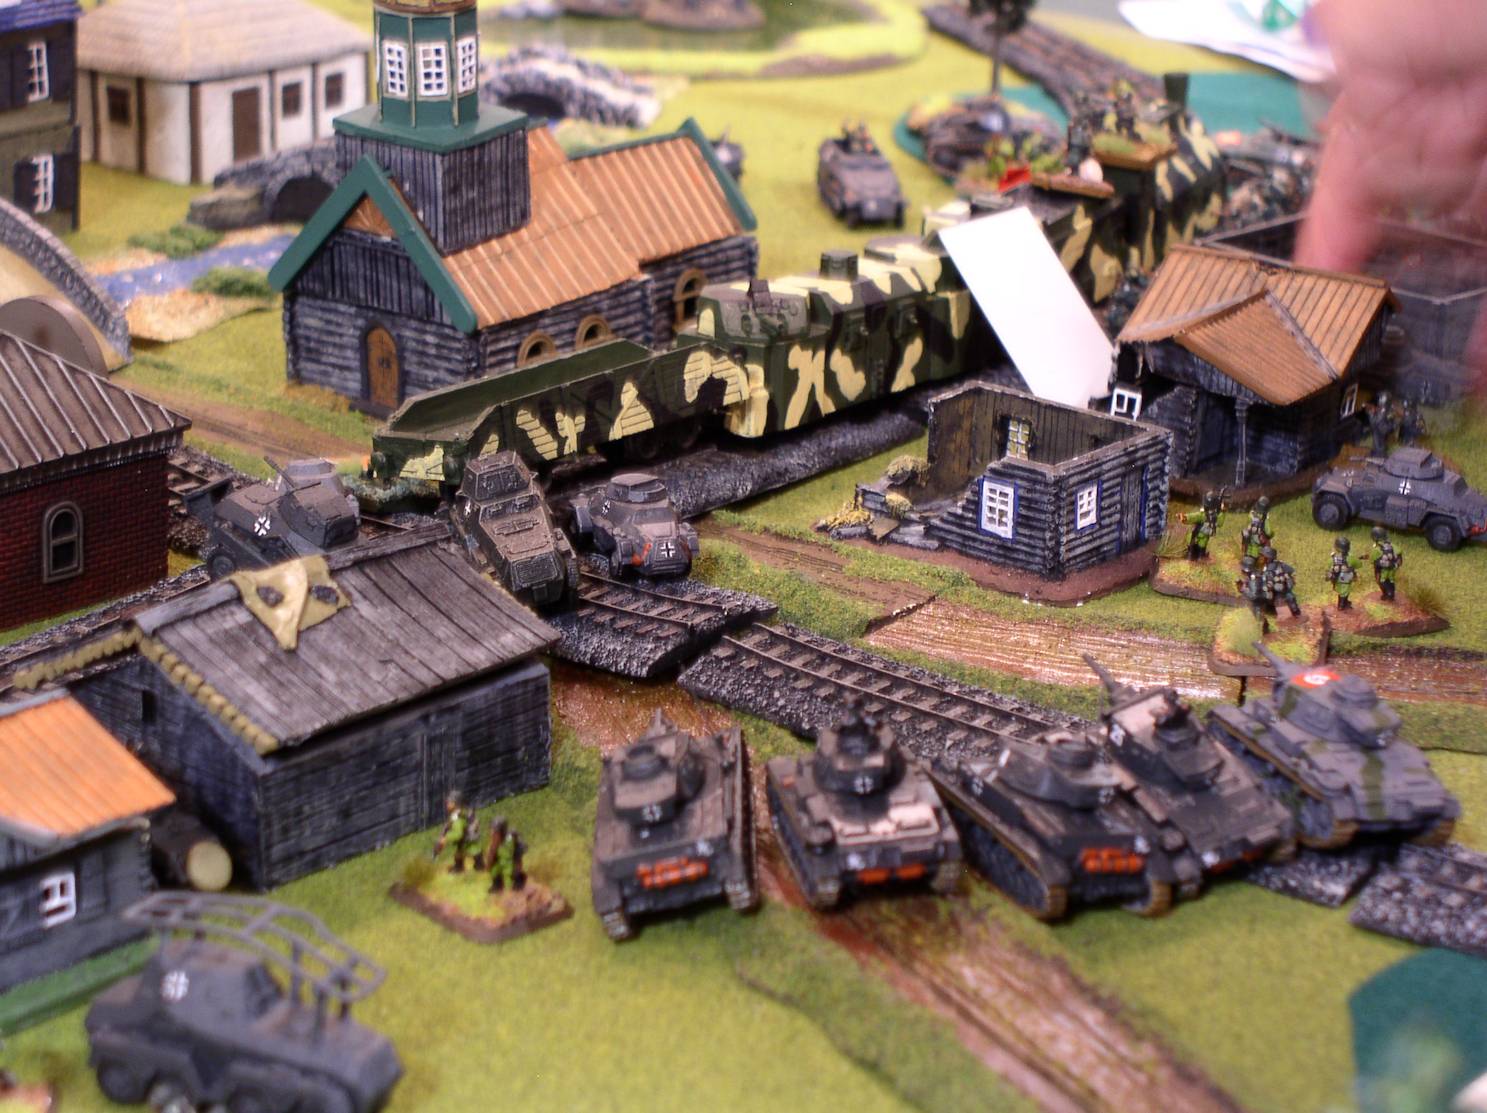 German tanks |
German Tank reinforcements appear, finally giving the Germans something to deal with the train. They line up to engage one of the turrets with all 5 tanks, planning to move up with a successful shot and clean out the rest of the battle car. |
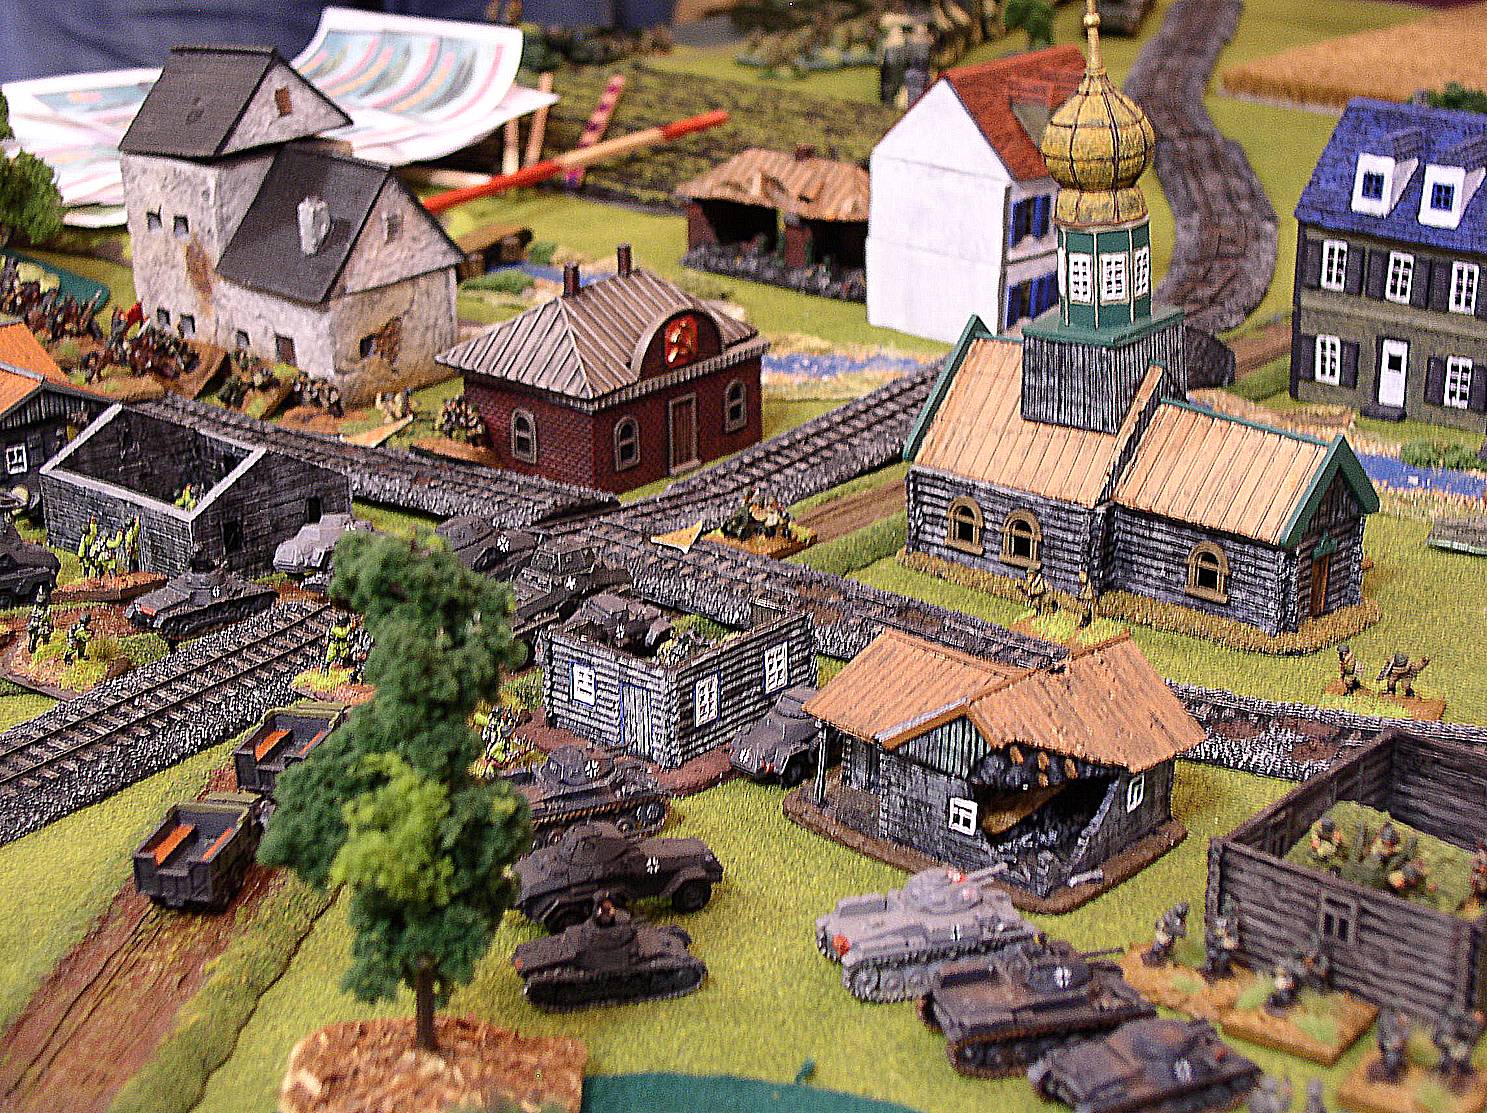
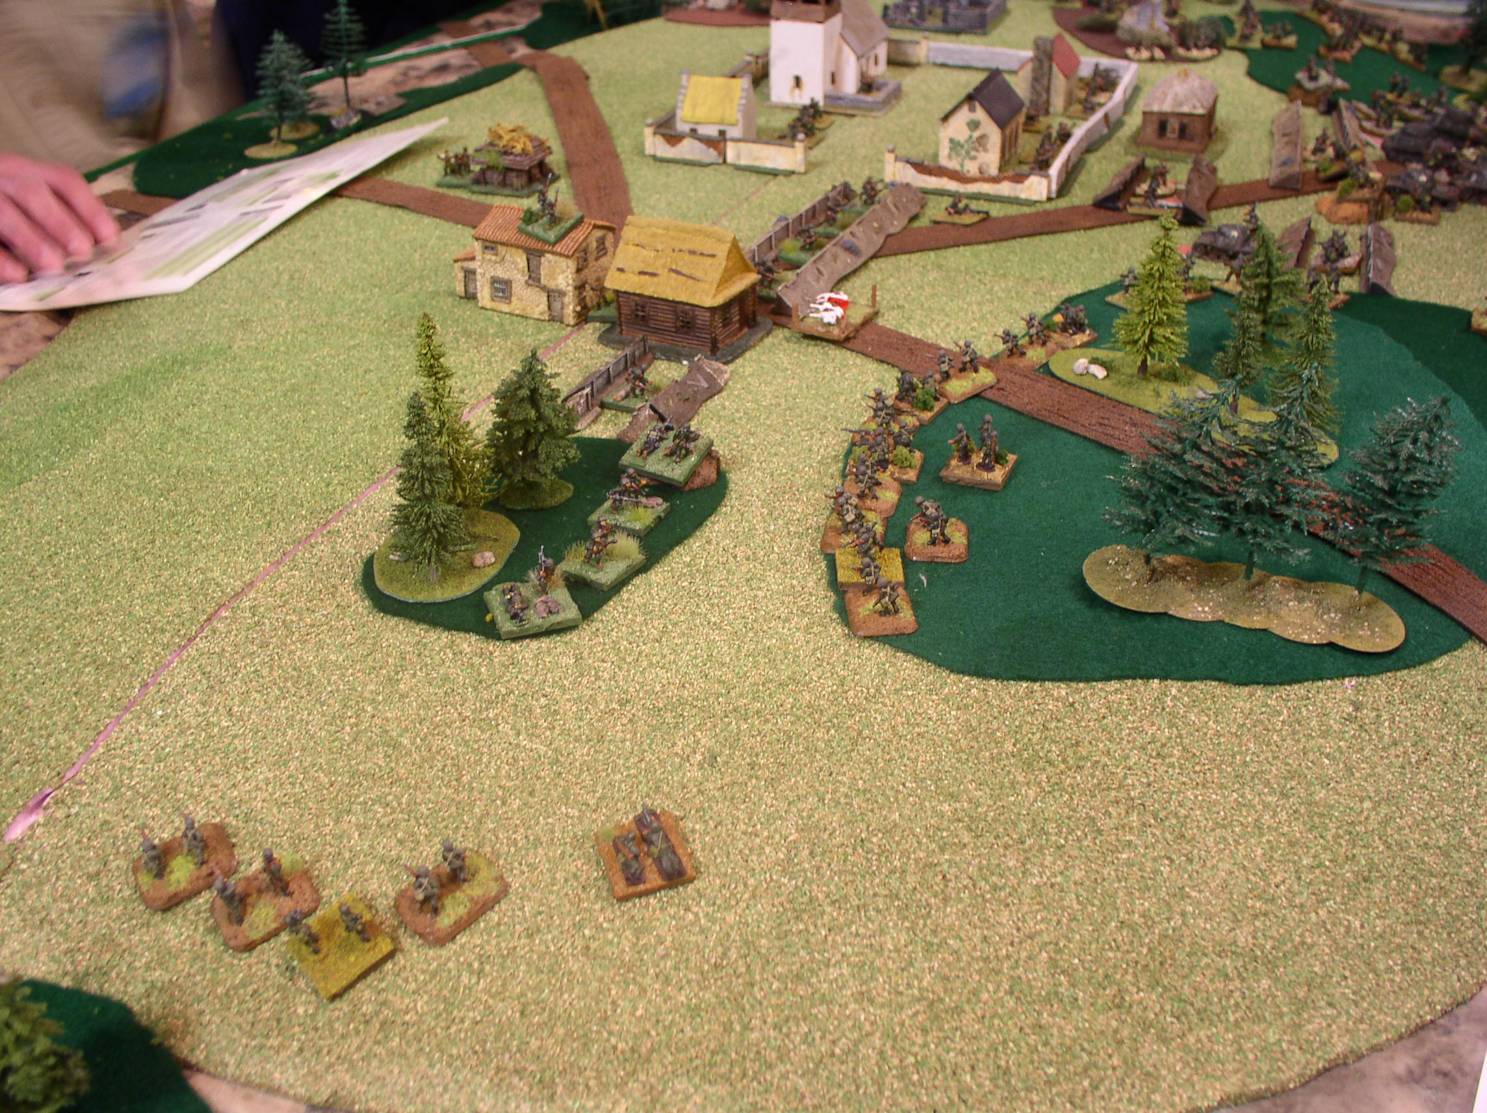
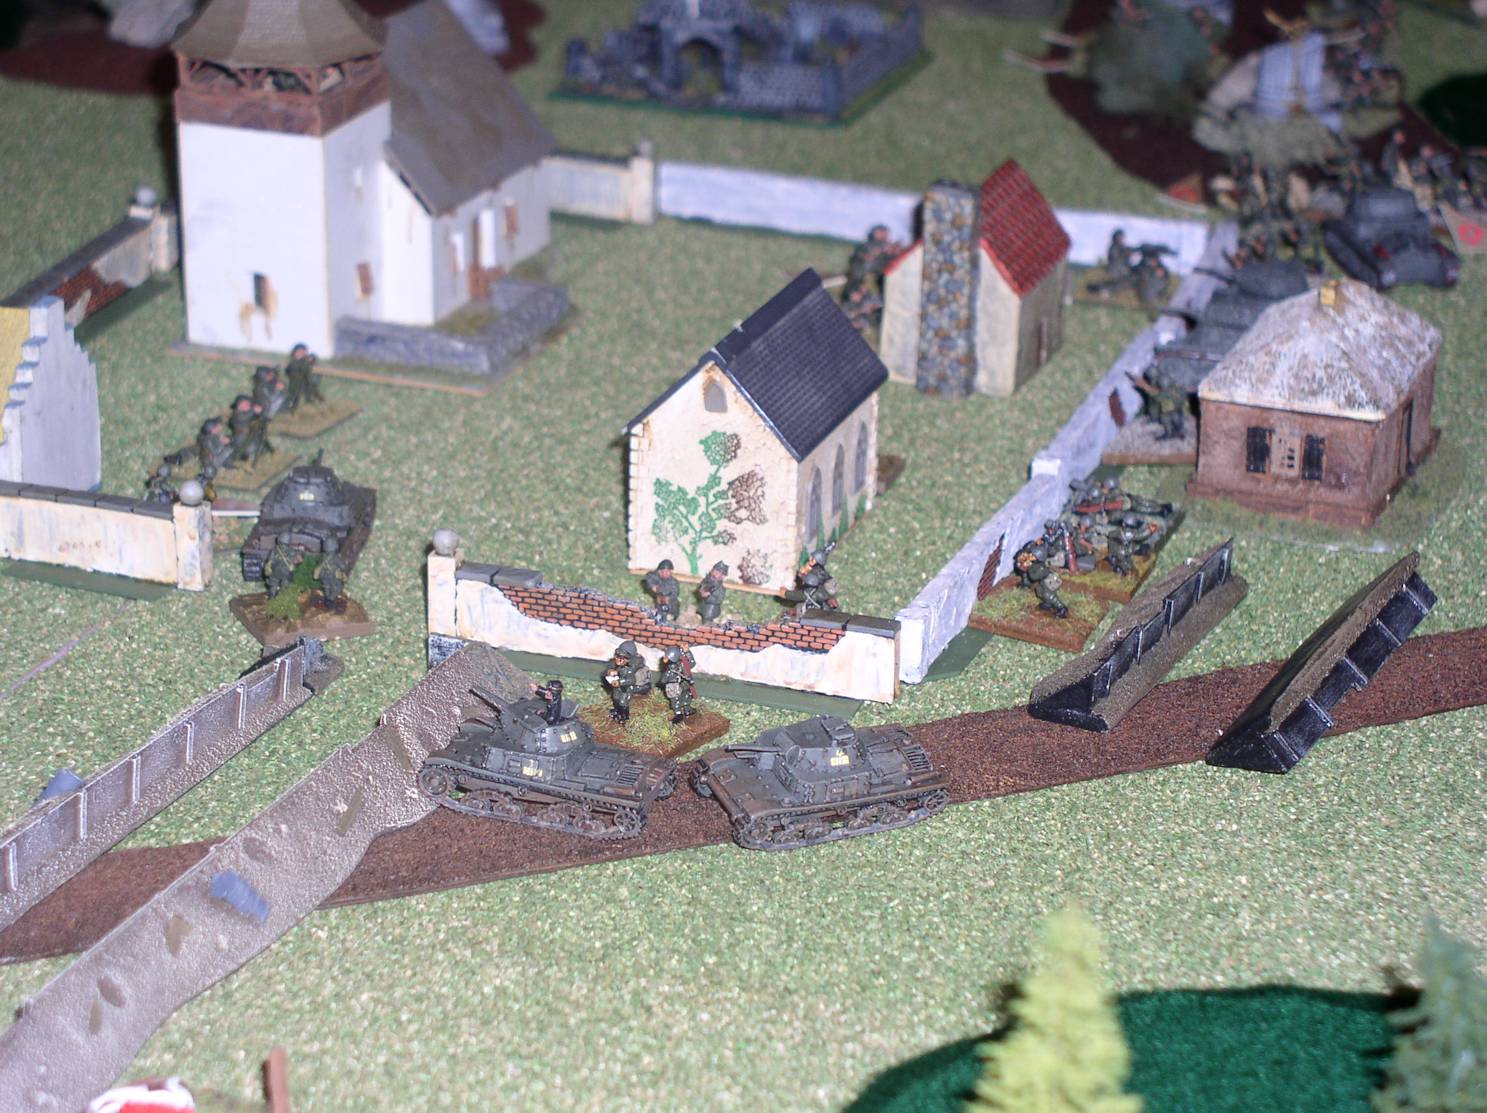
 Push forward |
With the train under attack, other Germans move up to take the center of the town. |
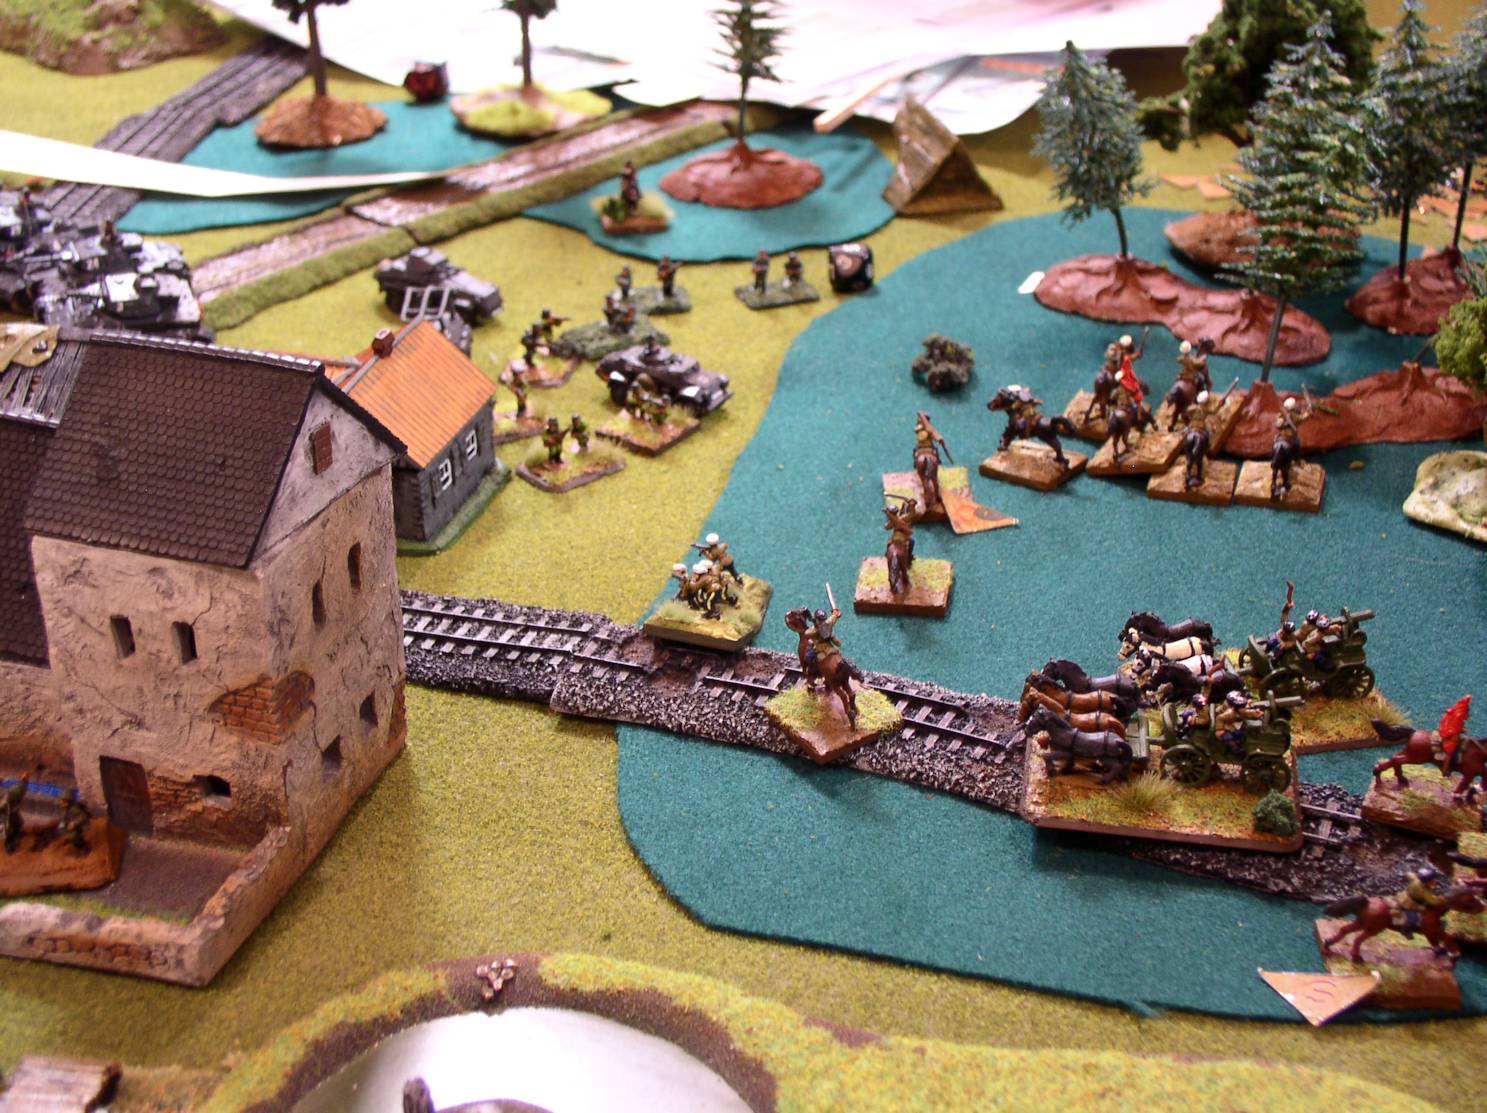 Cavalry standoff |
The exhausted Russian cavalry and German cavalry stare at each other. The cossacks tried one more assault, which was beaten off, and then neither side could advance effectively. |
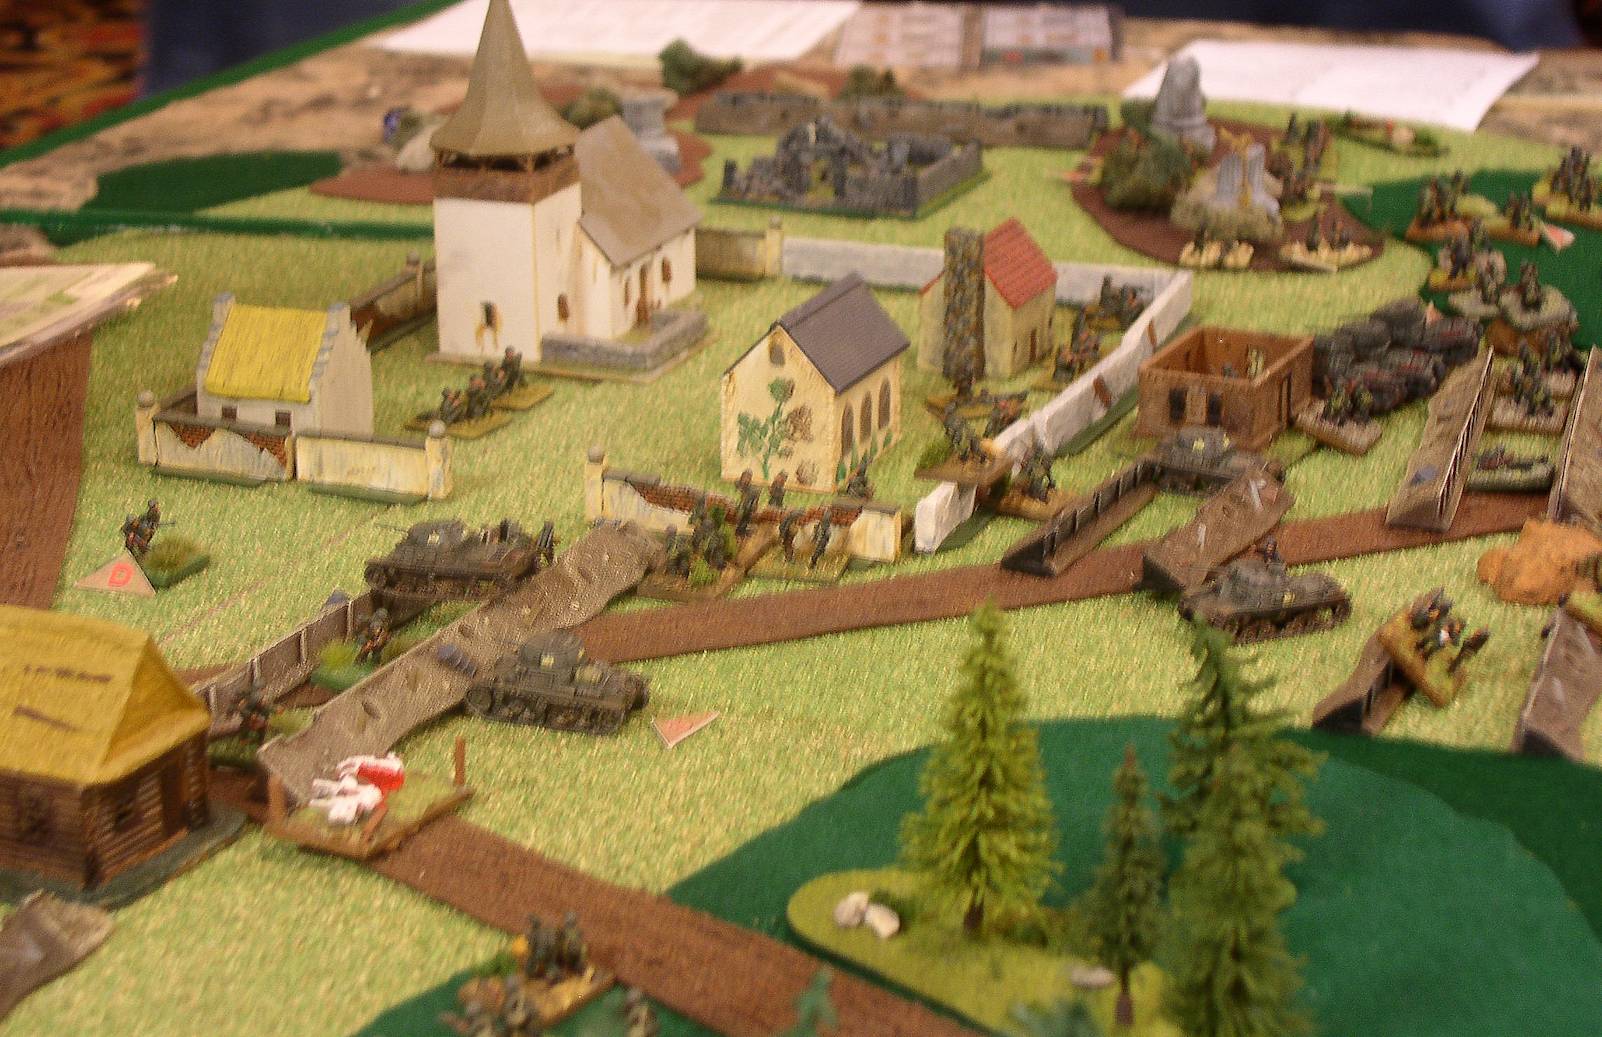
 Near the end |
German light tanks in the woods face off against Russian light tanks. The near bridge is not useable by tanks. In the middle (although it isn't clear here), the German tank line has disordered and closed with the rear train turret, which is soon destroyed. This allowed some of the PzIIIh to move to block the Russian armored reinforcements while the PzIVD supported the infantry assault. The game was called here, as a marginal German victory. |
| Click on the Thumbnail for a full-size photo | Description |
|---|---|
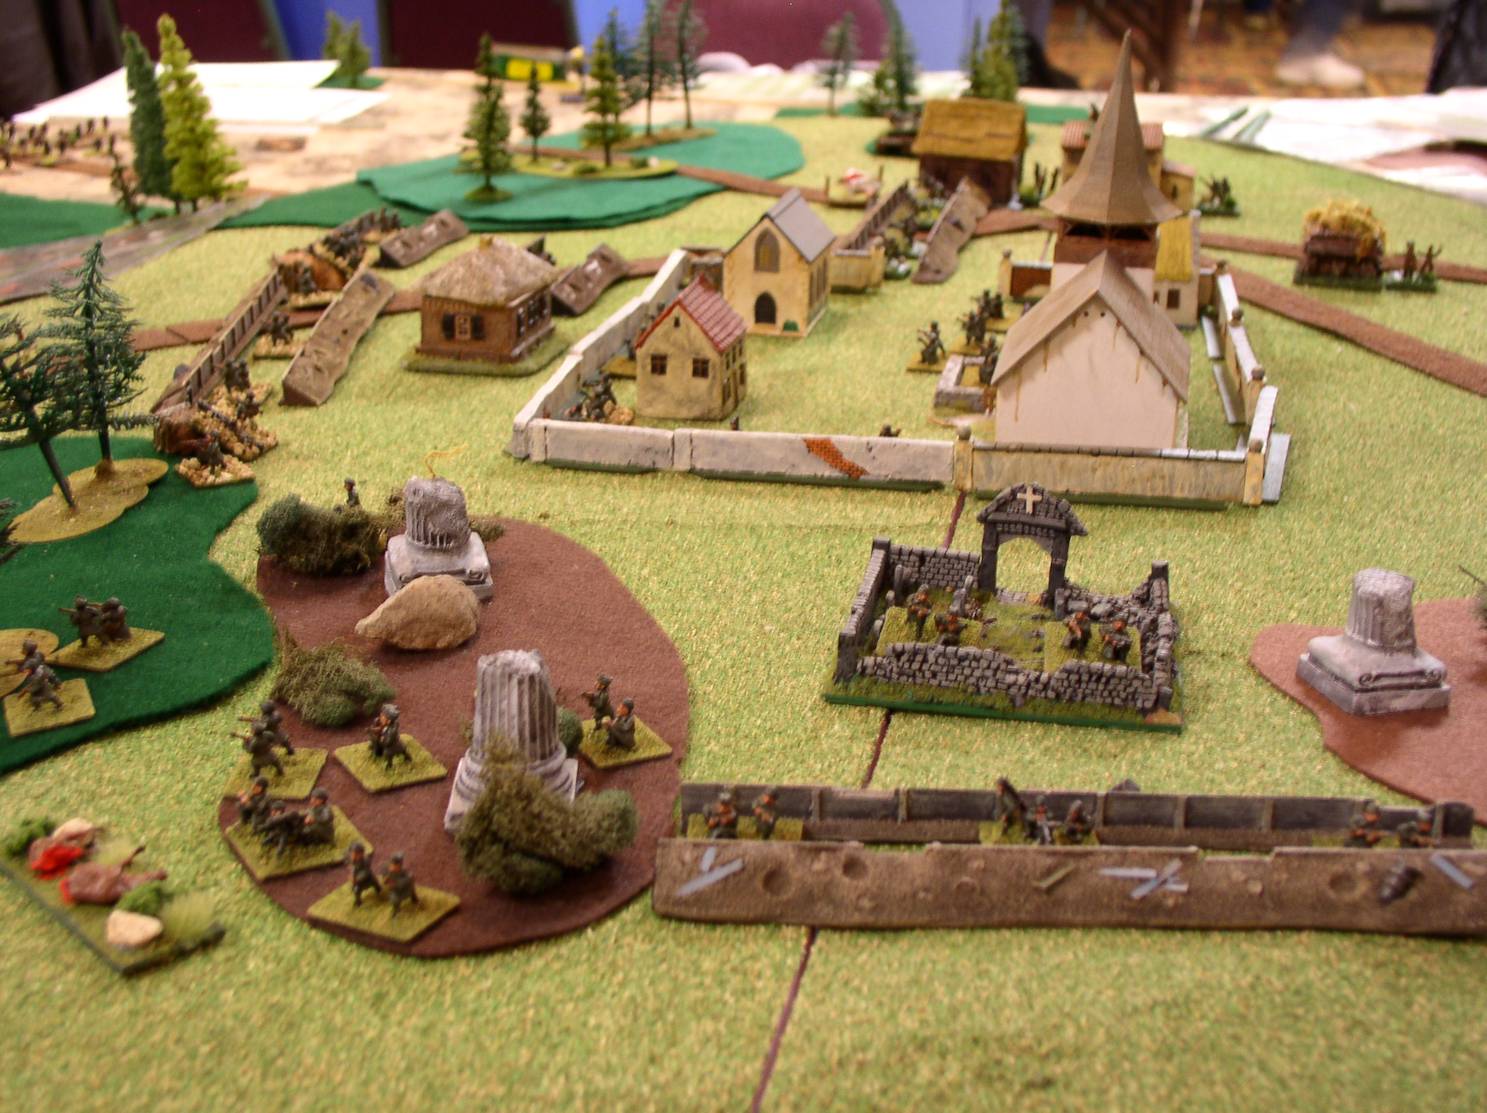
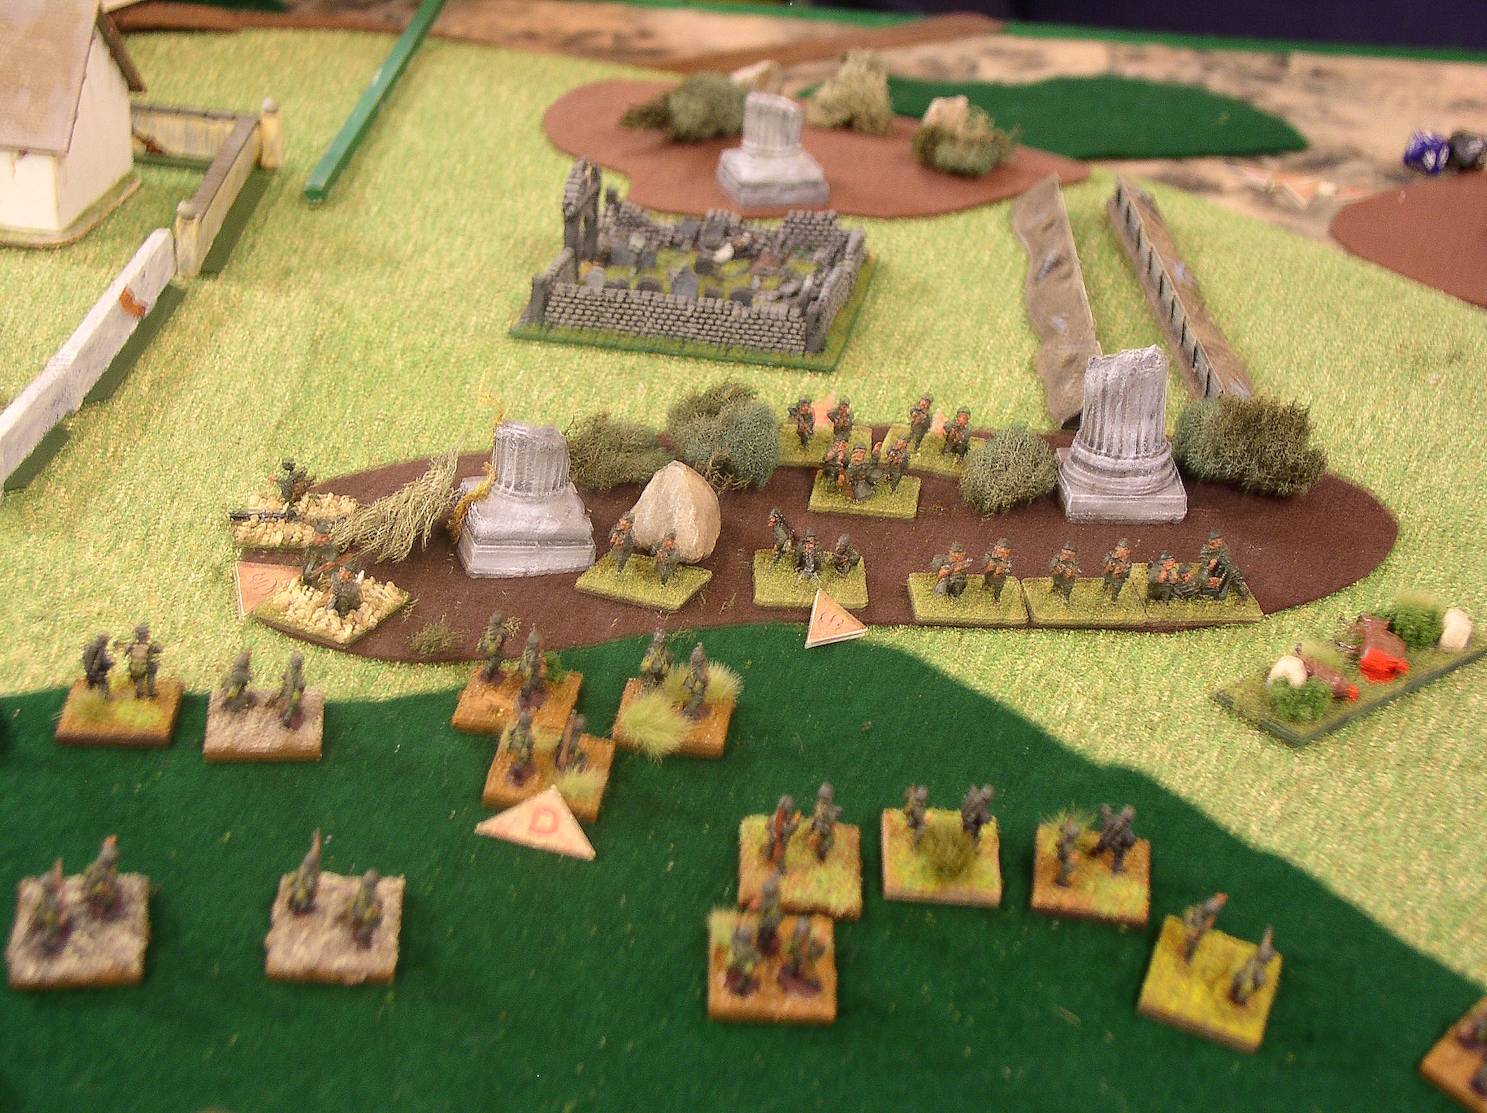
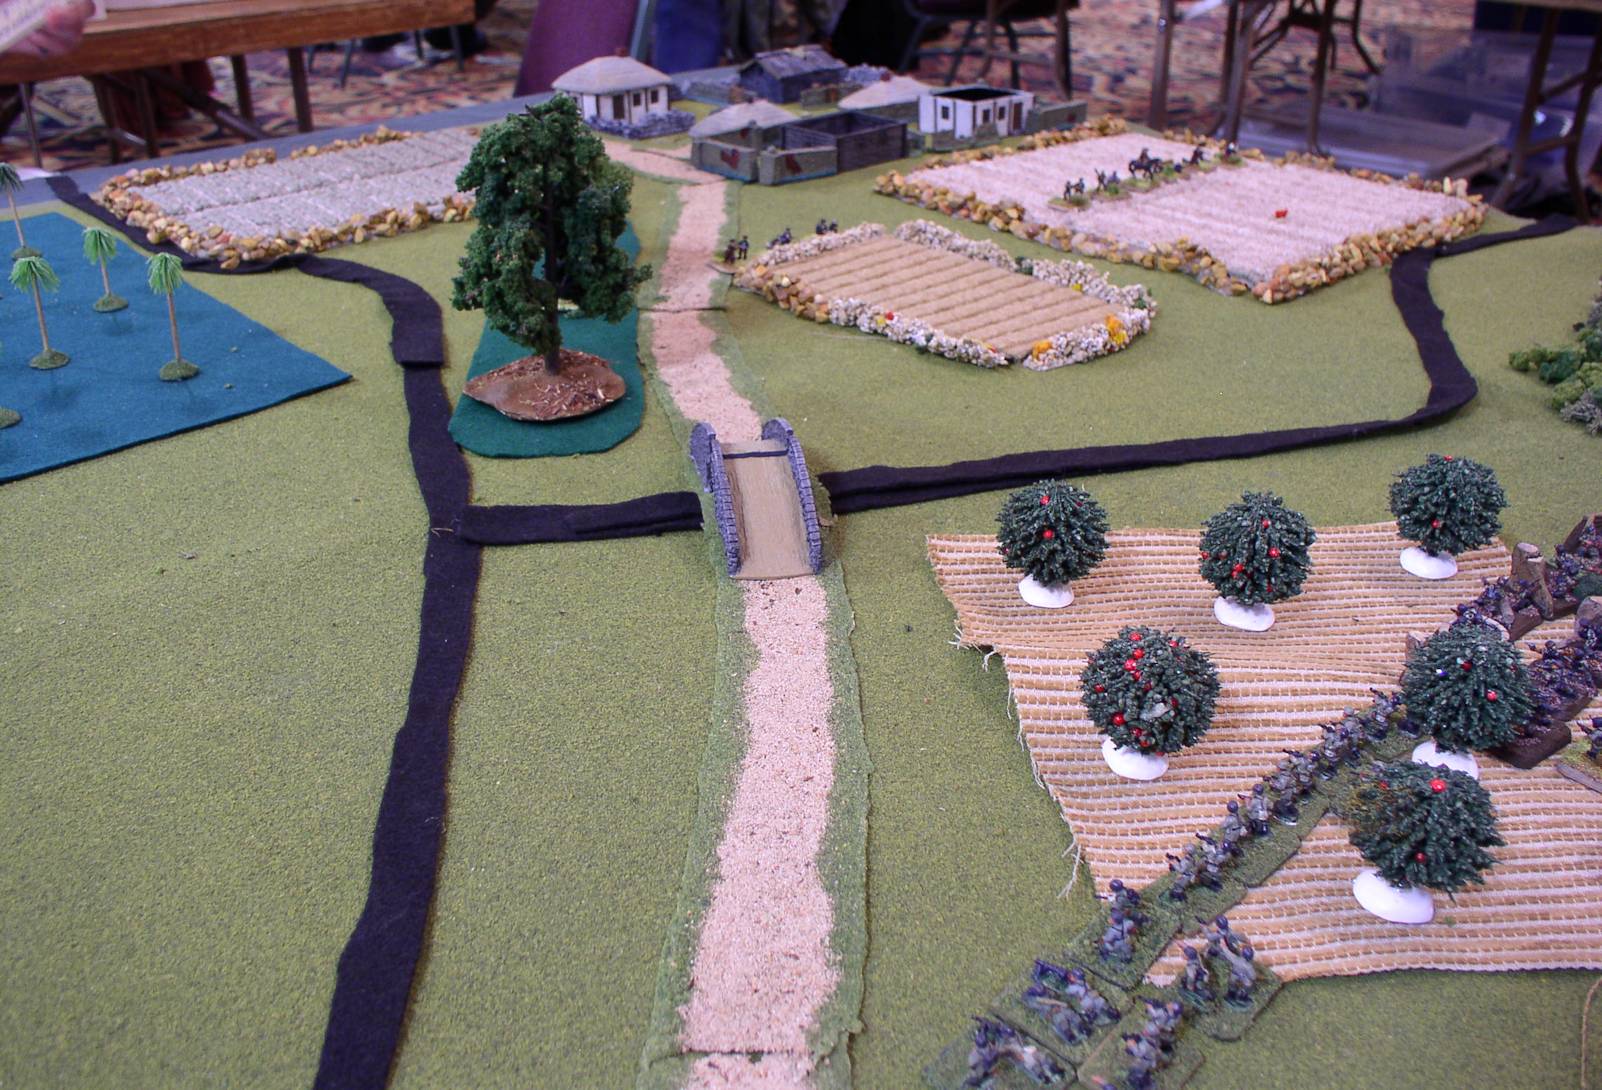 A peaceful village |
On the island of Crete, a peaceful village lies. The farmers are in their houses having lunch, their shotguns resting against the table. |
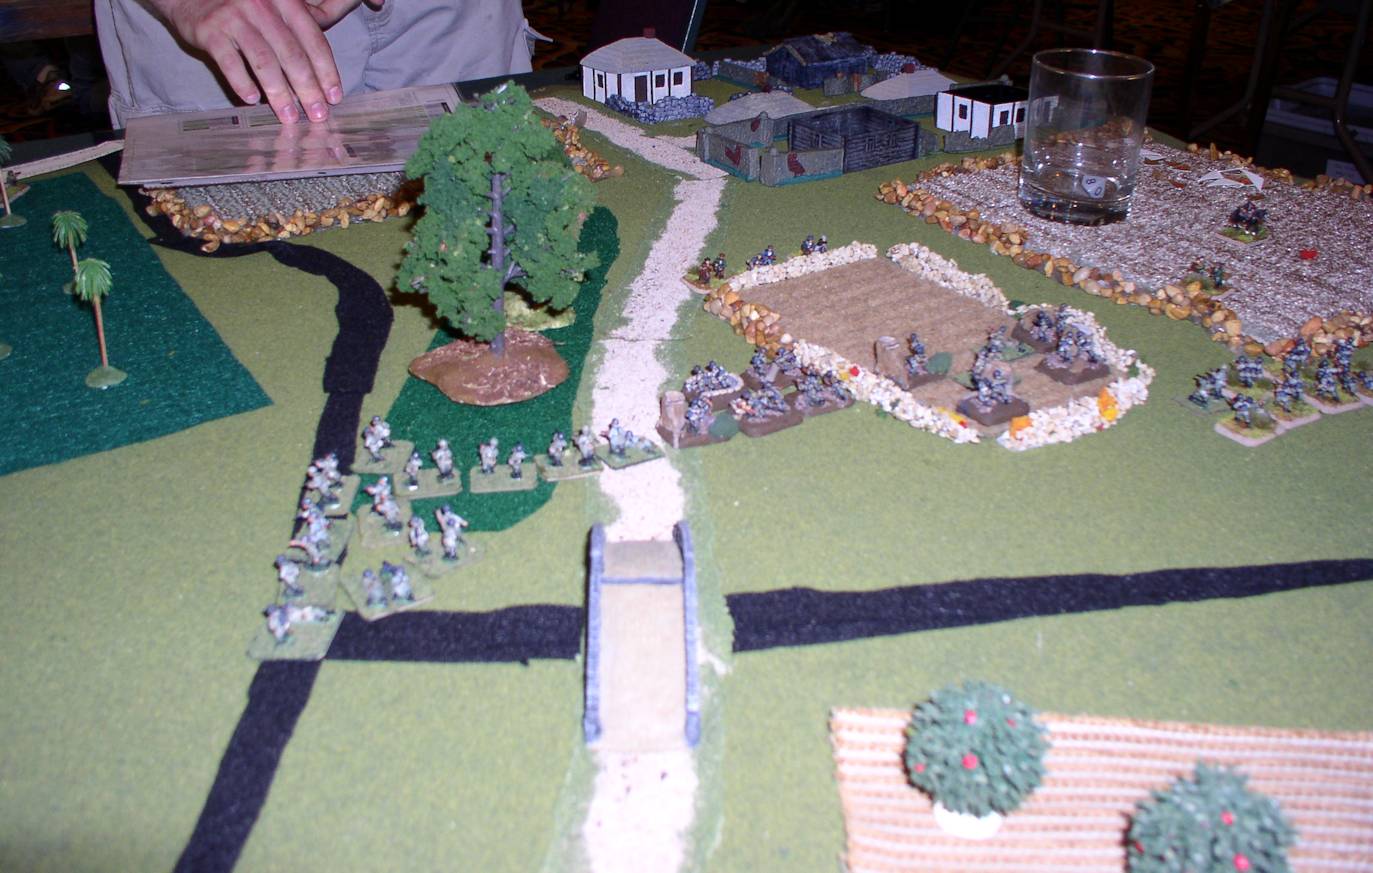
 Reinforcements |
Greek Infantry approaches to save the village. |
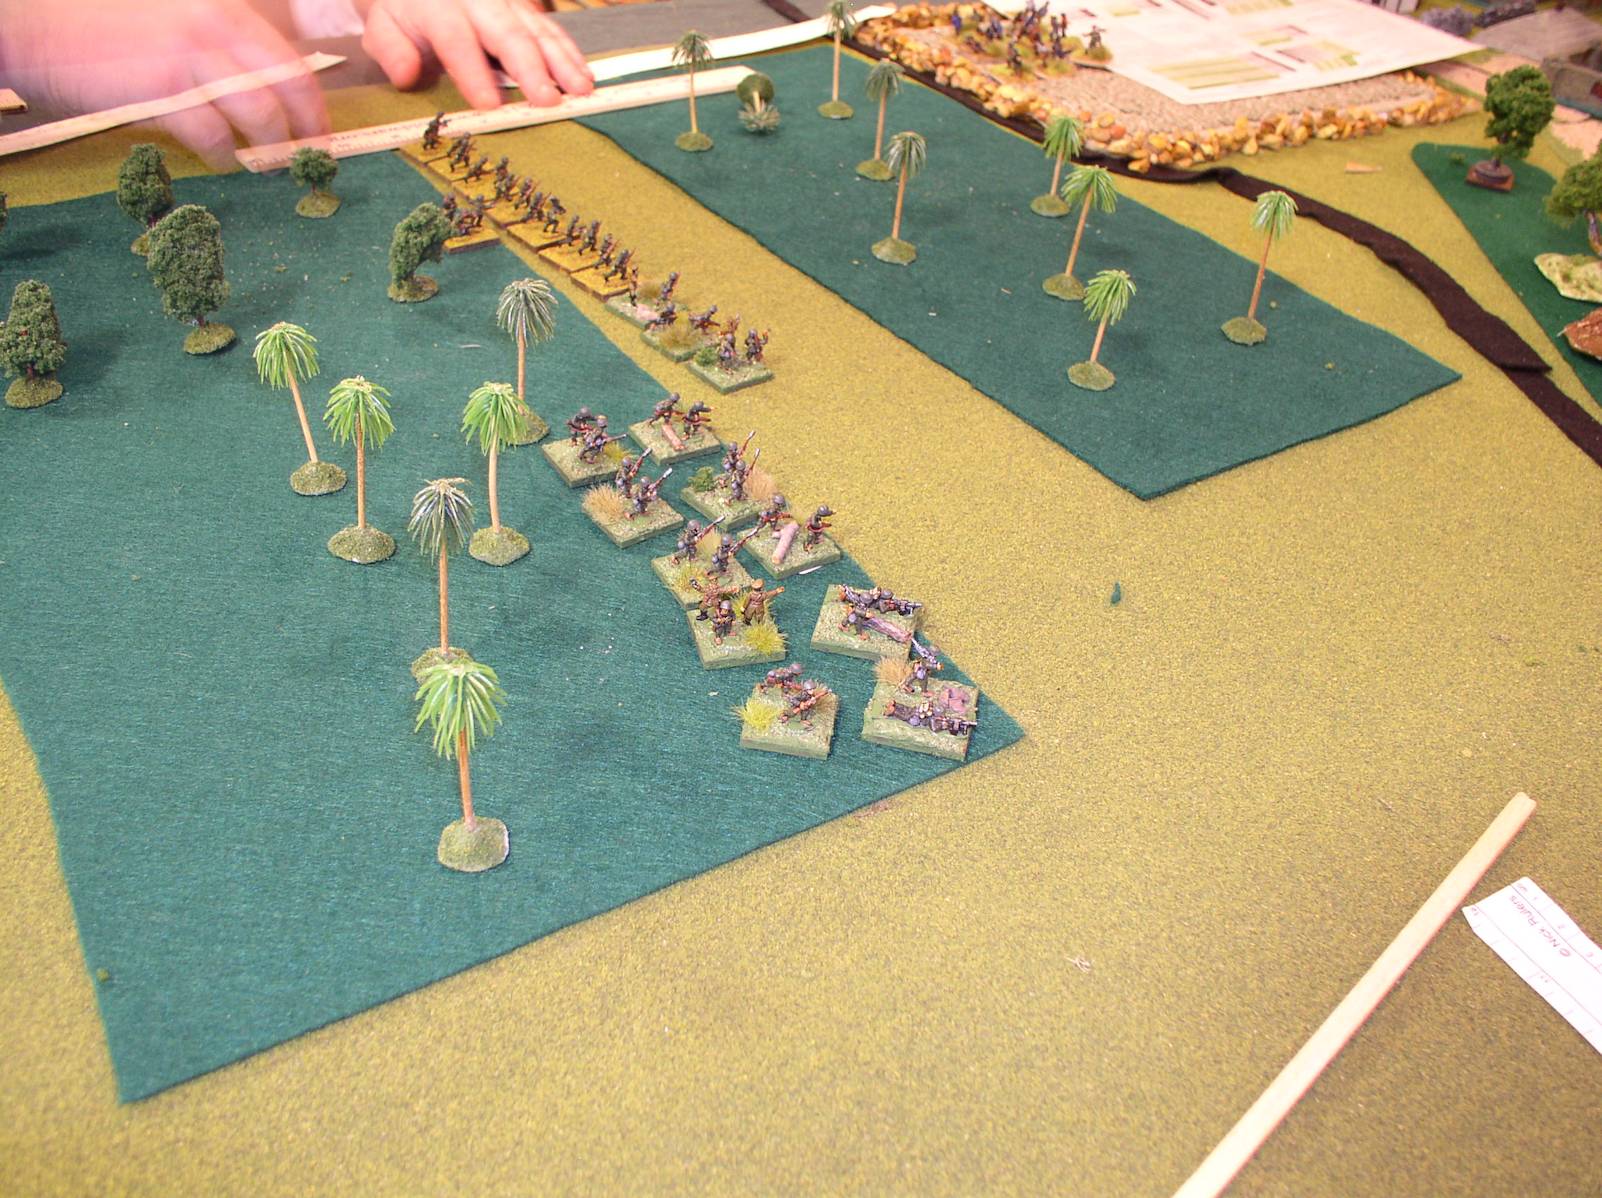
 Paratroopers approach |
German paratroopers rush toward the village, avoiding a giant water glass full of dice. One company tries to head off the Greek Infantry, while two others engage the peasants, who have rushed out to save their homes. The peasants use their shotguns to kill 5 stands of paras before being overwhelmed. |
 Greek Infantry heads toward the village |
Greek infantry rushes through the grove. One company turns to confront the German left flank. While this |
 Engagement in the field |
At the climax of the battle, the one company of paras hit the Greek infantry in the field... |
 Engagement in the town |
While the remnants of the last company of paras drive the Greeks out of the village, squeaking out a victory at the last second. |
| Click on the Thumbnail for a full-size photo | Description |
|---|---|
 Greeks await the assault |
Greek infantry in their entrenchments. |
 Another angle |
The Greek position from the other side. |
 Italians march up the hill |
Tanks in the lead, the Italians start their frontal assault. |
 Italians march up the hill 2 |
As seen from the other side. |
 Left side diversionary attack |
While 2 companies and the tanks moved up the middle, 1 Italian company moved up each flank. Here is the left flank attack. |
 Right side diversionary attack |
The right hand company (commanded by your humble webmaster) manages to get 6-4 in a close assault in the woods. I managed to wint the majority of these, and forced the Greeks back out of the woods, where we stared at each other until my flanking support arrived. |
 Tanks break through |
Without defending AT capability, even M13/40 tanks can attack successfully. Here the tanks break through the Greek trenches. |
 Tanks break through 2 |
Another angle. |
 Into the rear |
Tanks pour into the rear and split of some of their number to support the flanking attacks. |
 Into the courtyard |
Tanks rumble into the center of the Greek position. |
 Tanks line up to fire |
The tanks line up to shoot at defenders at the wall. |
 Standoff in the Woods |
The Italian Right flank and defenders stare at each other. The Italians are waiting for the center to hit the flank of the defenders. |
 This is the end |
The Greek left flank is starting to crumble, tanks are wandering in the rear, and the courtyard is falling. |
| Click on the Thumbnail for a full-size photo | Description |
|---|---|
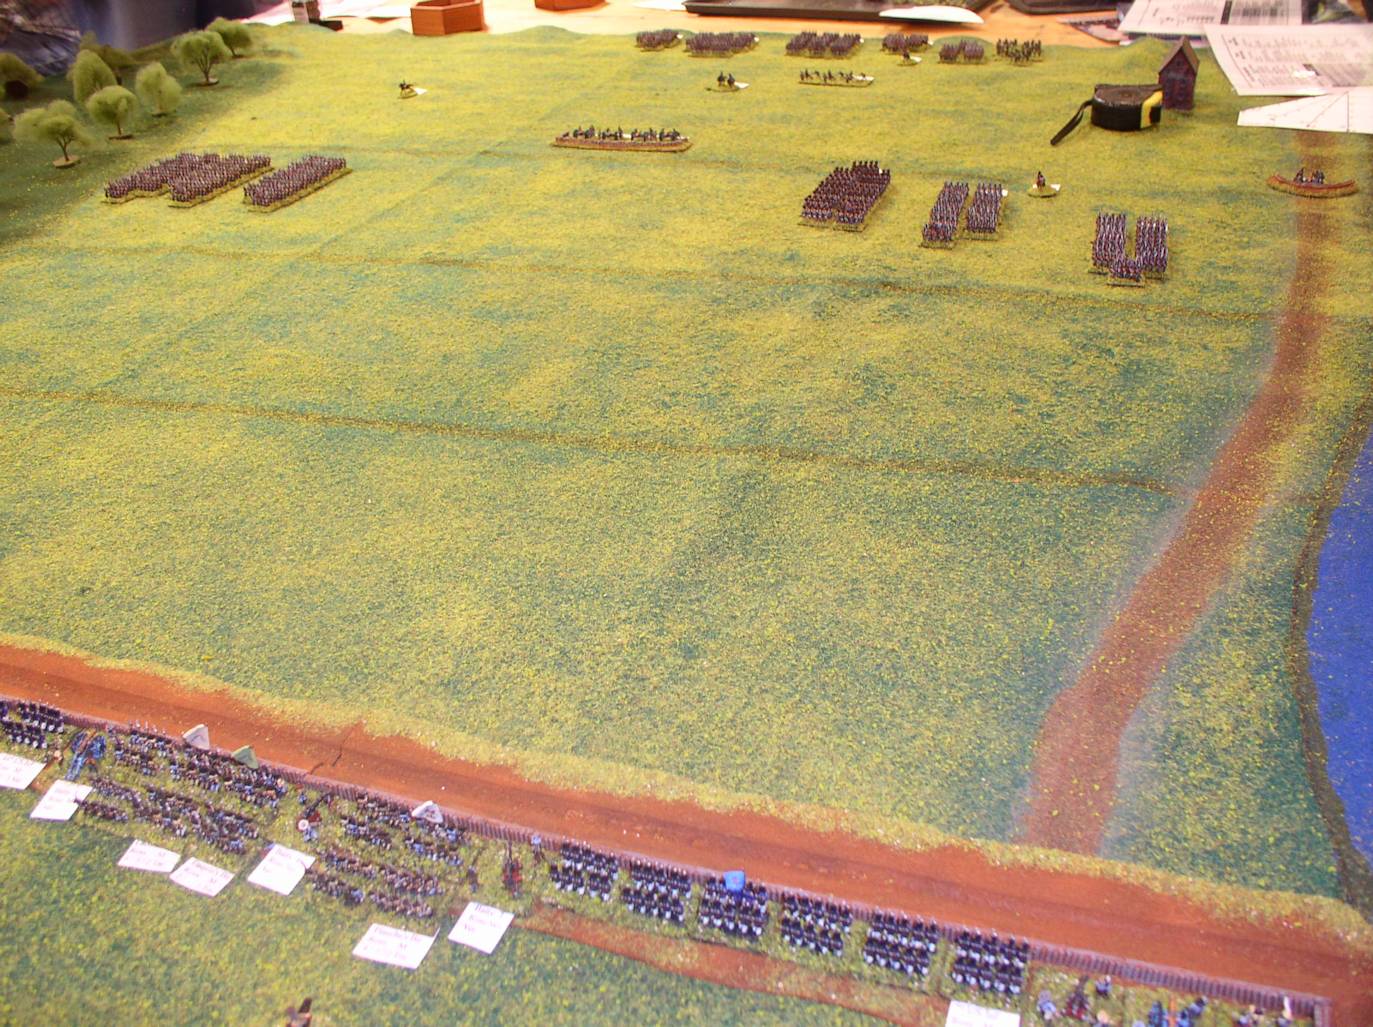
 prairiegrove001 |
Prairie Grove 1 |
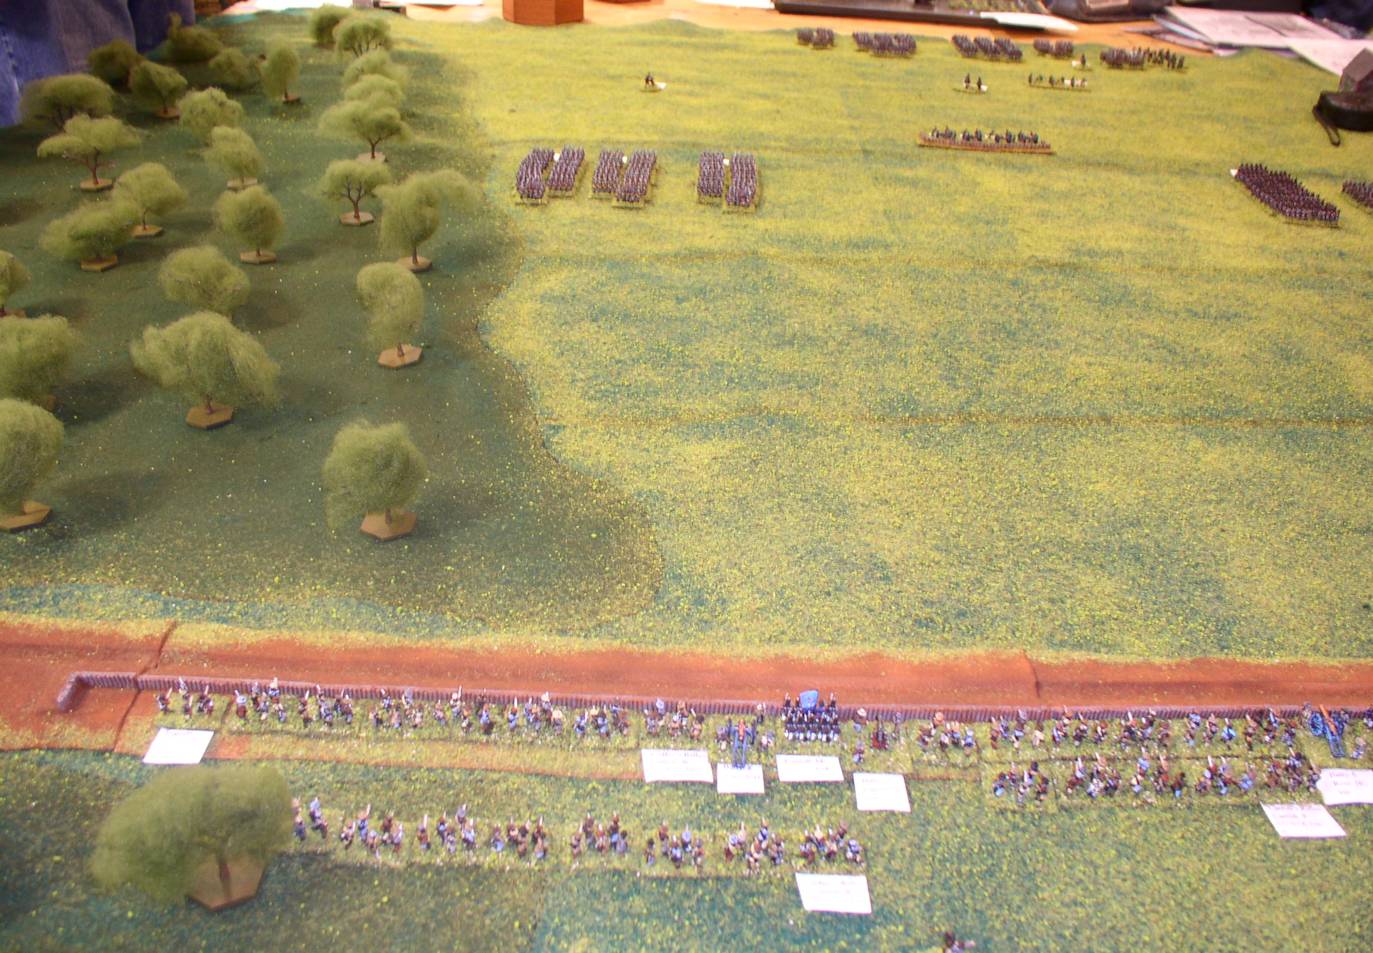
 prairiegrove002 |
Prairie Grove 2 |
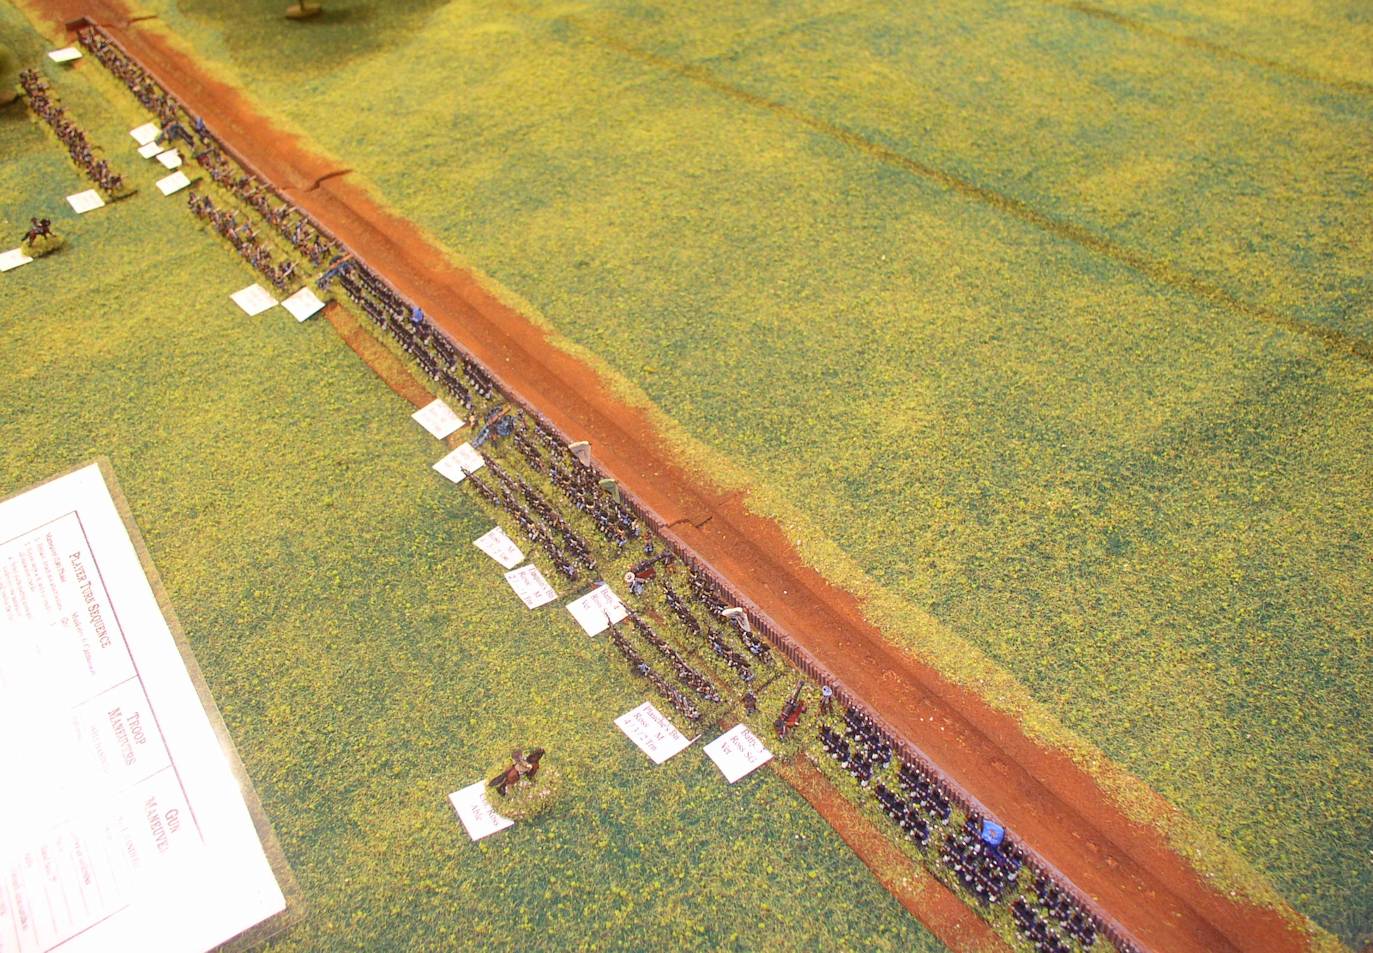
 prairiegrove003 |
Prairie Grove 3 |
 prairiegrove004 |
Prairie Grove 4 |
 prairiegrove005 |
Prairie Grove 5 |
 prairiegrove006 |
Prairie Grove 6 |
| Click on the Thumbnail for a full-size photo | Description |
|---|---|
 prairiegrove007 |
Prairie Grove 7 |
 prairiegrove008 |
Prairie Grove 8 |
 prairiegrove009 |
Prairie Grove 9 |
 prairiegrove010 |
Prairie Grove 10 |
 prairiegrove011 |
Prairie Grove 11 |
 prairiegrove012 |
Prairie Grove 12 |
| Click on the Thumbnail for a full-size photo | Description |
|---|---|
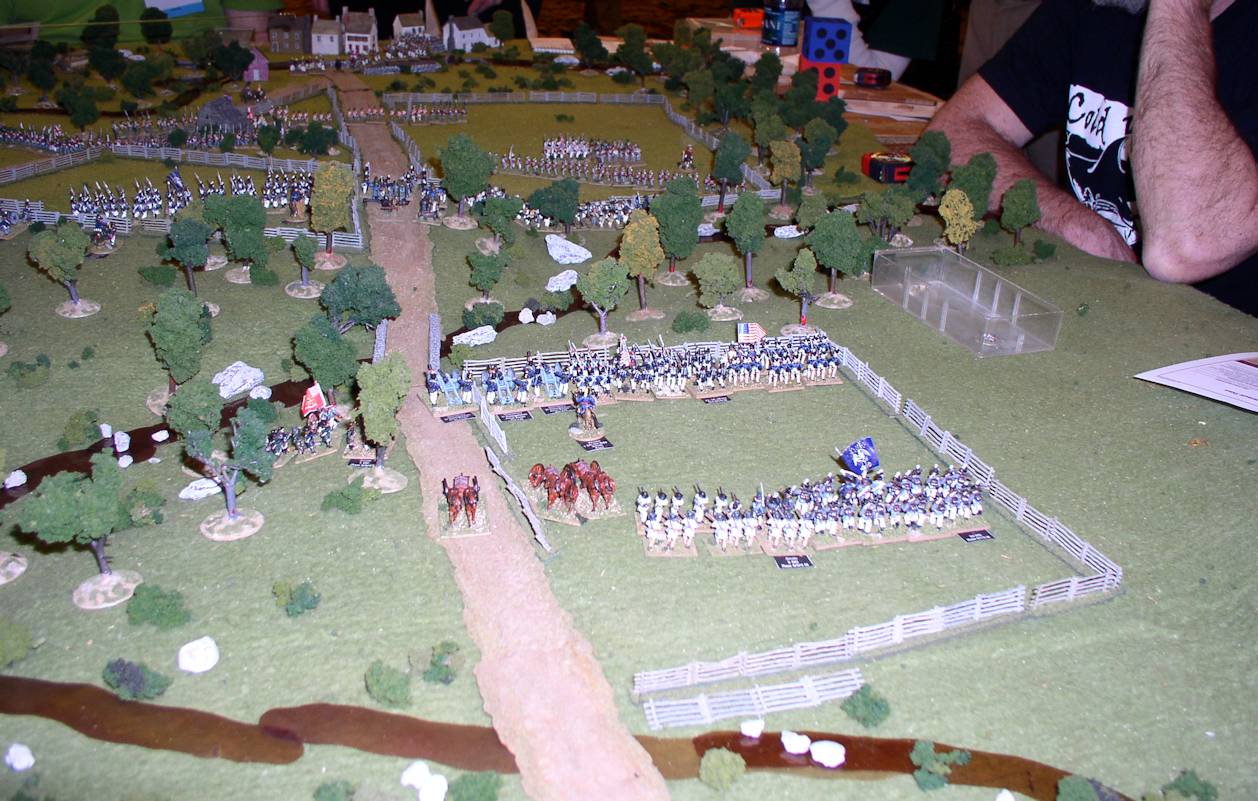
 helena001 |
The Confederate Left is through the entrenchments and fighting to push the Union back. |
 helena002 |
The same thing is happening on the Confederate Right. |
 helena003 |
A view from the same angle, but showing the multiple Union batteries in the center of the position. |
 helena004 |
A view from behind the center of the line. |
| Click on the Thumbnail for a full-size photo | Description |
|---|---|
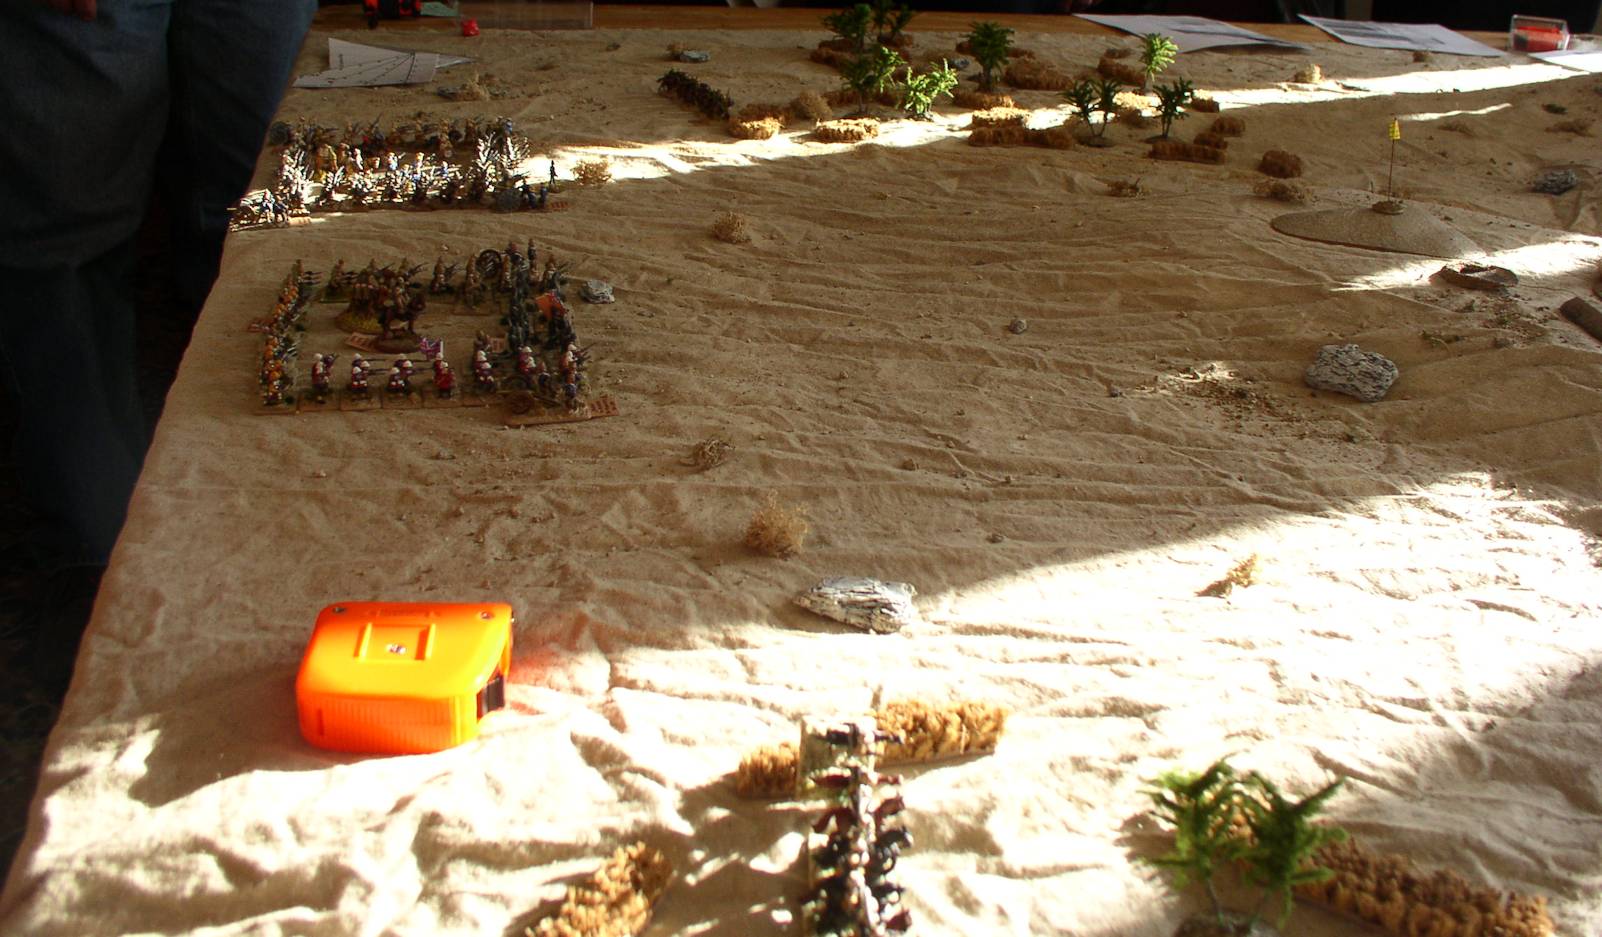
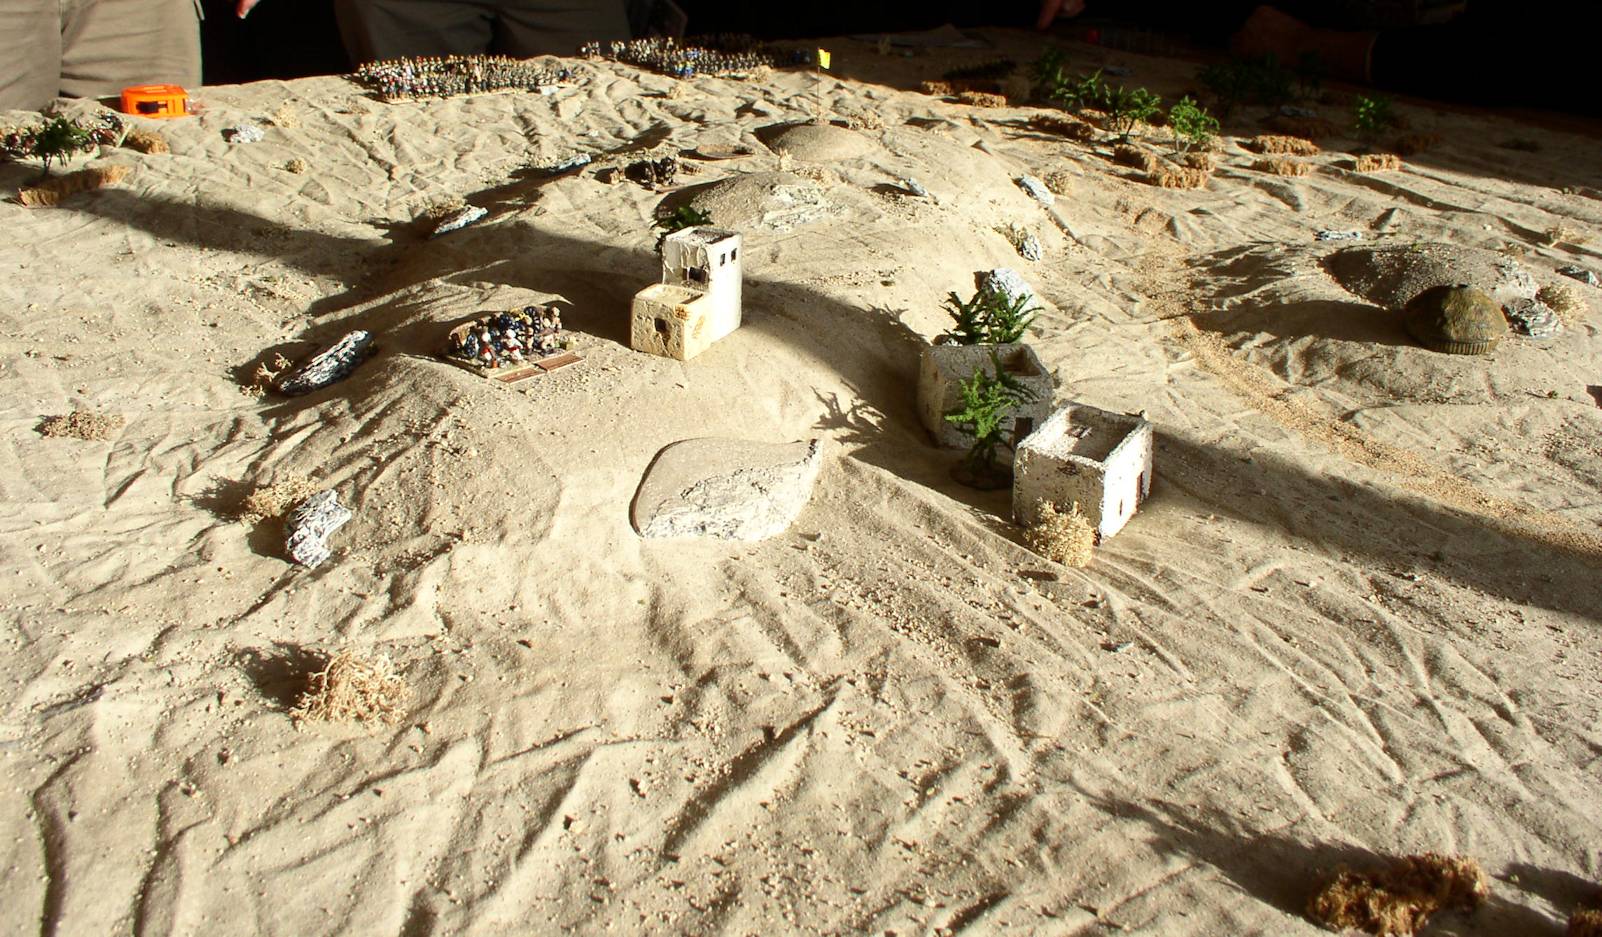 The Objective |
A Hill with some captured guns was the primary objective of the British advance. British Squares can be seen in the distance. |
 British Advance |
Two British Squares advance, screened by cavalry. |
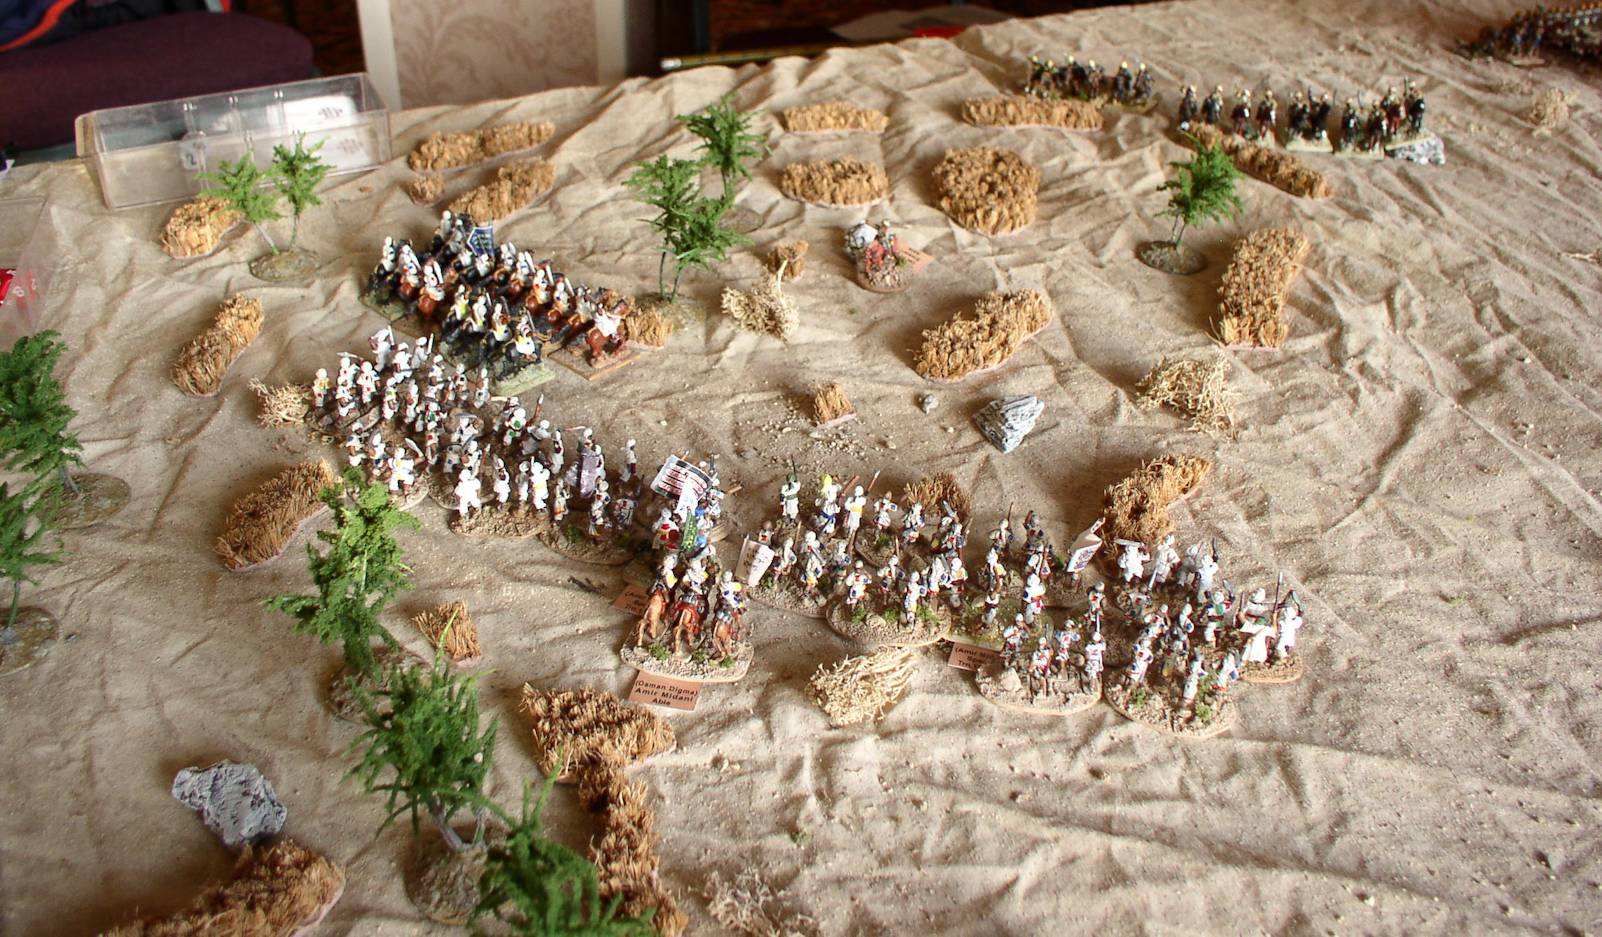 Hi There! |
The British Cavalry discovers some of the Dervish Forces, which started the game in hidden positions all over the map. |
 Assault Begins |
The British Right Hand square breaks up to assault the hill. |
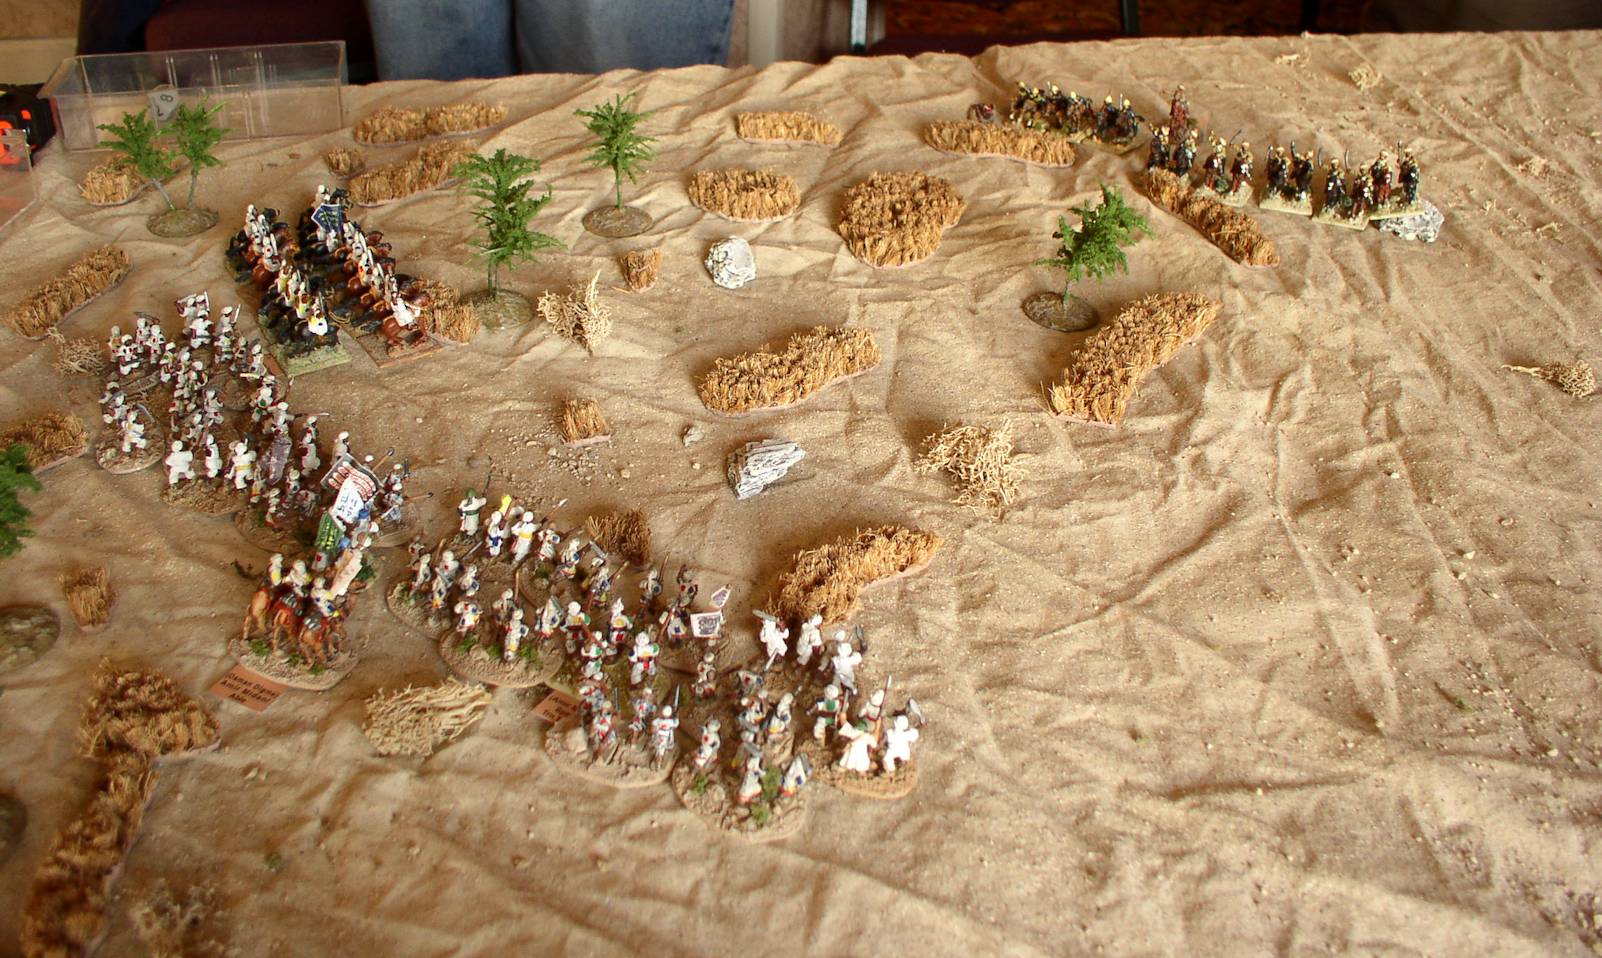
 Wider View |
The same situation as the previous picture, but showing the left hand force preparing to engage another Dervish force. |
 Cavalry Engagement |
The British Cavalry falls back while the Dervish Cavalry advances. |
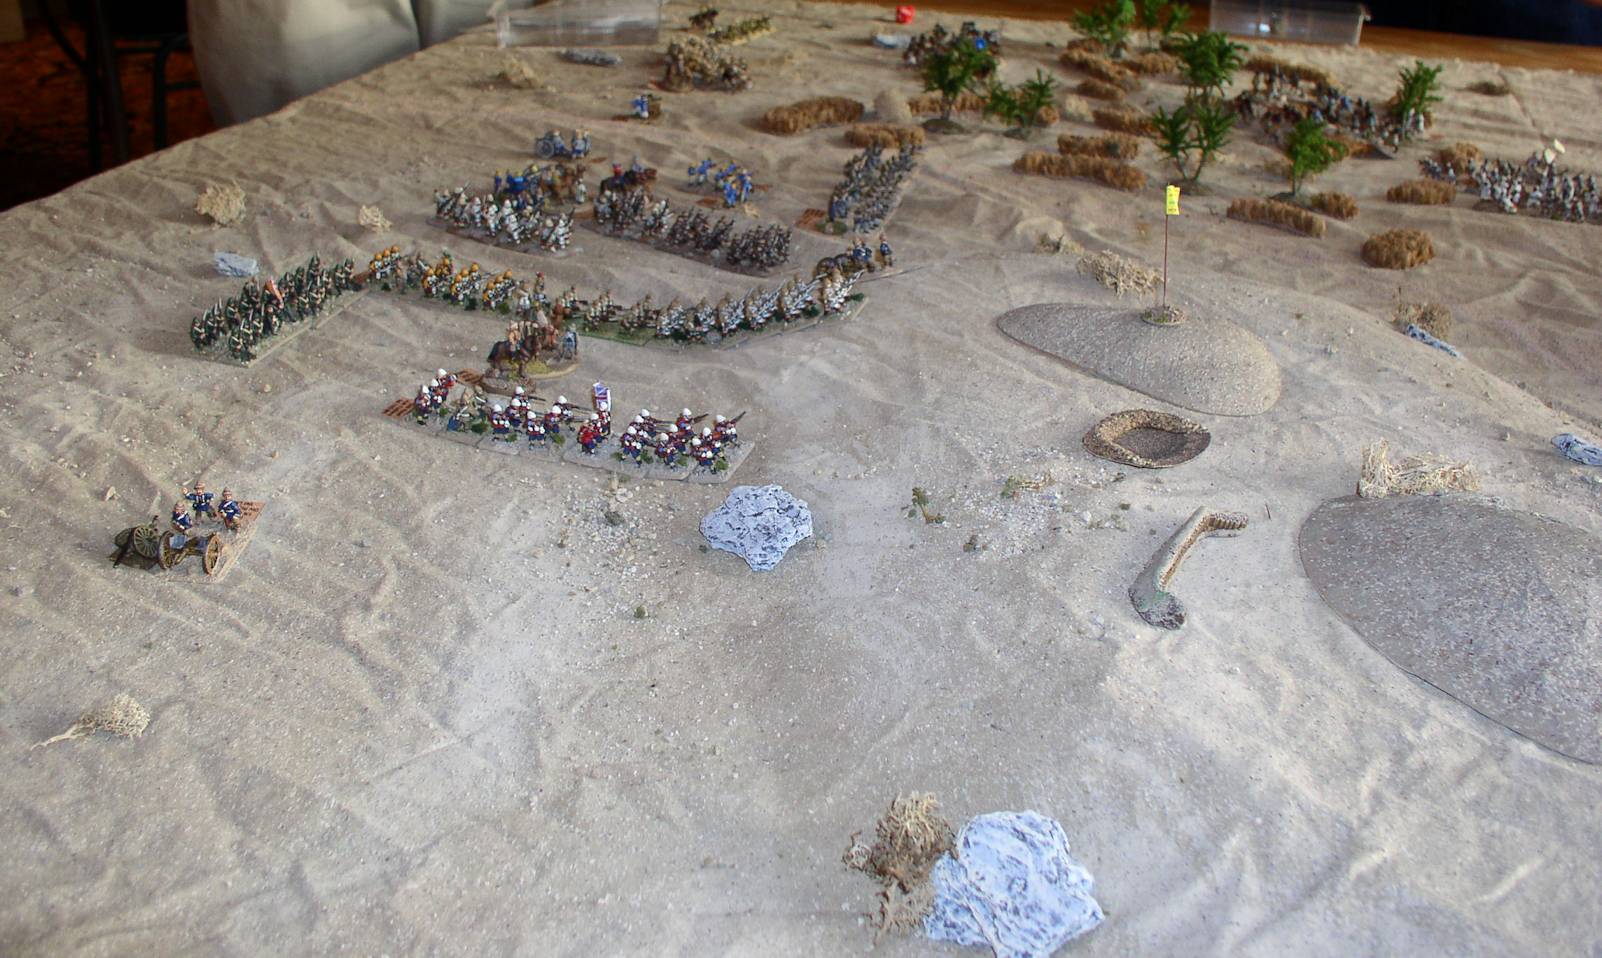
 British Firepower |
On the left flank, a British line prepares to unleash its Martini-Henry's on a Dervish unit. |
| Click on the Thumbnail for a full-size photo | Description |
|---|---|
 British Advance |
After crossing the causeway and driving off a small defending force, the British begin their advance in extended line to minimize casualties from the defender's fire. |
 British Advance 2 |
A view from the other side of the table. |
 From behind the American Position |
Looking at the advance from behind the American position, showing several more lines of troops. |
 The Lines Close |
The British get closer to the Americans. |
 Preparing the Assault |
Lowell Hamilton, controlling the British left, forms and assault column behind the extend line, preparing to hit a small U.S. unit with and turn the flank. |
| Click on the Thumbnail for a full-size photo | Description |
|---|---|
 Open Field, and then the Trenches |
The British in this battle put themselves in a horrible position, frontally charging entrenchments across an open area bordered by the river on one side and a swamp on the other. Here the British columns start to move out, with the Trenches looming in the distance. |
 Marching closer |
Marching closer to the U.S. position. |
 From the American Side |
The U.S. Entrenchments and the approaching British columns. |
 Another Angle |
Another View from the U.S. Side. |
 U.S. Position |
The U.S. Trenches. |
Copyright 2000-2019 Fire and Fury Games, all rights reserved
Web page maintained by
Webmaster@FireAndFury.com.