bart 01
Bart 02
Bart 03
Bart 04
Bart 05
Bart 06
Bart 07

Bart 08
Bart 09
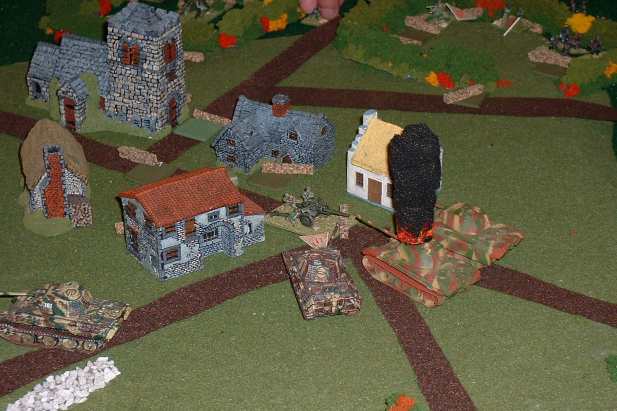
Bart 10

Bart 11
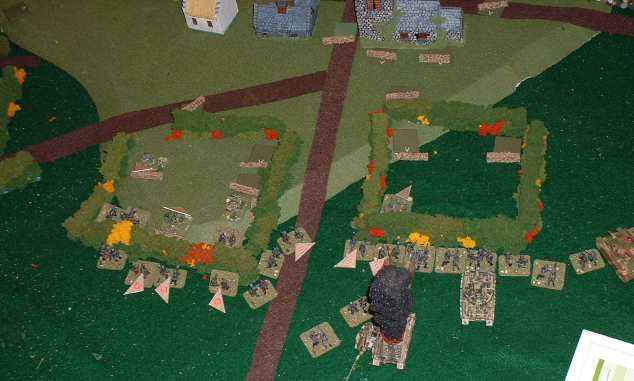
Bart 12
Bart 13
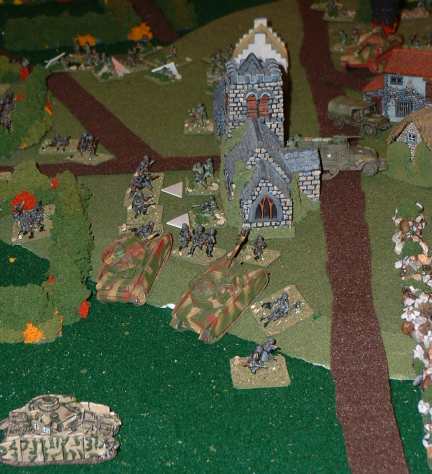
Bart 14
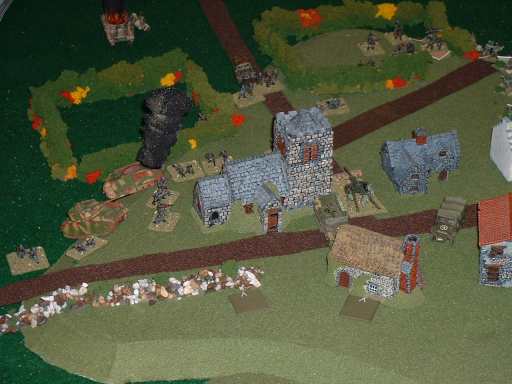
| Click on the Thumbnail for a full-size photo | Description |
|---|---|
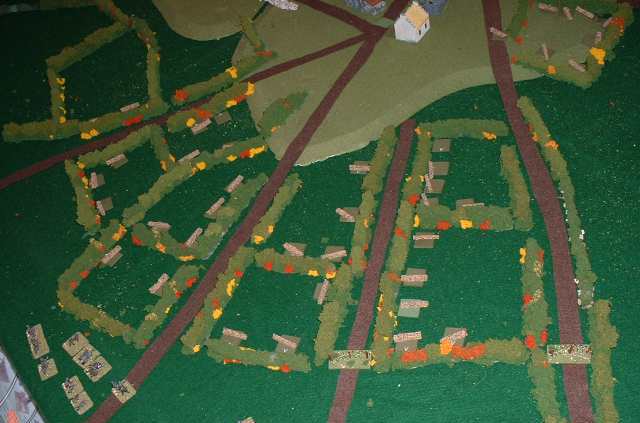
bart 01 |
The pregame setup. All the American units are hidden and visibility is down 2 due to heavy fog. |
Bart 02 |
Another view of the U.S. setup |
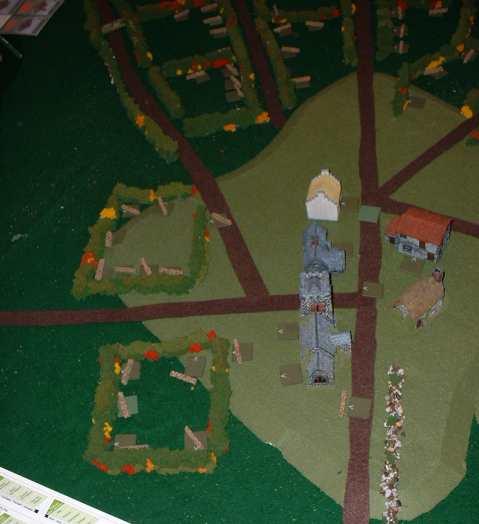
Bart 03 |
The Germans come on the board and deploy in ignorance of the U.S. presence. |
Bart 04 |
Another view of the German Deployment. |
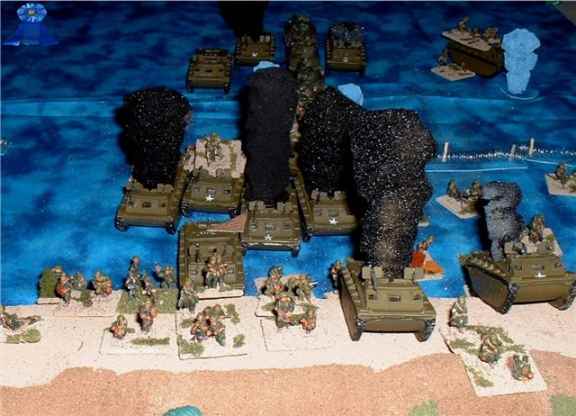
Bart 05 |
Germans set up a base of fire to prepare for their advance. |
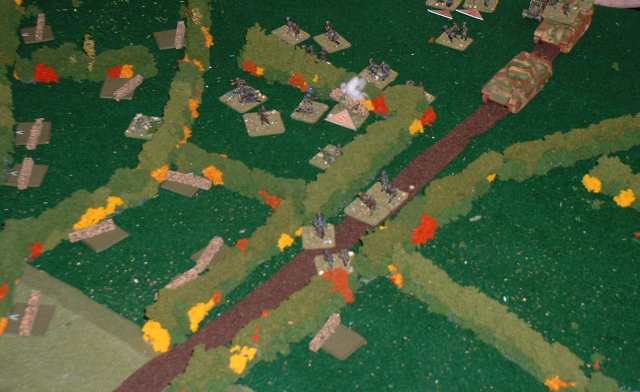
Bart 06 |
First blood goes to a U.S. 57mm which destroys a MkIV in an ambush. |
Bart 07 |
Second blood to the U.S. when a Panther is destroyed by a 3inch AT gun. |
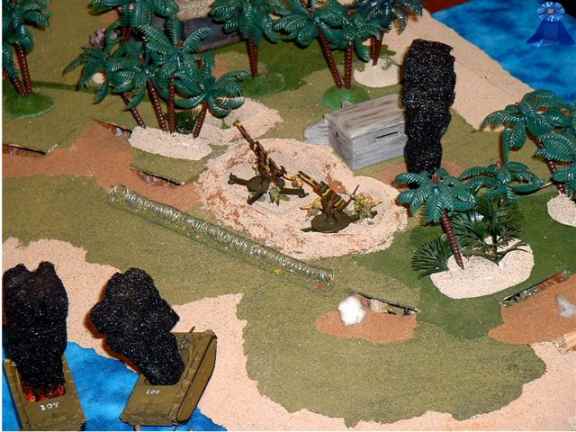
Bart 08 |
The S.S. infantry tries to clear the road, but ultimately fails. |
Bart 09 |
On the right flank, German tanks and infantry clear out a bocage area. |
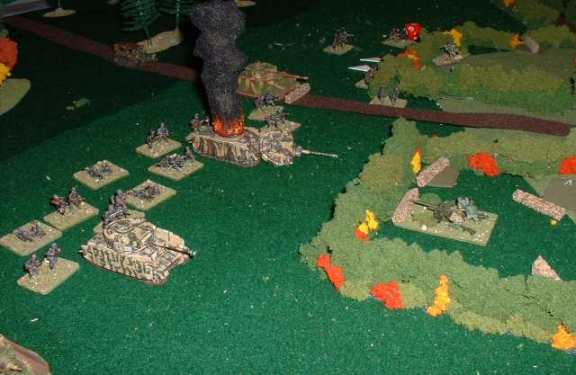
Bart 10 |
The Panthers, after blowing up an AT gun on the edge of the town, bypassed it and headed for the U.S. rear. Later, they ran into another AT ambush and cleared that as well. |
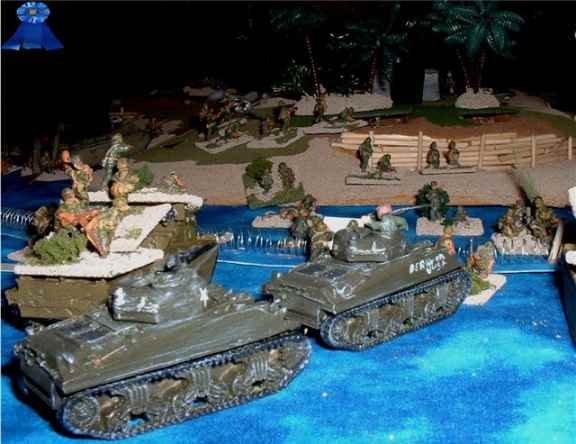
Bart 11 |
Behind the Panthers, the U.S. Infantry fortified the town. |
Bart 12 |
The German right flank attack hits the town defenses. |
Bart 13 |
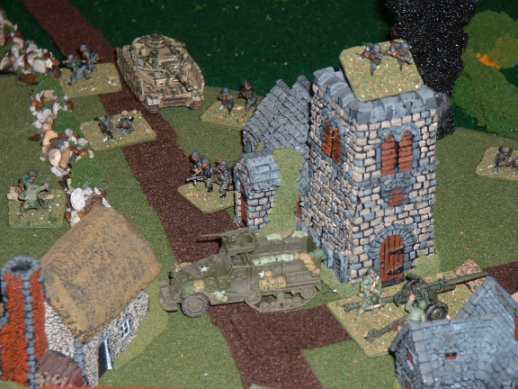
Another view of the German right flank attack. A hidden 3inch gun takes out another MkIV. |
Bart 14 |
The Germans clear the church but do not have enough staying power to win the game. |
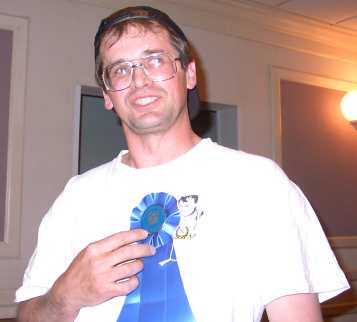 John won an award for best game of the evening. Here he is showing off his blue ribbon
and looking like a proud father. Below is his history of the game, divided into the 3 main invasion areas.
John won an award for best game of the evening. Here he is showing off his blue ribbon
and looking like a proud father. Below is his history of the game, divided into the 3 main invasion areas.
| Click on the Thumbnail for a full-size photo | Description |
|---|---|
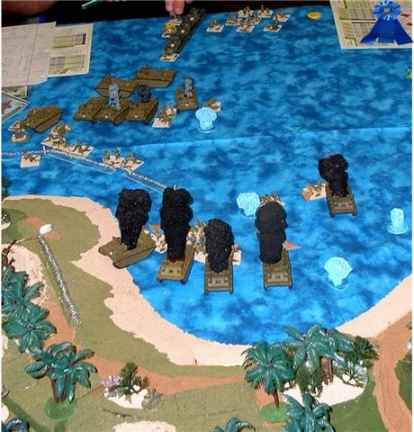
 Beach Red 1 Photo 1 |
At the start of the invasion, the only things visible on Red 1 are some burning vehicles. |
 Beach Red 1 Photo 2 |
The first wave gets within 50 yards of the beach and starts to get into trouble. |
 Beach Red 1 Photo 3 |
The second wave gets up to the wire. The troops are forced to bail as the landing craft are not armored. |
Beach Red 1 Photo 4 |
The Second wave is still trying to cross the wire. |
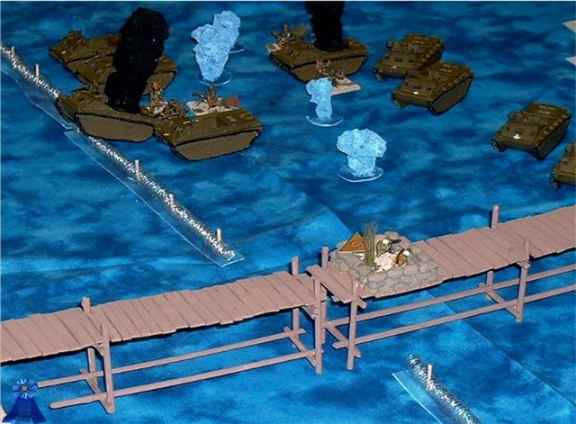
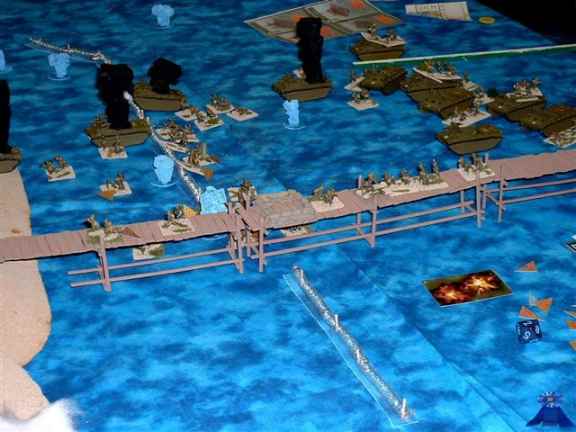
 Beach Red 1 Photo 5 |
The first wave is still pinned behind their burning LVTs and where they were unable to rally for 3 or 4 turns. At the top of the photo is the third wave of Shermans and infantry who are walking in. |
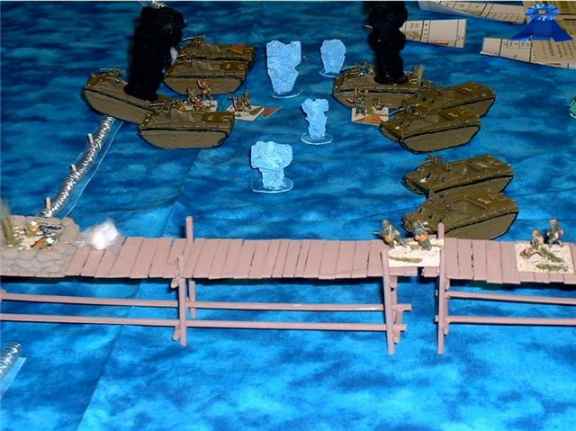
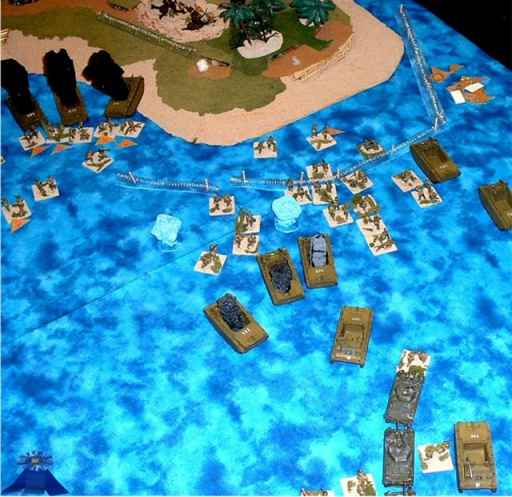 Beach Red 1 Photo 6 |
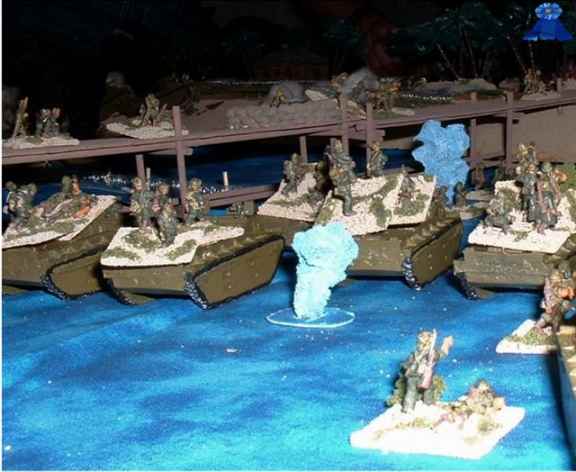
Some LVTs are moving to the rear to pick up third wave infantry. Some of the second wave is across the wire and is moving to the beach. |
 Beach Red 1 Photo 7 |
Japanese 75 AA guns, the one's causing all the Marines' problems. |
Beach Red 1 Photo 8 |
The second wave is over the wire. The third wave is packed into LVTs and moving up. |
 Beach Red 1 Photo 9 |
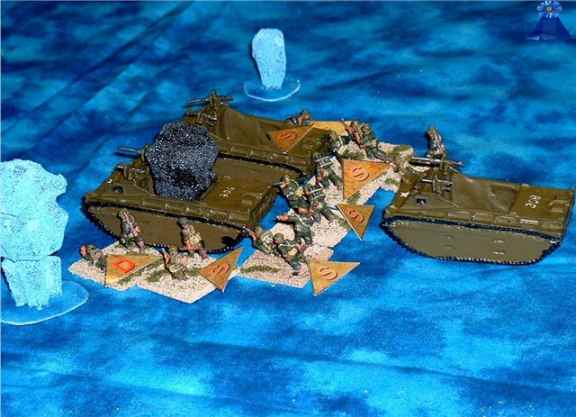
Marines from the first and second waves are making their way inland. |
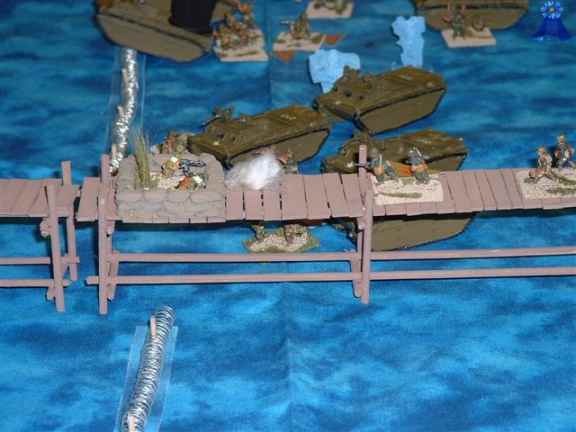
Beach Red 1 Photo 10 |
The Marine in the top center just cleared a 20mm machine gun pit and a big hole is now open. |
| Click on the Thumbnail for a full-size photo | Description |
|---|---|
Beach Red 2 Photo 1 |
A nice Tropical beach only missing the beer and girls. |
 Beach Red 2 Photo 2 |
Japanese HMG pit on the dock taking flanking shots on the first wave LVTs. |
 Beach Red 2 Photo 3 |
The Marines have cleared the first HMG pit and are moving against the second one. |
 Beach Red 2 Photo 4 |
Marines close in on the HMG. |
Beach Red 2 Photo 5 |
The Marines on the dock are trying to clear the HMG nest, while the LVTs are working their way over the wire. |
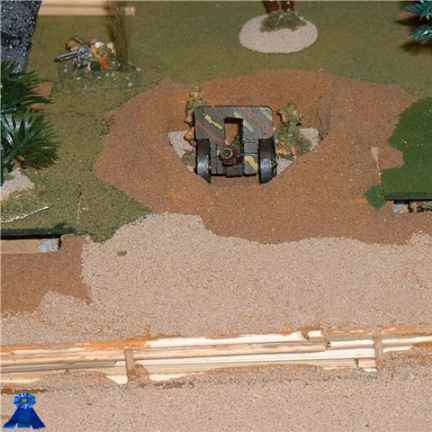 Beach Red 2 Photo 6 |
A Japanese 150mm gun position, with a HMG crew moving around in the background. |
 Beach Red 2 Photo 7 |
Marines working their way down the dock. |
 Beach Red 2 Photo 8 |
Japanese reinforcements are moving in and around their tank, trying to move to the beach. |
 Beach Red 2 Photo 9 |
The 4th and 5th wave marines are on LVTs and looking to unload on the dock. |
Beach Red 2 Photo 10 |
4th and 5th wave troops getting a ride to the dock. |
Beach Red 2 Photo 11 |
Marines and Japanese troops are fighting it out at the base of the dock. |
| Click on the Thumbnail for a full-size photo | Description |
|---|---|
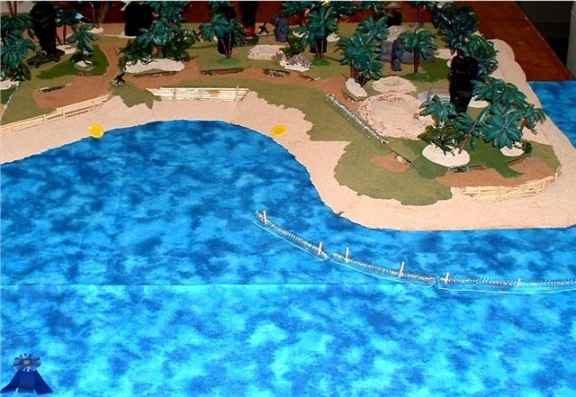
Beach Red 3 Photo 1 |
The beach at Red 3. |
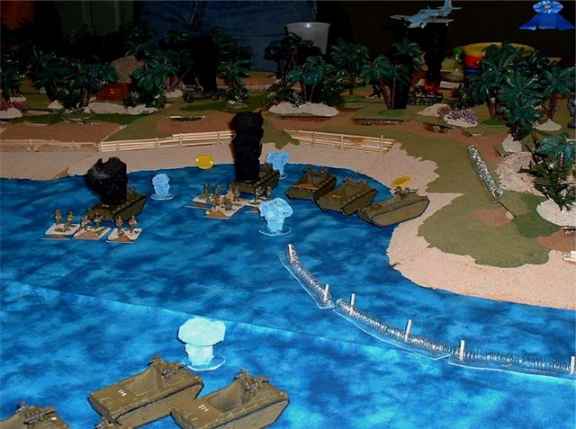
 Beach Red 3 Photo 2 |
Off-shore smoke screens covered the first wave of LVTs, allowing them to make it to the beach with no loss. The Japanese kept quiet, awaiting their time. |
 Beach Red 3 Photo 3 |
Second wave troops bailing out under fire. |
Beach Red 3 Photo 4 |
Marines from the first wave move inland under fire |
Beach Red 3 Photo 5 |
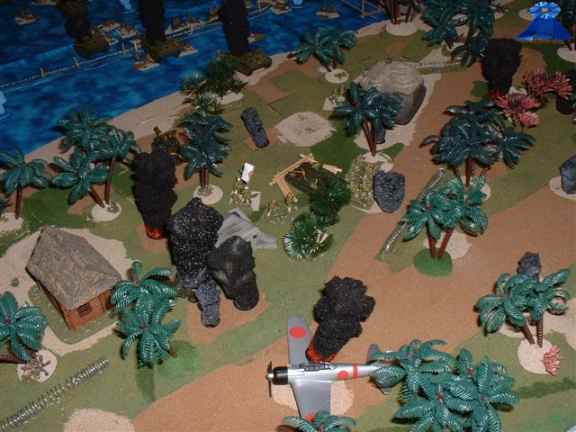
A Japanese Ch-Ha made a run for the beach but was dived bombed by a Navy fighter, which chased it off-board. |
Beach Red 3 Photo 6 |
The Marines keep moving forward. To the right of the photo is the 5th wave infantry and and Sherman tanks. |
Beach Red 3 Photo 7 |
Looking from the rear of 3rd wave into hell. |
 Beach Red 3 Photo 8 |
The Marines push on. |
| Beach Red 1 | ||
| Marine Losses | ||
| A company | 14 out of 18 | 75% losses |
| B company | 10 out of 18 | 50% losses |
| C company | No Loss | |
| LVTs | 8 out of 12 | 75% losses |
| Japanes losses: 1 gun section | ||
| Beach Red 2 | ||
| Marine Losses | ||
| D company | 7 out of 18 | 25% losses |
| E company | 10 out of 18 | 50% losses |
| F company | No Losses | |
| LVTs | 4 out of 14 | 25% losses |
| Japanese losses: 2 HMGs and 1 infantry | ||
| Beach Red 3 | ||
| Marine Losses | ||
| G company | 13 out of 18 | 50% losses |
| H company | 2 out of 18 | 50% losses |
| I company | 1 out of 18 | |
| LVTs | None | |
| Japanese losses: 1 HMG and 4 infantry | ||
Copyright 2000-2019 Fire and Fury Games, all rights reserved
Web page maintained by
Webmaster@FireAndFury.com.