Kutuzov Game 1 Photo 1
Kutuzov Game 1 Photo 2
Kutuzov Game 1 Photo 3
Kutuzov Game 1 Photo 4
| Click on the Thumbnail for a full-size photo | Description |
|---|---|
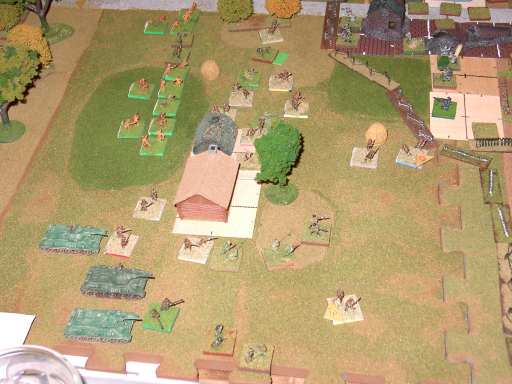
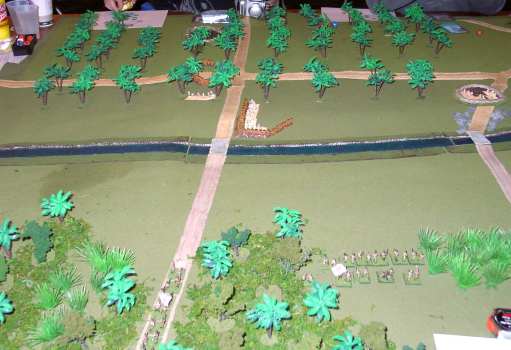
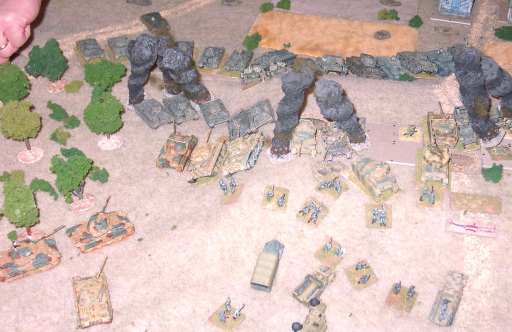
Kutuzov Game 1 Photo 1 |
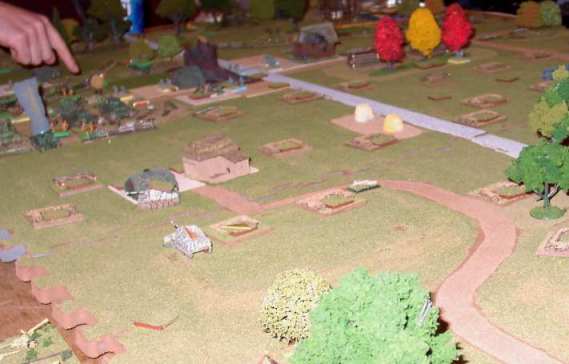
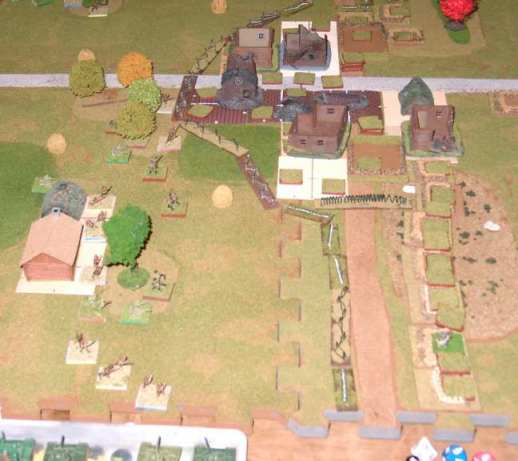
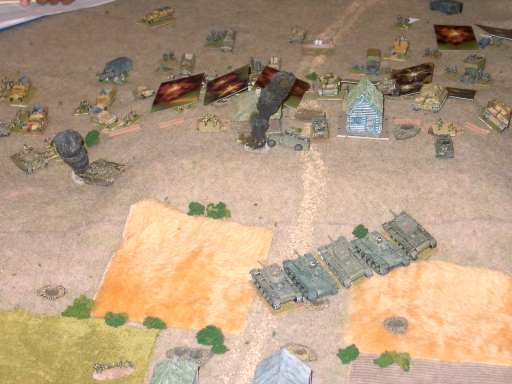
In the first game, the Germans set up a defense in depth but did not cover a critical area of their front line obstacles with sufficient fire to slow down the Russian attack. In this photo, two German Marders look on at long range as the Russians push through the obstacle line. |
Kutuzov Game 1 Photo 2 |
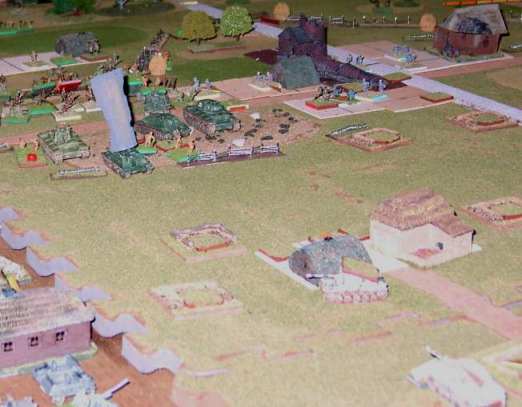
Even at long range, a Marder is dangerous, as the KOed SU-122 proves. However, the volume of German fire was insufficient to slow down the Russians. |
Kutuzov Game 1 Photo 3 |
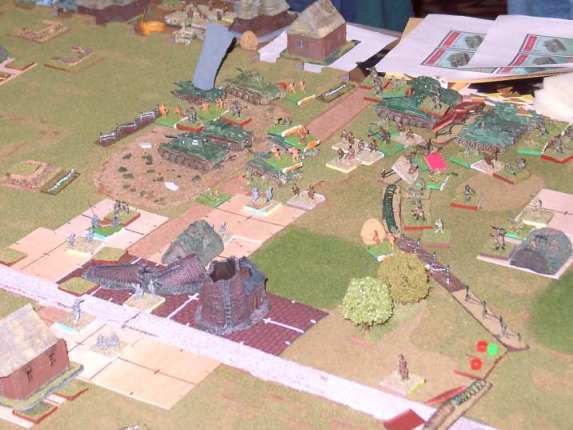
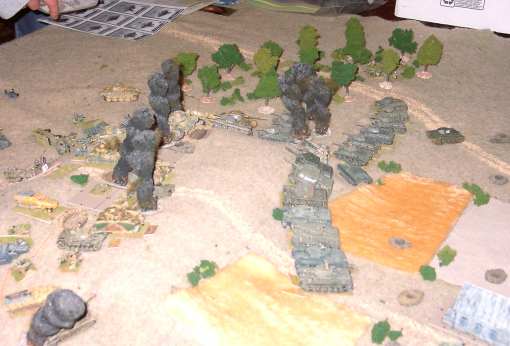
A look at the Russian breakthrough from their side of the table. There are few Germans in sight. |
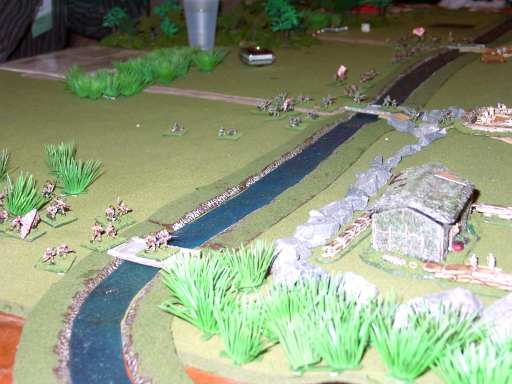
Kutuzov Game 1 Photo 4 |
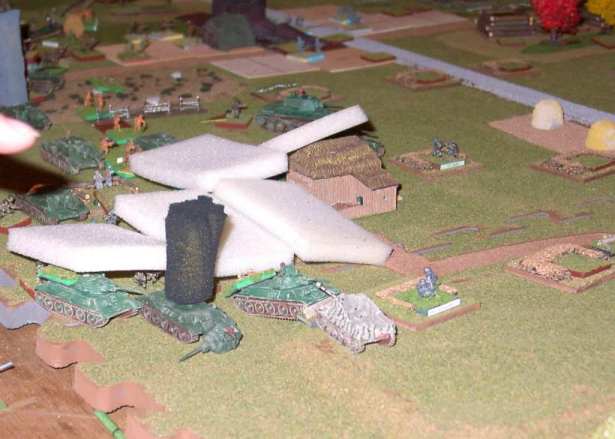
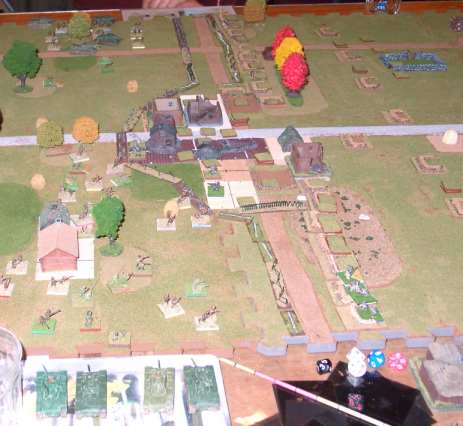
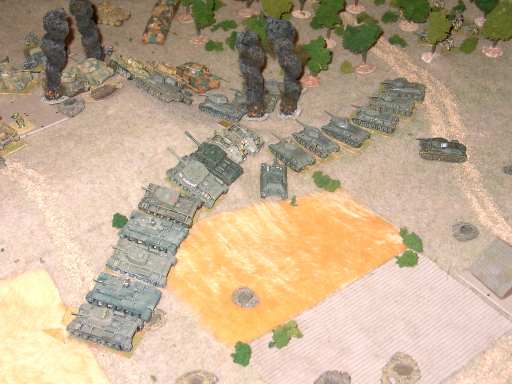
After the leading units cut through the obstacles, the Russians covered the German second line with smoke and launched a coordinated charge. Here a group of T34s use their full speed to engage the second line Marders in close combat. Defensive fire knocked out one attacker, but the Marder was eventually destroyed. The breakthrough allowed the Russians to clear this part of their front. |
| Click on the Thumbnail for a full-size photo | Description |
|---|---|
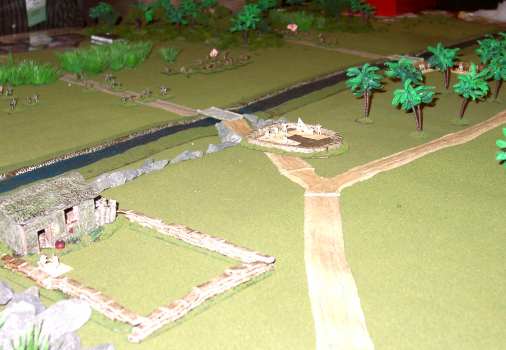
 Kutuzov Game 2 Photo 1 |
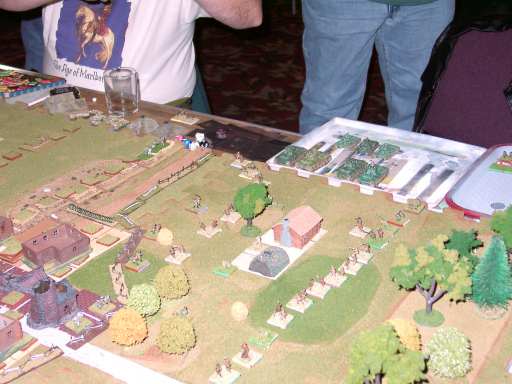
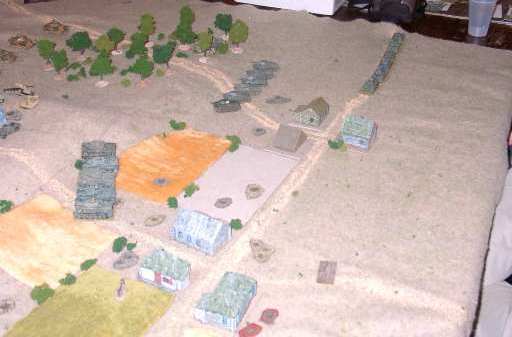
This shows the German front line behind the obstacles with some Russian scouts preparing the probe on the right flank. Most of the positions just across from the mines and wire are occupied. |
 Kutuzov Game 2 Photo 2 |
The Russian Left flank moves up to probe. |
 Kutuzov Game 2 Photo 3 |
The Russian Infantry moves up on a broad front. |
 Kutuzov Game 2 Photo 4 |
A look at the broad front approach. The Russians have no "Schwerpunkt". |
 Kutuzov Game 2 Photo 5 |
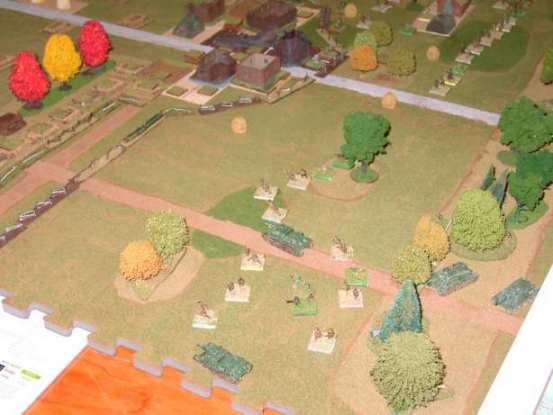
Tanks move up to support the right flank;. |
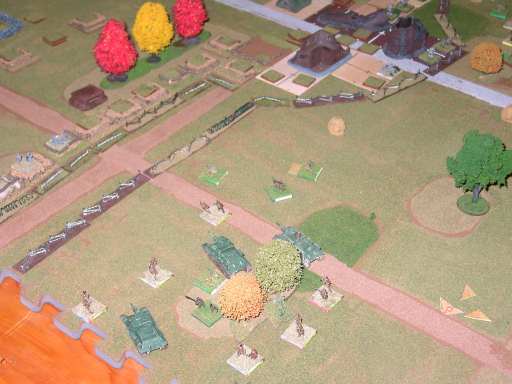 Kutuzov Game 2 Photo 6 |
Su122s move up to support the left flank;. |
Kutuzov Game 2 Photo 7 |
German Artillery comes down on the Russian Infantry in the middle. |
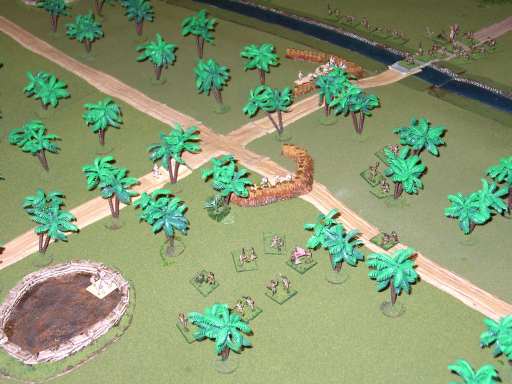
 Kutuzov Game 2 Photo 8 |
The Russians attack all along the line, but are unable to gain enough of an advantage anywhere to break through. |
| Click on the Thumbnail for a full-size photo | Description |
|---|---|
 The Battlefield |
The Japanese enter from the right of the picture with a flank attack from the near edge. They must clear all of the entrenchments and capture the buildings at the far end of the board. |
The Battlefield again |
This is how the battlefield looks from the Japanese side. |
 Japanese move out |
The Japanese start to move out |
 From the Australian side |
A view of the advancing Japanese from the other end of the battlefield. Unfortunately the Australians only have one mortar with limited ammo. |
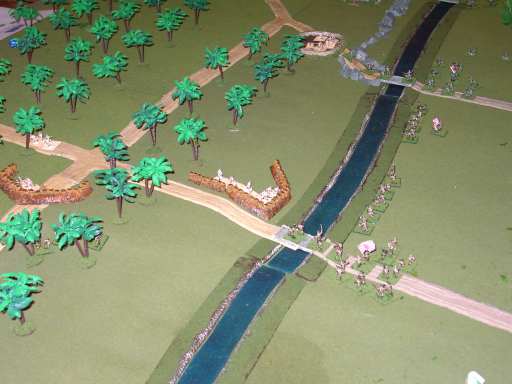
 Japanese cross the river |
Three Japanese forces cross the river. There also is a fourth on a flanking maneuver. |
 Flanking force |
The flanking Japanese force appears and the Australians have little to counter them. |
 River Assault |
The main Japanese forces hit the river positions. |
| Click on the Thumbnail for a full-size photo | Description |
|---|---|
Germans move up |
Followed by clouds of dust, the Germans move out. |
Brave Italians |
An Italian armored force takes the left flank. |
British Await |
A British Infantry/Armor force in hasty positions is the object of the atttack. |
Germans Approach |
Germans move up to contact. |
 First Blood |
The British Transport vehicles for their anti-tank guns fall victim to German Artillery. |
Italians threaten the flank |
The Italian tanks move up behind a berm. |
Deliberate Attack |
The Axis forces slowly move up across the whole front. For some reason, the truck-mounted infantry did not attract the attention of the British Artillery, but was allowed to close. |
Thanks for the help |
To protect their front line troops, the British drop a smoke screen, which the Germans use to get even closer. |
One last shot |
The German attack prepares to go in. Some PzIIs learn that they even a 2-pdr can be effective. |
| Click on the Thumbnail for a full-size photo | Description |
|---|---|
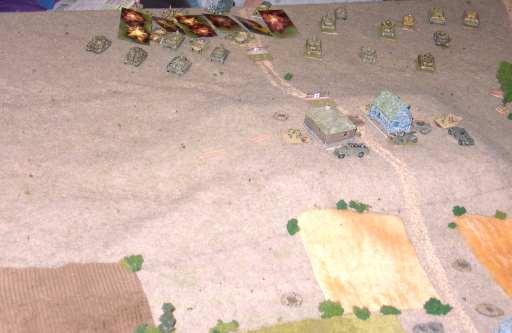 Welcome! |
German units are greeted by artillery fire as soon as they enter the board. |
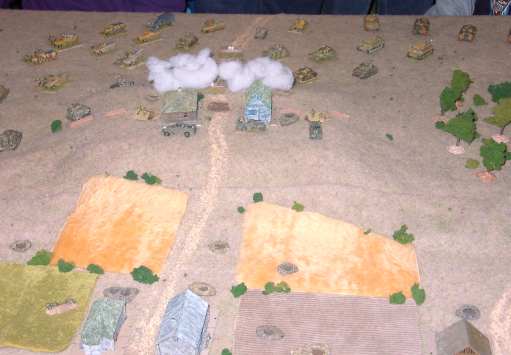
Around the hill |
German units sweep around the flank of the hill while covering the hill itself with smoke. |
 From the Russian side |
A view of the assault on the hill from the Russian point-of-view. |
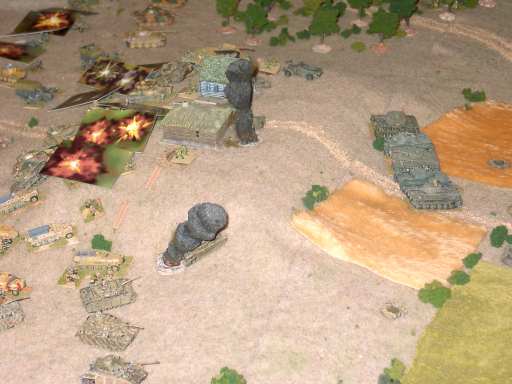 Hello |
Russian heavy armor protecting the back of the hill scores a kill. |
 From the Russian side again |
A view of the protectors of the center. |
 Here comes some help |
Russian T-34s join the battle. |
 T34s prepare to charge |
The first wave of T-34s get ready to attack. |
 Into the valley of death! |
The first wave of T-34s comes to grief and the second moves up. |
 Different type of smokescreen |
The hillside is covered with destroyed vehicles. |
 From the German side |
The German view of the charge. |
Running out of markers |
Destroyed vehicles everywhere! |
Assault on a village |
Over on the other flank, the Panzer Grenadiers attack. |
| Click on the Thumbnail for a full-size photo | Description |
|---|---|
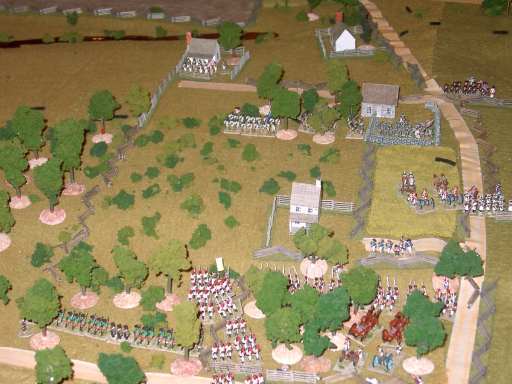
The Battlefield |
This is the view from behind the Continental position. The British objective is to clear the road that leads off the upper right of this picture. Both sides shift in this direction, with the British on the attack. |
The Continental setup |
The center of Colonist positions as seen from the British start line. |
Redcoats and Hessians |
The British initial forces. |
Redcoats Attack |
The British and Hessians engage the first Continental line. |
 The British Left Flank |
The left flank moves up. The ultimate objective of the battle is on this side, behind the houses in the distance. |
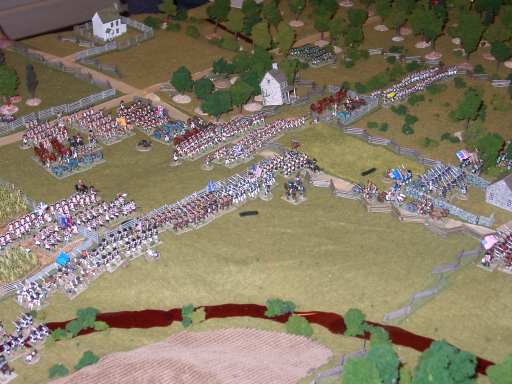
 Attack in the Center |
The British engage the first line of defence in the center. |
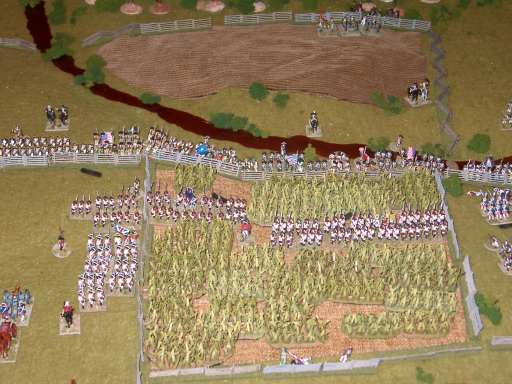
 Center and Continental Right |
A view from behind the Continental positions as the British close. |
 Continental Right |
A view from behind the Continental right flank positions as the British close. The solid blocks of British troops in the middle were able to win almost every combat, but the defenders then fell back to the next position. |
Another defence line |
Broken Continentals from the Center form another line. |
| Click on the Thumbnail for a full-size photo | Description |
|---|---|
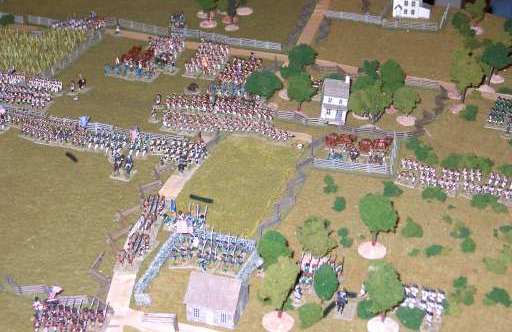
Assault on the Left |
Having read their history books and seen Gods and Generals, the Union decides to assault the left instead of charging across an open field against a stone wall. |
Another View |
Another view of the assault to the Union Left. |
 Moving toward the center |
The attack also headed toward the left center of the line. |
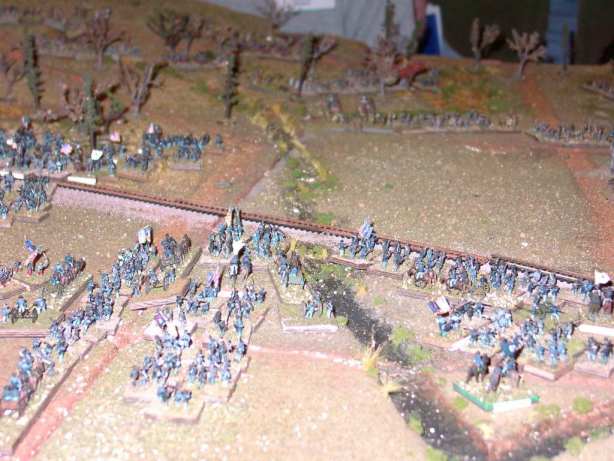
Reinforcements |
Union Reinforcements move across the pontoon bridges to join the battle. |
Climax |
The Federal Assault in full swing. |
I'm not going out there! |
The area in front of Marye's heights and the stone wall was conspicuously empty. However, there were Union forces stationed there to hold the Confederates in place. |
Copyright 2000-2019 Fire and Fury Games, all rights reserved
Web page maintained by
Webmaster@FireAndFury.com.