Burma 1/1
Burma 1/2
Burma 1/3
Burma 1/4
Burma 1/5
Burma 1/6
Burma 1/7
| Click on the Thumbnail for a full-size photo | Description |
|---|---|
Burma 1/1 |
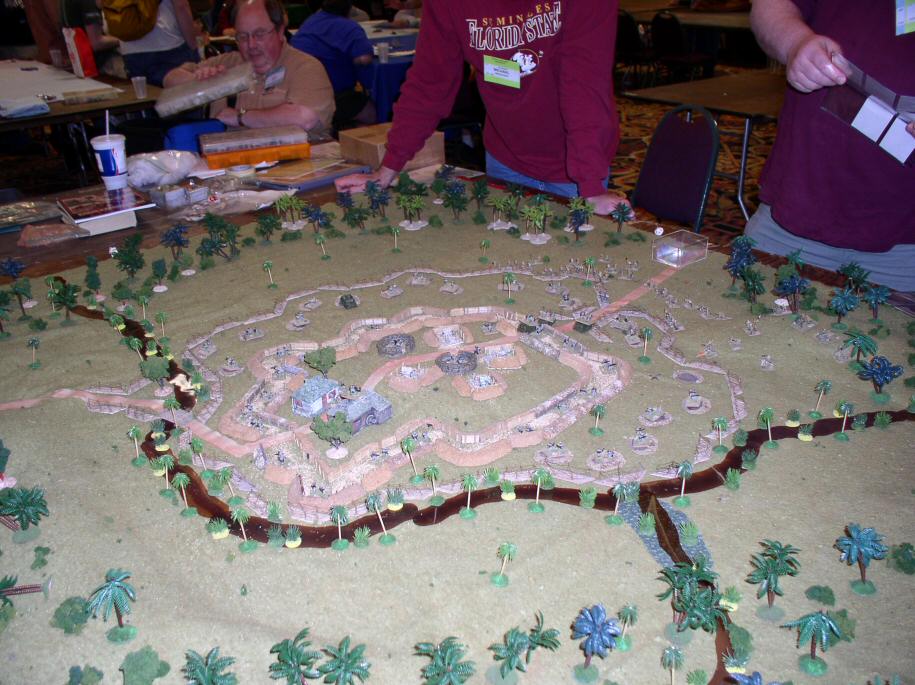
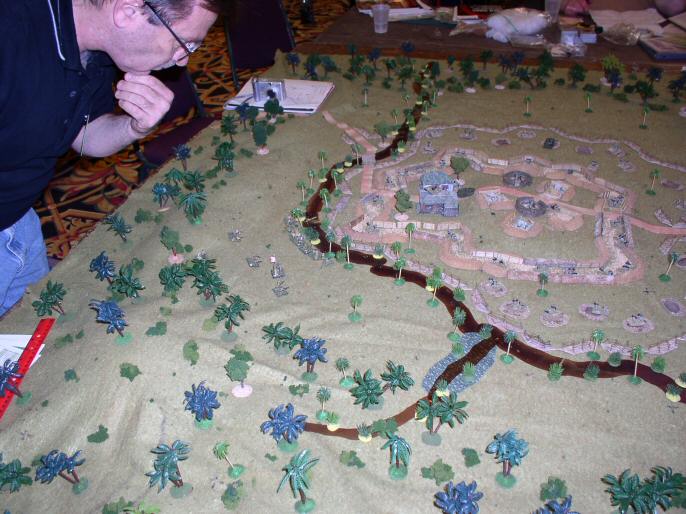
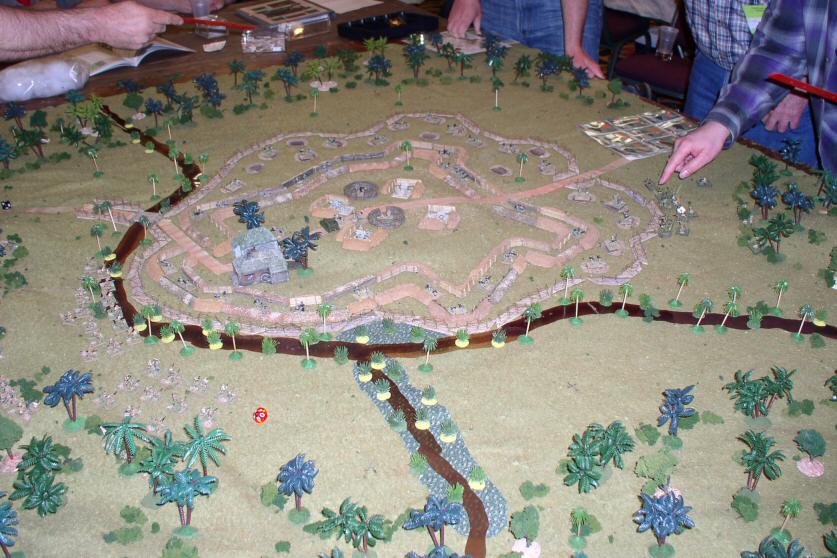
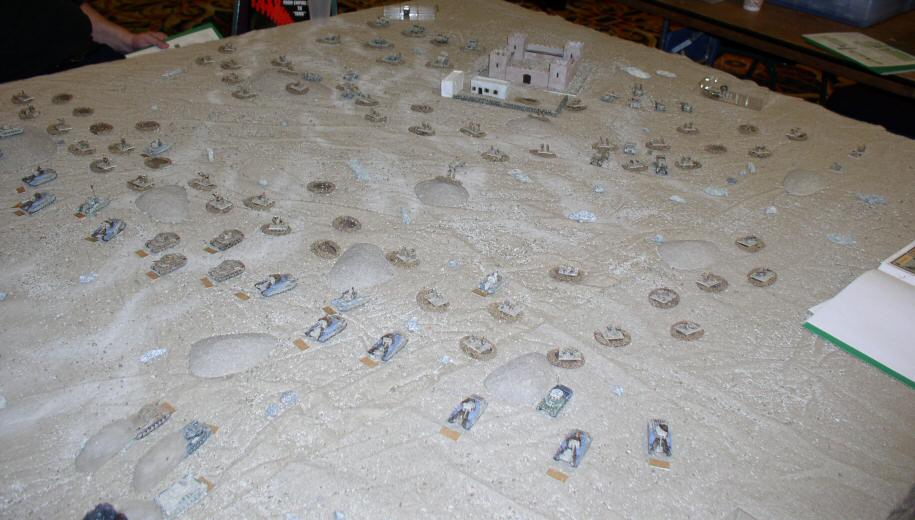
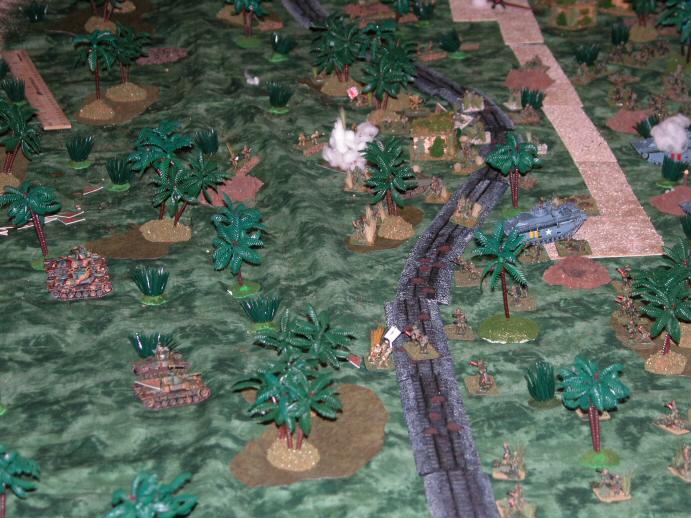
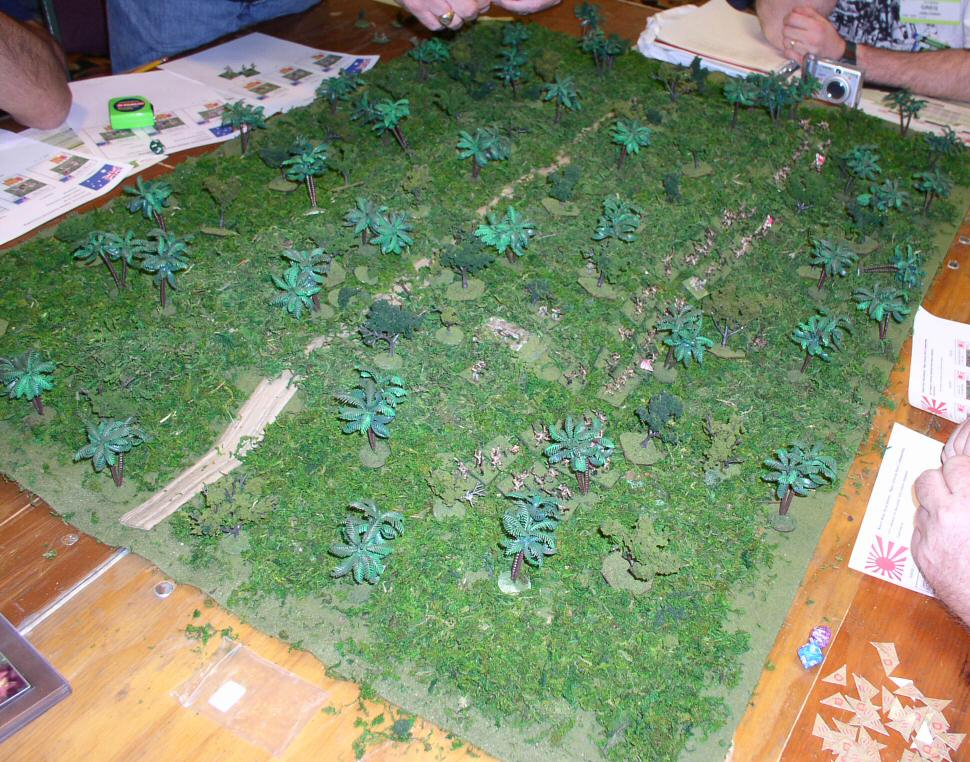
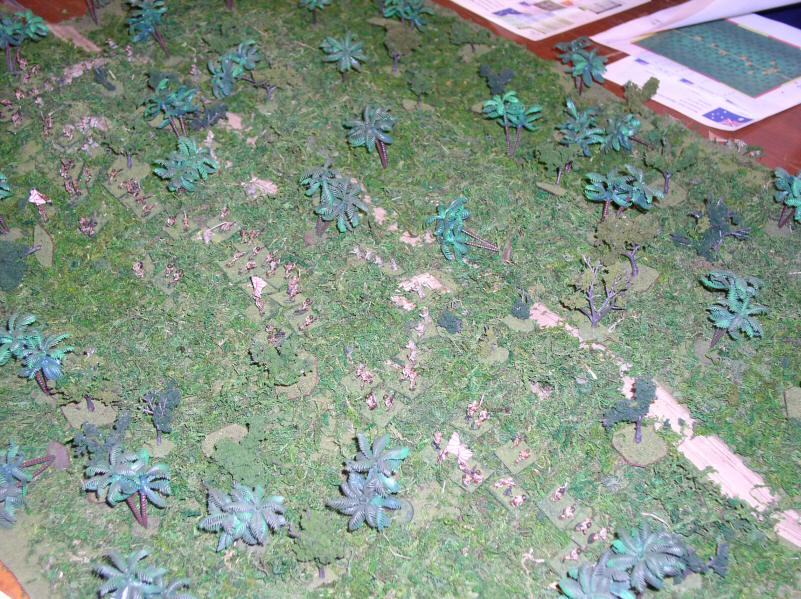
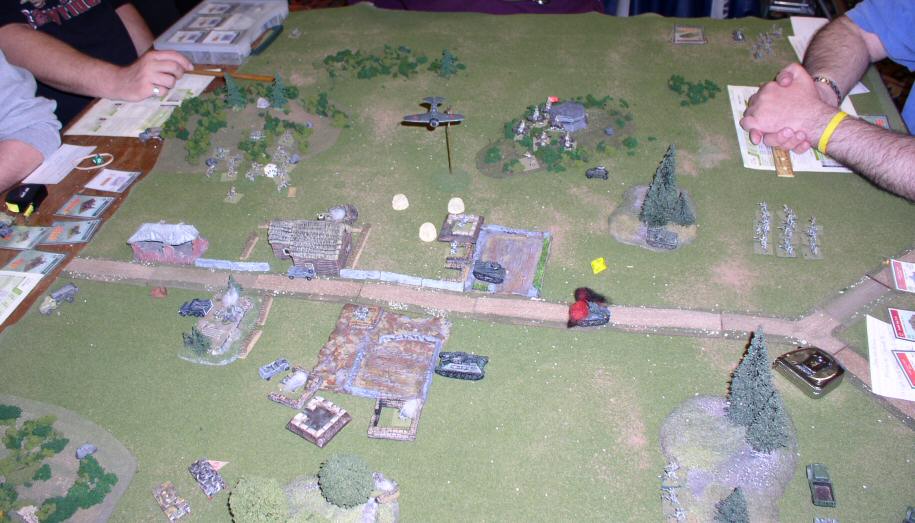
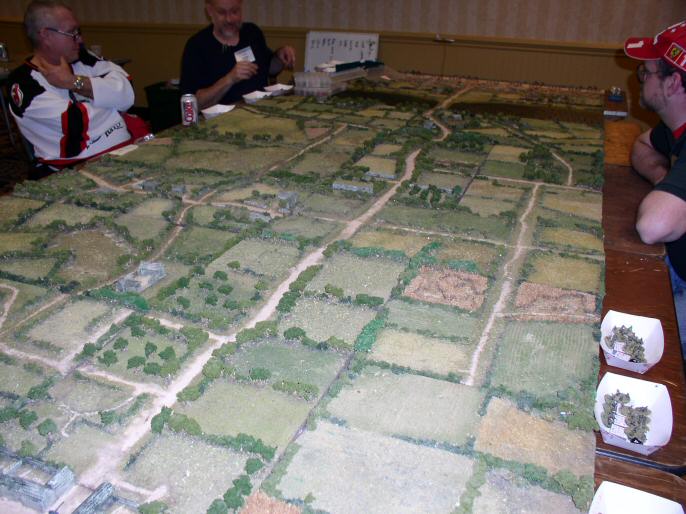
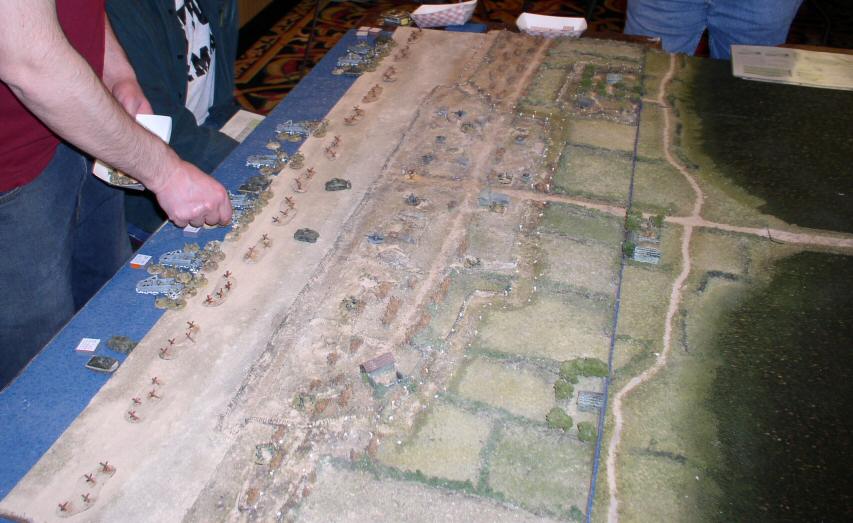
An overview of the battlefield. Some Japanese start to emerge from the left. |
Burma 1/2 |
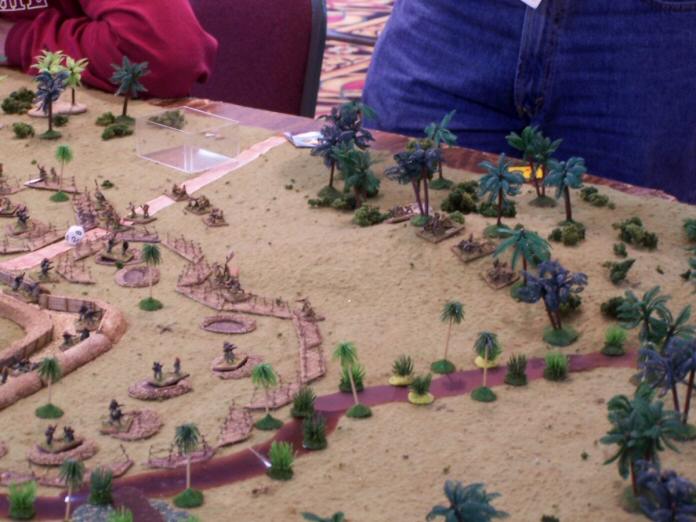
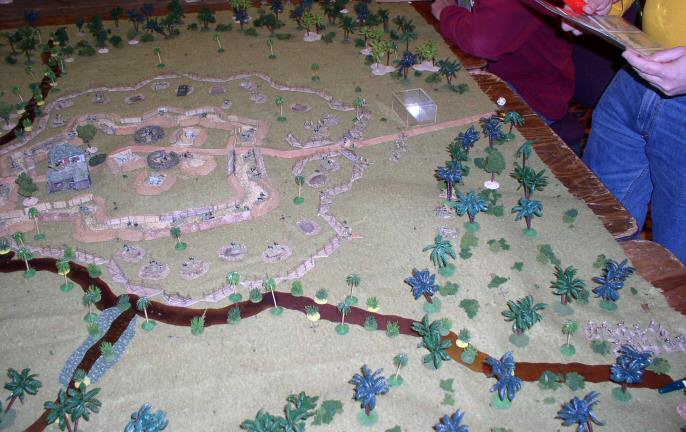
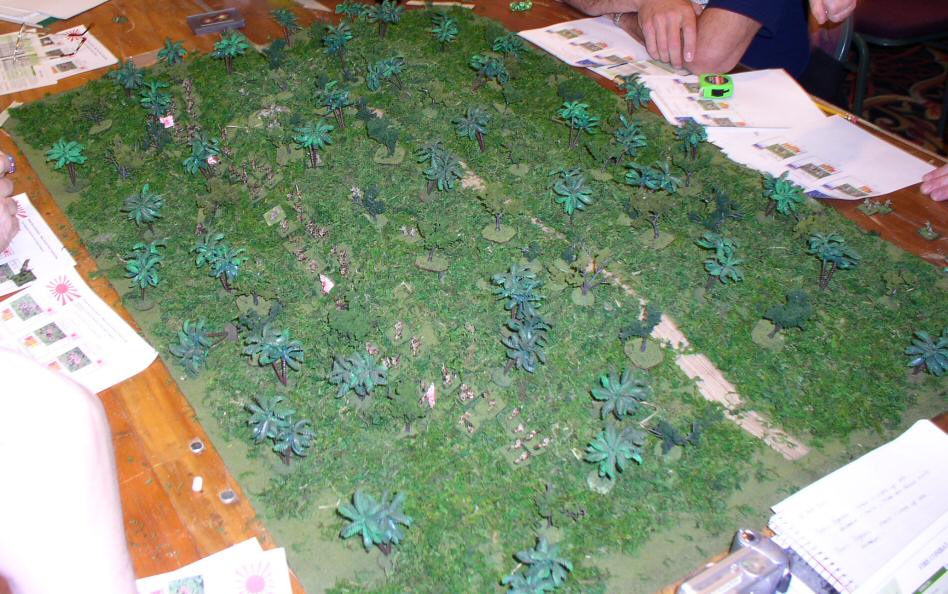
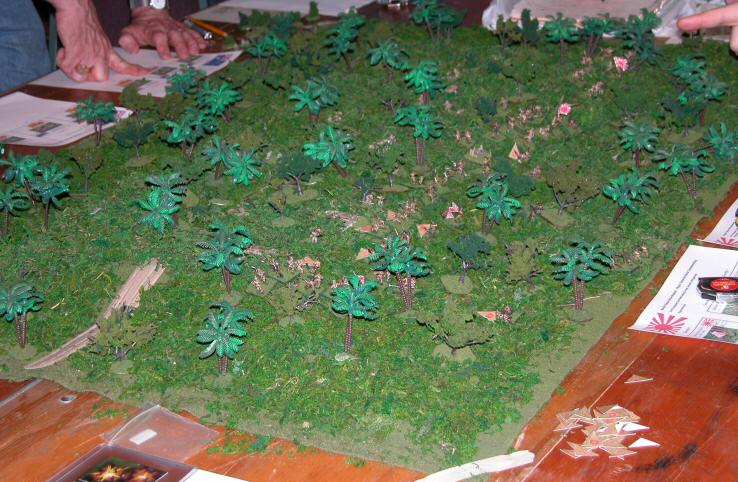
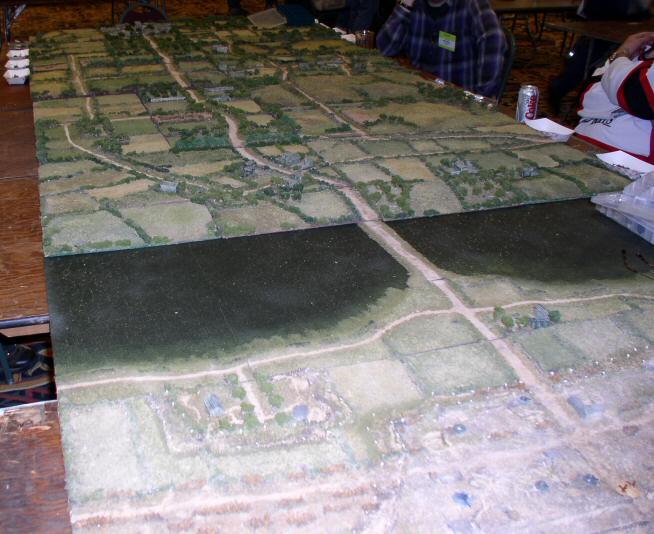
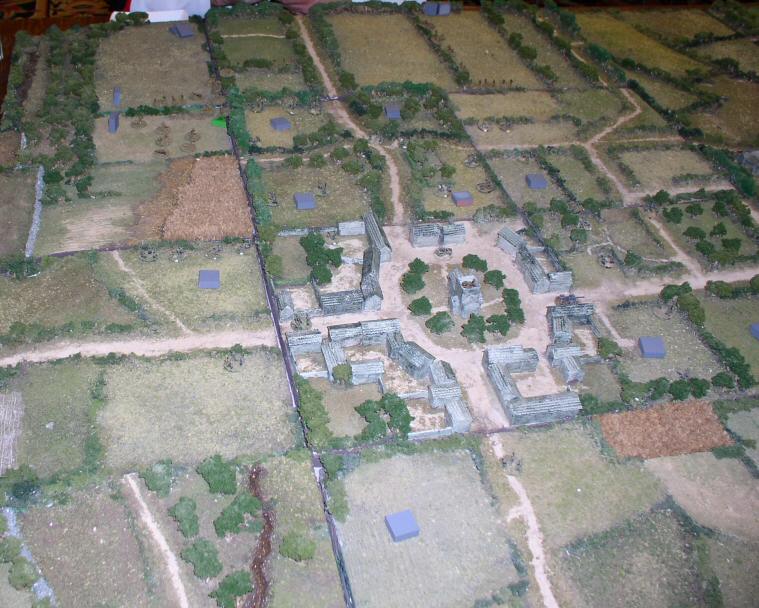
Japanese emerge from the woods. |
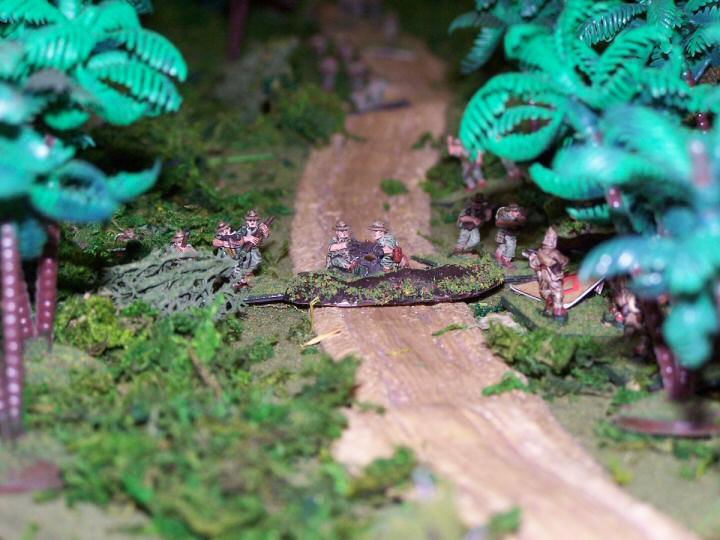
Burma 1/3 |
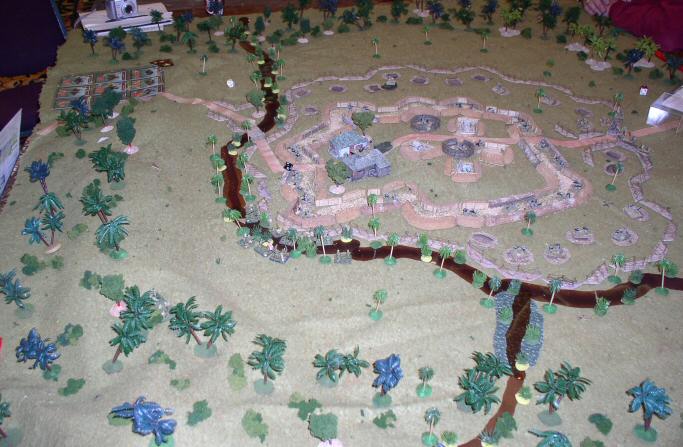
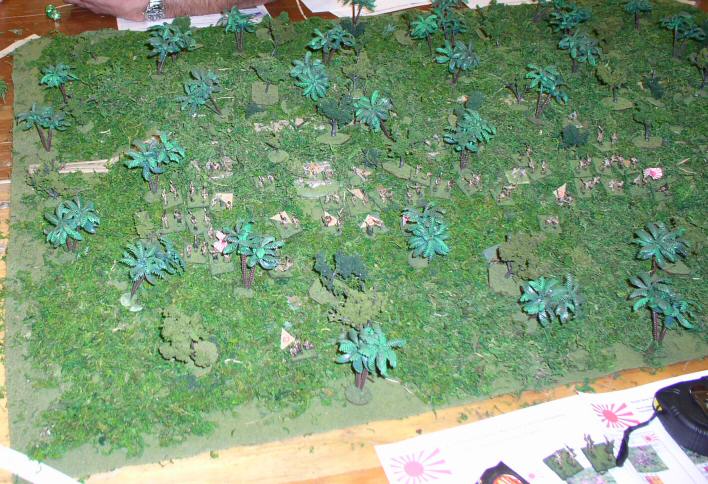
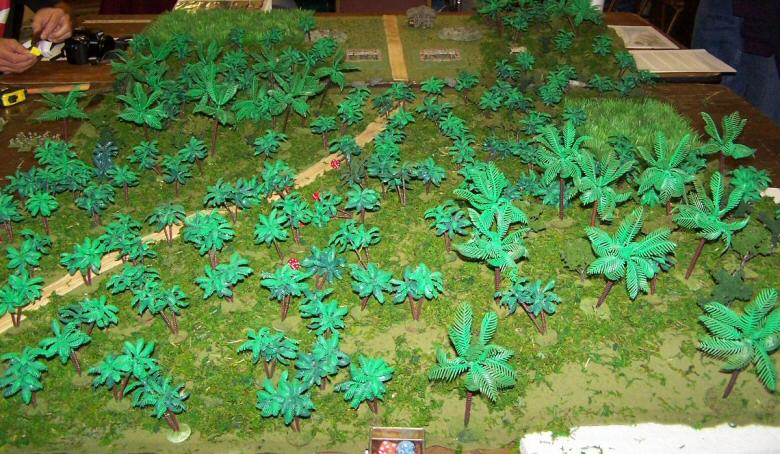
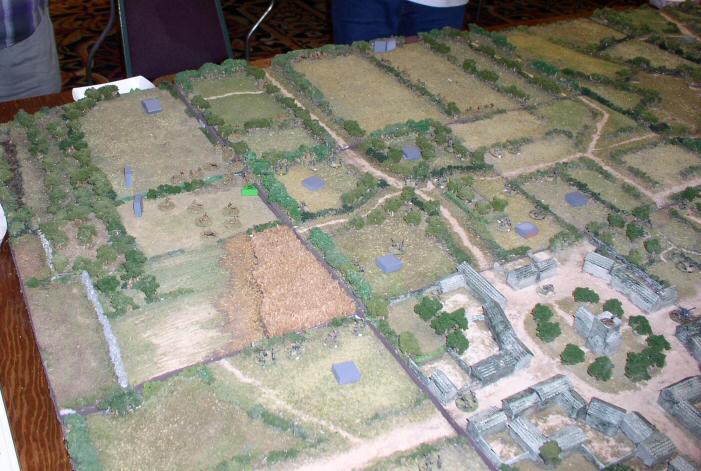
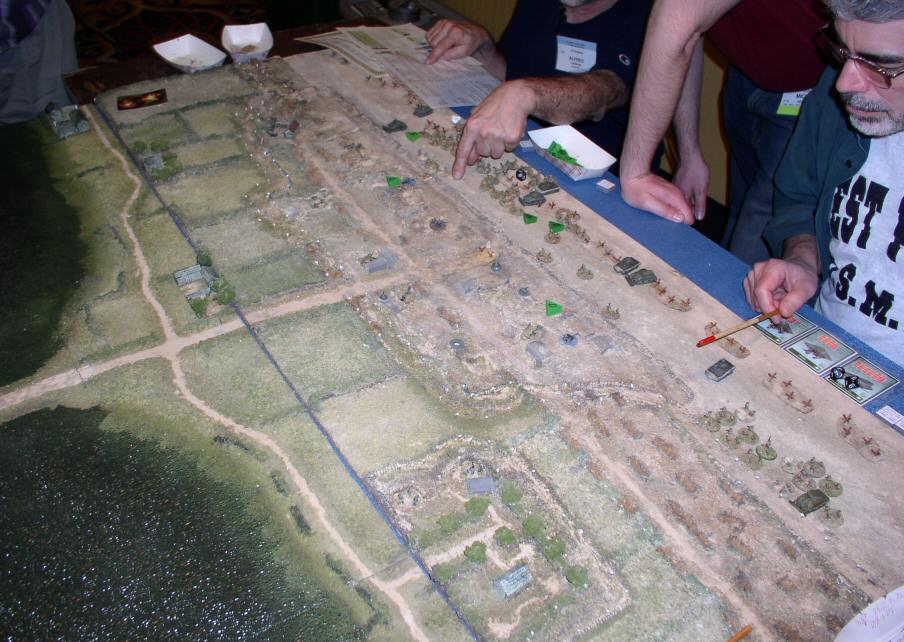
The lead Japanese forces start to take casualties. |
Burma 1/4 |
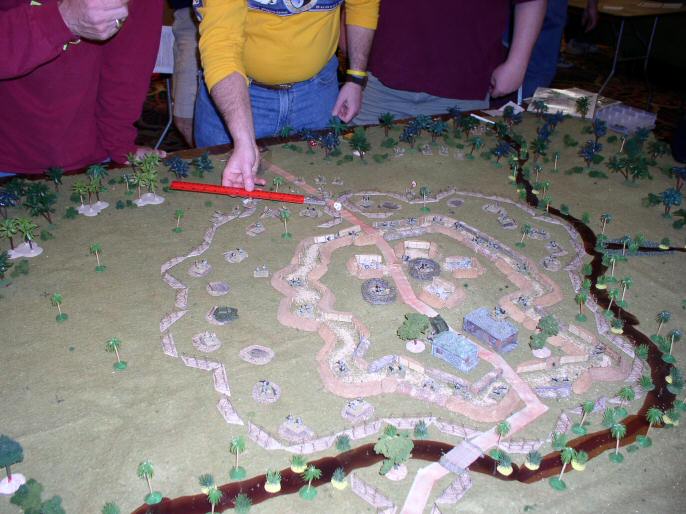
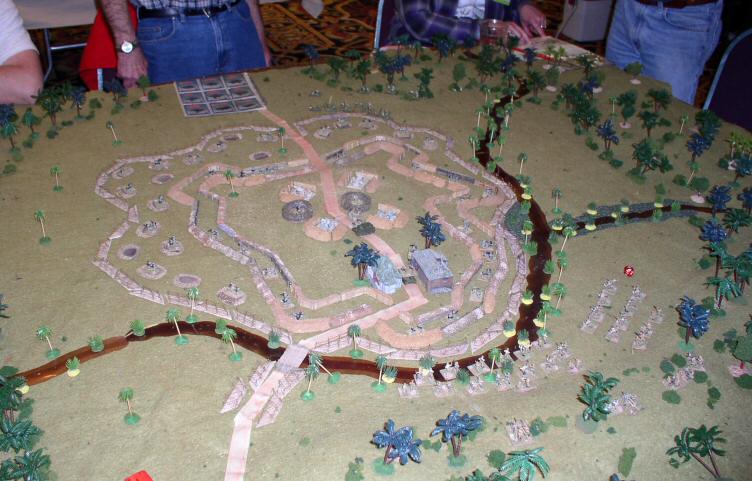
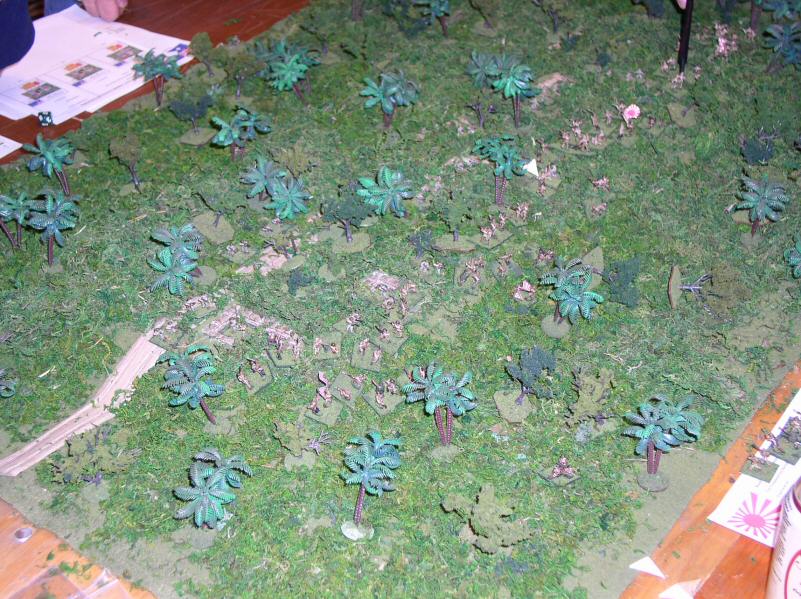
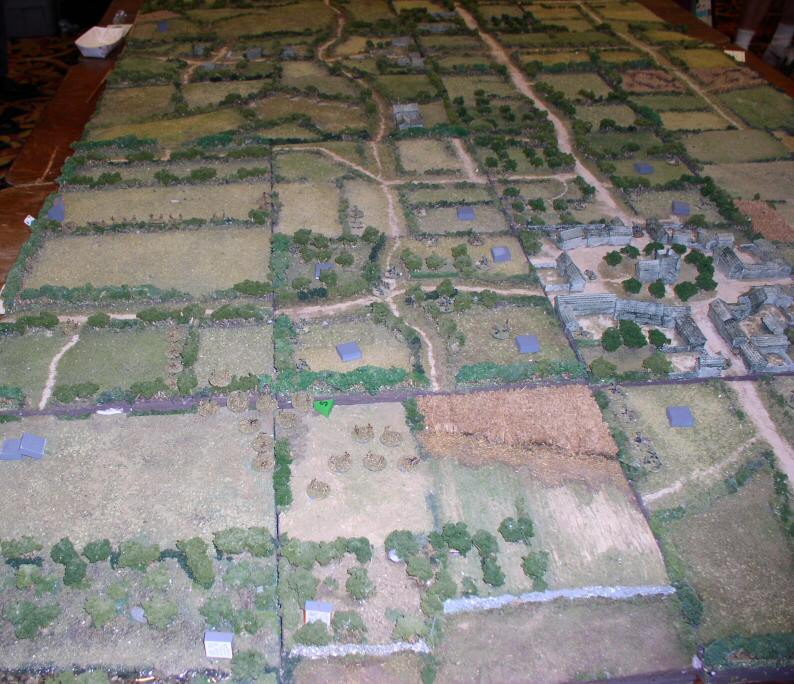
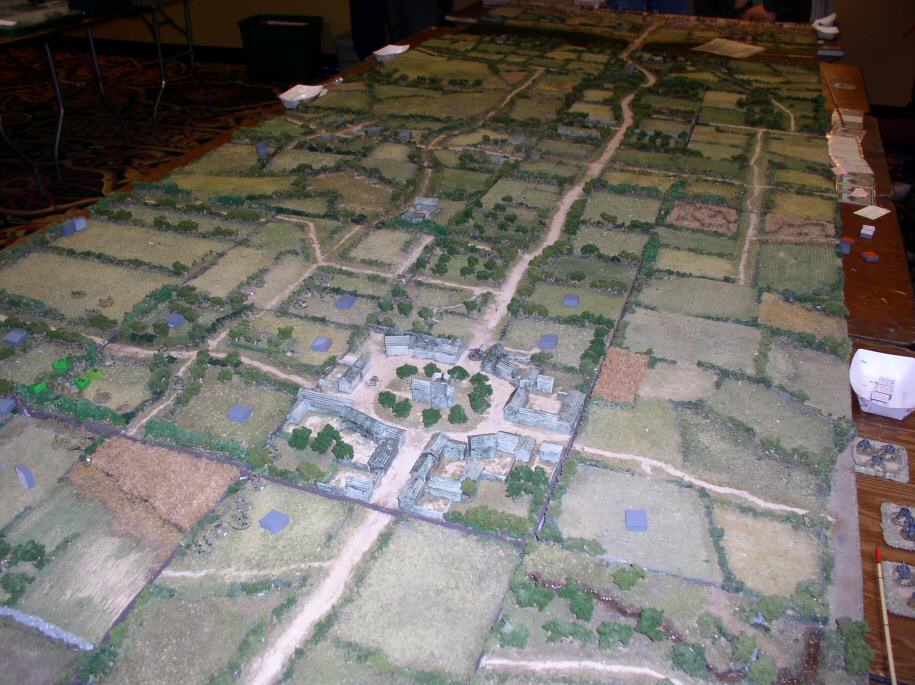
Measuring Fire - Much easier in the day. |
Burma 1/5 |
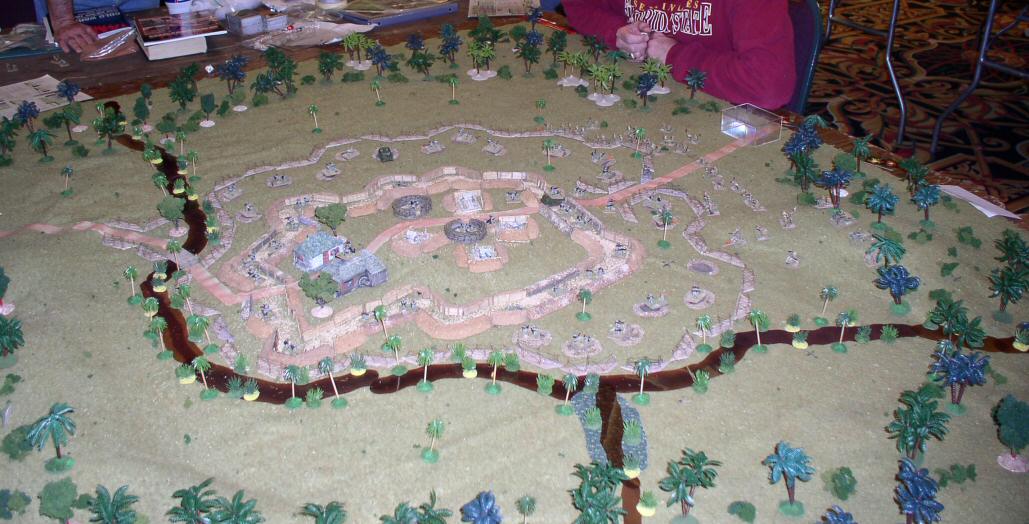
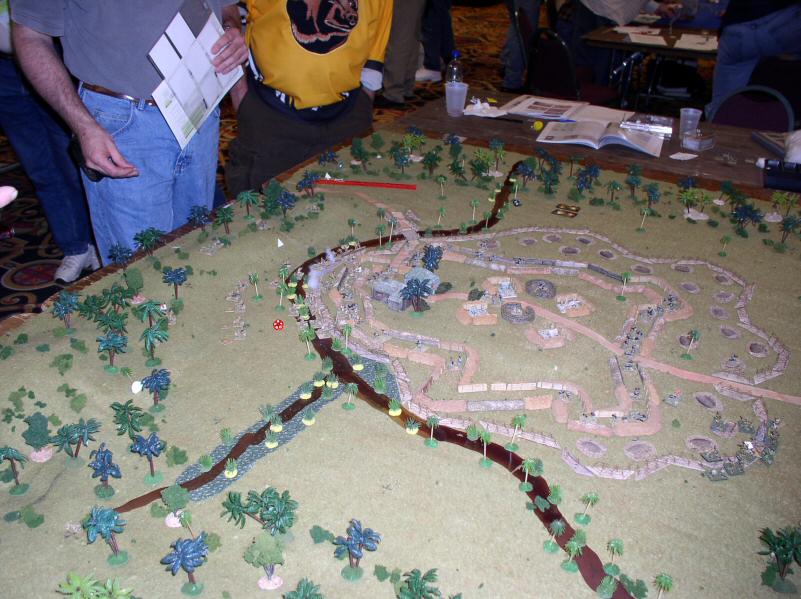
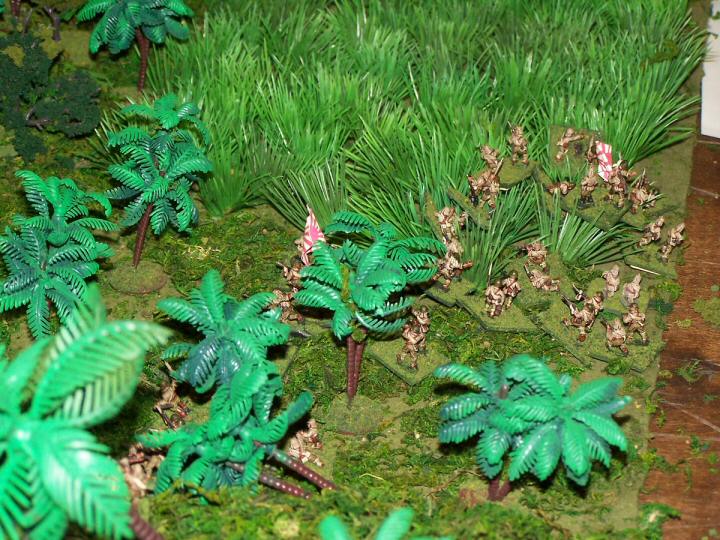
A second Japanese force emerges. |
Burma 1/6 |
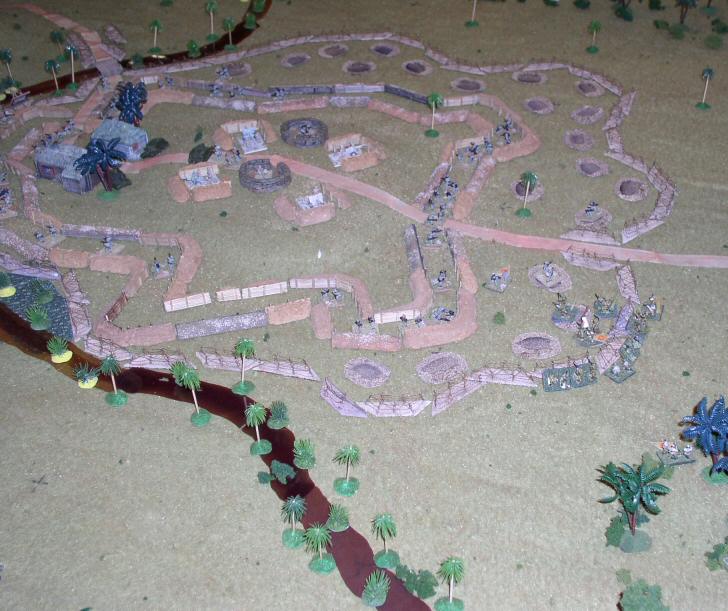
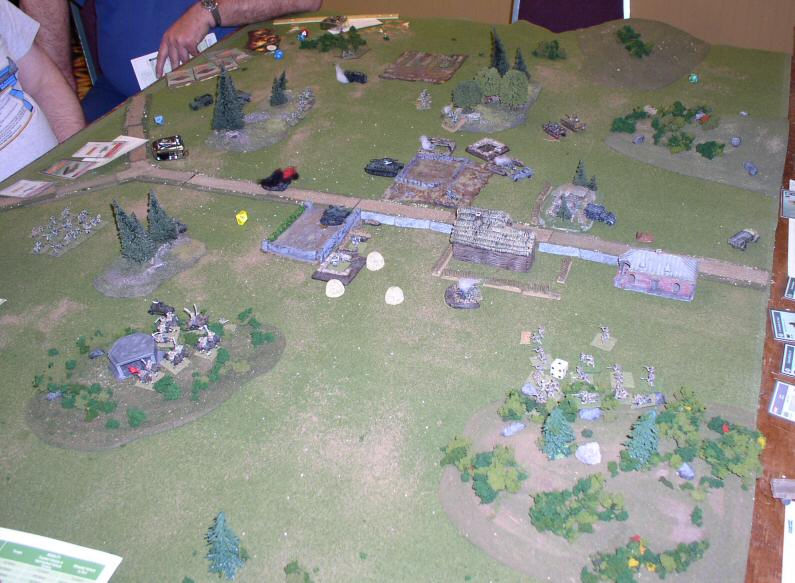
The First Japanese force is driven away. |
Burma 1/7 |
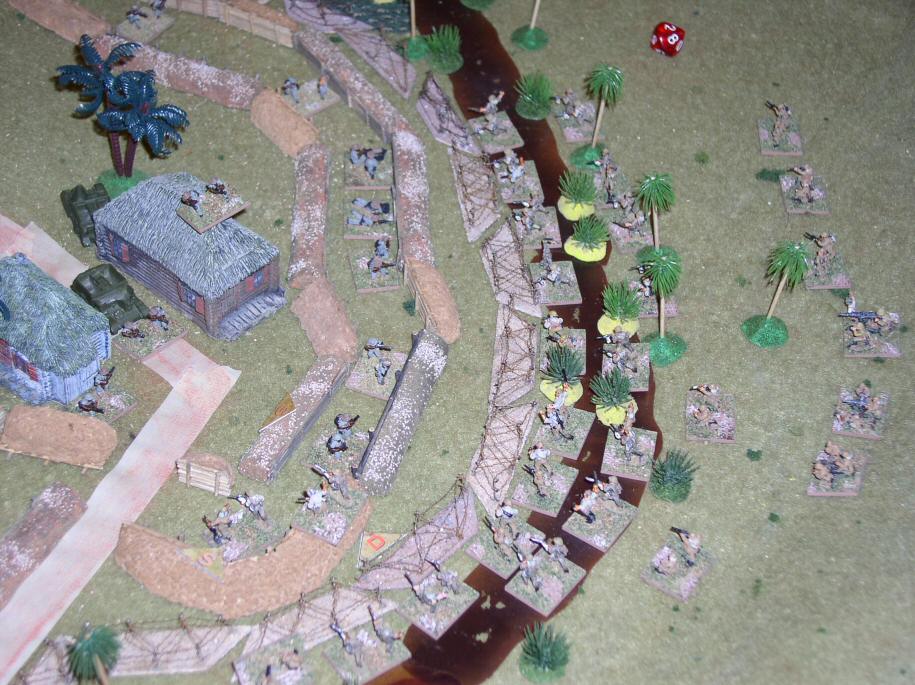
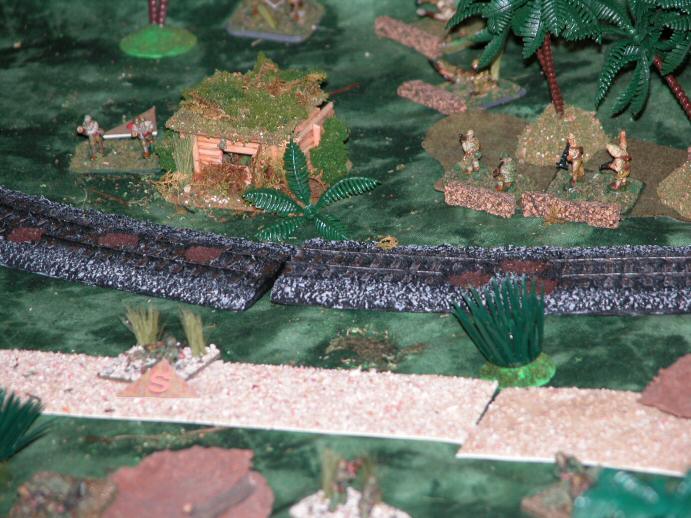
A second Japanese force gets hung up in the wire. |
| Click on the Thumbnail for a full-size photo | Description |
|---|---|
 Burma 2/1 |
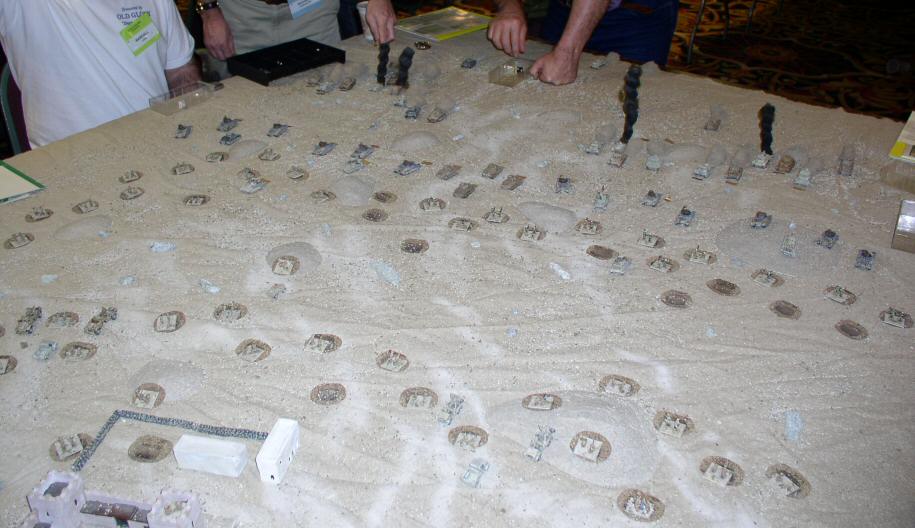
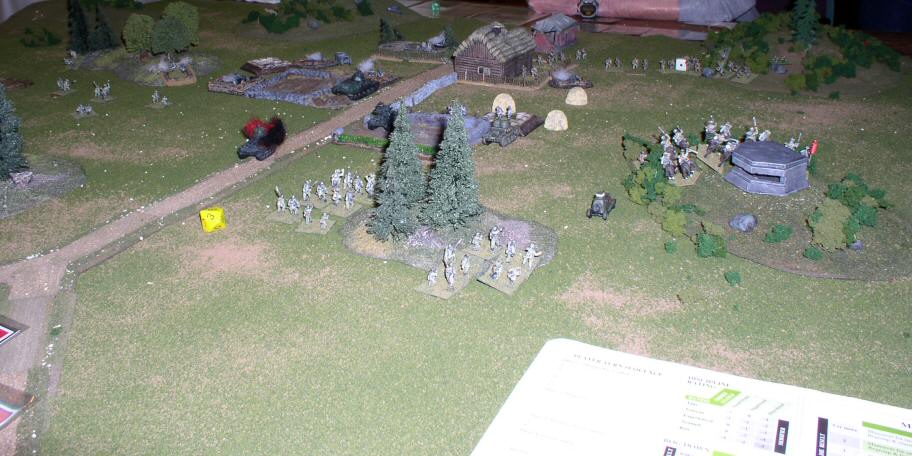
The same setup, but this time night rules allow the Japanese to get to the wire relatively intact. |
 Burma 2/2 |
Japanese move up. |
 Burma 2/3 |
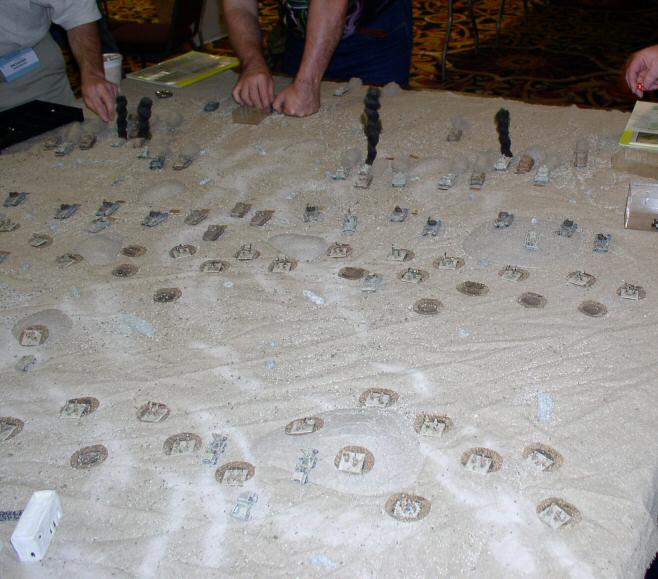
Just as in the first game, both attacks aim at the same areas. |
 Burma 2/4 |
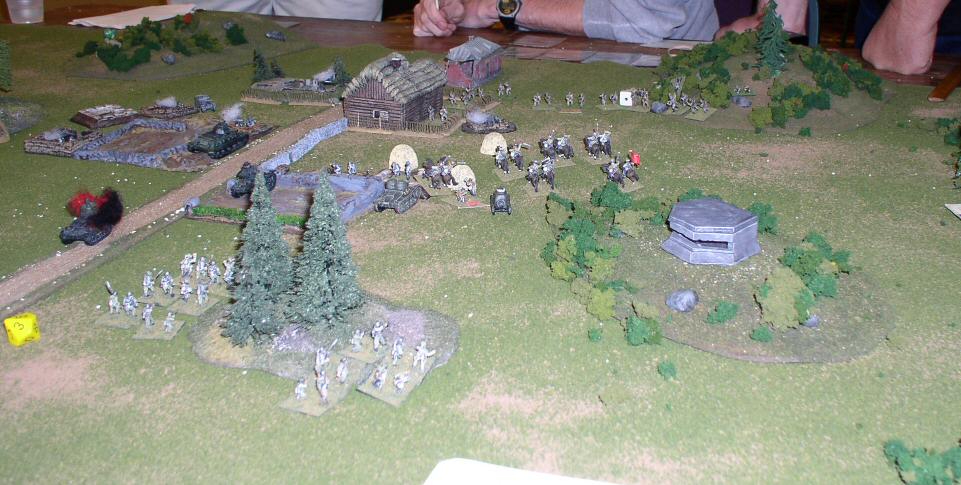
Going through the wire. |
 Burma 2/5 |
Closeup. |
 Burma 2/6 |
The other side also penetrates. |
 Burma 2/7 |
To help the lead forces, the Japanese drops smoke on them as the breach the wire. |
| Click on the Thumbnail for a full-size photo | Description |
|---|---|
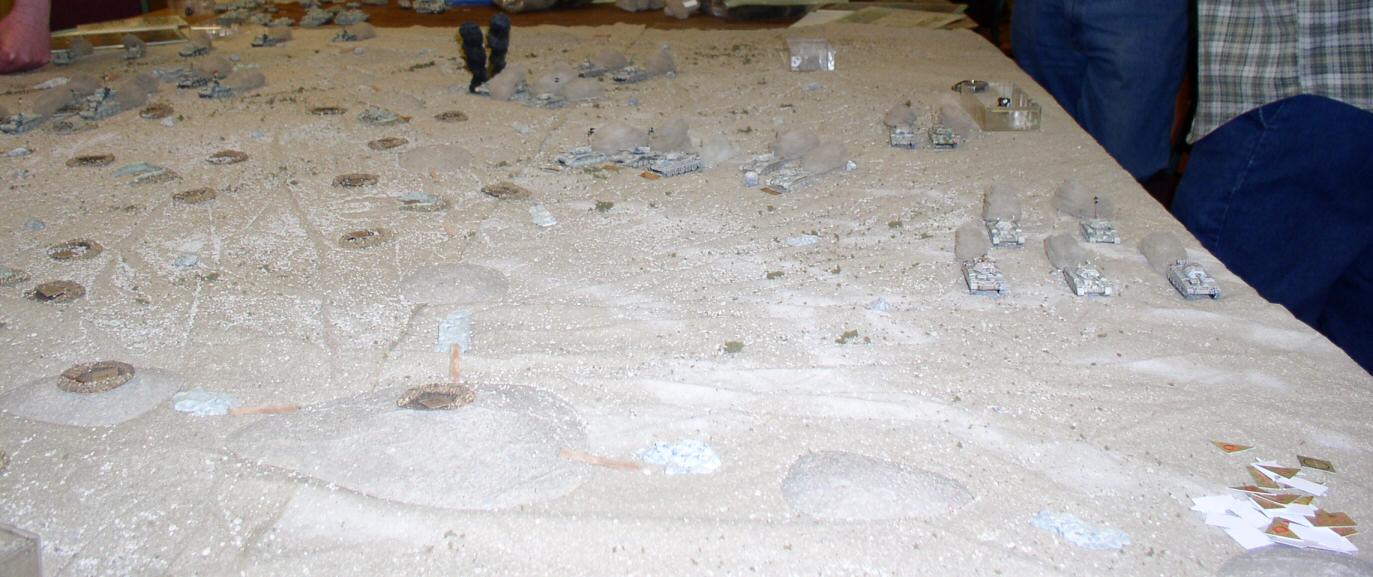
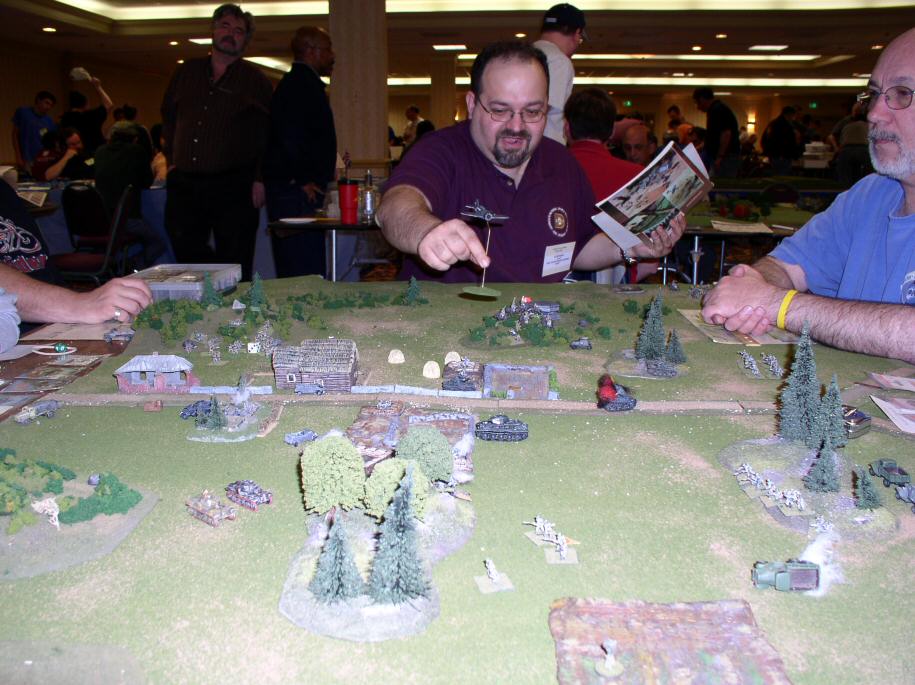
 Battleaxe Photo 1 |
A horde of British Tanks comes on the board. |
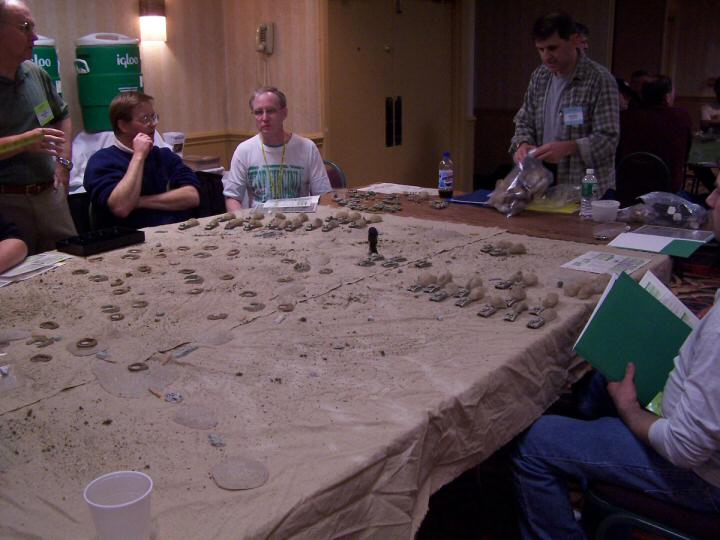 Rich Presides |
Rich Hasenauer running the game. The British hit the front line of German positions. |
 Flank Move |
The British send a large contingent down their left flank. |
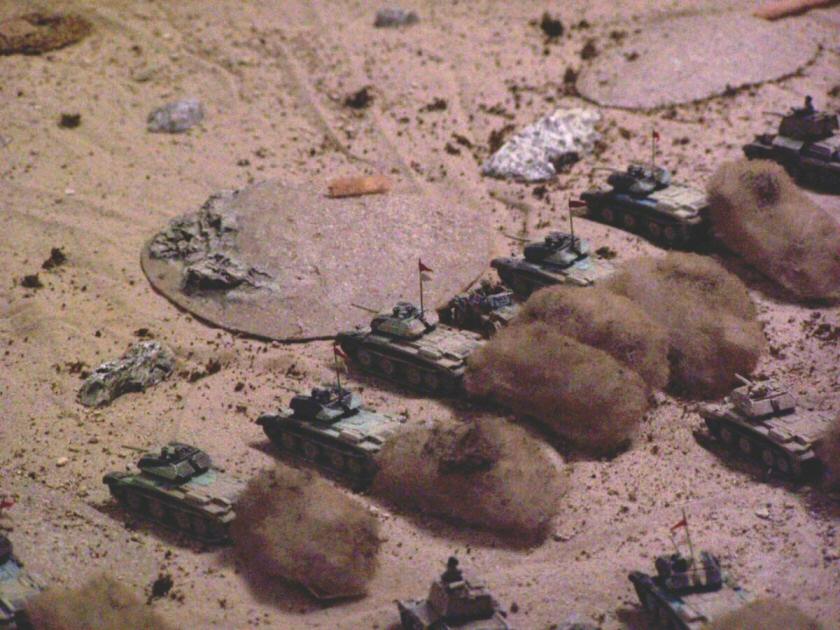 Closeup |
A closeup of the British advance - Photo by Steven Lee. |
 The flanking move |
Another view of the flanking move. |
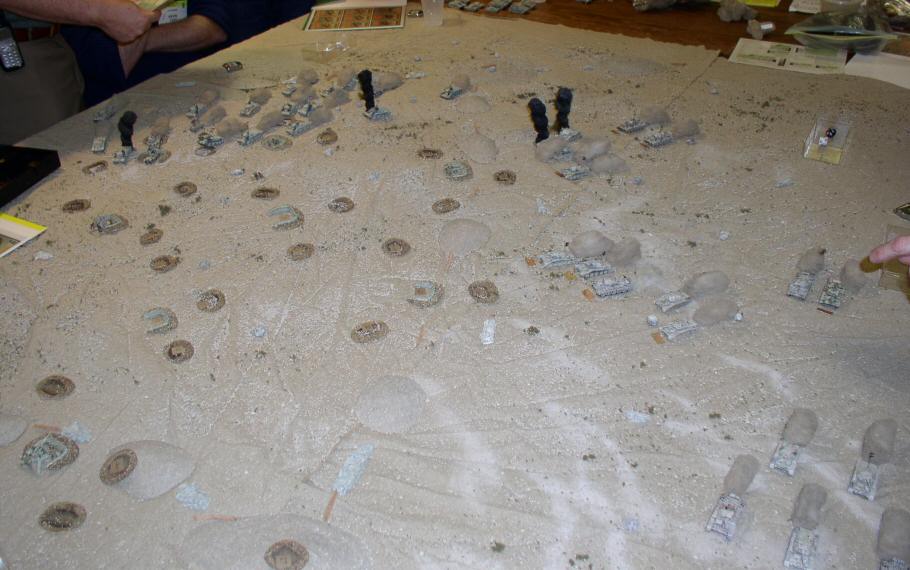 Frontal Assault |
While the flanking move continues, the rest of the British force takes on the German positions head-on. |
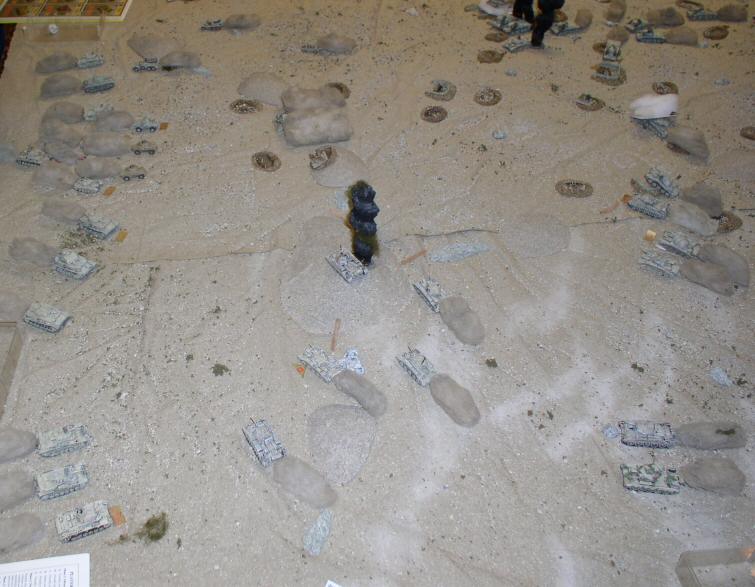 Counterattack |
A German armored force wends its way through various gaming equipment to take on the British flank attack. |
| Click on the Thumbnail for a full-size photo | Description |
|---|---|
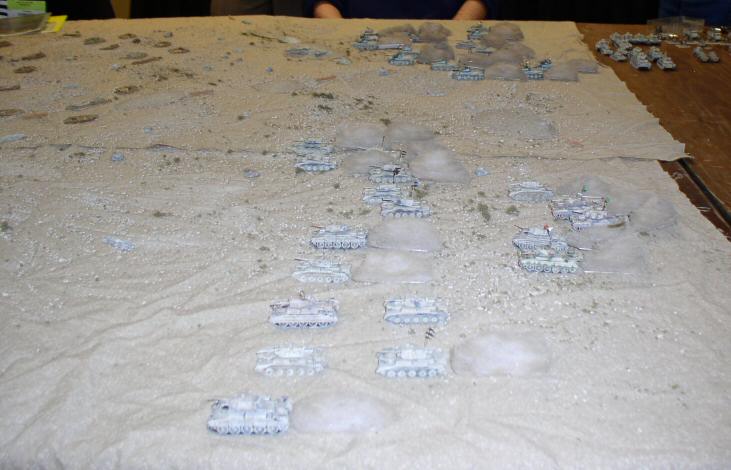
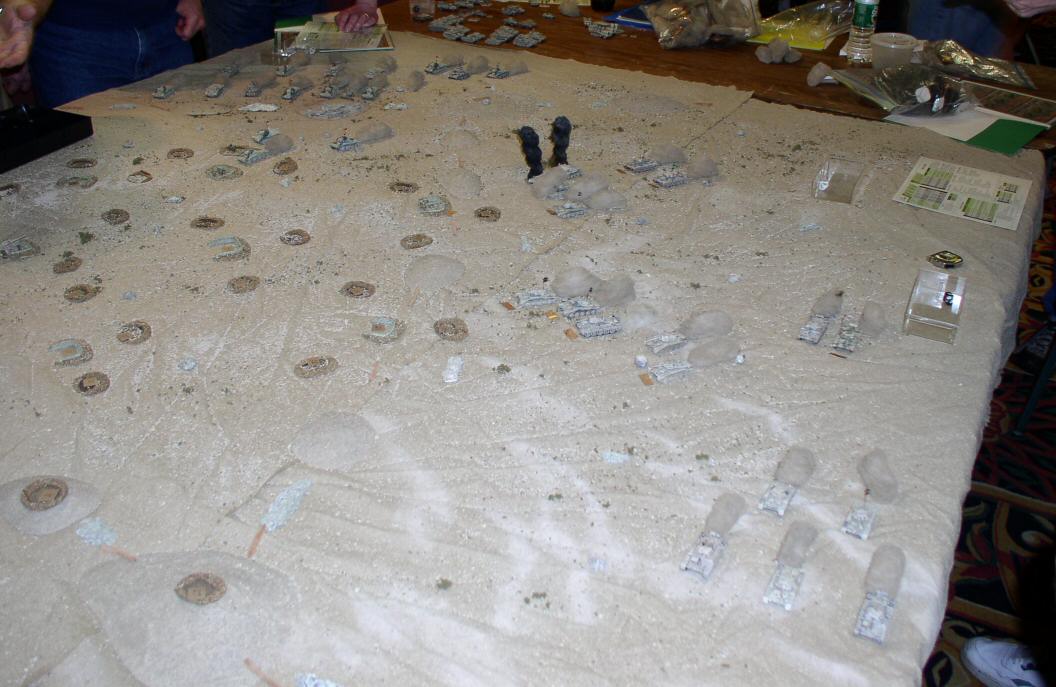
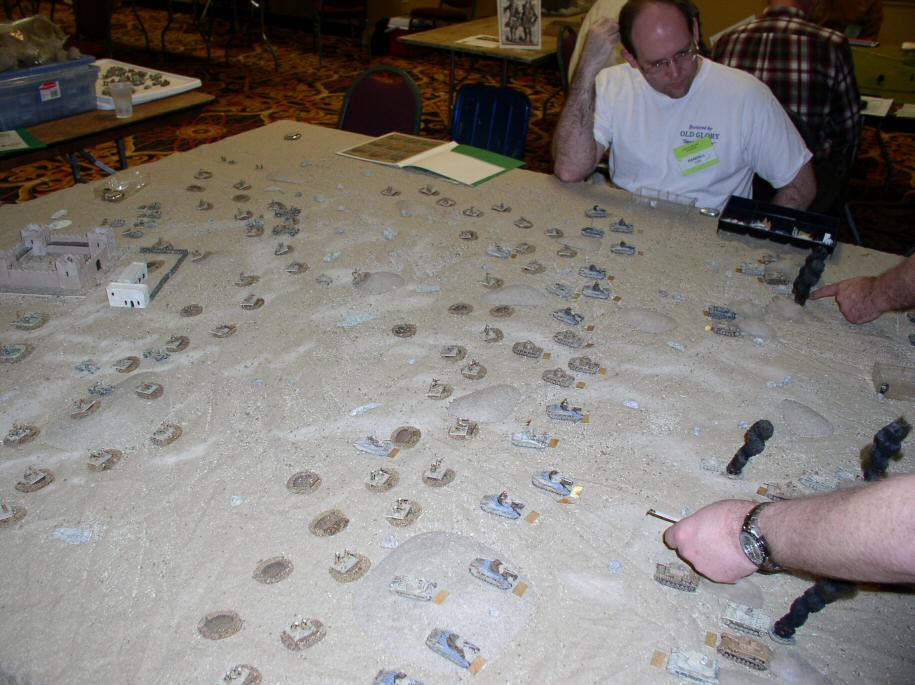 Capuzzo Photo 1 |
Germans move up to the line of waiting Matildas. |
 Capuzzo Photo 2 |
A view of the British defenses. |
 Capuzzo Photo 3 |
German wrecks mark the advance. |
 Capuzzo Photo 4 |
Another picture of the German Advance. |
| Click on the Thumbnail for a full-size photo | Description |
|---|---|
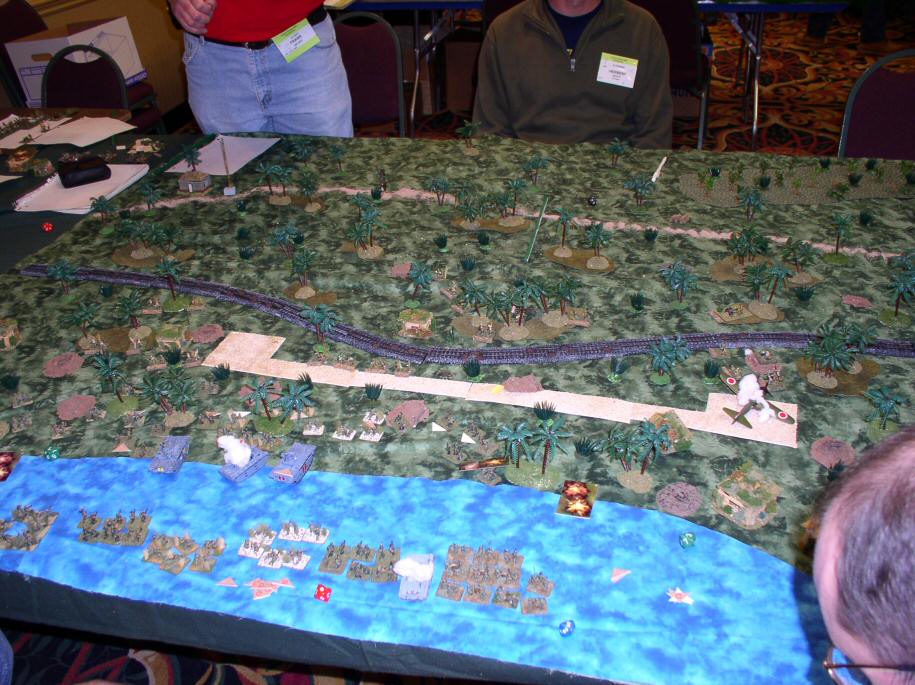
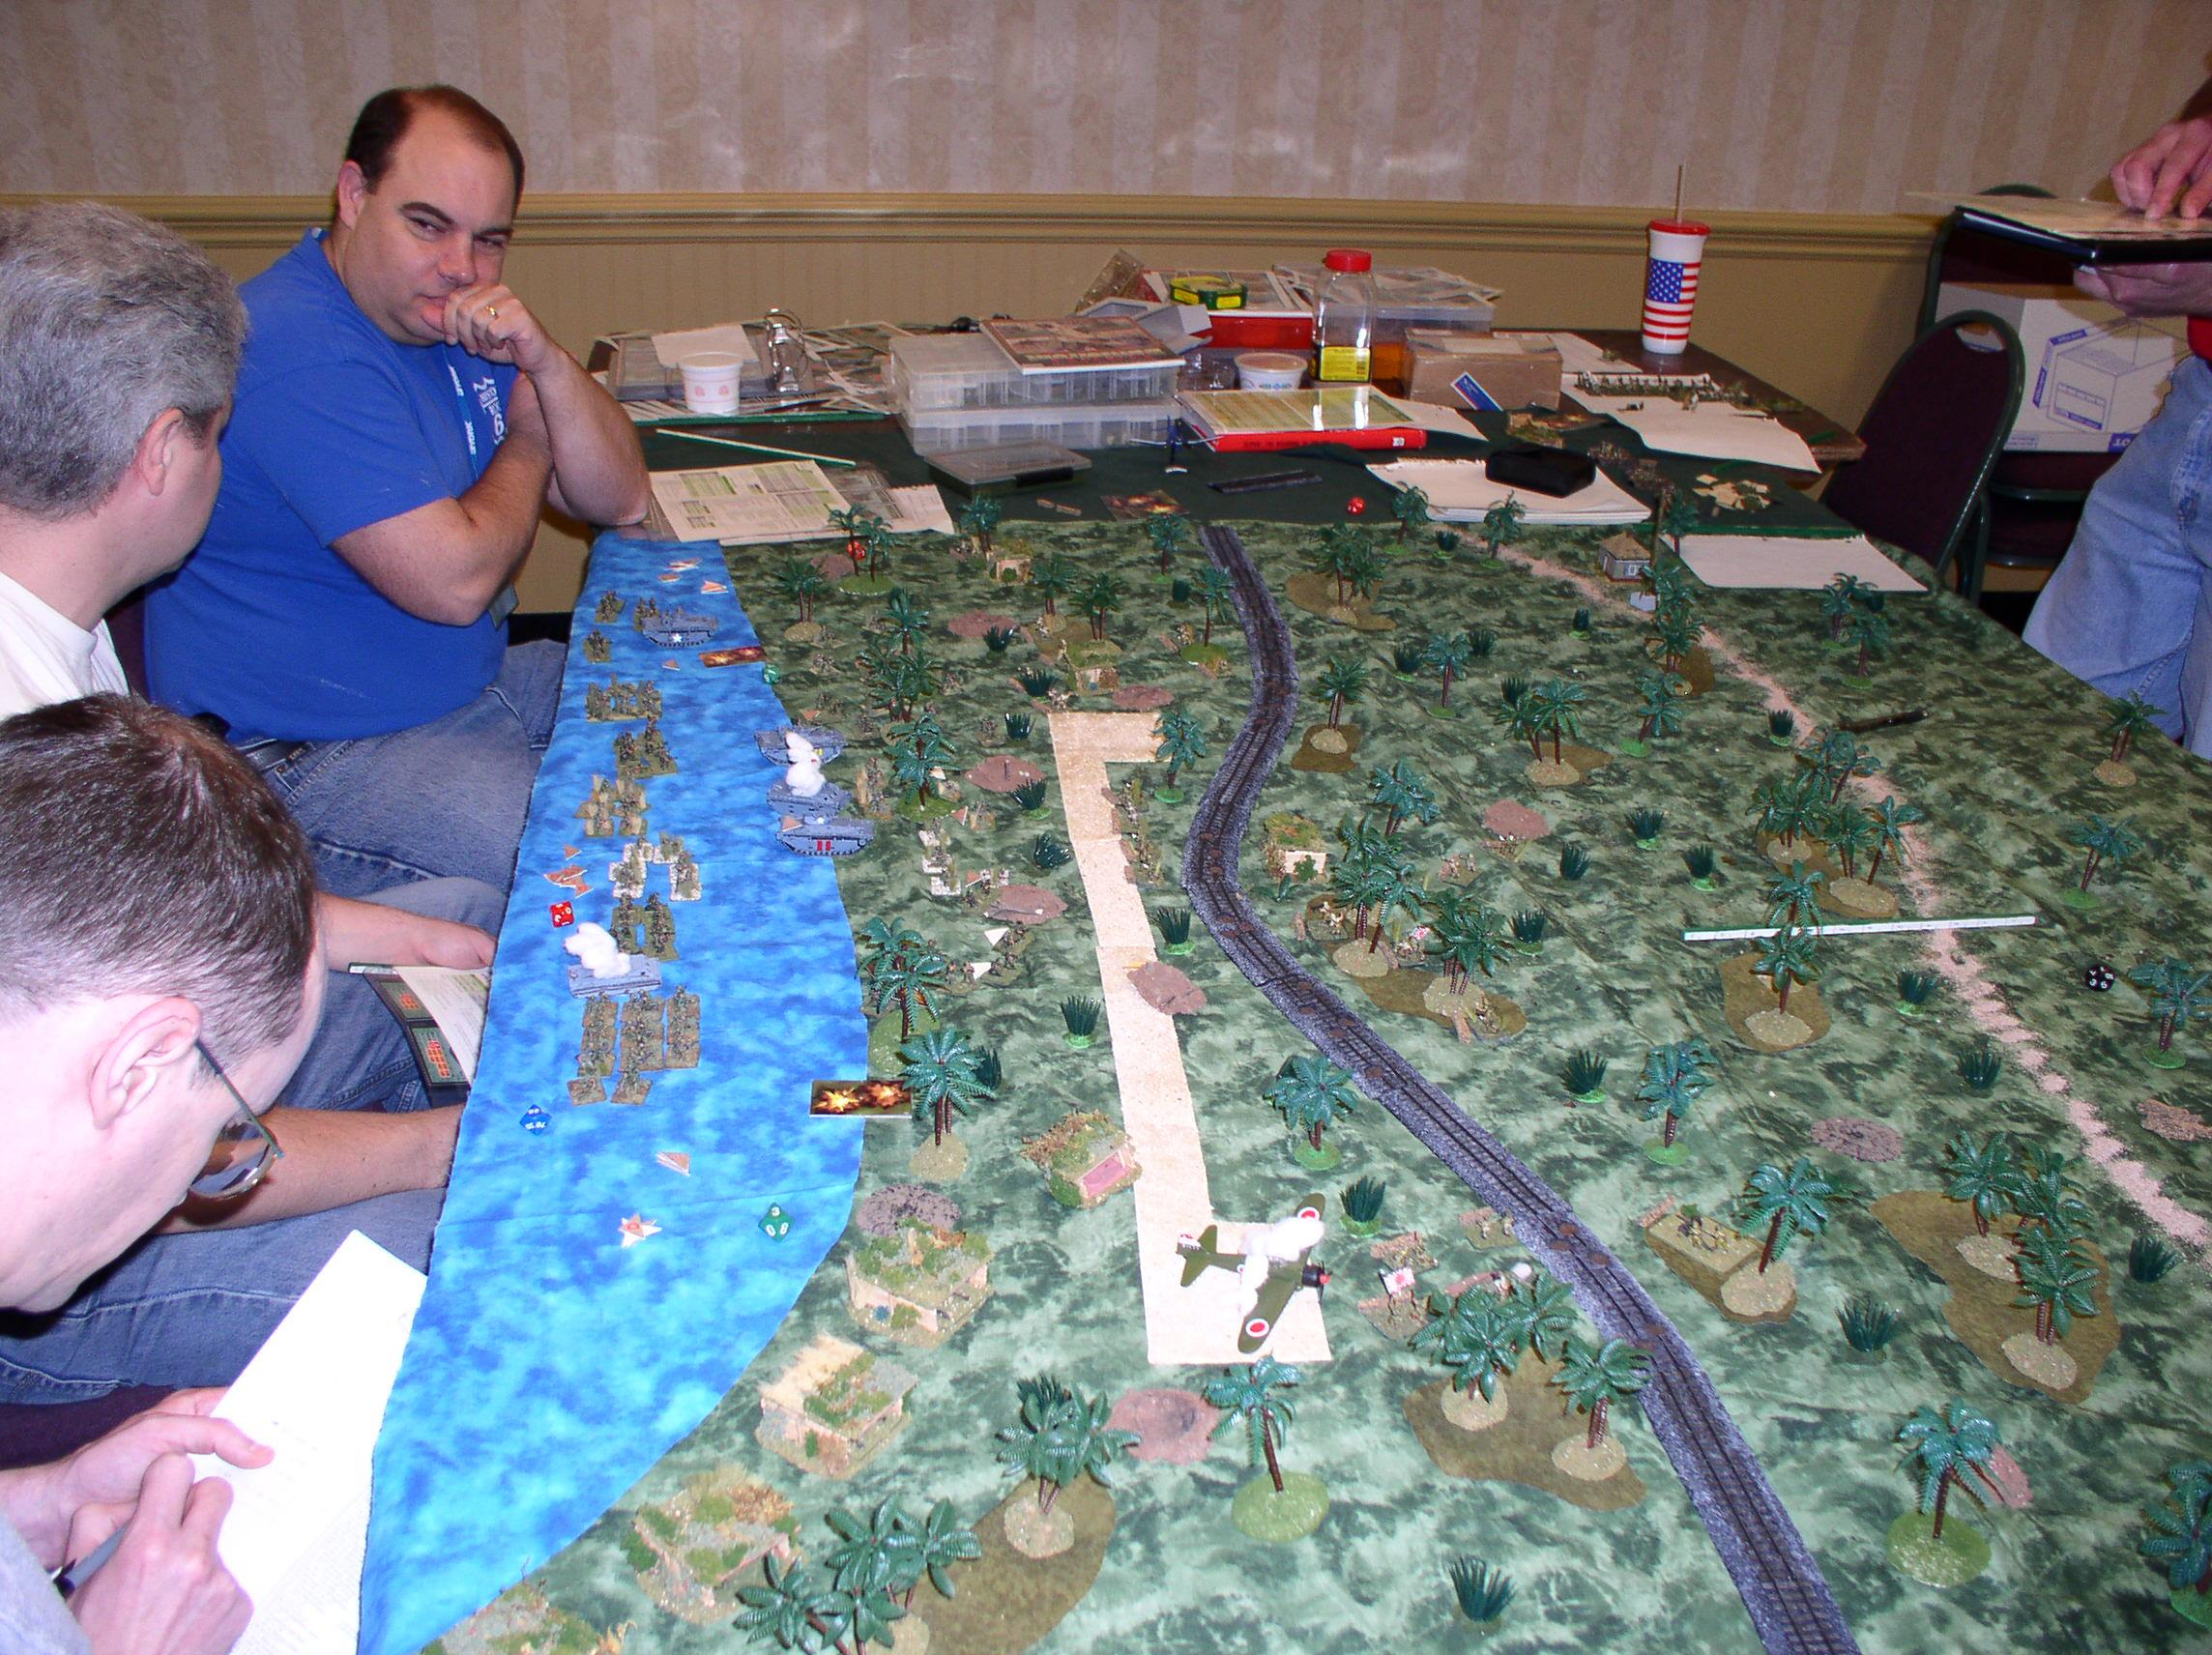
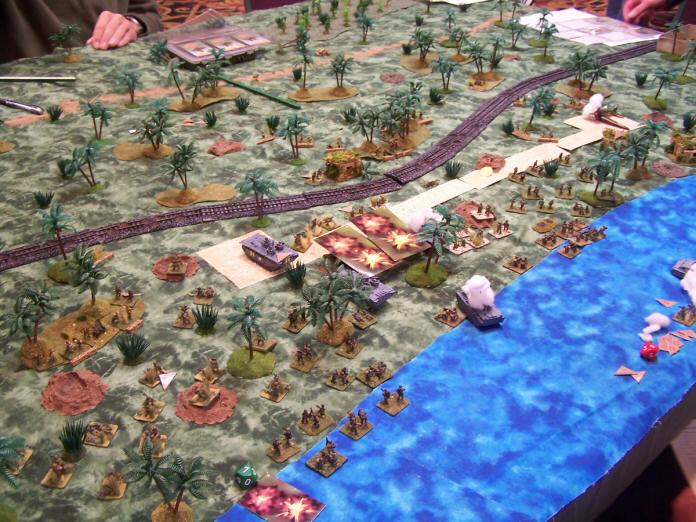
 Saipan 2nd Wave |
The Marines come ashore. |
 Close up |
A Closer view. |
 Another View |
From above. |
 Another View |
From the side. |
 Another View |
From the Japanese perspective. |
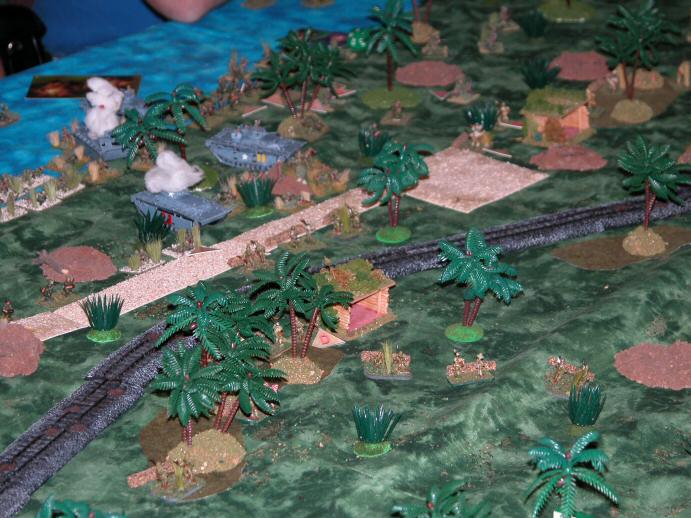
 Japanese Defending |
Japanese positions defending their side of the tracks. |
 Moving Inland |
Marines Move Inland |
 Moving Inland |
Another view of the advance |
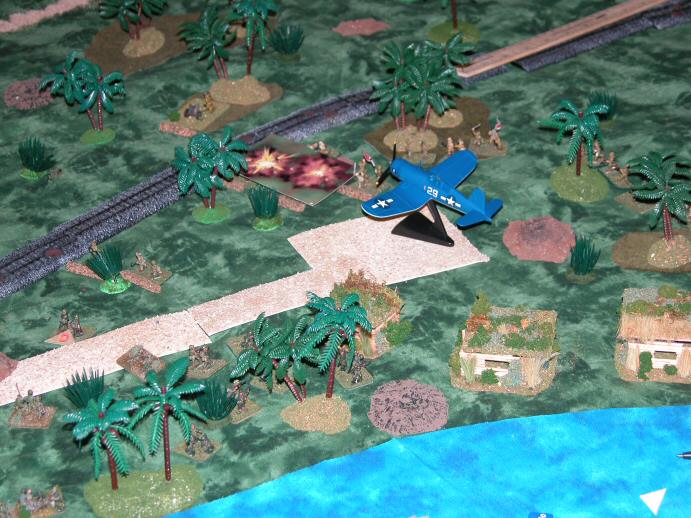 Close Air Support |
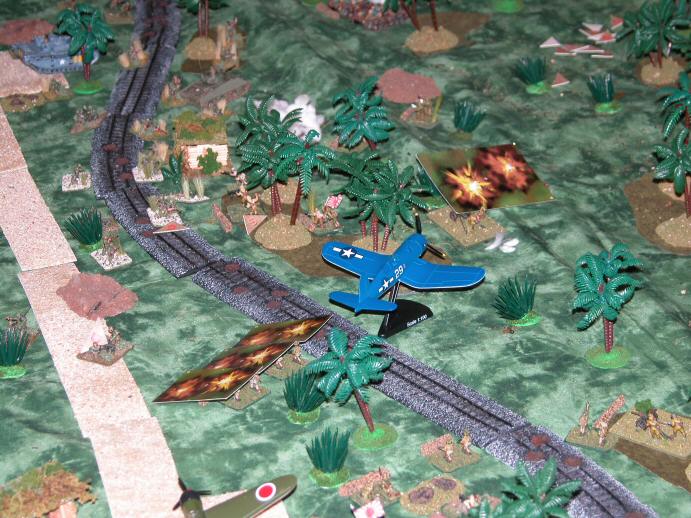
Navy Corsair bombing Japanese positions. |
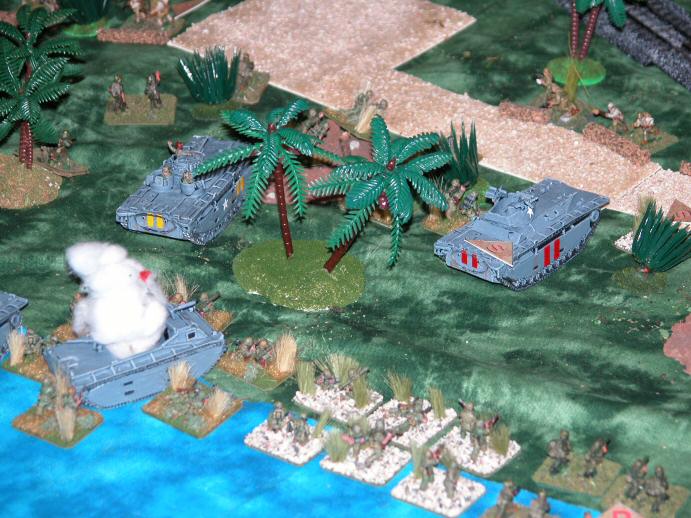
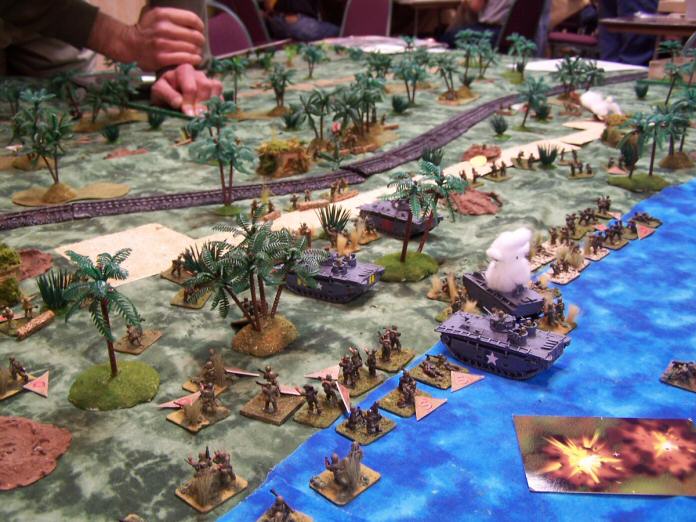
 Armor Support |
Amtank LVT(A)4 and Sherman support the infantry spearhead. |
 Japanese Armor |
As the Marines finally advance across the tracks they are greeted by Japanese armor. |
 Japanese Armor Alone |
Only Japanese armor and a lone company commander hold this sector of the line... |
 More Air Support |
Another pass by the Navy takes out a 37mm ATG, disables a Shinoto and suppresses a Chi Ha. |
| Click on the Thumbnail for a full-size photo | Description |
|---|---|
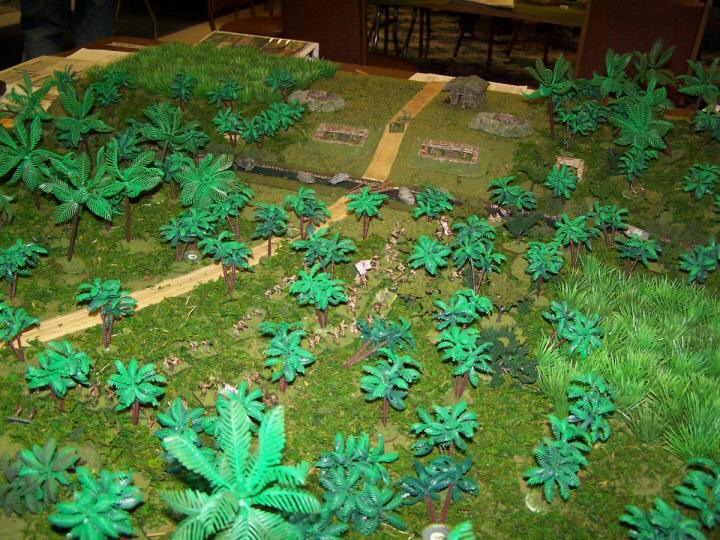
 Brigade Hill Battlefield |
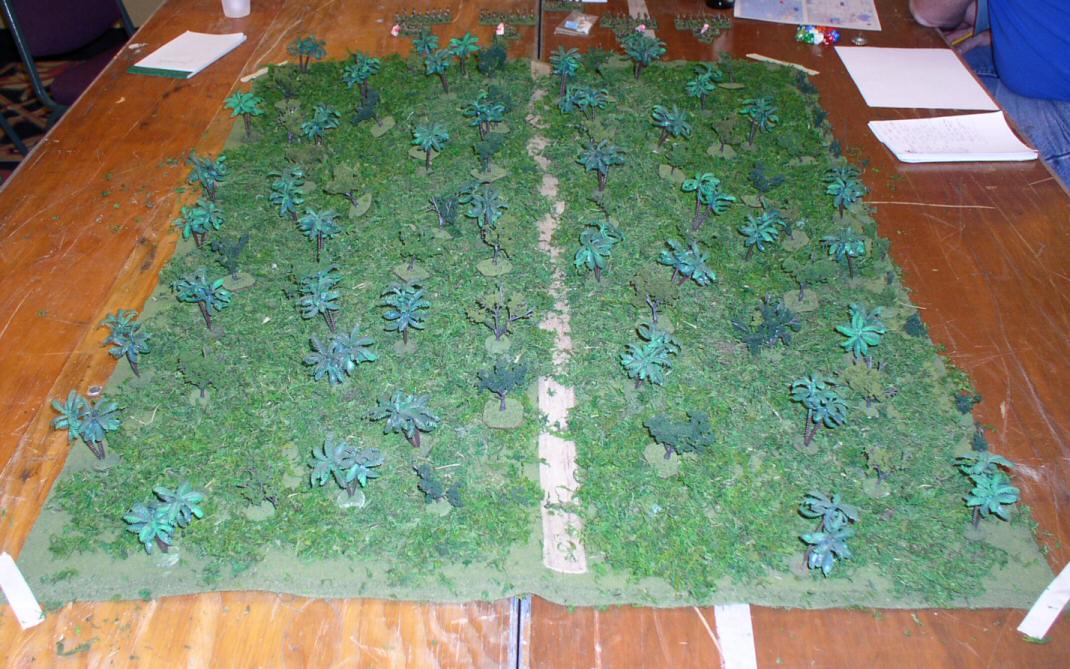
The Brigade Hill Battlefield, best characterized as a heap of green with a trail down the middle of it. This probably is a good description of it in real life. The Australians start hidden (in the game it was sometimes hard to find them in the shrubbery :-)). |
 Japanese Appear |
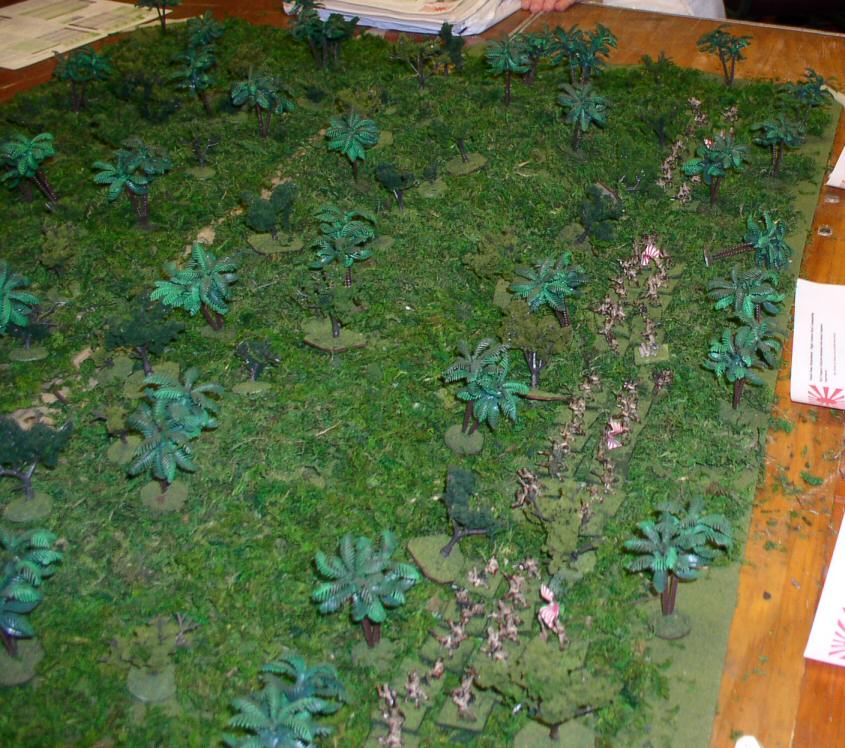
Using their usual flank march the Japanese arrive unannounced from the side of the board. |
 Contact |
Moving up the hill, the Japanese hit the entrenched Australians. |
 Moving Up |
Japanese on the right flank go farther before making contact. |
 Battle on the Left |
A view of the battle on the left. At first the Australians inflict heavy casualties, but Japanese numbers start to tell. |
More on the Left |
The frontal assault is not doing well, but note the relatively intact unit moving up on the far left. One of the characteristics of the battle was the terrain, if a unit panicked down the hill, it would take it several turns of movement to get back into the battle. |
 Taking the forward positions |
Japanese troops swarm into the forward positions. |
 Fight on the Right |
The right flank battle starts to heat up. |
 General picture |
A view of the whole battle, I think this pic was from Pete Landry. |
 Breaking In |
The Japanese break into the forward positions, aided by a few fortuitous 10s. |
| Click on the Thumbnail for a full-size photo | Description |
|---|---|
 Eora Creek Battlefield |
The battlefield as seen from the Japanese side. |
 Flank March |
As usual, the Japanese come in from the side. |
 Scattered Defenders |
Australian troops try to defend and retreat at the same time. |
 HQ Defends |
The Australian HQ defends a roadblock. |
 Closing In |
The Japanese close in on the last escape route over the creek. |
| Click on the Thumbnail for a full-size photo | Description |
|---|---|
 Cossacks |
The Cossacks and a light armored car move up to the woods - Photo by Steven Lee. |
 Hungary Photo 1 |
Steve Keyer gleefully sends in an I16 to strafe the Axis positions. |
 Hungary Photo 2 |
The Rata conducts its attack. |
 Hungary Photo 3 |
At the top of the photo a Russian Infantry Company finally reaches a hill after charging across an open field. In the center, a T34 moves up, showing just how superior it was in the early war. A troop of Cossacks lurks on the hill to the lower left. |
 Hungary Photo 4 |
Russian infantry moves around in large clumps. Fortunately for them, the Germans did not have indirect fire capability. |
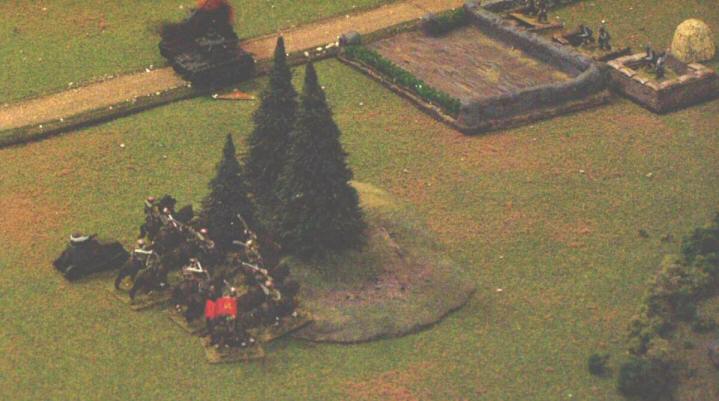
 Hungary Photo 5 |
Urrah! The Cossacks charge, accompanied by some light Russian vehicles. The T34 duels with a big infantry gun in the center. |
 Hungary Photo 6 |
Another view of the same time showing the left flank infantry attack being repulse, while the Cossacks take the forward position. |
| Click on the Thumbnail for a full-size photo | Description |
|---|---|
 Utah Photo 1 |
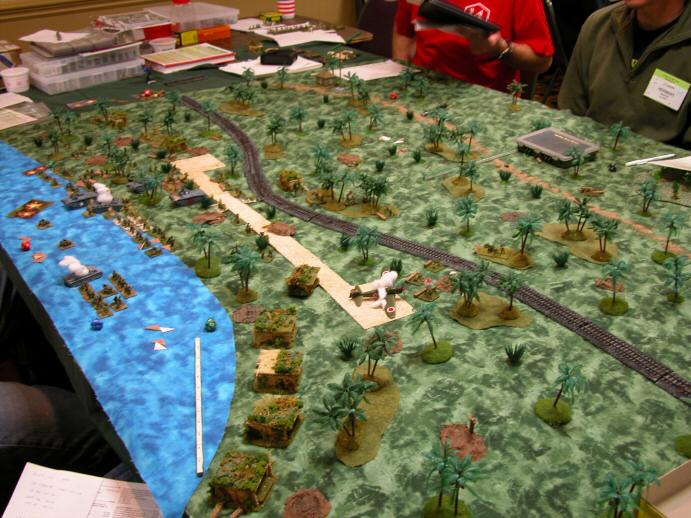
The battlefield from the West end, showing the town and fields. |
 Utah Photo 2 |
The battlefield from the Eest end, showing the beach and causeway. |
 Utah Photo 3 |
The beach, with U.S. forces preparing to land. |
 Utah Photo 4 |
A group of U.S. paratroopers heads for the town. |
 Utah Photo 5 |
Another view of the paratrooper assault. The grey blocks are used as a summary of the unit cards and also for hidden units. |
 Utah Photo 6 |
The U.S. forces hit the beaches. |
 Utah Photo 7 |
More paratroopers show up (upper right). German forces start to coalesce around the town. |
 Utah Photo 8 |
Artillery hits the paratroopers. There was some controversy about this attack, and I think the templates were placed inside the minimum range of the guns. However, the attack did not do any damage. While they were shooting at the paratroopers, they were not firing on the beaches, so this gave the U.S. players a short break. |
 Utah Photo 9 |
Back on the beach, U.S. troops move up. |
 Utah Photo 10 |
One last view of the whole battle. |
| Click on the Thumbnail for a full-size photo | Description |
|---|---|
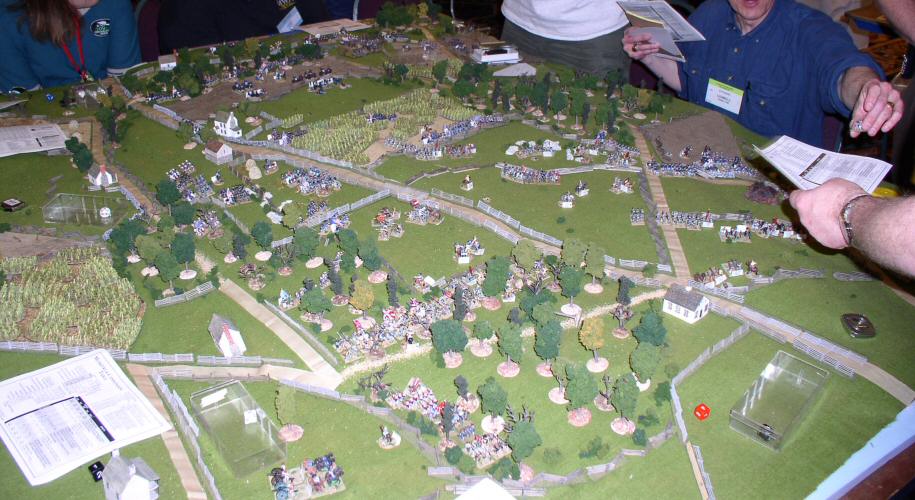
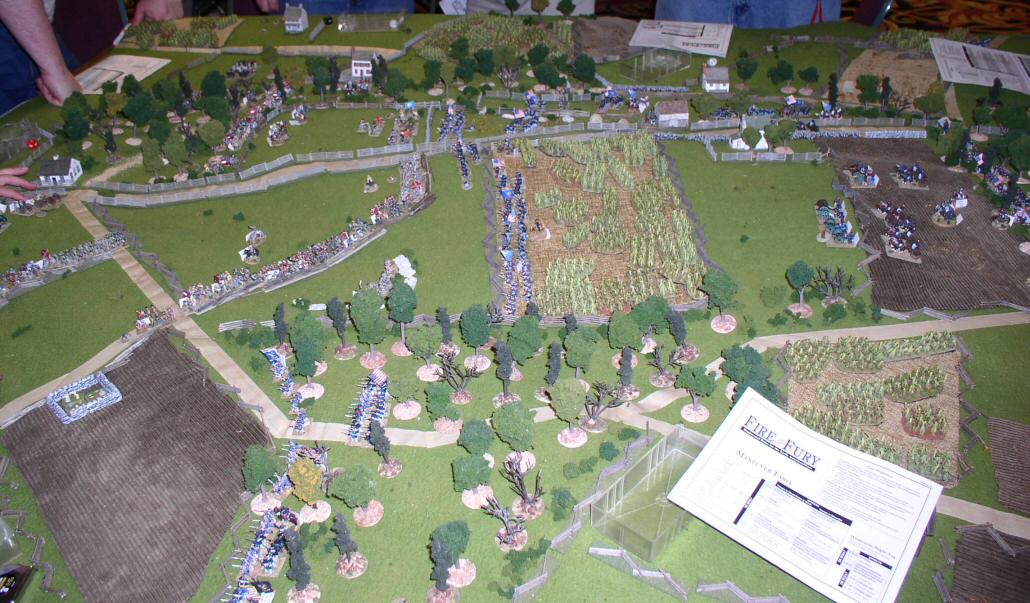 Antietam Photo 1 |
Union forces emerge from the cornfield and approach the sunken road. |
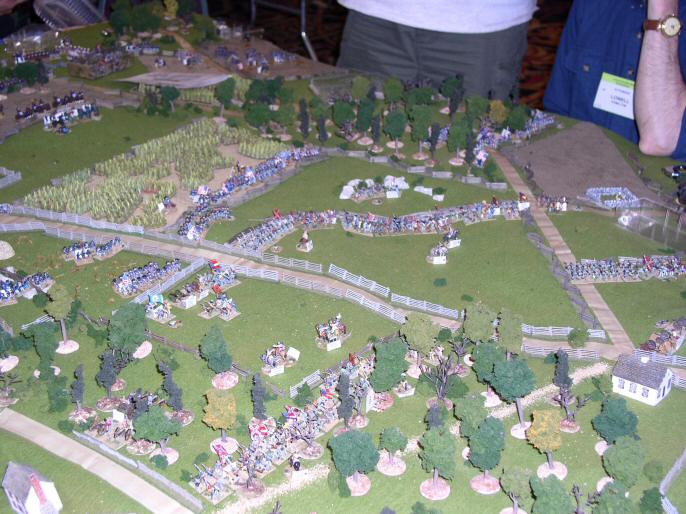 Antietam Photo 2 |
The same situation from the Confederate point of view. |
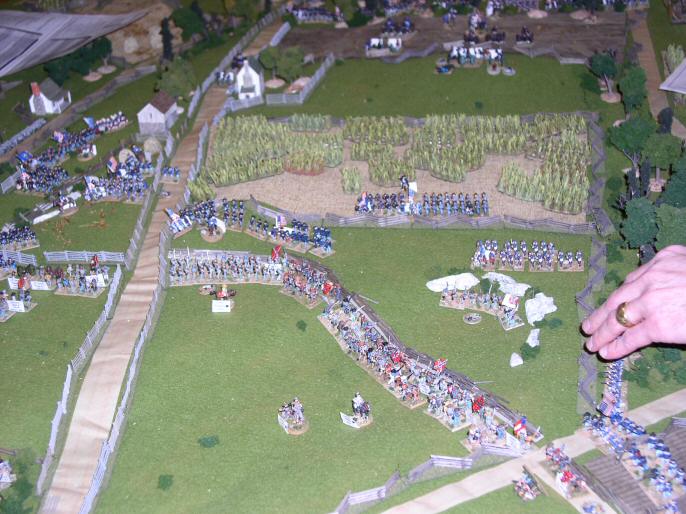 Antietam Photo 3 |
The assault goes in. |
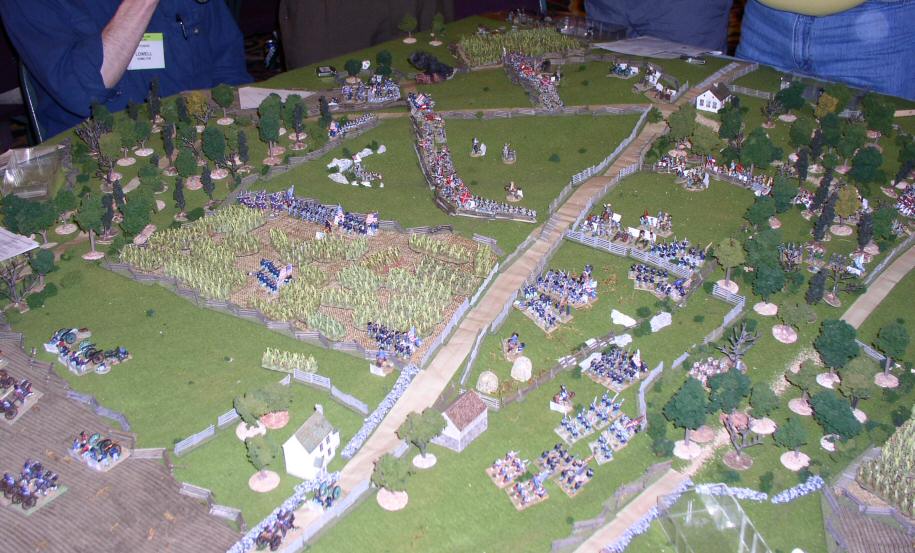 Antietam Photo 4 |
The Confederate Right has held but massive forces assault the left. |
 Antietam Photo 5 |
The Confederate left collapses and they fall back to the next line. |
Copyright 2000-2019 Fire and Fury Games, all rights reserved
Web page maintained by
Webmaster@FireAndFury.com.