Michael Panzer Photo 1
Michael Panzer Photo 2
Michael Panzer Photo 3

Michael Panzer Photo 4
Michael Panzer Photo 5
| Click on the Thumbnail for a full-size photo | Description |
|---|---|
Michael Panzer Photo 1 |
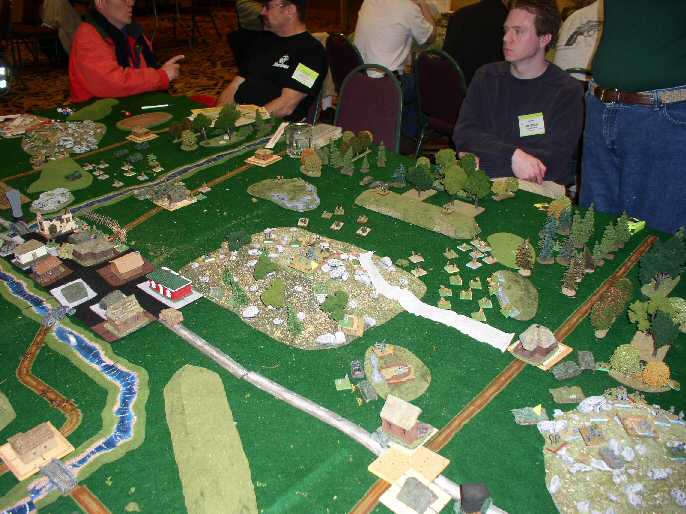
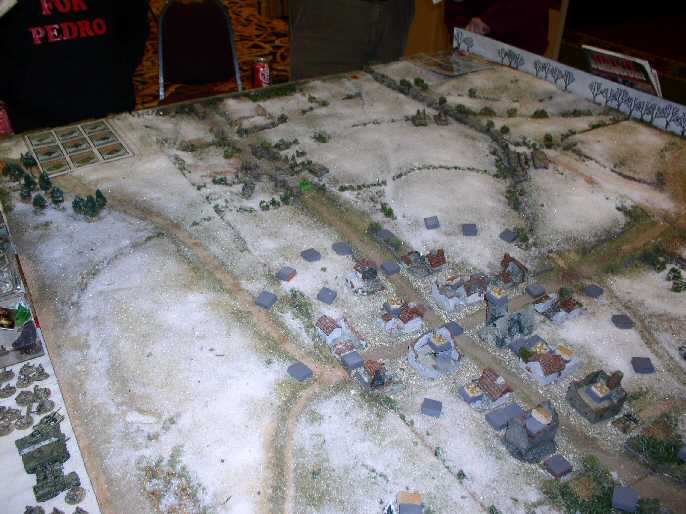
German Held Hill comes under assault. |
Michael Panzer Photo 2 |
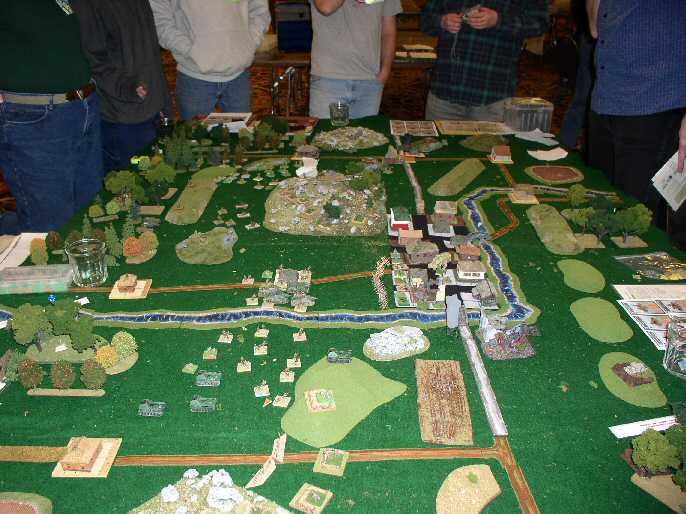
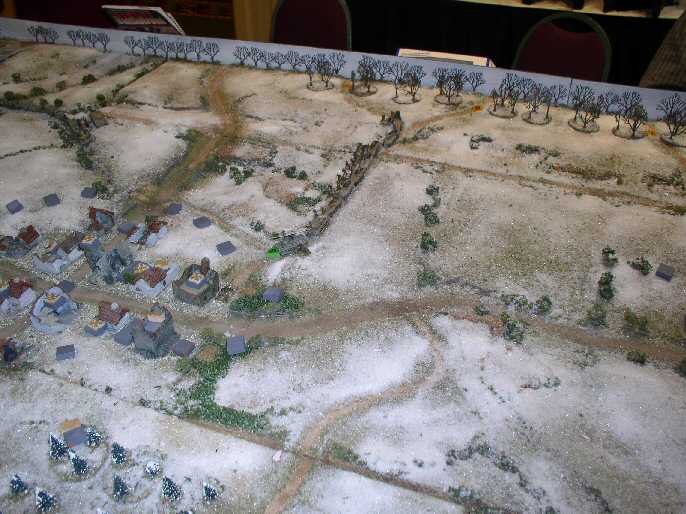
A view from the other end of the table shows the Russians advancing on a wide front. |
Michael Panzer Photo 3 |
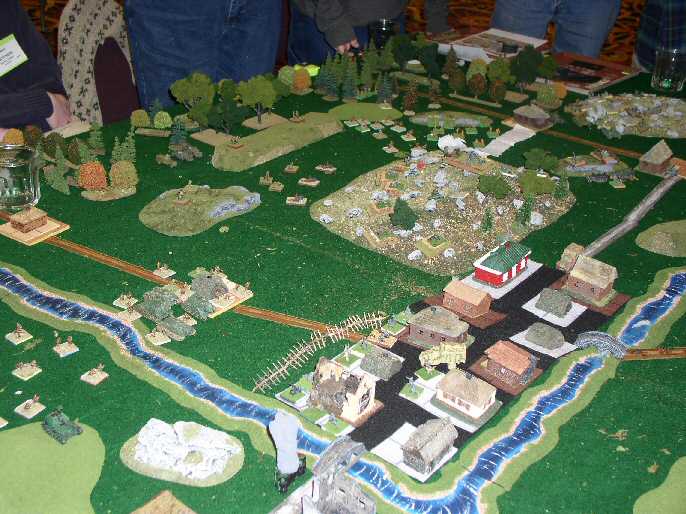
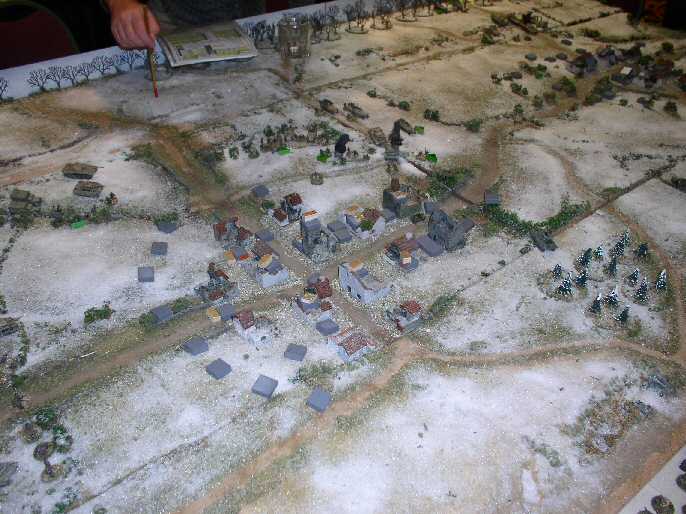
Another Angle |
Michael Panzer Photo 4 |
Michael (blue checked shirt), helps his players. |
Michael Panzer Photo 5 |
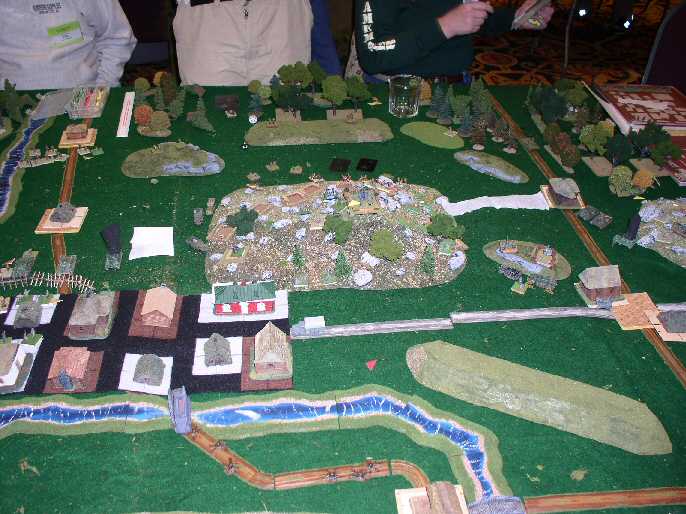
Russians take the hill. Michael says that he was disappointed that artillery killed the 88 on top before the flamethrowers arrived. |
| Click on the Thumbnail for a full-size photo | Description |
|---|---|
 Al Gaspar Photo 0 |
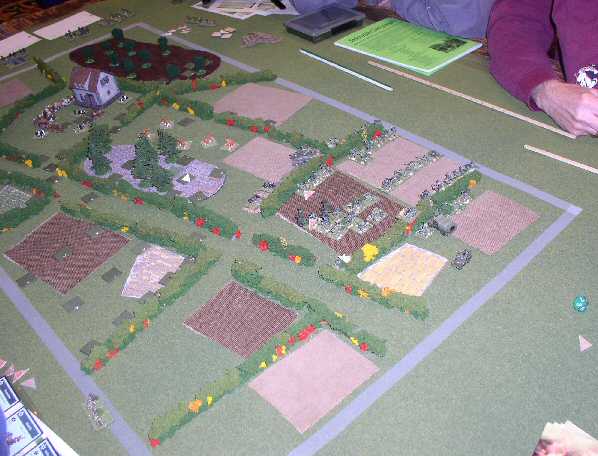
The board before the game begins. Notice the use of the strip of trees on the back to give some extra atmosphere. |
 Al Gaspar Photo 1 |
Germans meet up with some deterimined U.S. Paratroops. All the U.S. forces were represented by counters before they were spotted. |
 Al Gaspar Photo 2 |
The American forces await the attack. |
 Al Gaspar Photo 3 |
Germans move up to contact. |
 Al Gaspar Photo 4 |
A wider view. |
 Al Gaspar Photo 5 |
A flanking column moves in. |
 Al Gaspar Photo 6 |
Both towns under asssault. Note the flaming wrecks - the American AT forces score first blood. |
Al Gaspar Photo 7 |
A view of the battle. |
Al Gaspar Photo 8 |
Another view of the battle. |
| Click on the Thumbnail for a full-size photo | Description |
|---|---|
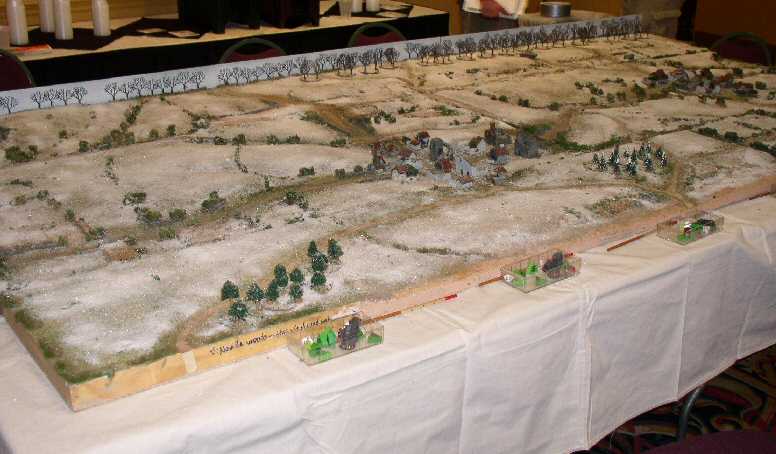
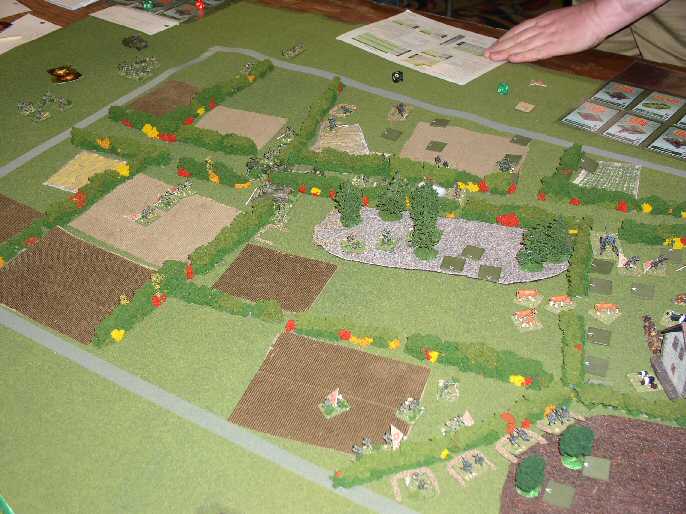
 Bocage Photo 1 |
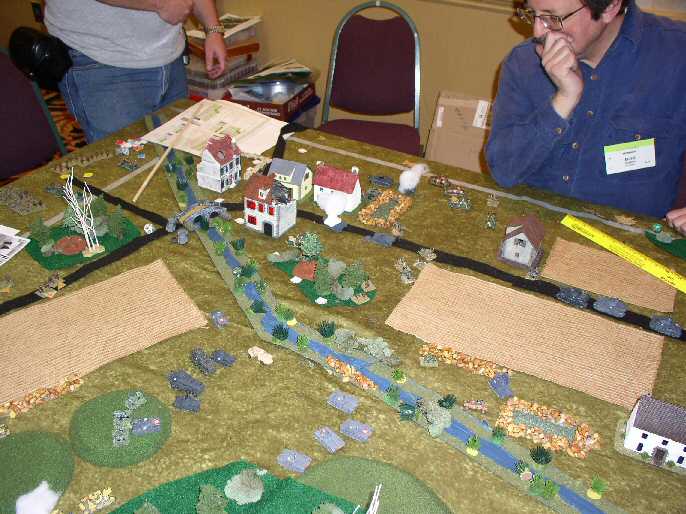
The Americans move up, with their tightly packed ranks on the right flank showing a belief that the Germans don't have any artillery. |
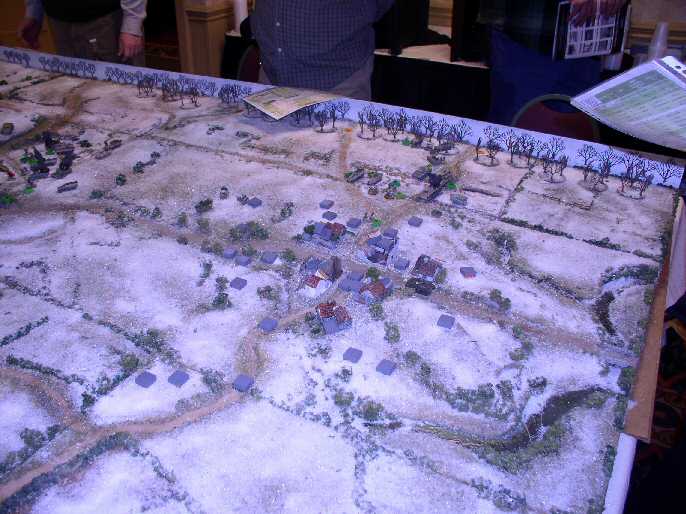
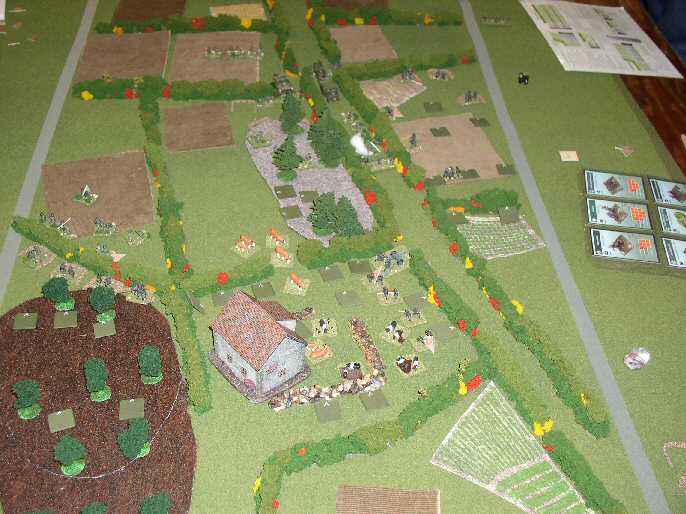
 Bocage Photo 2 |
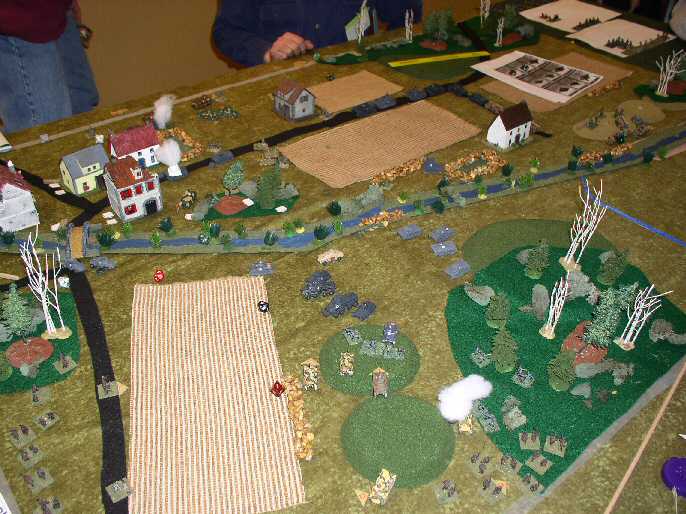
The Americans find some German positions the hard way. |
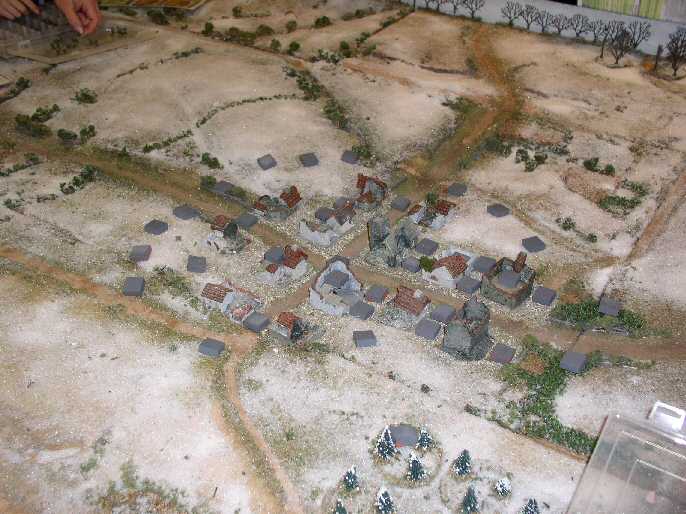
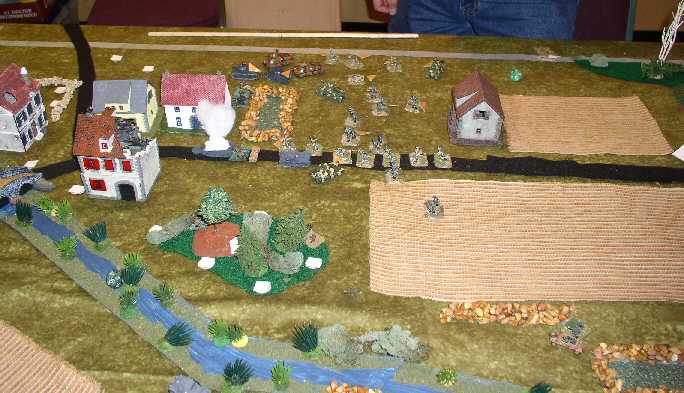
 Bocage Photo 3 |
Fighting rages around the town. |
| Click on the Thumbnail for a full-size photo | Description |
|---|---|
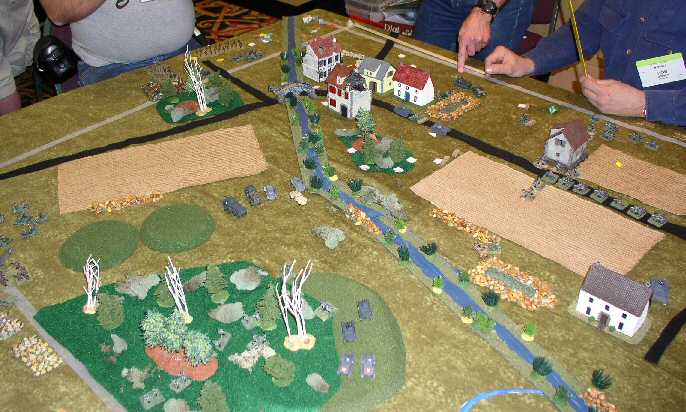 Gembloux Photo 1 |
Germans move up. |
 Gembloux Photo 2 |
A surprise French counterattack hits the German flank. |
 Gembloux Photo 3 |
Colorful French tanks continue their attack. |
 Gembloux Photo 4 |
A fight breaks out on the other side of the table as well. |
| Click on the Thumbnail for a full-size photo | Description |
|---|---|
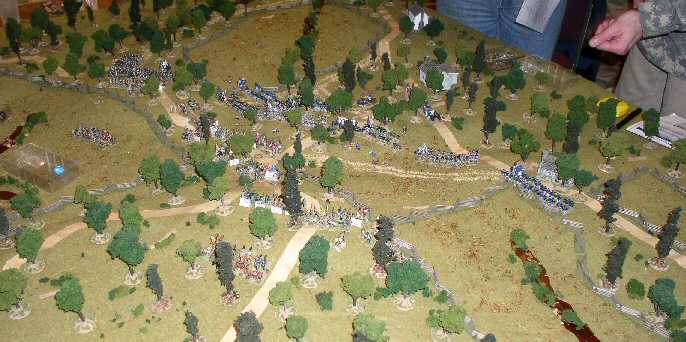
 Iuka Photo 1 |
Union and Confederate forces square off. |
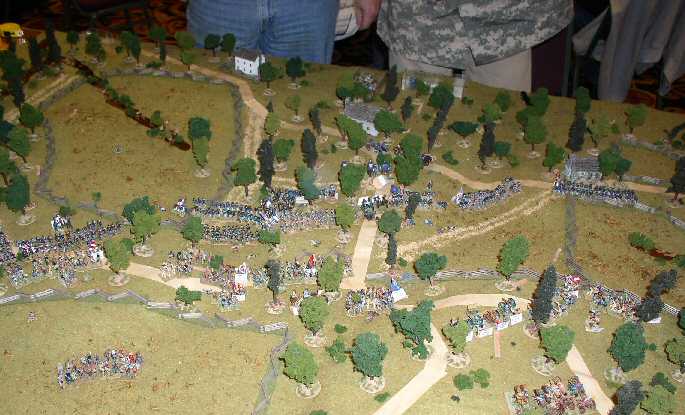
 Iuka Photo 2 |
Combat is joined in the middle. |
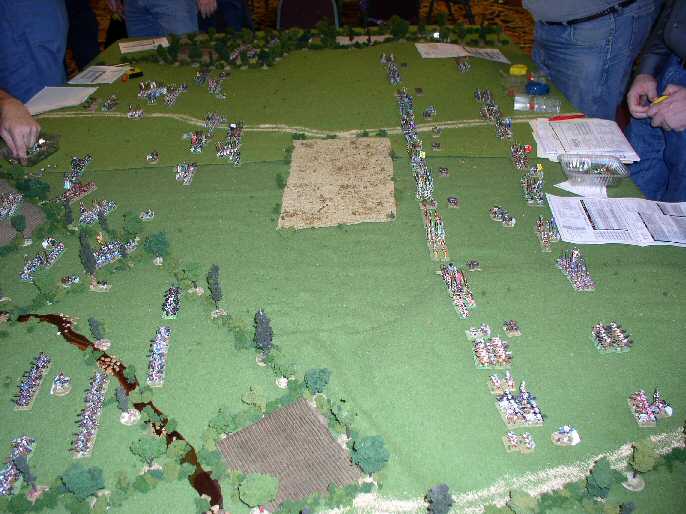
 Iuka Photo 3 |
The Union line spreads out to the Confederate right. |
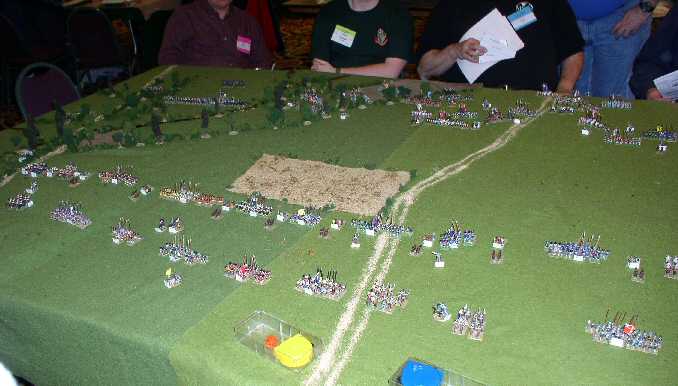
 Iuka Photo 4 |
A view of the center. |
| Click on the Thumbnail for a full-size photo | Description |
|---|---|
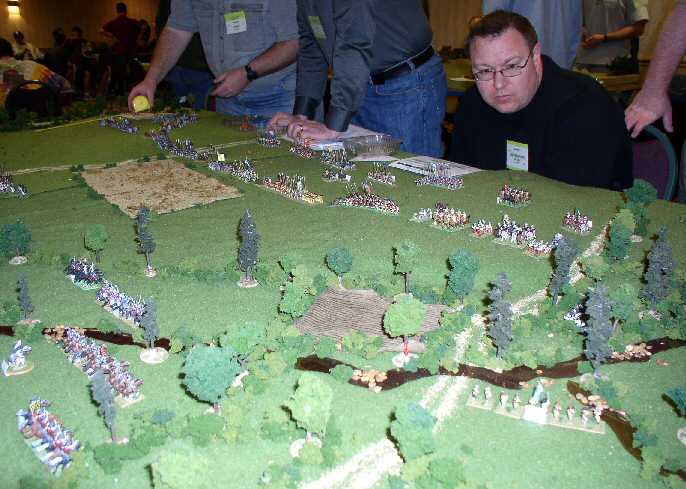
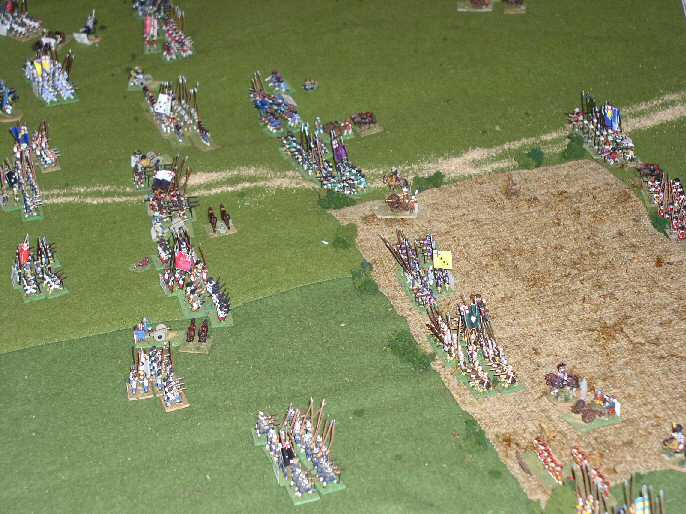
 Edgehill Photo 1 |
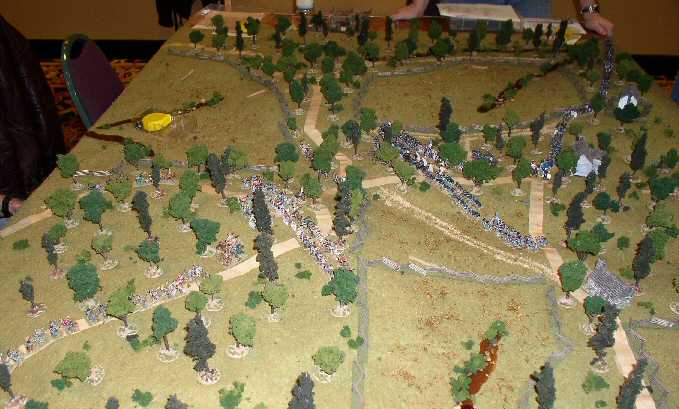
At the start of the battle, the two battle lines line up opposite each other. |
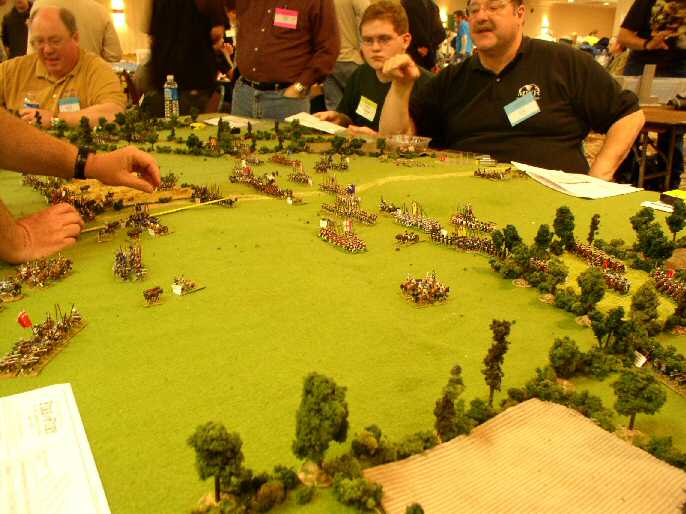
 Edgehill Photo 2 |
A view from behind the Royalist (I think) battle line. |
 Edgehill Photo 3 |
Chris Brooks eyes his forces. |
 Edgehill Photo 1 |
Tony Figlia holds forth while the forces close. |
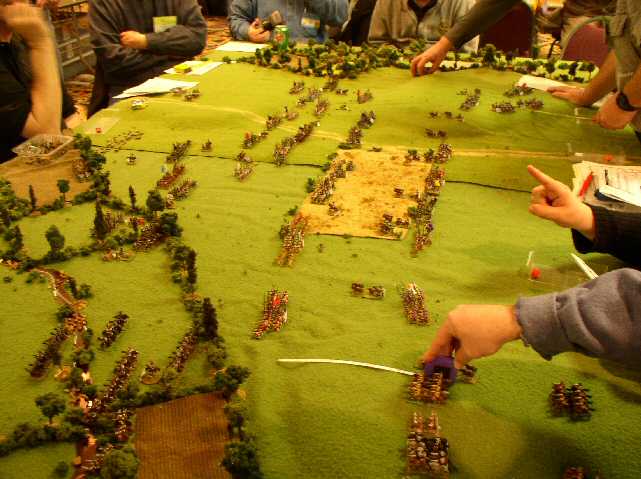
 Edgehill Photo 5 |
A fast moving hand zooms above the closing battle lines. |
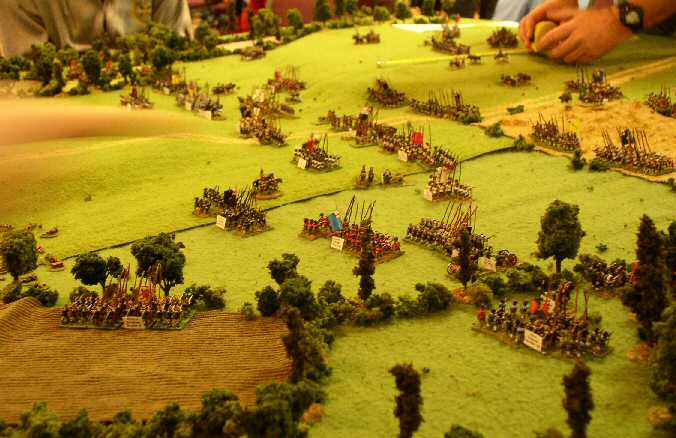
 Edgehill Photo 6 |
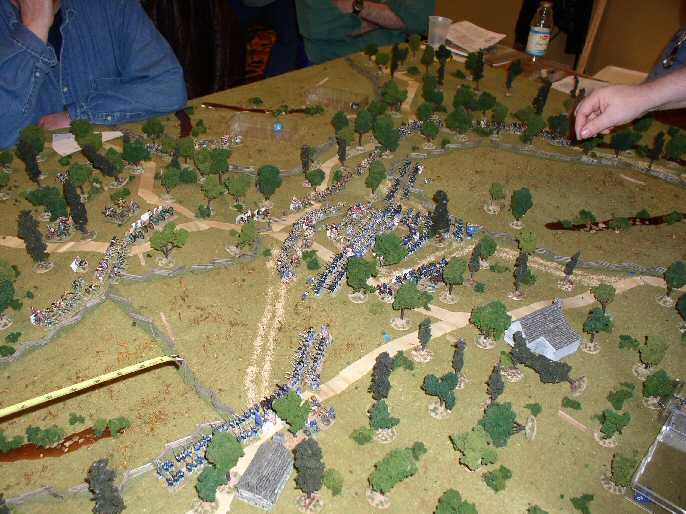
A view of the whole battle, showing the infantry in the center and the cavalry on the flanks. |
 Edgehill Photo 7 |
Infantry clash in the middle. |
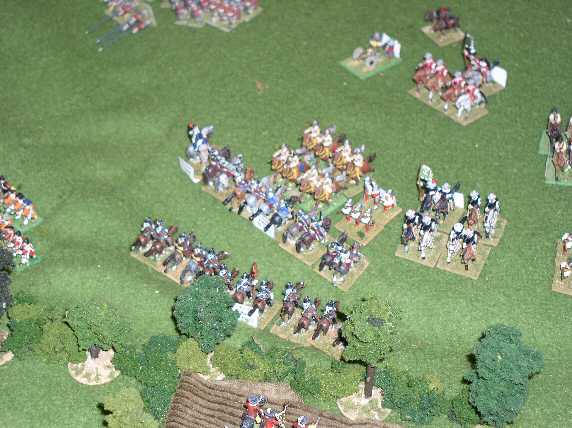 Edgehill Photo 8 |
Cavalry clash on the flank. |
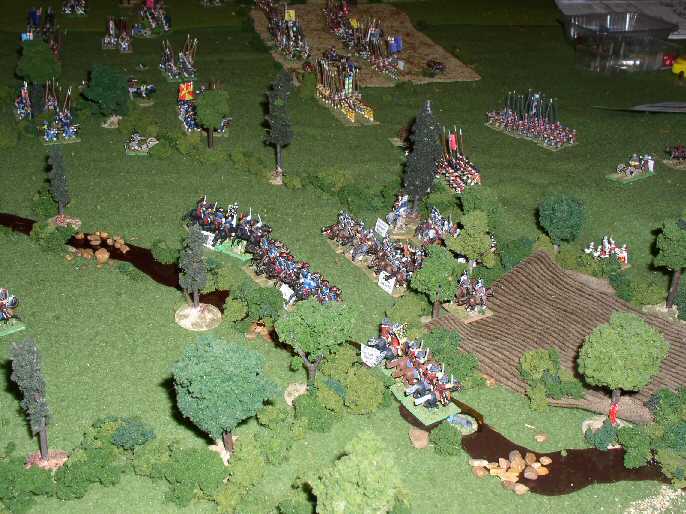
 Edgehill Photo 9 |
Another view of the battle. |
 Edgehill Photo 10 |
Charge and countercharge. |
| Click on the Thumbnail for a full-size photo | Description |
|---|---|
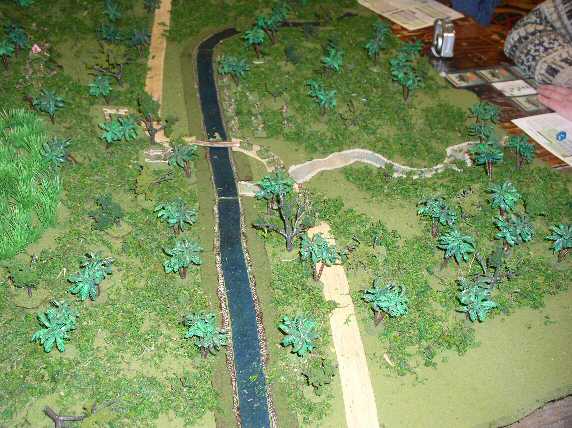
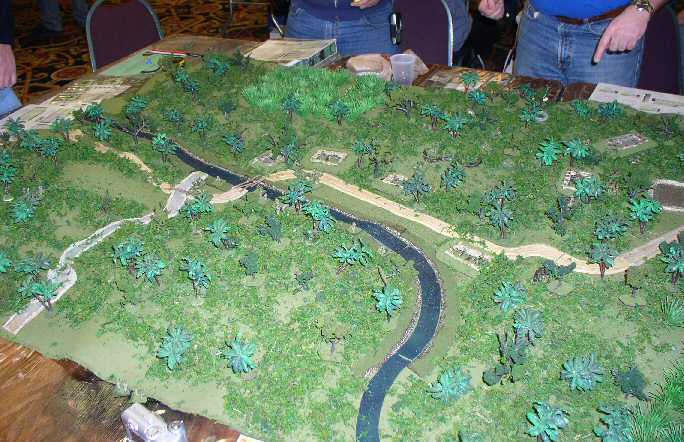 Kokoda Photo 1 |
Dug-in Japanese await the Australian attempt to force the creek. |
 Kokoda Photo 2 |
Australians try a frontal assault. |
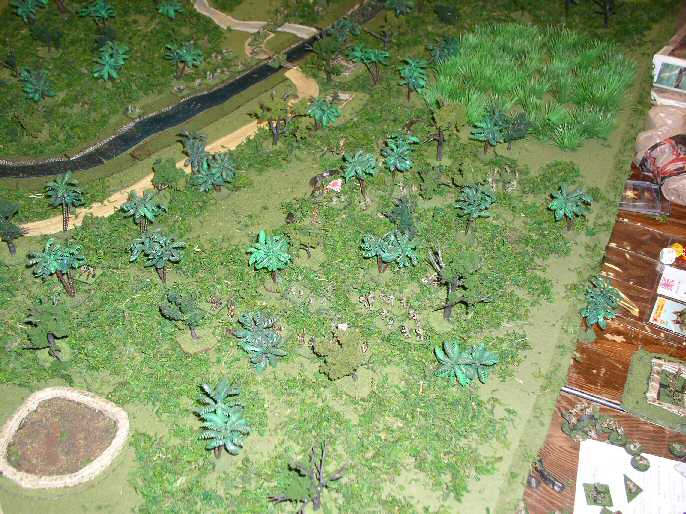 Kokoda Photo 3 |
An Australian flanking move ends up in the rear of the Japanese positions, but the Australians roll poorly and they get lost in the jungle, leading to confusion and disorganization. The Japanese move to counter this unexpected threat. |
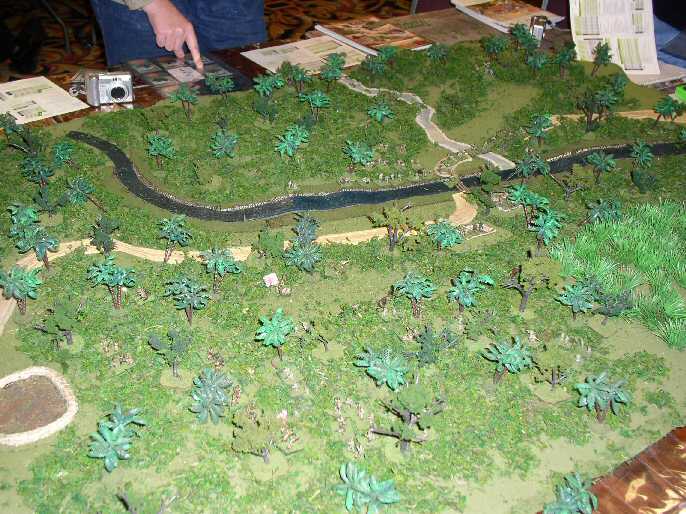 Kokoda Photo 4 |
Another view of the disorganized flank fighting. |
 Kokoda Photo 5 |
The creek is holding. |
| Click on the Thumbnail for a full-size photo | Description |
|---|---|
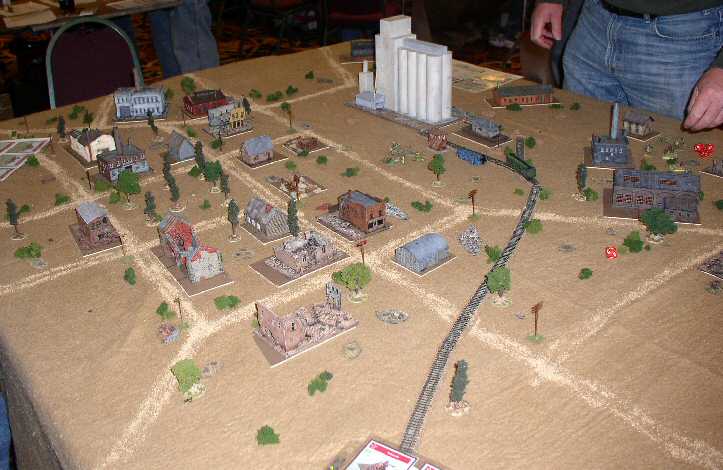
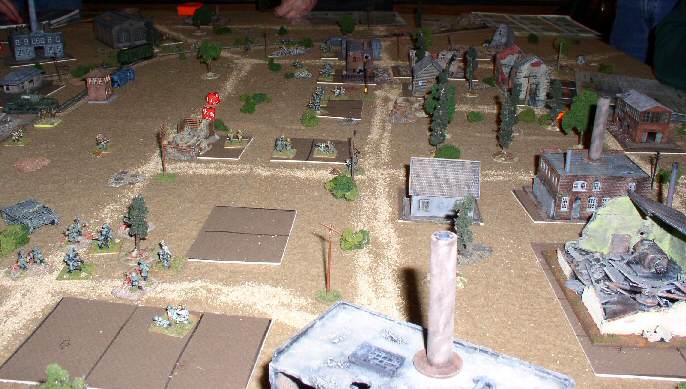
 Stalingrad Photo 1 |
The battle field from one aspect. Outgunned defenders await the German advance. |
 Stalingrad Photo 2 |
Another view of the battlefield. |
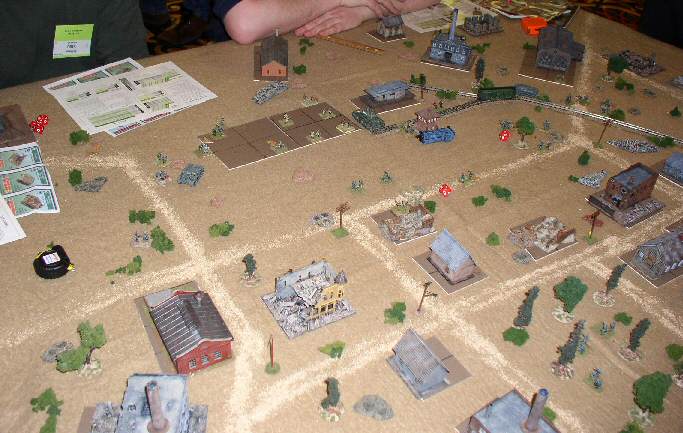
 Stalingrad Photo 3 |
Germans finish clearing out the initial line of defenders and start to move up for the final push. |
Stalingrad Photo 4 |
After clearing out the initial Russian defenders, the Germans move on the final objective, the grain elevatore. |
 Stalingrad Photo 5 |
The final battle - Russian SMG and German Pioniere battle over the grain elevator, which has been removed to facilitate play. |
| Click on the Thumbnail for a full-size photo | Description |
|---|---|
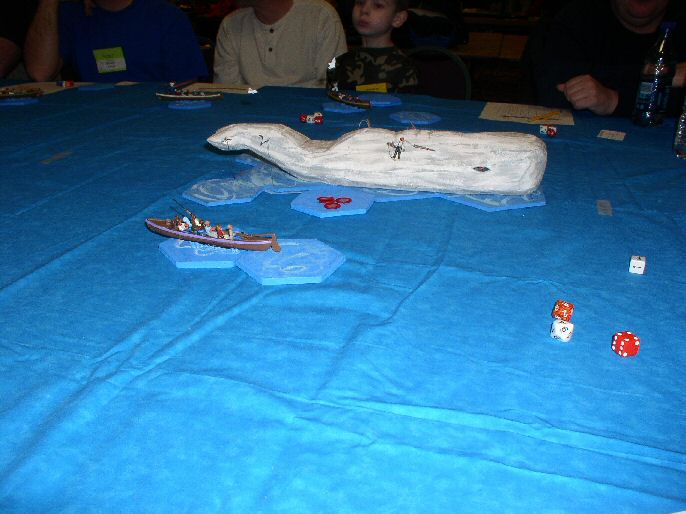 Moby Dick Photo 1 |
Young and old alike chase the great white whale. |
Copyright 2000-2019 Fire and Fury Games, all rights reserved
Web page maintained by
Webmaster@FireAndFury.com.