Hill 112 Photo 1
Hill 112 Photo 2
Hill 112 Photo 3
Hill 112 Photo 4
Hill 112 Photo 5
Hill 112 Photo 6
Hill 112 Photo 7
Hill 112 Photo 8
| Click on the Thumbnail for a full-size photo | Description |
|---|---|
Hill 112 Photo 1 |
Here the British start their advance behind a rolling barrage. |
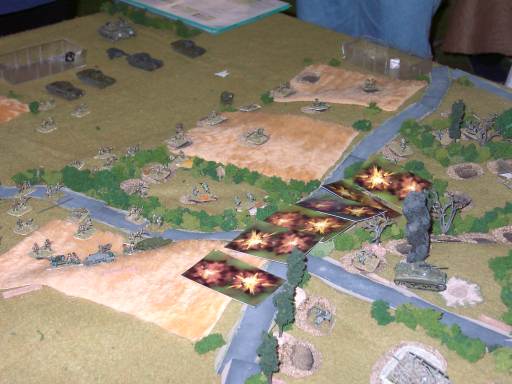
Hill 112 Photo 2 |
The British make contact with the German front line immediately after the barrage passes through. |
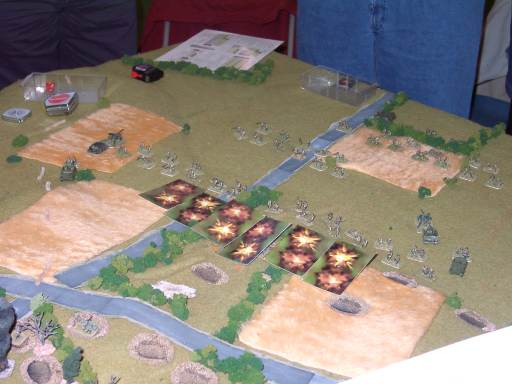
Hill 112 Photo 3 |
The barrage moves inexorably onward, and the assaulting troops follow up. |
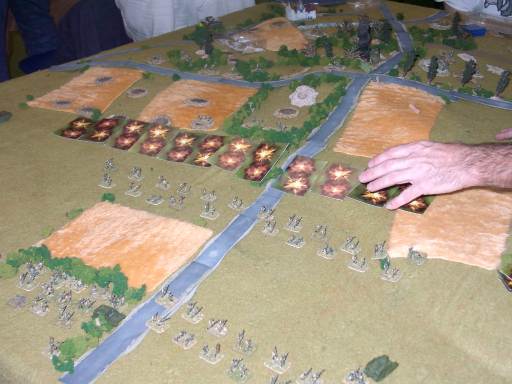
Hill 112 Photo 4 |
A brief delay at the German front line means that the barrage is getting ahead of the advance. If it gets too far ahead, the defending troops will have time to recover before the assault reaches them. |
Hill 112 Photo 5 |
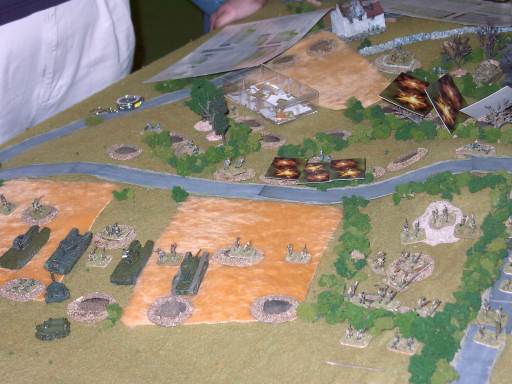
British armour joins the assault (including a Crocodile Flamethrower) |
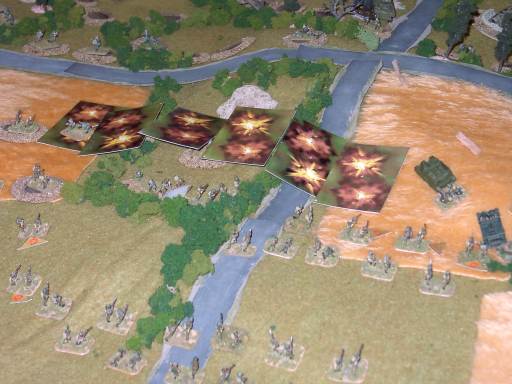
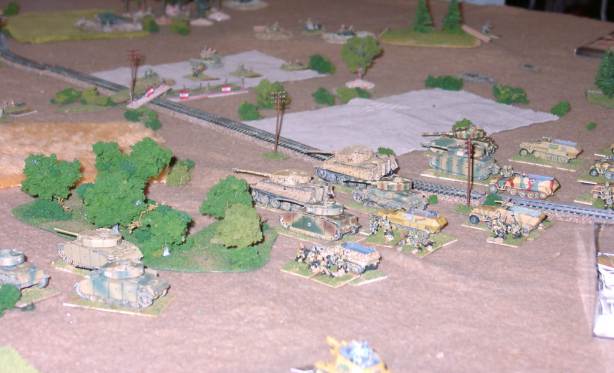
Hill 112 Photo 6 |
The barrage lifts and the assaulting British troops are faced with the daunting task of crossing the crestline into the heart of the German position. |
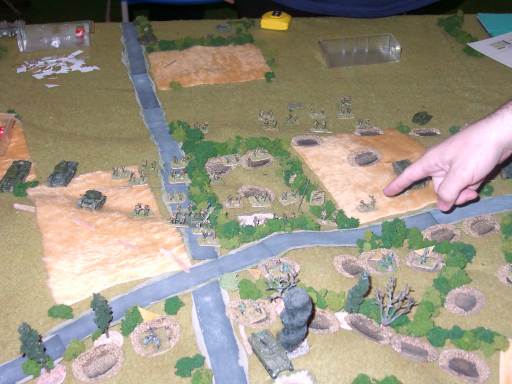
Hill 112 Photo 7 |
The British get ready to go over the top. |
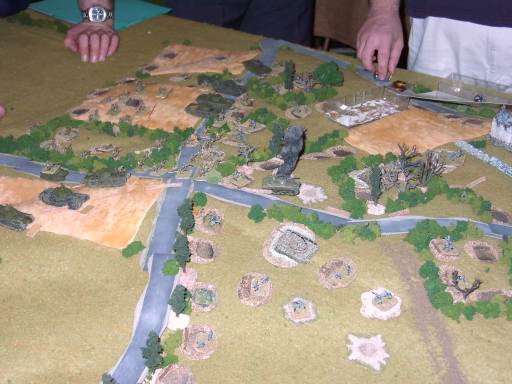
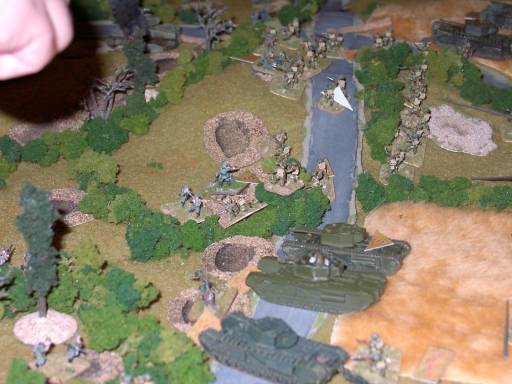
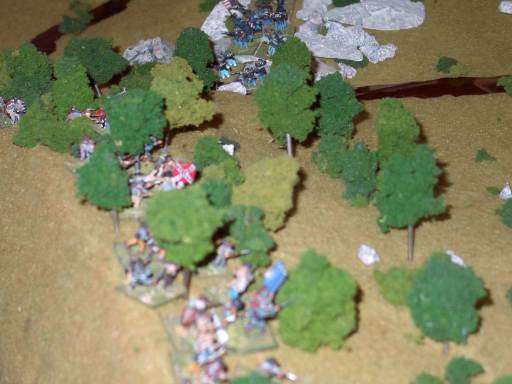
Hill 112 Photo 8 |
Churchils, the Crocodile, and infantry assault the top of the hill. |
| Click on the Thumbnail for a full-size photo | Description |
|---|---|
Kursk Photo 1 |
A powerful German force of Panzer and Panzer Grenadiers prepares to assault. |
 Kursk Photo 2 |
The Germans move up and set up their artillery on the top of the hill. The Panzers race towards the Russian positions. |
 Kursk Photo 3 |
The assault force from a different angle |
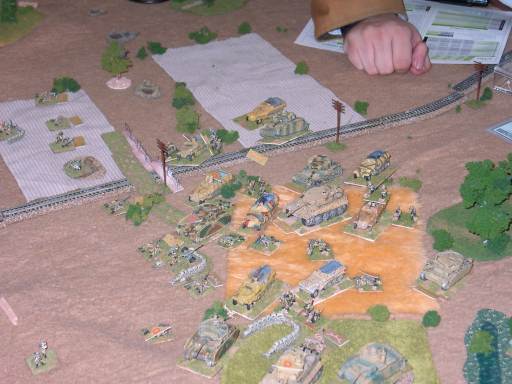 Kursk Photo 4 |
Fortune favors the brave in this battle. The Germans do a combination overrun/close assault on the Russian AT gun and front-line infantry. The Russians roll poorly and fail to destroy the overrunning tanks with their ambush fire. Perhaps better targets would have been the halftracks. |
Kursk Photo 5 |
Breakthrough! Under the hammerblows of the close assault, the Russian front line disintegrates. Russian light armor attempts a frontal counterattack and takes immediate losses. |
Kursk Photo 6 |
Russian tanks attempt a long-range duel with the German Panzers. As soon as the Tigers come up, the Russian tanks will start taking losses. |
| Click on the Thumbnail for a full-size photo | Description |
|---|---|
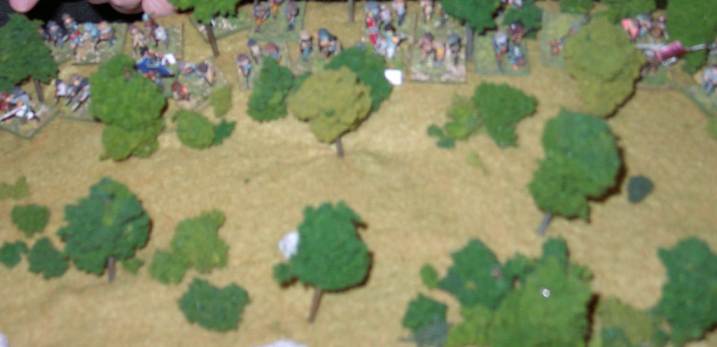
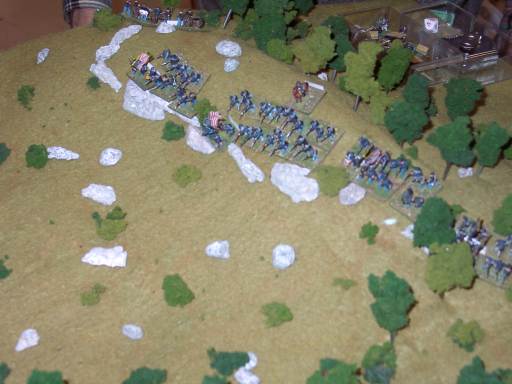 Union Troops on Little Round Top |
Union forces await the Confederate attack |
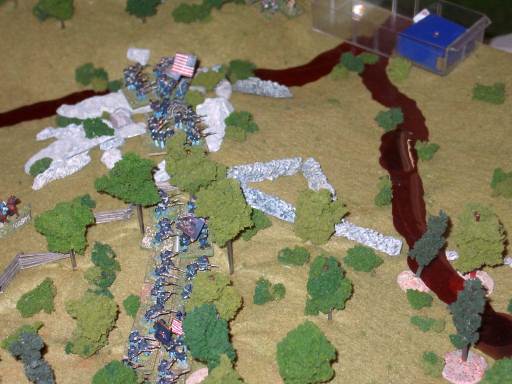 Union Troops in Devil's Den |
Other Union forces prepare to defend Devil's Den. |
 Confederate Troops in the South |
Confederate troops prepare to assault Devil's Den. |
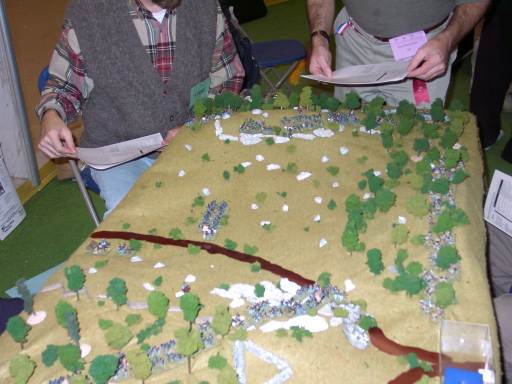 Overview of the Battlefield |
Here is a view of the battle. It looks very close together on the table, but a visit to the nearby battle site shows that the ranges were actually quite short. |
 Confederate Troops prepare to hit Little Round Top |
While other forces hit the Devil's den, the rest of the Confederates wait in the woods to assault the Round Top. |
Copyright 2000-2019 Fire and Fury Games, all rights reserved
Web page maintained by
Webmaster@FireAndFury.com.