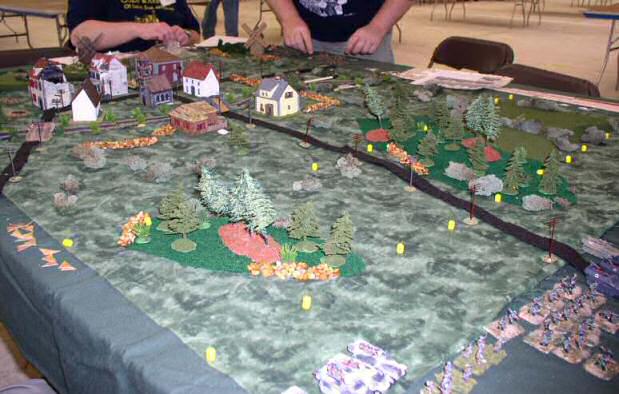
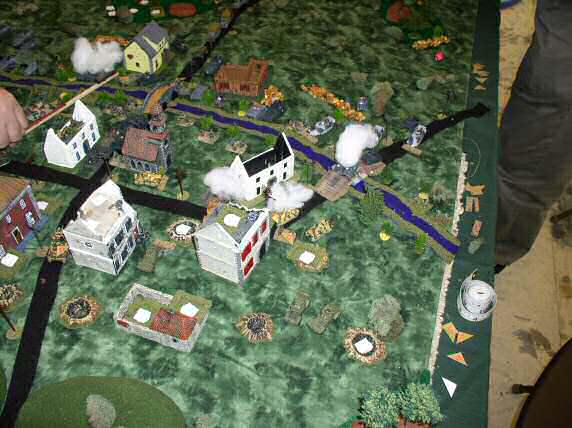
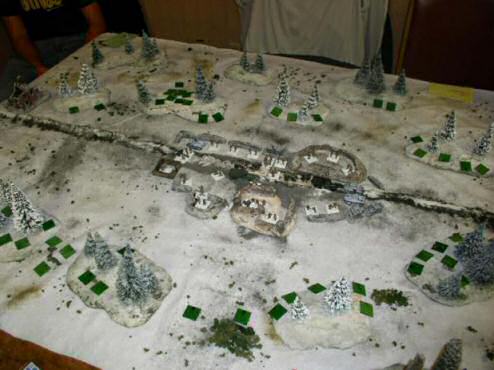
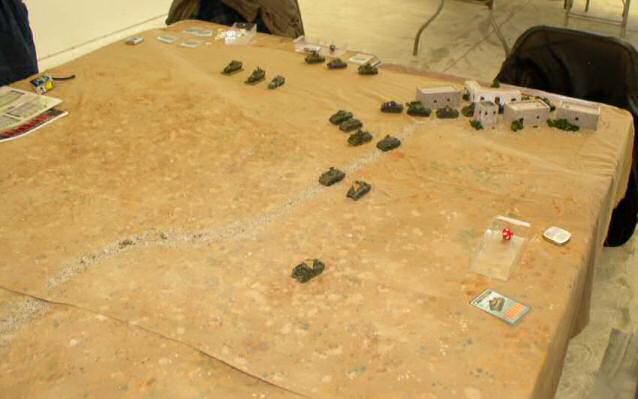
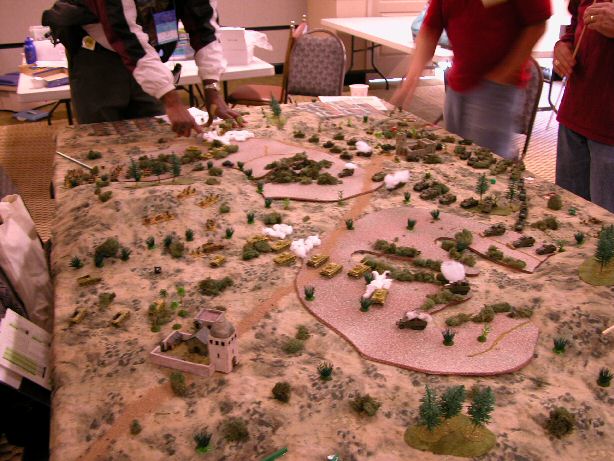
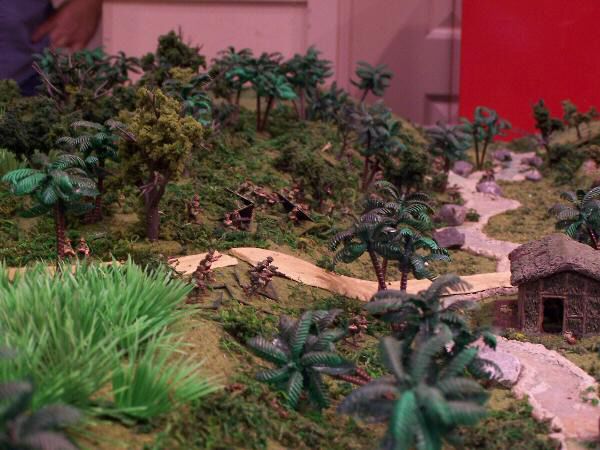
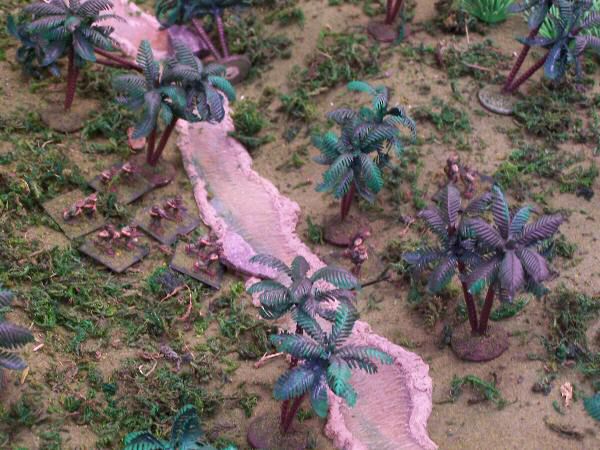
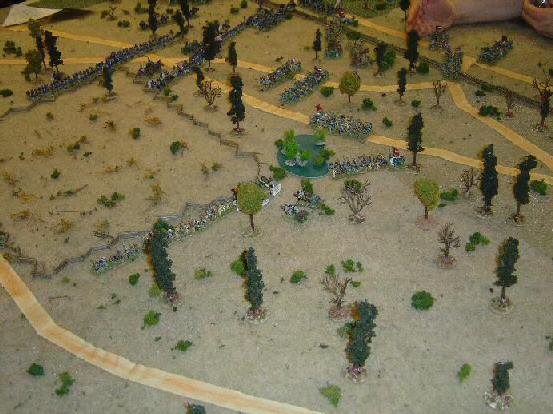
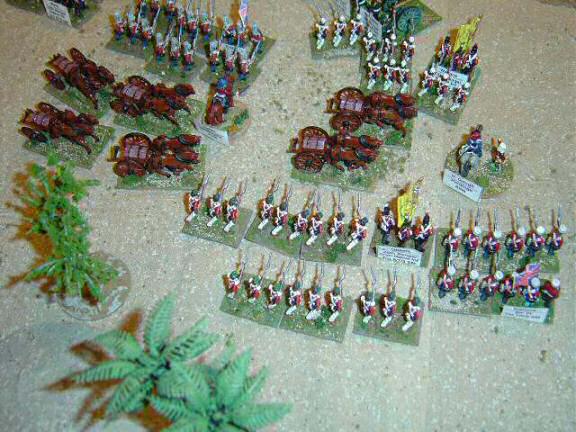
The Battlefield
Stonne
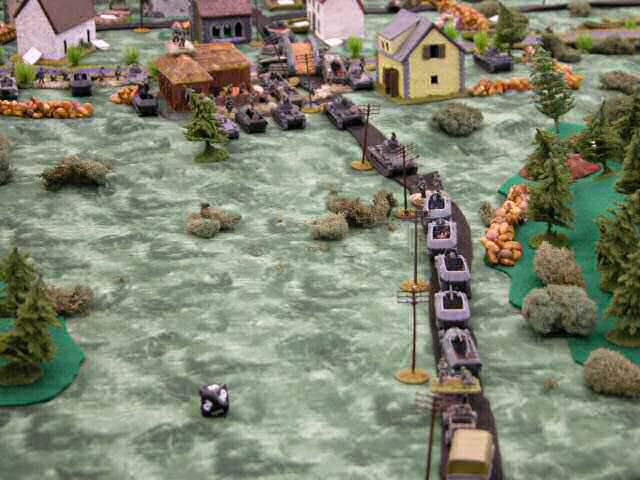
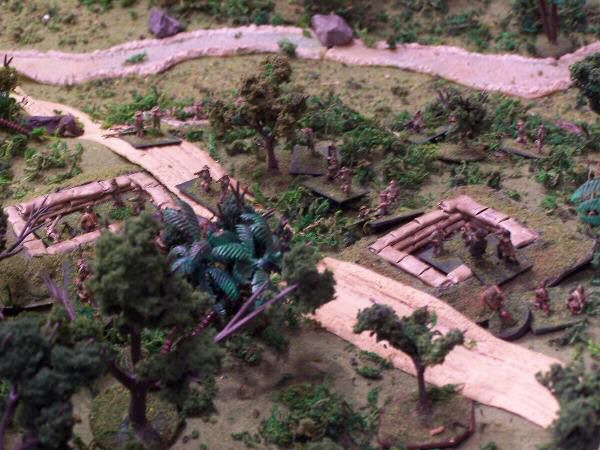
The German Center
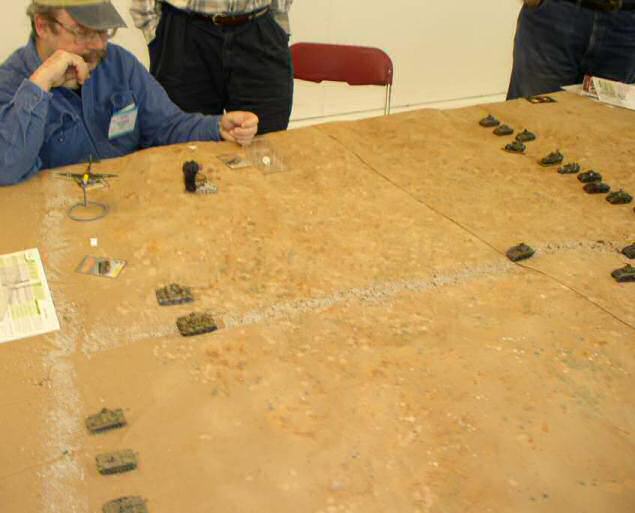
The German Left

Char Ib
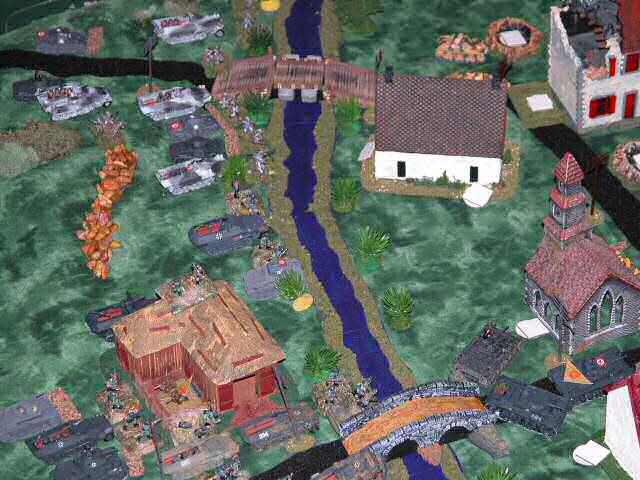
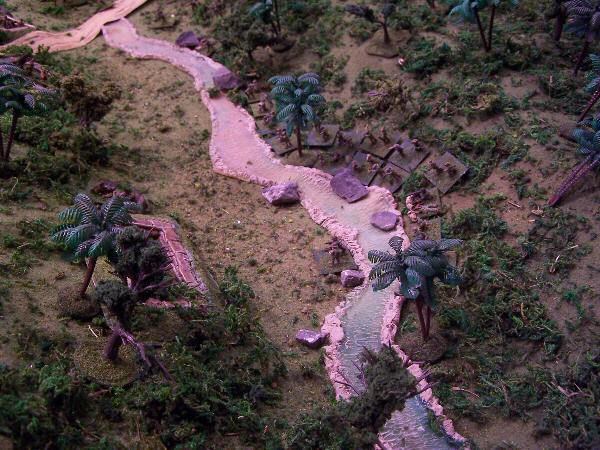
Push in the Center
Fight for the twon
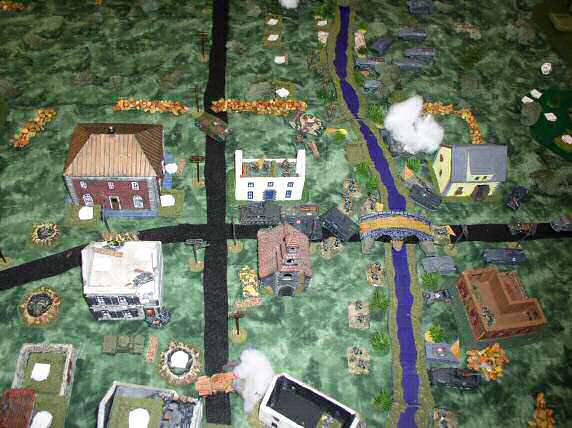
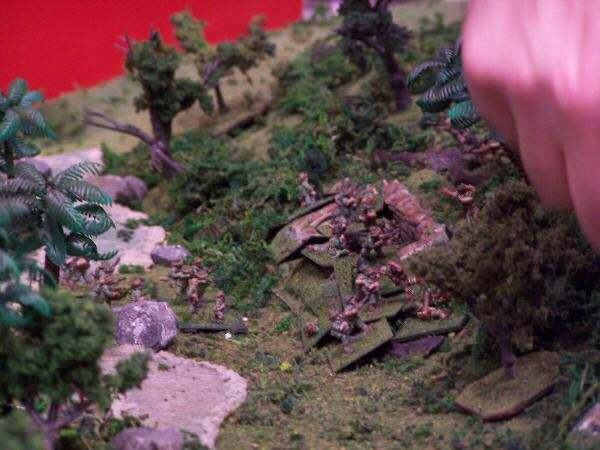
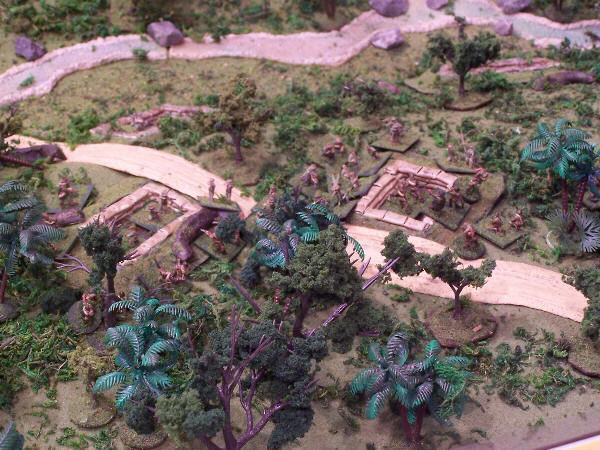
Fighting Rages
Another view
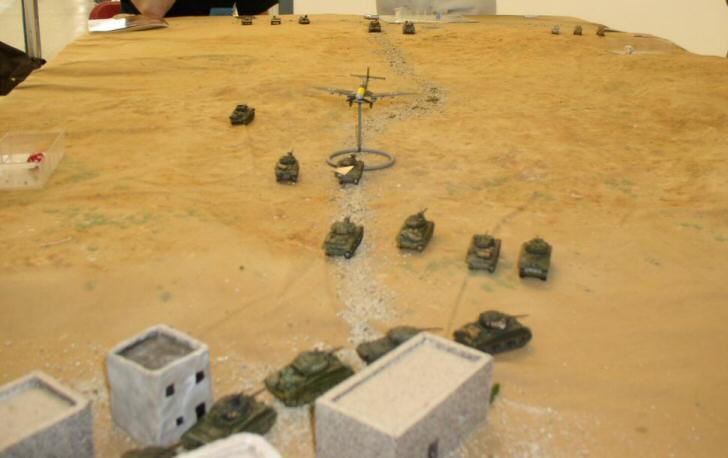
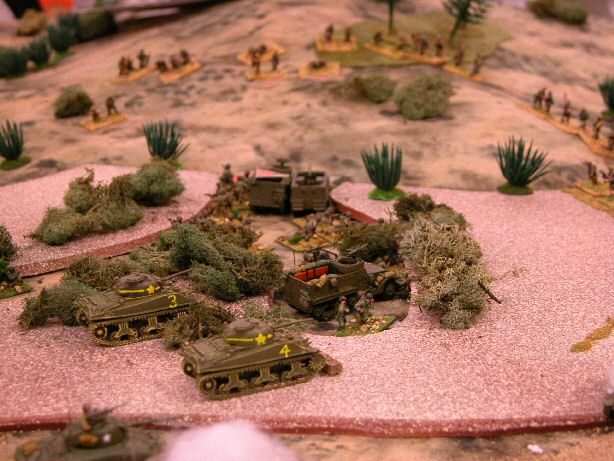
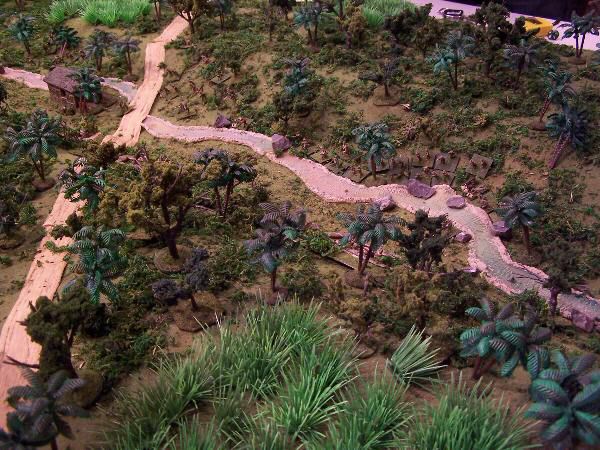
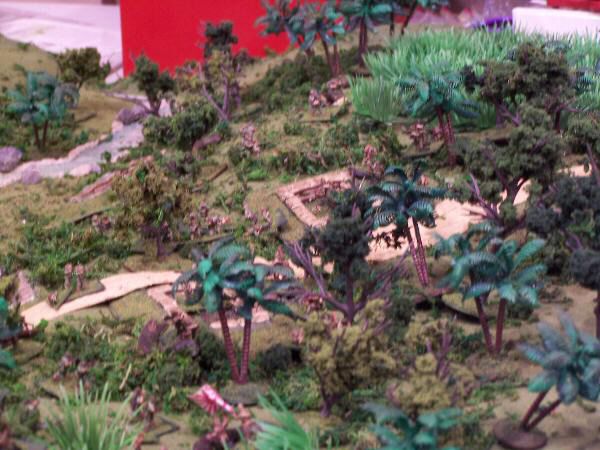
Fight on the German Right
Flanking move
| Click on the Thumbnail for a full-size photo | Description |
|---|---|
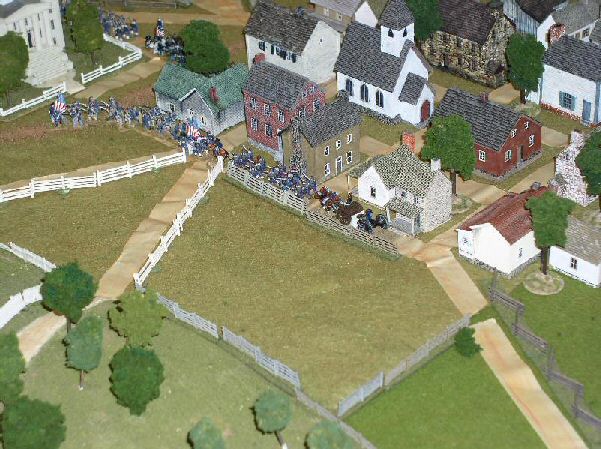
The Battlefield |
The German objective is the town of Stonne, which awaits in the background behind a river line (vehicles could only cross at the bridges). |
Stonne |
Another view of the town |
The German Center |
German Panzergrenadiers and armor head up the road. |
The German Left |
The German Left and Left Center move up to the river |
Char Ib |
French heavy tanks defend the town. |
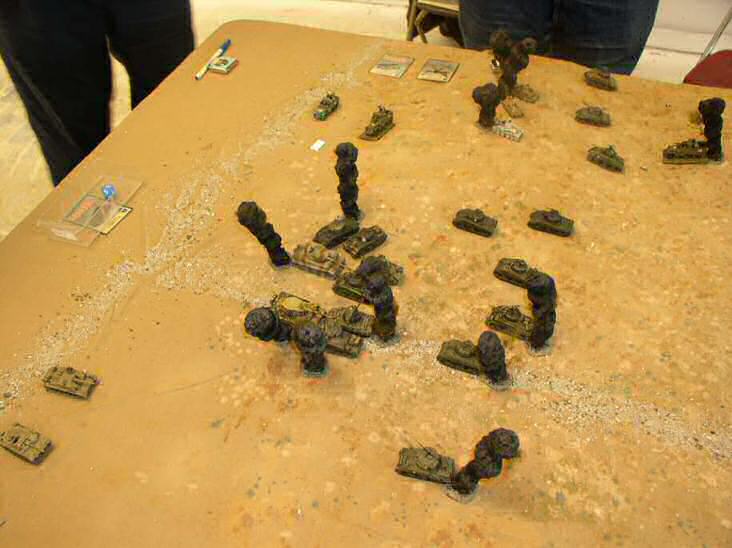
Push in the Center |
Germans force a river crossing in the middle |
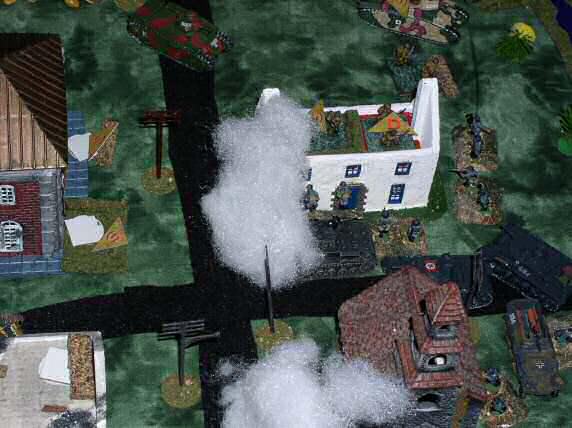
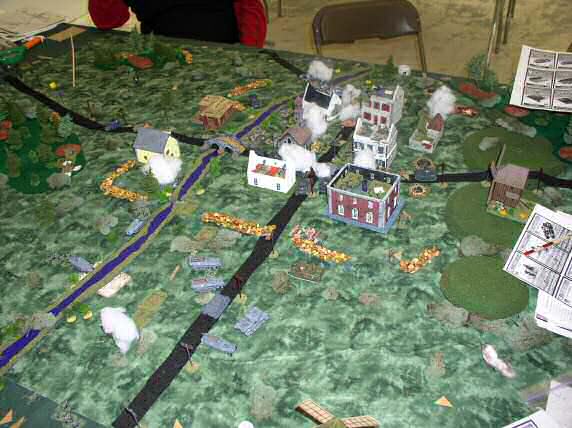
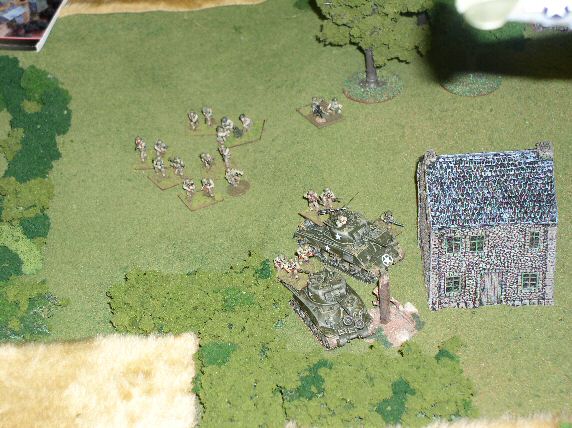
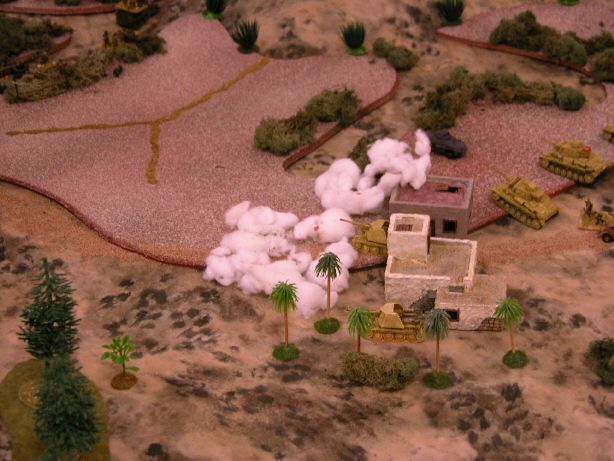
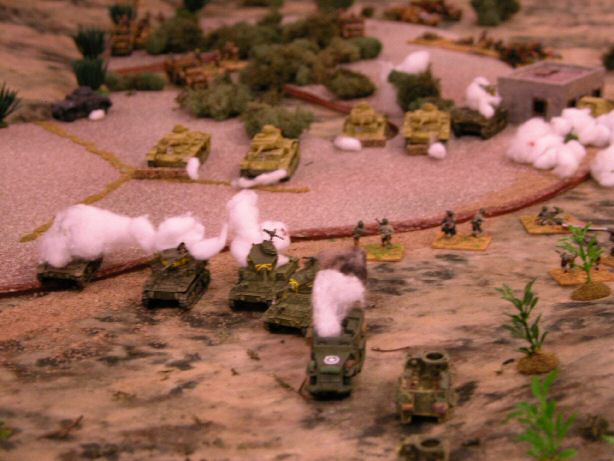
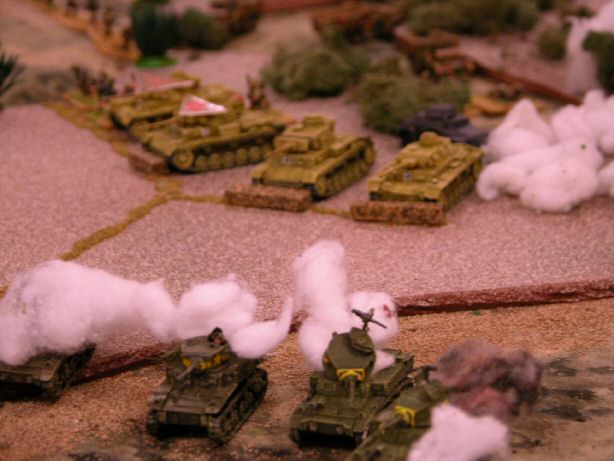
Fight for the twon |
Germans push slowly across the river, after deploying a PzIb wreck on the bridge. |
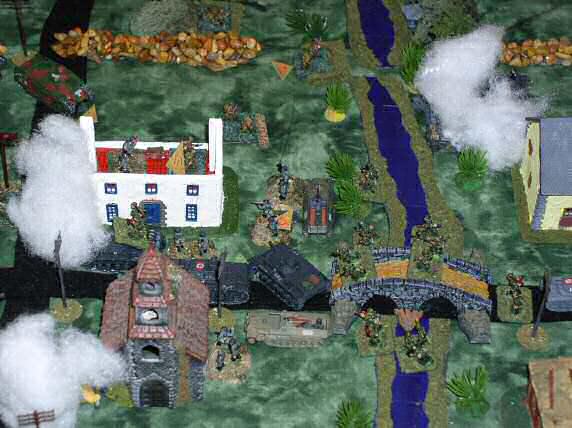
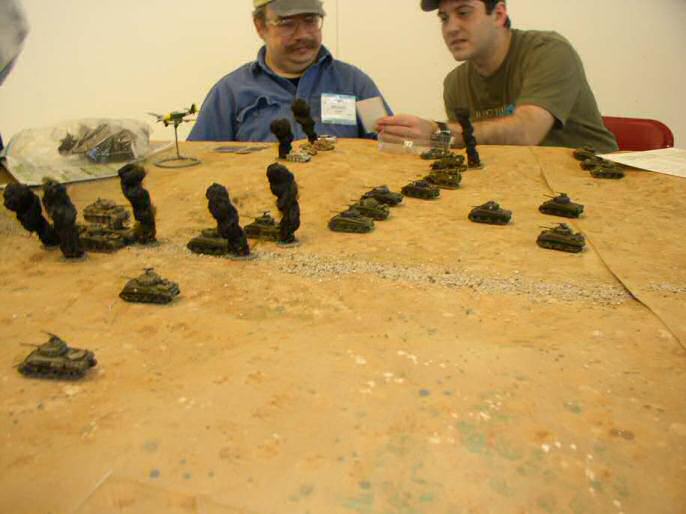
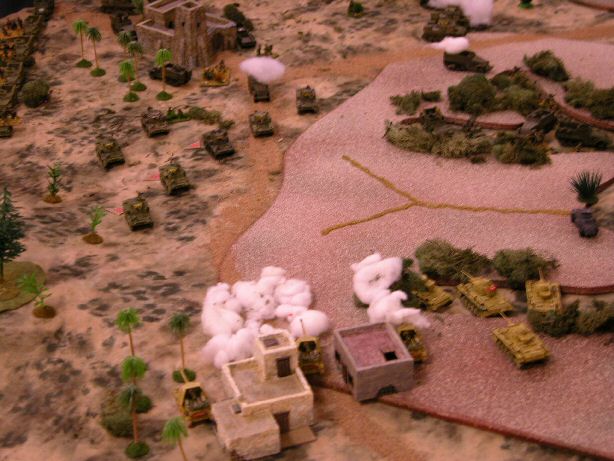
Fighting Rages |
The French put up stubborn resistance in a house in the middle |
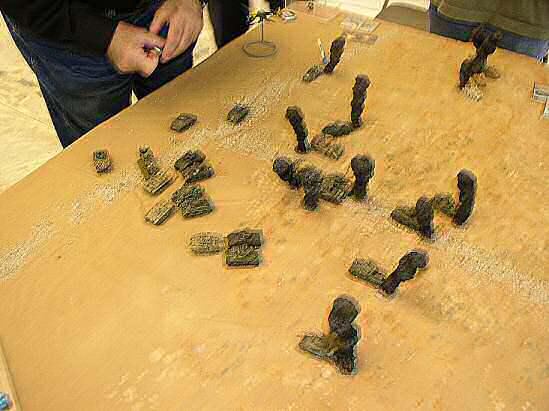
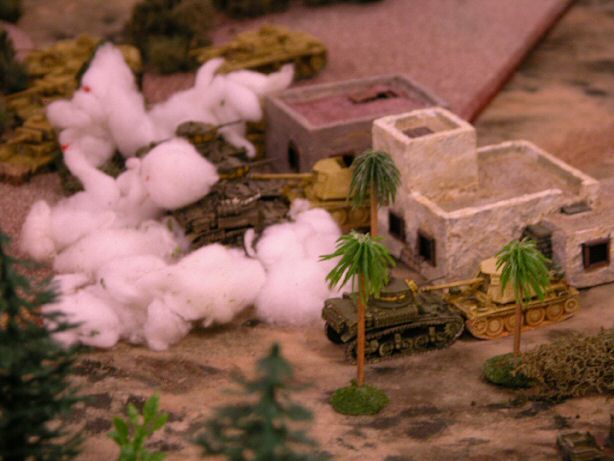
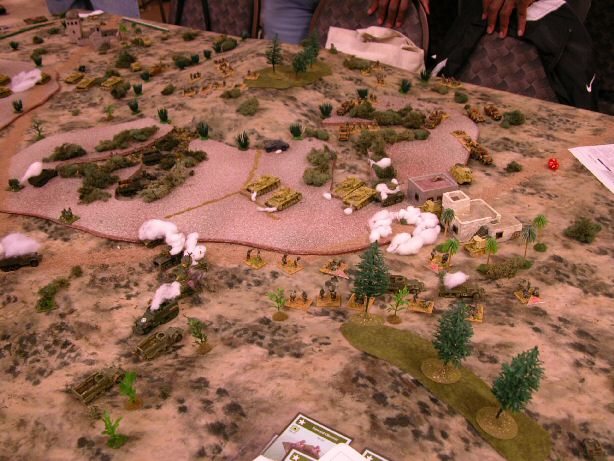
Another view |
Another view of the battle for the key house |
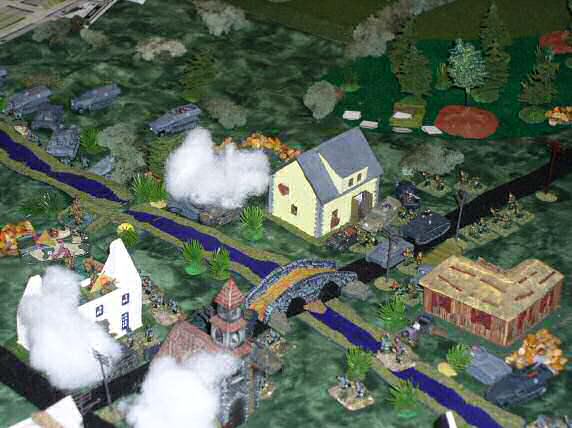
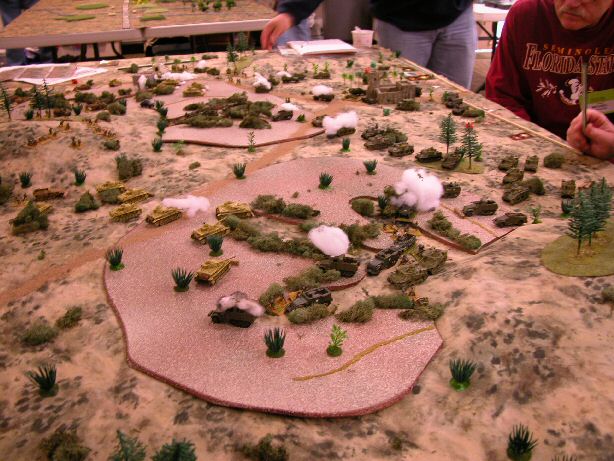
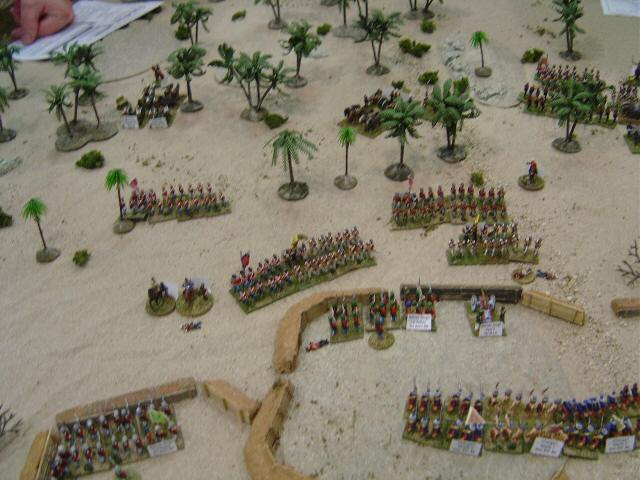
Fight on the German Right |
While the battle for the town rages, the German forces in open country try to force the river line. |
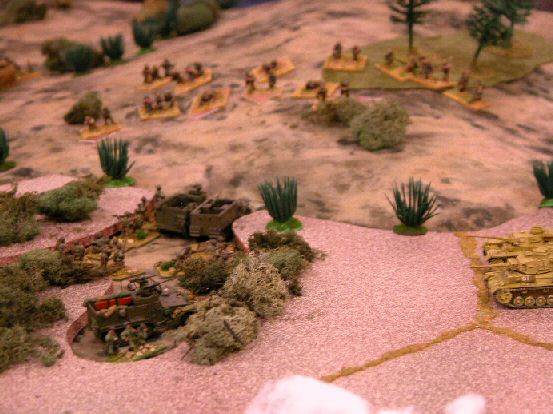
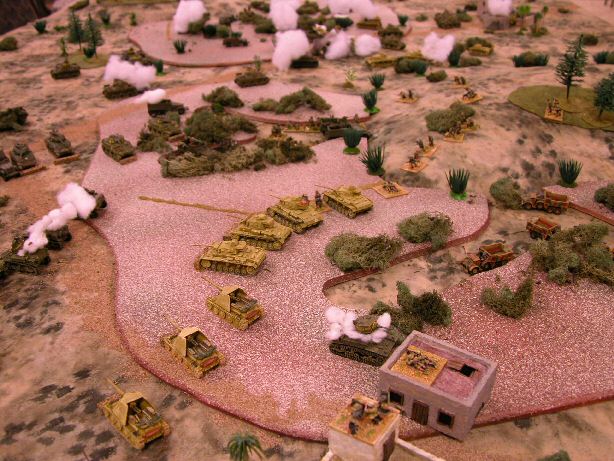
Flanking move |
The German right breaks through and flanks the town. |
| Click on the Thumbnail for a full-size photo | Description |
|---|---|
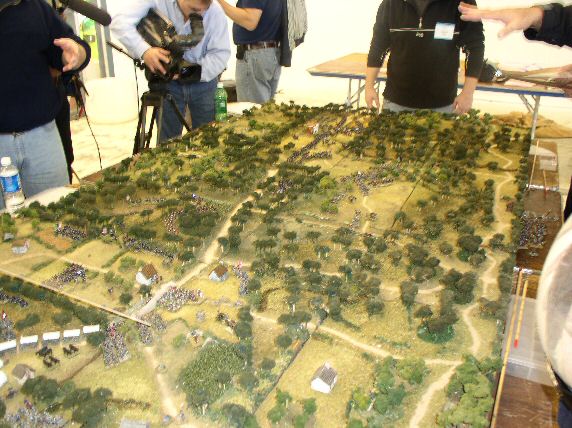
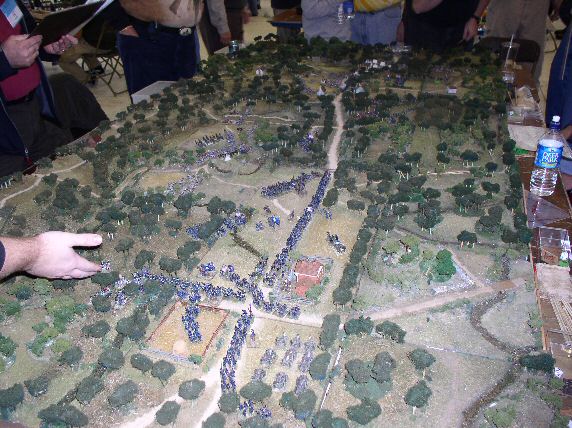
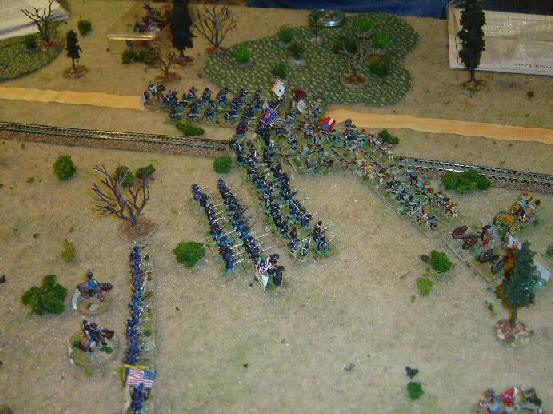
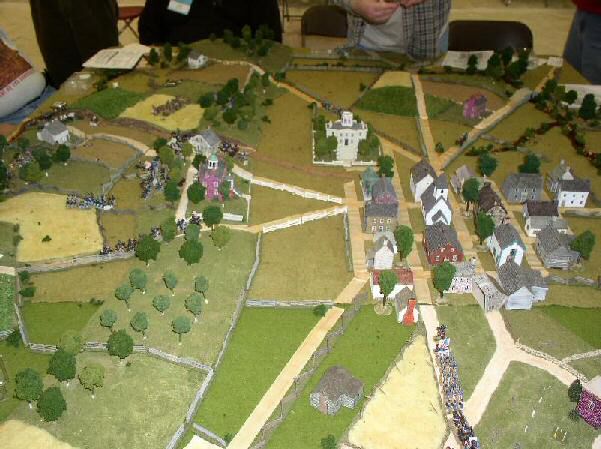 Attack on Seminary ridge |
Confederate forces come in from the West while Union reinforcements rush through the town. |
 View from the west |
The same situation seen from the Confederate lines. |
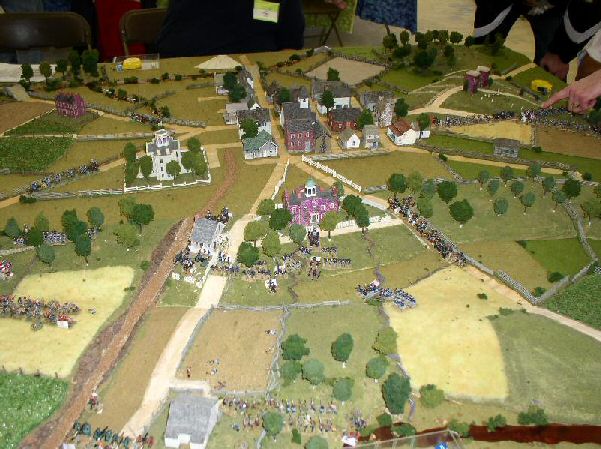
 Attack from the north |
More Confederate forces come in from the north, while Union forces deploy to meet them. |
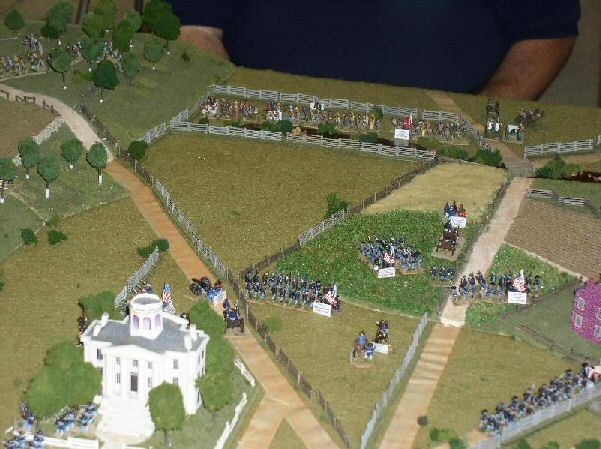
 Moving up |
Union forces move up through the town. |
| Click on the Thumbnail for a full-size photo | Description |
|---|---|
Bocage 01 |
Bocage 01. |
Bocage 02 |
Bocage 01. |
Bocage 03 |
Bocage 01. |
 Bocage 04 |
Bocage 01. |
 Bocage 05 |
Bocage 01. |
 Bocage 06 |
Bocage 01. |
 Bocage 07 |
Bocage 01. |
 Bocage 08 |
Bocage 01. |
 Bocage 09 |
Bocage 01. |
 Bocage 10 |
Bocage 01. |
| Click on the Thumbnail for a full-size photo | Description |
|---|---|
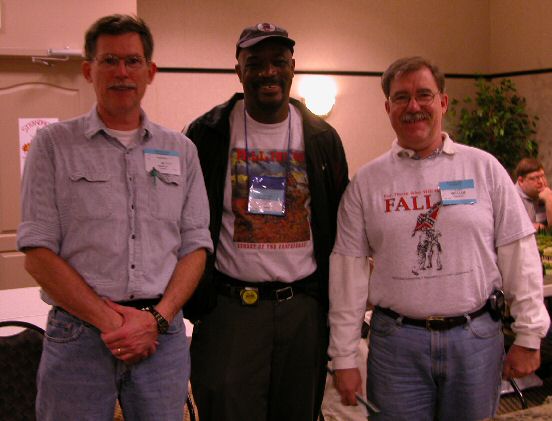
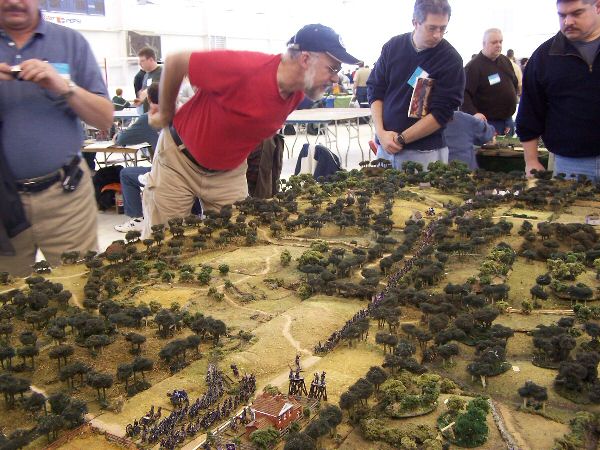
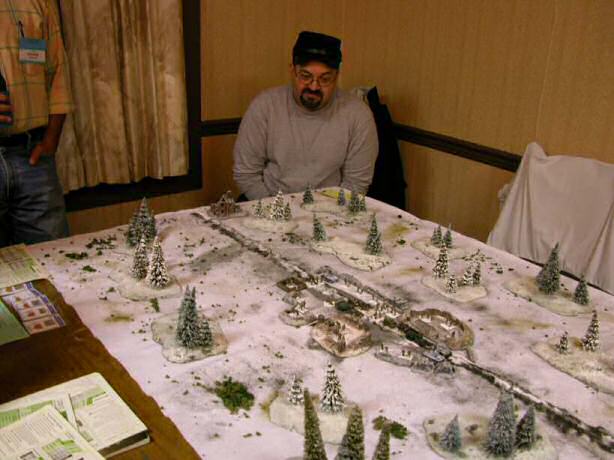 Proud Father |
Steve Keyer presiding over his latest creation. |
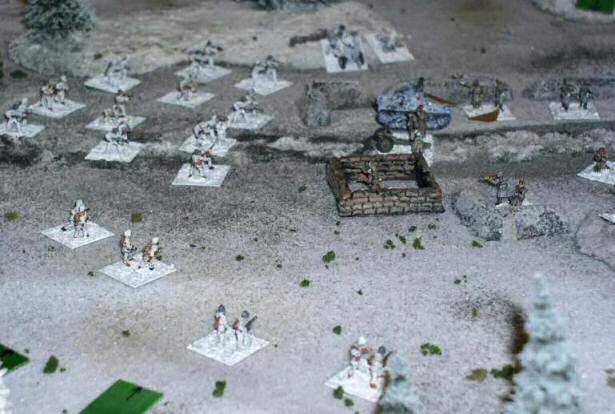
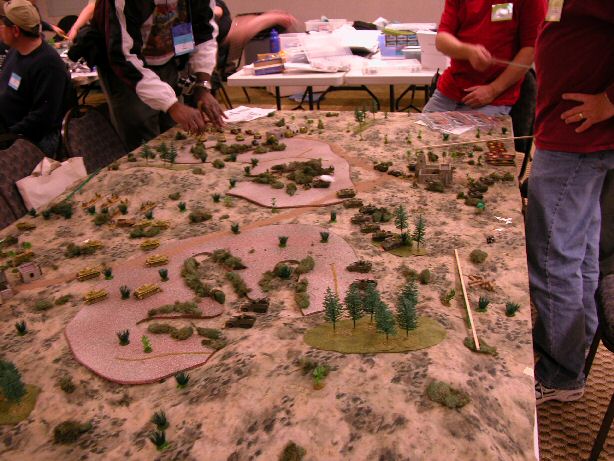
 Initial setup |
The Russians start the game in a entrenched encampment. They have at least equal numbers, armor and some infantry guns, and expect reinforcements. Why do they feel uneasy... For starters, the Finns can start almost anywhere outside of the fortification, and are liberally supplied with dummies. The Finns also may maneuver freely through the snow, and enjoy a snow camouflage advantage that allows them considerable freedom of maneuver. |
 Finns attack |
The Finns detected a weakness in the Russian setup. Two of the major Russian assets, a tank and the infantry gun, have set up in an exposed position, and the Finns are going to attempt to overwhelm them and break into the fort before the Russians can redeploy or react. |
 The attack goes in |
Having neutralized the tank and the infantry gun, the Finns enjoy a local numerical superiority. This is bad news for the Russians, as the Finns are all veterans or elites, and enjoy advantages in both direct fire and close combat. |
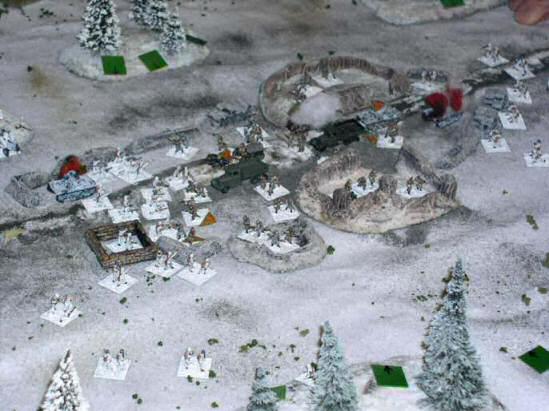
 Slamming the back door |
As the Russians rush to stop the break-in, they abandon the other end of the fort. The last Finnish company rushes in, completing the encirclement of the hapless Russians. |
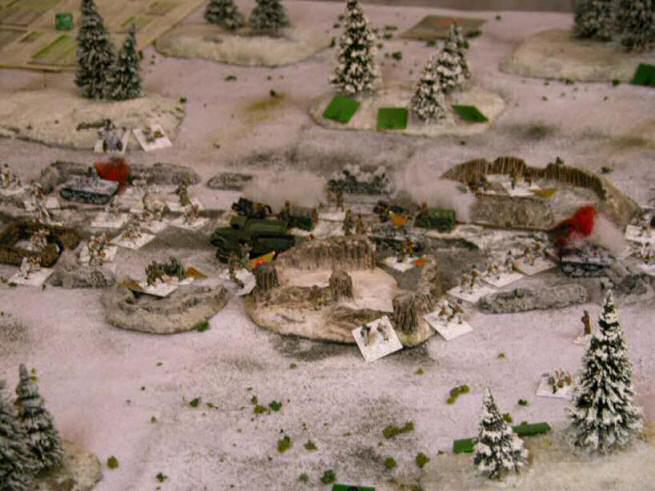
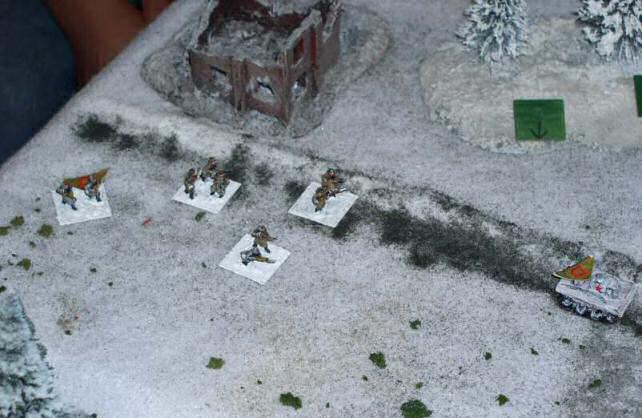 Ambush |
A Russian reinforcement group rushes to help, but two Finnish LMG units (one in the building and one just of the bottom of the picture) manage to inflict almost 50 percent casualties when they open fire from the flank in an ambush, win a subsequent close combat, and continue firing in the next turn. The group in this picture started with twice as many infantry on the previous turn. An off-board AT gun disorders the armor support. |
| Click on the Thumbnail for a full-size photo | Description |
|---|---|
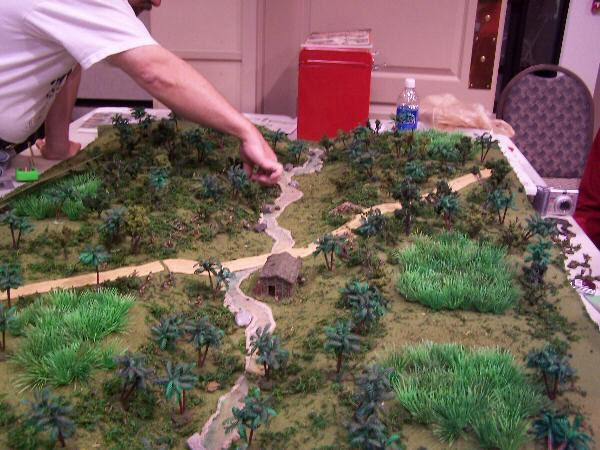
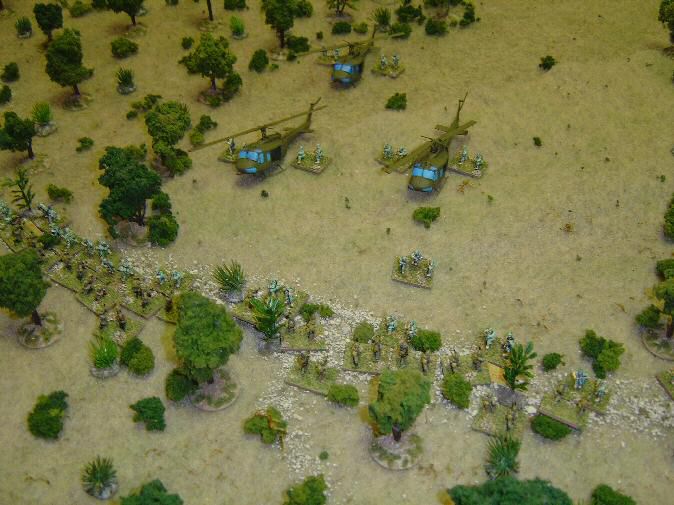 Charge |
Time: 1210 - The PAVN 7th Battalion, 33rd Regiment charges into close combat with Company B, 1/7th Cavalry, while elements of Company A disembark from their UH-1D mounts. |
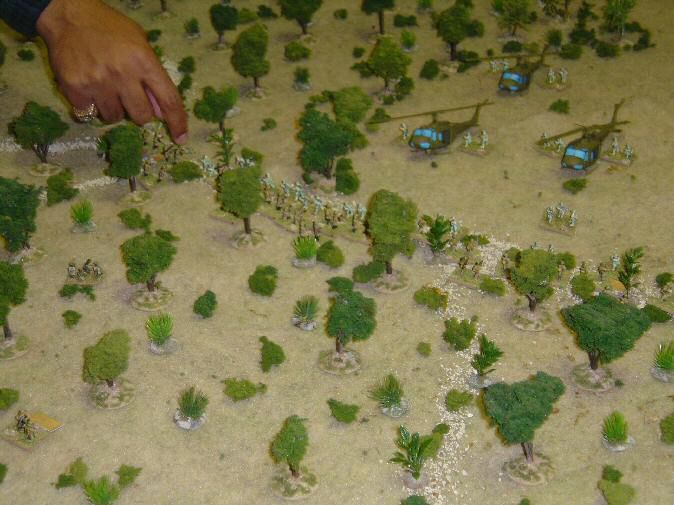 Close Combat |
Players resolve one of many close combats initiated by the PAVN player's charge against the American forces defending at the edge of the LZ. |
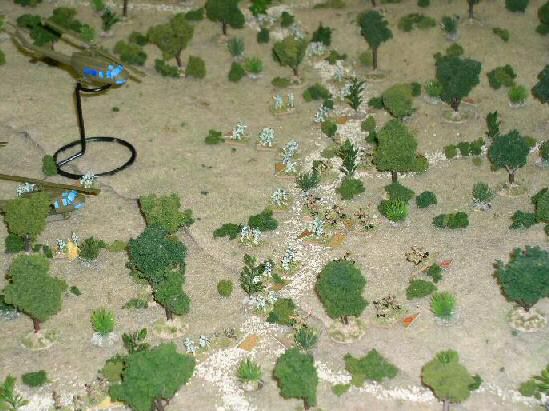
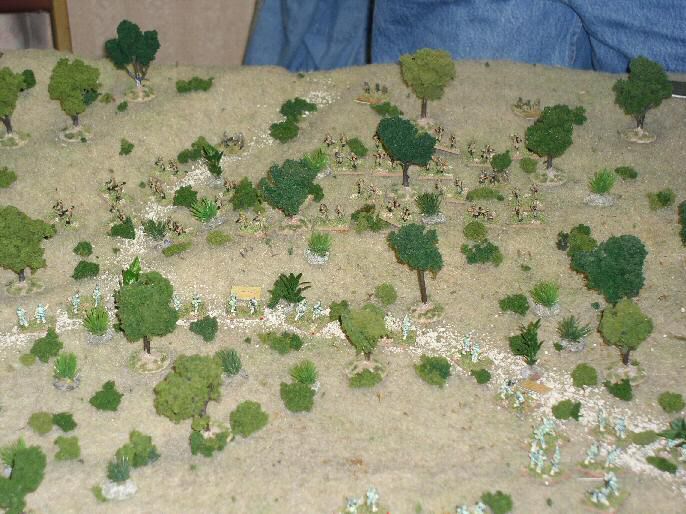 Hordes of PAVN |
PAVN forces marshall for another assault. |
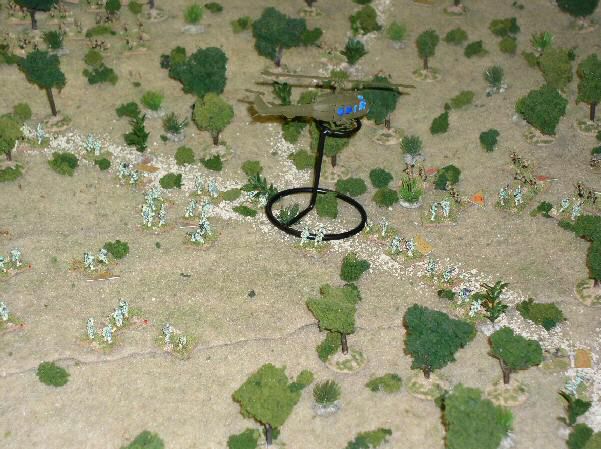 Air support |
A helicopter gunship supports the U.S. defence. |
 Fighting Rages |
Intense battles occur on the edge of the clearing. |
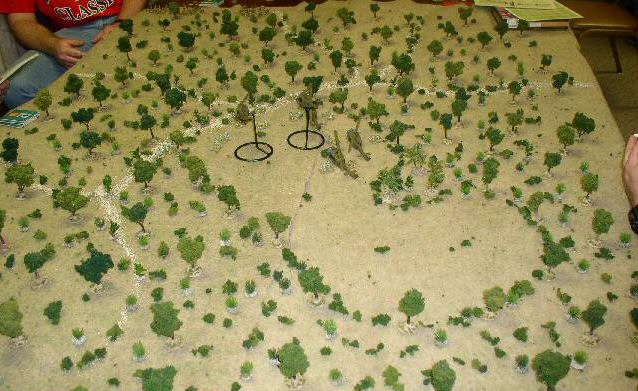 Overview |
An overview of the battle. |
| Click on the Thumbnail for a full-size photo | Description |
|---|---|
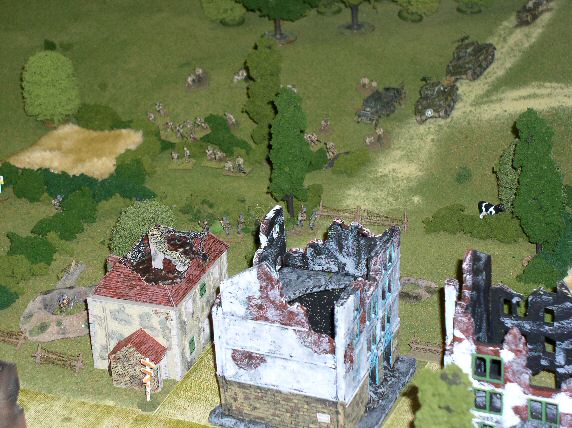
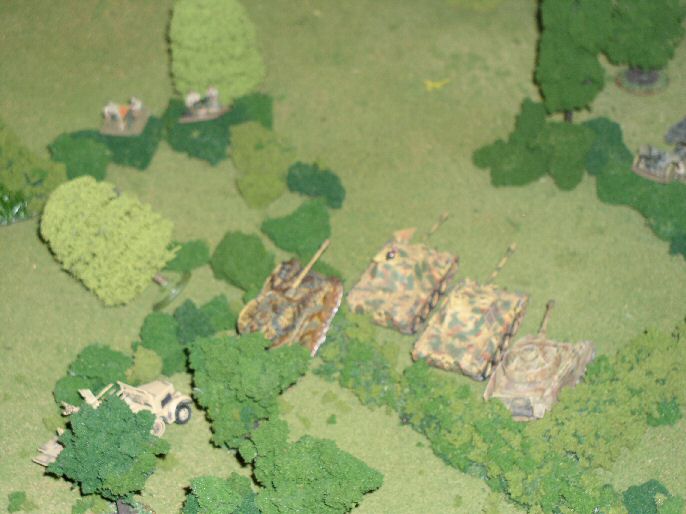
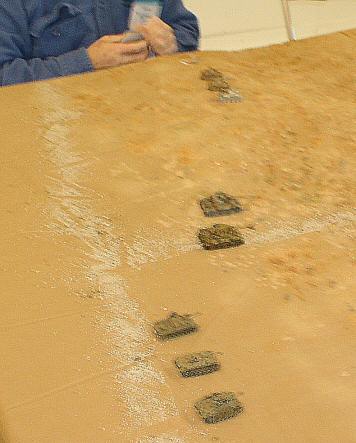 Germans set up in a line |
The Germans had 3 elements, two veteran maneuver elements with 3 Stug III and 3 Marders, and 1 experienced element with two Tiger Is. They deployed in a line, and eventually found that the three elements were unable to provide mutual support. Mea Culpa on the focus of the shot |
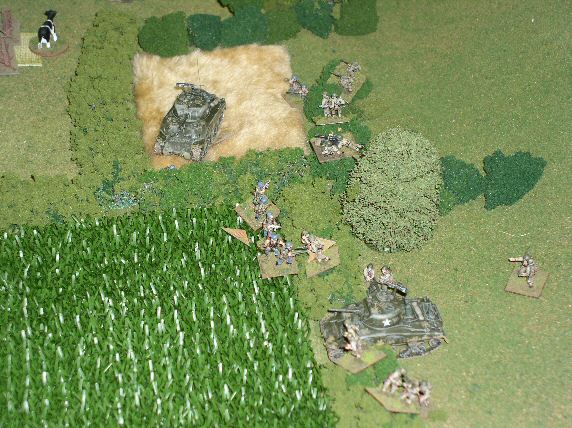
 Americans move on |
The Americans had 3 armored companies, consisting primarily of Sherman 75mm, but with 3 half-track mounted Tank destroyer vehicles. Studying the unit charts show that the U.S. is unable to destroy the Tigers and Stugs by fire outside of about 10 inches. However, the Marder's good gun is balanced by its poor armor, making the fight about even with the Shermans. Rather than charging forward to destruction, as occurred historically, the U.S. player lines up for a coordinated assault on the Marders. It takes a few turns to set up, during which time a Sherman which has ventured a bit too far forward starts taking fire from the Tigers. |
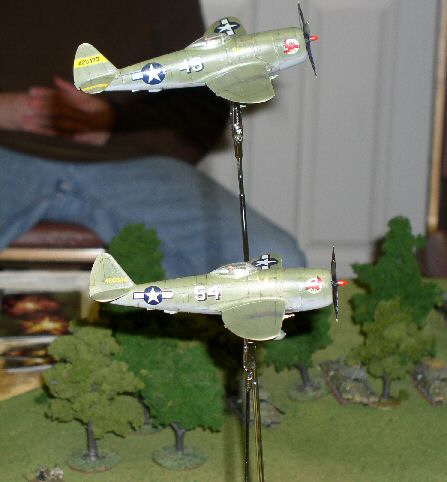
 Anti-aircraft practice |
The Germans had air support, which appeared randomly through the game. However, the .50cal AAMG with a +1 attack proved up the the task, disordering or shooting down the airplanes every time they appeared. |
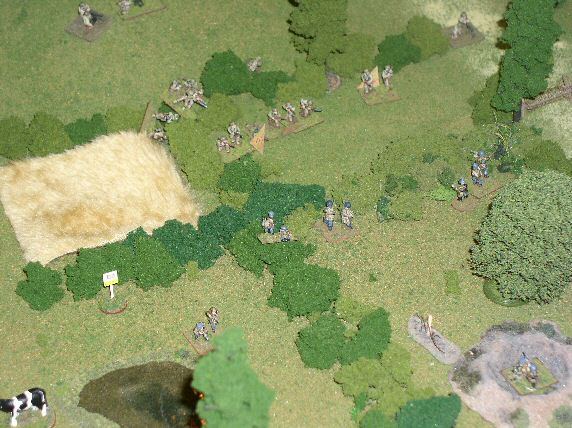
 Charge!! |
Having maneuvered to assault the right flank, the Americans make their move on the Marders. They shoot at the Marders with some units scoring a lucky kill (although the main objective was to suppress them to reduce defensive fire), while the rest of the units move forward. Some brave Shermans move forward in the middle, occupying the attention of both the Tigers and the Stugs. The Germans did not maneuver to counter this attack, but kept firing at the adventurous Shermans, hoping for a 10 percent kill. |
 The attack goes home |
The attack on the Marders hits, quickly overwhelming them. In the middle, rather than shoot uselessly at the Tigers, the Shermans close assault, rolling a mutual kill (which is definitely in favor of the U.S.) A bag of burning vehicle markers is in the background - it will be needed. |
 One down/One to go |
A multiple unit close assault hits the other Tiger, resulting in a second exchange. |
 Mopping up |
A wave of close assaults hits the Stugs, ending the matter. Once again I apologize for the poor focus. |
| Click on the Thumbnail for a full-size photo | Description |
|---|---|
 German Team |
??, JT, William. Pete apologizes for missing the name of one of the Germans, and unfortunately his nametag is not readable in the photo. |
American Team |
Ron, Mark, Mike. |
 opening setup |
opening setup. |
 JT moves up |
JT's force enters south of the ridge. |
 Americans use smoke |
American smoke covers their advance towards the town infested with Marders |
 More Smoke |
More US smoke and a few burning wercks |
 Stuarts prepare |
The Stuart company cautiously approaches the Marders |
 Stuarts charge |
Stuarts charge though the smoke screen |
 Stuarts run away |
Ron's Stuarts are cooked while fleeing their unsuccessful attack on the Marders. JT's aim was unforgiving. |
 Lees square off |
Lees line up to face the veteran 10th Panzer Division |
 Infantry attacks Marders |
Another assaault on the Marders, this time with infantry. JT again cooly repulsed the bold Americans and they then headed to the safety of the hills. |
 Mark approaches |
Mark uses the terrain to get closer to the German Panzers |
 Lees assault |
Mike's Lee company assault and take out a Mk III |
 Infantry waiting |
The 13th Armored Infantry hunker down in a wadi while William's PanzerGrenadiers advance down from the heights and JT's Mk IIIs guard the flank |
 Stuarts burn |
The smell of burning Stuarts |
 Shermans to the rescue |
Ron brings up the Shermans to support Mike's infantry in the wadi |
 Standoff |
Standoff on the southern flank |
 US breaks through |
The US breaks the 10th Panzer in the north, claiming the hard fought victory |
| Click on the Thumbnail for a full-size photo | Description |
|---|---|
 Chancellorsville 1 |
Al and his creation. |
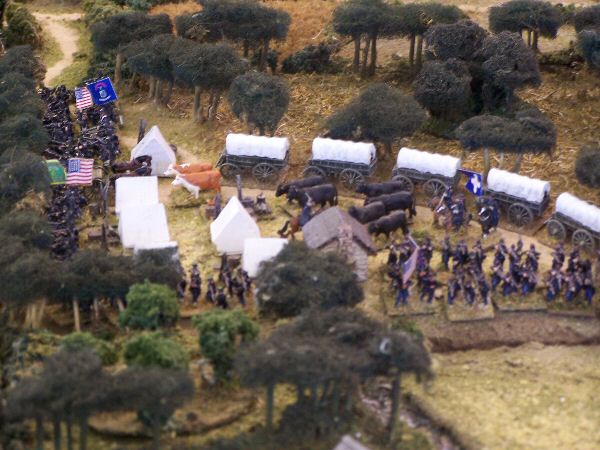 Chancellorsville 2 |
Chancellorsville wagons. |
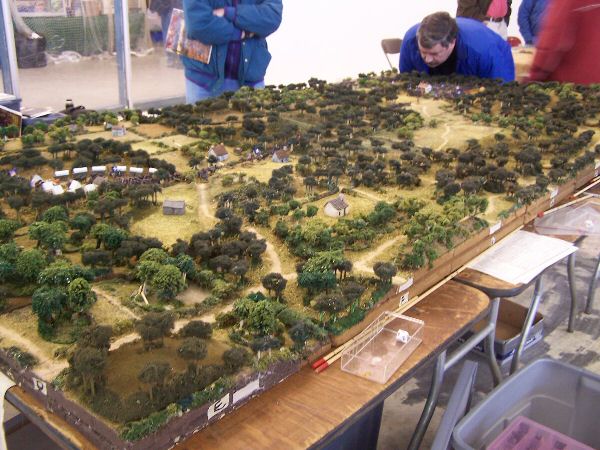 Chancellorsville 3 |
Chancellorsville battlefield. |
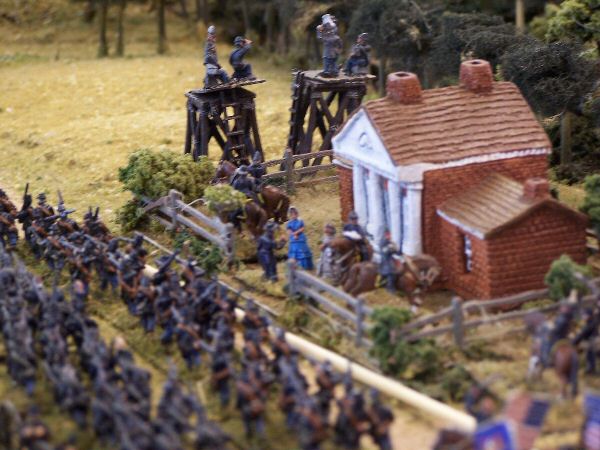 Chancellorsville 4 |
Hooker with the ladies. |
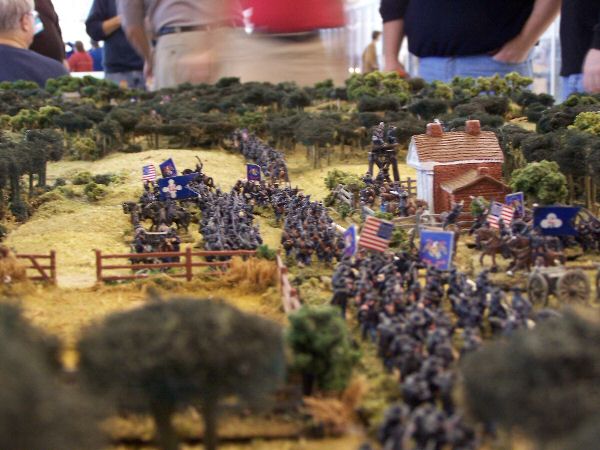 Chancellorsville 5 |
Marching. |
 Chancellorsville 6 |
Chancellorsville 6. |
 Chancellorsville 7 |
Chancellorsville 7. |
| Click on the Thumbnail for a full-size photo | Description |
|---|---|
 Templeton's crossing 1 |
Aussies moving to the creek. |
 Templeton's crossing 2 |
Greg having fun hiding his Japanese. |
 Templeton's crossing 3 |
Aussie's ridge. |
 Templeton's crossing 4 |
Aussies forming up to cross the ford - unfortunately the japs knew about the ford too. |
 Templeton's crossing 5 |
You go first. |
 Templeton's crossing 6 |
Aussie assault across the ford. |
 Templeton's crossing 7 |
Aussie flank march to another ford - unkown by the japs. |
 Templeton's crossing 8 |
Aussies struggling to take the final positions. |
 Templeton's crossing 9 |
Hillside view. |
 Templeton's crossing 10 |
Japs pull out a draw. |
| Click on the Thumbnail for a full-size photo | Description |
|---|---|
 Confederates attack |
Confederate forces under Brigadier General Joseph Finigan close on the Union line commanded by Brigadier General Truman Seymour. Brigadier General Alfred H. Colquitt's brigade of Georgia veterans prepares to attack the Yankee left, while Colonel George P. Harrison's less experienced Florida and Georgia regiments pin the Union right. |
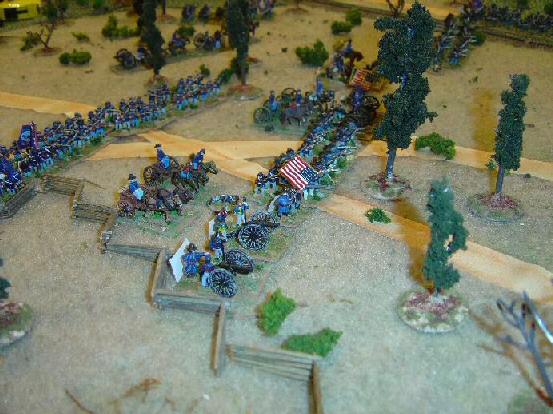 Union Defends |
The 7th New Hamphire anchors its right flank on the fence surrounding the only open field, while the New York regiments of Colonel William Barton move up in support. |
 Union Charges |
The famous 54th Massachusetts and 8th USCT (United States Colored Troops) charge into Colquitt's Georgians. The charge was repulsed, but subsequently the 7th Connecticut and half the 7th New Hampshire devestated the counterattacking Confederates with fire from their Spencer repeaters. |
| Click on the Thumbnail for a full-size photo | Description |
|---|---|
 Forozeshah 1 |
 Forozeshah 2 |
Forozeshah 3 |
Forozeshah 3 |
Forozeshah 4 |
Forozeshah 4 |
 Forozeshah 5 |
Copyright 2000-2019 Fire and Fury Games, all rights reserved
Web page maintained by
Webmaster@FireAndFury.com.