
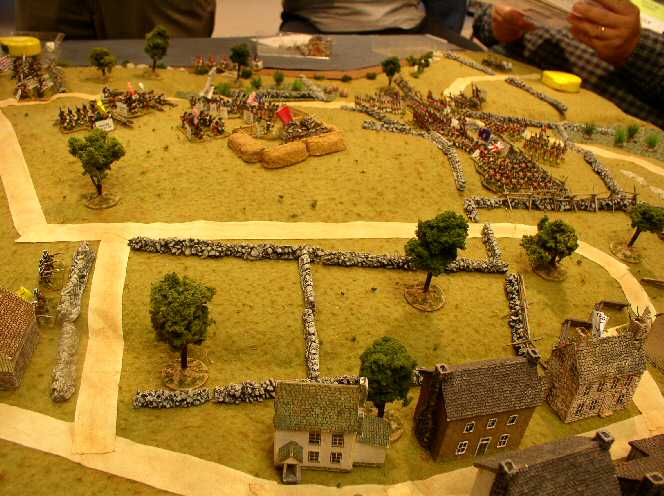
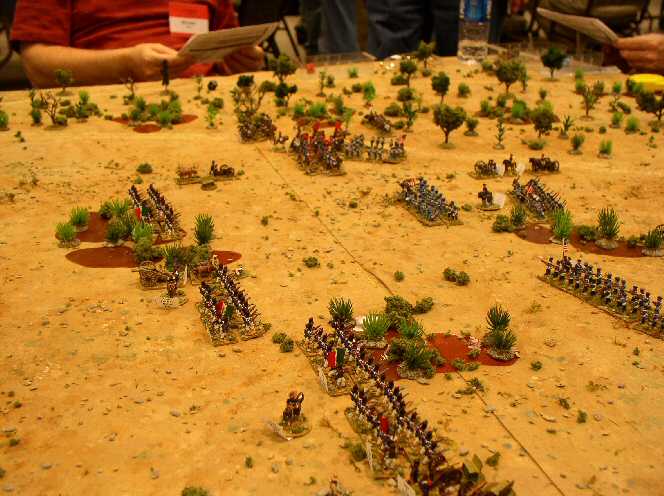
The Redcoats prepare
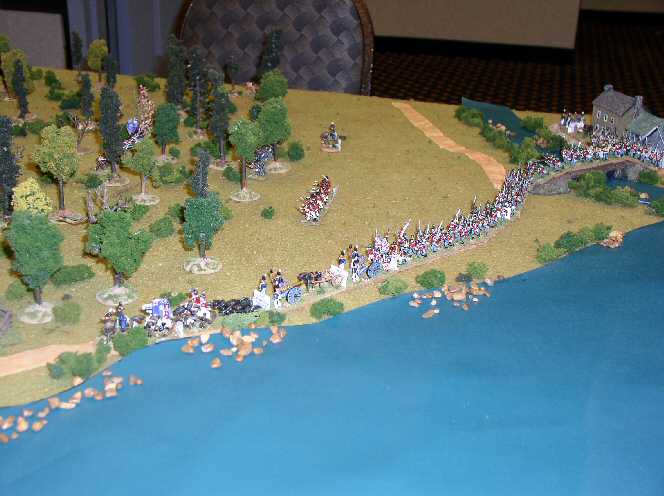
Another angle
| Click on the Thumbnail for a full-size photo | Description |
|---|---|
The Redcoats prepare |
The Recoat forces mass at the bottom of the hill. |
Another angle |
Another angle of the battlefield |
| Click on the Thumbnail for a full-size photo | Description |
|---|---|
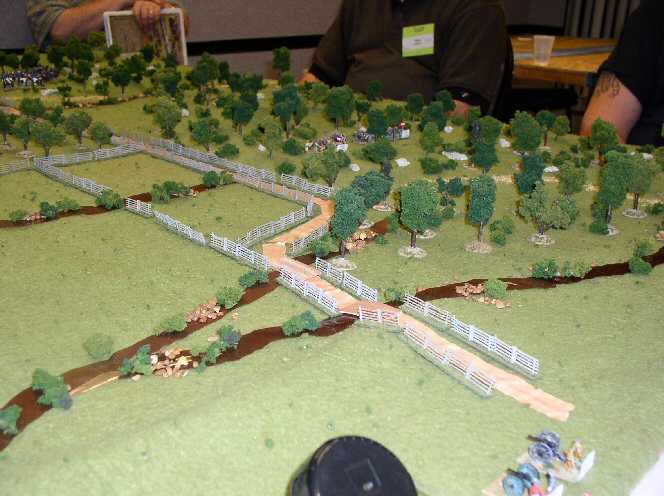
 The British advance |
The British column heads up the road, while their light infantry charges and routs some Americans in the woods behind them. |
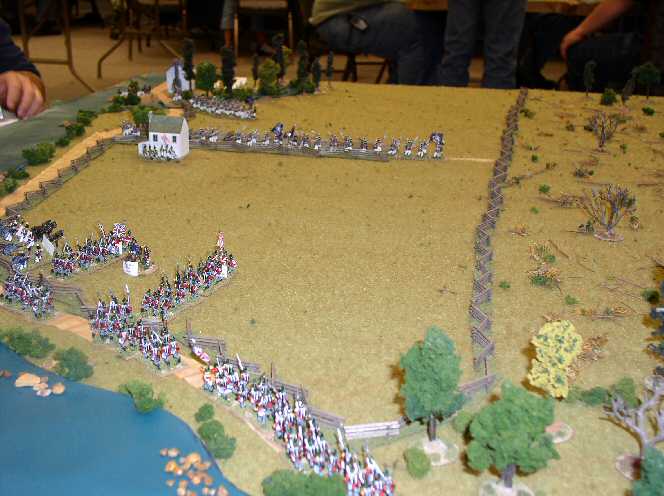 Deployment |
The British columns start to deploy, while the American columns occupy a fence line. |
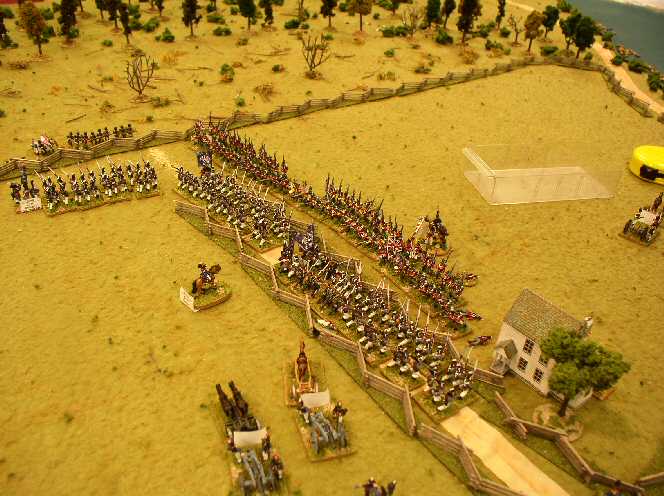 Slugging it out |
The battle lines engage. The British light infantry force which went through the woods threatens the American flank. |
| Click on the Thumbnail for a full-size photo | Description |
|---|---|
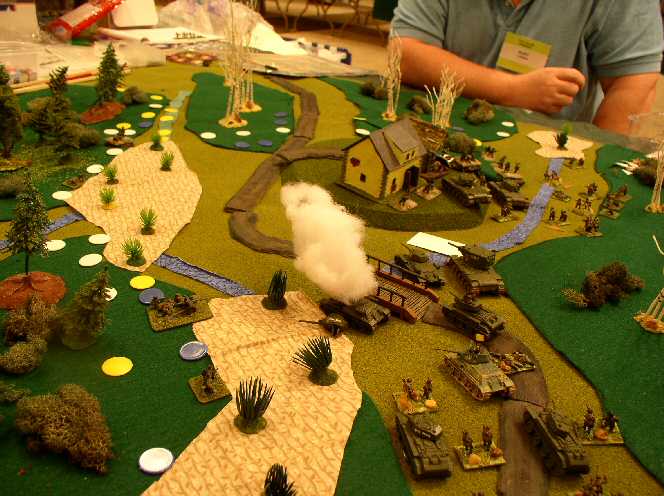
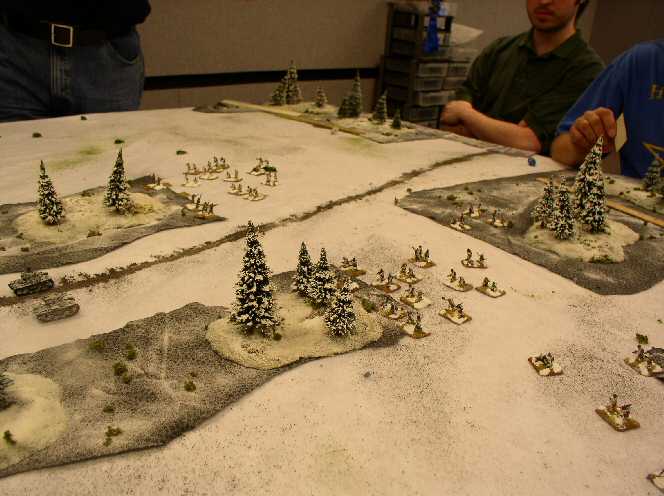 Dashing through the open |
Finnish infantry move across the open ground toward the woods and hills (their objectives). They encounter some Russian tanks and positions on the woodline. |
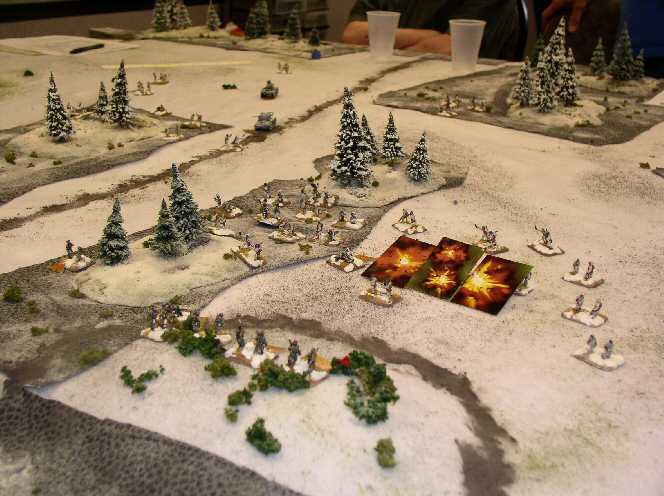 Russian Artillery |
Continuing their advance, the Finns come under fire from Soviet artillery. The slow attrition takes its toll of the Finnish forces. |
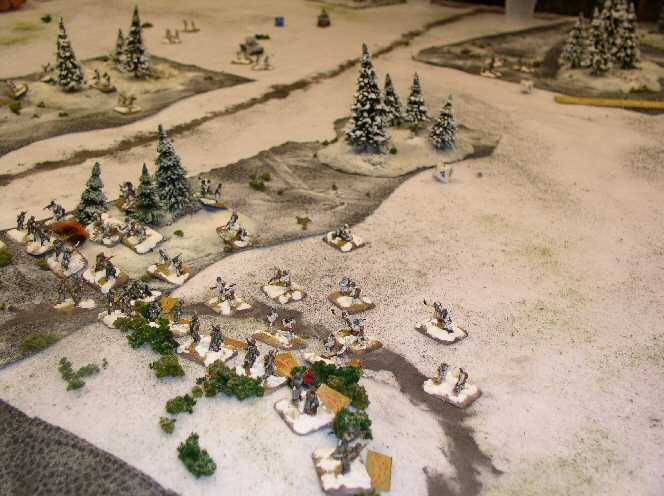 Main line of resistance |
After their advance through the open ground, the Finns encounter the main Russian force waiting for them at the top of the hill. |
| Click on the Thumbnail for a full-size photo | Description |
|---|---|
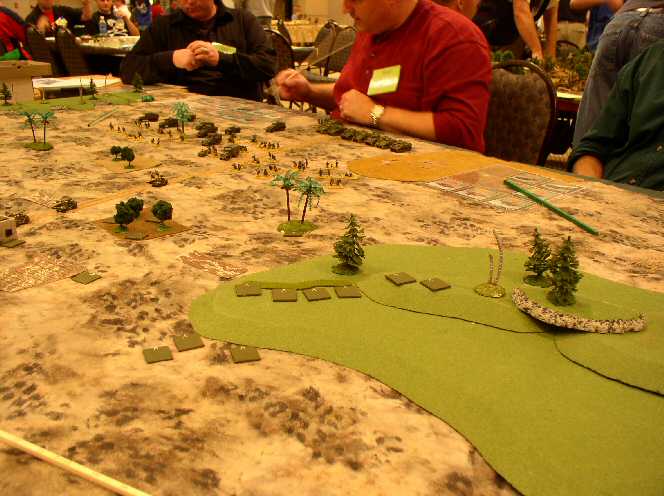
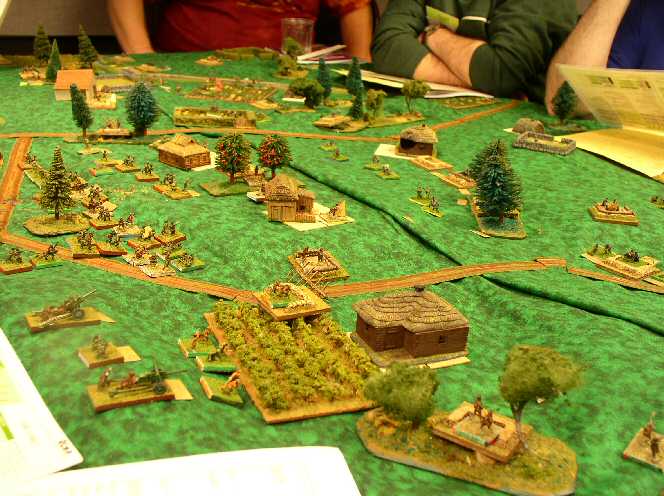
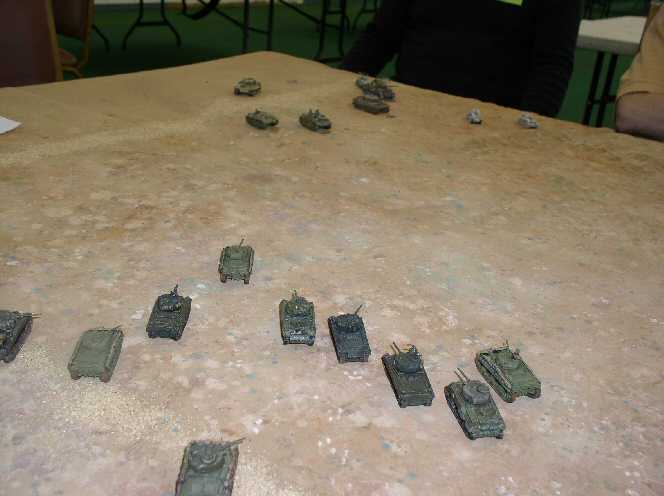
 Russia 1941 01 |
Russian armor advances against the hidden Germans. |
 Russia 1941 02 |
Another angle. Some Russian tanks fall victim to surprise fire. |
| Click on the Thumbnail for a full-size photo | Description |
|---|---|
 Tunisia 01 |
U.S. forces start their advance. |
 Tunisia 02 |
Another angle. |
| Click on the Thumbnail for a full-size photo | Description |
|---|---|
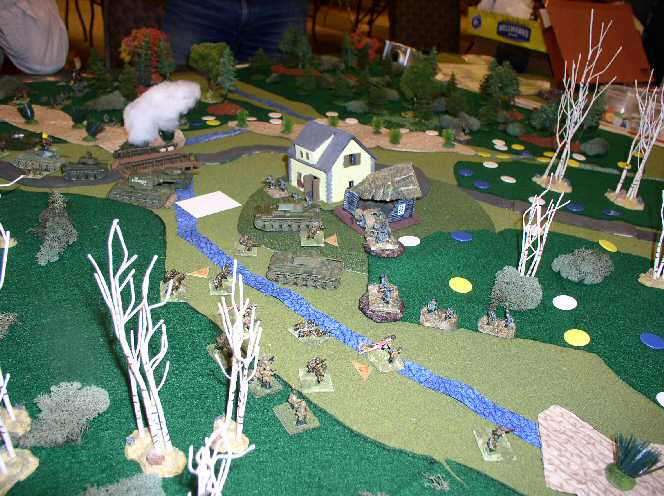
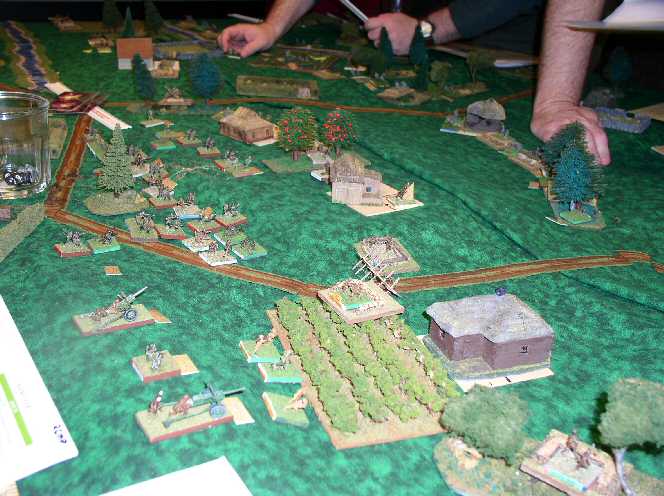 Kiev 01 |
Backed by Artillery, the Russians counterattack. |
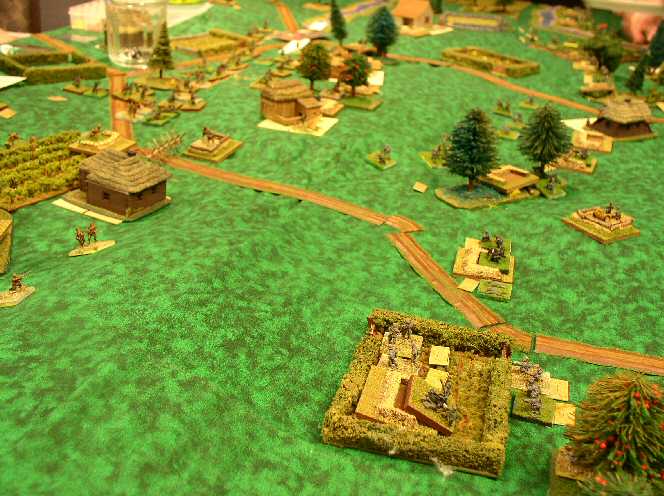 Kiev 02 |
German forces wait for them. |
 Kiev 03 |
A longer view of the battlefield. |
| Click on the Thumbnail for a full-size photo | Description |
|---|---|
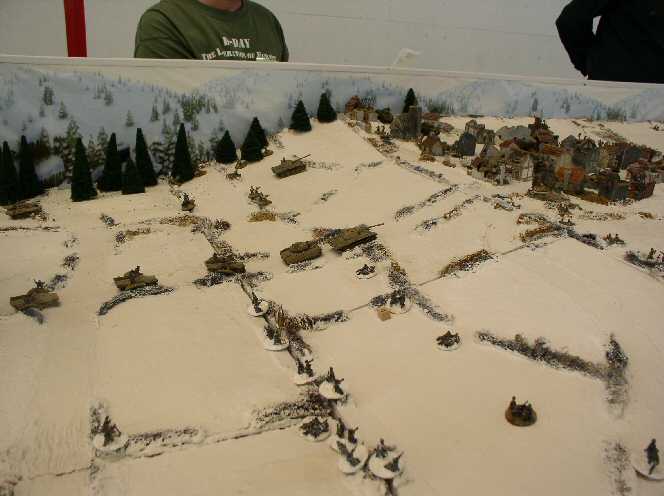 Left flank |
German armor moves up, infantry follows. |
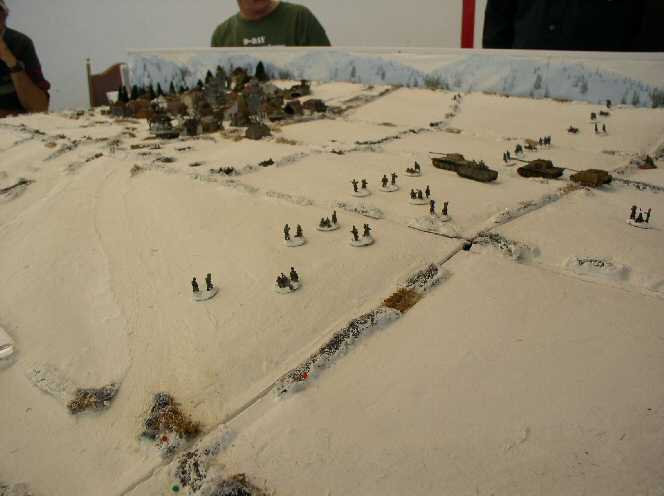 You can't hurt me |
On the other side, the Germans advance, spearheaded by a Jagdtiger. |
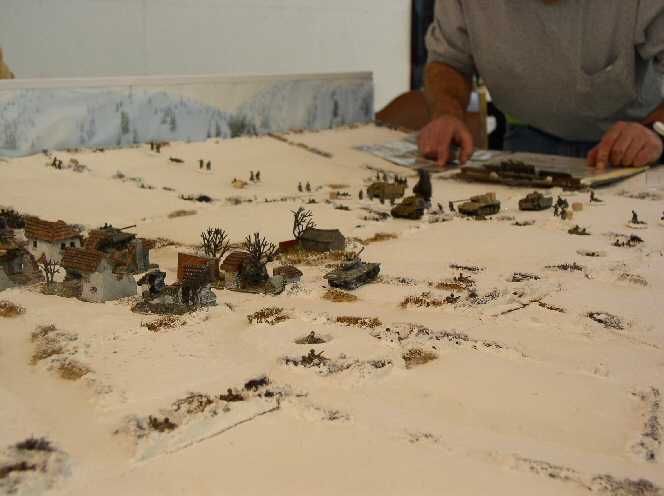 Whoops |
Opening fire from ambush, the Americans leave the Jagdtiger smoking in the snow. |
| Click on the Thumbnail for a full-size photo | Description |
|---|---|
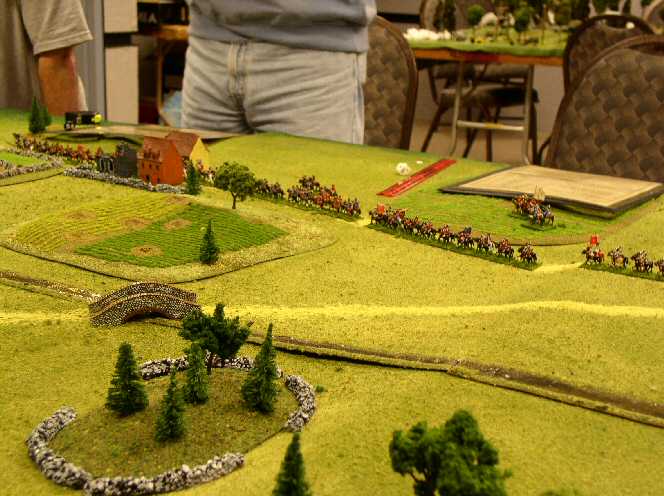 French Cavalry Moves out |
The French cavalry's initial position is on a road that leads to the allied flank, which naturally lends itself to a flanking maneuver. However, because of the command problems this may not be the best option, as the rest of the army may not be able to catch up. Also, Allied reinforcements usually arrive in time to save the flank. |
 Continuing the move |
The French cavalry continues its move. |
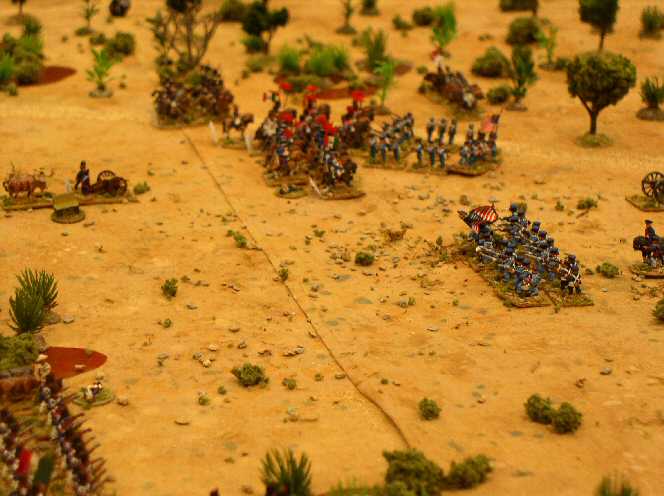
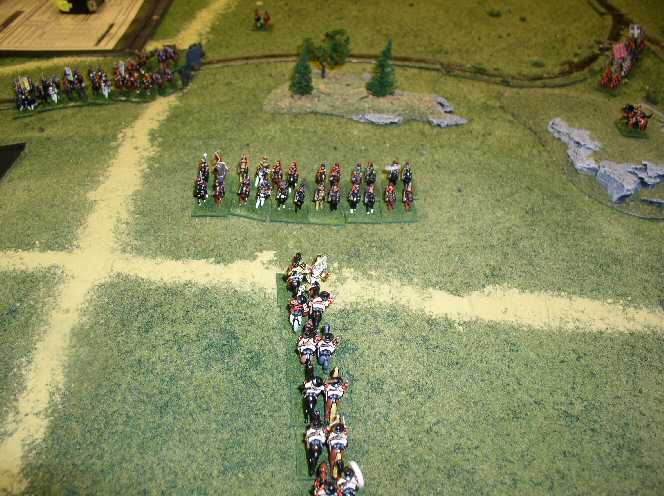 Confrontation |
The cavalry forces square off, but the long column hasn't deployed yet. |
 Allied reinforcements move up |
The allies move up their reinforcements to counter the French. |
| Click on the Thumbnail for a full-size photo | Description |
|---|---|
 U.S. advances |
The charge begins. |
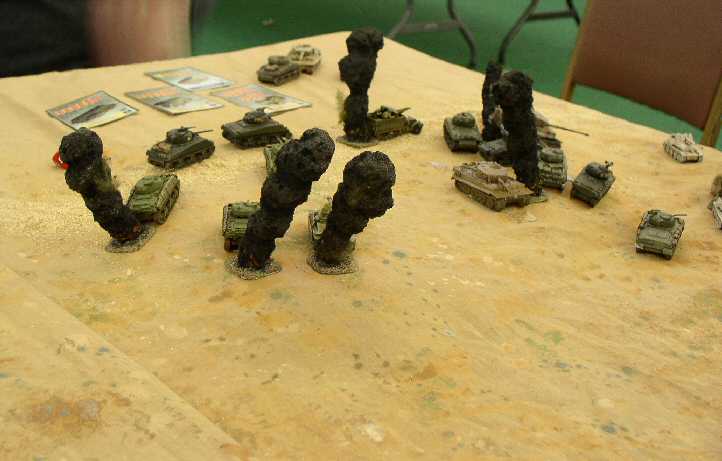 Melee |
The U.S. makes contact, and the resulting close combat leaves flaming wrecks in abundance. |
| Click on the Thumbnail for a full-size photo | Description |
|---|---|
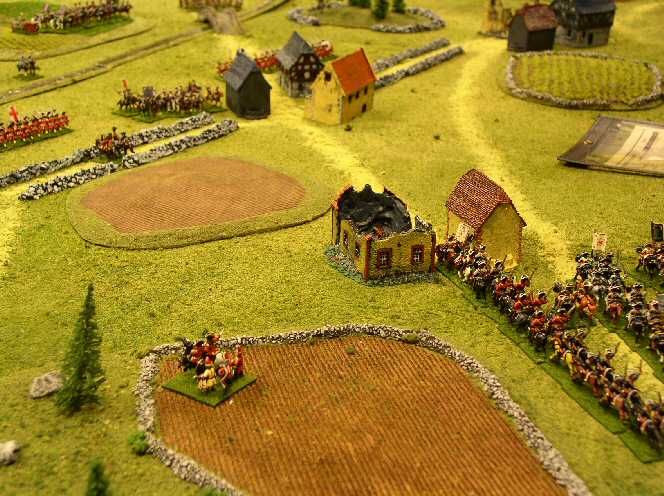
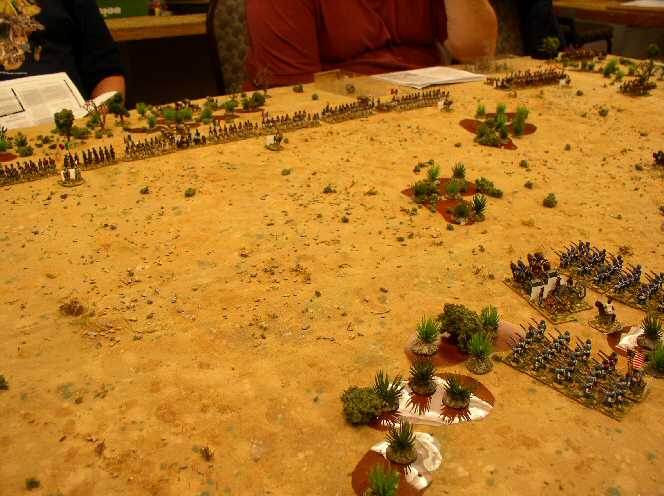 Mexican Line |
The U.S. columns move up toward the lines of waiting Mexicans. |
 U.S. moves up |
The U.S. columns move up. In the upper left, a brave unit of Mexican cavalry prepares to charge. |
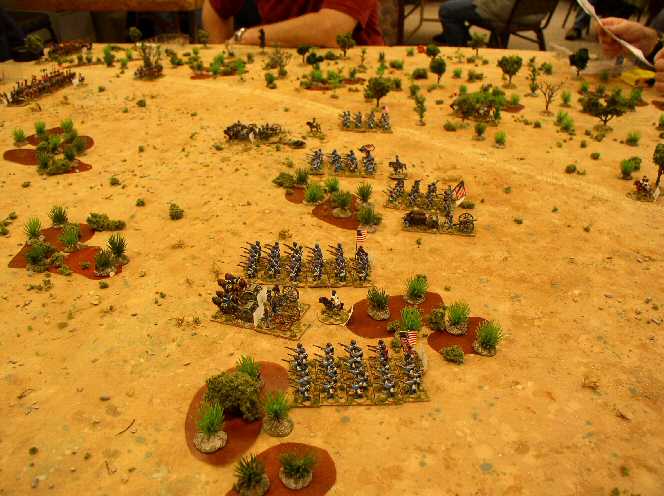
 Charge! |
The cavalry goes in, the U.S. forms square. |
 Charge! 2 |
Another view - showing the opposing battlelines. |
| Click on the Thumbnail for a full-size photo | Description |
|---|---|
 Confederates move up |
Confederate artillery duels with the U.S. while Confederates move up through the woods. |
 Union Battle Line |
The Union Battle line forms up in the distance. |
Copyright 2000-2019 Fire and Fury Games, all rights reserved
Web page maintained by
Webmaster@FireAndFury.com.