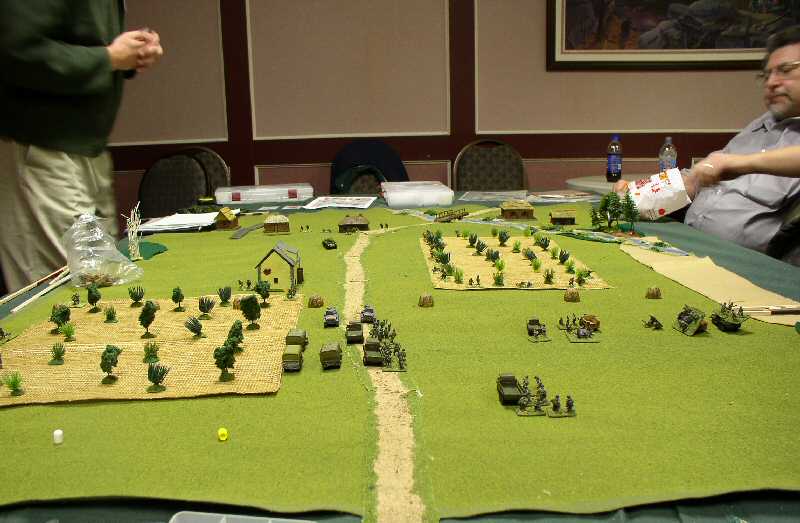
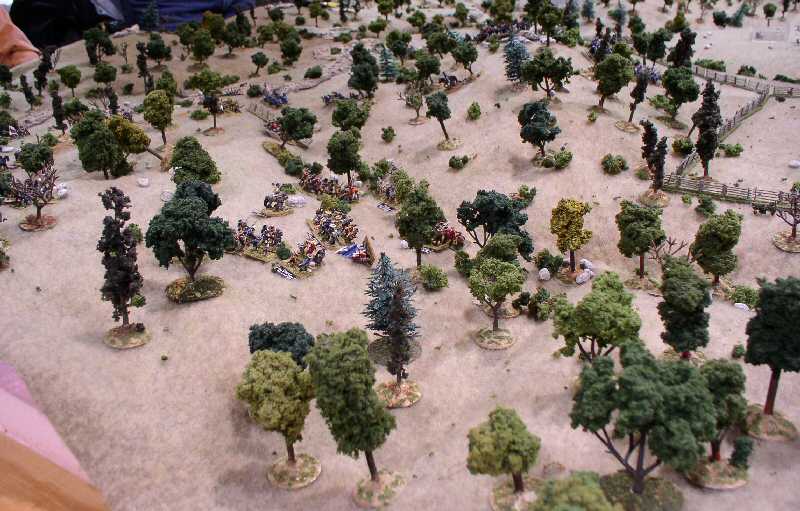
The Mexican Left Flank
The Battle for the fortifications
The Battle for the central redoubts
Back down the hill
| Click on the Thumbnail for a full-size photo | Description |
|---|---|
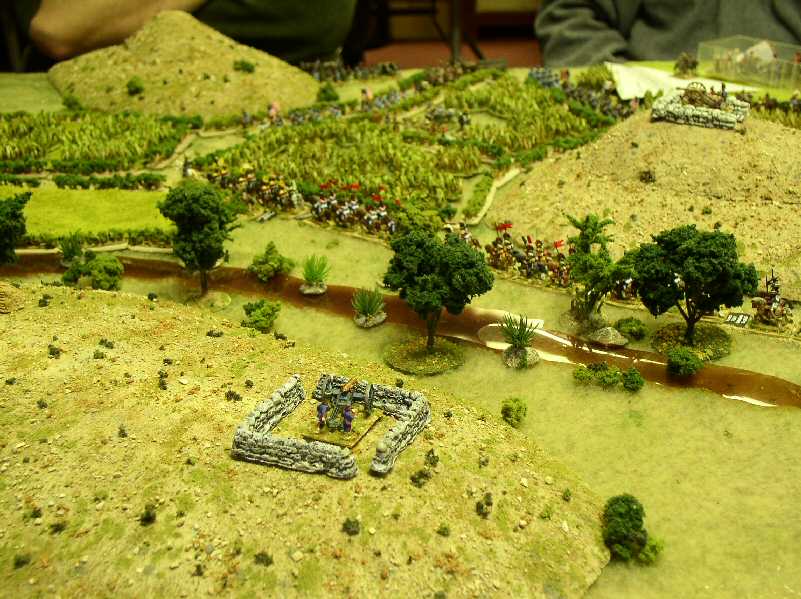
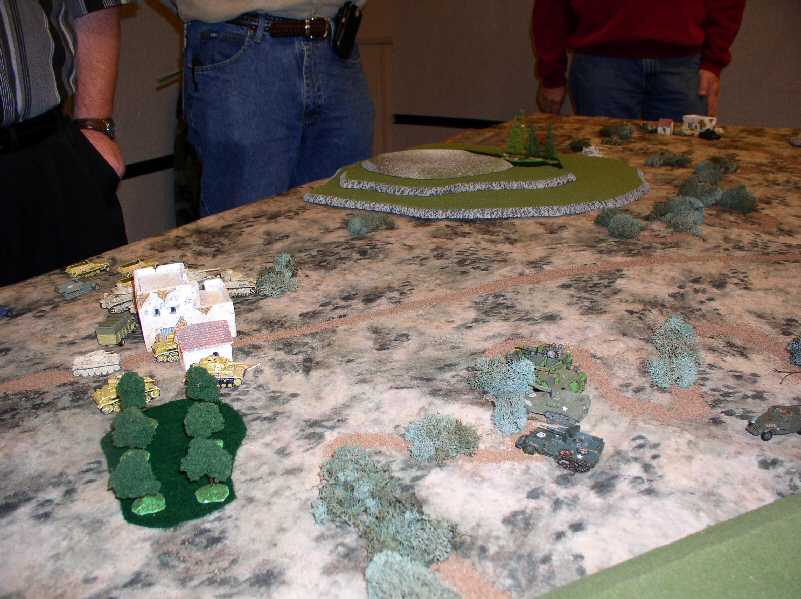
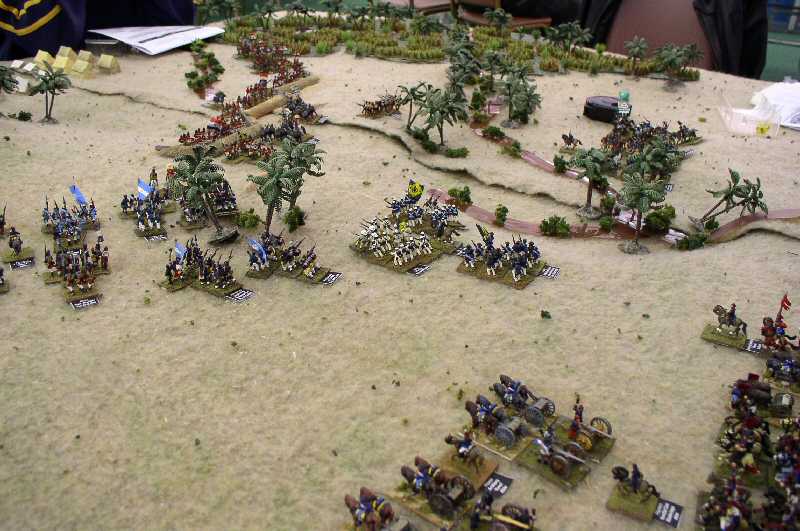
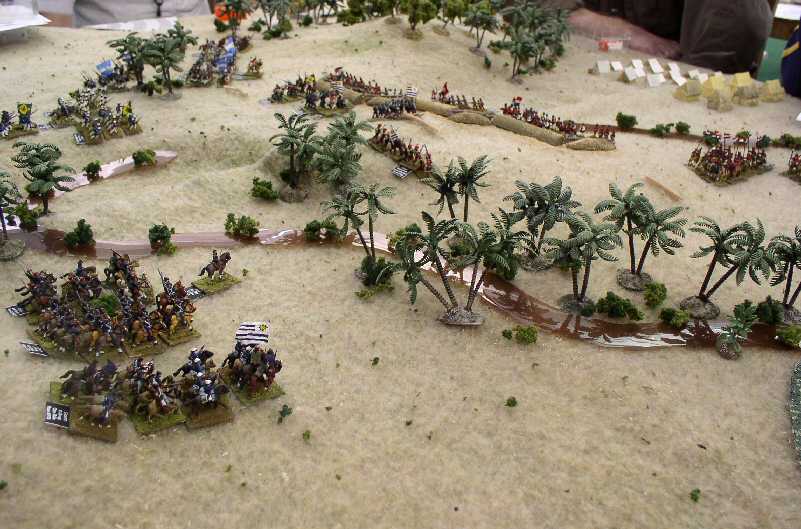
The Mexican Left Flank |
Lonely Mexican redoubts look over the valley where Mexican cavalry prepares to contest the advance of American infantry in the distance. |
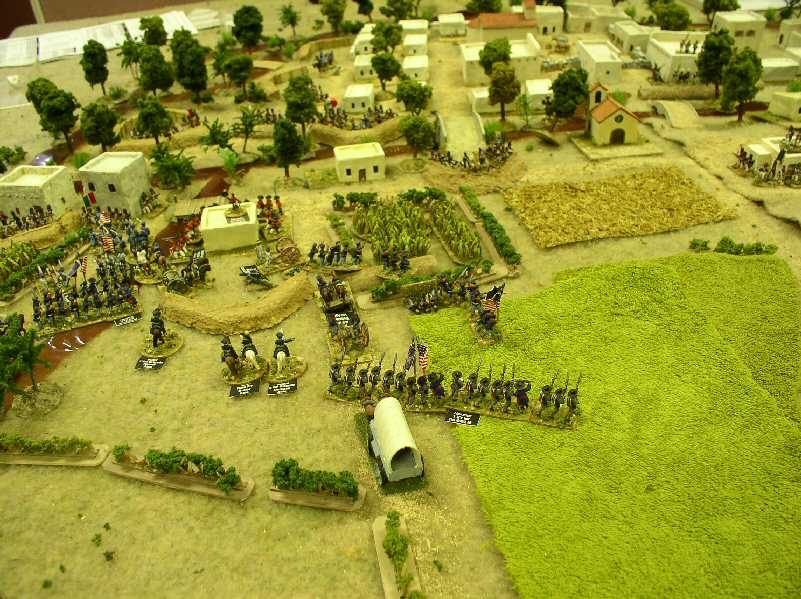
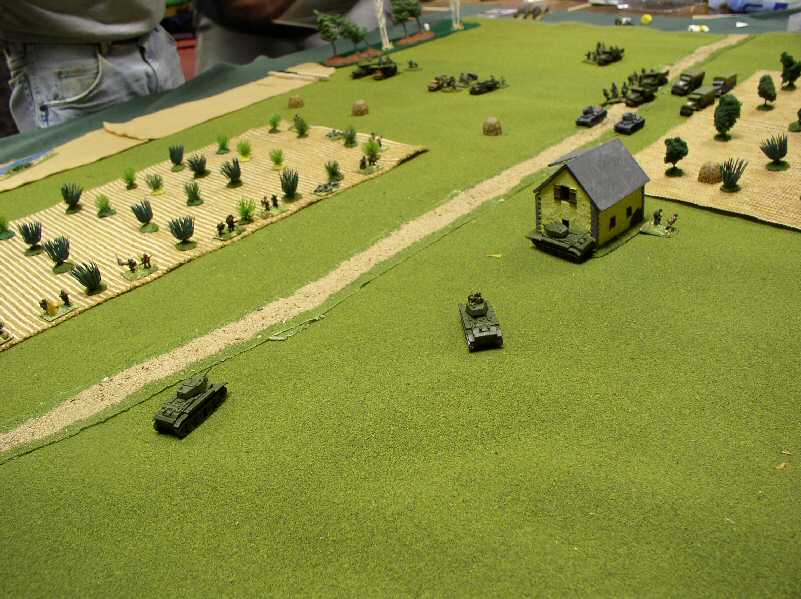
The Battle for the fortifications |
On the other flank, American forces assault the fortified Mexican positions. The Mexicans did quite well on this side, inflicting heavy casualties. |
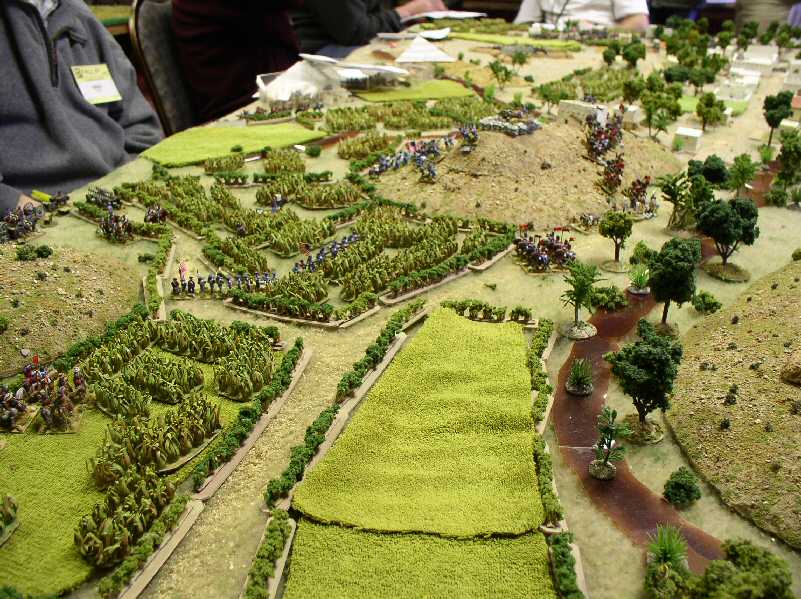
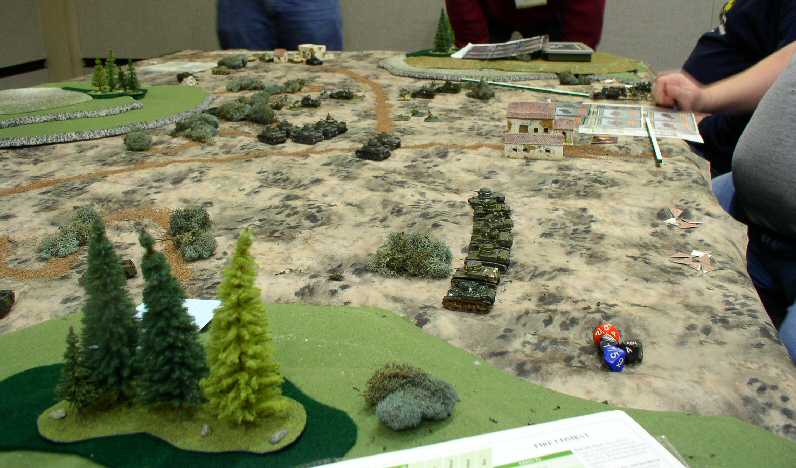
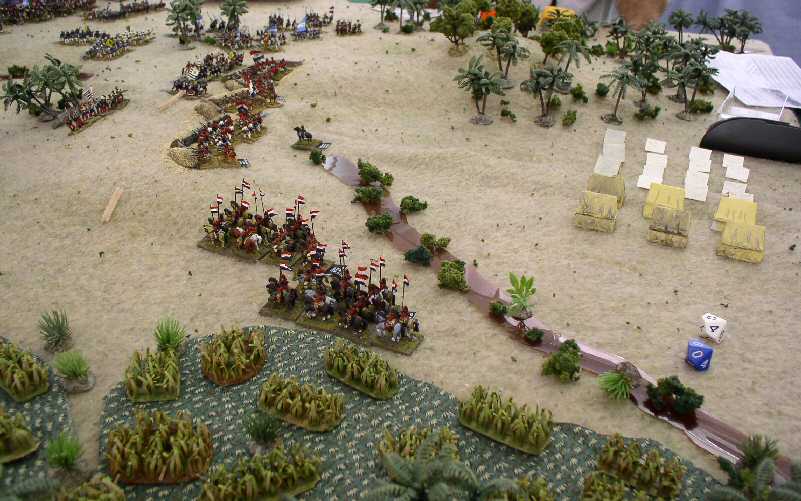
The Battle for the central redoubts |
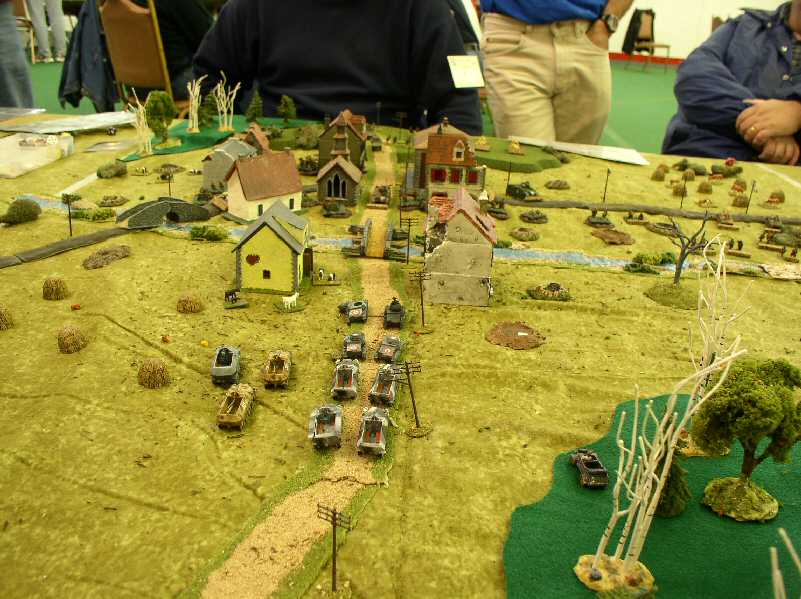
Back on the Mexican left, American forces deploy and move up the hill against the central redoubts. Mexican Cavalry moves up the hill in support. |
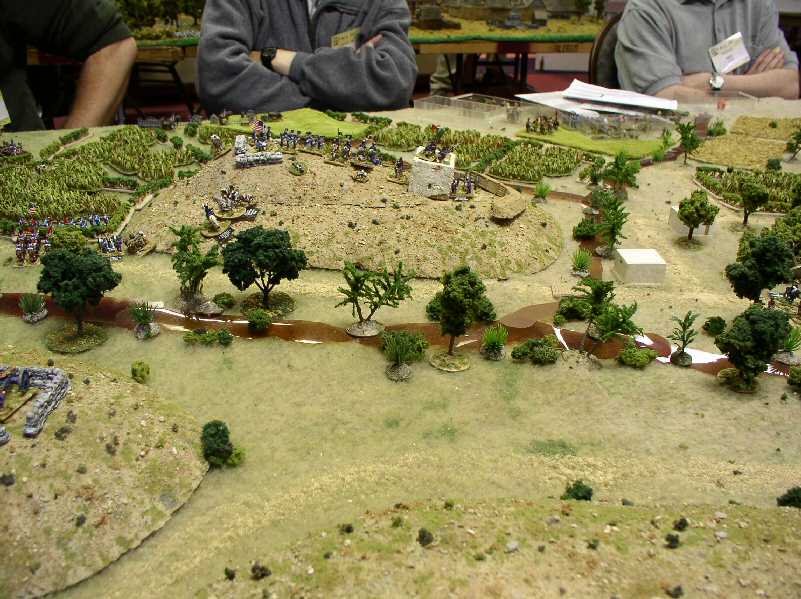
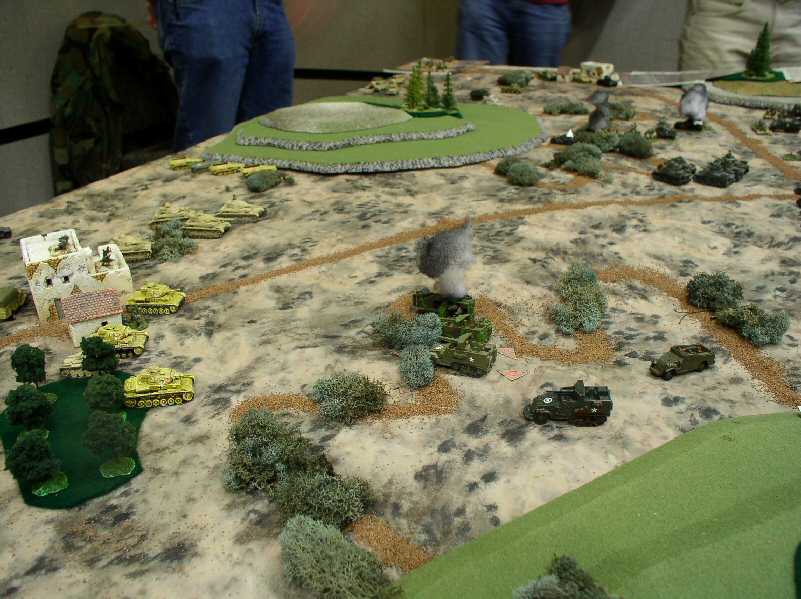
Back down the hill |
The Mexican cavalry finds out why it is a bad idea to assault infantry in close terrain. The central redoubt falls, but time marches on. |
| Click on the Thumbnail for a full-size photo | Description |
|---|---|
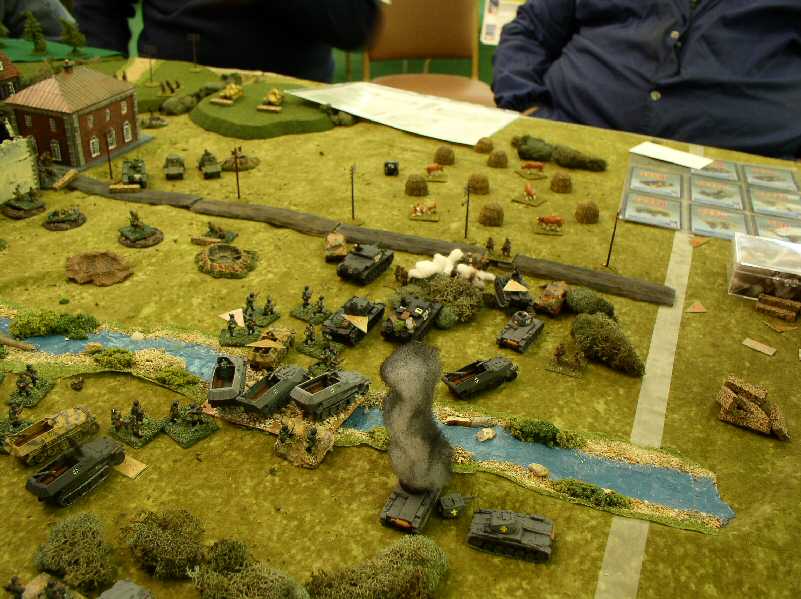
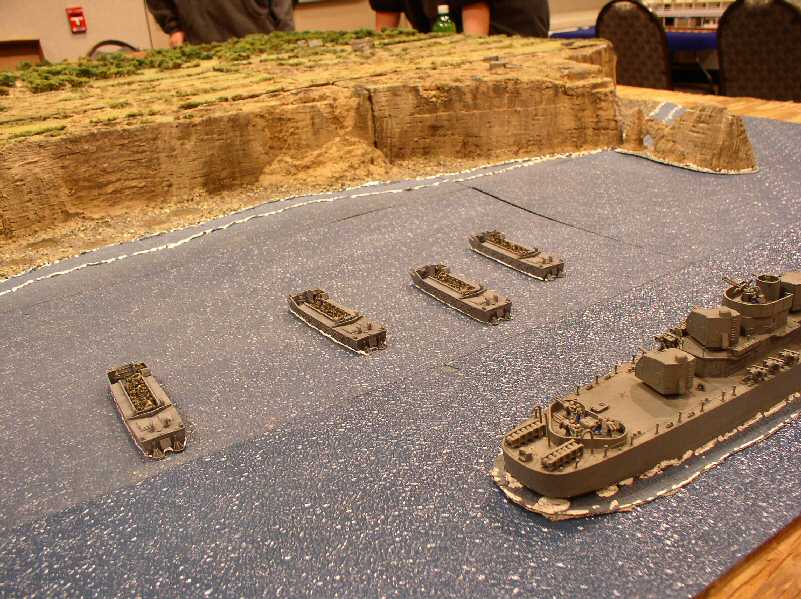 Landing Craft Approach |
Landing Craft full of Rangers approach the base of the cliff. A destroyer gives support. |
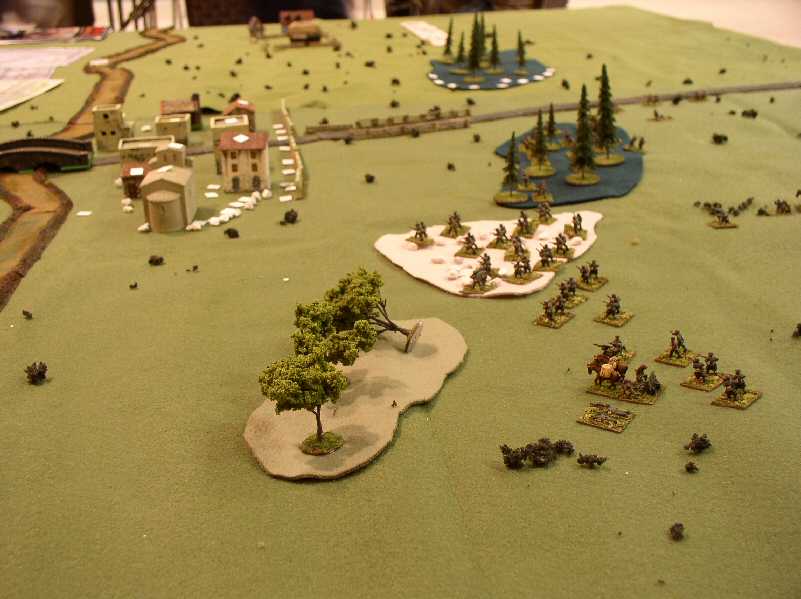
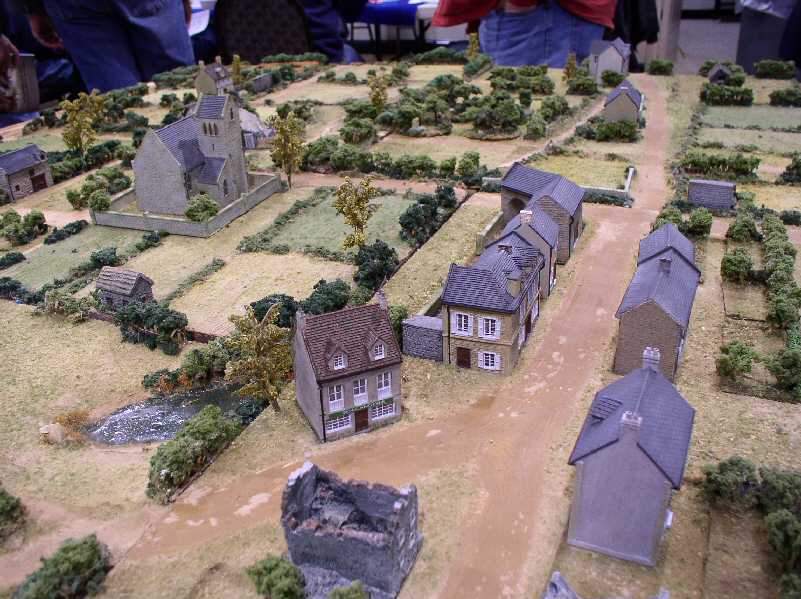 A Village behind the lines |
Al decided to have a separate table with a village objective on it. As usual, a superb layout. |
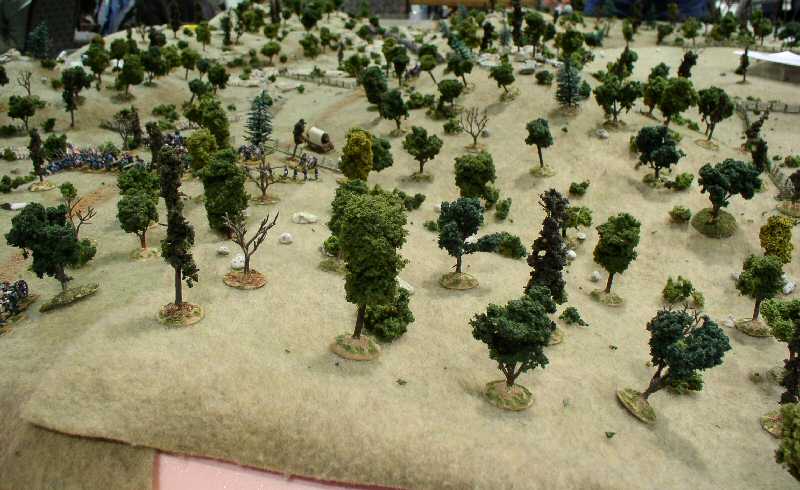
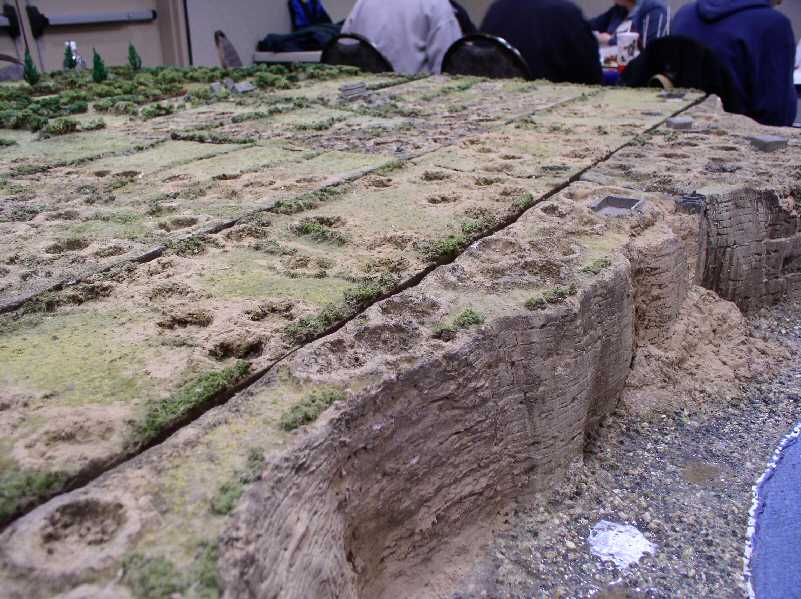 The cliffs |
A close-up of the cliff and beaches. While other people concentrate on painting miniatures, Al's expertise is in terrain-making. His layouts are always visually stunnng. |
| Click on the Thumbnail for a full-size photo | Description |
|---|---|
 Stonne 01 |
German infantry moves forward to assault the buildings the outskirts of the town. This move on the left flank was a holding action while the main assault went to the right. |
 Stonne 02 |
The German right flank moves up. Fortunately the French had no artillery support. |
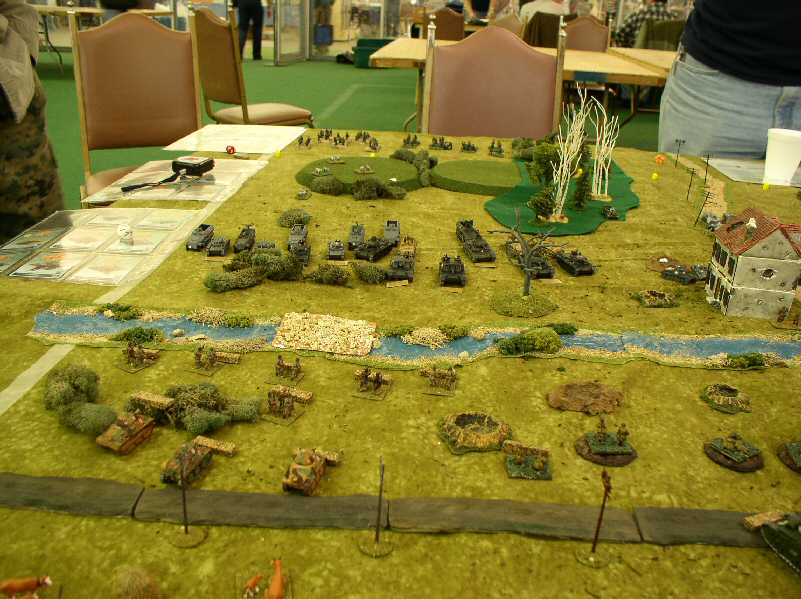 Stonne 03 |
The French lie in wait behind the river line. |
 Stonne 04 |
Charge! Under cover of smoke and a fortunate disorder result, the Germans pour across the ford. |
 Stonne 05 |
Several turns later, the Germans come up against the town. Unfortunately for them, it had taken too long to get across and the French were able to hold on. |
| Click on the Thumbnail for a full-size photo | Description |
|---|---|
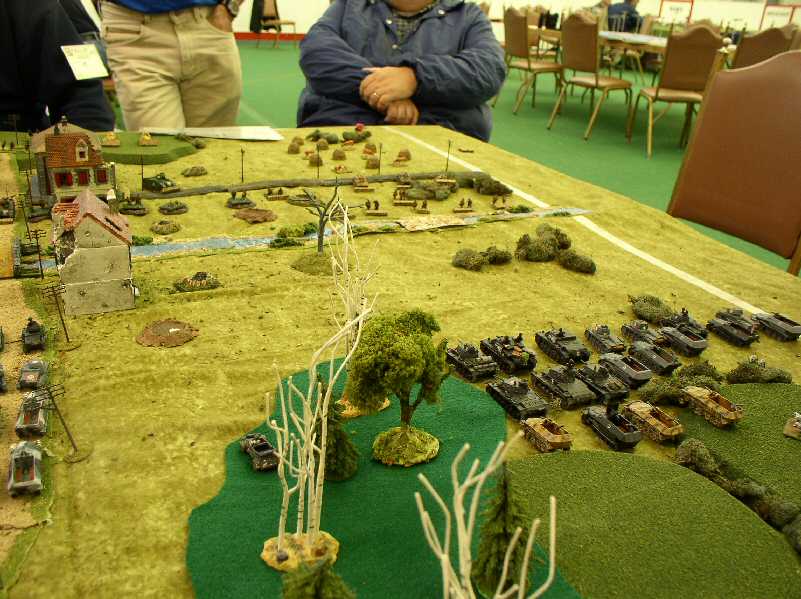
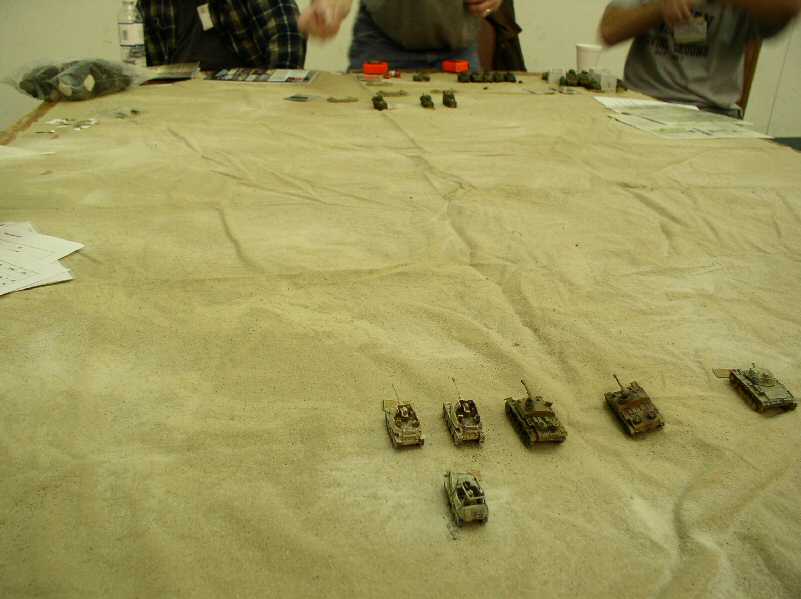
 Tunisia 01 |
U.S. Tank Destroyer Halftracks confront strong German forces. They manage to disorder a German PzIII, but can't destroy it, even with several 20-30% chances. The counterfire was deadly. |
 Tunisia 02 |
U.S. Forces race forward to get into the covered terrain. The Germans had a significant advantage in long range fire, but the U.S. had more troops. |
 Tunisia 03 |
The TDs are up against a deadly array of Germans. |
| Click on the Thumbnail for a full-size photo | Description |
|---|---|
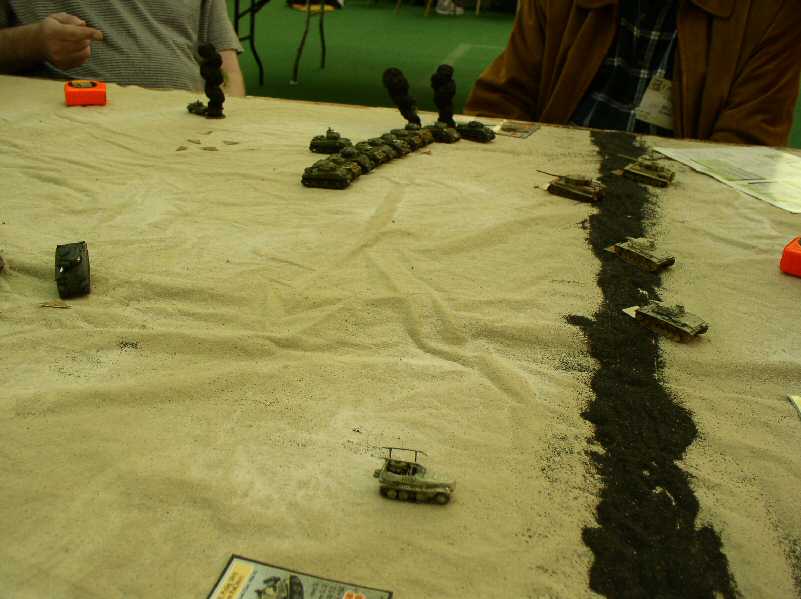
 Russia 1941 01 |
Russian light tanks move out against a German Motorized column. |
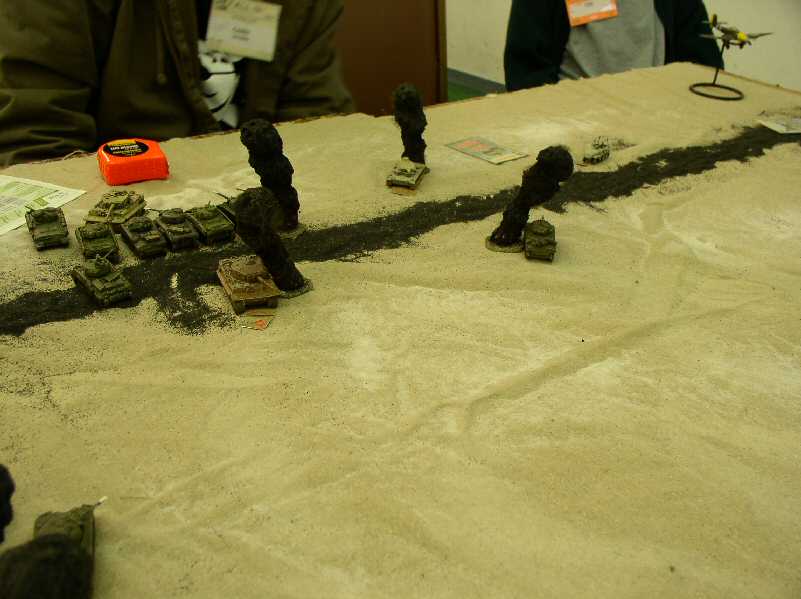
 Russia 1941 02 |
Same situation as seen from behind the German Front Line. Some Russian tanks fall victim to surprise fire. |
| Click on the Thumbnail for a full-size photo | Description |
|---|---|
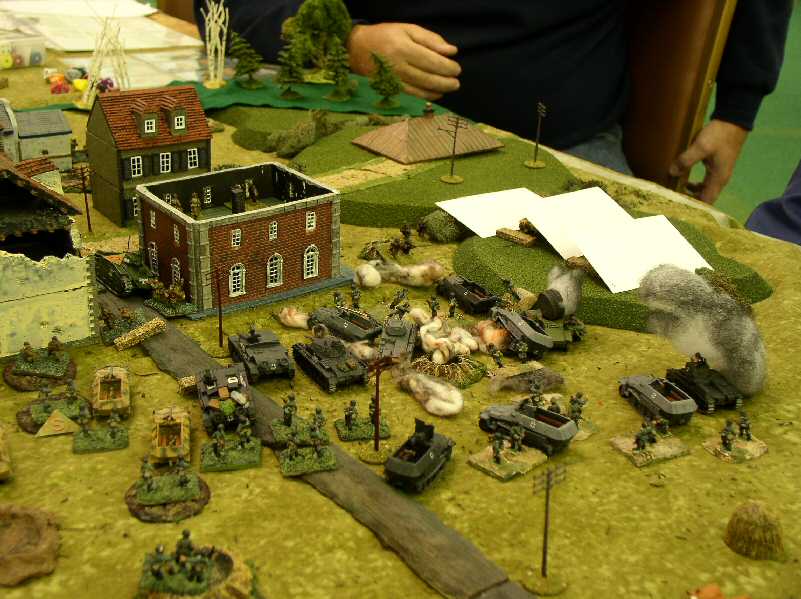
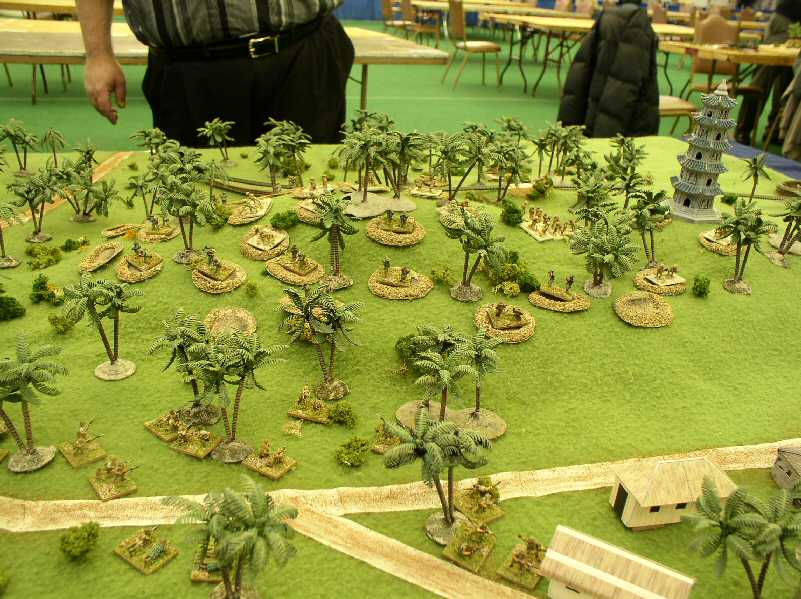 Commonwealth Positions |
Japanese move up to attack the Commonwealth positions on the top of the hill. |
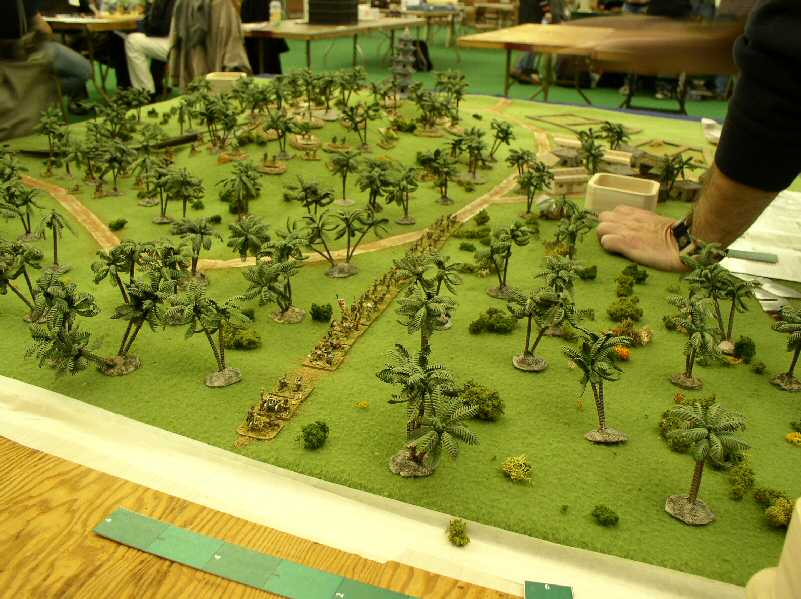 Japanese Column |
A Japanese column moves up, bypassing a giant dice rolling box. |
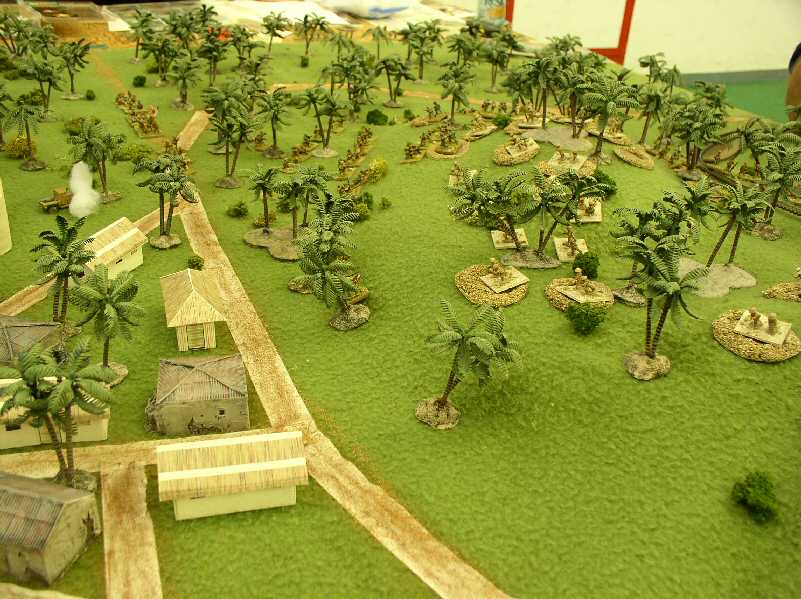 Japanese Attack |
The Japanese attack on the hill moves in. A British armored car burns after throwing itself against the Japanese column. |
| Click on the Thumbnail for a full-size photo | Description |
|---|---|
 Germans observe |
The Germans look across a large open space at the deploying US units. |
 Prepare to charge |
The U.S. Shermans come within assault range without too many casualties. Old time cavalry officers in their tanks draw their sabres. |
 Tidal wave |
Multiple close assaults roll over the defending Tigers, leaving one burning and another fighting for its life. |
| Click on the Thumbnail for a full-size photo | Description |
|---|---|
 The Allies advance |
For some reason known but to themselves, the Paraguay generals (not the players), left the right flank of their trench line hanging. The Allies move up to assault the weak flank. |
 Another angle |
The rest of the line looks formidable. Some Paraguayan cavalry can be seen over to the right preparing to go to the open flank. |
 From behind the Paraguayans |
Another view. The open flank looks very vulnerable. |
| Click on the Thumbnail for a full-size photo | Description |
|---|---|
 Italians Move up |
Italians prepare their assault on the Greek church, most of the Greeks are still hidden. |
| Click on the Thumbnail for a full-size photo | Description |
|---|---|
 Confederates Move up |
The Confederates move up to hit the Union before the Union can gather their forces. |
 Confederates Move up 2 |
A better view, showing the Union advance guard about to be outflanked. |
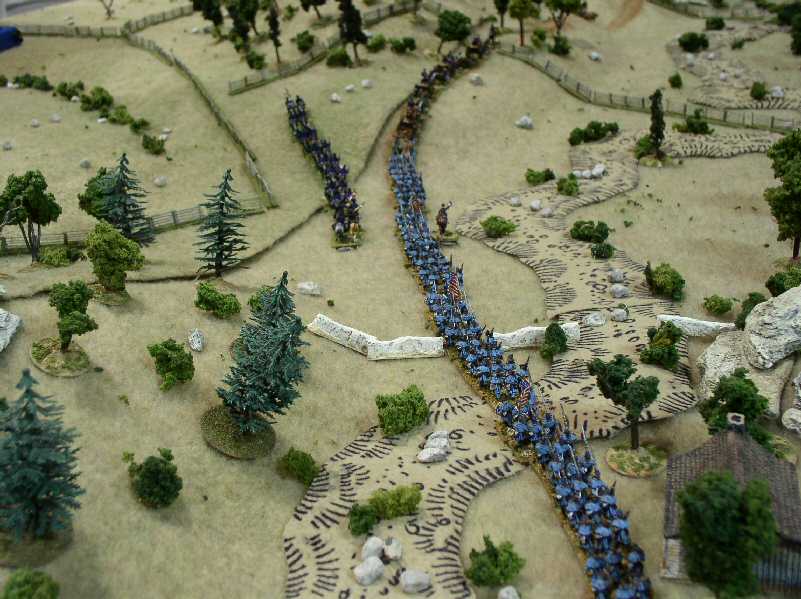 Union reinforcements |
A reinforcing Union column races toward the fight. |
Copyright 2000-2019 Fire and Fury Games, all rights reserved
Web page maintained by
Webmaster@FireAndFury.com.