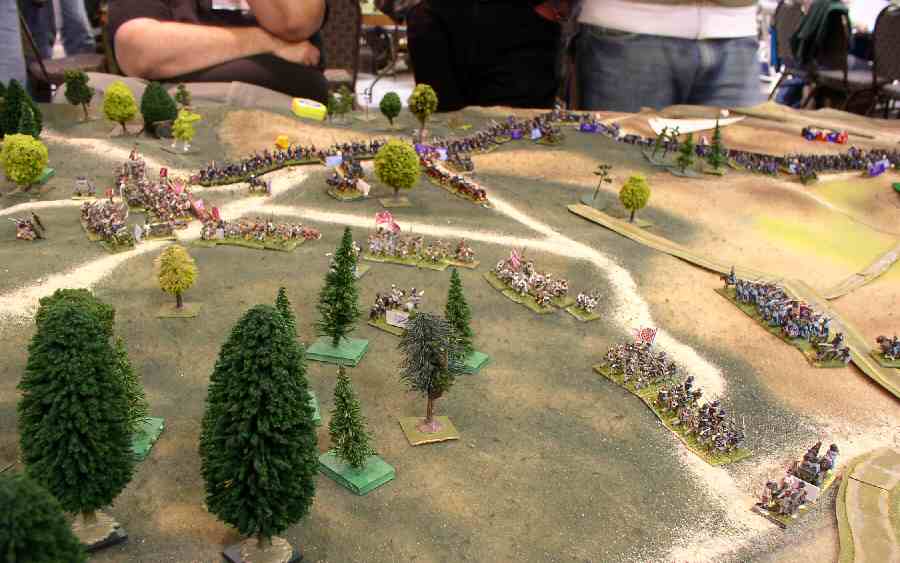
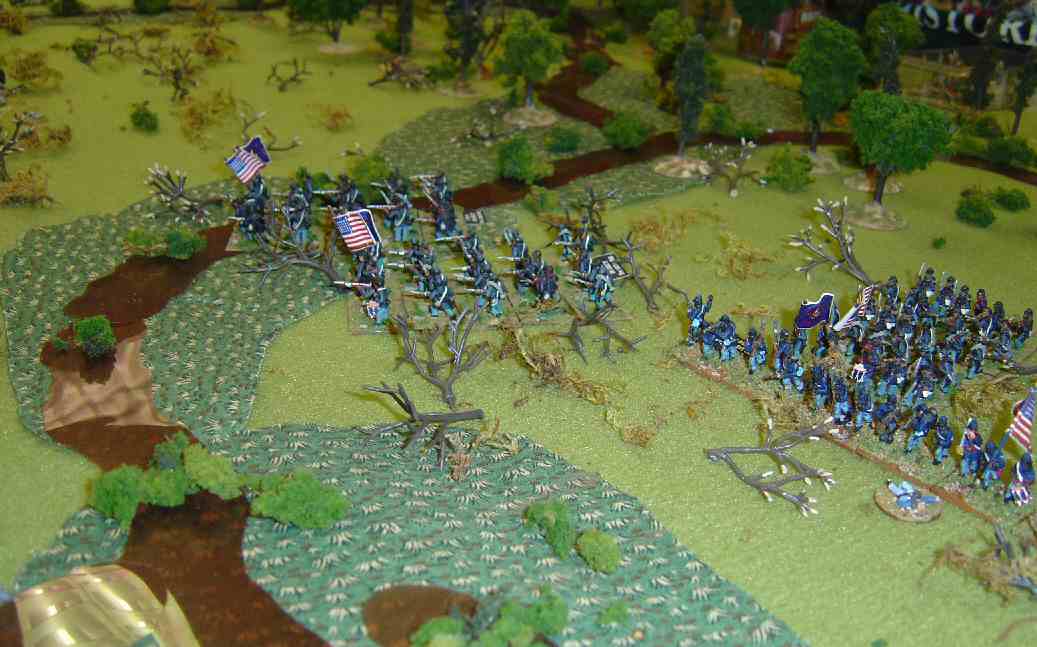
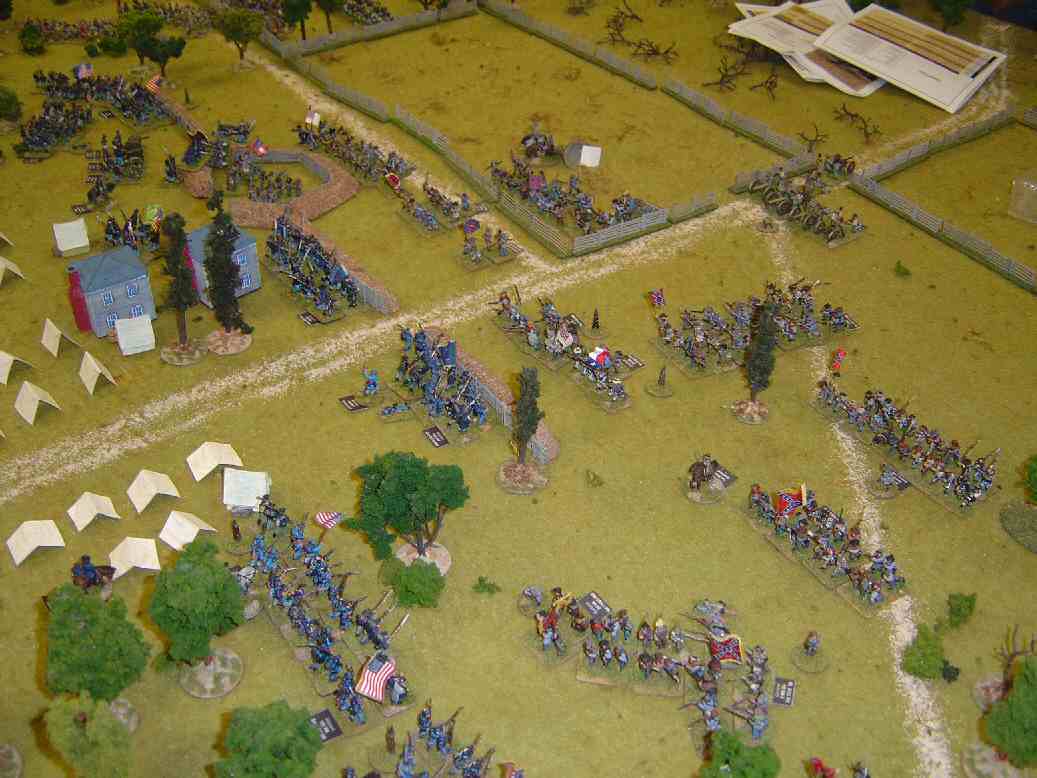
Confederates Attack
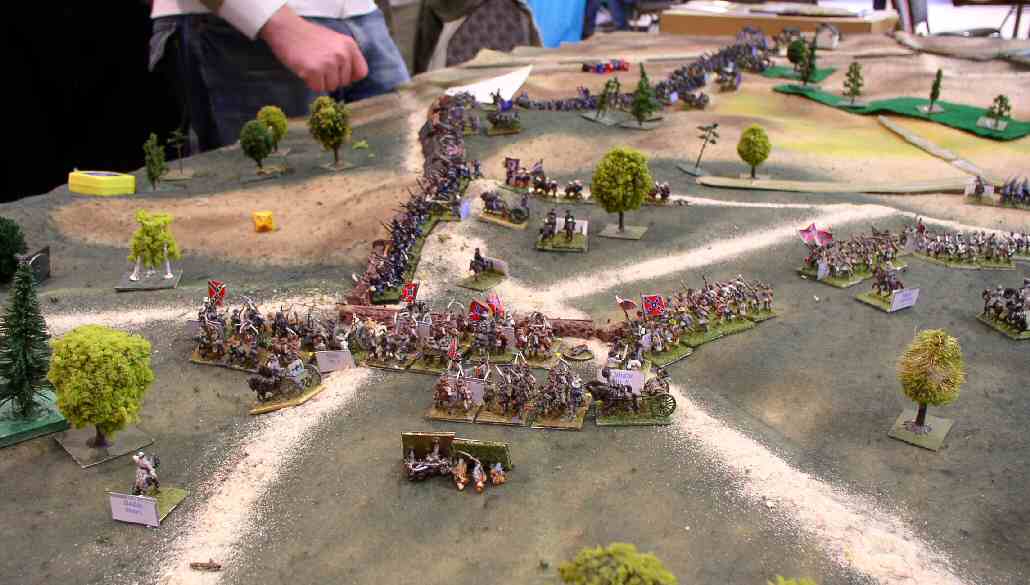
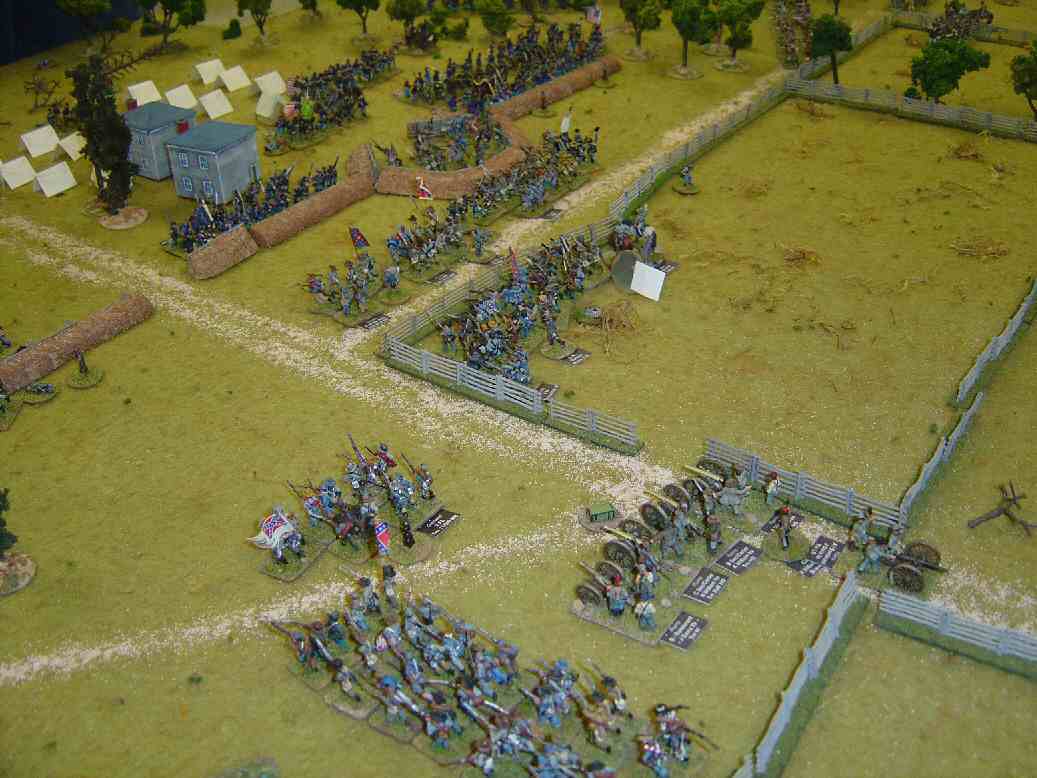
Confederates Attack 2
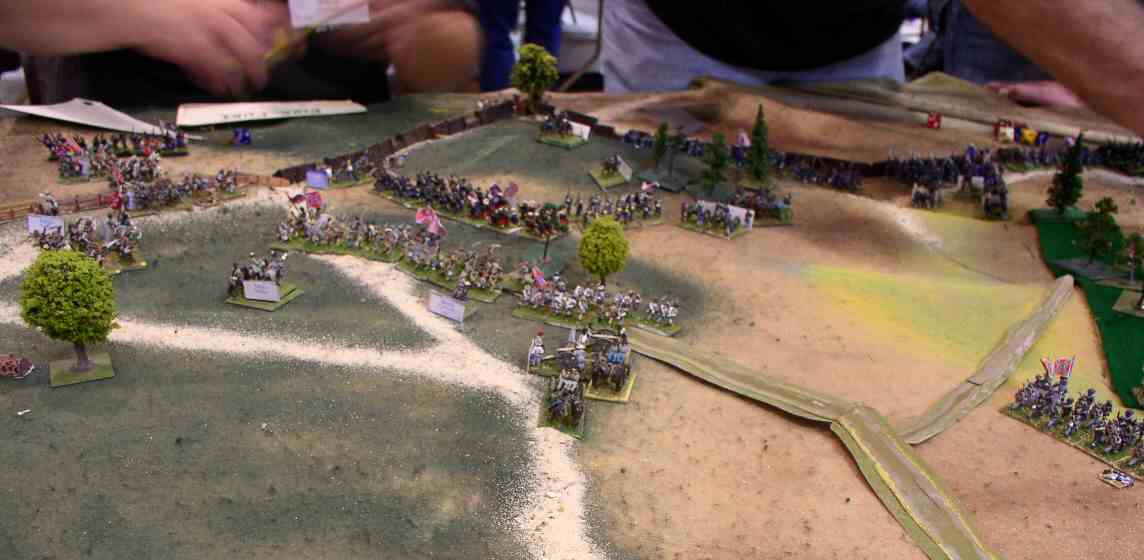
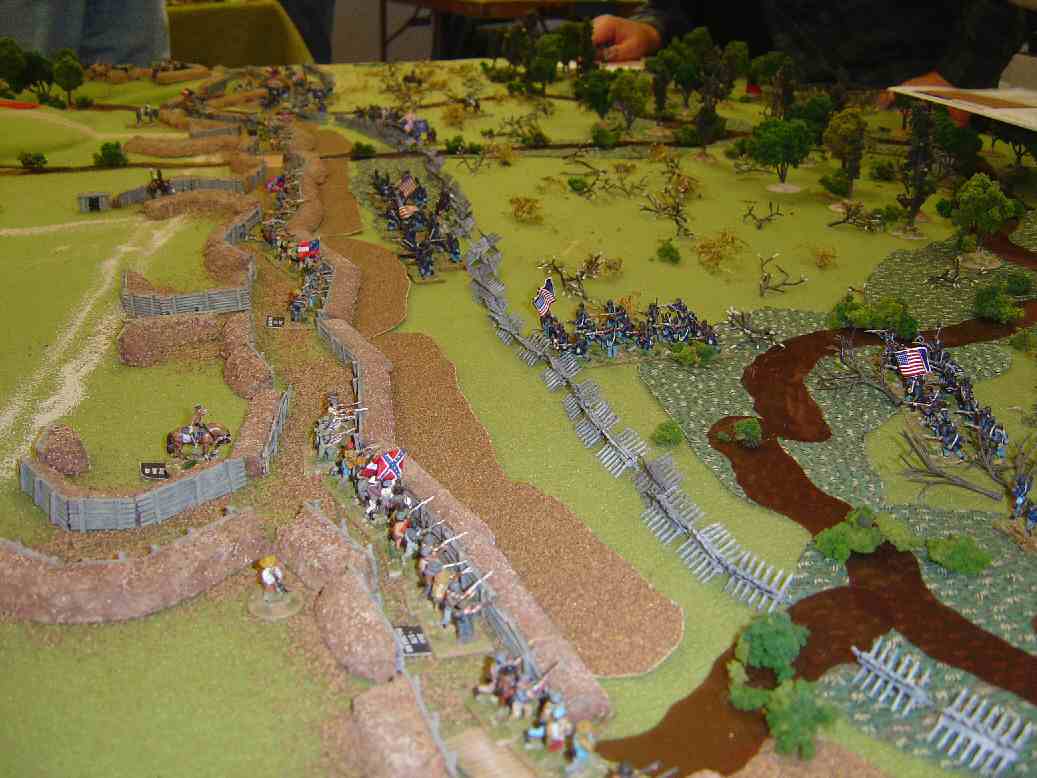
Later in the Battle
| Click on the Thumbnail for a full-size photo | Description |
|---|---|
Confederates Attack |
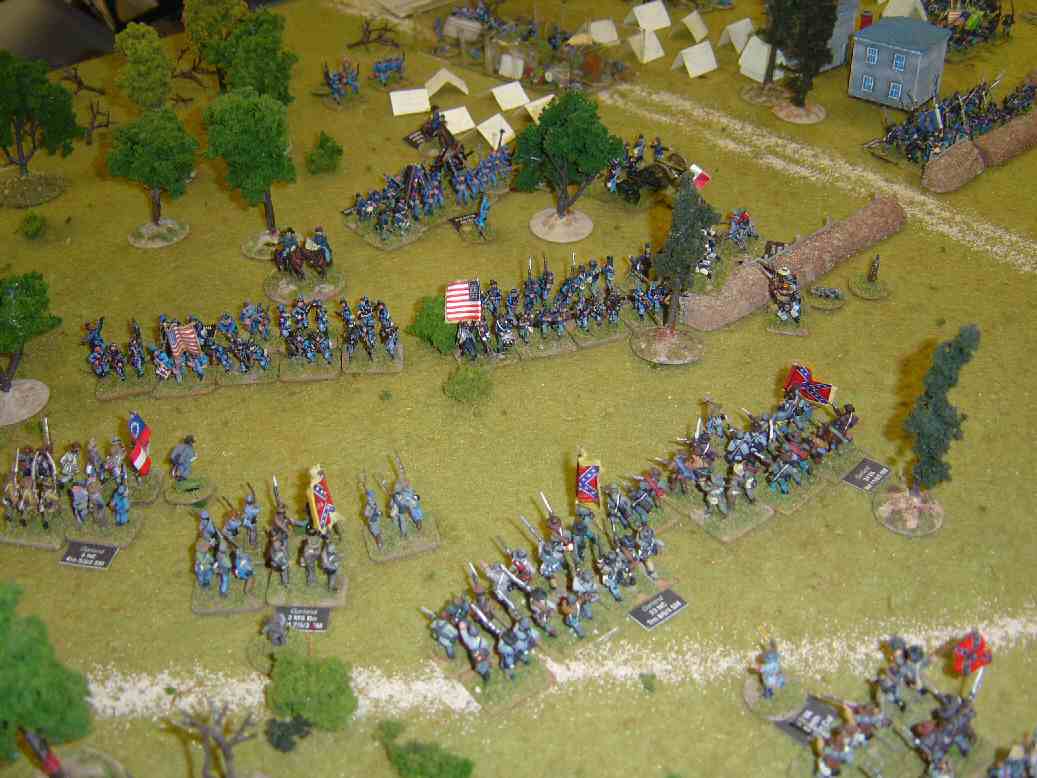
The Confederates pitch into the Union Left Flank. |
Confederates Attack 2 |
A closer view. One of the Confederate generals seems to have fallen off his horse. |
Later in the Battle |
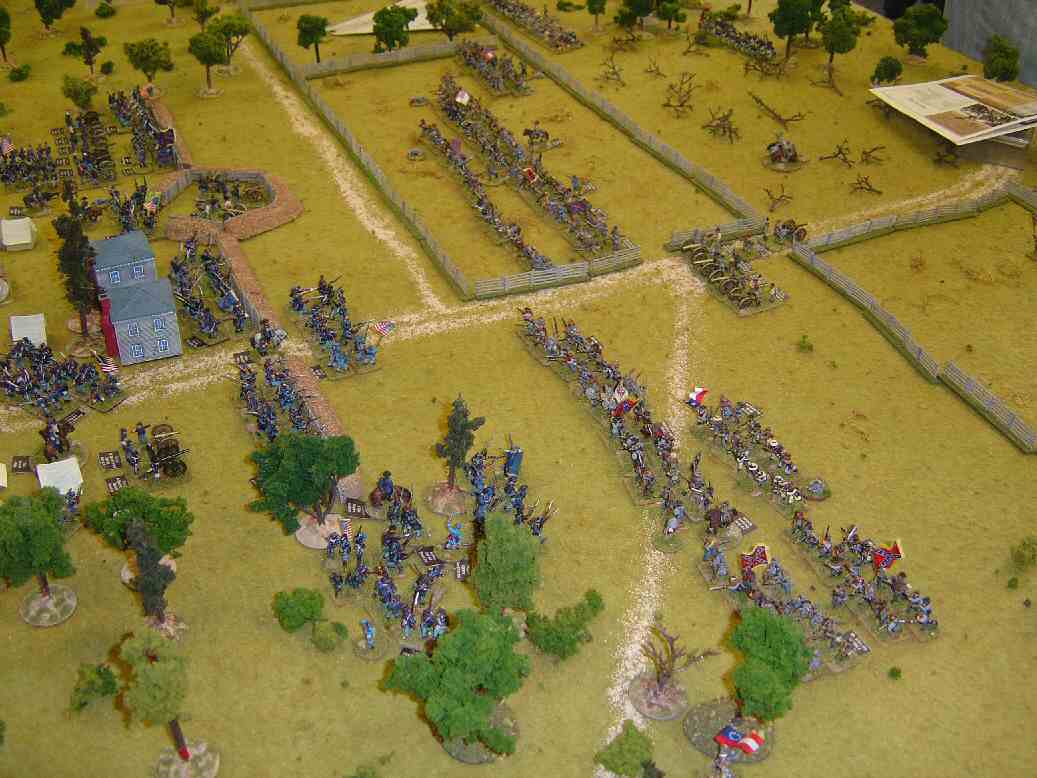
I came back a couple of hours later and the Confederates seemed to have pushed their way down most of the table. |
| Click on the Thumbnail for a full-size photo | Description |
|---|---|
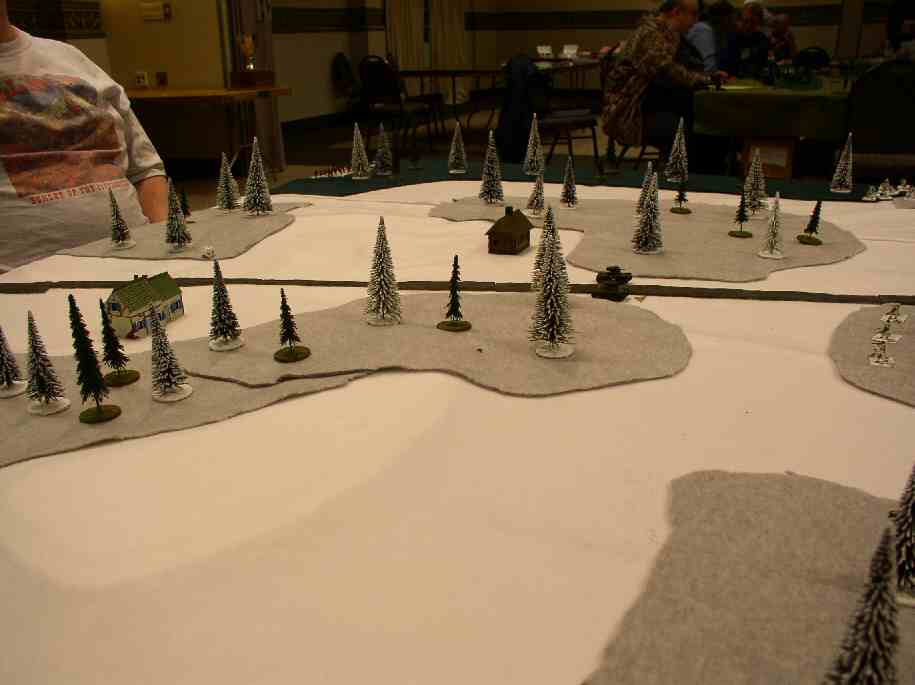 Starting Position |
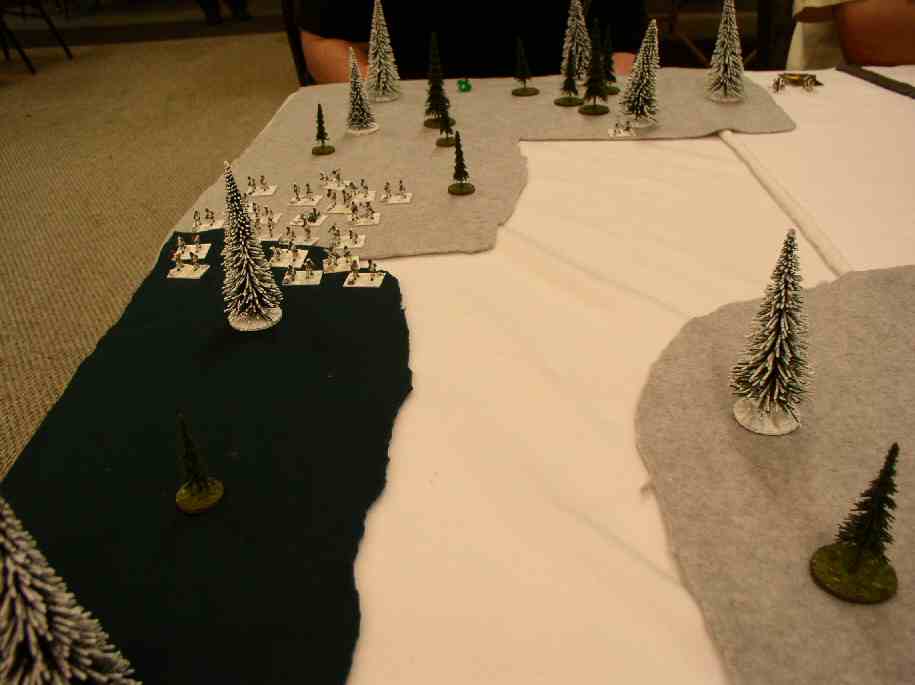
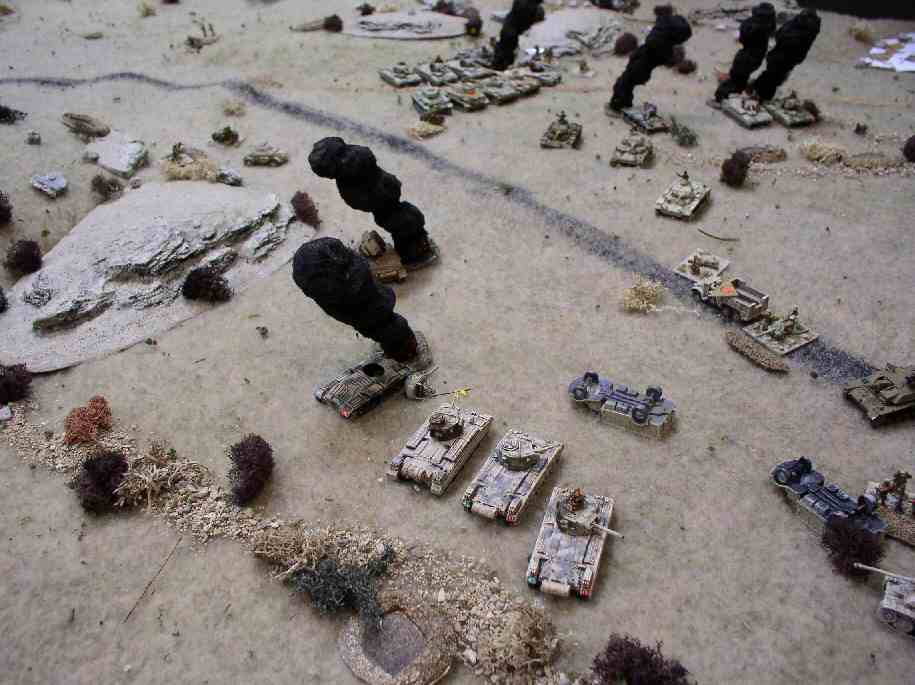
The two Soviet T26s are all that the Finns see. However, a quick mortar barrage suppresses them. |
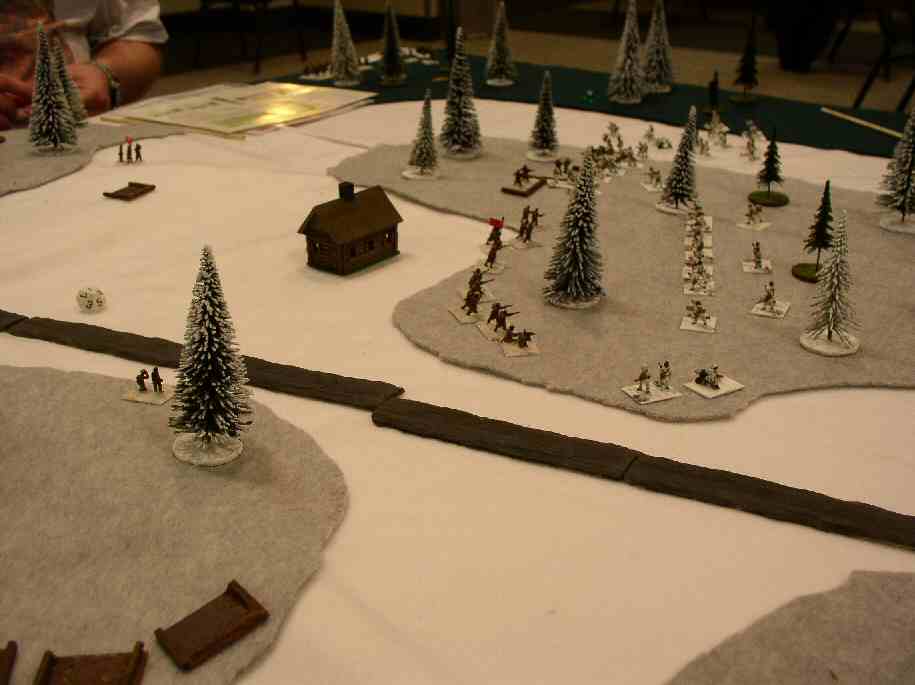
 End Run Right |
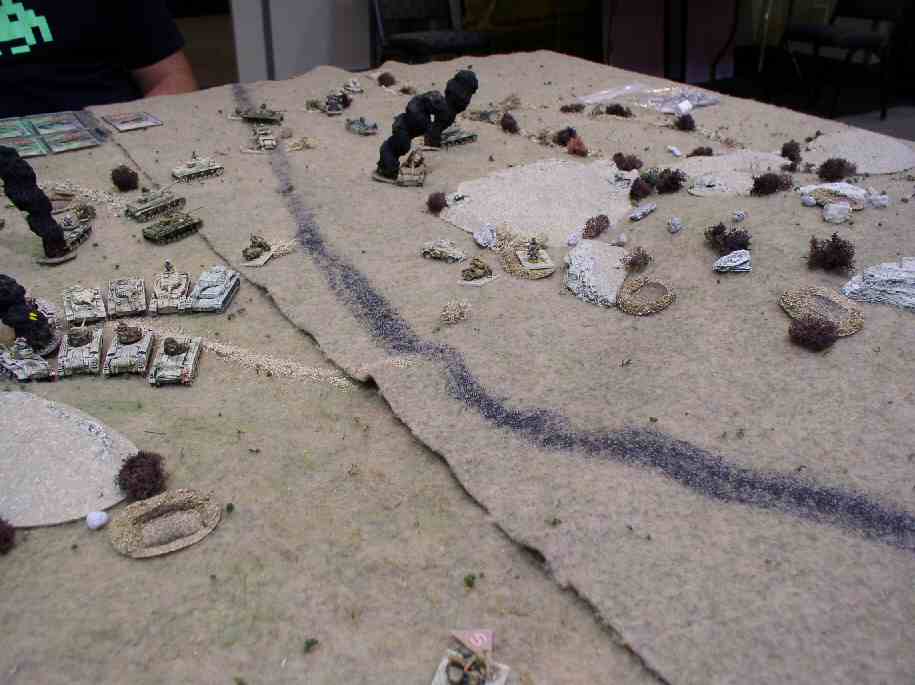
The Finns send two of their companies on a sweep down the right flank, accepting the movement penalty of the heavy woods. |
 3rd company joins in |
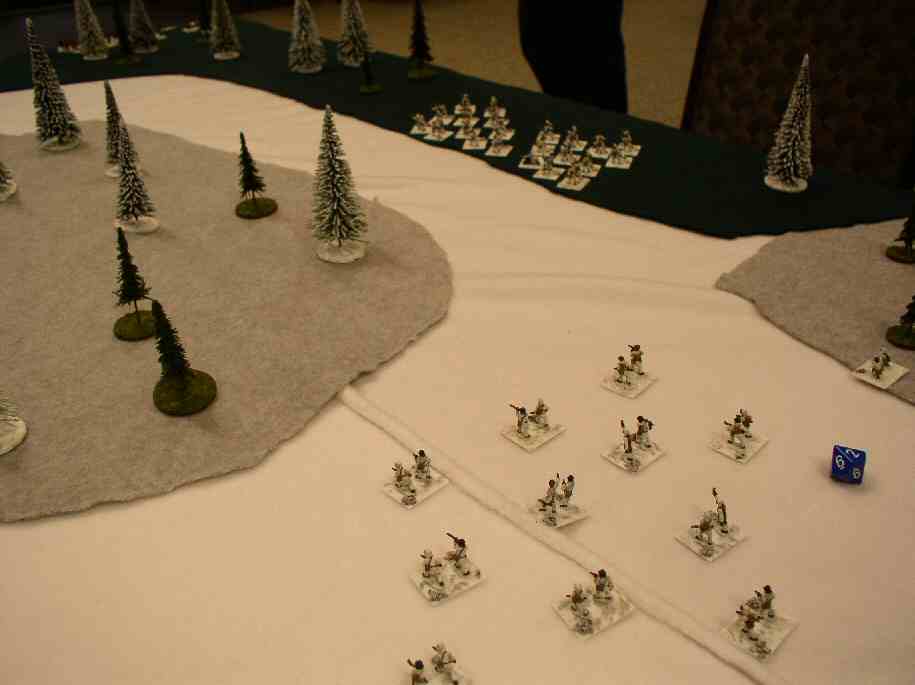
Having encountered no resistance, the 3rd Finnish company joins in, heading for the center woods. |
 Racing to reinforce |
Seeing that the Finns have committed all their forces, the Russian abandons his right flank and sends his infantry toward the middle. Among them is the Forward Observer, who started on the extreme right flank and found himself unable to see anything. |
 Charging the center |
The Finns on the right head toward the center, encountering the second Russian company. |
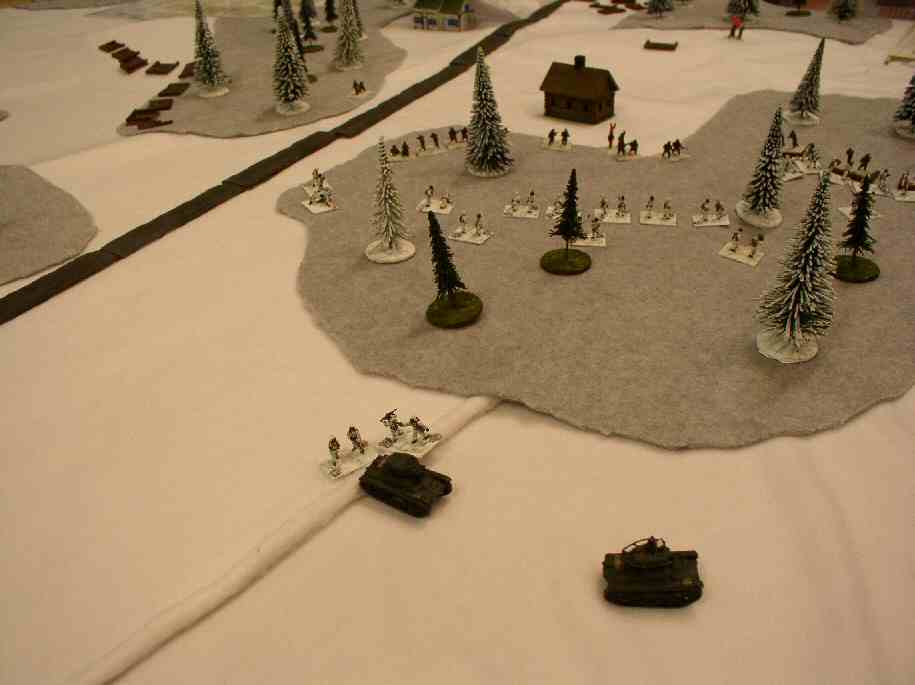 Death Ride of the tanks |
The two T26s attempt an unsupported move into the Finnish rear. They are swarmed by Finnish bomber units and soon destroyed. |
 Another Angle |
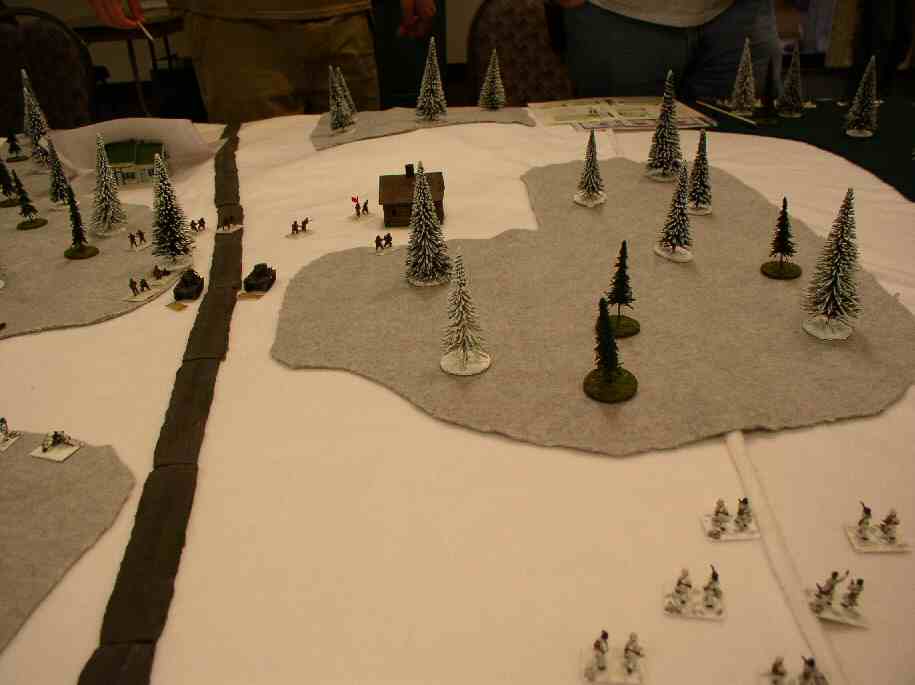
The Finnish attack viewed from a wider angle. The Russian 2nd company has managed to form a line, and is attempting to improve their positions, however, they are no longer entrenched. |
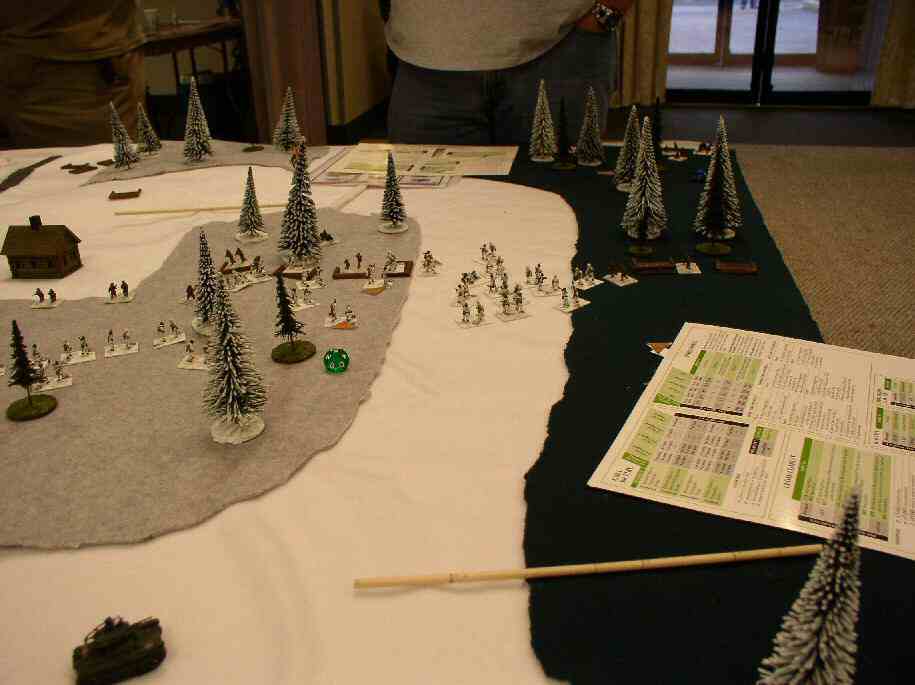 Finns converge |
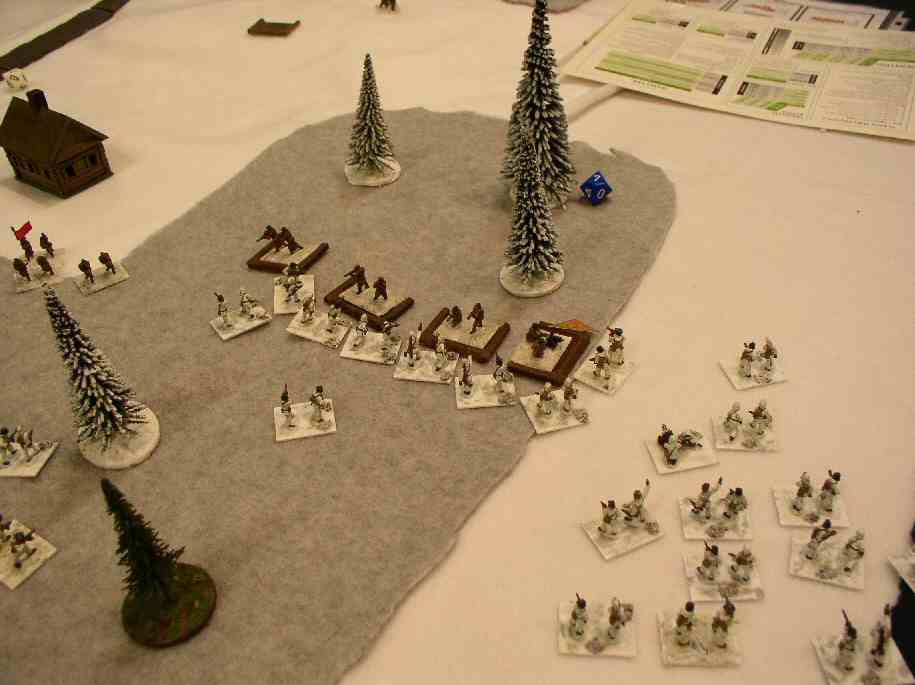
The Russian main line held off the first assault, but the Finns come back. Unlike previous games, this fighting is occurring within the woods, where the cover of the woods and Finn winter camouflage give them an advantage. The Russians put a couple of units in a blocking position on their left flank, but these were quickly overwhelmed. |
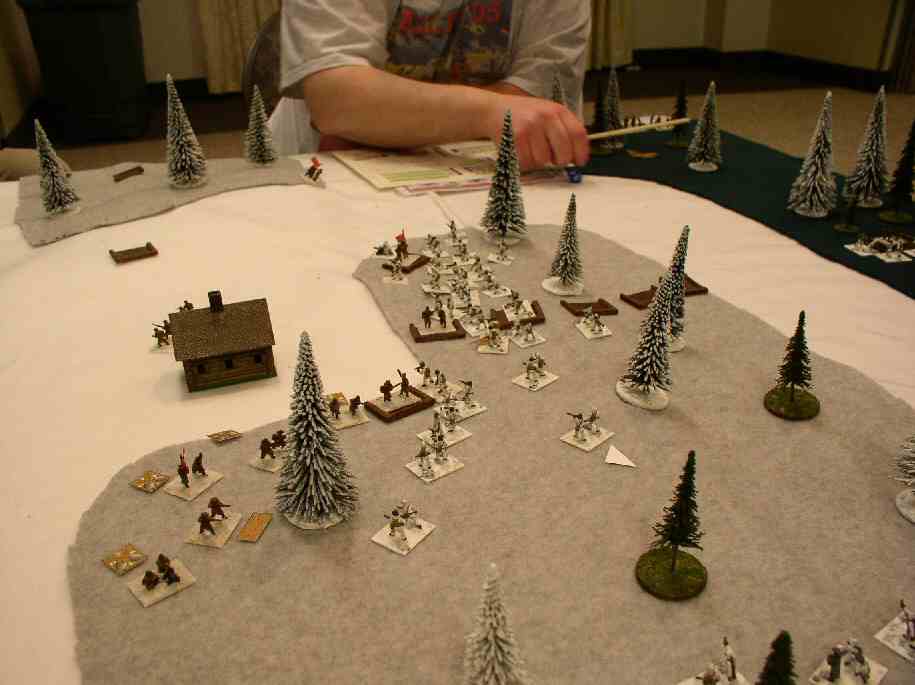 The Line Breaks |
The Finns force the Russians out of their entrenchments, the end is near. This assault broke the Russian morale and the Russians headed for the rear, leaving the Finns victorious. |
| Click on the Thumbnail for a full-size photo | Description |
|---|---|
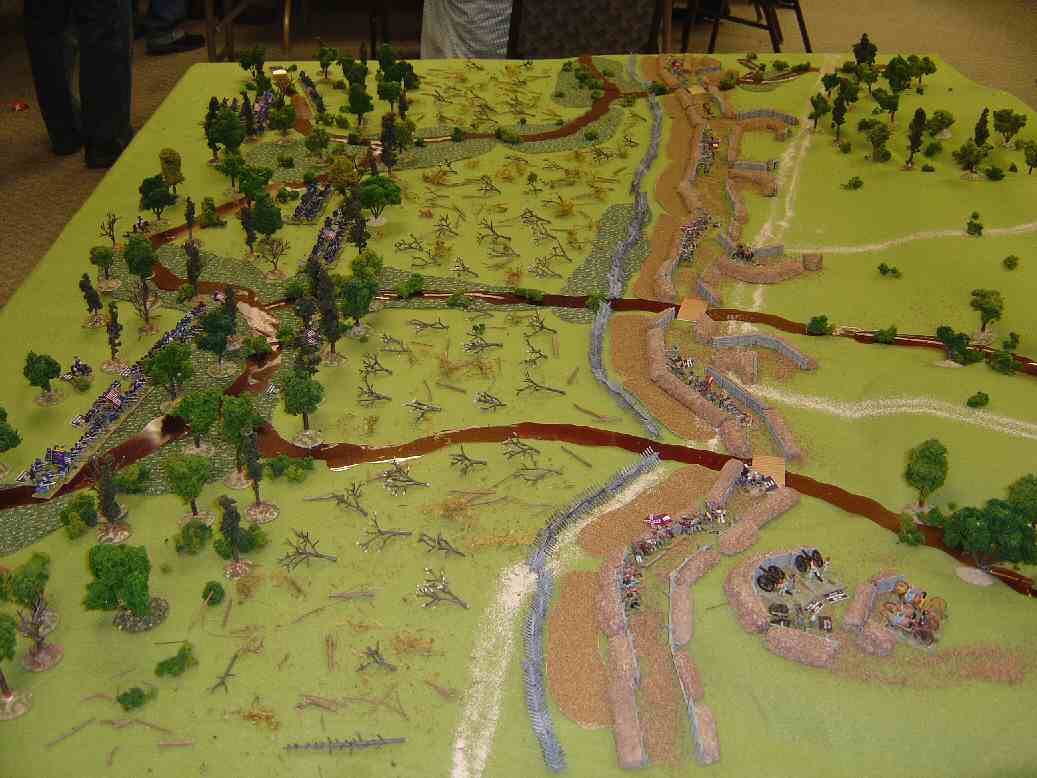 Battle Field Overview |
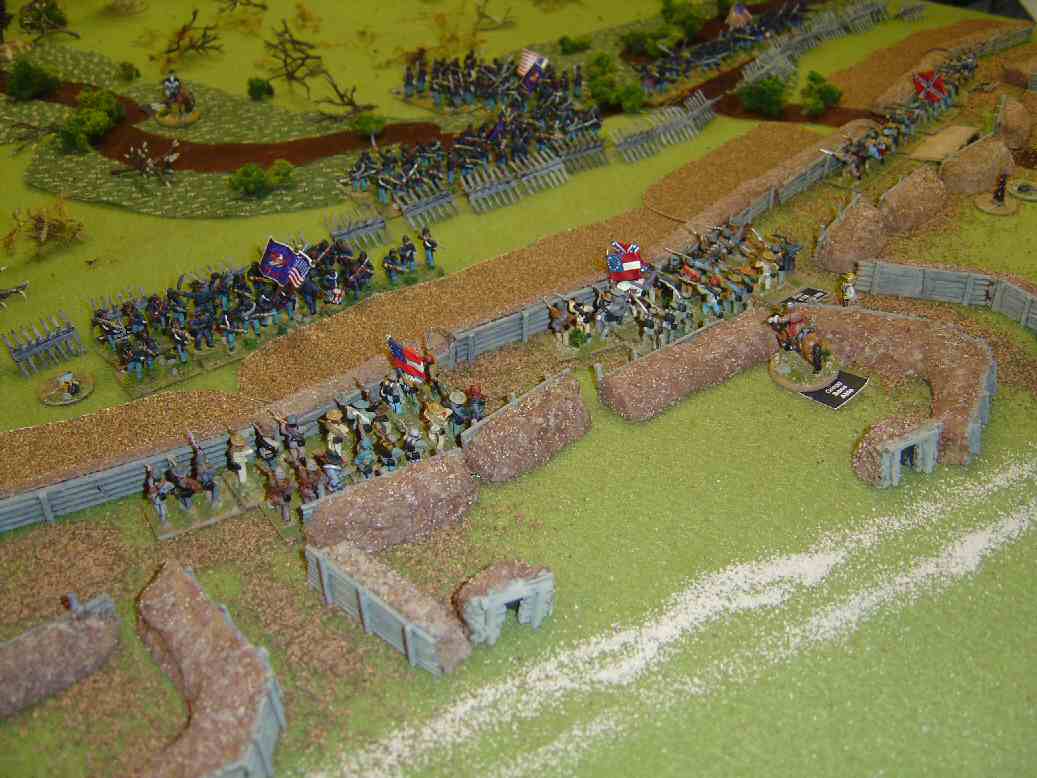
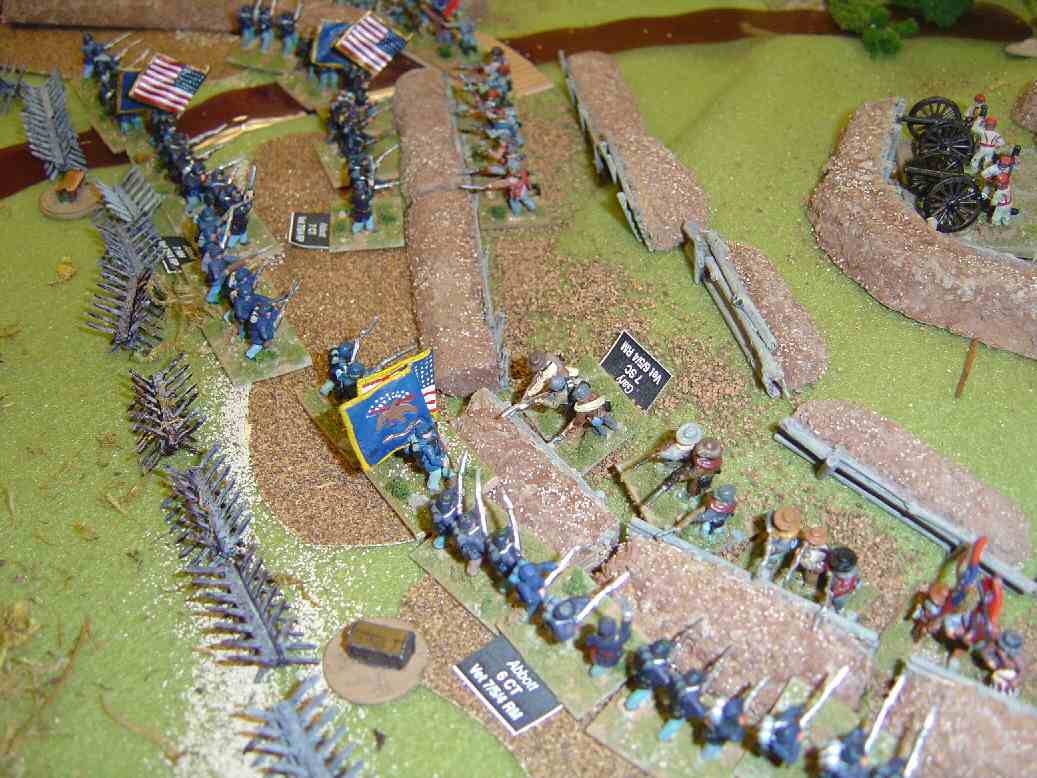
Looking from the northern end of the battlefield, the Confederate works are protected by a ditch, cheveaux de frise, and slashings (abitis). The Rockbridge Artillery with 20-pdr Parrott rifles on the Rebel left flank can fire down the front of their front line. Abbott's Union Brigade is the northern end of their line with two regiments armed with Spencer repeating rifles (7th Conn. and 7th N.H.). Duncan's Brigade of the 4th and 6th USCT are in the center, and Draper's Brigade of four USCT regiments are on the southern part of the field. |
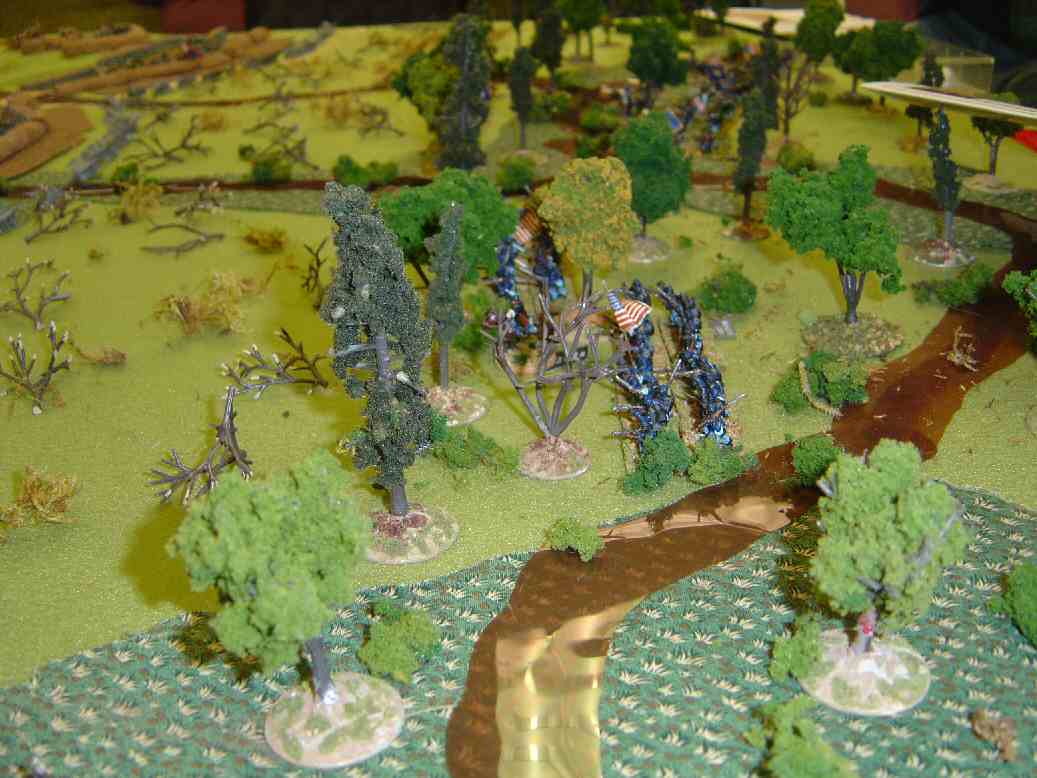 Fighting the Terrain |
Duncan's Brigade struggles through the woods, and heads toward the slashings. |
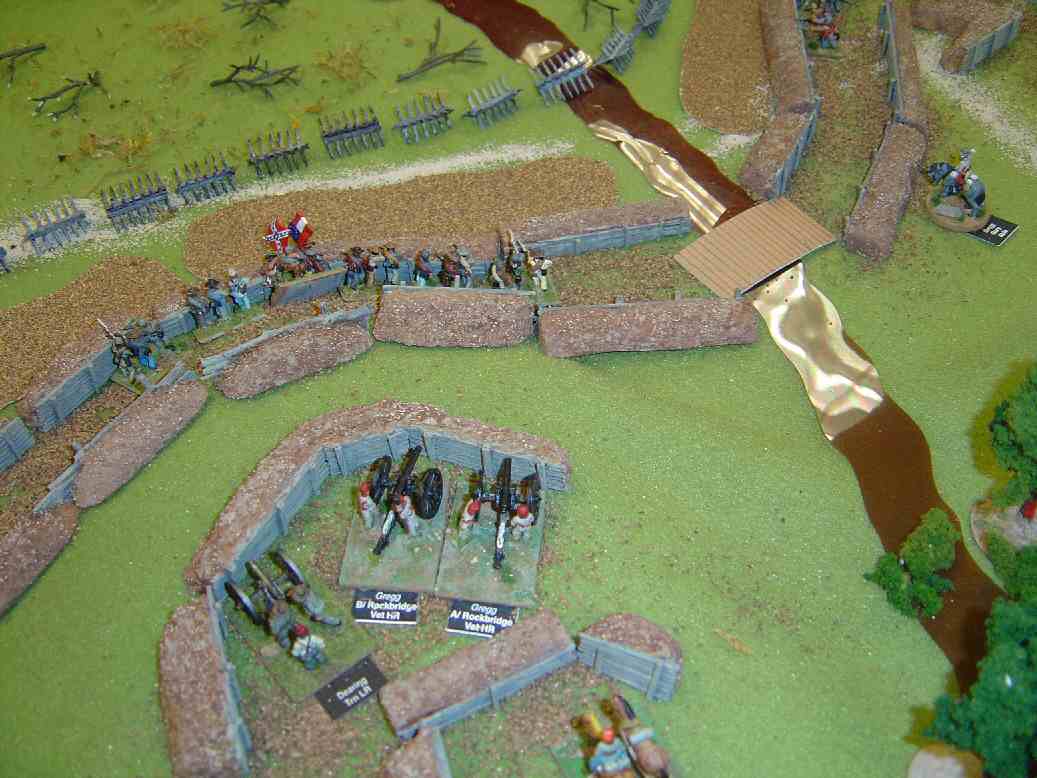 Confederate Artillery |
The Rockbridge Artillery safe in their redoubt, with dismounted cavalry from Gary's Brigade in the fortified works in front. |
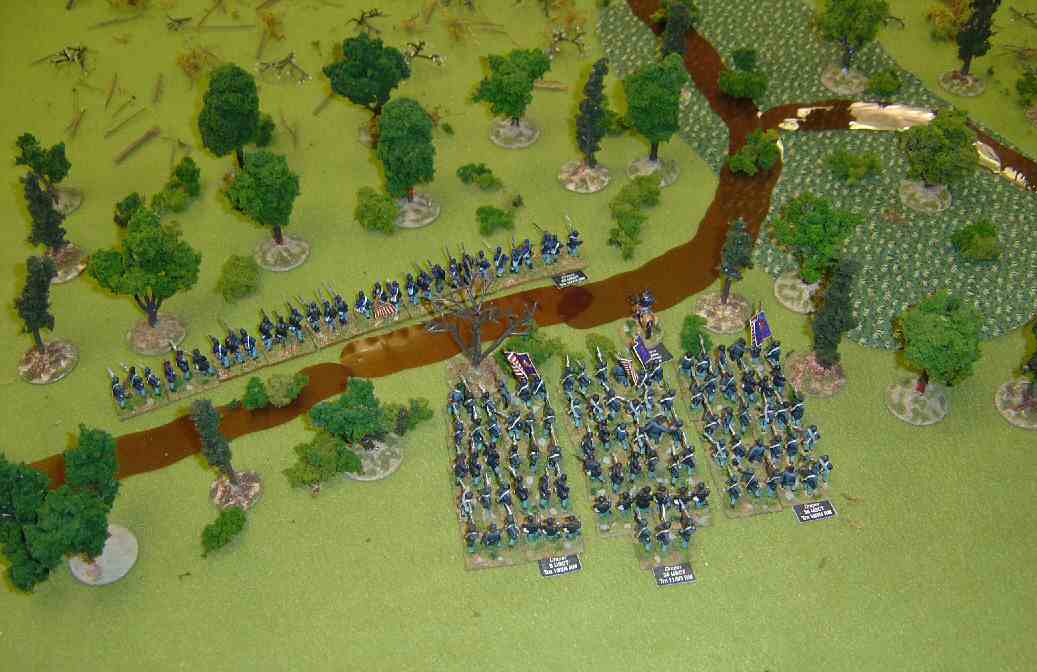 Moving up on the left |
Draper's Brigade steps off. |
 Moving up under fire |
Draper's Brigade advances through the marsh and slashings under fire from Bass's Texans. |
 Fighting on the Right |
Abbott's Brigade opens fire on the Rebel defenders from the cheveaux de frise. |
 View from the South |
View from the southern end of the field - Duncan's Brigade has crossed the cheveaux de frise to come to grips with Bass's Texans. Historically, Duncan's two regiments advanced with the sergeants holding onto their men's percussion caps to ensure they would charge the works without stopping. |
 Attack Repulsed |
Duncan leads his men into the Confederate works, but are repulsed. |
 Confederates Hold |
Draper's regiments are shot up by withering fire from Bass's Texans, and are halted in front of the works. The Confederates hold their position this time. |
 Desperation Charge |
With several of their regiments running low on ammo, Abbott sends his regiments into the Rebel works with the bayonet. After several desperate attempts, their attack is broken and they stream back. |
| Click on the Thumbnail for a full-size photo | Description |
|---|---|
 Confederate Surprise Attack |
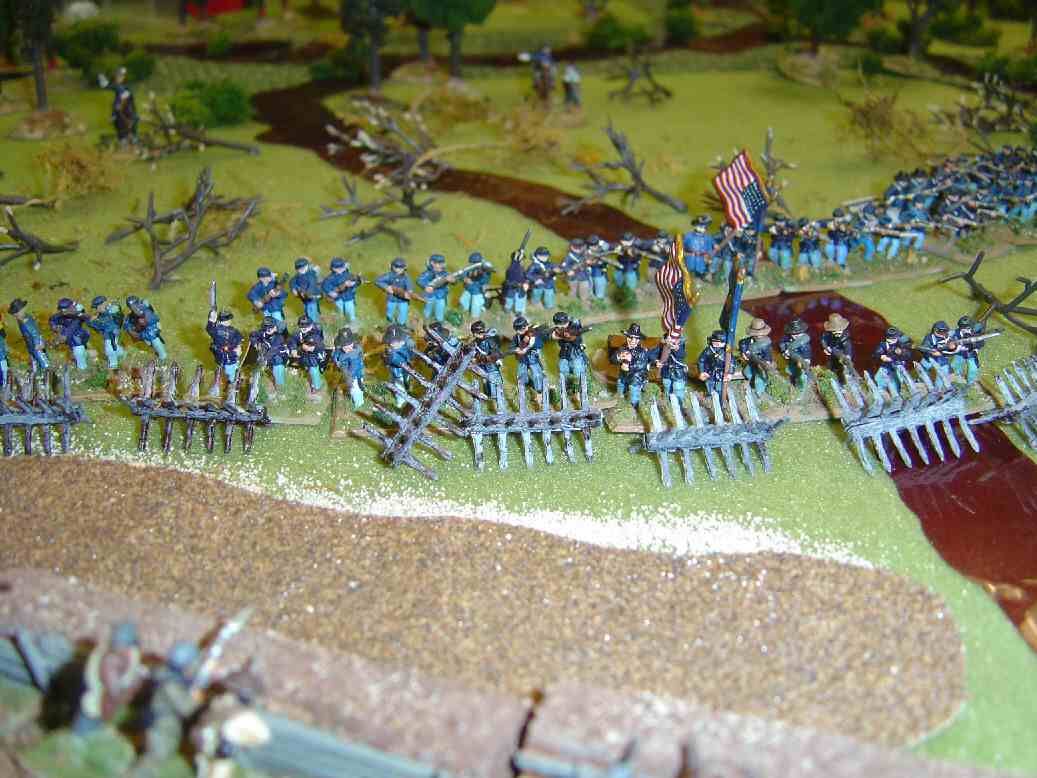
As Rodes and Garnett's Brigades of D.H. Hill's Division advance out of the woods, the Union regiments along the fences fall back to their main line; the Confederates in hot pursuit. |
 Attack is pressed home |
Garnett's soldiers press the Union right flank. |
 Breakthrough |
The Union right flank crumbles. |
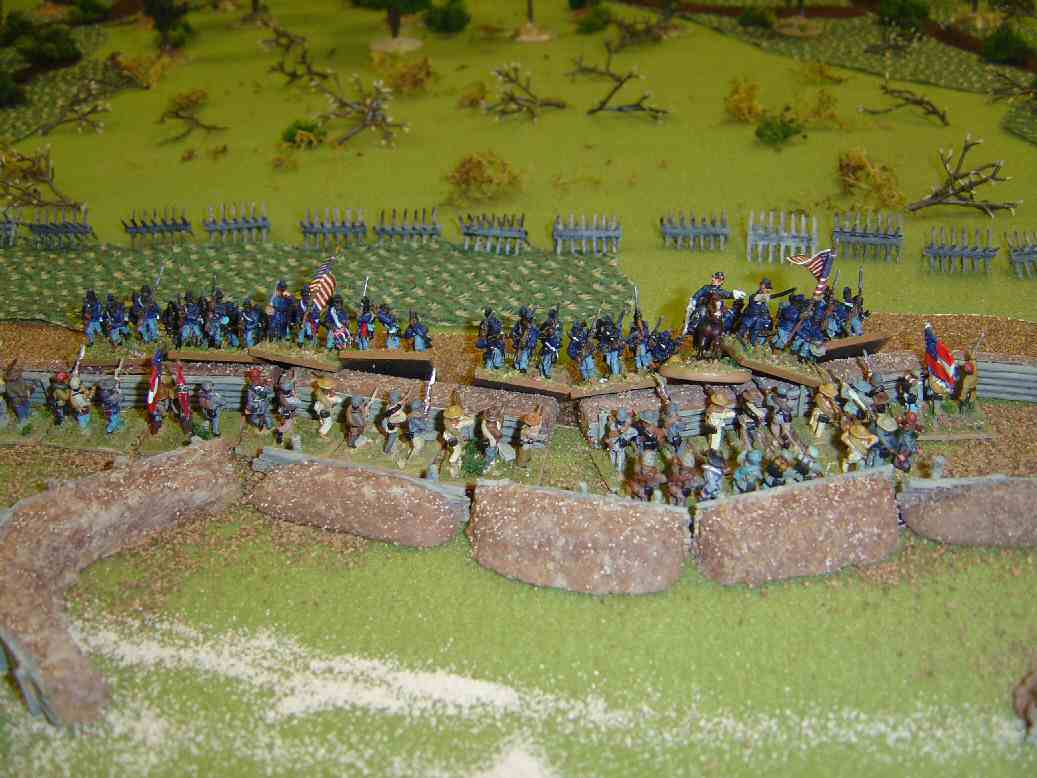
 Confederates seize the works |
Rode's men seize the Federate redoubt, and reinforcements come up to press their success. The game ended in a Confederate victory. |
| Click on the Thumbnail for a full-size photo | Description |
|---|---|
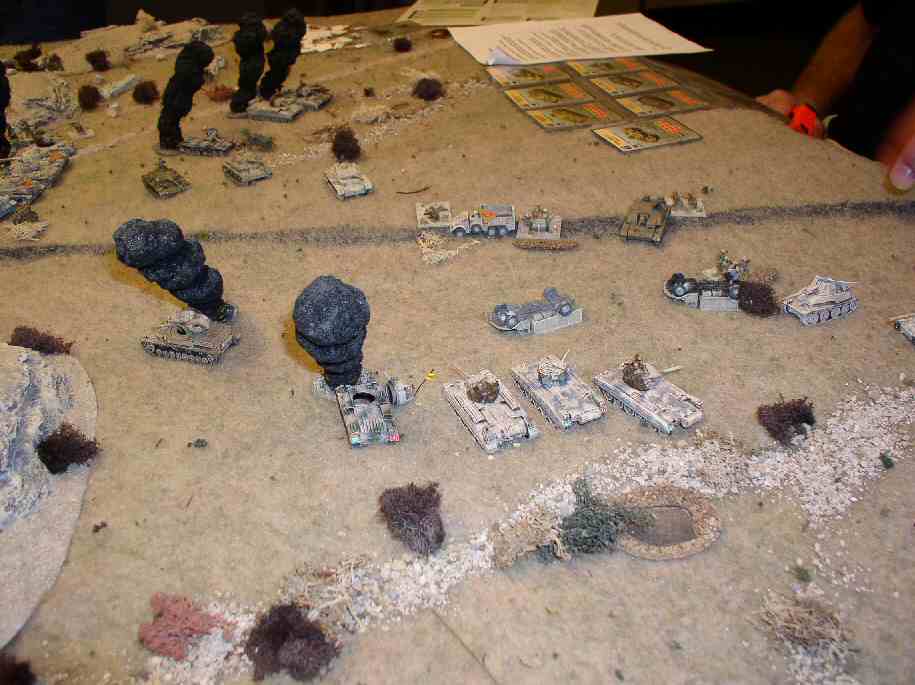 Thala 01 |
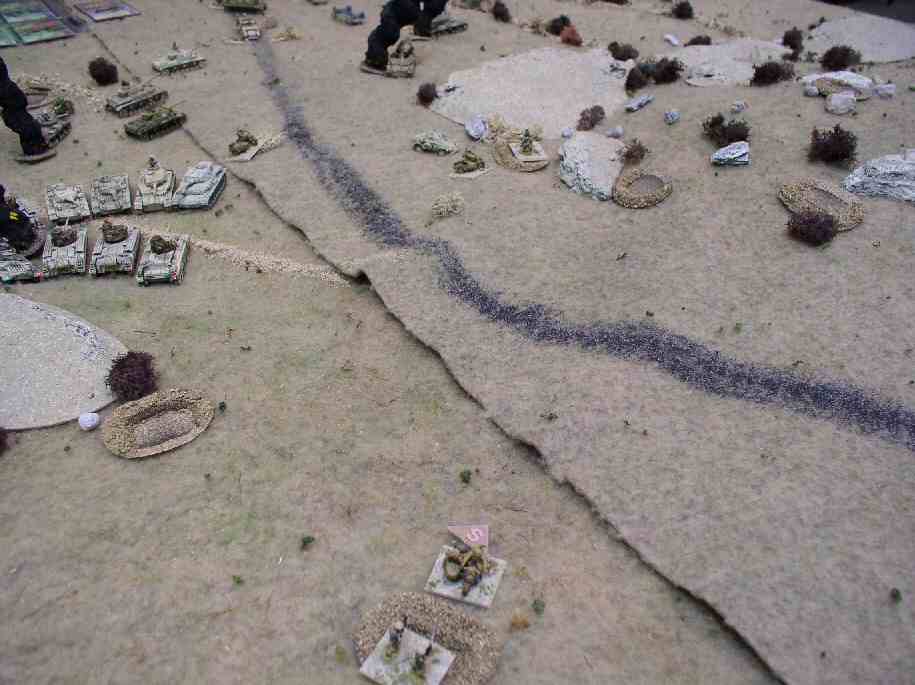 Thala 02 |
 Thala 03 |
 Thala 04 |
Copyright 2000-2019 Fire and Fury Games, all rights reserved
Web page maintained by
Webmaster@FireAndFury.com.