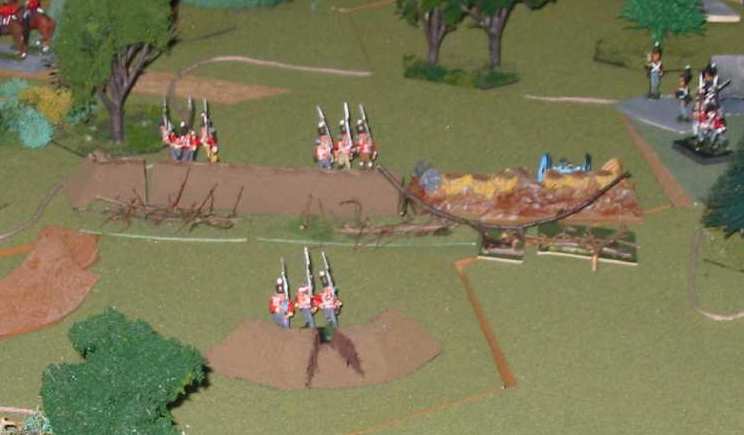
Click on the Thumbnail for a full-size photo | Description |
---|---|
![]() British Positions |
A panoramic view of the British Positions. |
![]() British Positions 3 and 2 |
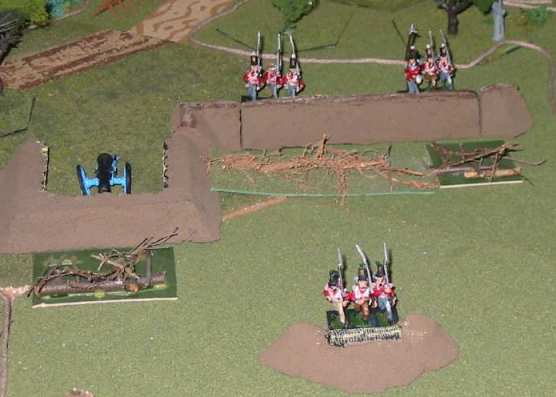
A closer look at the British Right Flank and Center |
![]() British Position 2 |
A closer look at the British Center |
![]() British Position 1 |
A closer look at the British Left |
![]() British Position 3 |
A close look at the British Right Flank |
![]() Rear of British Position |
Looking toward the U.S. lines. |
![]() The British Front |
The British Front Line as seen from the left flank. |
![]() U.S. Moving up |
On turn 2 the U.S. troops are still closed up. |
![]() Fog and Wilderness |
As they continue to move, fog and wilderness scatter the neat formations |
![]() Wood's Brigade closes |
Wood's Brigade closes with Battery 3 |
![]() 2nd Brigade |
Elements of 2nd Brigade advance through the woods |
![]() British Lose Battery 3 |
Battery 3 is overrun |
![]() Natives Lose |
Despite a flanking advantage, an Indian attack on British regulars does not succeed. |
![]() Death Ride |
Cavalary charge the front of the emplacement. |
![]() Ripley's command |
Ripley's command emerges from the woods. |
![]() Firefight |
The NY militia units disorder the British in a firefight. |
![]() Counterattack |
Assaulting British free the cabins. |
![]() Porter Withdraws |
Porters forces withdraw. |
Copyright 2000-2019 Fire and Fury Games, all rights reserved
Web page maintained by
Webmaster@FireAndFury.com.