| Click on the Thumbnail for a full-size photo |
Description |
|---|
Grimbosq Photo 01
|
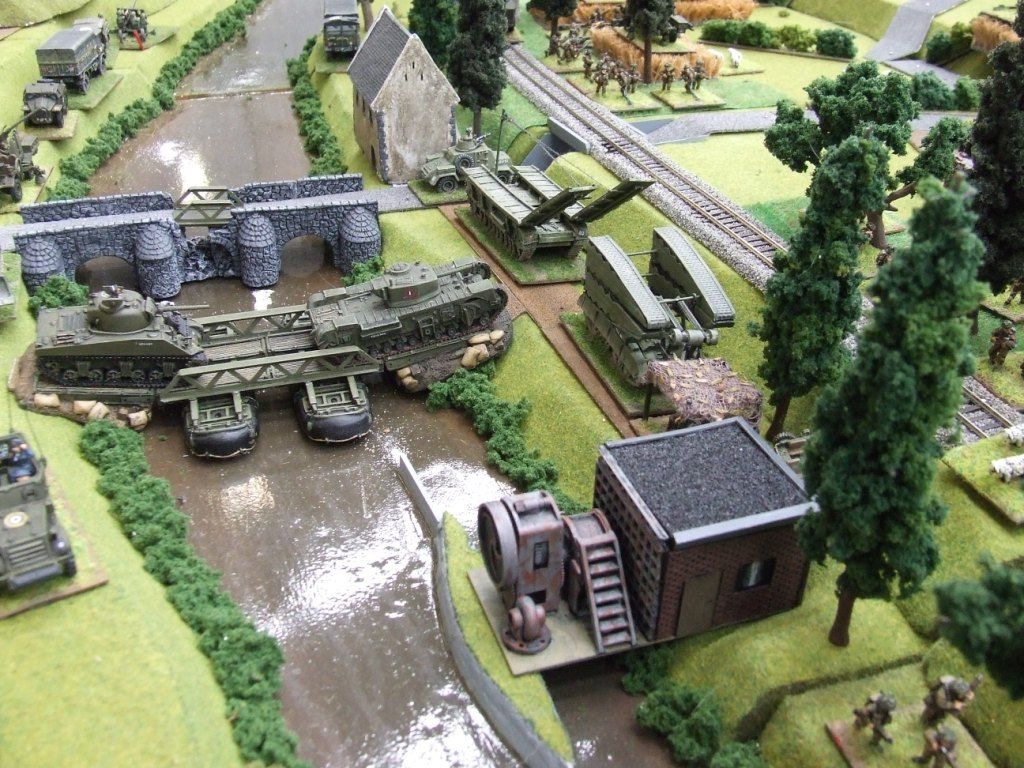
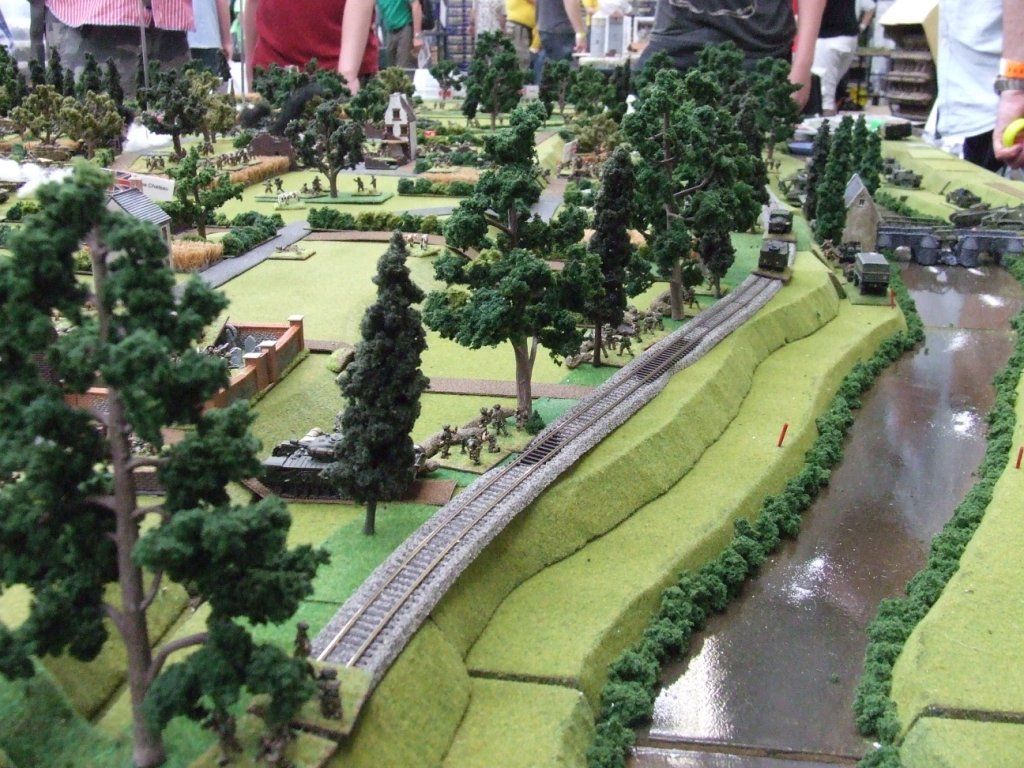
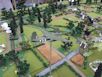
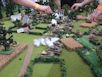
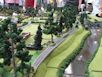
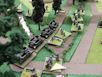
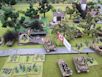
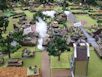
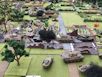
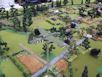
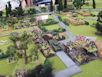
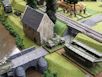
With a bridgehead already established east of the Orne River by infantry wading the river, 59th (Staffordshire) Division Engineers built two bridges just downstream of Le Bas Hydro-Electric Power Station. |

Grimbosq Photo 02
|
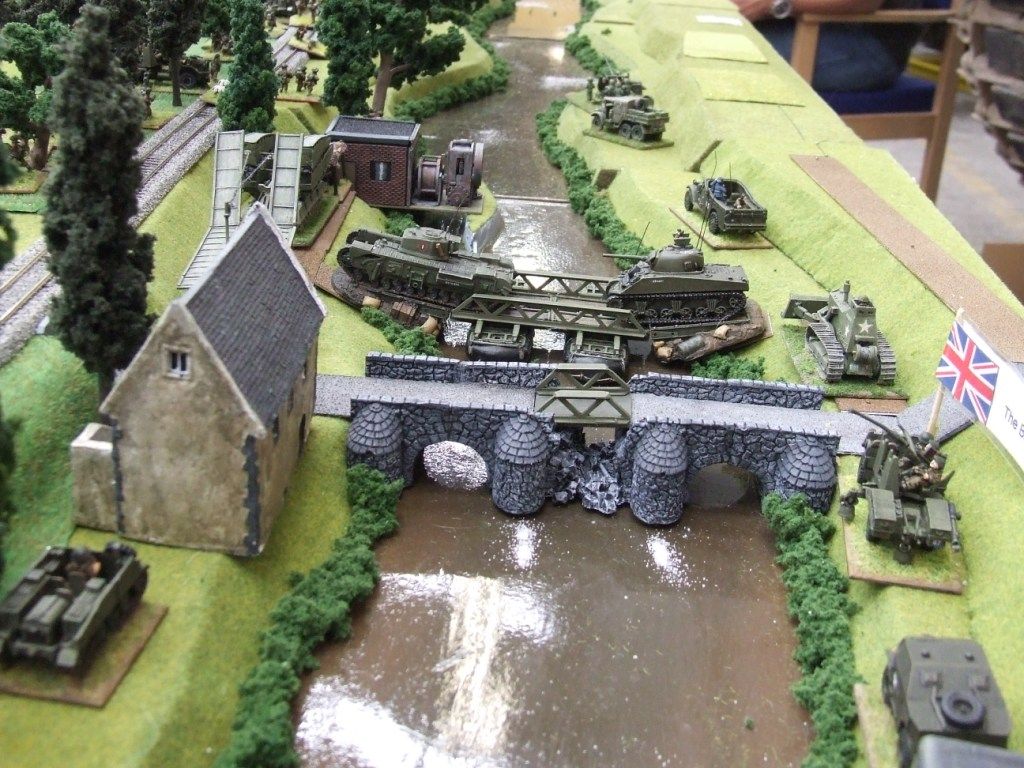
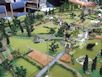
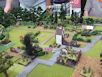
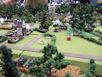
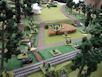
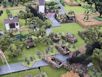
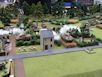
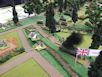
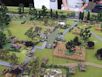
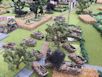
The first bridge to be finished was a repair of the (breached) existing bridge at Le Bas. This was capable of taking Class 9 traffic, such as trucks and light AFVs, but nothing heavier. The Churchill tanks of 107 RAC were therefore waded across, aided by winches and bulldozers provided by the Royal Engineers. After considerable effort, a Class 40 pontoon bridge was built, enabling Churchill tanks and other heavy AFVs to easily enter the bridgehead. |
Grimbosq Photo 03
|
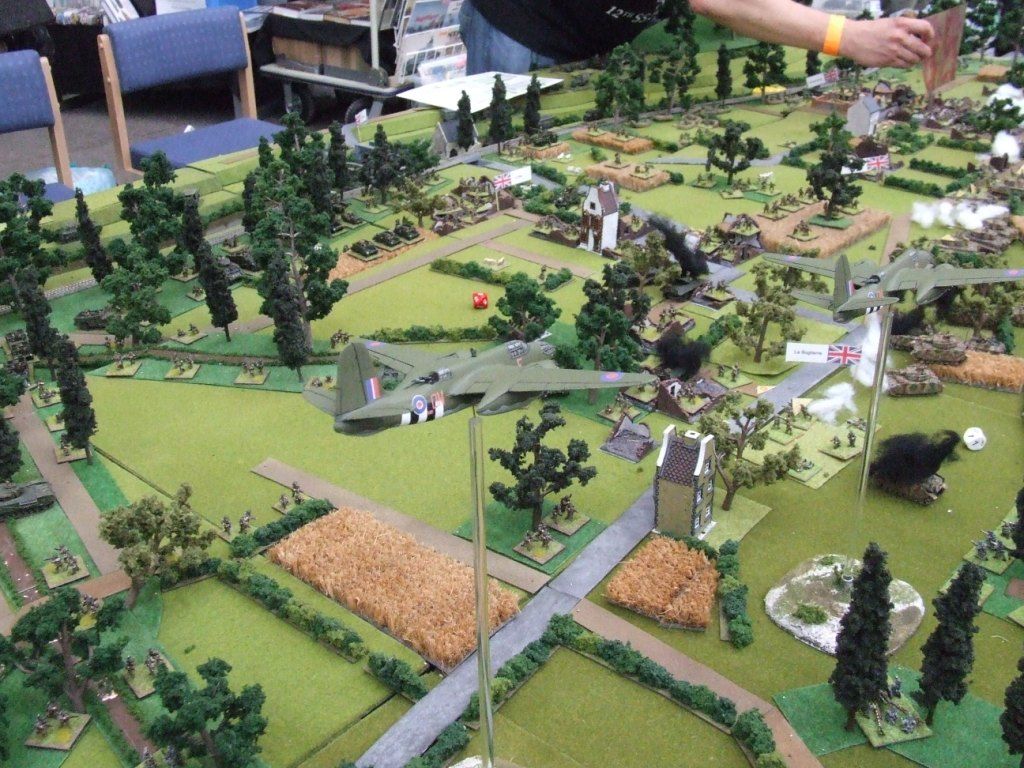
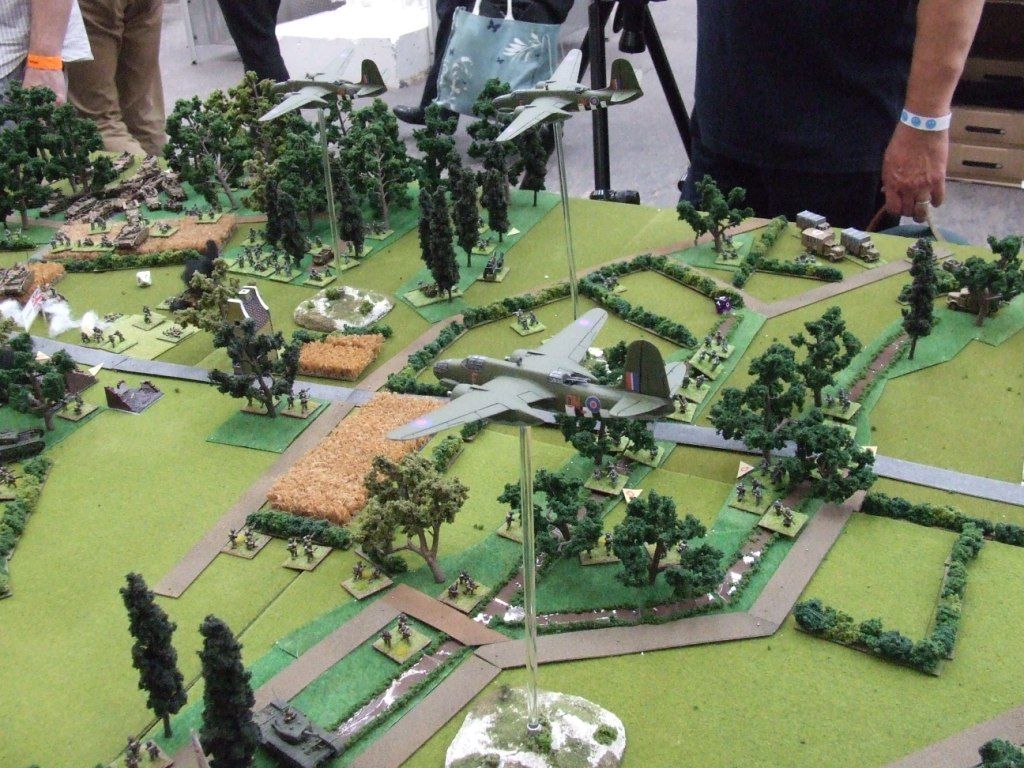
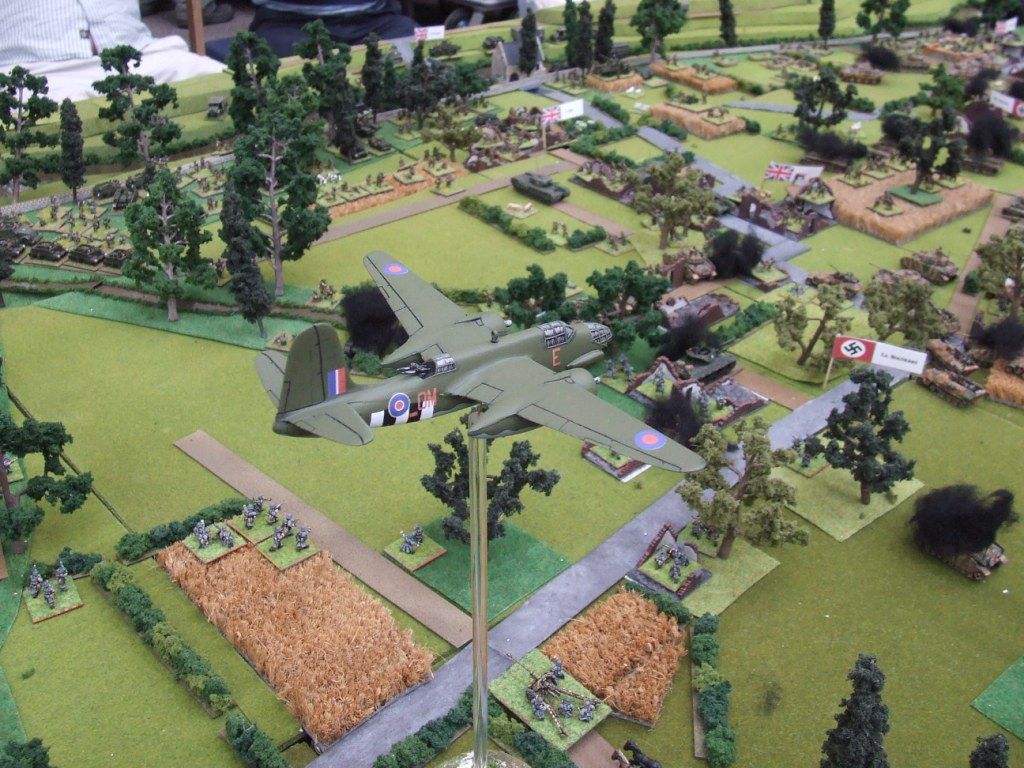
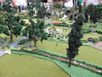
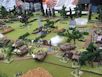
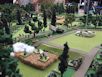
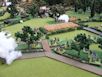
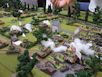
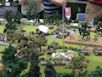
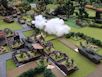
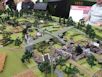
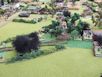
One of the most significant events of the actual battle was the sudden appearance of a wing of Allied medium bombers, which plastered the For�t de Grimbosq, but apparently suffered from 12th SS anti-aircraft fire. These were probably RAF Mitchells, but we couldn't get our hands on sufficient models. A handful of Boston squadrons were still serving in the same wings as Mitchells, so we opted for a trio of lovely Boston models from Dave Schmid at Armaments In Miniature. |
Grimbosq Photo 04
|
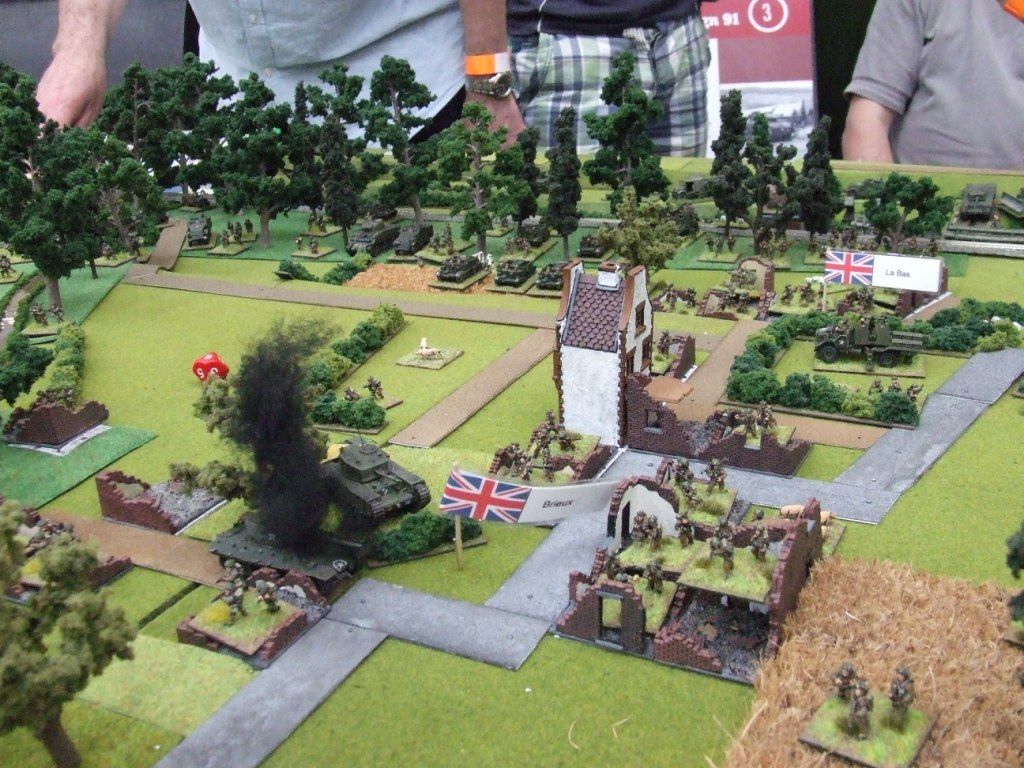
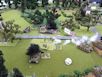
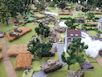
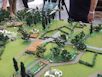
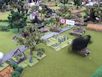
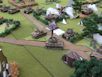
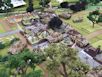
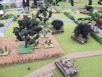
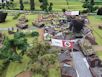
In our game, the bombers sweep in from the south, plastering the western edge of the forest, just to the east of Brieux. However, the sheer volume of 20mm flak results in a few downed bombers and throws off the survivors' aim somewhat. Nevertheless, they succeed in ripping the heart out of the 271st Infantry Division company that was due to assault La Bogtierre - an event that was to have significant consequences. However, one bomber manages to drop its bombs on the Norfolks, aiding the German assault on the southern flank. |
Grimbosq Photo 05
|
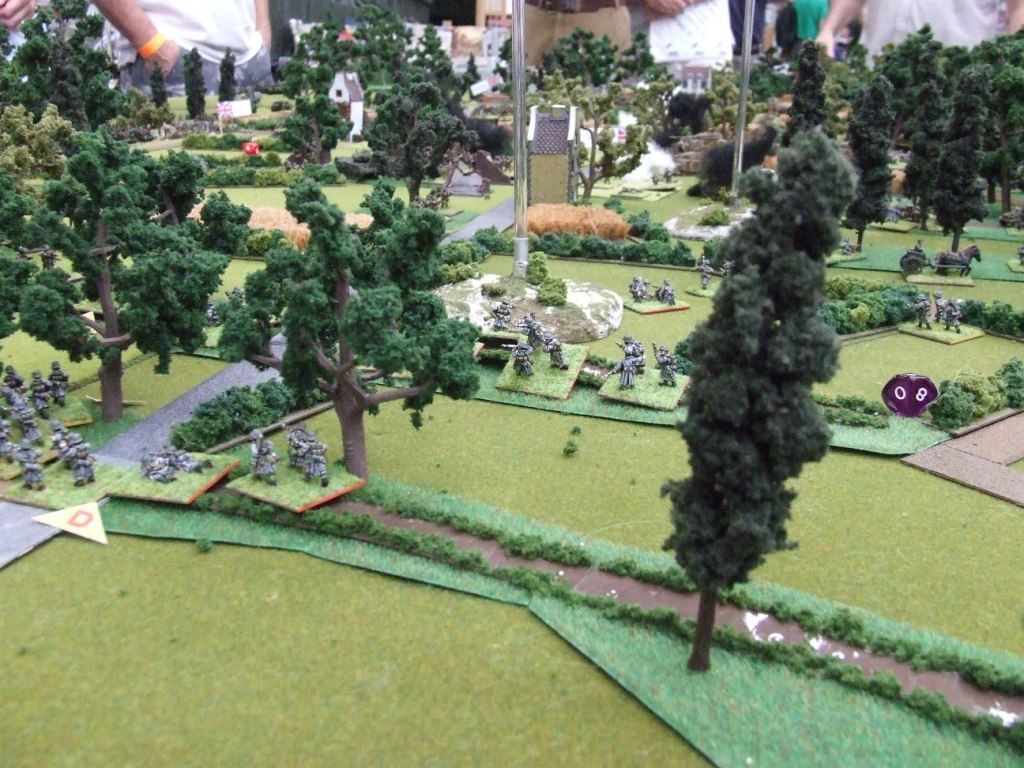
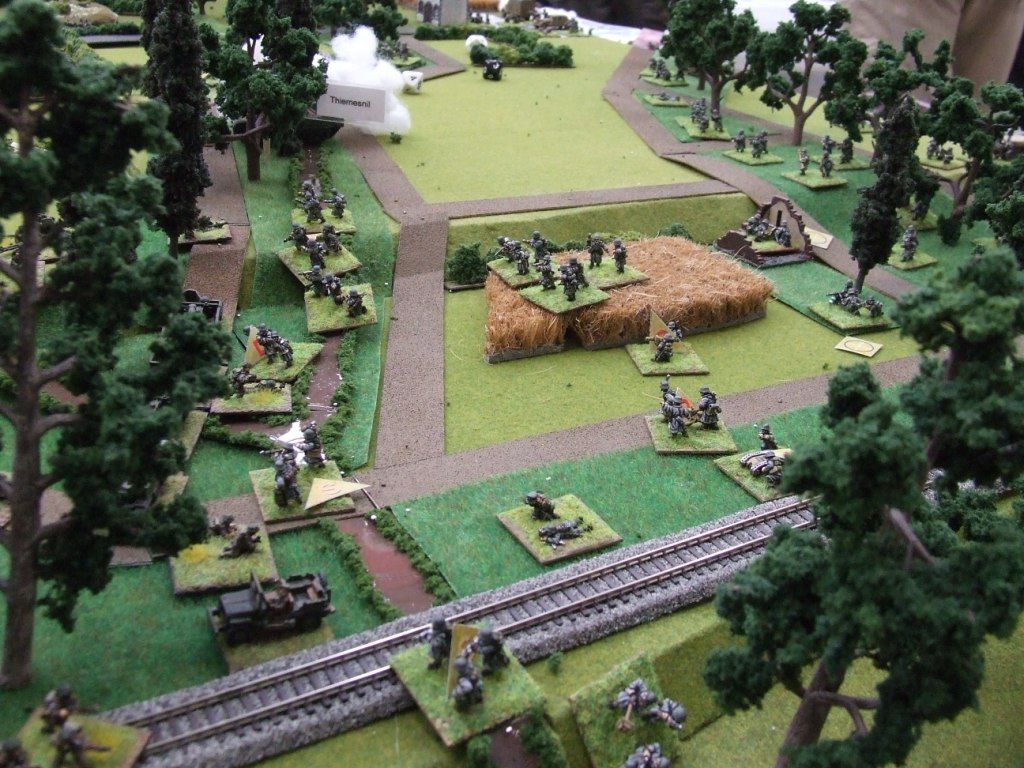
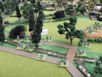
271st Infantry charge into the gap created by the RAF! |
Grimbosq Photo 06
|
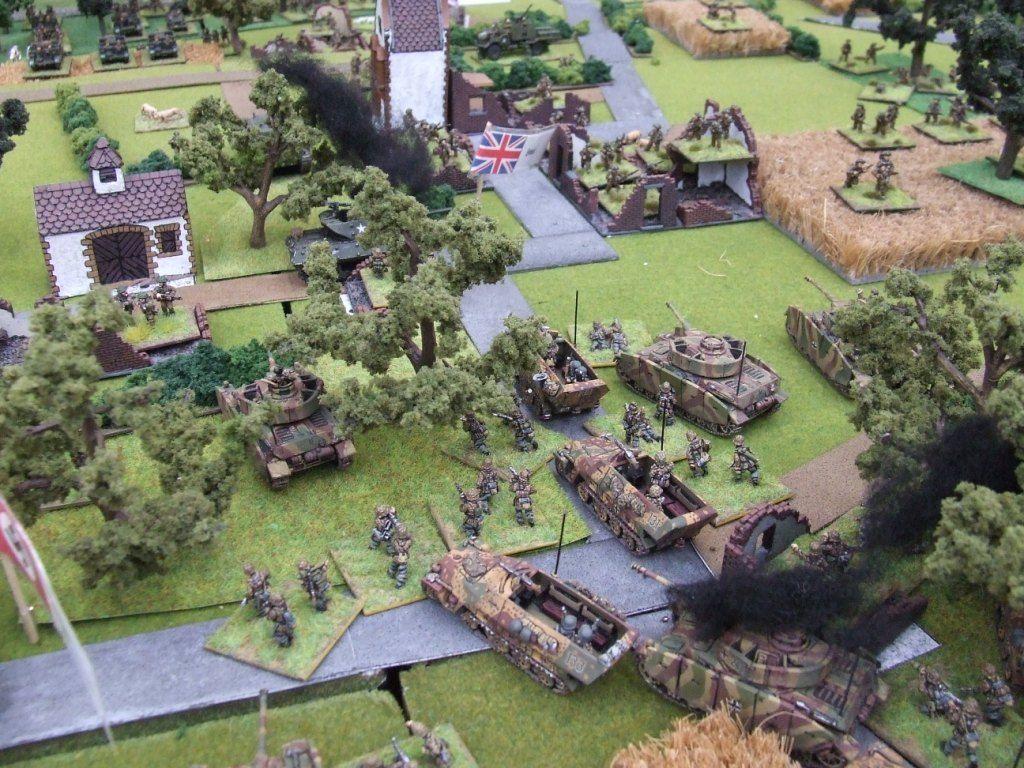
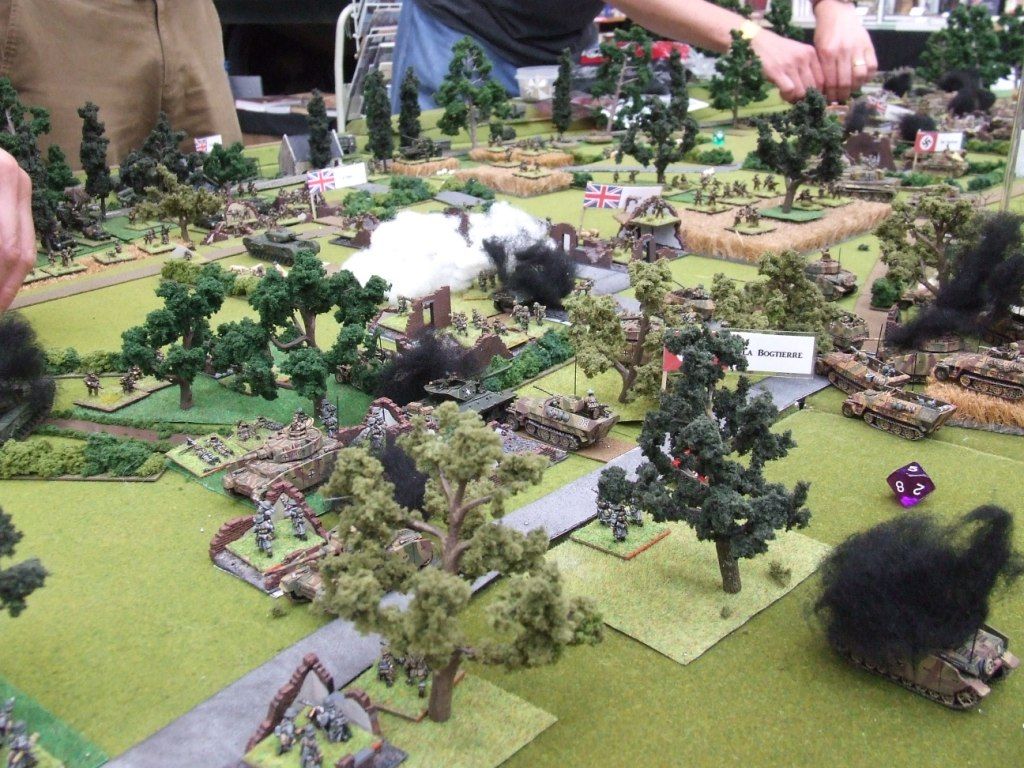
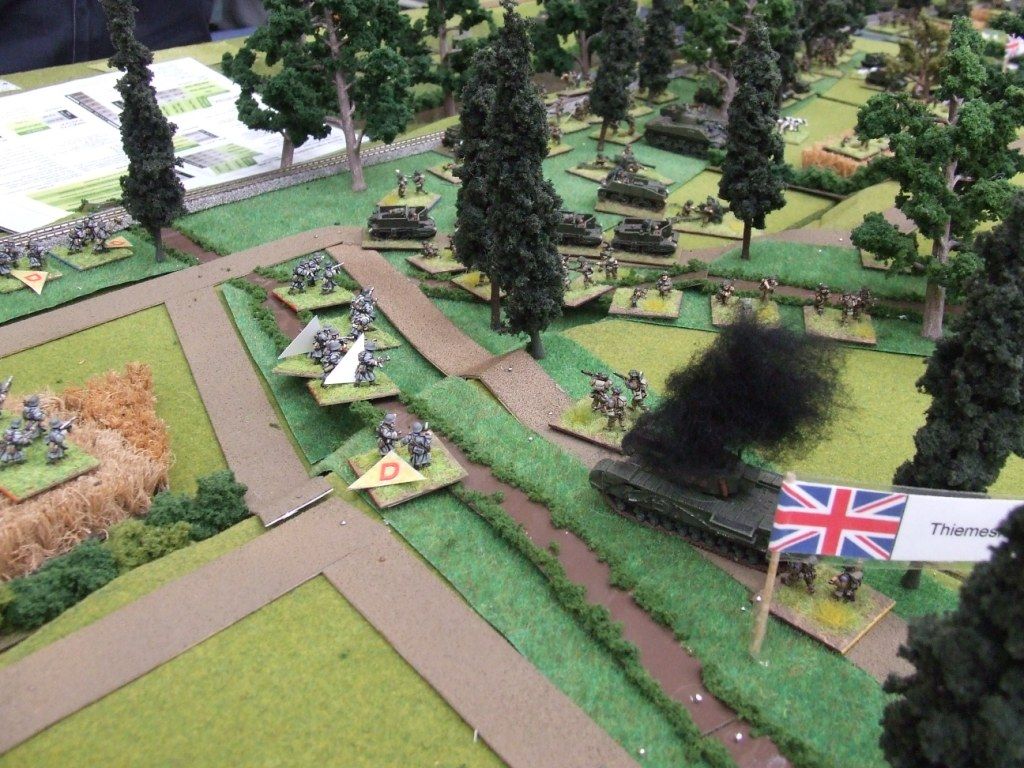
With the 271st Infantry reeling from the bombing, Siebken is forced to divert his 10th SS Panzer-Grenadier Company to assault La Bogtierre. A Vickers MMG section causes significant casualties on the panzer-grenadiers, stalling their initial assault. However, the Vickers MMG is soon silenced by massed MG42 fire. The supporting Pzkpfw IVs are engaged by two M10s, resulting in a KO'd Pzkpfw IV, but the loss of both M10s. A 6pdr hidden in La Bogtierre Farm claims another Pzkpfw IV, but the gun is forced to make good its escape when assaulted by vengeful panzer-grenadiers. |
Grimbosq Photo 07
|
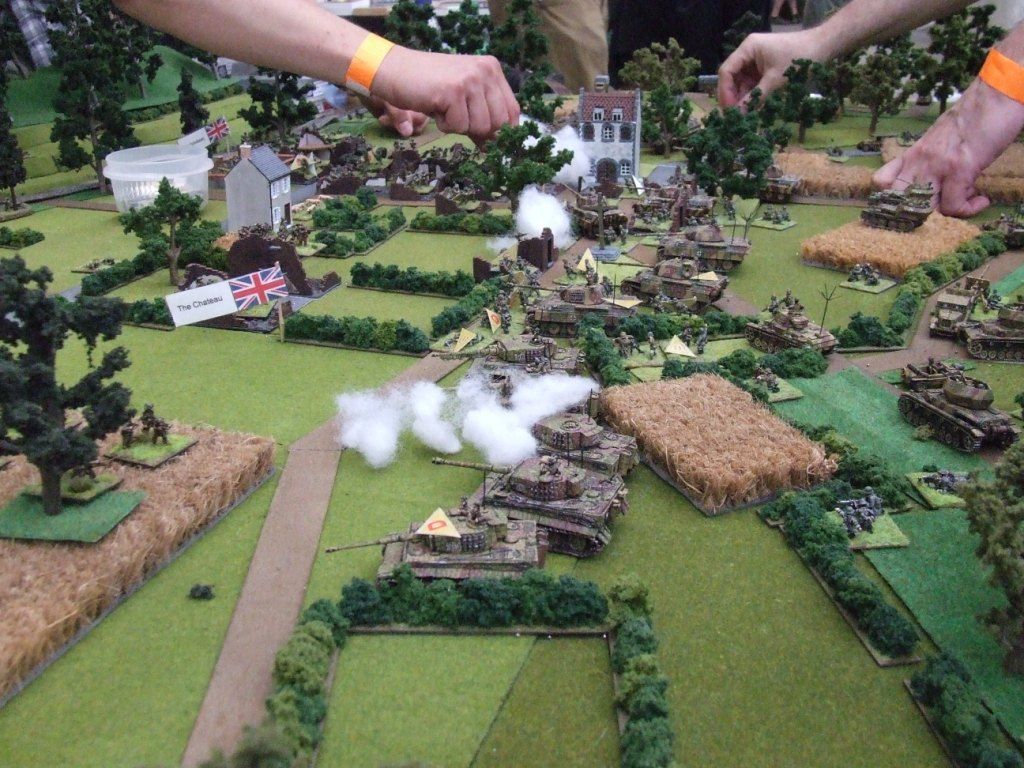
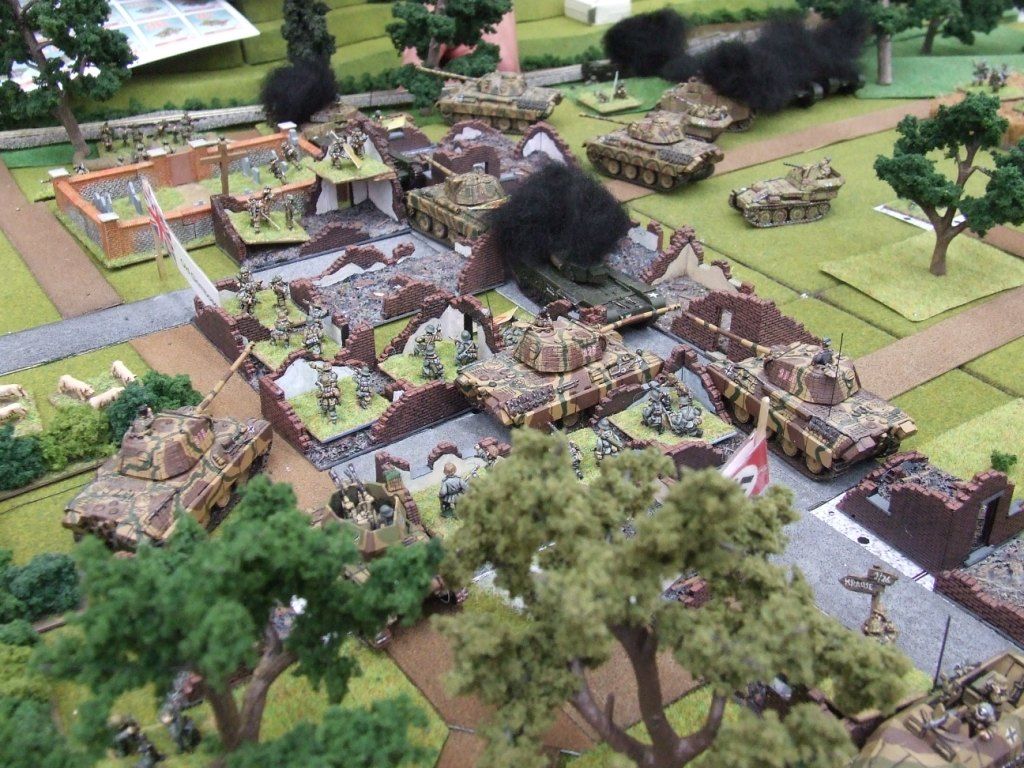
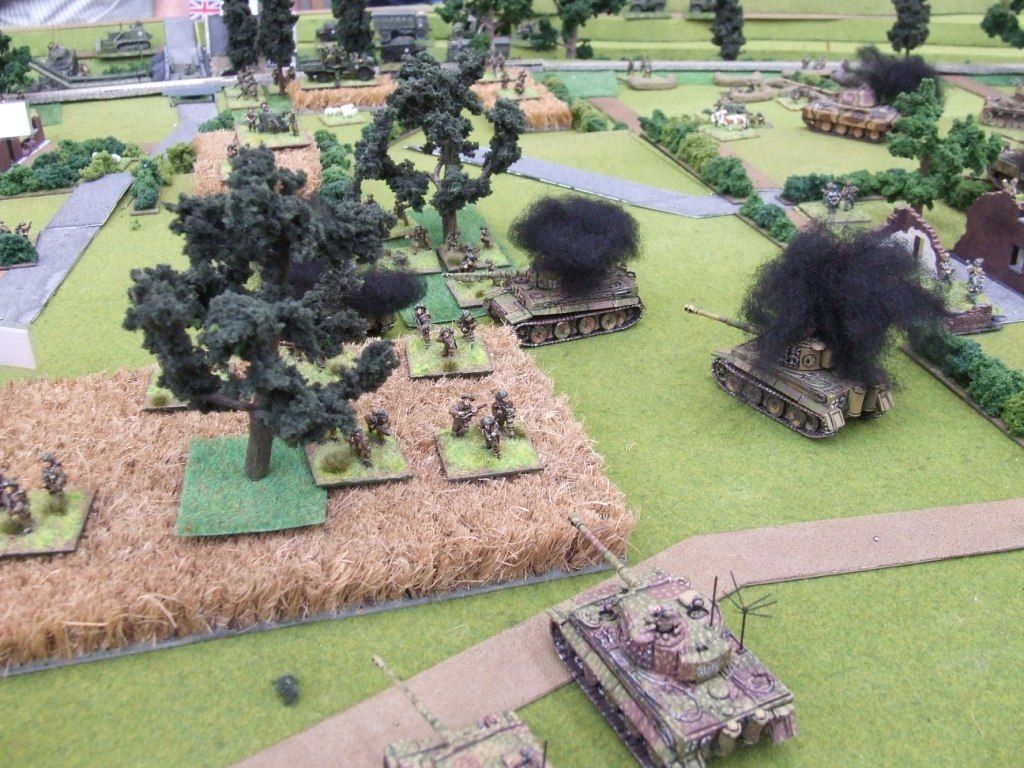
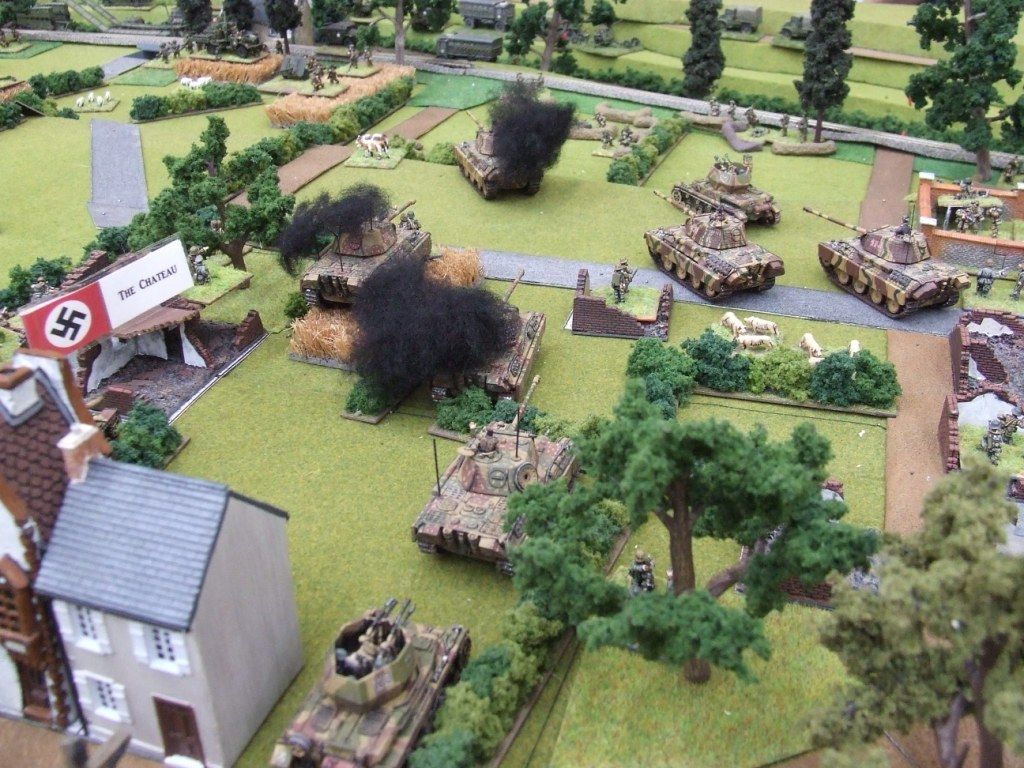
In the centre, the Tiger company seems strangely reluctant to get stuck in to the fight. The Panthers on the German right flank show no such reluctance! |
Grimbosq Photo 08
|
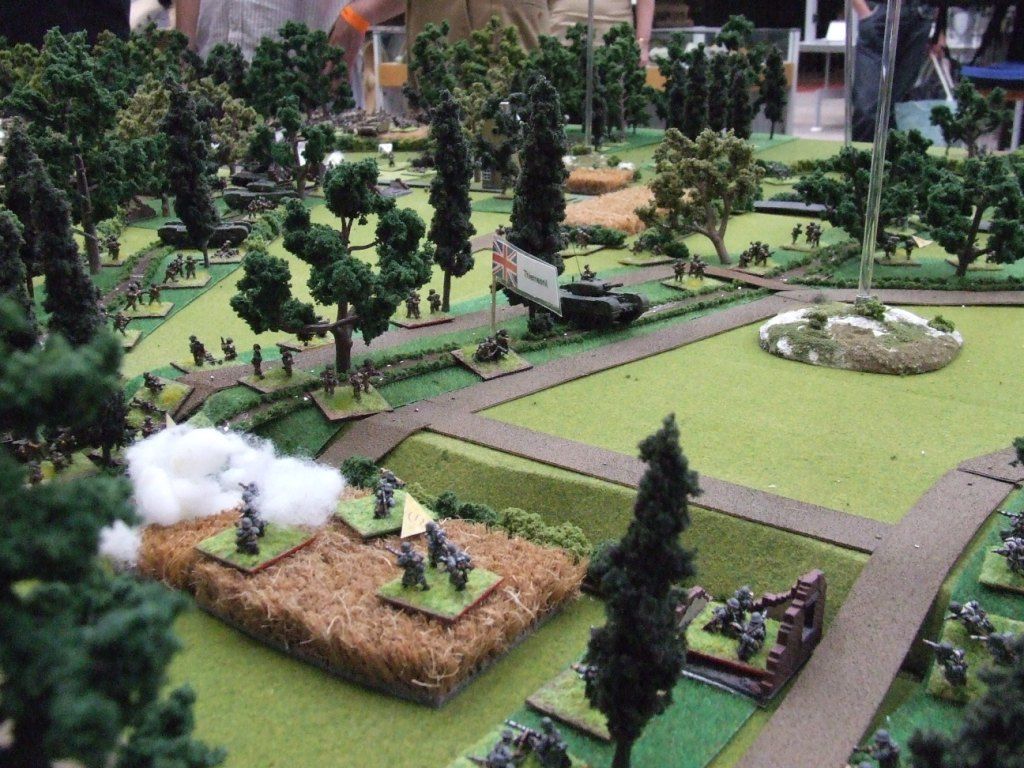
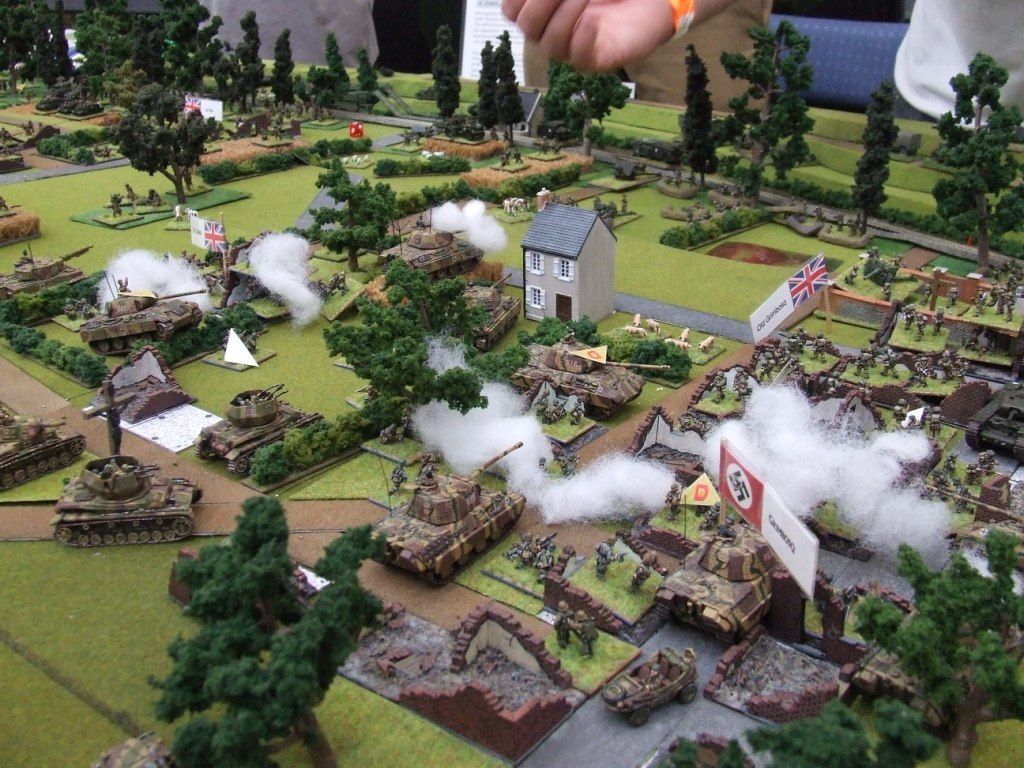
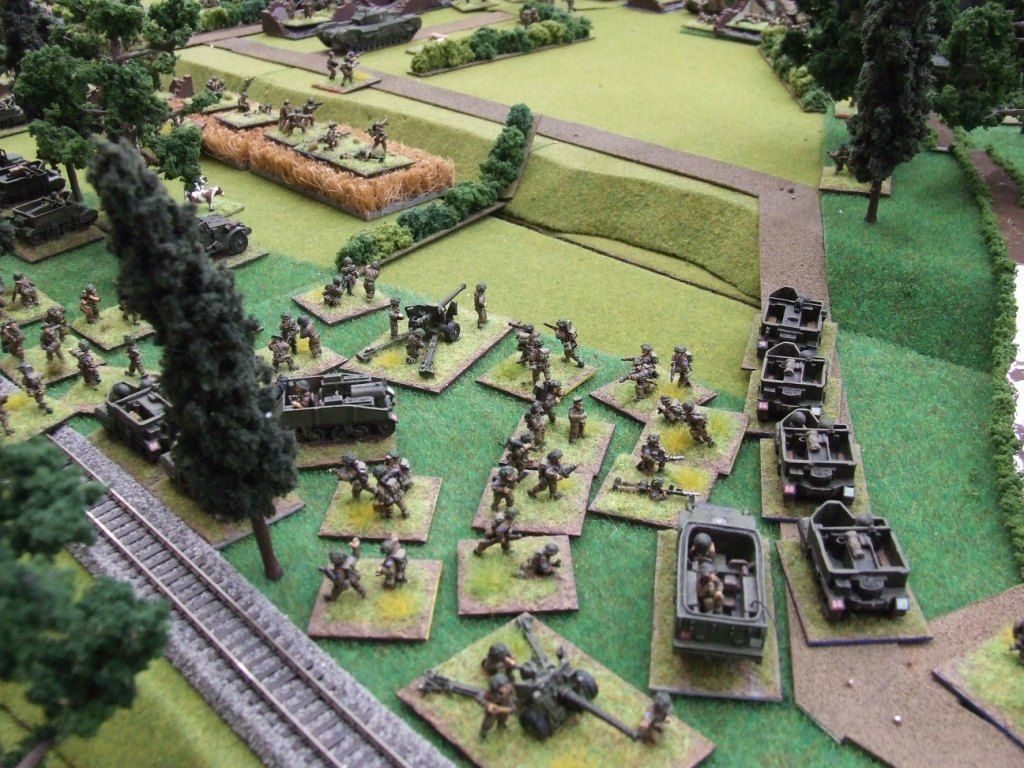
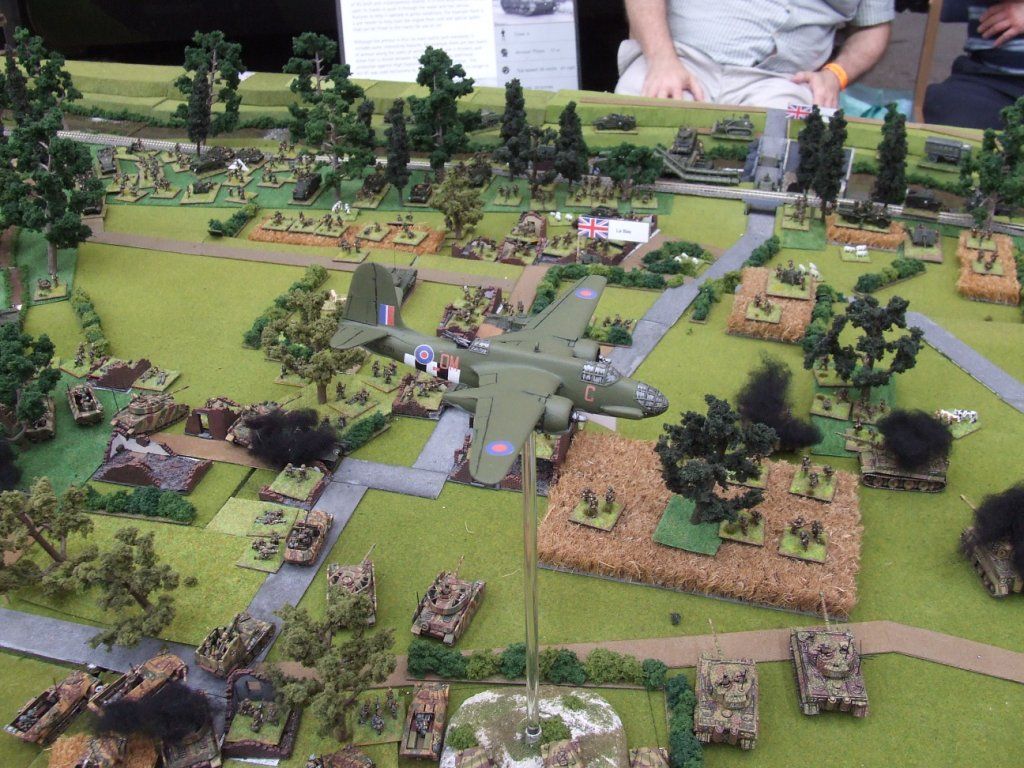
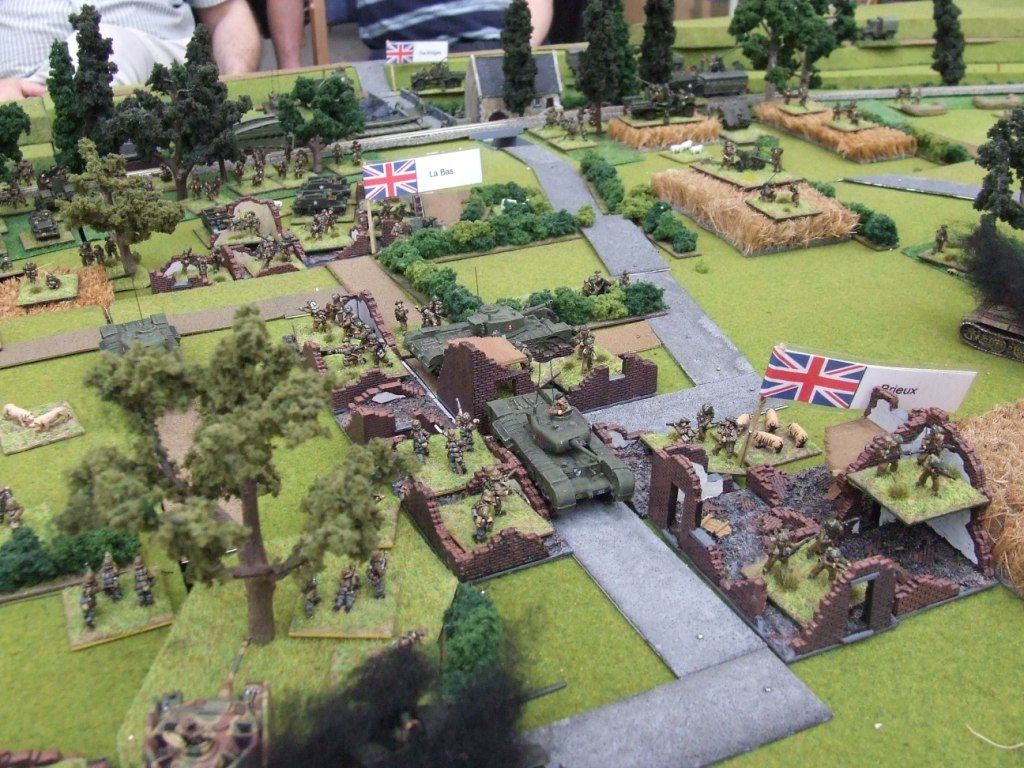
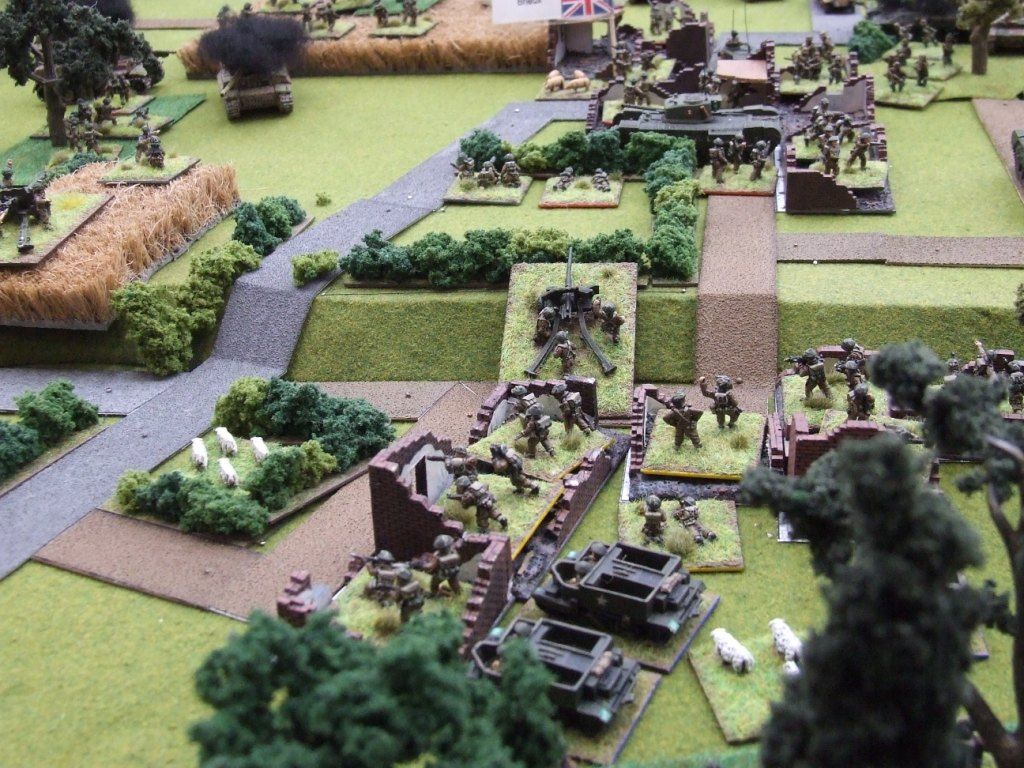
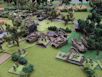
The British at Brieux and Le Bas are arrayed in considerable depth and strength. Siebken meanwhile, has only two panzer-grenadier companies with which to fight through these positions and one of his companies is already being chewed up at La Bogtierre! Only a few British tanks and anti-tank guns have revealed themselves, but there must be more. |
Grimbosq Photo 09
|
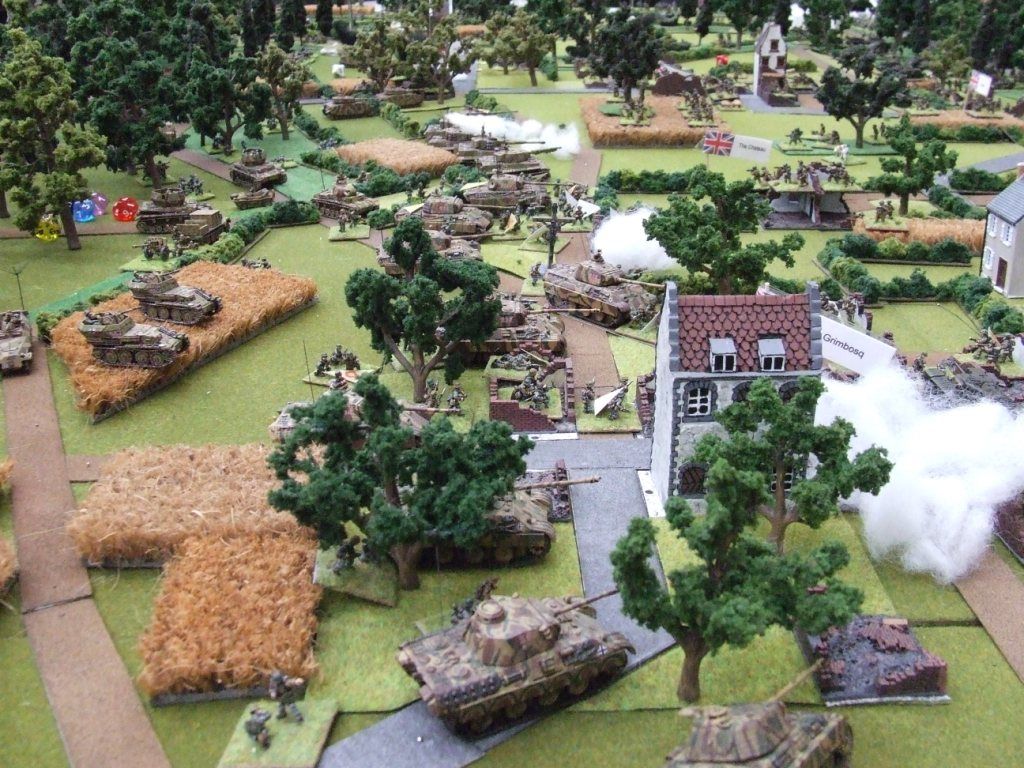
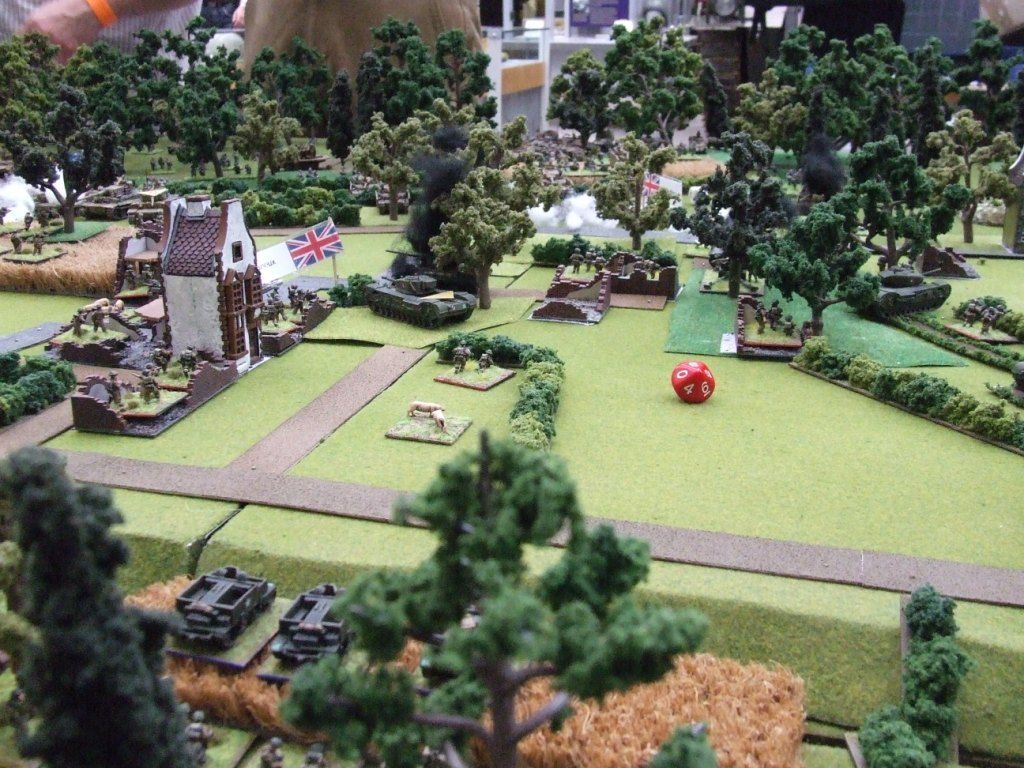
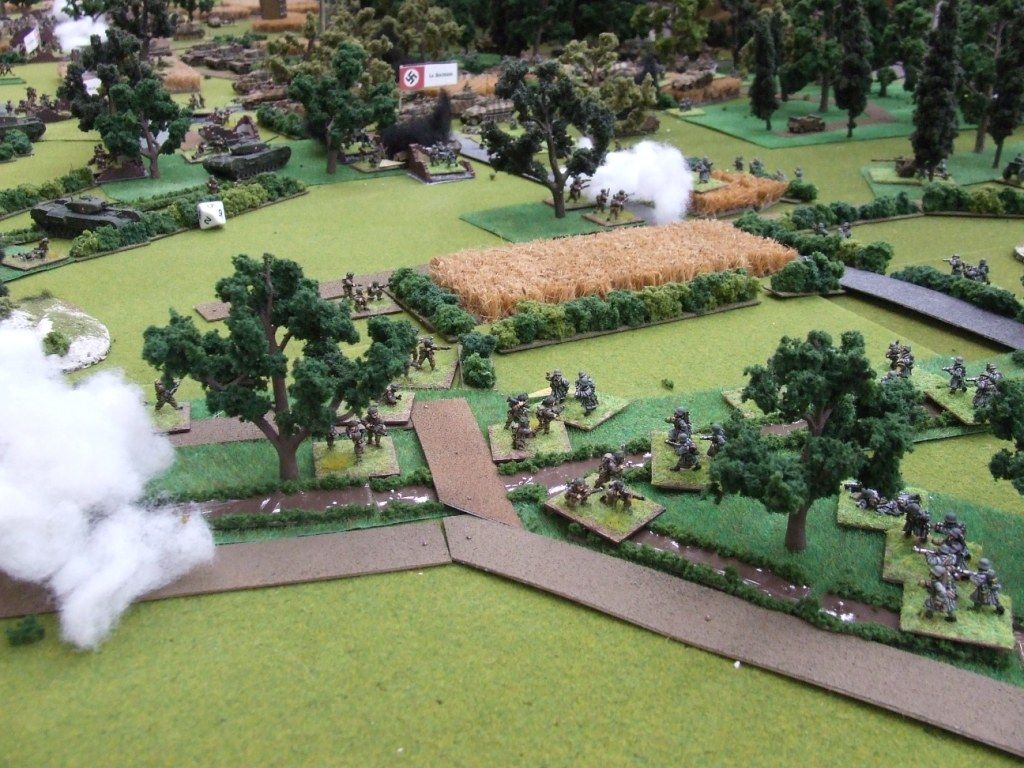
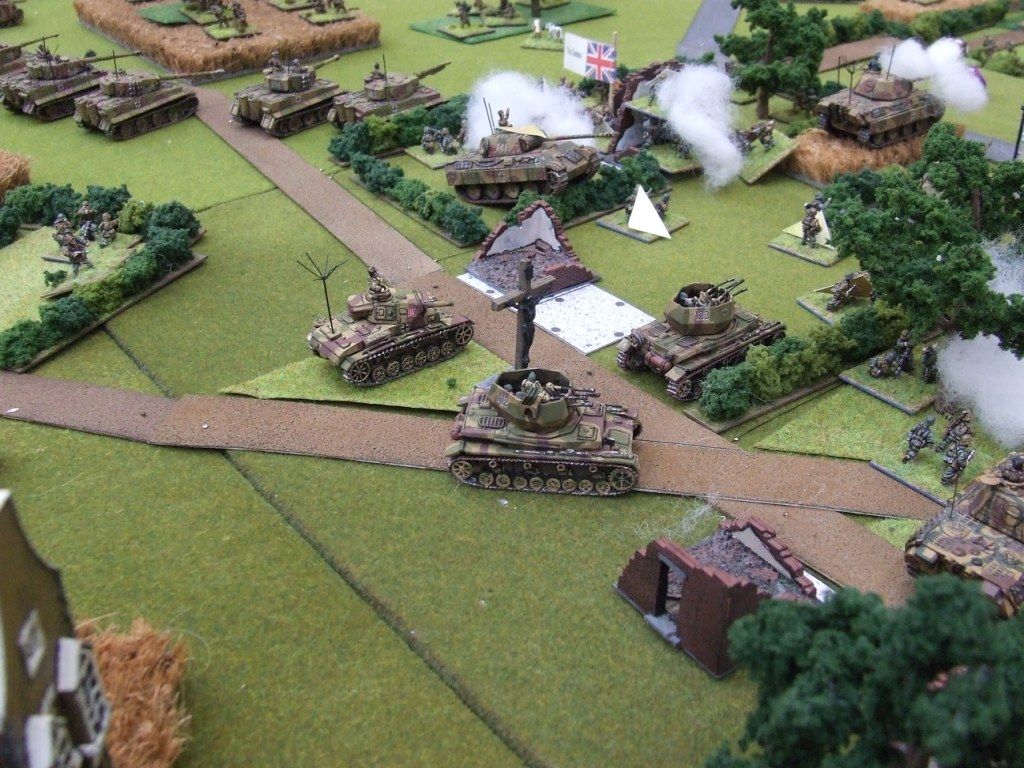
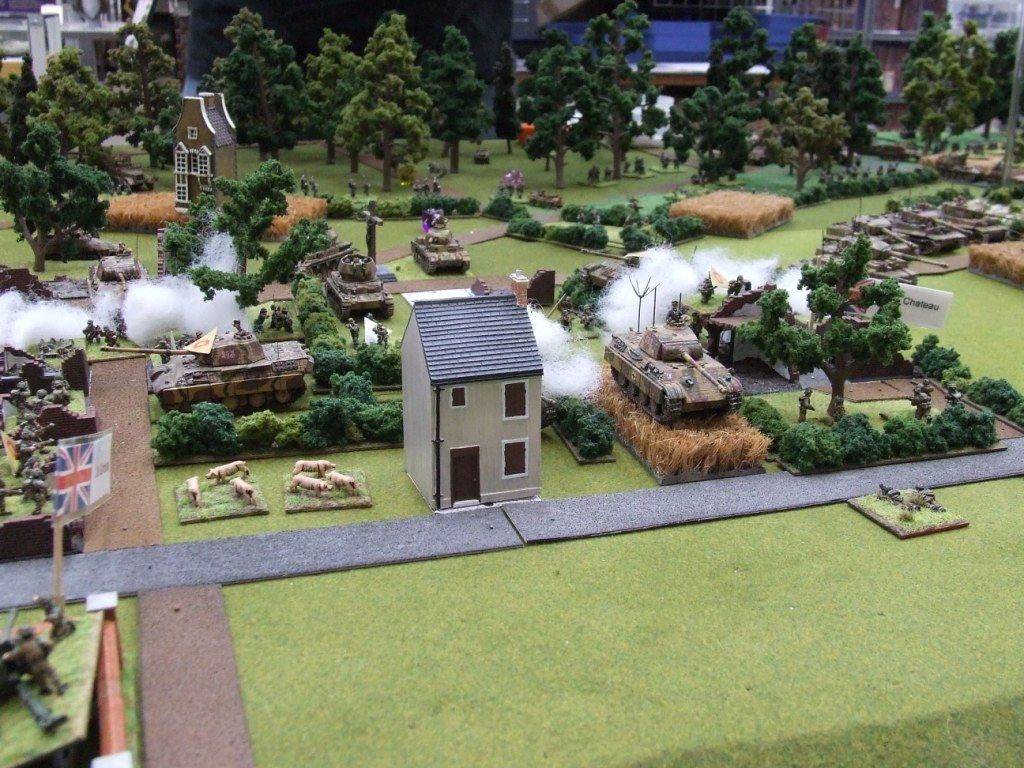
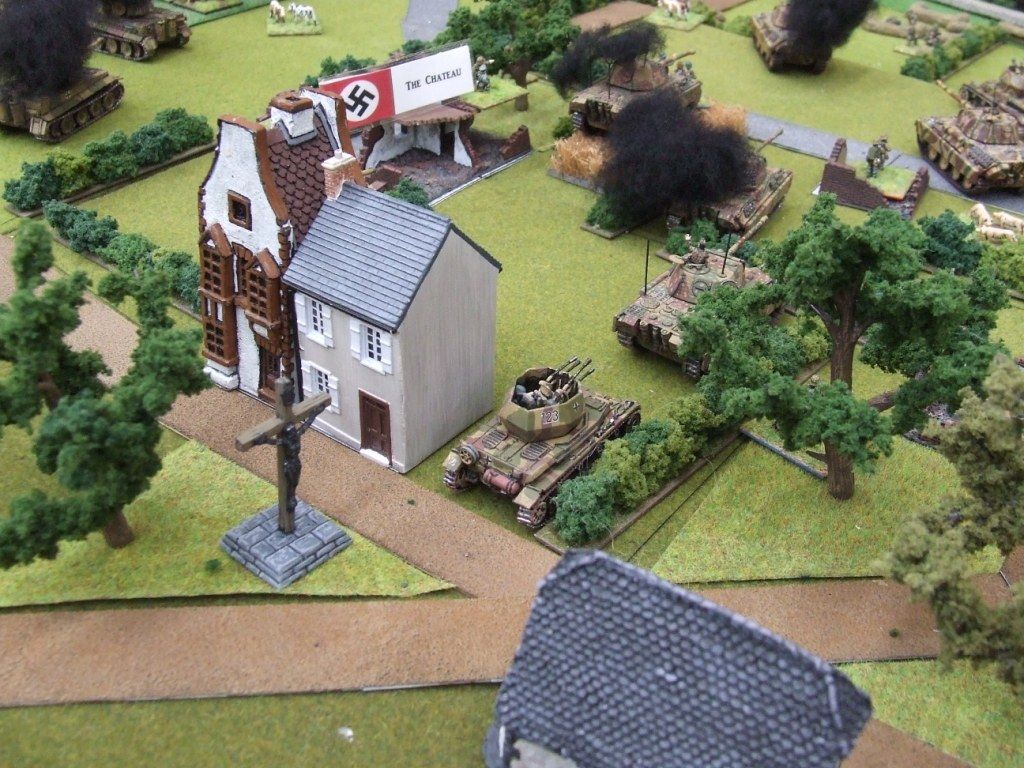
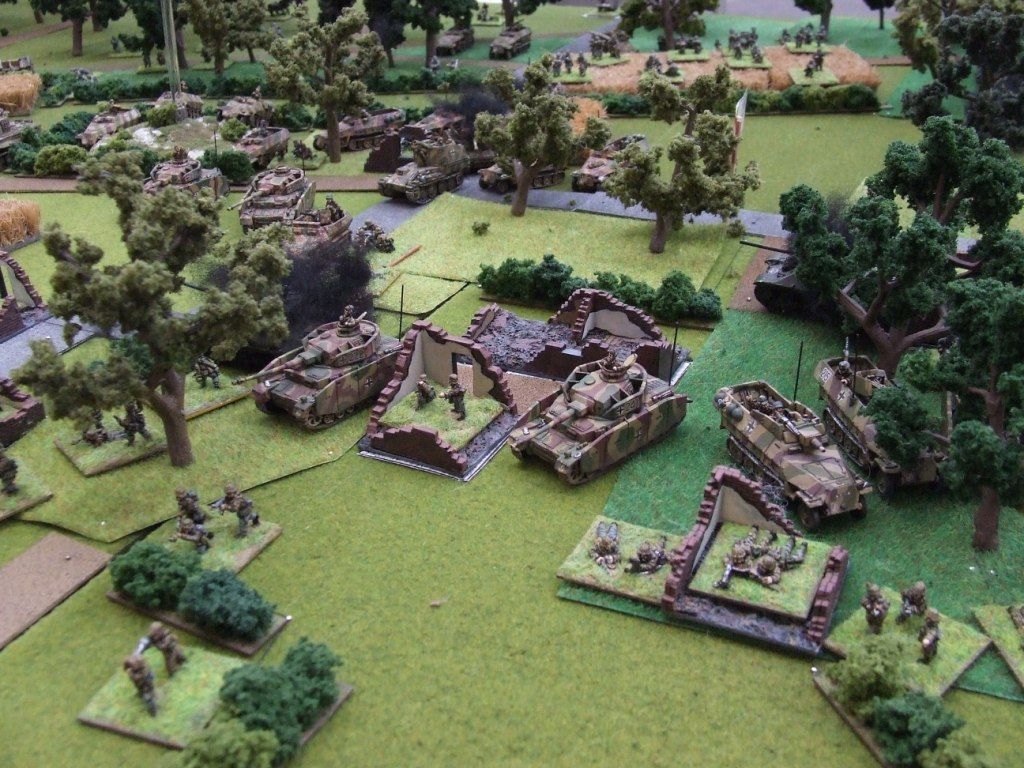
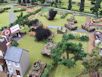
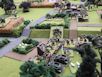
Wünsche's main attack quickly takes the Calvary crossroads and drives on against determined British resistance at Grimbosq and the Chateau. German artillery slams down onto the houses, but 59th Division is giving as good as it gets, with large artillery missions being fired against the attacking panzers and panzer-grenadiers. |
Grimbosq Photo 10
|
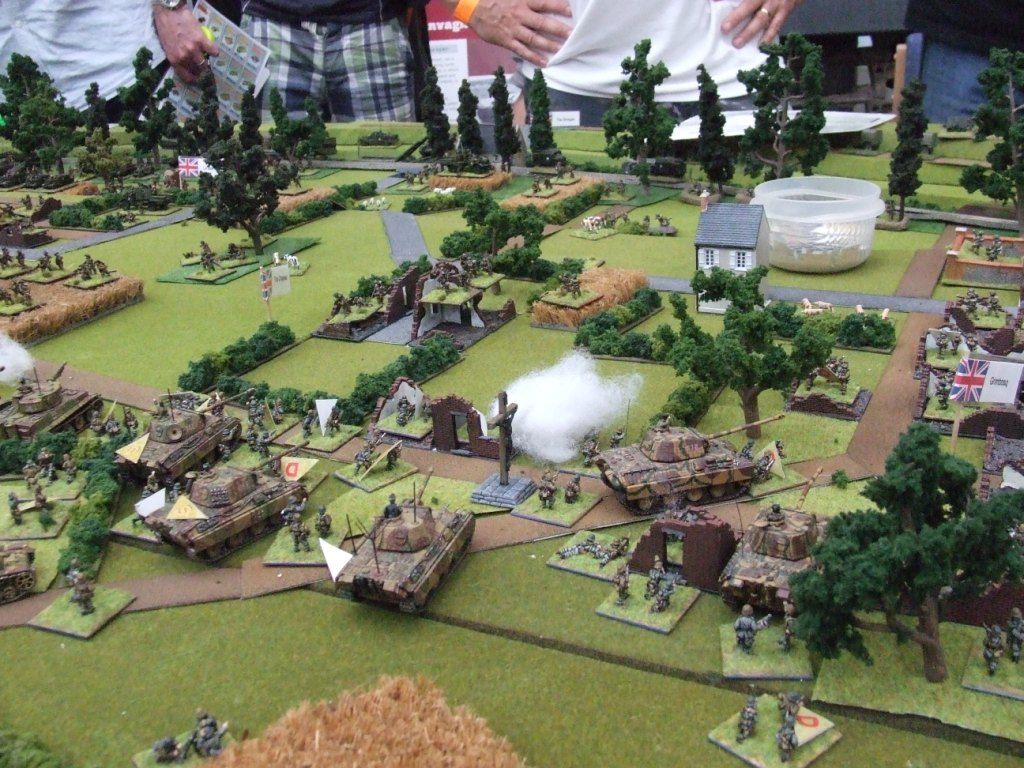
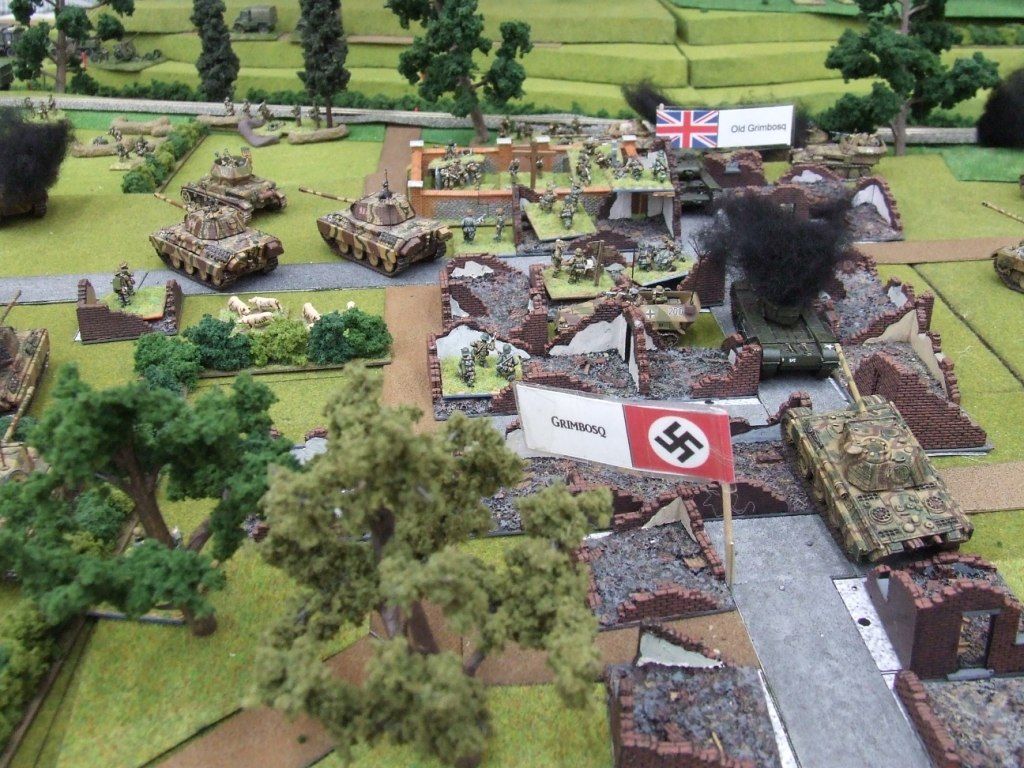
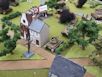
At the north-east corner of the bridgehead, panzer-grenadiers and Panthers push into Grimbosq. |
Grimbosq Photo 11
|
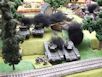
At the western end of Grimbosq, things seem relatively quiet. |
Grimbosq Photo 12
|
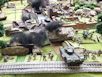
West of La Bogtierre, a 2-inch mortar team lurks behind a hedgerow, ready to deal out instant death to any Germans that come their way. The crew sharpen their bayonets and take a few practice-swings with the mortar-tube. |
Grimbosq Photo 13
|
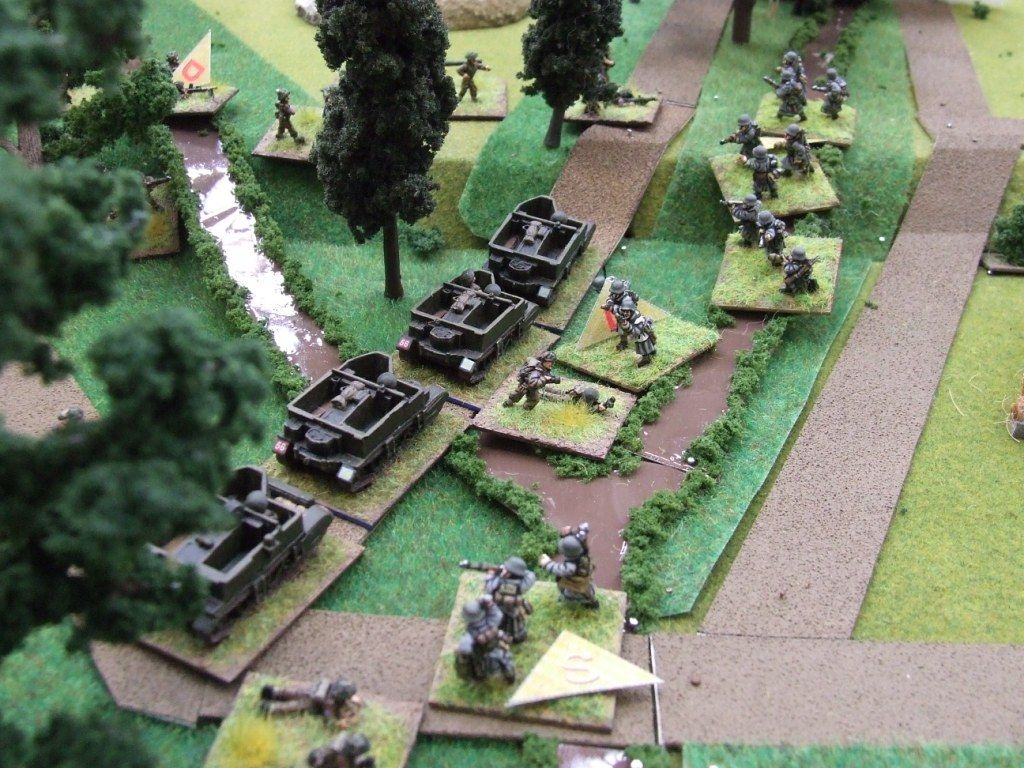
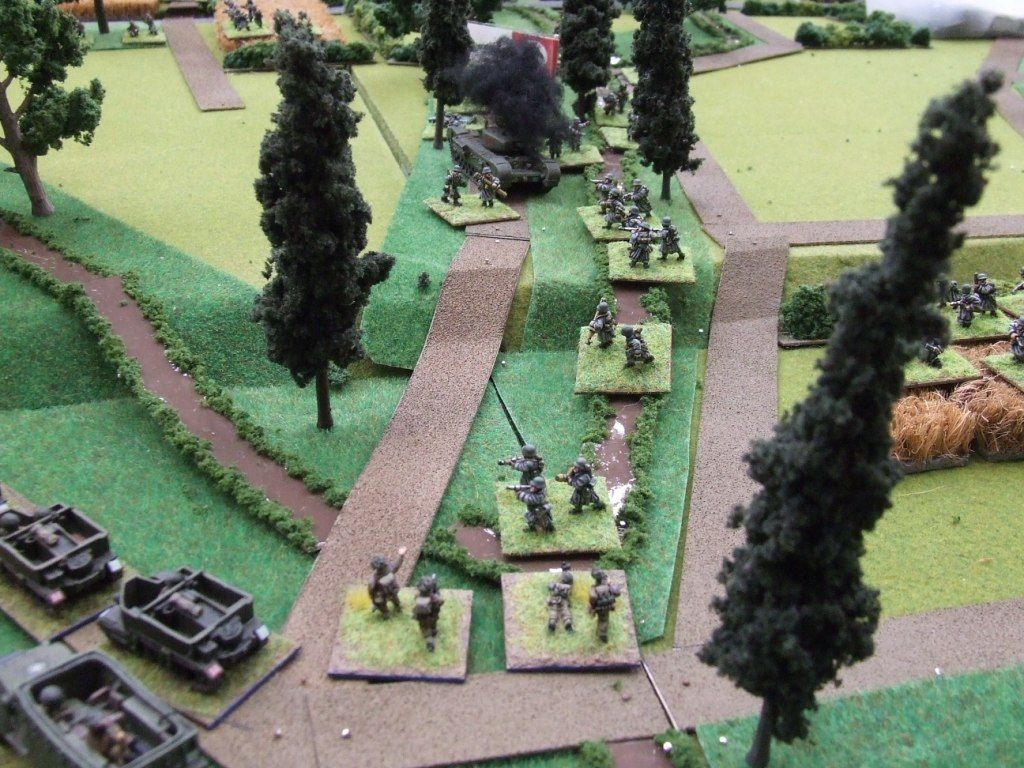
In the south, the 271st are faced with a succession of defended stream-lines, held by the Norfolks. Undeterred, the Germans push forward, infiltrating a significant force, including pioneers, up the thickly-wooded river bank. |
Grimbosq Photo 14
|
Another view of the bombers' attack. |
Grimbosq Photo 15
|
The Norfolks attempt to plug their defences with the Carrier Platoon, but the Germans come on with increasing fanaticism! |
Grimbosq Photo 16
|
Pioneers push forward as the Norfolks' first defence line is breached. |
Grimbosq Photo 17
|
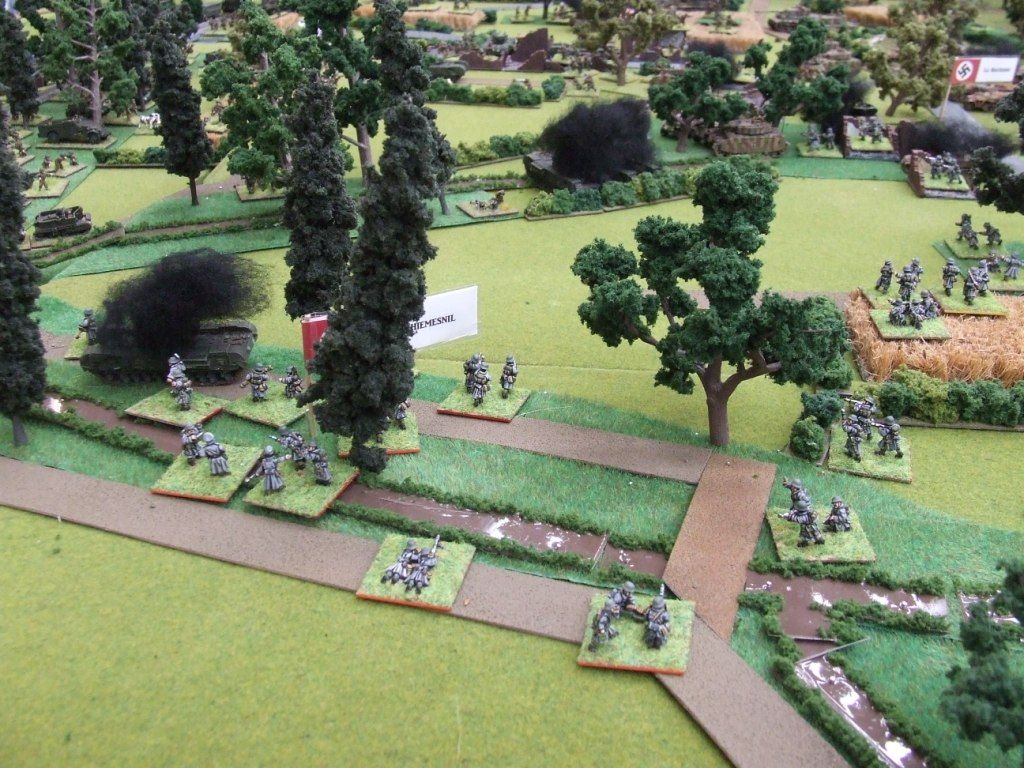
At the south-east corner of the bridgehead, an isolated company of Norfolks fights a desperate rearguard action against the 271st. |
Grimbosq Photo 18
|
With their second assault on La Bogtierre also having stalled, Siebken's 10th Company suffers the ignominy of seeing a platoon from 271st Infantry seizing La Bogtierre with ease! |
Grimbosq Photo 19
|
Siebken also now suffers the further humiliation of losing his prized flamethrower halftrack. |
Grimbosq Photo 20
|
With Siebken's 10th Company starting to suffer serious losses, the plan unravels even further as 11th Company is forced to dismount to complete the assault on La Bogtierre. German mortars crash into Brieux in an attempt to suppress British defenders there and keep them from intervening. |
Grimbosq Photo 21
|
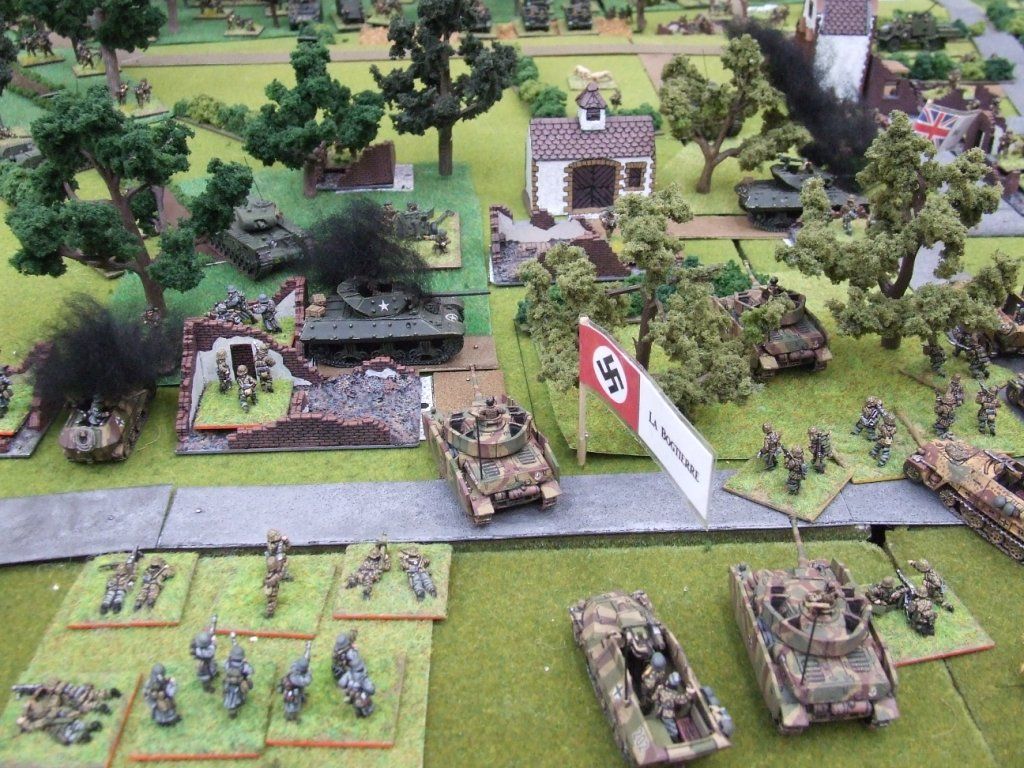
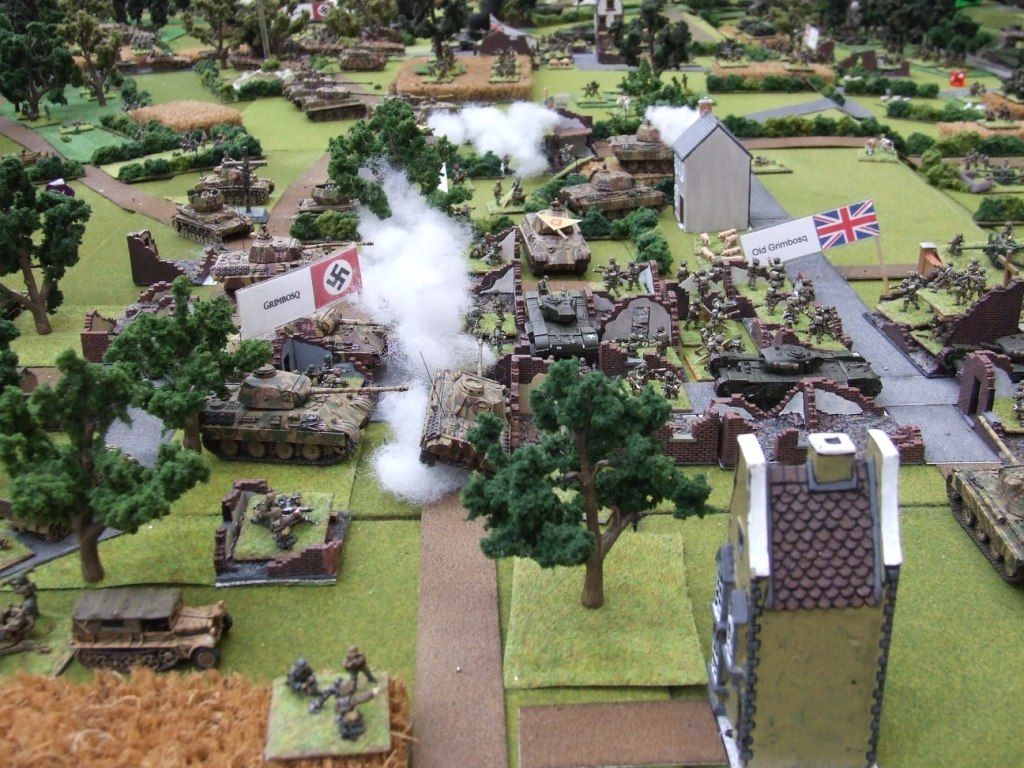
Panzer-grenadiers and Panthers are now pushing deep into Grimbosq and the Chateau is now largely overrun. Caught up in the moment, Wünsche does something rather rash. |
Grimbosq Photo 22
|
Part of Wünsche's headquarters element pauses at the Calvary crossroads. |
Grimbosq Photo 23
|
Another view of the bitter, close-quarters fighting in Grimbosq. |
Grimbosq Photo 24
|
Wünsche was last seen pushing forward for a better view of his objective. |
Grimbosq Photo 26
|
With the commitment of his 11th Company, Siebken finally overwhelms the defenders of La Bogtierre. His battalion mortars lay smoke as 11th Company pushes on to assault the southern flank of Brieux. |

Grimbosq Photo 27
|
Siebken's exhausted 10th Company, aided by close support from armour, finally push the Norfolks out of La Bogtierre's orchards. Some Churchills attempt to intervene on the southern edge of the farm, but are quickly knocked out by Pzkpfw IVs after a brief duel. |

Grimbosq Photo 28
|
A single section of flamethrower-armed pioneers manage to establish a foothold in the south-east corner of Brieux. However, the rest of the panzer-grenadiers are thrown back in disorder. If Siebken had done his reconnaissance properly, he would have noticed that 2-inch Mortar (see 12) and would never have attempted anything so foolish! |

Grimbosq Photo 29
|
The pioneers, disordered by fire from a previously-unobserved Churchill parked outside the front door (!), are assaulted by Staffordshire infantry, but succeed against the odds in beating off all British attacks! |
Grimbosq Photo 30
|
The defenders of Grimbosq are now almost completely overrun. The fighting has now reached the church and the cemetery at the western end of the village and the Staffordshire men prepare to make their last-stand. However, the Germans are rapidly running out of panzer-grenadiers! |
Grimbosq Photo 31
|
With panzer-grenadier strength reaching critical levels, the Panthers are forced to mount even bolder attacks - pushing deep into the narrow streets with minimal support. |
Grimbosq Photo 32
|
At the southern end of the battle, the 271st suffer a crisis of confidence at a critical moment, giving the Norfolks vital respite and a chance to plug the gaps in their lines. |
Grimbosq Photo 33
|
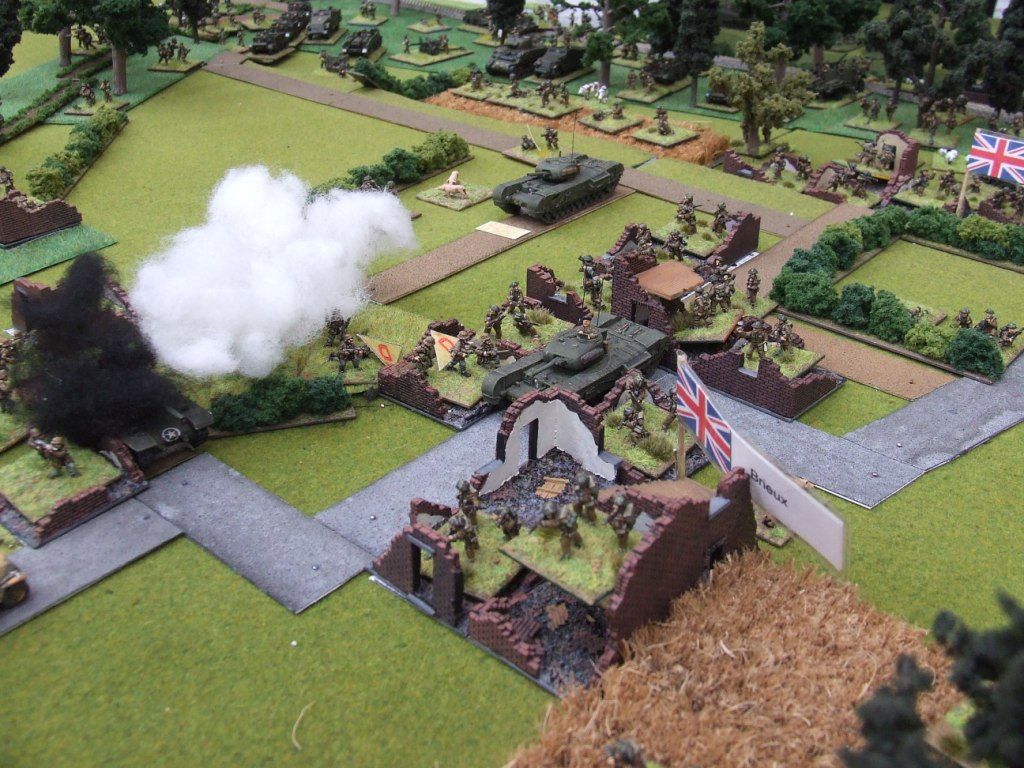
The British view of the fighting in Brieux (described in 28 & 29 above). |

Grimbosq Photo 34
|
The survivors of the Norfolks rally and form a new defensive position south of the Le Bas bridges. |

Grimbosq Photo 35
|
Having secured their initial objectives, the 271st consolidate before pushing on to Le Bas. |
Grimbosq Photo 36
|
The north-east corner of the British bridgehead has now been totally eliminated by the 271st Infantry. |
Grimbosq Photo 37
|
The RAF mount photo-recce runs over the battlefield for future Ian Daglish books. |
Grimbosq Photo 38
|
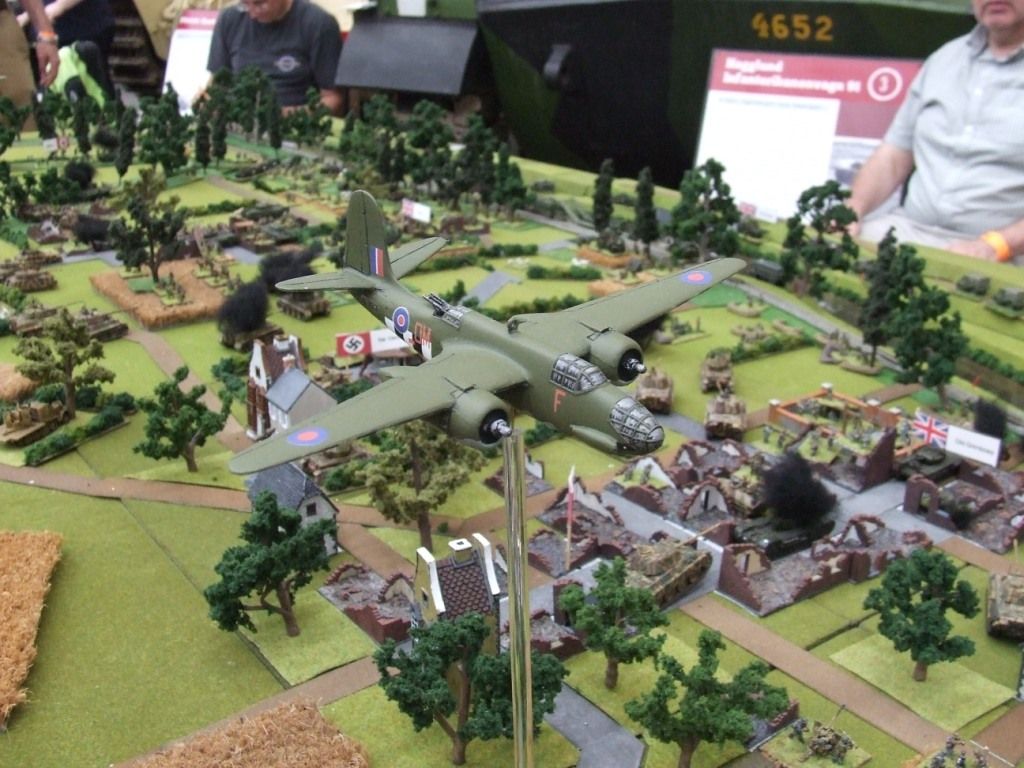
A Boston passes over Brieux just as the Tigers finally start to roll forward. and run into a screen of 17pdrs. |

Grimbosq Photo 39
|
As it passes over Grimbosq, the German high-water mark can clearly be seen - the last panzer-grenadiers are battling the British for possession of the church, while both British and German tanks burn near the river. |
Grimbosq Photo 40
|
A Boston in close-up. |
Grimbosq Photo 41
|
Having remained largely idle for much of the day, the Tigers finally move forward, but suffer catastrophic losses to British anti-tank guns. |
Grimbosq Photo 42
|
Having beaten off the British counter-attack, the 11th SS Panzer-Grenadier Company consolidates and expands its foothold in Brieux and prepares to attack that Churchill. |
Grimbosq Photo 43
|
With British positions in Brieux finally identified, Siebken's armour opens up on the hamlet. |
Grimbosq Photo 44
|
The remnants of the 10th SS Panzer-Grenadier Company push forward from La Bogtierre as the Pzkpfw IVs engage in a duel with a Churchill. |
Grimbosq Photo 45
|
The panzer-grenadiers finally take Grimbosq Church as the British survivors grimly hold their 'Alamo' position in the cemetery. |
Grimbosq Photo 46
|
With serious casualties and lacking infantry support, there is little more the Panthers can do to push forward against the bridges. Nevertheless, a foolhardly Flakpanzer decides to have a go. |
Grimbosq Photo 47
|
The other Flakpanzer wisely stays back at the Calvary. |
Grimbosq Photo 48
|
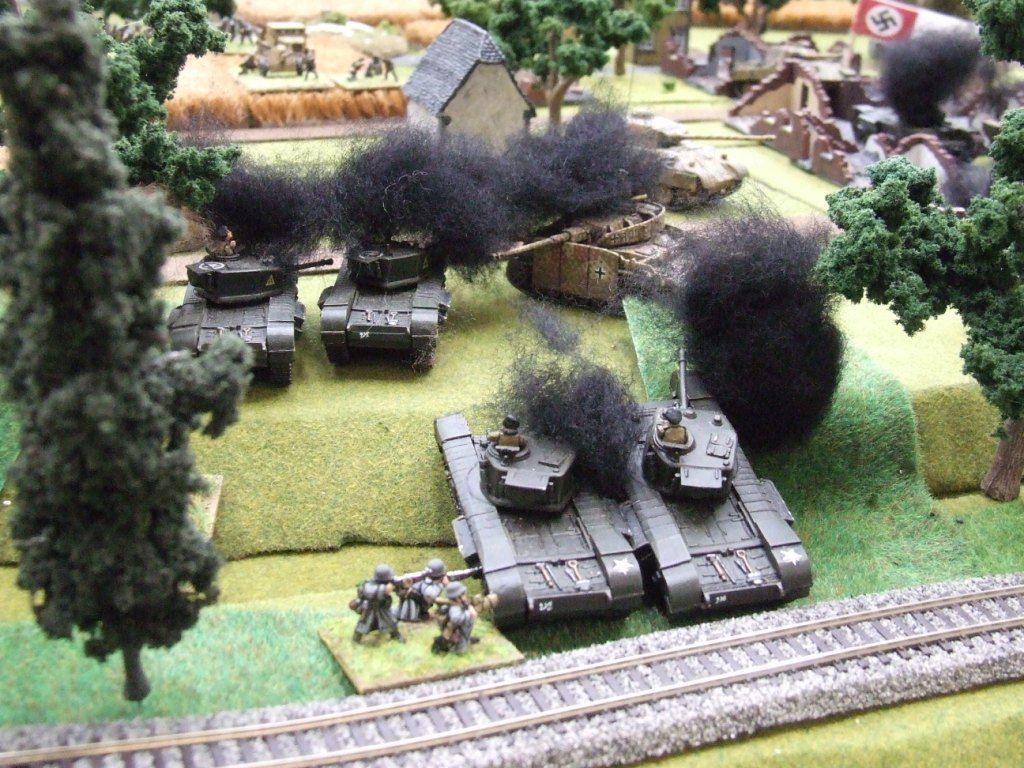
As the Germans attempted to encircle Grimbosq with armour, a half-squadron of concealed British Churchills attempted to mount a counter-attack. The British tanks were quickly destroyed, but the Germans were halted by their sacrifice. |
Grimbosq Photo 49
|
As the Staffords dig in among the graves and mausolea of Grimbosq cemetery, the German armoured thrust is annihilated on the banks of the Orne. |
Grimbosq Photo 50
|
59th (Staffordshire) Division's Commander Royal Engineers (CRE) breathes a huge sigh of relief and gets on with bridge-building. |
Grimbosq Photo 51
|
West of Brieux, British reserve companies wait for the final German assault on the bridges. |
Grimbosq Photo 52
|
As night falls, Siebken's battlegroup consolidates its positions and waits for orders. Will they be renewing the attack at dawn? Or will they be ordered to quietly slip away during the night.? |