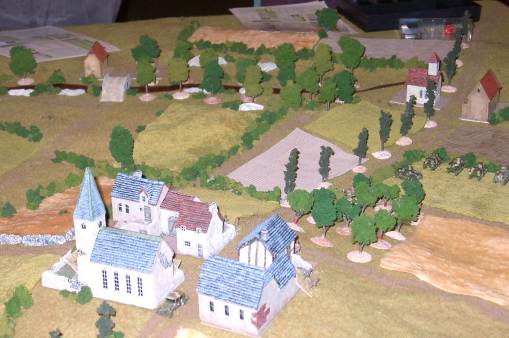
Chateau
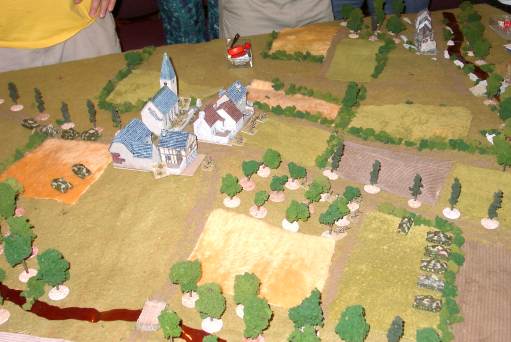
Panoramic view of the battlefield
U.S. Armored Infantry
Gestapo in the Chateau
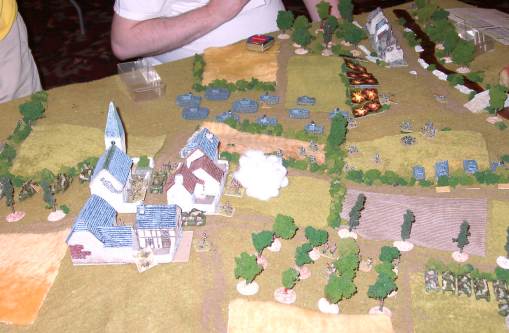
Aircraft Attack.
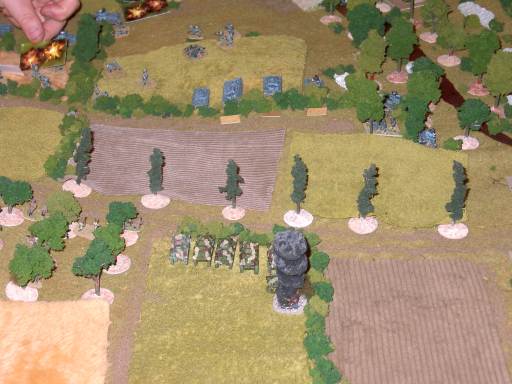
Armored Clash
Bocage
Another look at the Armored Clash
| Click on the Thumbnail for a full-size photo | Description |
|---|---|
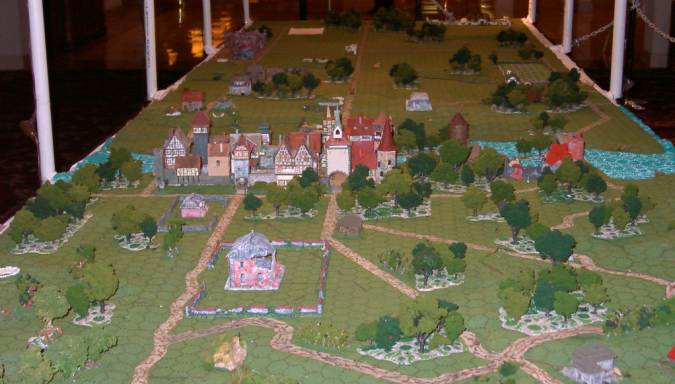
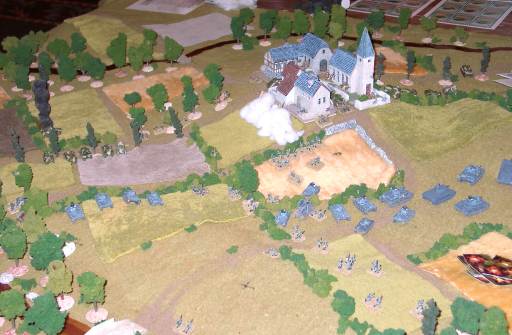
Chateau |
Duke's terrain setups are spectacular and need to be seen in person to be truly appreciated. Here is a chateau in the middle of the battlefield looking toward the Bocage. |
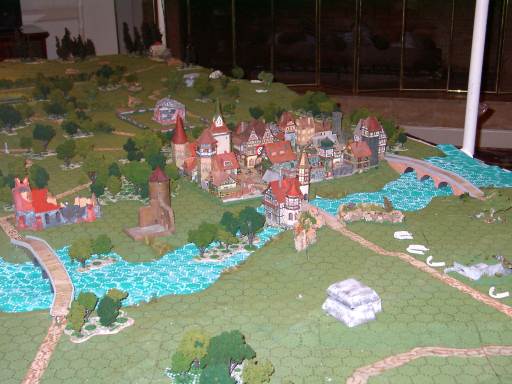
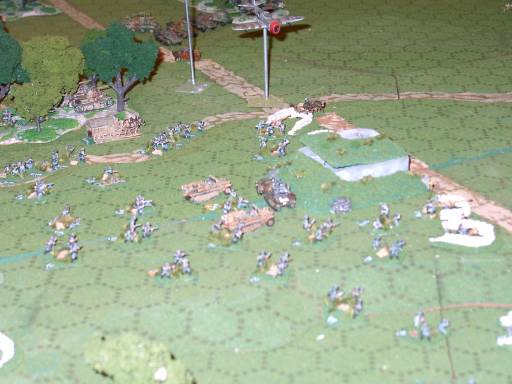
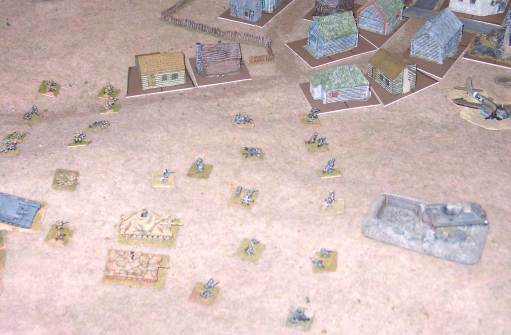
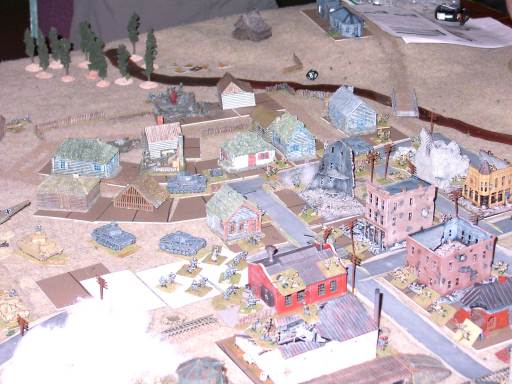
Panoramic view of the battlefield |
When you realize that the table is about 20 feet long, you get an idea of the scope of the battle. |
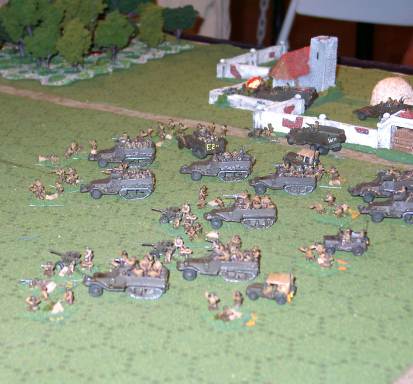
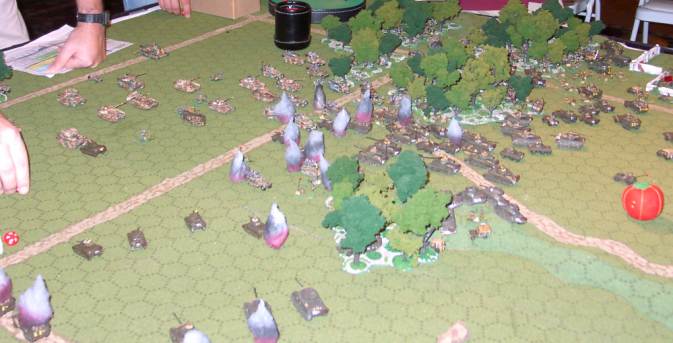
U.S. Armored Infantry |
U.S. Armored Infantry move up. One of the consequences of Duke's decision to go to a lower organization level was that there were a LOT of miniatures on the table. |
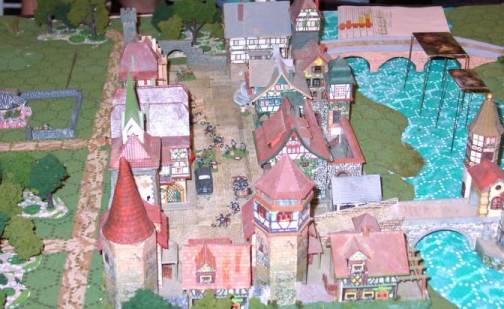
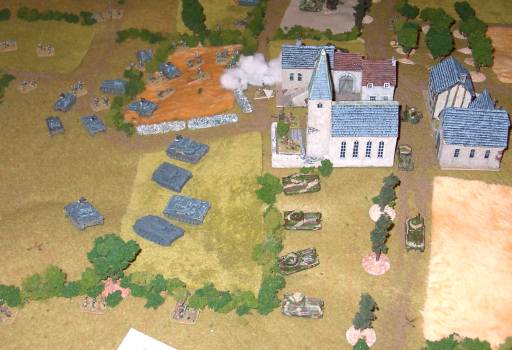
Gestapo in the Chateau |
A Gestapo unit occupies the chateau. |
Aircraft Attack. |
A Group of P47s pay a visit to some advancing German Infantry. This game had it all! |
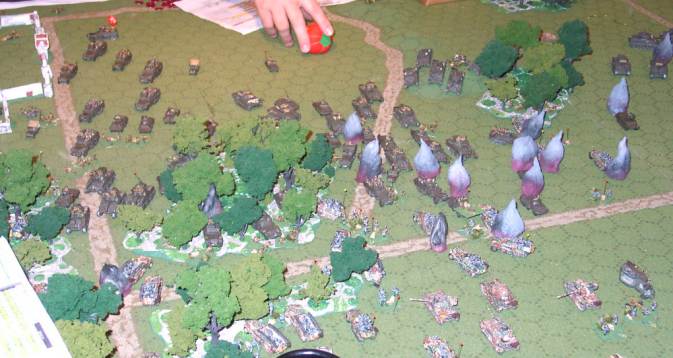
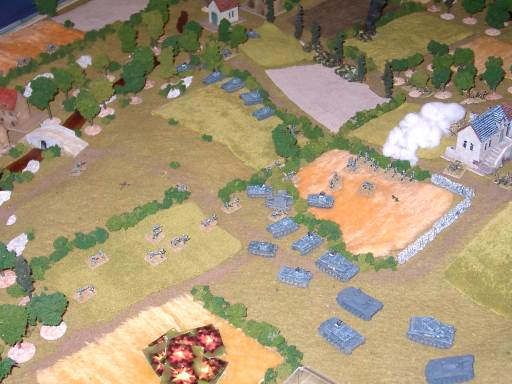
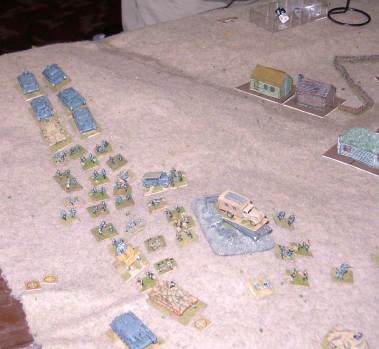
Armored Clash |
Two massive armored forces meet in the open area at one end of the board. The result is carnage. |
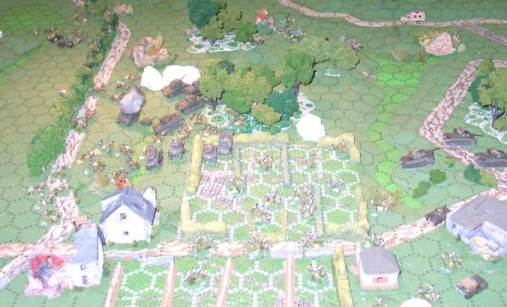
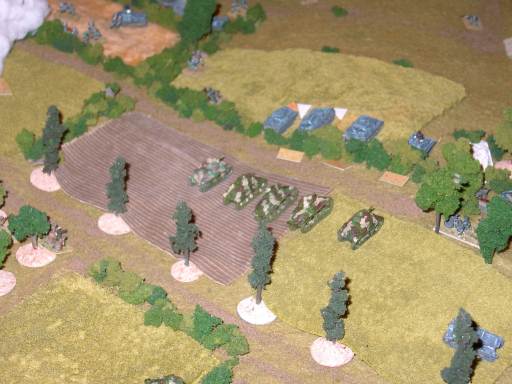
Bocage |
At the other end of the board, U.S. units fight their way through the bocage |
Another look at the Armored Clash |
M36's and Panthers "Duke" it out. |
| Click on the Thumbnail for a full-size photo | Description |
|---|---|
 Initial French Postions |
A view of the initial French positions on top of the ridge. The Germans will be entering from the top of the photo. |
 Initial French Postions 2 |
A different angle on the initial French positions. The Germans will be entering from the left in this photo. |
Germans Move Up |
The Germans move to the attack, holding on the left and sending the bulk of their forces to the right. French Artillery is much in evidence. |
 Another angle on the German advance |
A better view of the main German push. |
 Light Forces Face Off |
On the German left flank, light tanks of both sides confront each other. |
 From the German side |
Looking at the position from the German side, you can see the German infantry moving up alongside their main armored thrust. |
 Another Angle |
The Germans use smoke to cover their advance. |
 Close View |
You can see the disorder markers around the German Infantry caused by the French Artillery. |
 Charge! |
Taking advantage of some lucky suppressions, the French light tanks charge the Germans. |
 German Advance hits French line |
The German armor hits resistance on the right flank. The charging French light tanks can be seen in the background. |
 Charge repulsed! |
The French light armor comes to grief as the Germans recover in time. Most of the advancing light armor is destroyed. |
French Artillery |
Despite the defeat of their light forces, the French artillery is much in evidence. |
| Click on the Thumbnail for a full-size photo | Description |
|---|---|
 Initial Russian Postions |
A view of the city from the right flank of the German line (South?). Russians lie in wait. The German main thrust will be coming from the lower left of this picture. |
Another view of the city. |
This angle shows the city from the German side of the board. The lead German infantry can be seen moving up on the right. |
 Germans Move Up |
Seen from the Russian side of the board, lead elements of the German right flank advance can be seen at the top of the picture. |
Russians Lie in Wait |
A Russian anti-tank gun and supporting infantry wait for the German advance. |
 Here they come! |
The first two lines of German infantry with armor support move to the attack. |
From the German side |
The same situation from behind the German position. |
The German left flank |
On the left, another German column advances. The German left in this game was intended to be a pinning attack. |
 Close View |
You can see the disorder markers around the German Infantry caused by the French Artillery. |
 Charge! |
The attack moves in. |
| Click on the Thumbnail for a full-size photo | Description |
|---|---|
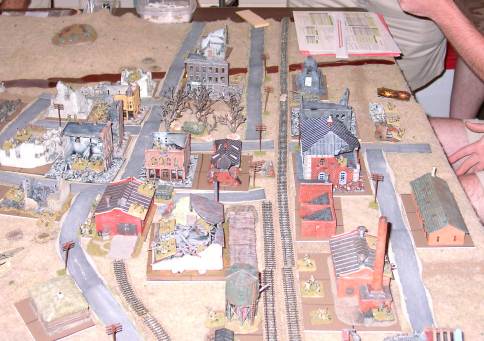
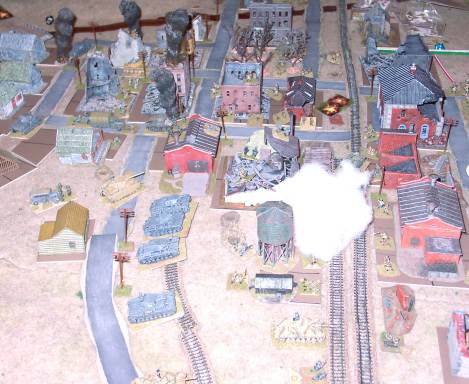
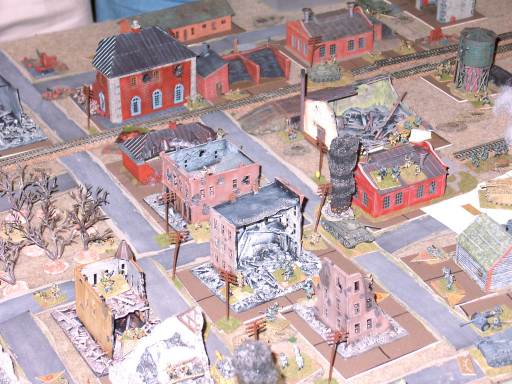 The city |
The ruined city buildings (courtesy of Michael Montemarano) made the terrain in this battle look extremely realistic. |
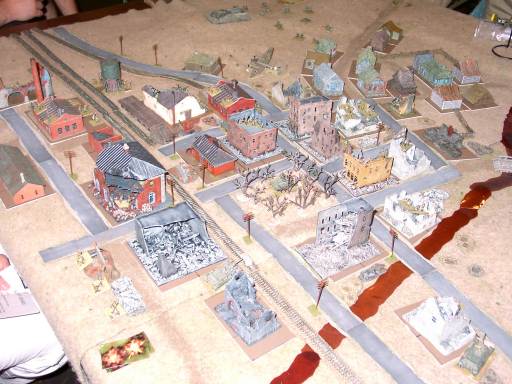
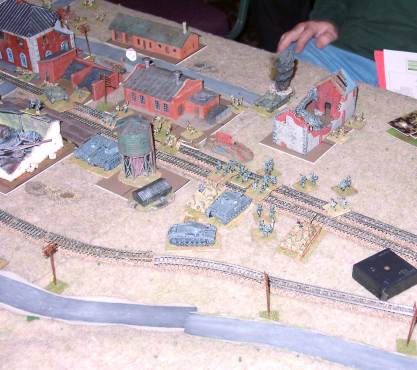
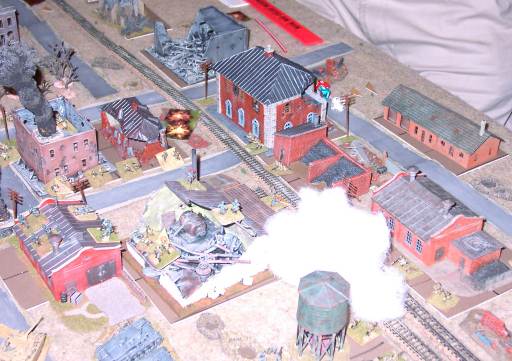 The battle is joined in the center |
Leading Germans hit the Russian positions covered by smoke. |
 Another angle |
The German advance seen from the center of the city. |
The view from the left |
Looking from the German left flank towards the city, you can see how devastated and forbidding the terrain looks. |
Another view of the German Assault |
The view from the German right flank. |
Russian Reinforcements move up |
Russians move up to support the threatened sector. |
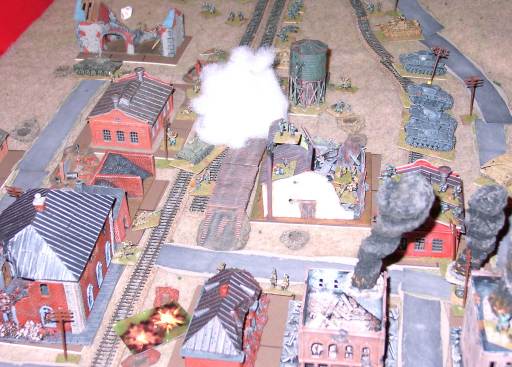
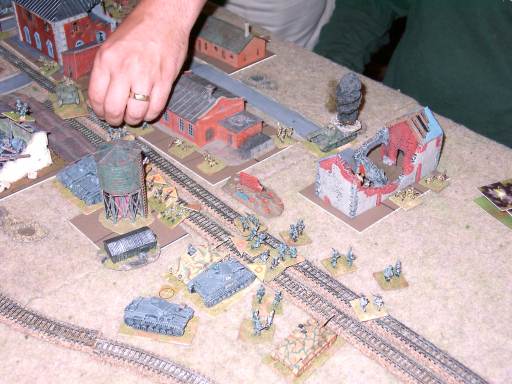
 Pioniere attack. |
Supported by armor, Pioniere troops assault the city. |
Rob and Pete |
Rob "Close Assault" Wubbenhorst (left) and Pete Landry ran the center and left of the German attack. Pablo ran the right. Unfortunately I didn't get a picture of Pablo. |
Michael Panzer |
Michael Panzer ran the right flank of the Russians. |
 Clash on the Right |
Assaulting Germans run into the German positions. |
German Left Center |
Pete's troops on the German left ran into a meat-grinder, so some of the center forces move over to help. |
Battle in the Center |
Rob's elite engineers are at 75% losses, but they have driven a wedge deep into the Russian position. The transport vehicle is carrying the Regimental commander, who is supporting the Engineer's morale rolls. |
 Fight on the German Right Flank |
The Russians move up to counter the German move on the edge of the town. |
Copyright 2000-2019 Fire and Fury Games, all rights reserved
Web page maintained by
Webmaster@FireAndFury.com.