| Click on the Thumbnail for a full-size photo |
Description |
|---|

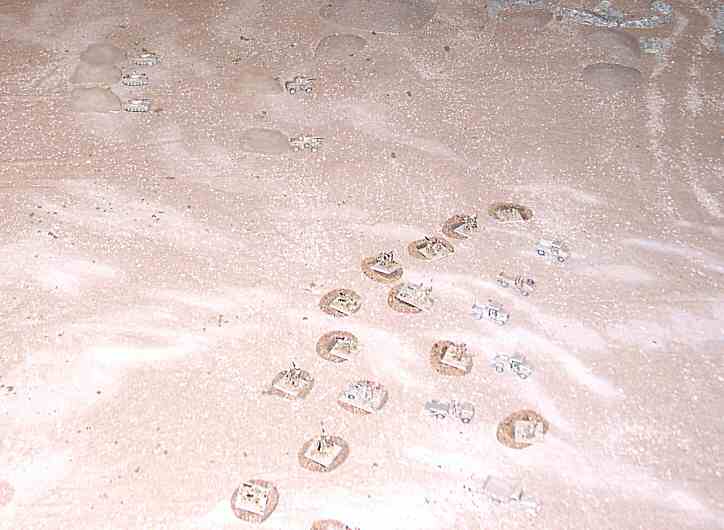
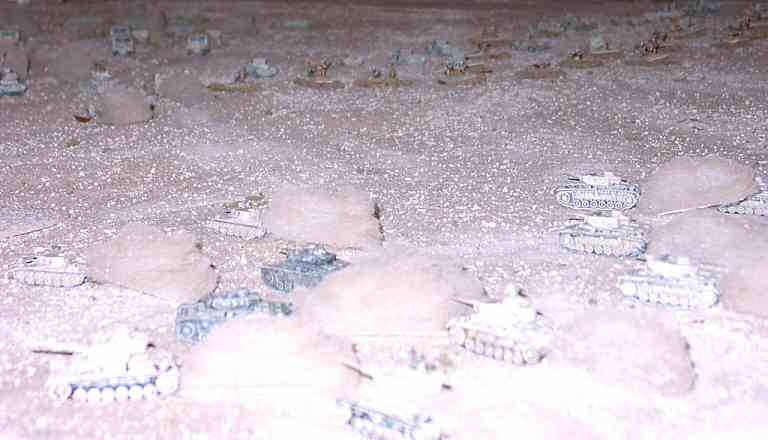
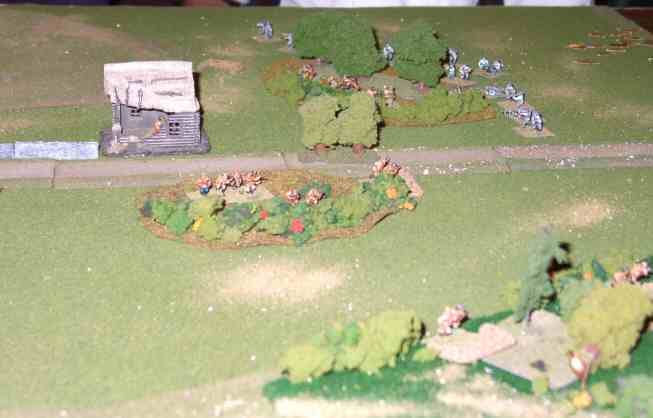
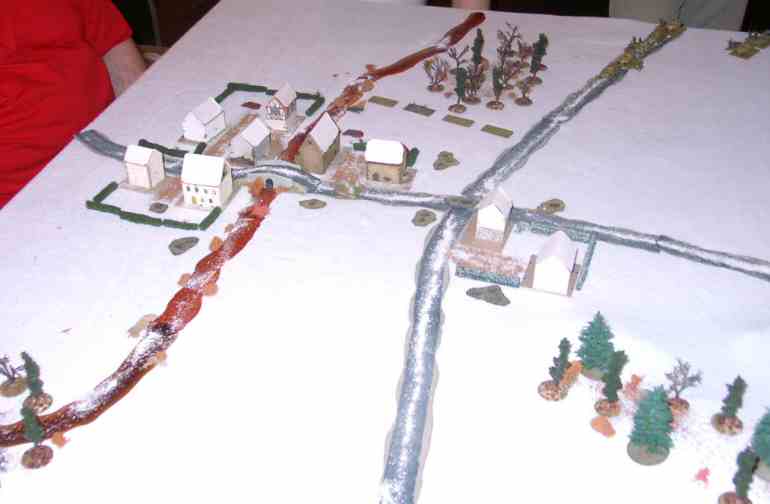
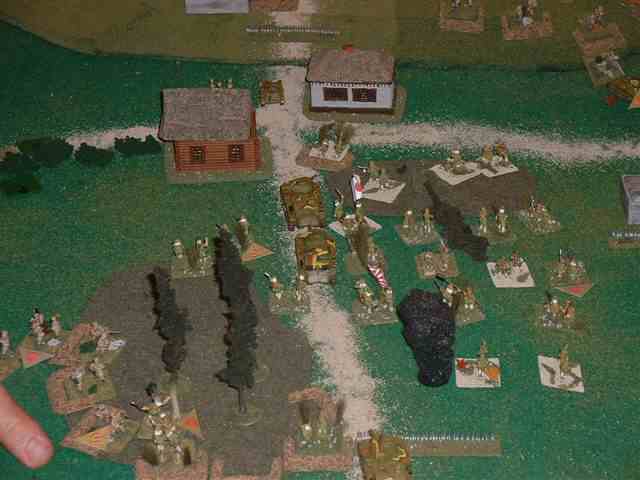
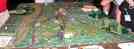
Italian Infantry await their fate
|
The Italians wait in dug-in positions behind minefields. |
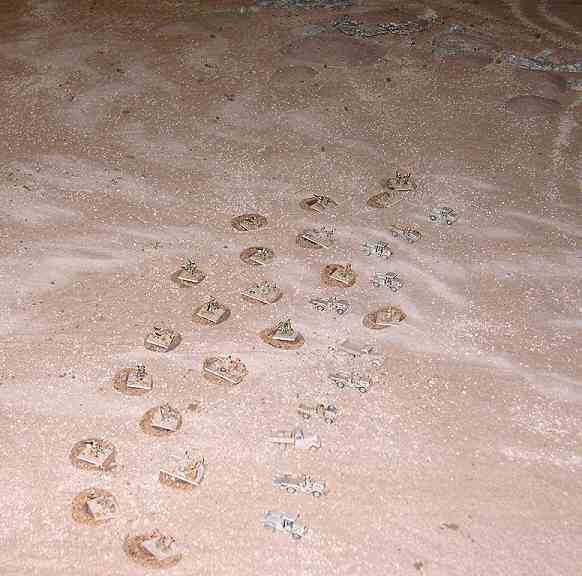
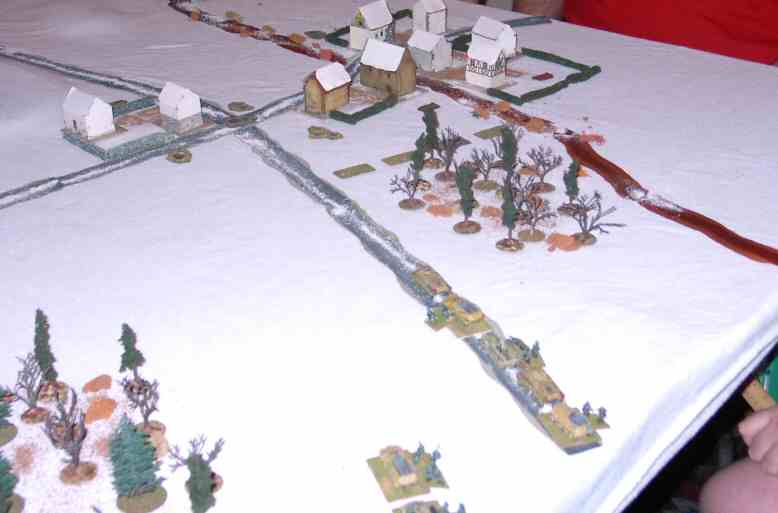
Italian Armor await its doom
|
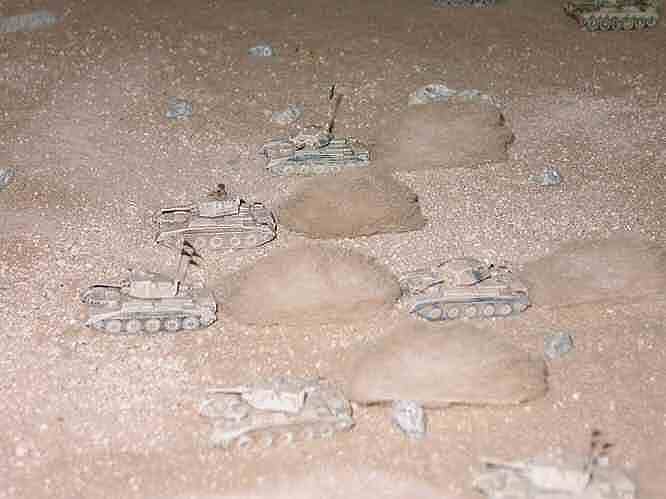
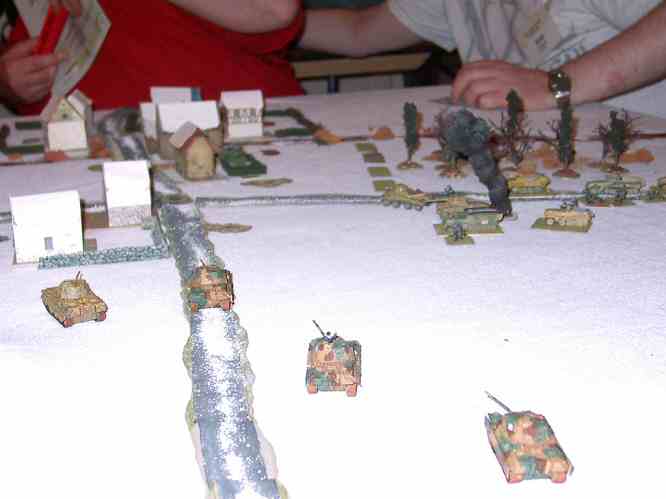
Far out in front of the Italian main positions, a column of M13/40 finds itself
directly in the path of two Battalions of British Crusaders (this is historial). |
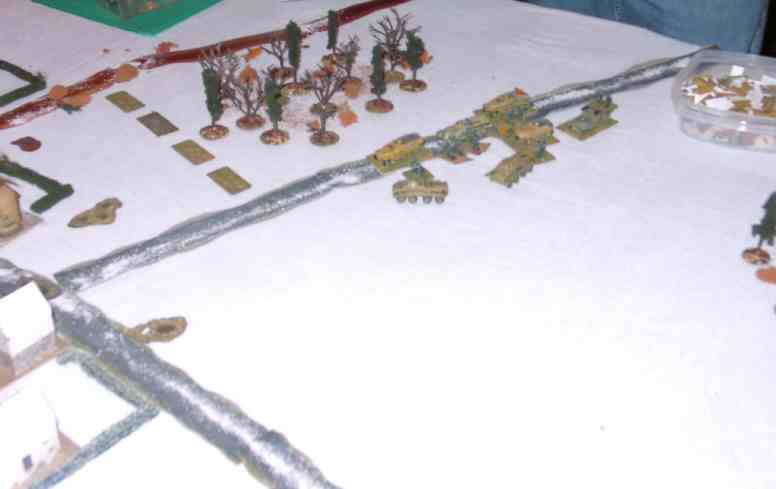
Here they come!
|
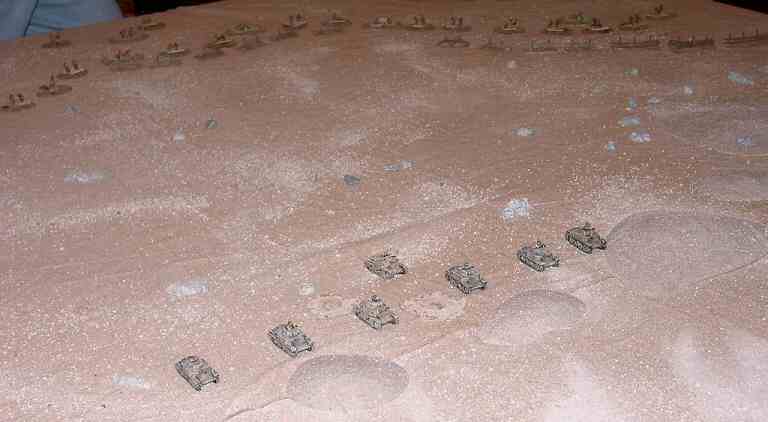
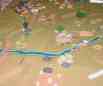
A formation of Crusader charges onto the board. Note the dust clouds behind the moving
tanks. This is treated as a disapating smoke screen. This worked quite well in the demonstrations. |

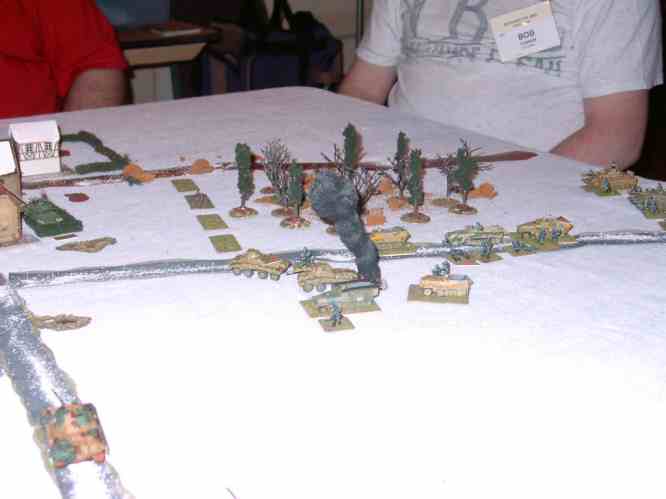
More Crusaders!
|
More Crusaders pour onto the board. |

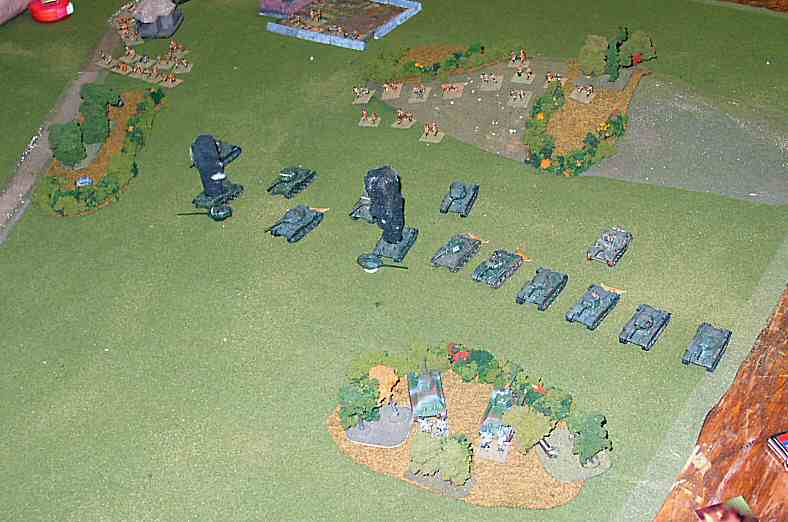
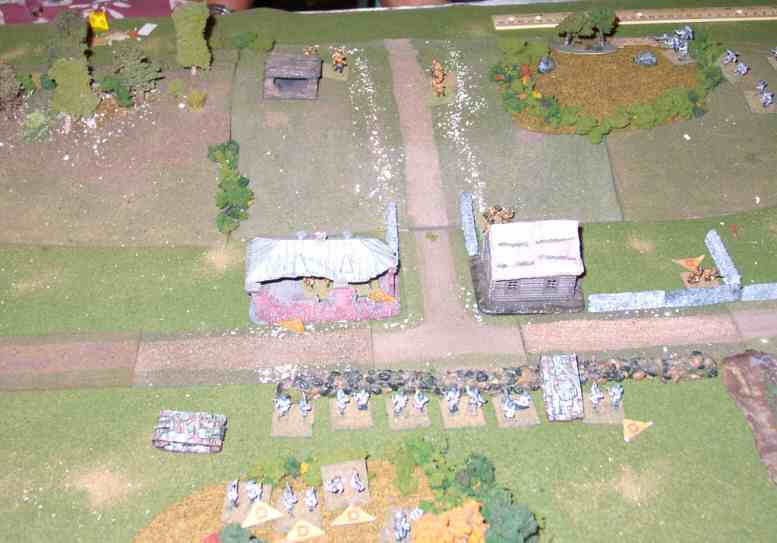
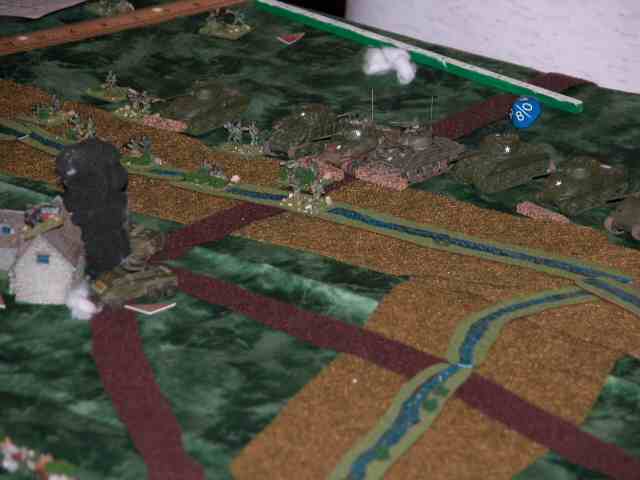
It sure is lonely out here.
|
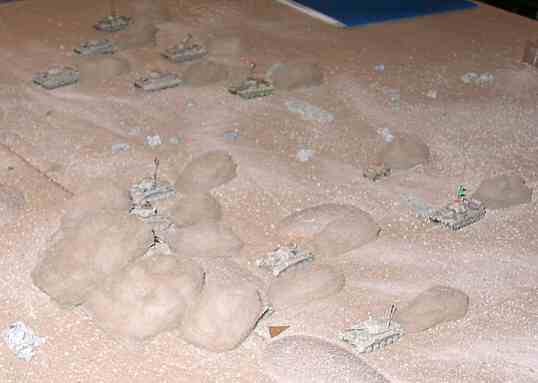
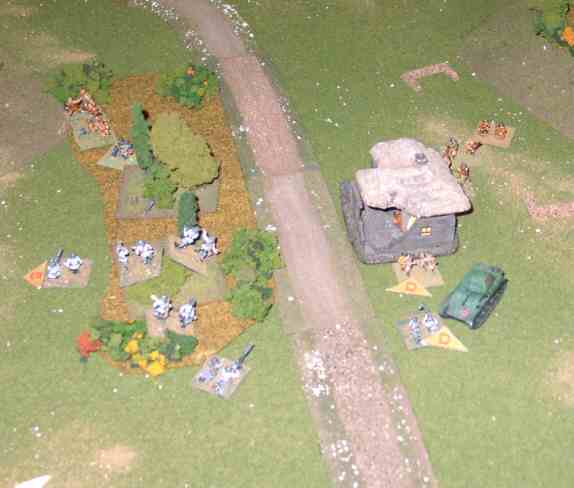
The Italian Armor waits in front of its infantry. Just off the bottom edge of the picture is
a wall of British Armor. |

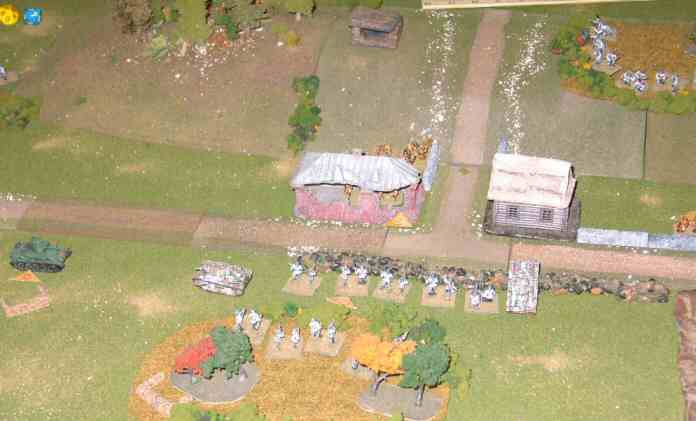
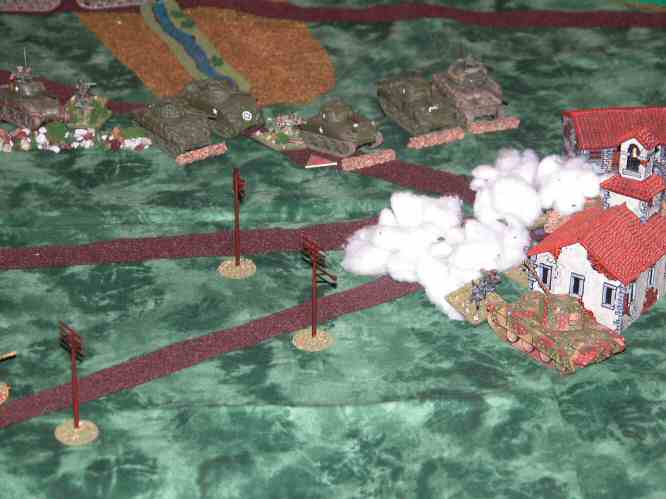
Smokin!
|
To help their tanks make a safe getaway, the Italians drop some smoke on the lead British. |

Run Away!
|
Discretion being the better part of valor, the M13/40s head for the dubious safety of
their Infantry postions at their top speed. |

Those mines can't hurt us!
|
The first wave of British Tanks attempts to rush the Italian positions through the minefields.
However, enough of the vehicles are delayed by the minefields to give the Italians
a chance to react. |

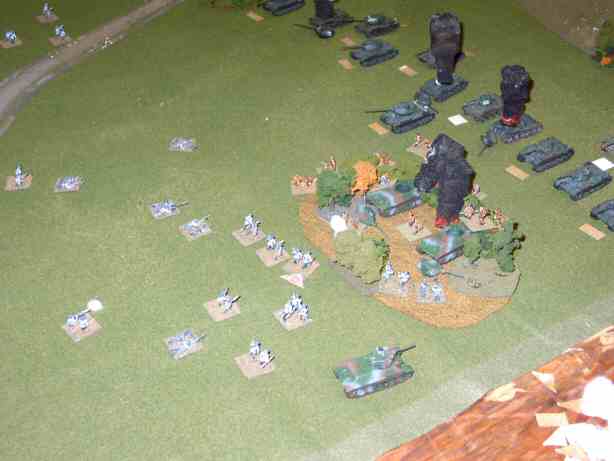
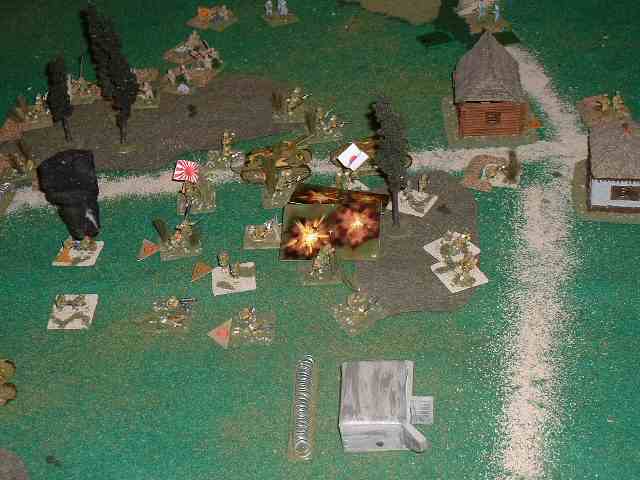
Italian Medal of Honor
|
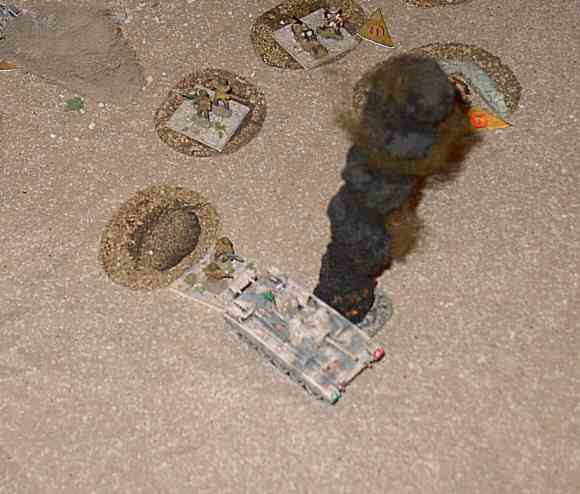
An Italian infantry unit destroys one of the penetrating tanks in close combat! |

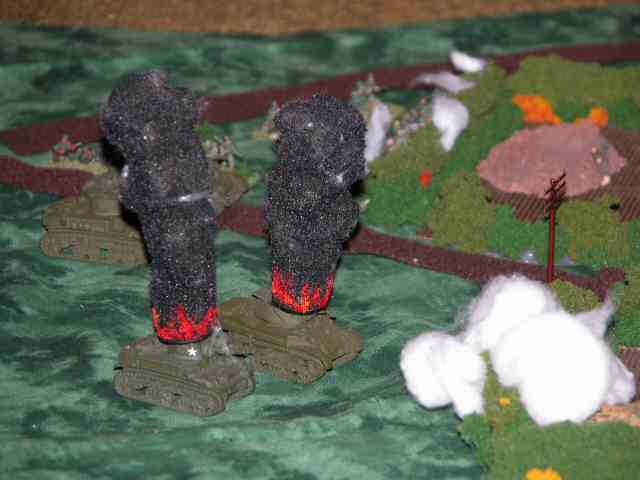
First Attack in shambles
|
The first wave of British tanks comes to grief. They soon failed their morale role and headed
back across the desert. However, there was a full second wave. |

Richard with his ribbon
|
Richard H. shows off his gamemaster battle streamer. |

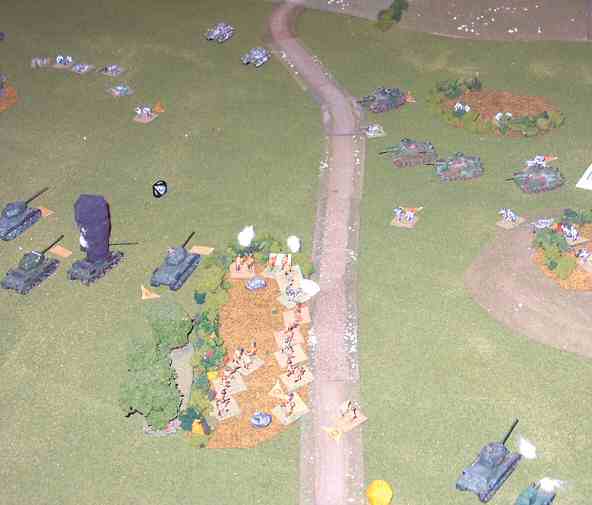
The second wave approaches
|
The second wave of British tanks heads for the gap in the minefield, covered by smoke.. |
After the first wave had come to a bad end appropriate for a light cavalry charge, the British players
sent in the second wave in a methodical way. They noted that the Italians could not score vehicle
kills with ANY of their weapons beyond 5 inches. The British moved up to about 6" an proceeded
to shoot up the Italians with impunity. Rather than moving through the mines, the British
went through the obvious gaps. At Historicon, we learned a few things about
setting up desert scenarios, which was reinforced by the subsequent battle of Sidi-Rezegh (where
the British were on the receiving end):
| Click on the Thumbnail for a full-size photo |
Description |
|---|

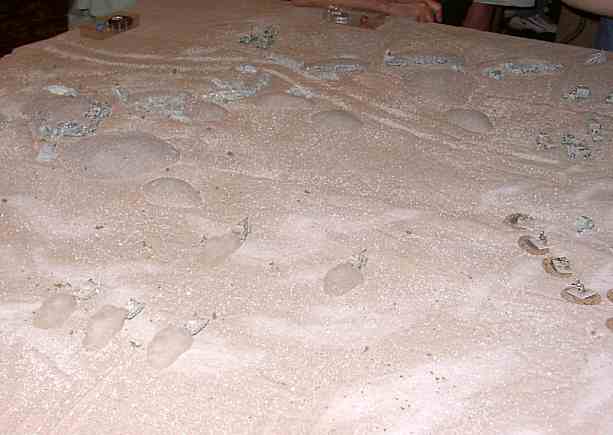
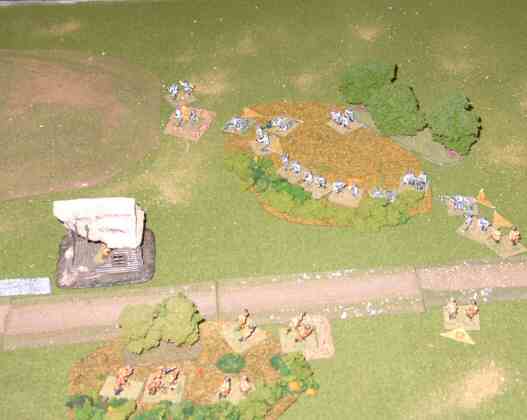
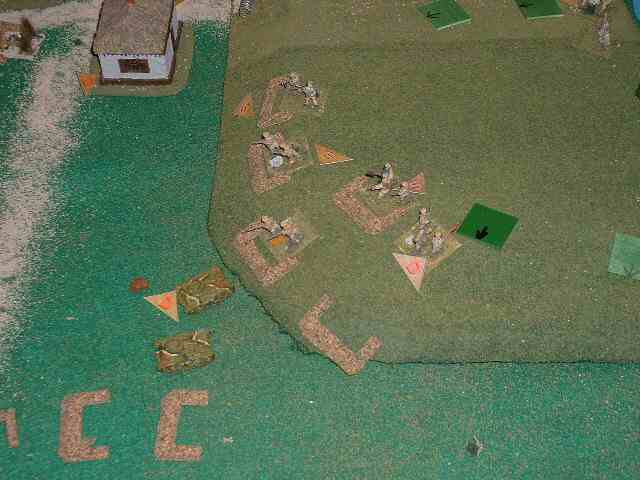
British Infantry
|
The British and their support await the attack. |

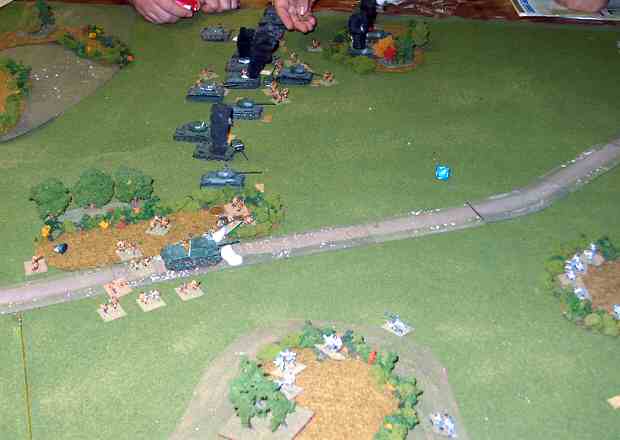
Another view
|
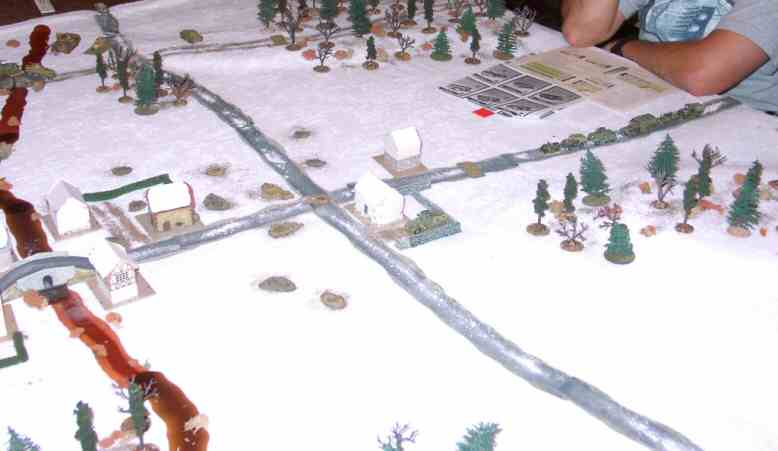
A more complete view of the battle, showing the British Artillery in the rear. For some
reason, the British player decided to move them closer to the action, and they were caught
while in transit.. |

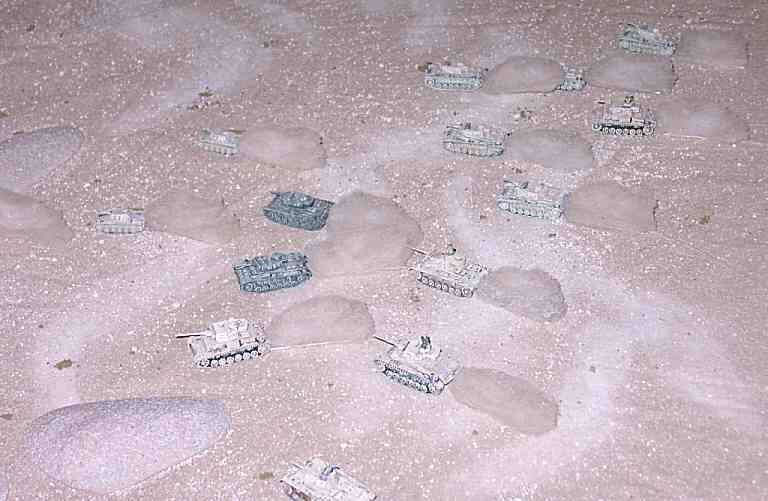
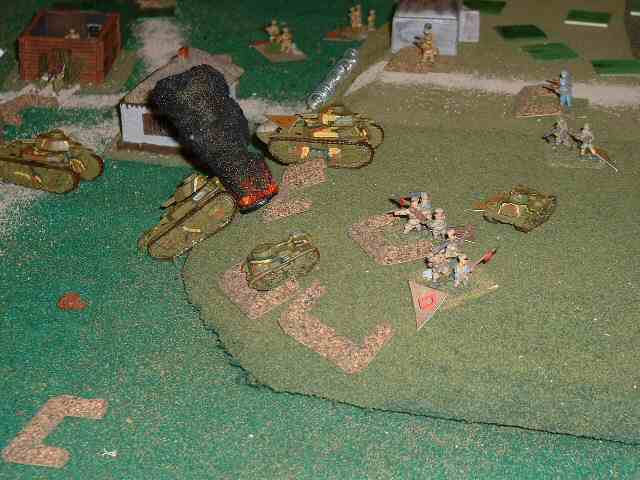
Germans Arrive
|
German Armor moves in, chasing some British Armoured cars. |

Armored Cars run for their lives
|
Chased by some German light tanks, the Armoured cars head for safety. |

Another view
|
Another view of the chase of the armoured cars. Note the British lurking behind the escarpment. |
Tanks a lot
|
The main German force arrives. |

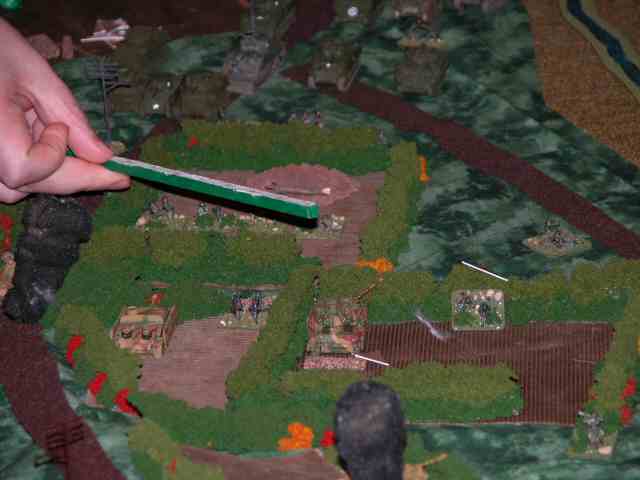
Ground Level view
|
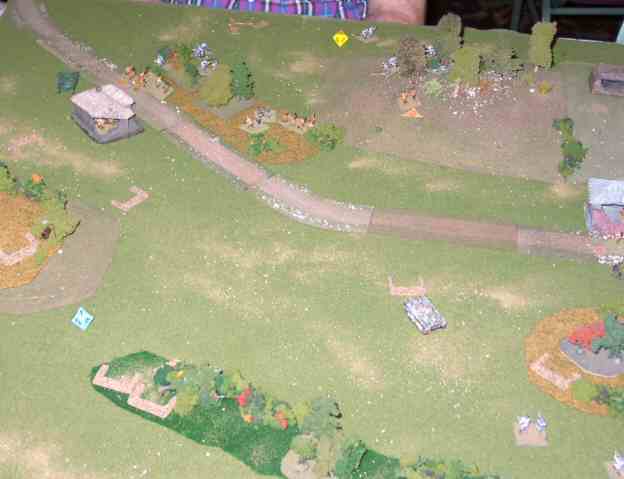
A view of both the German advance and the British positions. |

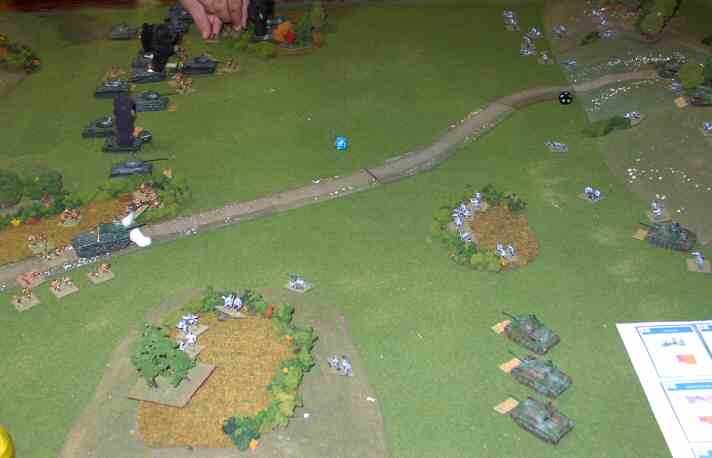
From the British Side
|
The Germans and British as seen from the British side. Note the trucks moving up to meet the
Germans. They were carrying 25-pdrs and should have stayed where they started. |

Germans clear the escarpment
|
While the main German force prepares to move behind the British position, some German tanks
move up to clear the escarpment. |
The lessons from the first game were reinforced here. Soft targets must start hidden.
| Click on the Thumbnail for a full-size photo |
Description |
|---|

Kursk-Russian setup
|
Michael Panzer's games are characterized by meticulous preparation and well-defined setup.
Here the Russians await the German onslaught from well defined defensive positions and minefields |

German Recon Moves out
|
German Recon units move out and are greeted by Russian Artillery |

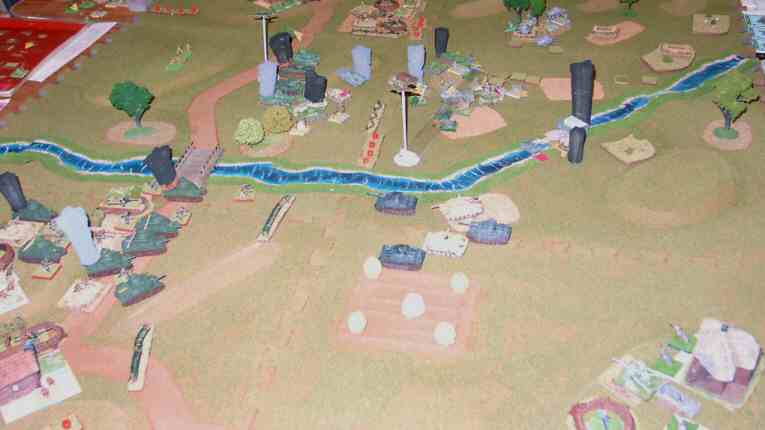
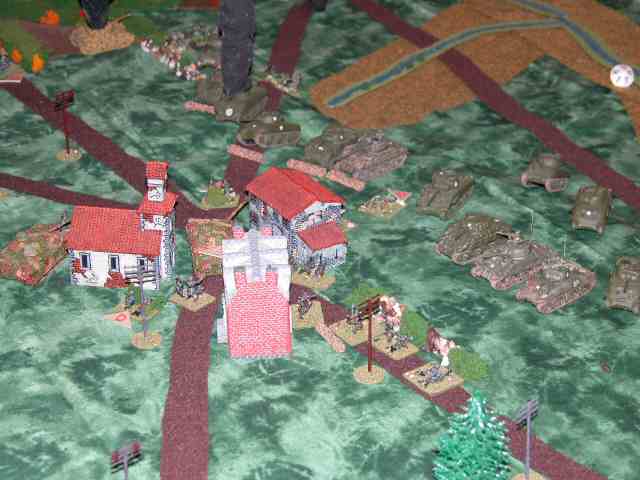
Stugs up the Middle
|
German SPGs move up the middle while Recon units (in the background), probe the flank |

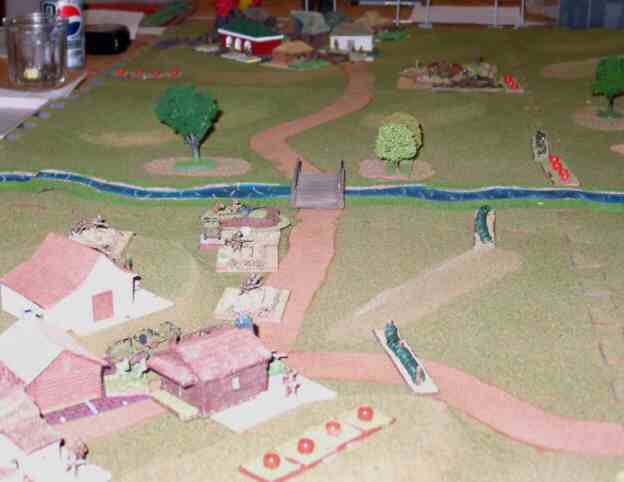
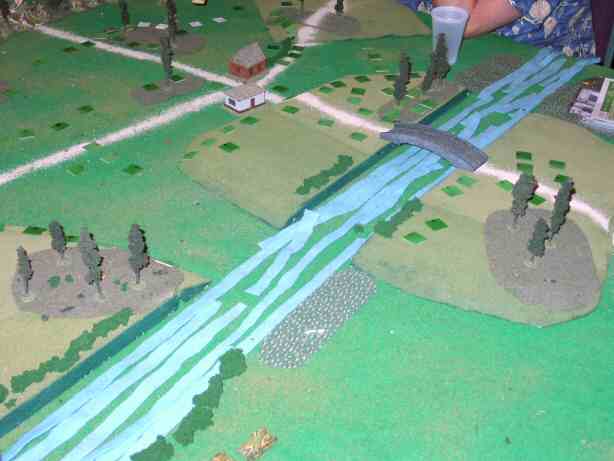
Engineers put in a Bridge
|
Another view of the same situation as the previous pic. While the Germans advance, engineers
bridge a river. |

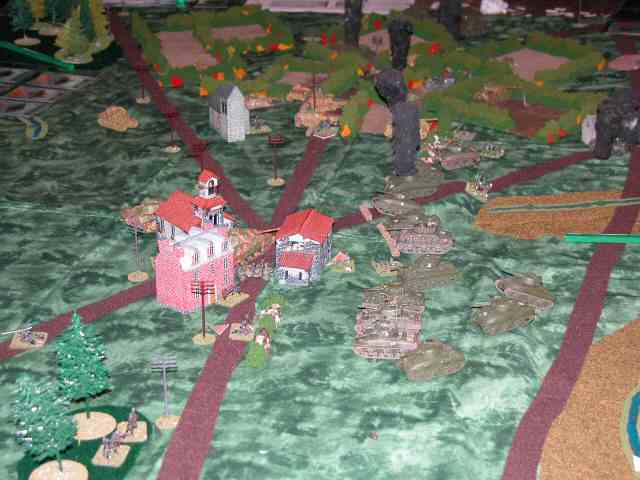
Recon
|
Another view of the same situation as the previous pics. The Recon moves out. |
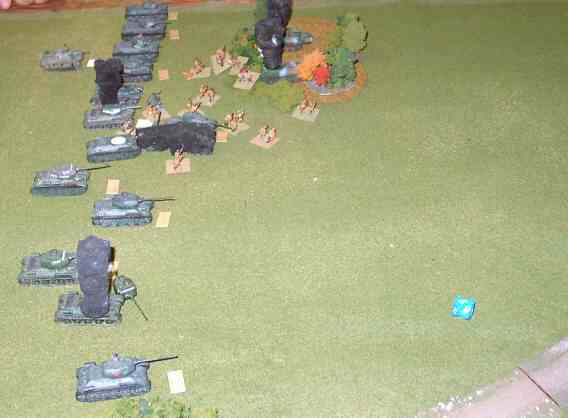
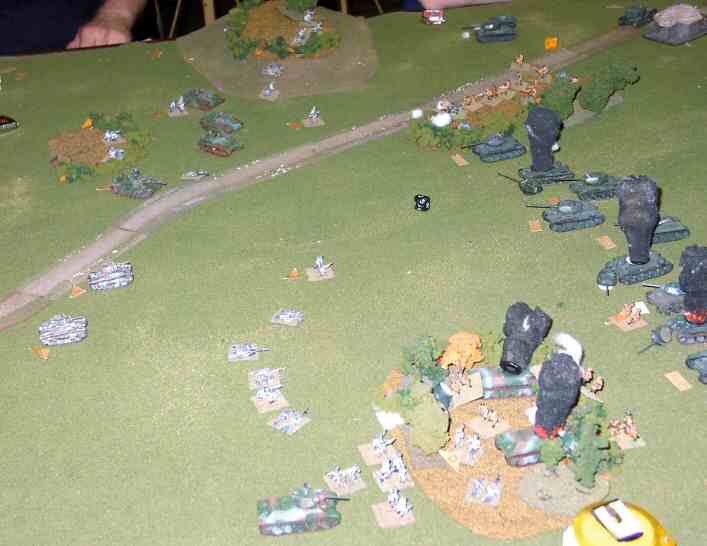
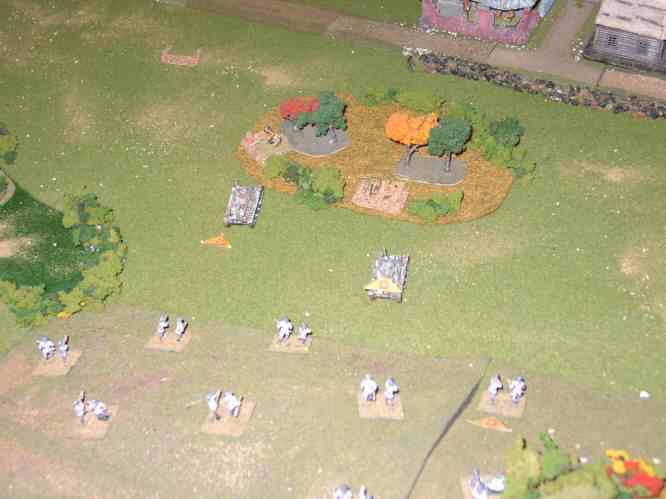
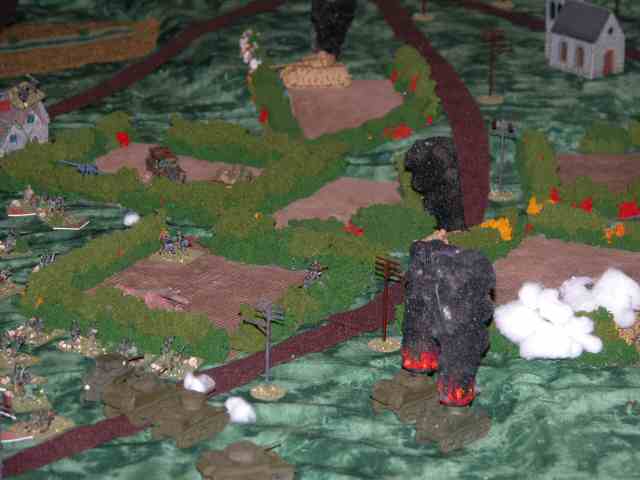
Russian Armor meets German Air
|
The Russians send in their armor, which is immediately attacked by German Tank-busters. |

More Russians rush-in
|
More Russian Armor appears, and the Stugs start inflicting damage. |
| Click on the Thumbnail for a full-size photo |
Description |
|---|

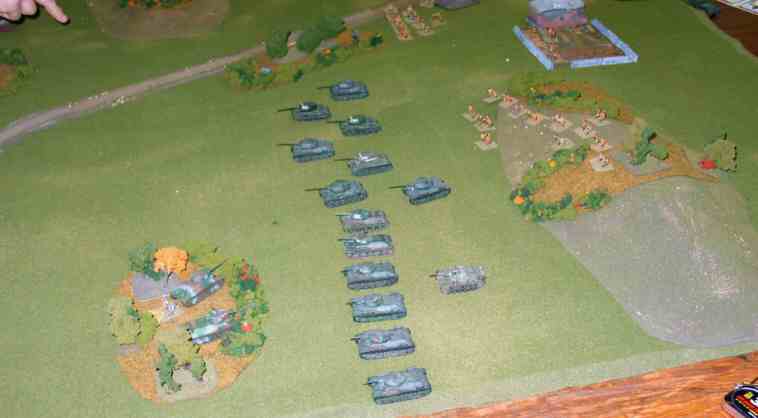
Russian setup
|
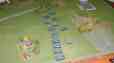
Russian Tanks await the attack order. The vehicle in the back is an SU-76i |

Finn setup
|
At the other end of the table, the Finnish Stugs and captured T34s get ready.
The Finns use a combination of German and captured Russian equipment. |

Finns Move out
|
The Finns send their T34s with tankriders to capture a strategic woods on the right flank. |
Russians Charge
|
The Russians send their tanks out to counter the Finnish move. Infantry moves out behind them. |

First Kills
|
The Veteran Finnish Stugs (just off the bottom of the picture)
find that the charging Russians are within their effective range. |

Payback
|
The Russians destroy one of the Finnish T34s. |

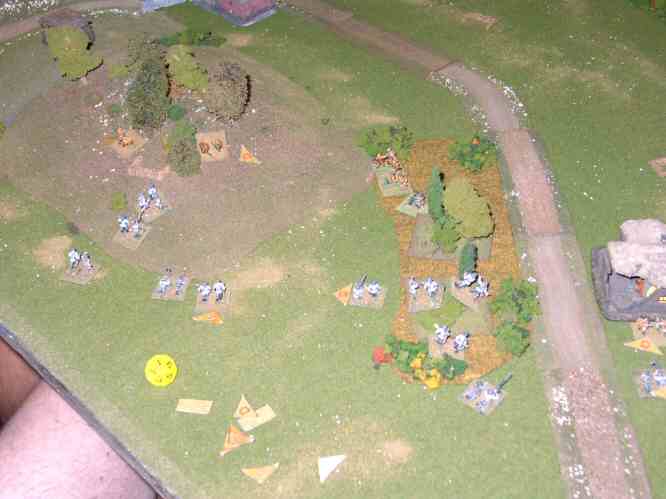
Battle for the woods
|
The battle for the woods rages. The second Finnish T34 is knocked out, and infantry
joins the fight. On the other flank, the Finns occupy another hill, but Russian infantry with
a Su152 prepare to attack them. |
The Battle for the Woods continues
|
Finnish infantry on the right flank moves up to help their comrades. Stugs on the flank
pour fire into the kill zone. |

Russian Infantry Attack
|
Russian Infantry pour into the woods to dislodge the Finns before their comrades arrive |

Another View
|
The battle for the woods from the Finnish side |

Finns counterattack
|
A bad maneuver roll having driven off the Su152, the Finns move
their Stugs closer to the battle. |
Climax
|
The Finns and Russians battle for the woods. |
| Click on the Thumbnail for a full-size photo |
Description |
|---|

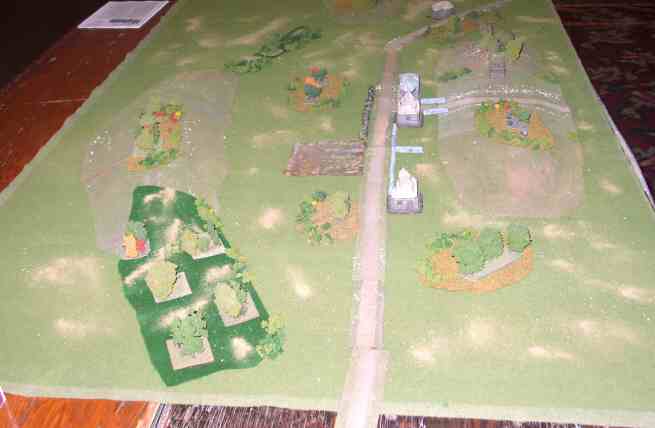
The map
|
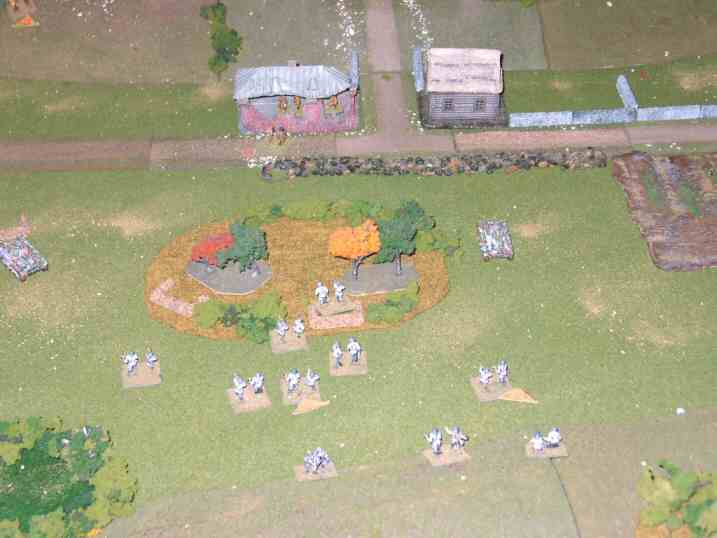
The Russians set up in a valley. The Finns set up anywhere outside the rim of the valley. |

The Russian setup
|
The Russians get prepared in the center of the board. |

Finns attack the mortars
|
The Finns decide their initial positions before the Russians set up. We decided
on a 3-pronged attack. By luck, the Right flank forces appeared just behind the Russian mortars. |

Russian mortars overrun.
|
The Russians mortars were wiped within the first 2 turns. Here the Finns occupy their positions. |

Center Force advances.
|
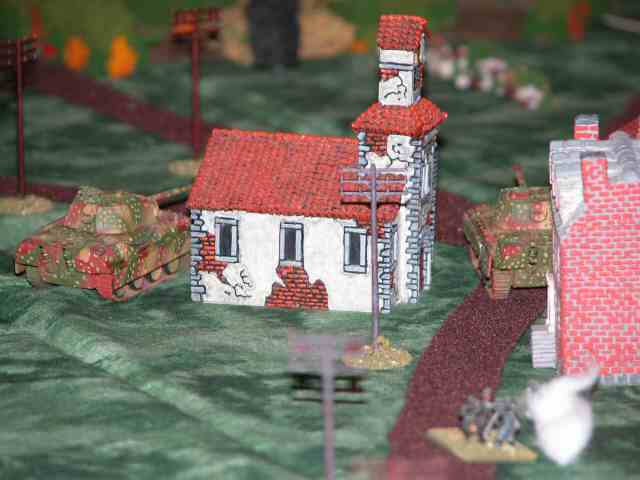
In the middle, the Finns advance on the center town, led by two Finnish tanks (T26s).
They encounter an anti-tank rifle, which disorders one of the advancing tanks. |

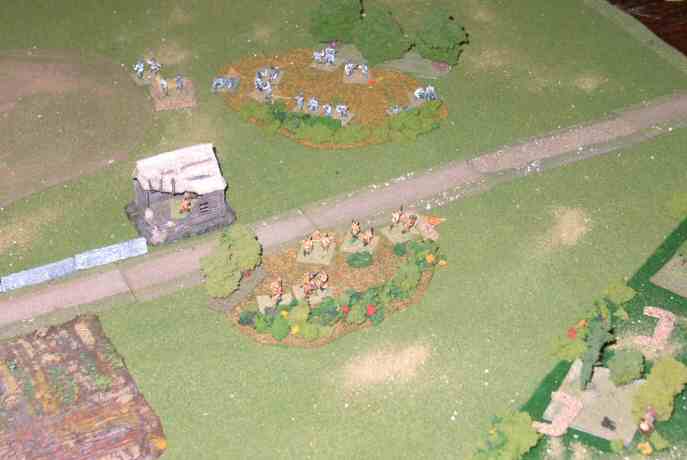
Left Force attacks.
|
On the left (as seen from the perspective of the center force, the Finns immediately run
into forces on the hill and in a blockhouse. Sharp combat ensues. |

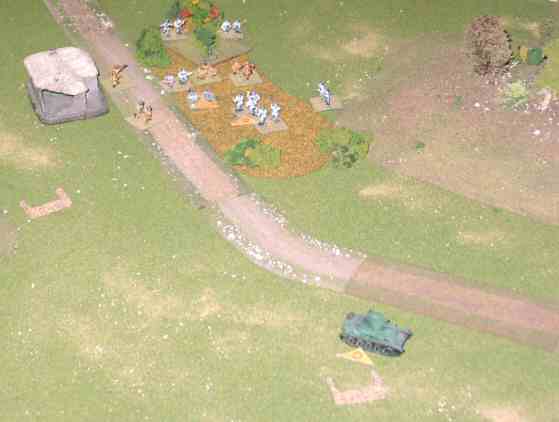
Russian tank intervenes.
|
The Russians' lone tank, a T-70 attacks the Finnish left flank forces. A Finnish ATR
gets ready to defend. |

Center and Left.
|
The center force advances, while the left flank is still embroiled in combat. |

Center force advances.
|
Having disposed of the tripwire forces, the center force gets ready to occupy the woods
in front of its primary objective. |

Firefight
|
Having disposed of the mortars, the right flank Finnish forces engage in a firefight
with the Russian defenders. |

Russians run
|
Even with the presence of the tank, the Russian defenders break. |

Up against the wall
|
Despite some Russian defensive fire that disordered the first wave, and a poor
maneuver roll that forced them back into the woods, the center force establishes a
base of fire for its assault on the town. |

Up the hill
|
The right flank force assaults up the hill. |

Tank Battle
|
The T70 moves to the middle, but is confronted by a T26, which disorders it. |

Mopping up
|
The Finns on the left flank mop up the remaining Russians in the woods. |
I must admit to being partial toward the Finns. They almost always find themselves with
superior troops but inferior numbers and equipment quality (unlike the Germans who usually
have superior equipment). This makes their battles extremely challenging and I am looking
forward to more Finns from Two Tin Soldiers.
| Click on the Thumbnail for a full-size photo |
Description |
|---|

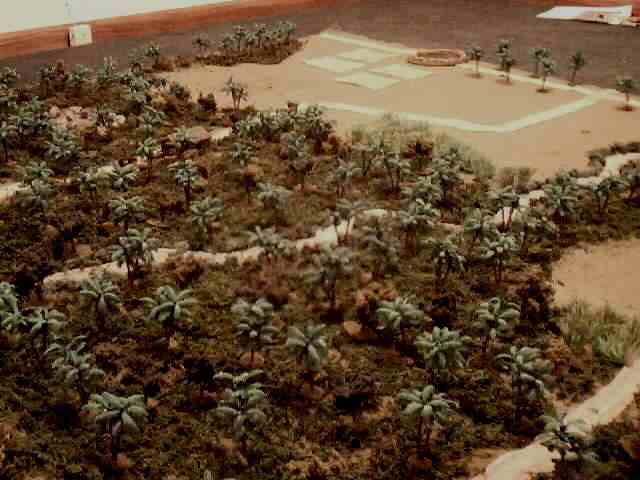
The Map
|
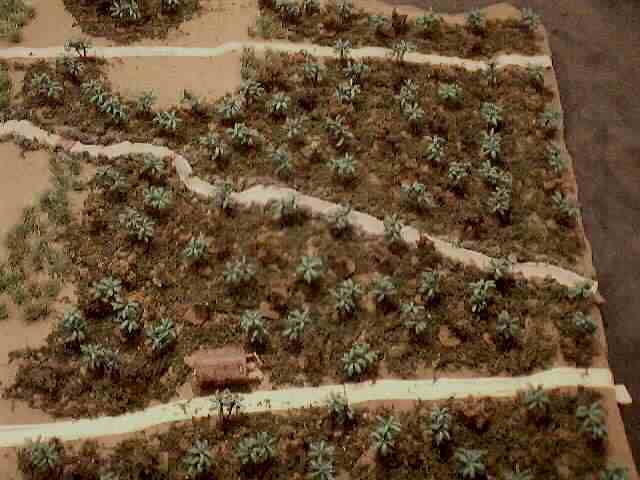
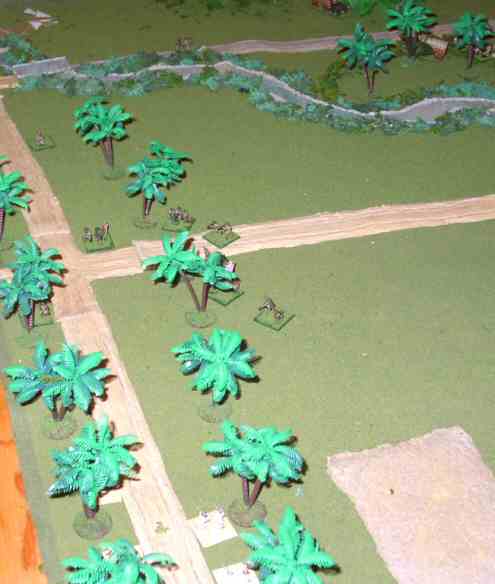
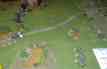
The Kokoda scenarios are fought in dense Jungle. Here is a picture sent to me
by Steve before the convention |

The Jungle
|
Another pre-convention look at the Jungle terrain. |

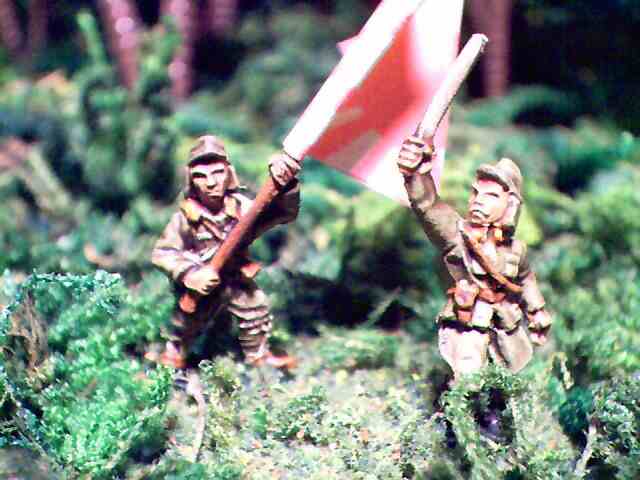
Angry Japanese
|
These guys look really mad about something. Perhaps it is because the
Aussies get to attack them for a change. :-) |

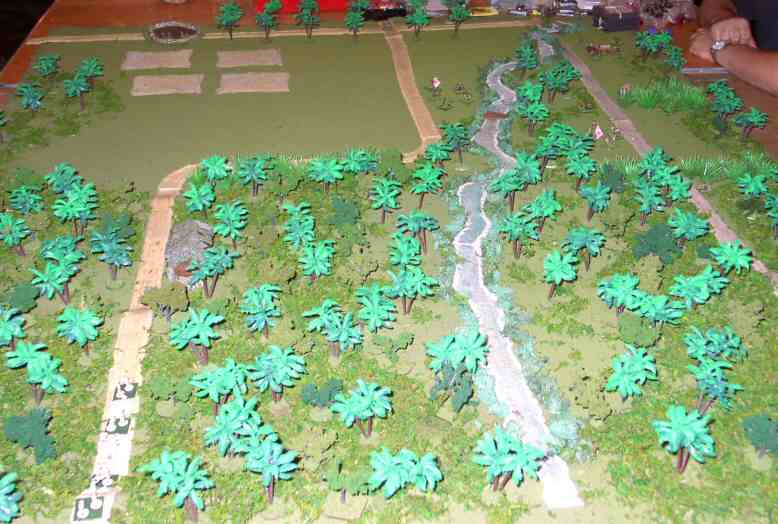
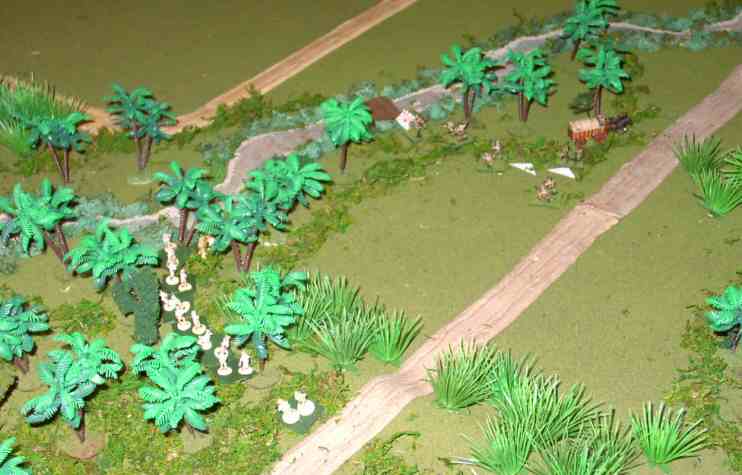
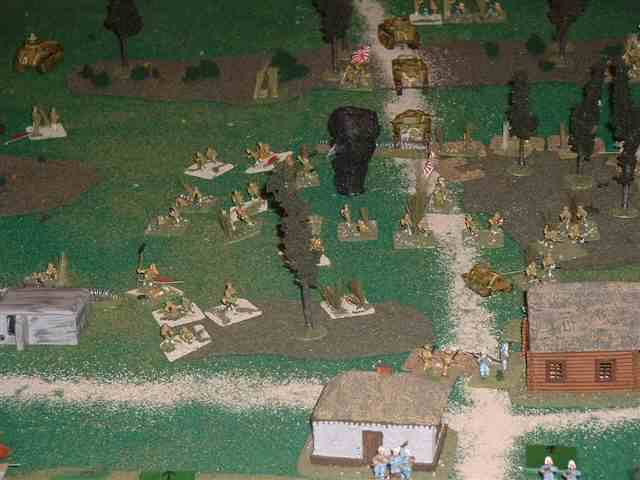
At the convention
|
Here is how the terrain looked a the convention. The Australian attack columns move up |

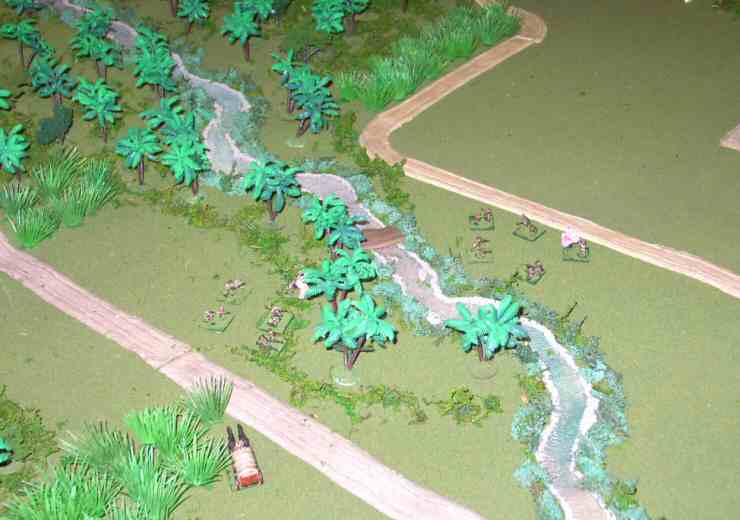
Left Flank
|
The Left Australian column makes contact. |

Right Flank
|
The Right Flank Australian column makes contact. |

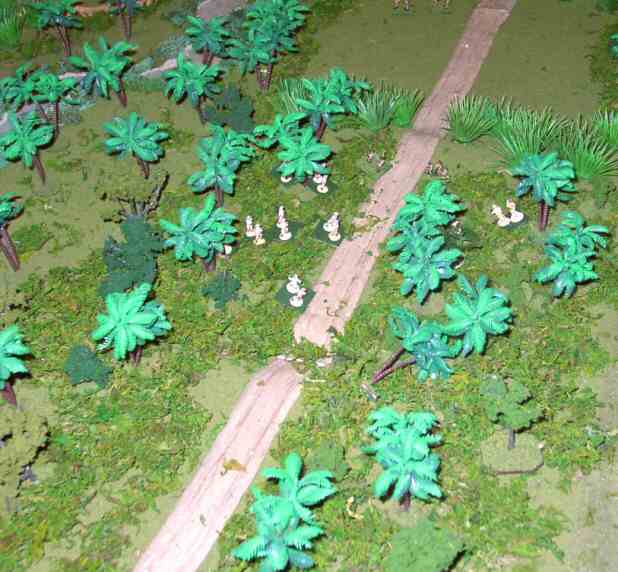
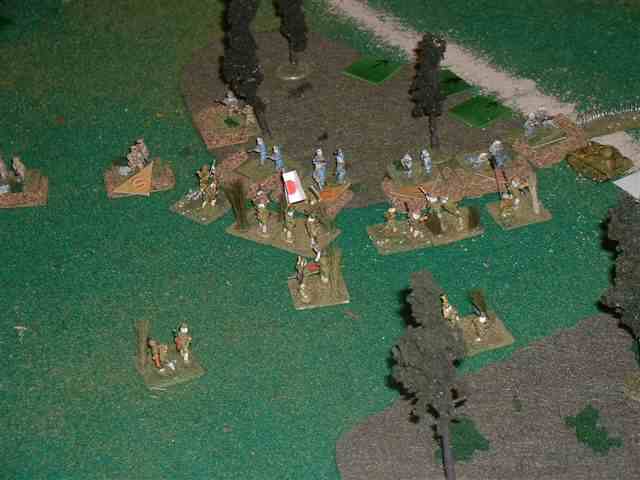
Scattered Japanese Troops
|
The Japanese start this
scenario scattered and inactive, so the Australian must be aggressive and attempt to
overwhelm them in detail before they can get their act together. |

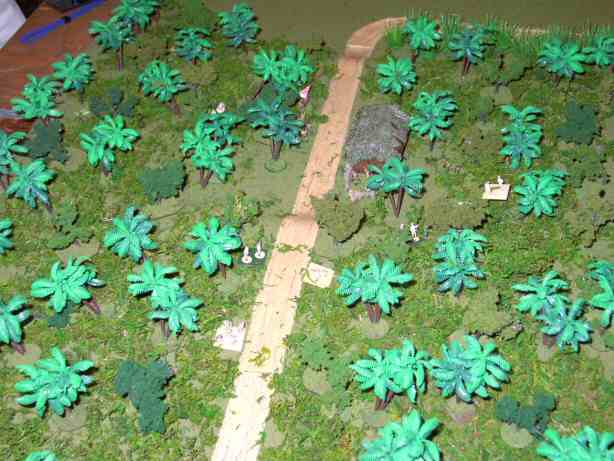
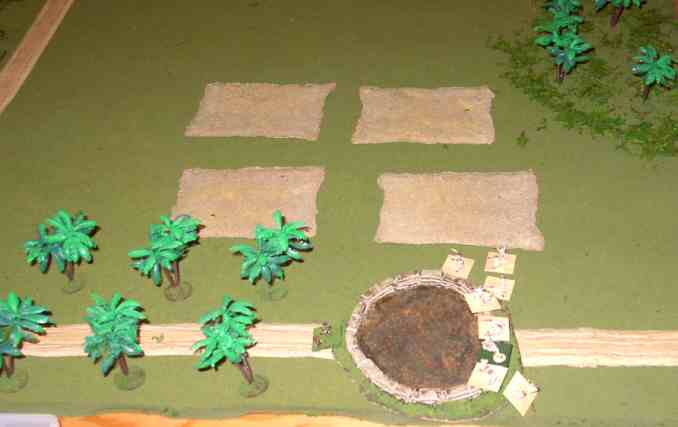
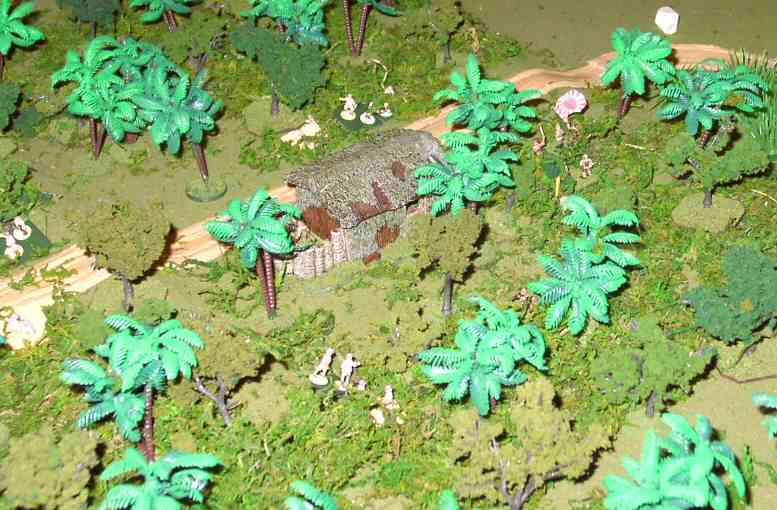
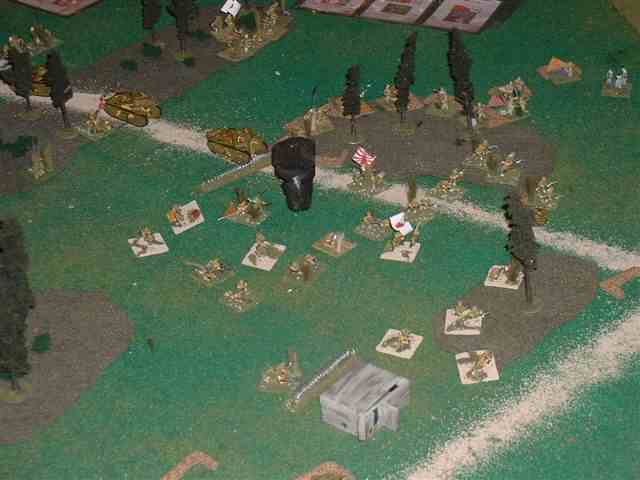
Attack on the Airfield
|
The final Australian column assaults the dug-in position the indicates the location of the
airfield. |

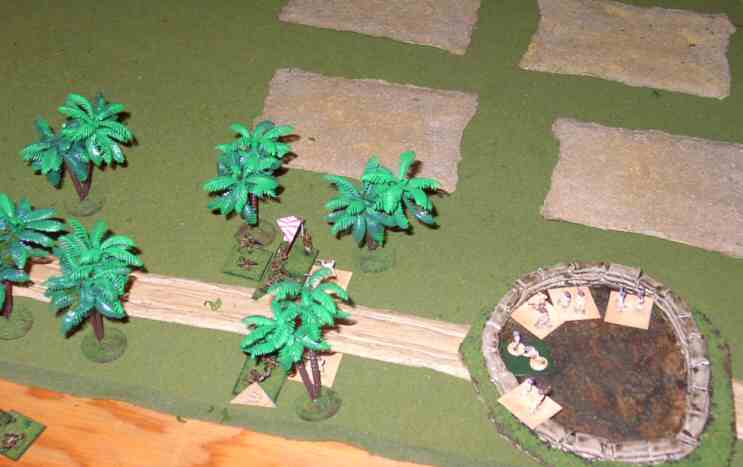
Right Flank Attack
|
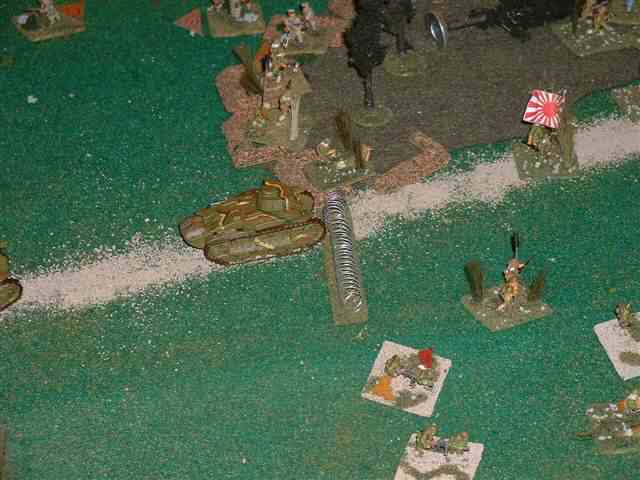
The Australians emerge from the jungle and attack the scattered Japanese. |

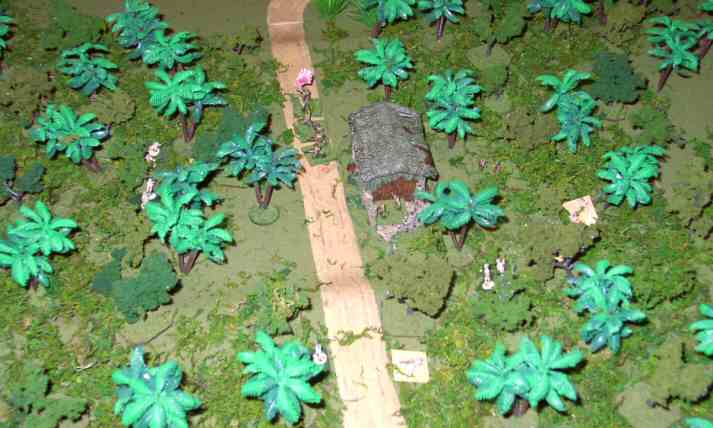
Left Flank Attack
|
On the left flank, the battle rages about the small village. |

Japanese Rally
|
After initially being forced out of the airfield, the Japanese rally and prepare to counterattack |

Battle on the Left
|
The village continues to be the target of attack and counterattack. |

Japanese forced back, but rally
|
On the right the Japanese run but aren't destroyed. This gives them a chance to regroup. |

Fight for the Village
|
On the left, the battle continues to rage for control of the village. |

Counterattack
|
The Japanese head back to contest the airfield. |
Steven's Kokoda trail scenarios usually feature small forces and defined objectives. This one developed into
three separate battles, each of them hard-fought and tense.
| Click on the Thumbnail for a full-size photo |
Description |
|---|

Germans Arrive
|
The Germans come on the board. The U.S. forces are hidden. |

Another view
|
A view from the rear of the German column |

Panthers
|
A second column of Panthers converges on the town |

Artillery
|
A hidden artillery spotter calls for fire on the advancing Germans |

Tank Destroyer
|
An American TD reveals itself and knocks out the lead vehicle in the column |

Panthers deploy
|
The Panthers deploy to meet the new threat |

More Germans
|
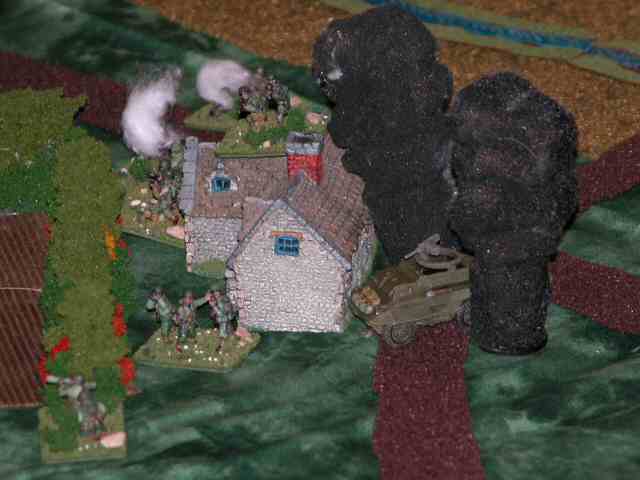
More German infantry appears. |

More Artillery
|
More artillery arrives and a hidden anti-tank gun (in the woods) opens up on the flank of the German
infantry. The American TD decides to put a building between itself and the Panthers. |

Traffic Jam
|
German units pile up outside the town while the Panthers and some infantry half-trackes move into the
outskirts. |
And a one from the second:
| Click on the Thumbnail for a full-size photo |
Description |
|---|
Opening moves
|
The plans are set in motion. |

Tank losses
|
Malcolm's light Coy of Stuarts catched deadly fire from a MK IV while
in the background a MK IV burns from an early hit. |

Panthers move up
|
Panthers quickly occupy the crossroads. |

Panthers move up
|
Bob's ((Connor)one of the Bobs) Sherman Coy lays down covering fire as the infantry moves up.
A German squad briefly retook the village destroying an armored car and two US squads before
being blasted by the Shermans. |

Flanking maneuver thwarted
|
The flanking manuever is temporarly halted while two Stuarts burn away. |

Germans prepare
|
Germans waiting in ambush while a giant hand hovers over the battle. |

Americans prepare to move up
|
The first hurdle is secured and the AT gun finally silenced, The Shermans will
soon be moving forward. |

Continued
|
More from the previous pic. |

Americans attack
|
33 Ar. H Coy moves up with G Coy delivering covering fire from
across the river. |

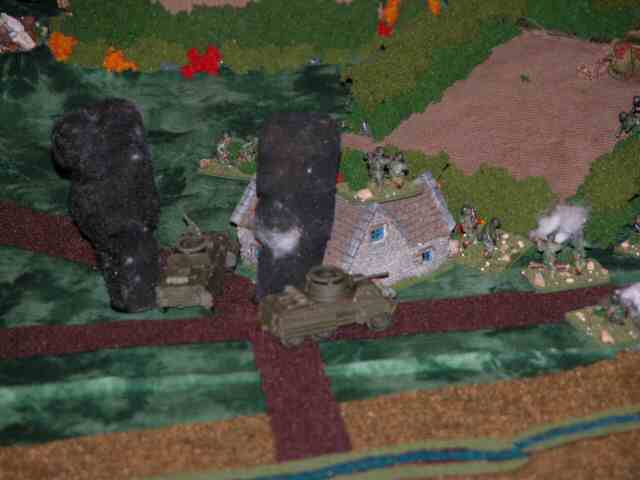
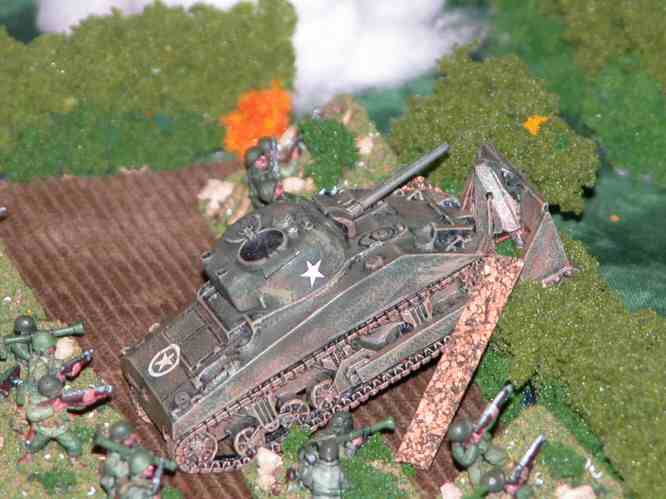
Bocage Busting
|
Bocage busting with a dozer armed Sherman. German infantry aren't too
happy to see that. |

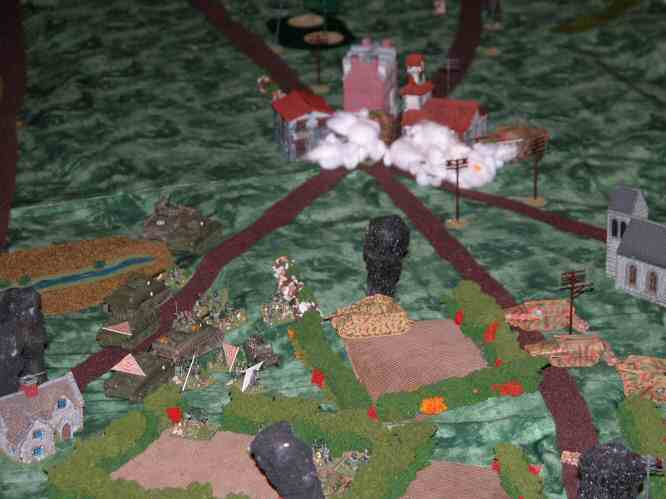
Smoke
|
US artillery smokes the crossroads to cover their advance. |

Shermans move up
|
The Shermans move up and go hull down before the smoke dissipates. |

Shermans move up
|
The Germans hunker down, as the smoke disperses the Jeries get a
nasty view of American armor! |

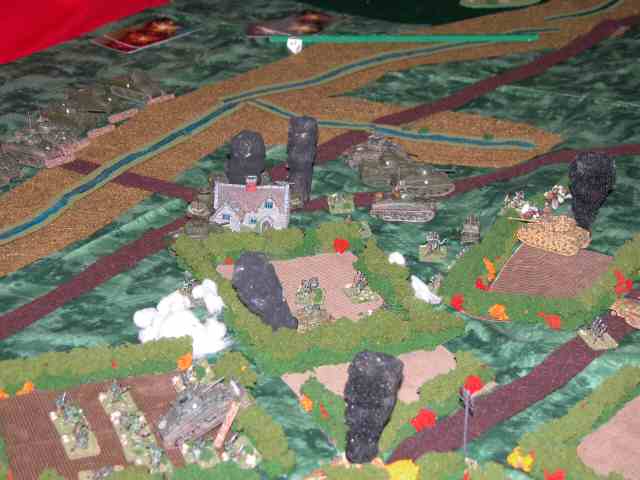
End of the Battle
|
Lots of firepower but not enough infantry to take the village buy
the time table. Maj. General Hobbs called off the attack. The Germans won the day but
still had to give up the position the next day... |

U.S. team
|
The US team from the UK, Andy (last years MIA), Malcolm, Bob Connor and
Bob Chapman. |

German team
|
Some of the German team Joseph, Clark,
Mike and Kurt Kramer |
| Click on the Thumbnail for a full-size photo |
Description |
|---|

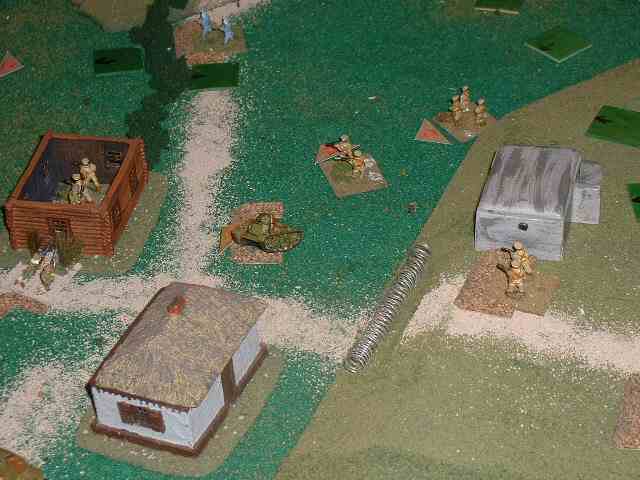
The Setup
|
The Japanese objective is to clear all of the Chinese away from
the Bridge. The Chinese start hidden. |

Japanese move out
|
Japanese start their offensive on a three company front with a tankette recon company in the center. |

Attack on the Left
|
Japanese make their first Banzai attack on their left, making contact with only one Chinese company. |

Attack and counter atttack
|
The Japanese Banzai clear's out the first rank of Chinese, but an unengaged company launches a quick
counterattack. |

Attack on the Right
|
Japanese make their first Banzai attack on their left, makeing contact with only one Chinese company. |

Brave Tankettes
|
Japanese tankettes push deep into Chinese held area. |

Tanks in the middle
|
Japanese Tanks move up to the barbed wire, preparing to breach and move on. |

Attack on the town
|
Japanese infantry and Tankettes advancing on the town. |

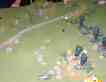
Artillery Lands
|
The smoke is the center point of Chinese preplotted arty which caught the Japanese first company
flat footed, but did no real damage. But the Japanese didn't get the hint, and they moved
their reinforcements into the same area. This time the Chinese got lucky and got a few hit's. |

Ever Onward
|
The Chinese counter attack in the lower right as the main Japanese push is getting ready to hit the town. |

More Artillery
|
Chinese Arty landing on japanese infantry. |

Tankettes move up
|
Tankettes pushing up the Chinese right flank. |

Tank destroyed
|
Japanese tanks push onto the hill,
and gain a toehold at the foot of the bridge. Only to lose one tank in CC with
Chinese infantry. |

Chase
|
Japanese Tankettes running down routed Chinese infantry. |