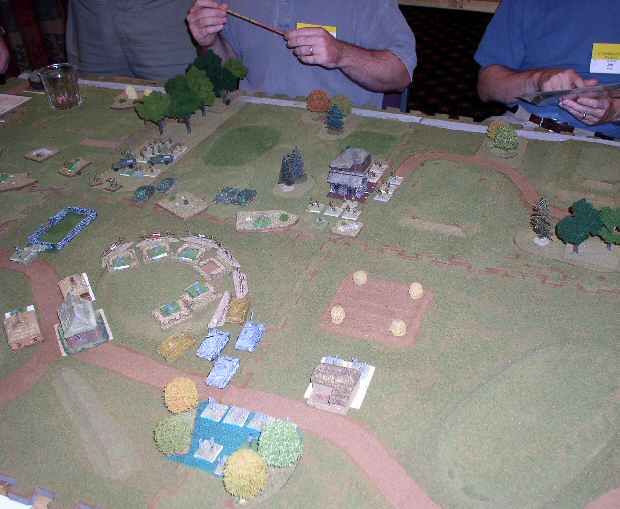
The initial setup
Russians move up
First Assault
Attack in the Center
German Tanks
Russian Tanks
| Click on the Thumbnail for a full-size photo | Description |
|---|---|
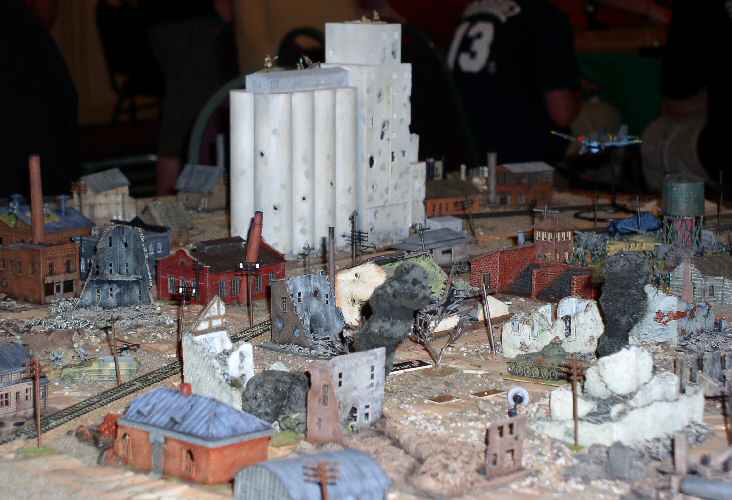
The initial setup |
The German defensive positions are on the left, and the Russians are coming in from the left. |
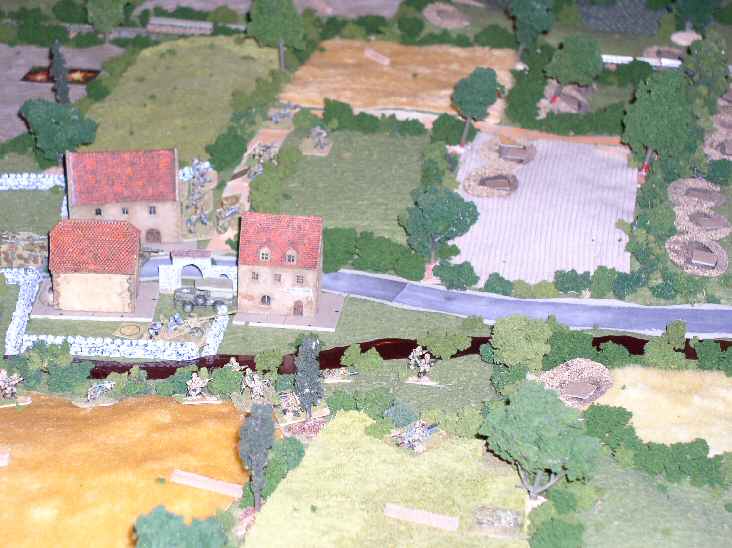
Russians move up |
Using the shelter of the woods, the initial Russian groups approach the German fortifications. |
First Assault |
The Russians on the right flank hit the German front line and are repulsed. |
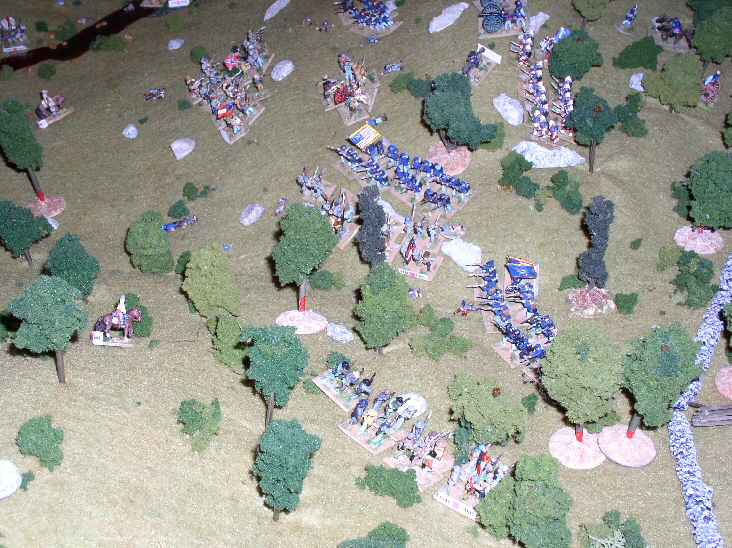
Attack in the Center |
A force based on Su122s moves up in the middle. |
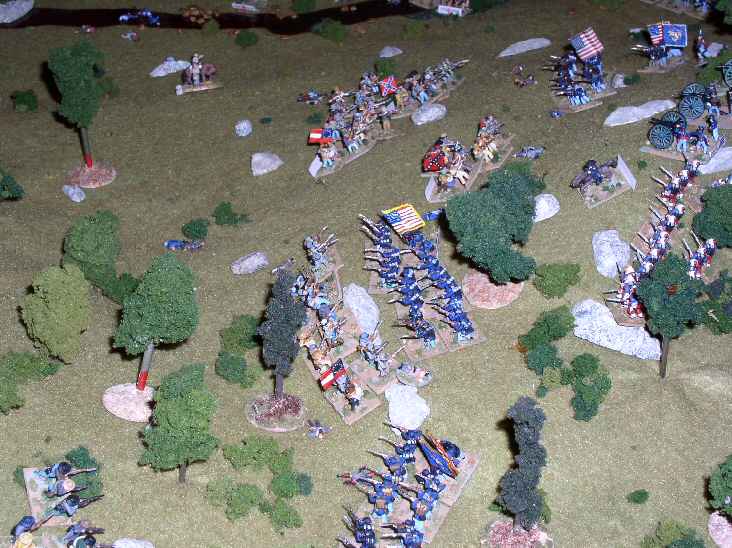
German Tanks |
German tanks advance up the right and threaten the Su122s. |
Russian Tanks |
A Russian T34 group moves into the flank of the PzIV. |
| Click on the Thumbnail for a full-size photo | Description |
|---|---|
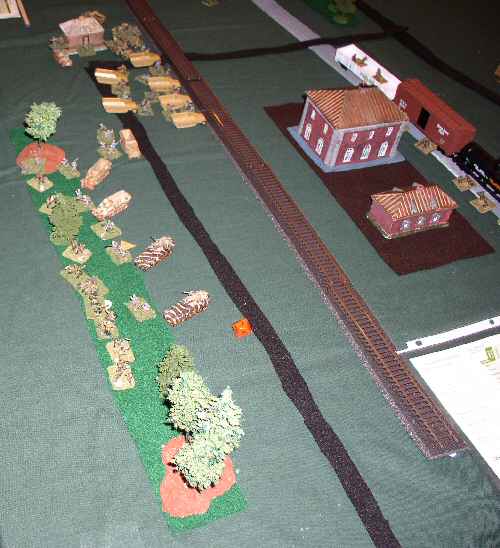
 Germans Advance |
The Germans (all mounted in halftracks), charge up both sides of the RR embankment. This shot shows the right flank advance. |
Germans Advance 2 |
This view shows the other prong of the advance. |
 Attack |
The German right prong divides into two parts. One part splits off to attack the RR station. While the other moves into the woods where it encounters part of the Russian force. |
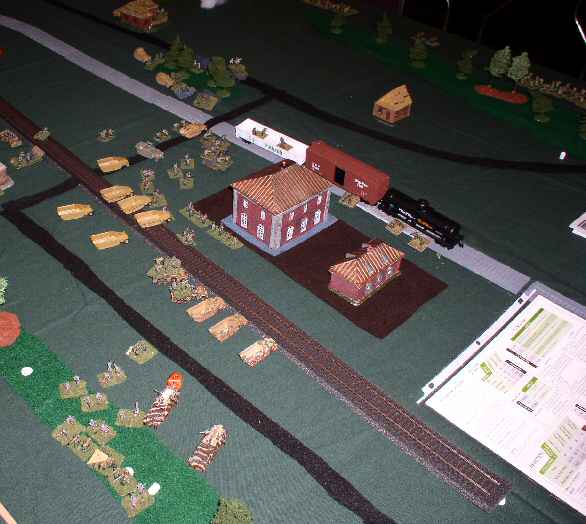 Assault on the station |
The Germans continue to fight for the woods (after initial losses, the Elite engineers make quick headway, while the other group moves over to the embankment to hit the town. The Germans still have not found the bulk of the Russian Forces, which are in the woods at the top of the photo. |
Another View |
This view shows the view of the station assault from the other side. |
| Click on the Thumbnail for a full-size photo | Description |
|---|---|
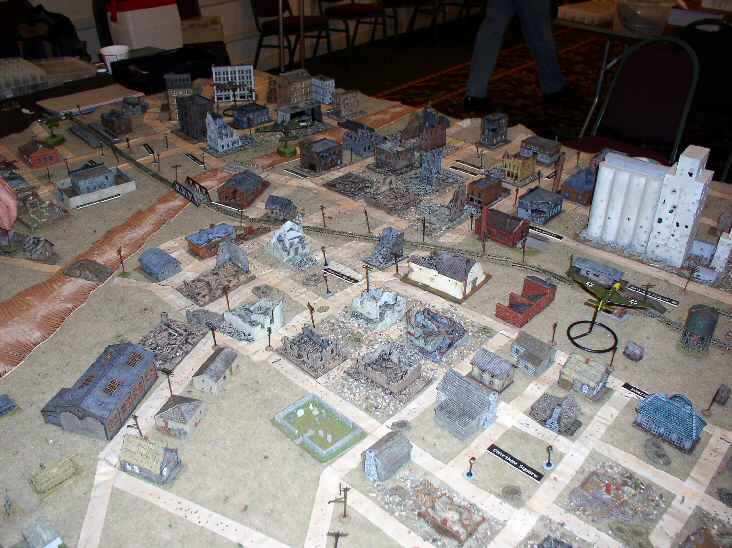 Stalingrad Photo 01 |
Stalingrad Photo 01. |
Stalingrad Photo 02 |
Stalingrad Photo 02. |
Stalingrad Photo 03 |
Stalingrad Photo 03. |
Stalingrad Photo 04 |
Stalingrad Photo 04. |
Stalingrad Photo 05 |
Stalingrad Photo 05. |
Stalingrad Photo 06 |
Stalingrad Photo 06. |
Stalingrad Photo 07 |
Stalingrad Photo 07. |
Stalingrad Photo 08 |
Stalingrad Photo 08. |
Stalingrad Photo 09 |
Stalingrad Photo 09. |
Stalingrad Photo 10 |
Stalingrad Photo 10. |
Stalingrad Photo 11 |
Stalingrad Photo 11. |
Stalingrad Photo 12 |
Stalingrad Photo 12. |
Stalingrad Photo 13 |
Stalingrad Photo 13. |
 Stalingrad Photo 14 |
Stalingrad Photo 14. |
| Click on the Thumbnail for a full-size photo | Description |
|---|---|
Carentan Photo 01 |
Carentan Photo 01. |
Carentan Photo 02 |
Carentan Photo 02. |
 Carentan Photo 03 |
Carentan Photo 03. |
Carentan Photo 04 |
Carentan Photo 04. |
Carentan Photo 05 |
Carentan Photo 05. |
| Click on the Thumbnail for a full-size photo | Description |
|---|---|
Gettysburg Photo 01 |
Gettysburg Photo 01. |
Gettysburg Photo 02 |
Gettysburg Photo 02. |
Gettysburg Photo 03 |
Gettysburg Photo 03. |
 Gettysburg Photo 04 |
Gettysburg Photo 04. |
Gettysburg Photo 05 |
Gettysburg Photo 05. |
 Gettysburg Photo 06 |
Gettysburg Photo 06. |
 Gettysburg Photo 07 |
Gettysburg Photo 07. |
| Click on the Thumbnail for a full-size photo | Description |
|---|---|
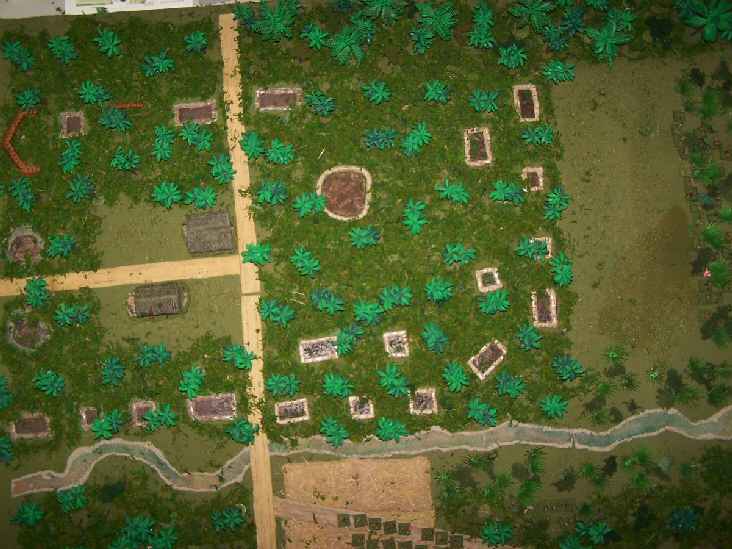 Battlefield |
Overhead Shot of the Battlefield. |
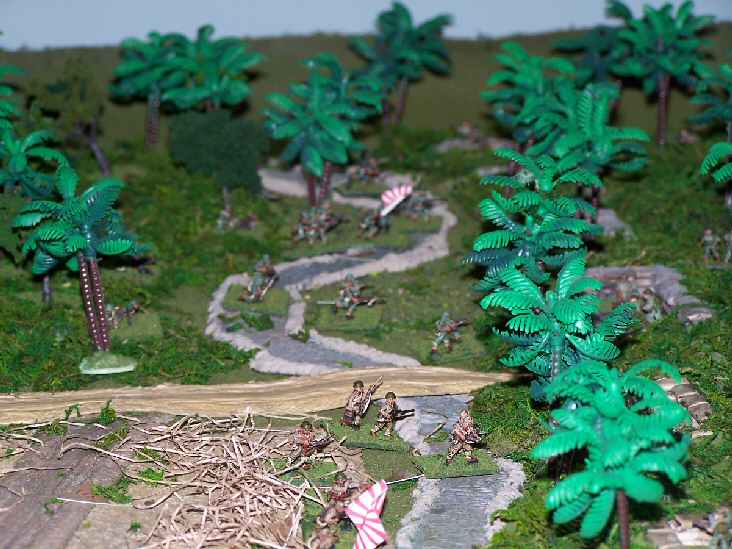 Test Game |
Test Game-Japanese Advance. |
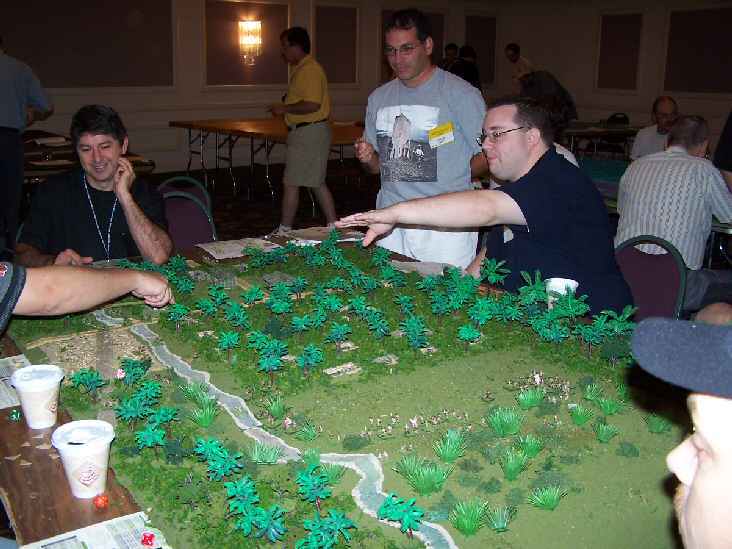 Participants 1 |
L-R, Japanese commander 1/41 (arm coming in) MIA from pic Japanese commander SNLF (Bruce Whitver) C co 2/14 AIF commander (Bob Daily) A co 2/14 AIF commander (Phil d'Amato) D co 2/14 AIF commander (seated pointing) |
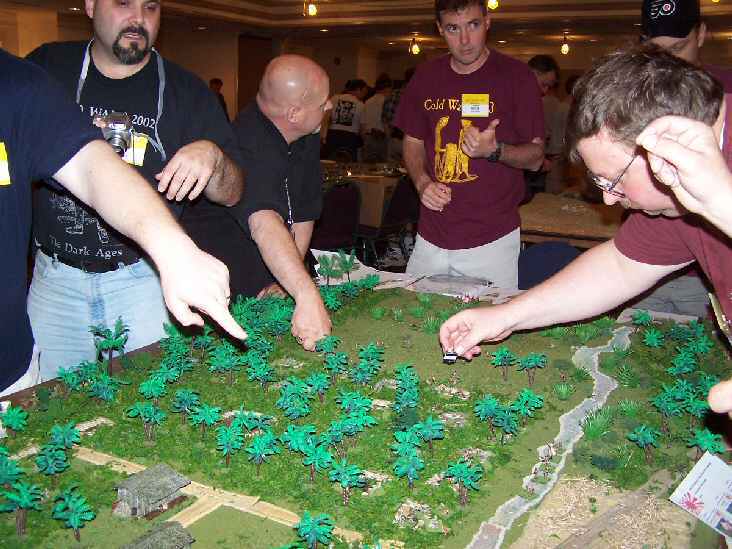 Participants 2 |
L-R HQ 2/14 & 39th Btn. Commander (Ben Rhoads)
B co 2/14 AIF commander (Clif Castle) Japanese commander 2/144 (Greg Jablonski) Japanese commander 3/144 (Mike in cap) Japanese commander 2/41 (Kurt Kramer) |
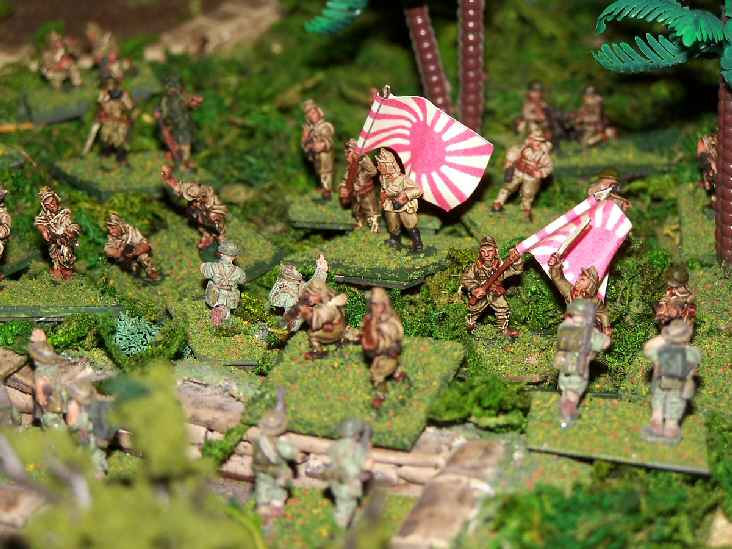 Japanese Advance |
The Japanese forces advance |
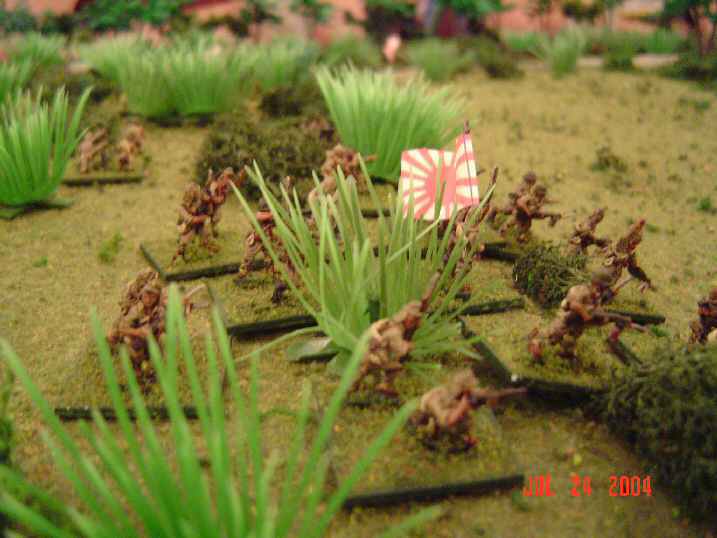 Another Japanese Advance |
Jap 2/144 advancing through kunai and brush |
Copyright 2000-2019 Fire and Fury Games, all rights reserved
Web page maintained by
Webmaster@FireAndFury.com.