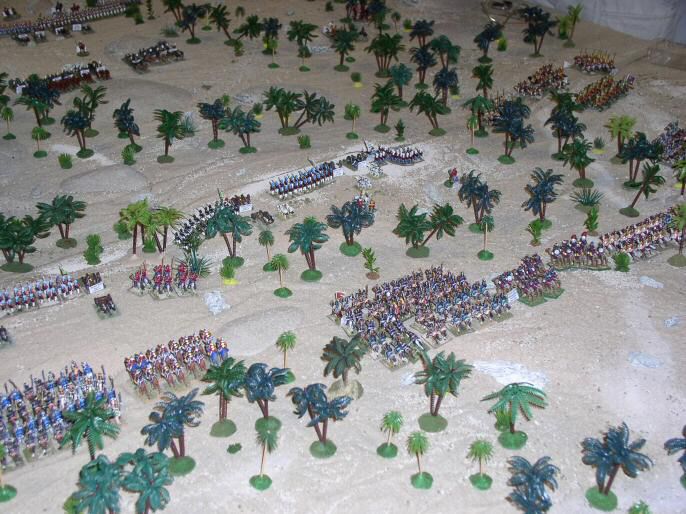
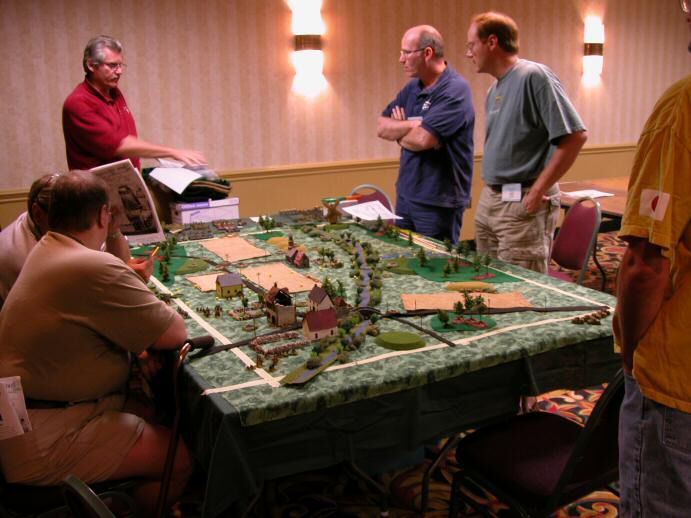
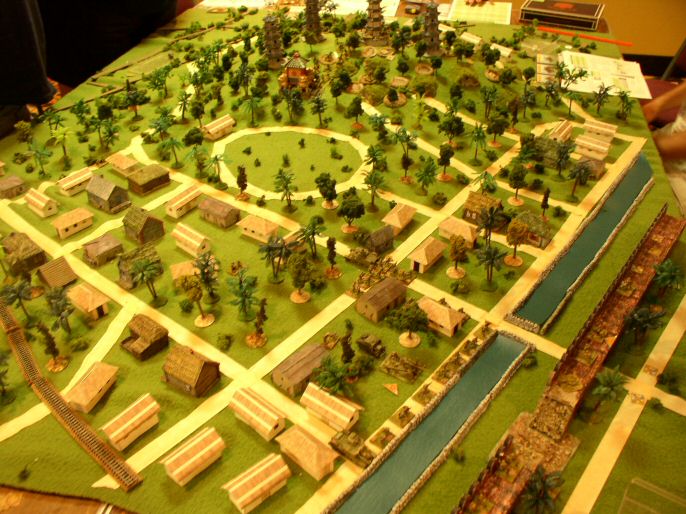
The Sikhs
The British
British Infantry

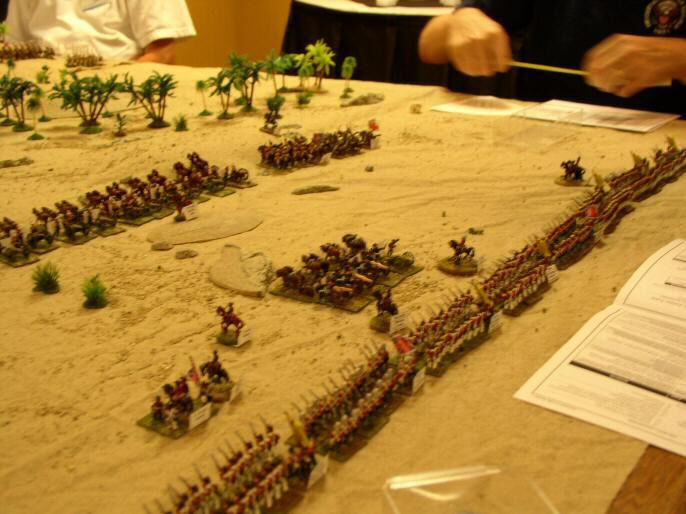
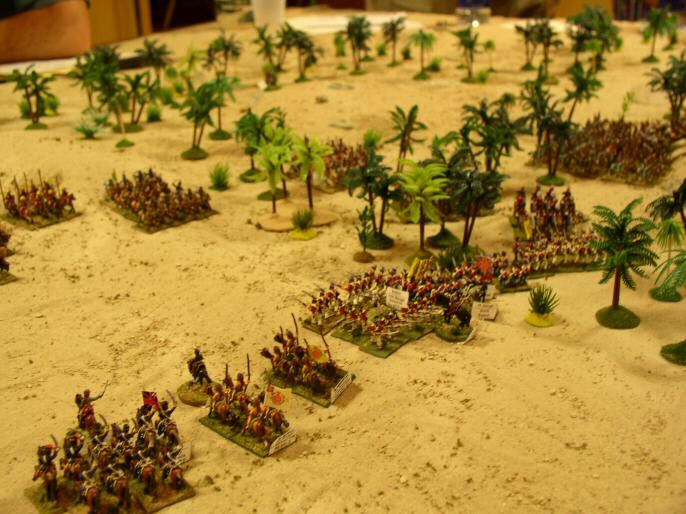
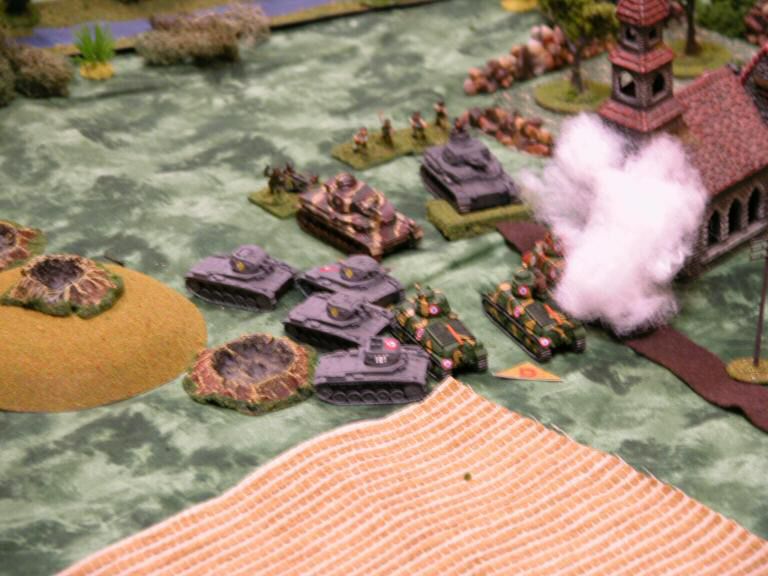
A Sikh Cavalry Horde
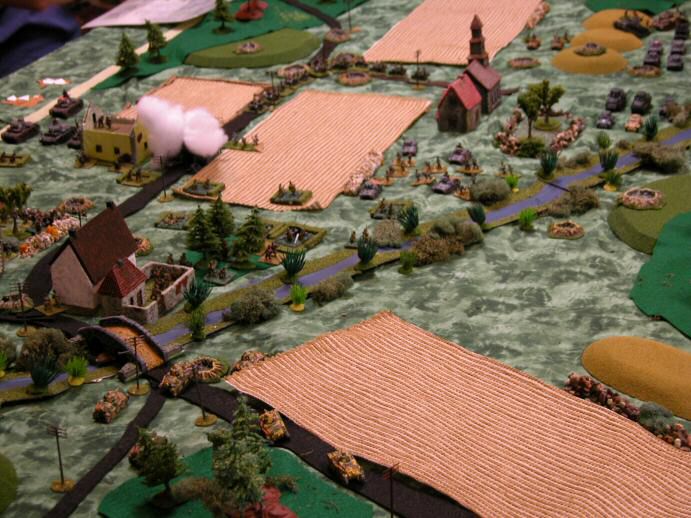
On the Attack

Crisis in the Center
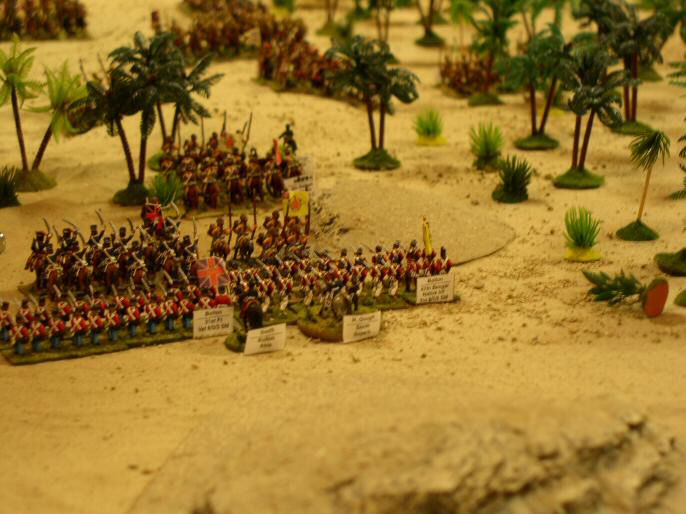
Forming Square
| Click on the Thumbnail for a full-size photo | Description |
|---|---|
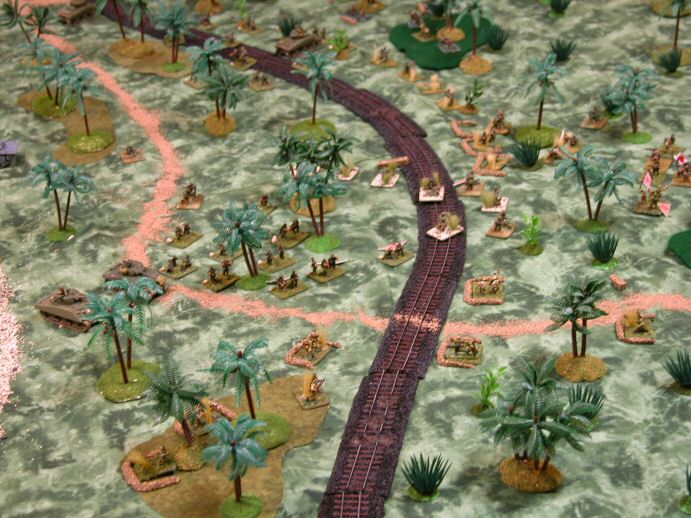
The Sikhs |
Hordes of Indians await the attack. |
The British |
The British infantry await their attack orders. |
British Infantry |
Some British Infantry. |
A Sikh Cavalry Horde |
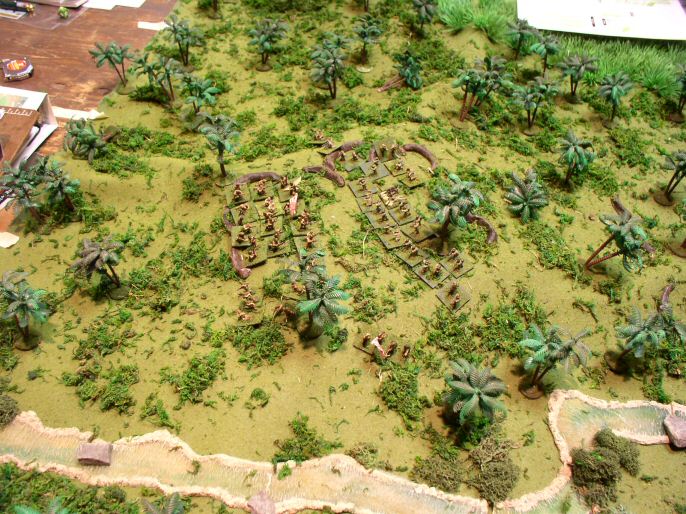
The Sikhs had some huge units. |
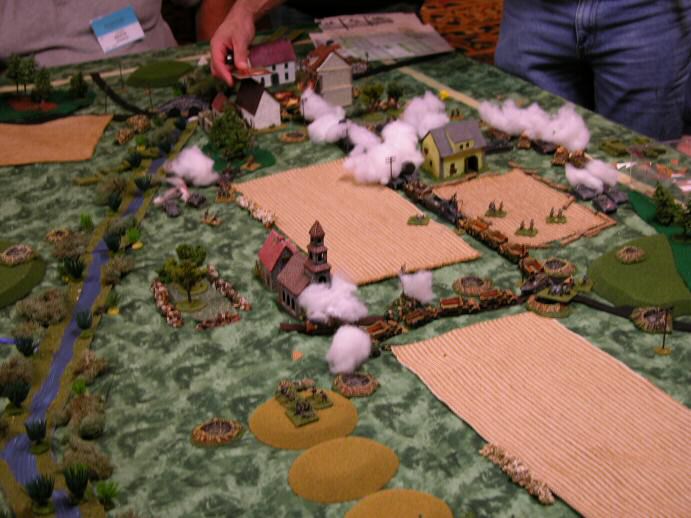
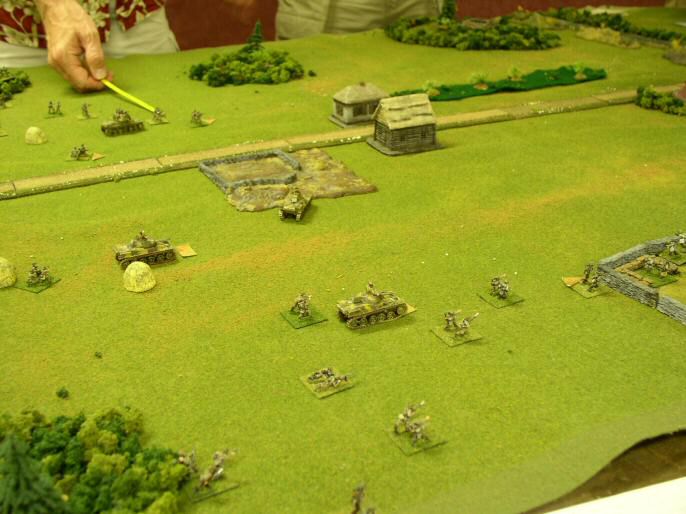
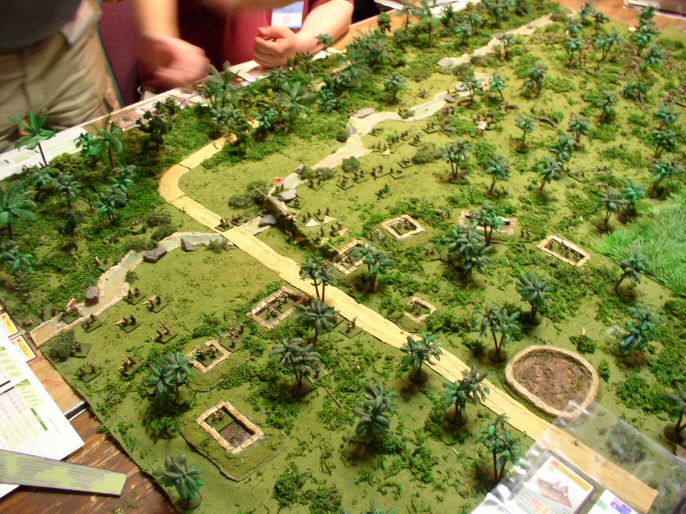
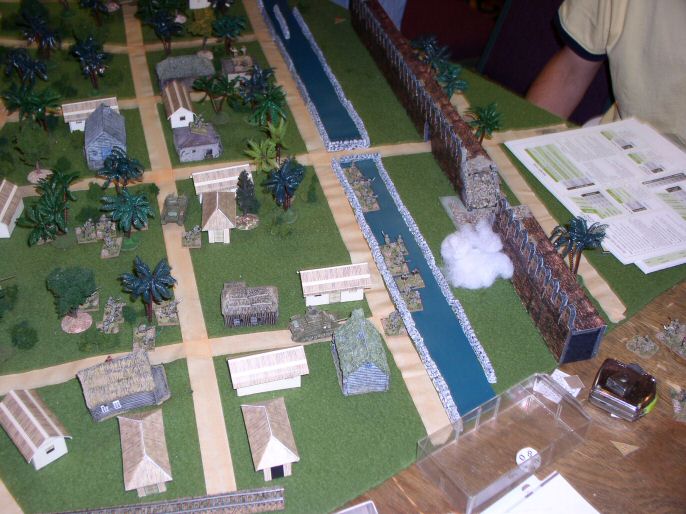
On the Attack |
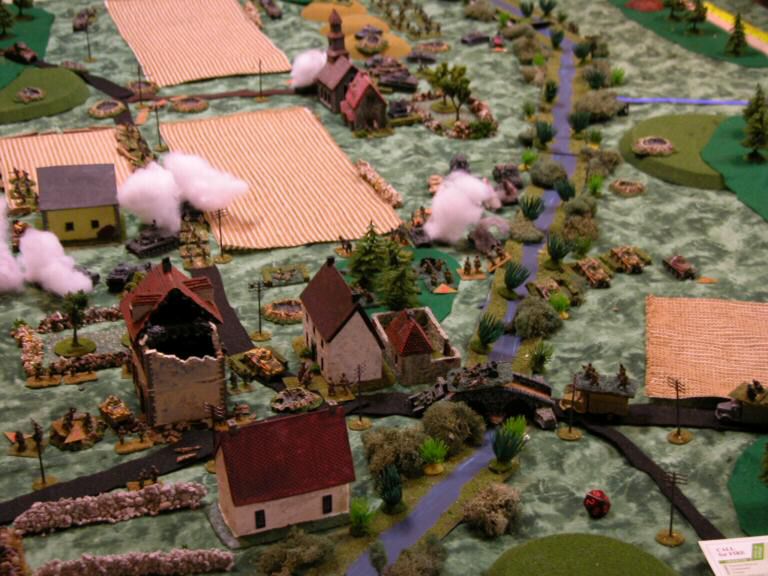
The entire British force moves out in one big line. The waiting Sikh artillery initially caused some casualties. |
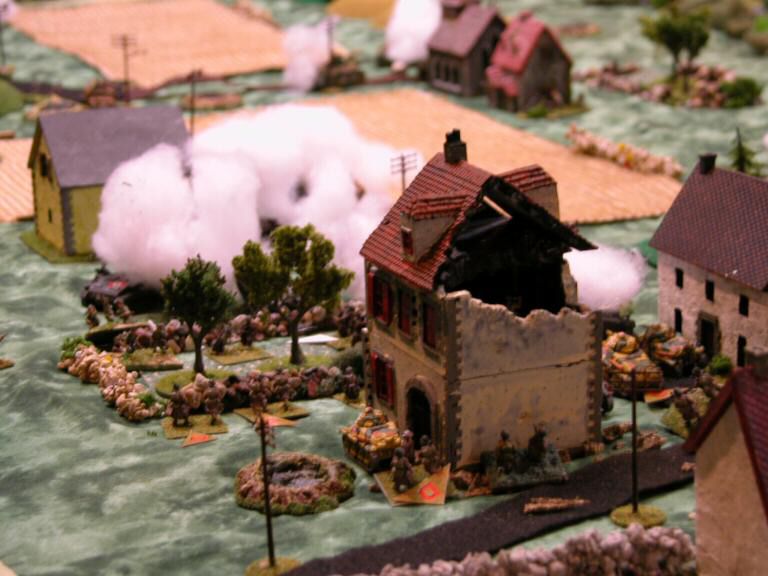
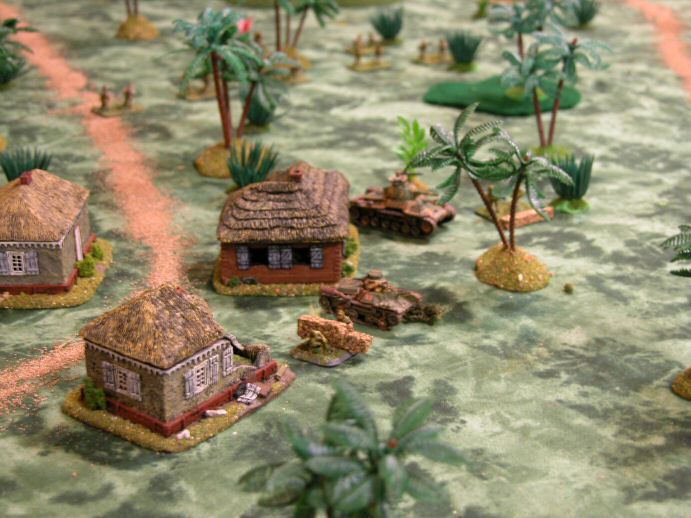
Crisis in the Center |
The British hit the Sikh Artillery positions in the center. |
Forming Square |
On the left, the Sikhs launch a cavalry charge, but the Sepoy infantry they target form a quick square. |
| Click on the Thumbnail for a full-size photo | Description |
|---|---|
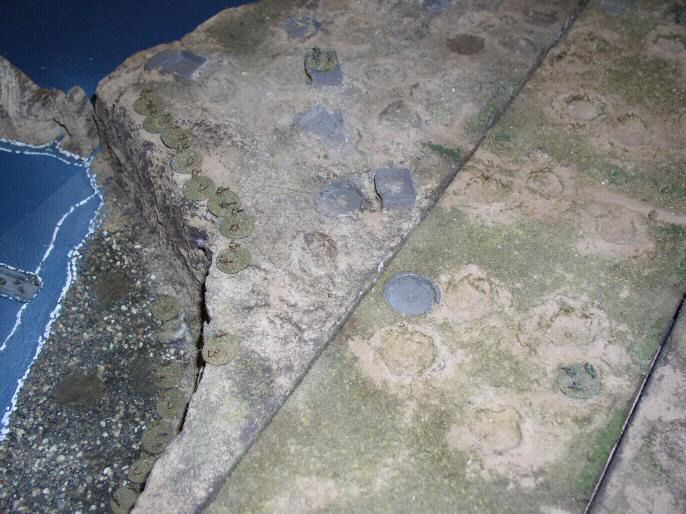
From the Ocean Side |
The cliffs were considered immune to attack, but the Rangers have other ideas. |
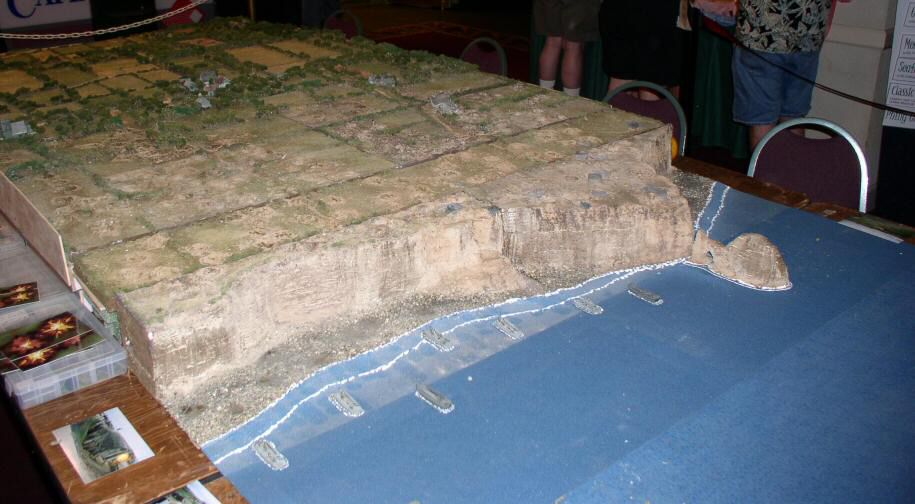
 An overall view |
Pete Landry took this picture of the cliffs. |
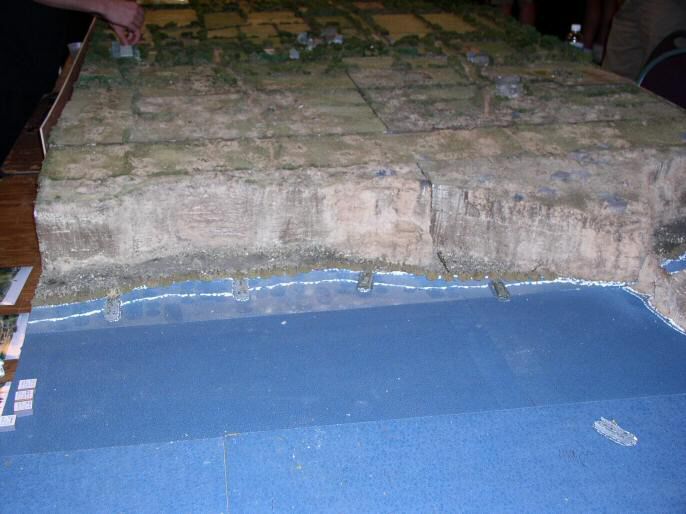 The Left Flank Beach |
A view of the left flank of the assault. |
 The Right Flank Beach |
A view of the right flank of the assault. |
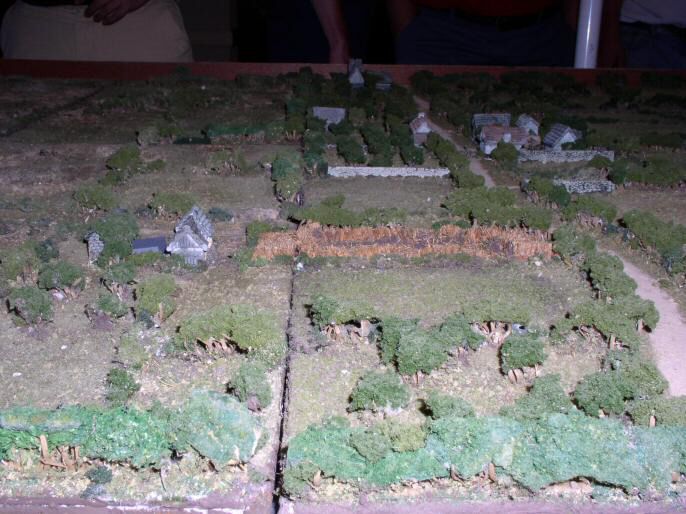
 From the German Side |
Most of the important fighting took place inland from the cliffs. |
 The Rangers hit the beach |
The landing craft drop off the assaulting forces. |
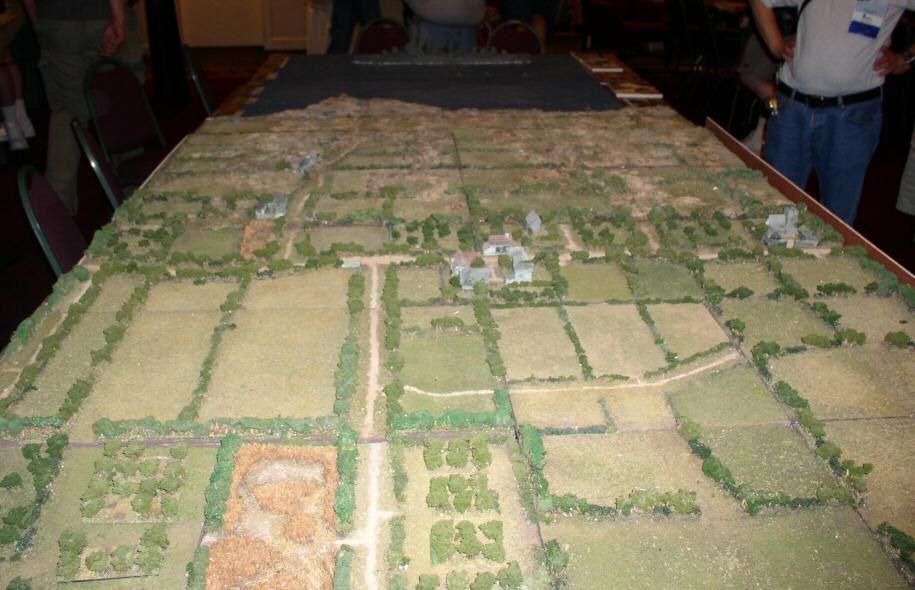
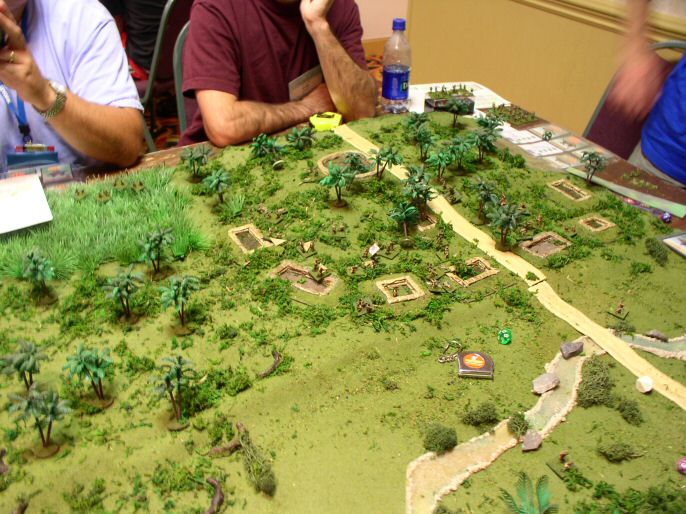
 The terrain inland |
Most of the important fighting took place inland from the cliffs. |
 Mounting the cliffs |
The Rangers mount to the top of the cliffs. |
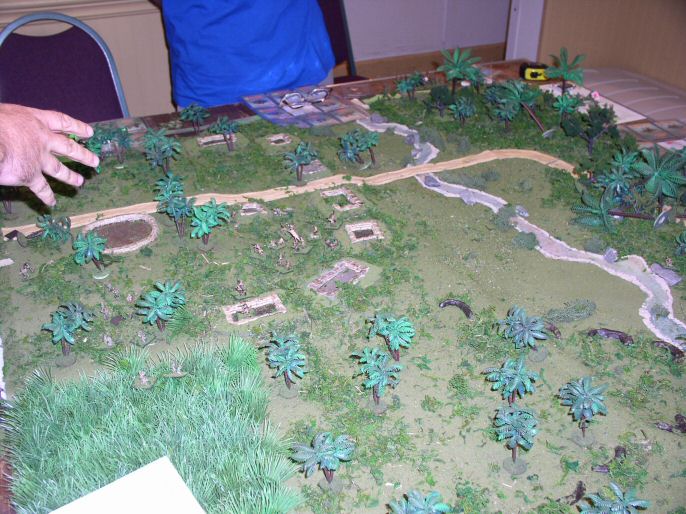
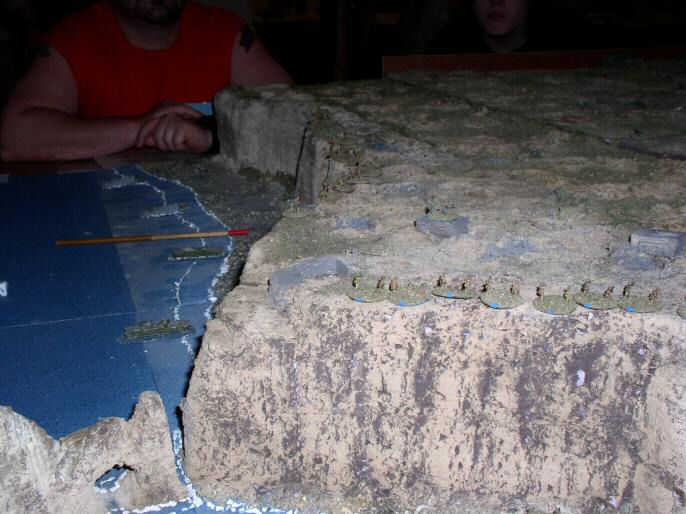 The scale of the terrain |
The same situation seen from the side, which shows the size of the cliffs in this custom-made terrain board. |
| Click on the Thumbnail for a full-size photo | Description |
|---|---|
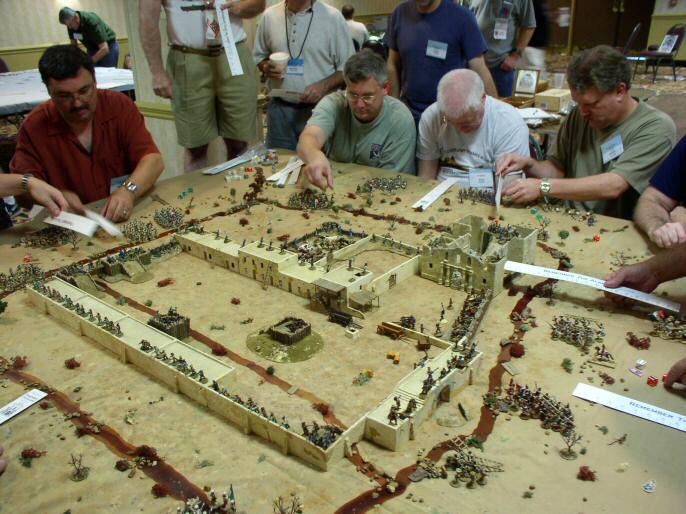
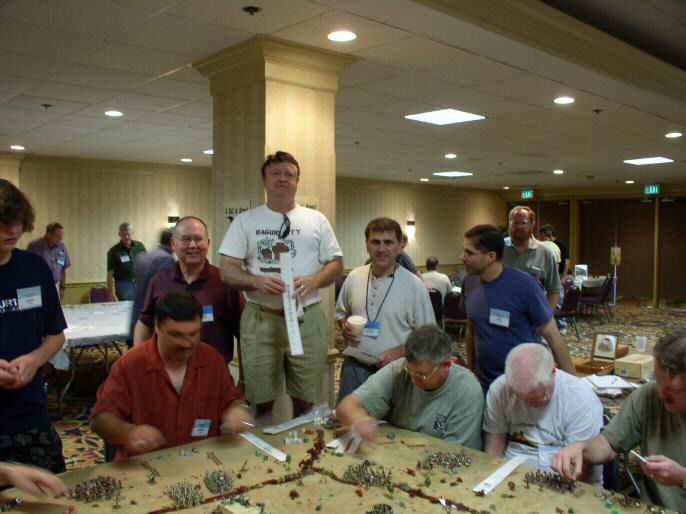 Proud Papas |
Mike, Ron, and Rich pose for the camera. When the Alamo was first put on in the 1980s, a local newspaper printed a similar photo, but there was more hair and less girth :-). |
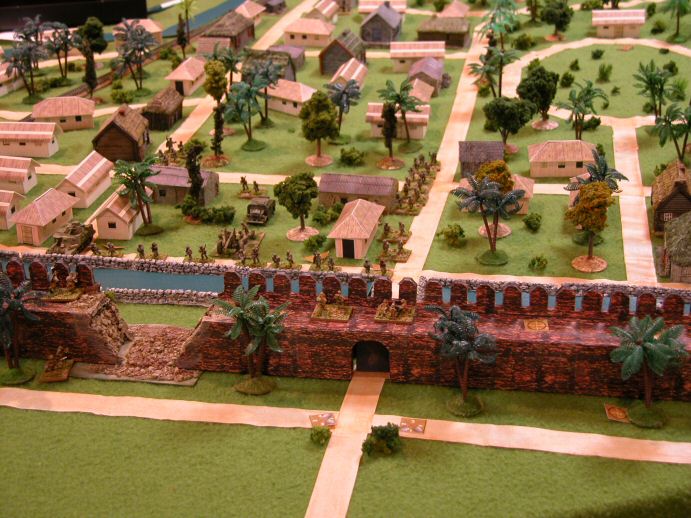
 The Palisade and Chapel |
Texans await the onslaught from the stronger part of the fort. |
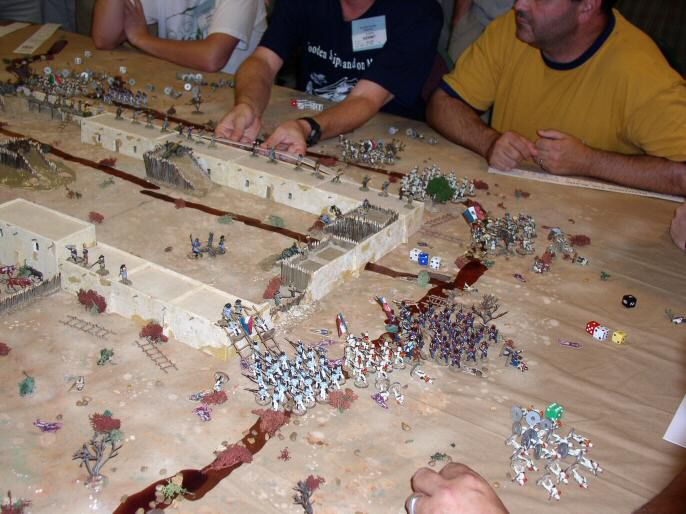
 Another Angle |
A view from another angle. The Mexicans assaulting the Palisade (to the right) quickly evaporate, but the ones from the left are nearing the wall. Incidentally, our other perennial visitor from abroad 'English Bob' is the one with his head seemingly bowed in prayer to the top right of the picture, which is appropriate for a Mexican commander at the beginning of the first wave. |
 Reaching the Wall |
Throwing up their ladders, the assault columns prepare to mount the wall to engage in hand-to-hand combat. |
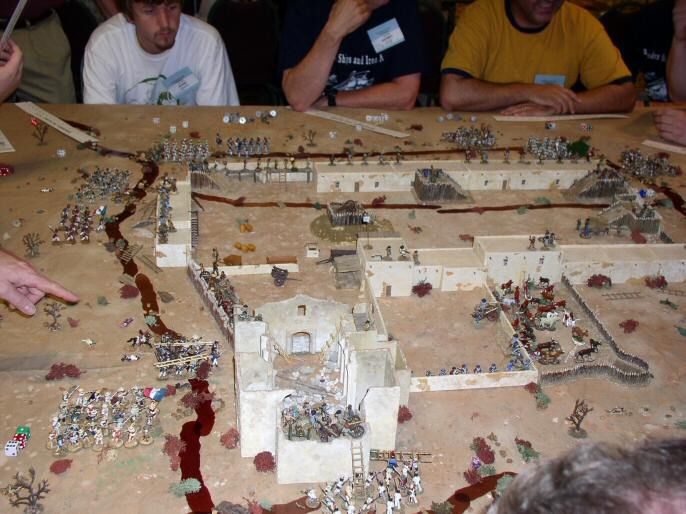 Another view |
The columns converge on the fort, but the chapel and palisade are holding their own. |
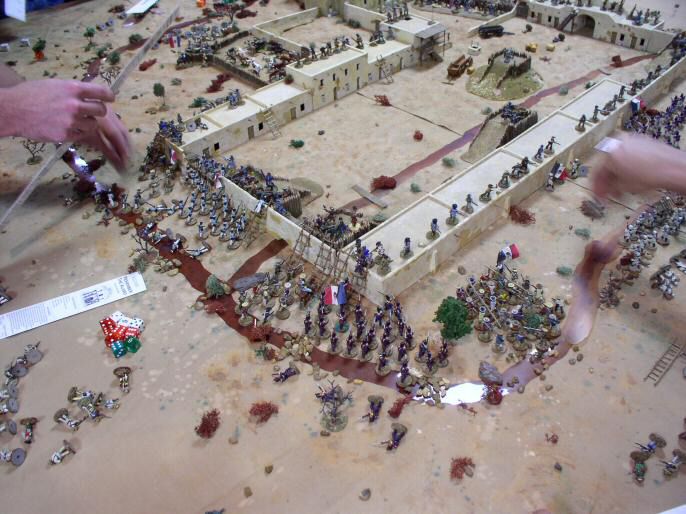 Over the top |
If the Mexicans gain the wall, the resulting attrition combat will weaken the defenders for the subsequent waves. |
| Click on the Thumbnail for a full-size photo | Description |
|---|---|
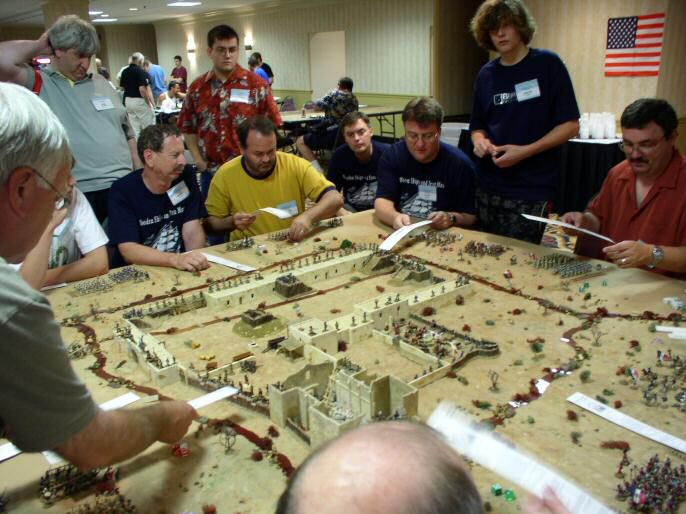
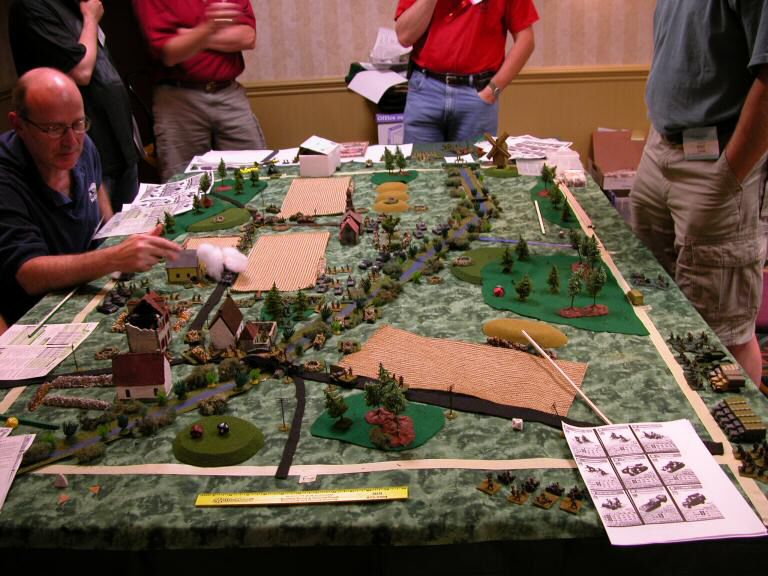
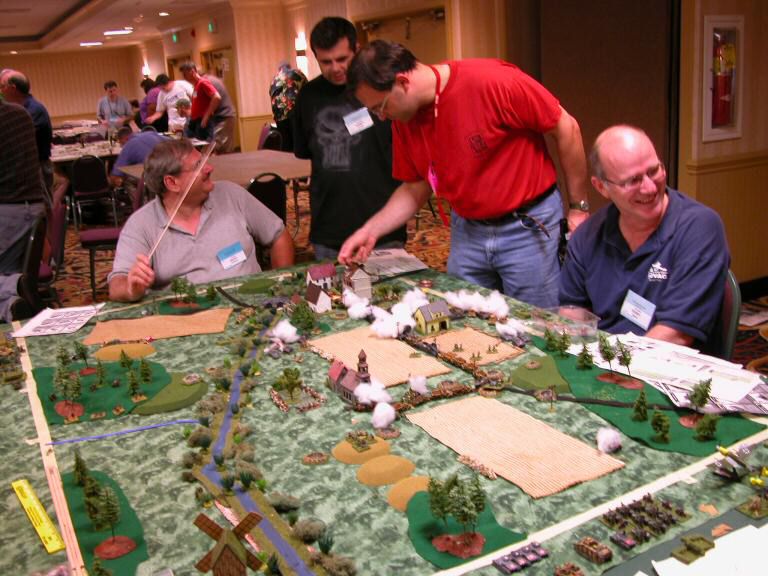
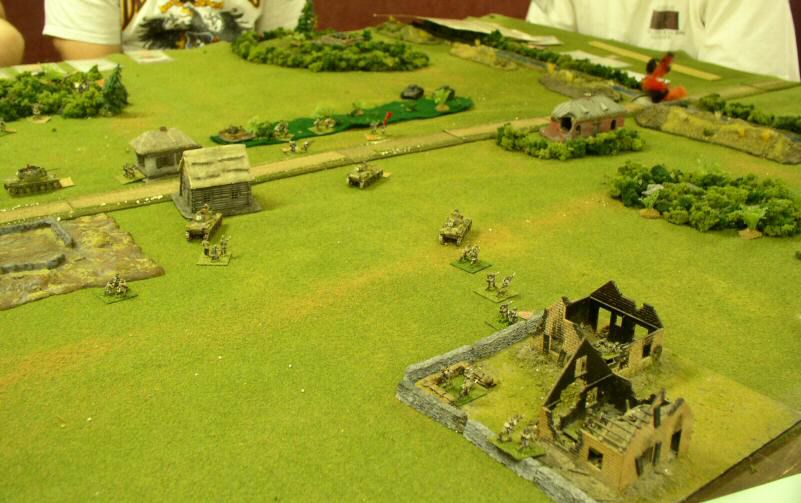
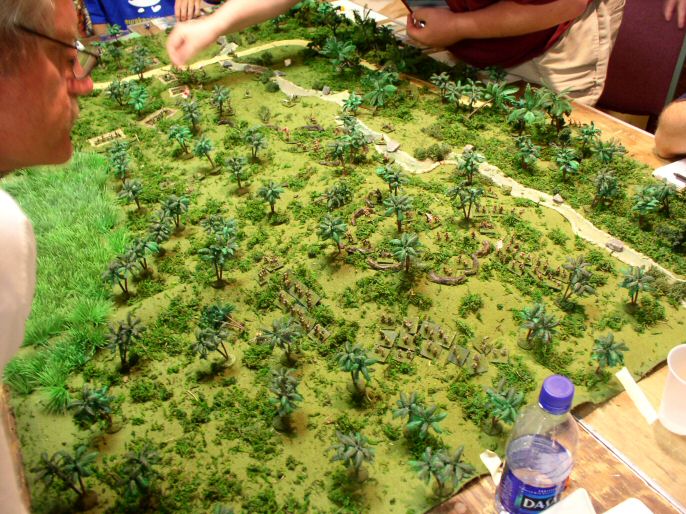
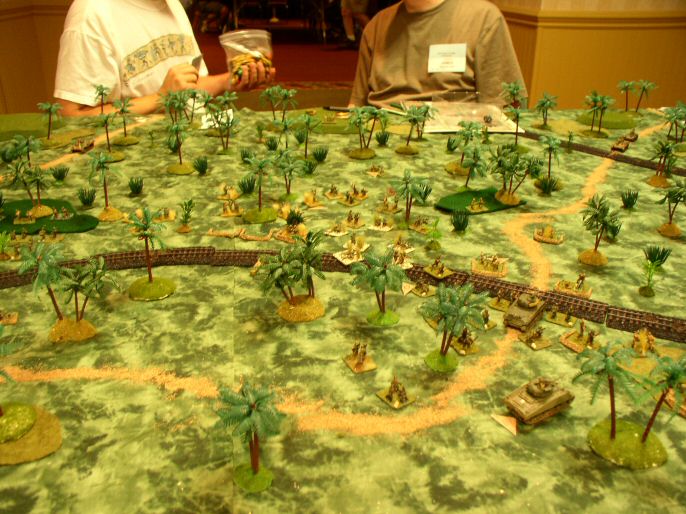
 Setup |
I believe this adopted into battle from a SkirmishCampaigns scenario. |
 German approach |
Mk IIs already burning! |
 German approach 2 |
Germans ignoring French Somuas in rear |
 French take advantage |
Somuas flank attack |
 Battle rages |
Combat on the outskirts of the town |
 They aren't supposed to do that!?? |
Somuas in German rear |
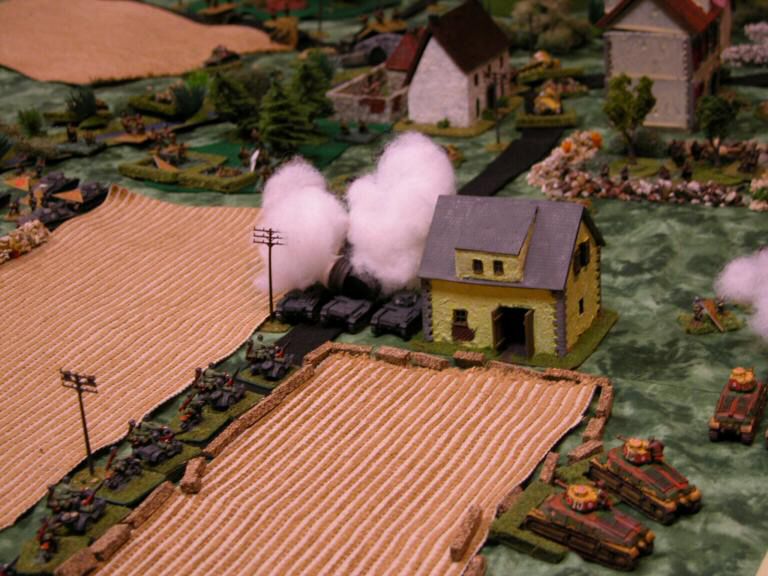
 The price of battle |
Smoking wrecks everywhere! |
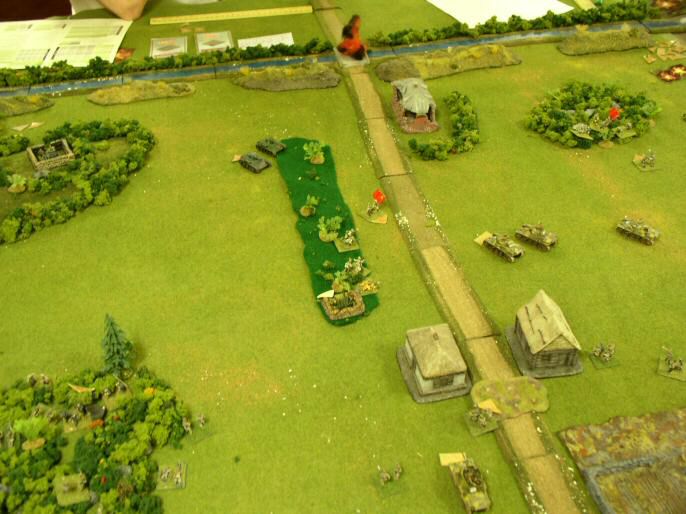
 German final push |
 French holding Gembloux |
In the actual battle the Germans were stopped cold at Gembloux, but events on the rest of the front rendered this action moot. |
| Click on the Thumbnail for a full-size photo | Description |
|---|---|
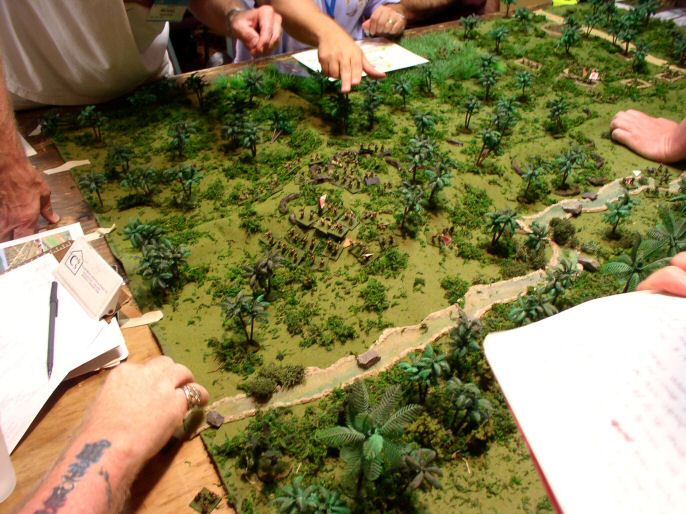
 Chinese Collide |
The Communists and Nationalists fight it out over the target village. The Japanese have childishly packed up their toys and left. |
 Another View |
Another view of the battle. |
| Click on the Thumbnail for a full-size photo | Description |
|---|---|
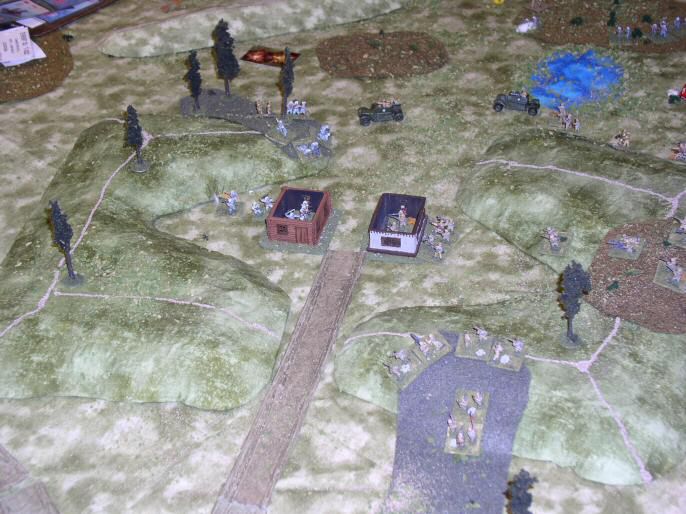
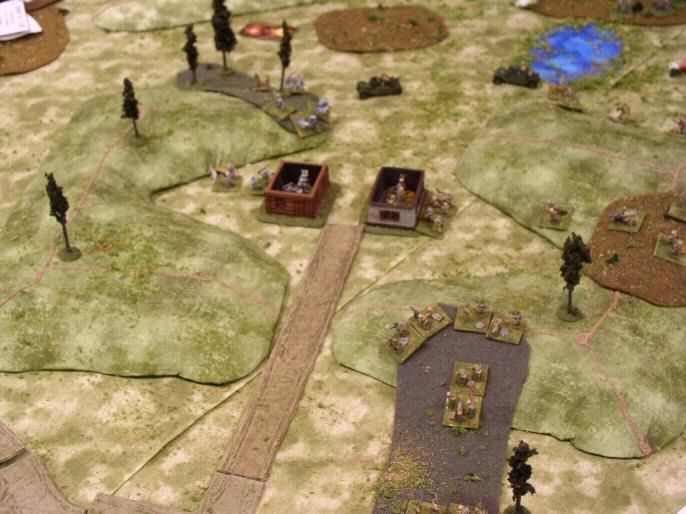
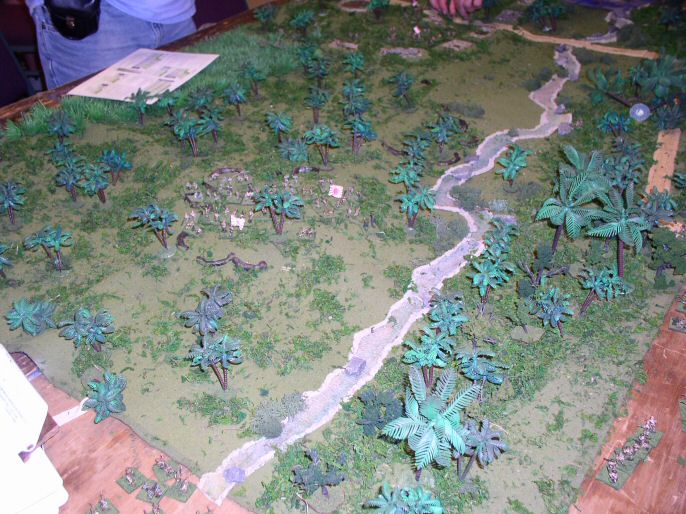
Hungarians move out |
The Hungarians deploy from the V at the left of the map and move toward the various objectives |
Assault on the village |
Light Tanks take on the forward defenders of the village. The tanks were unable to capture the village, but did clear out the defenders in the muddy field. |
 The map from the Russian side |
A view of the whole battlefield. There is a gun in the bunker on the right that was a constant nuisance to the attackers througout the game. |
 Hungarian Engineers catch up |
The light tanks got ahead of their supporting infantry, but a Hungarian engineer force caught up and assaults the ruins on the right flank. |
Engineer Assault |
A continuation of the previous situation. |
Assault on the Village 2 |
Supported by the tanks and the AA vehicle, Hungarian infantry goes after the village. |
 Moving up |
The Hungarians move forward. Attrition is starting to take its toll and Russian armor makes its appearance. |
Clearing the left woods |
A Hungarians infantry company clears out Soviet naval troops. Steve said after the game that the Hungarians managed to hit all of the defenders. A more concentrated attack might have bypassed some of them. |
 Stalemate |
This is about the final position. The Hungarian attack has pretty much run out of steam and both sides stare at each other. |
| Click on the Thumbnail for a full-size photo | Description |
|---|---|
 Setting up |
This game featured some of the BFWW2 'grognards' like Pete Landry (blue shirt), Kurt Kramer (red shirt), and Mike Sincavage (not in photo). |
Japanese prepare their attack. |
The Japanese prepare to assault the Australians across the open terrain. |
 Japanese attack. |
The assault forces charge the trench line. |
 Australians attack. |
At the other end of the board, Mike Sincavage's Australians prepare to attack a Japanese hill position |
 Struggle for the hill. |
The Australians go in while Japanese reinforcements struggle through the Jungle. |
 More Struggle for the hill. |
Japanese and Australians clash on the hilltop. |
 Both sides organize. |
The Australians have taken the hill, but the Japanese are still in the fight. |
 Breakthrough |
At the other end of the board the Japanese smash through the trench line. |
 Another view. |
Another view of the Japanese breakthrough. |
| Click on the Thumbnail for a full-size photo | Description |
|---|---|
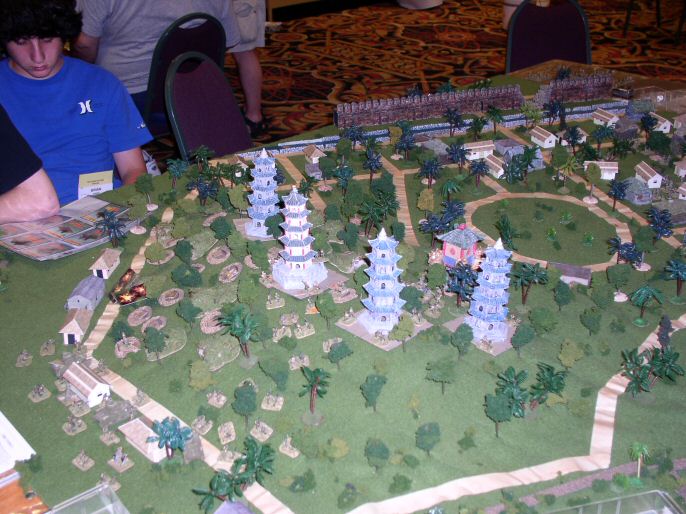
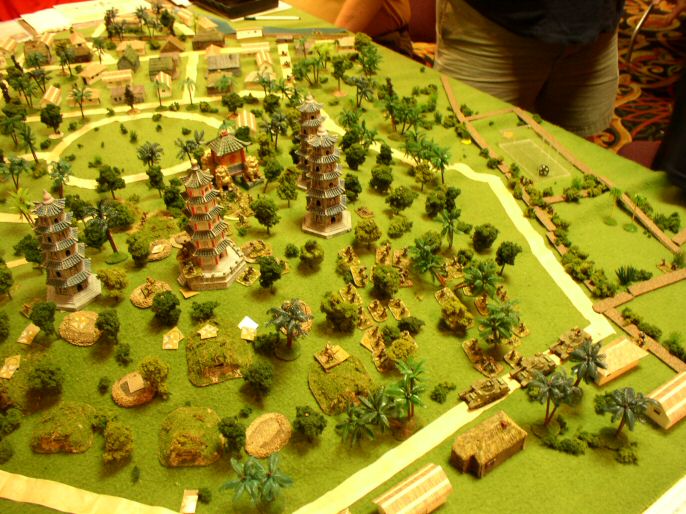
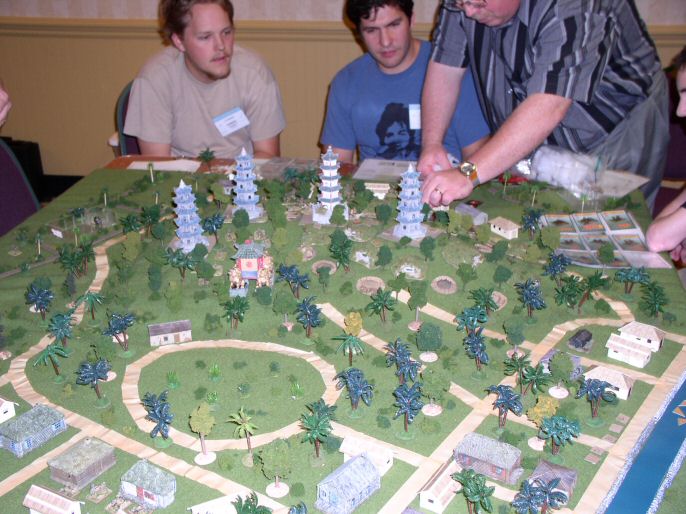
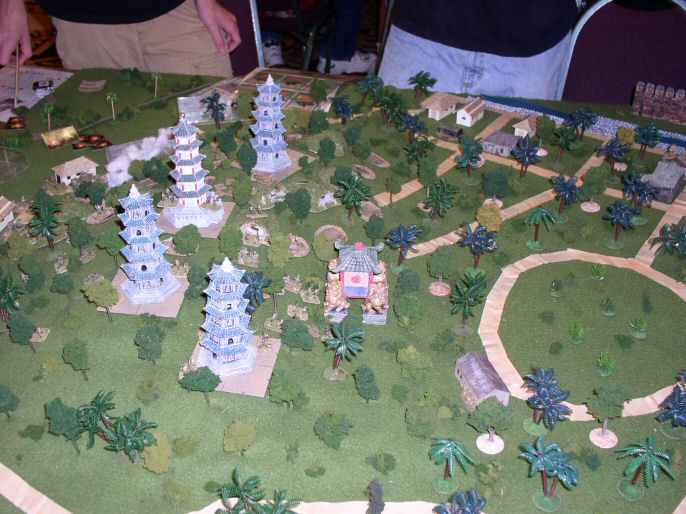
 Overall view |
The scenario's namesake rises in the background, while the city wall is to the lower right. |
Different angle |
Looking at the map from the pagoda side. |
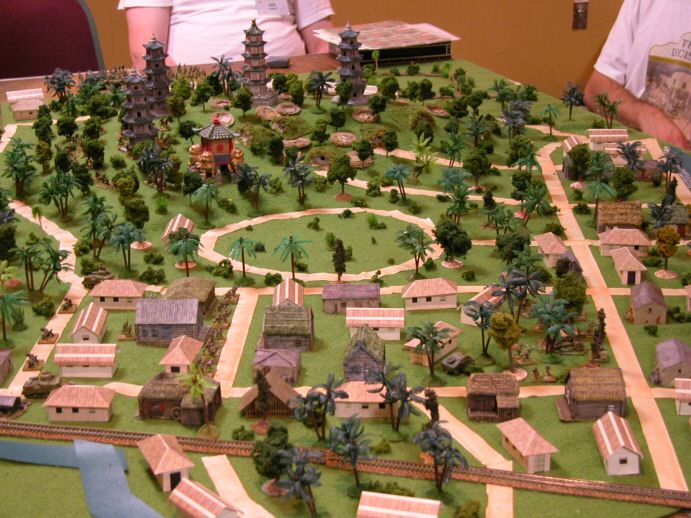 Yet another angle |
Another view. |
 Assault on the hill |
Commonwealth troops, assisted by armour, move up the hill. |
 Commonwealth attack |
Same situation as the previous photo. |
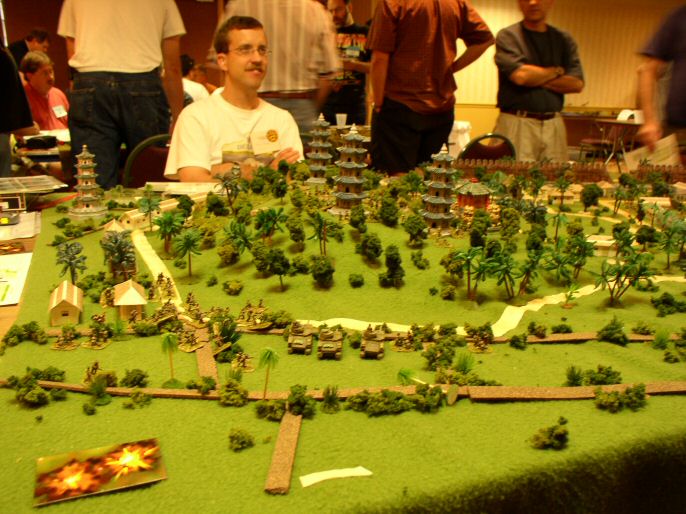 Commonwealth attack |
Same situation as the previous photo. |
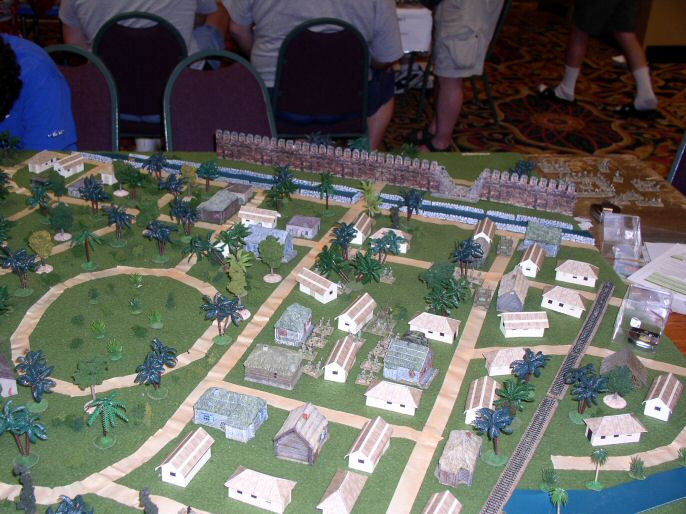 Assault on the wall |
The other group of Commonwealth troops, backed up by tanks and a big artillery piece, prepare to attack the city wall. |
 Another view |
The wall attack begins. |
 Clearing the bunkers |
The fight for the hill top rages. |
 Defending the wall |
The Japanese defend the wall. |
 Mark mediates |
Mark Hayes (right) helps resolve the attack on the hill. |
 River crossing |
Commonwealth troops cross the river to get to the wall. |
 Fight for the hill continues |
Another view The other group of Commonwealth troops, backed up by tanks and a big artillery piece, prepare to attack the city wall. |
| Click on the Thumbnail for a full-size photo | Description |
|---|---|
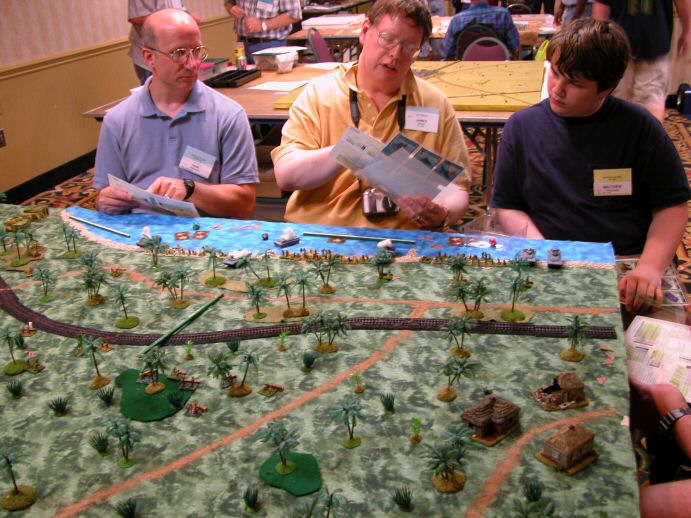
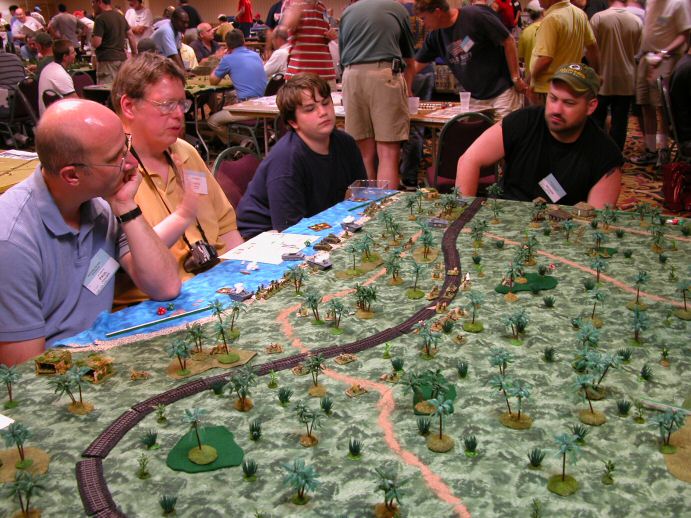
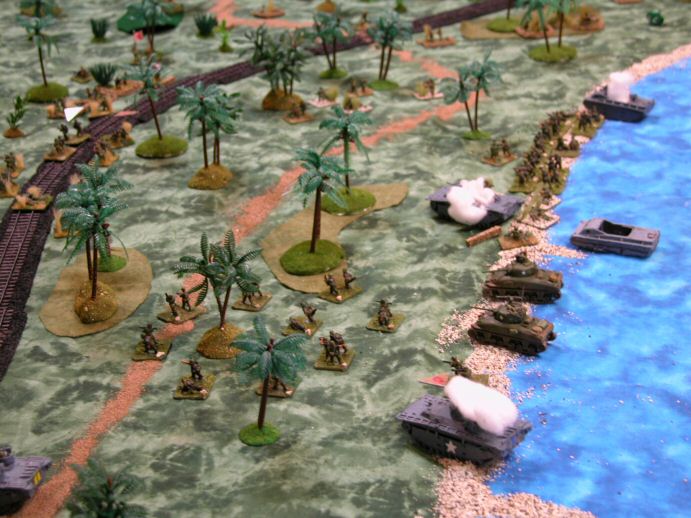
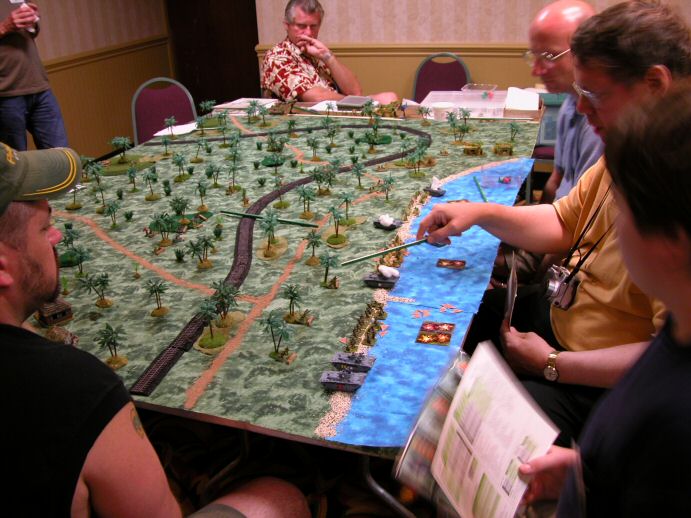 Getting ready to land |
The Marines prepare to land. The beach area is divided into 3 sectors, with objectives behind each. |
 From the Japanese side |
A view of the landing area from the Japanese side. I explain the rules. |
 Resistance from the start |
The Japanese guns have the beaches zeroed in, and artillery fire lands before the Marines can move out. |
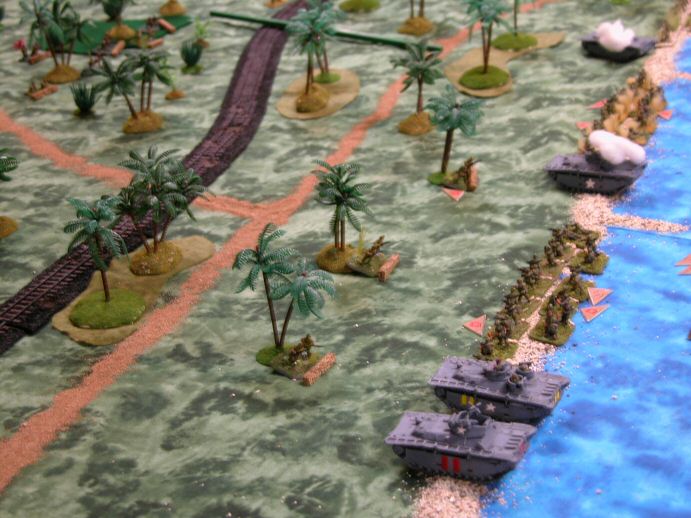 First Contact |
The Marines encounter the first Japanese outposts just of the beach. |
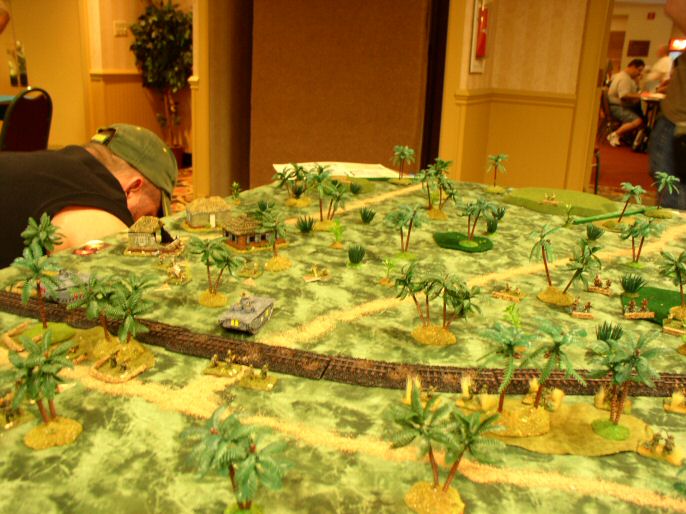 Moving Up |
Supported by Amtracks, the Marines move up. |
 Right Flank in trouble |
The right flank runs into stiff resistance. |
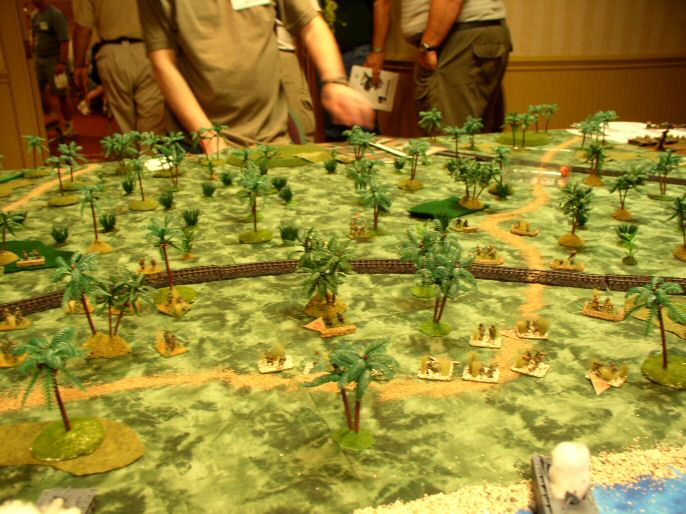 Moving up in the middle |
The units in the center overwhelm individual Japanese units. |
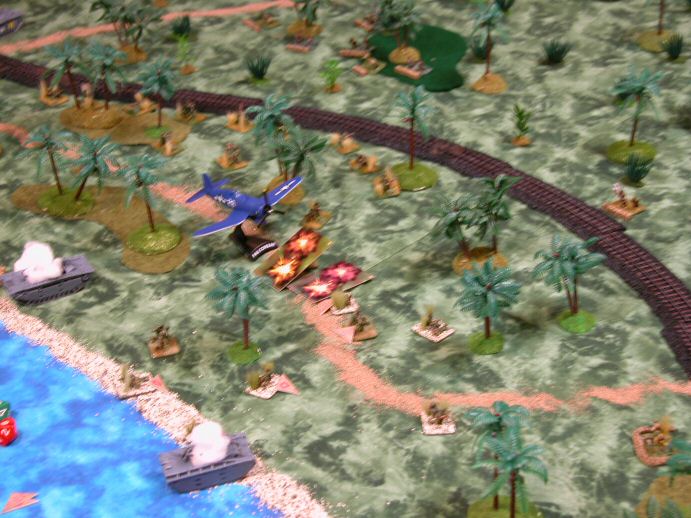 'Japanese' Airforce |
Calling for air support was chancy. Not only were there no good targets, but there was a significant chance that the airplanes would attack friendly forces. We called for it 3 times, and the Japanese controlled the strike twice. |
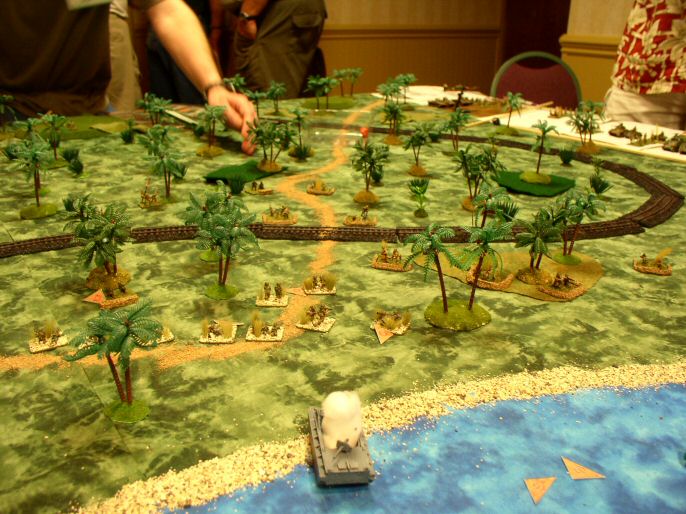
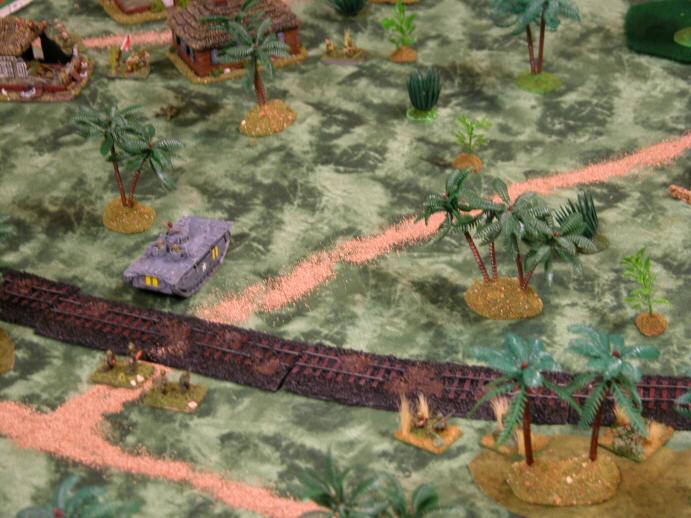 Left Flank moves up |
The left flank got to the railroad quickly, but ran into stiff resistance when it moved beyond. |
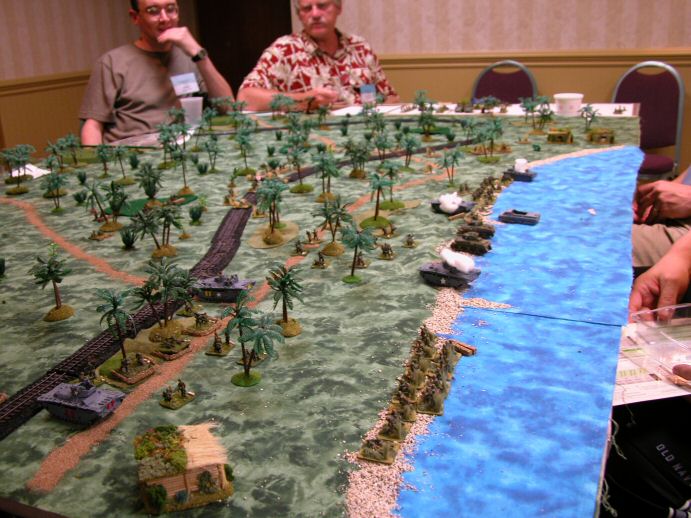 Second Wave |
The USMC second wave arrives. |
 Japanese Armor Counterattacks |
Several light tanks move up into the village on the right flank. They were able to knock out the Amphtracks, forcing the USMC to send some Shermans to help. |
 Japanese Main Line |
The USMC center force comes up against a dug-in Japanese force. |
 Moving up on the Left |
The left and center force attacks the village. |
 Armor Support |
Shermans land in the second wave. The Japanese had some tanks which were able to handle the Amphtraks, but the Shermans were another story. |
 Fight on the Right |
The Japanese forces on the U.S. right flank proved to be extremely tough. |
 Fight on the Right 2 |
A different angle. |
| Click on the Thumbnail for a full-size photo | Description |
|---|---|
 Scottish and English Bob |
Two friends form "Across the Pond" have been regular visitors to our conventions, sometimes staying with Richard. "Scottish Bob" (standing), introduced Rich to Haggis after we introduced him to scrapple (just revenge). "English Bob" is preparing to play in the Pagoda Hill game. |
Copyright 2000-2019 Fire and Fury Games, all rights reserved
Web page maintained by
Webmaster@FireAndFury.com.