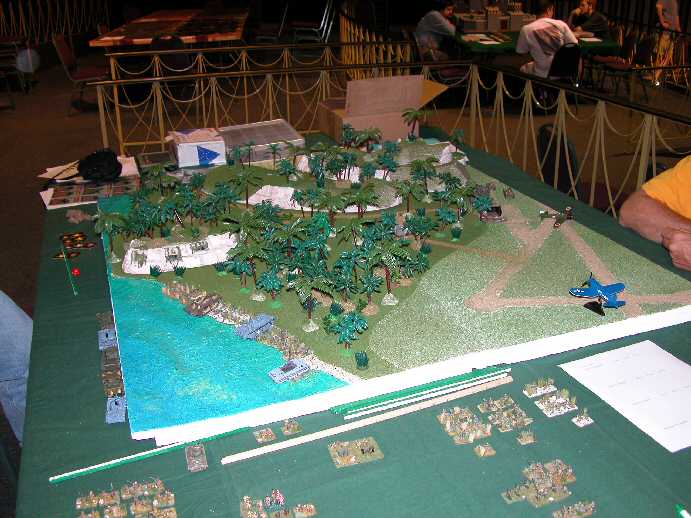
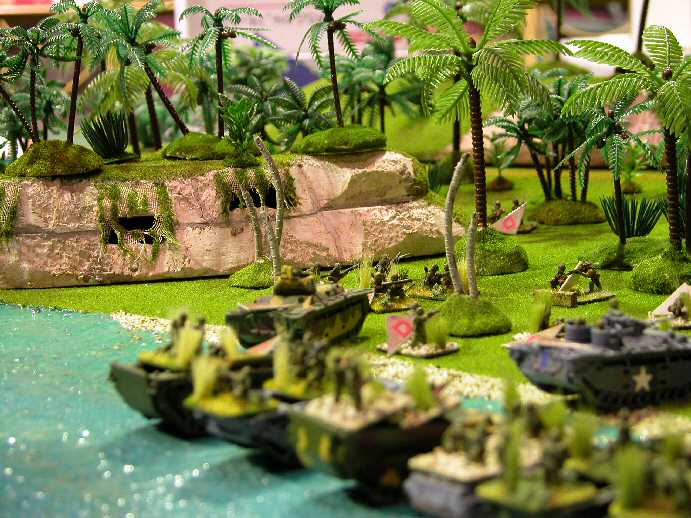
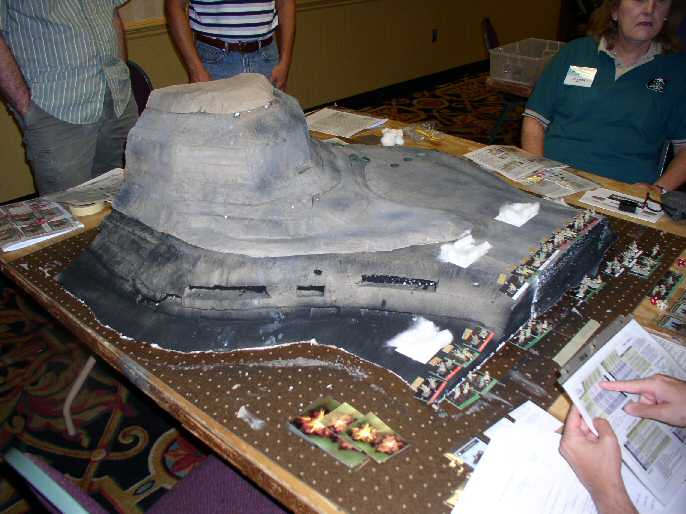
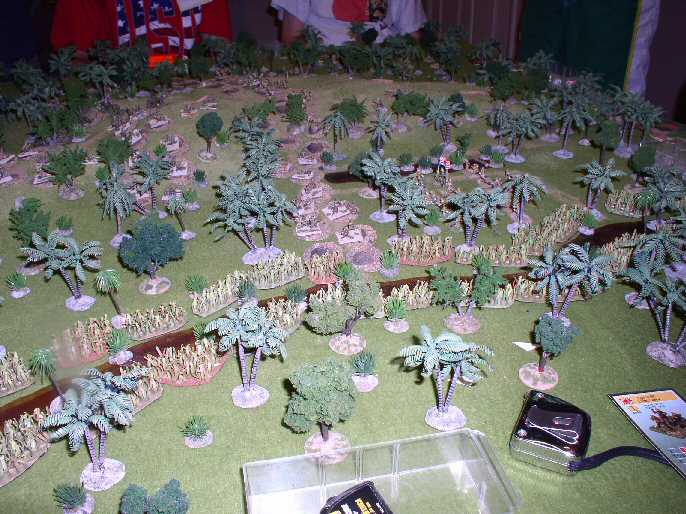
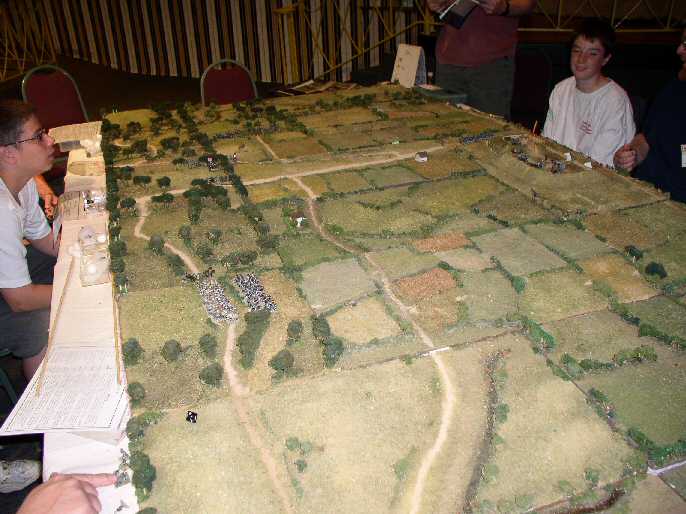
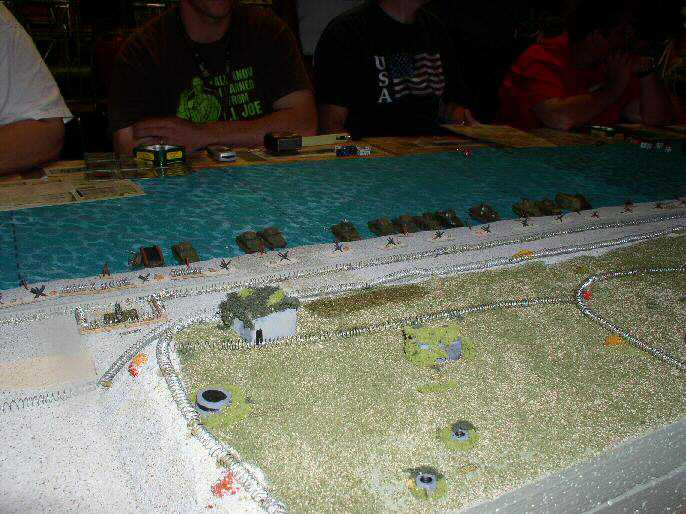
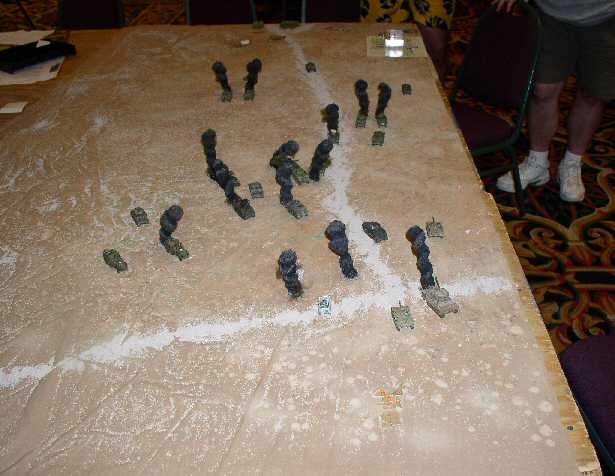
Marines invade
Japanese wait
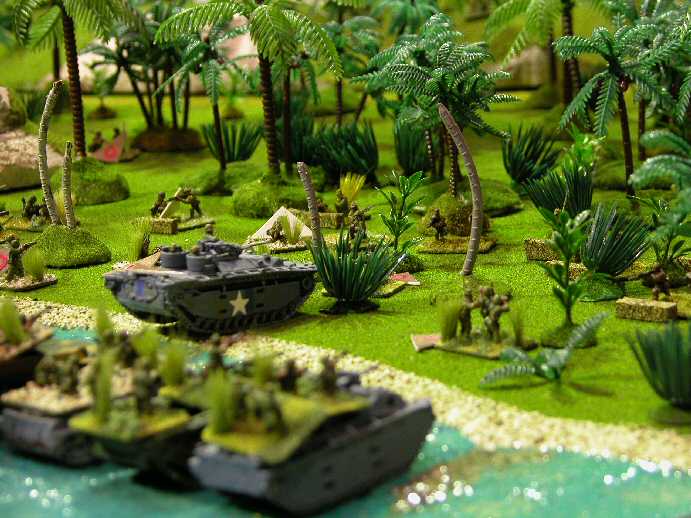
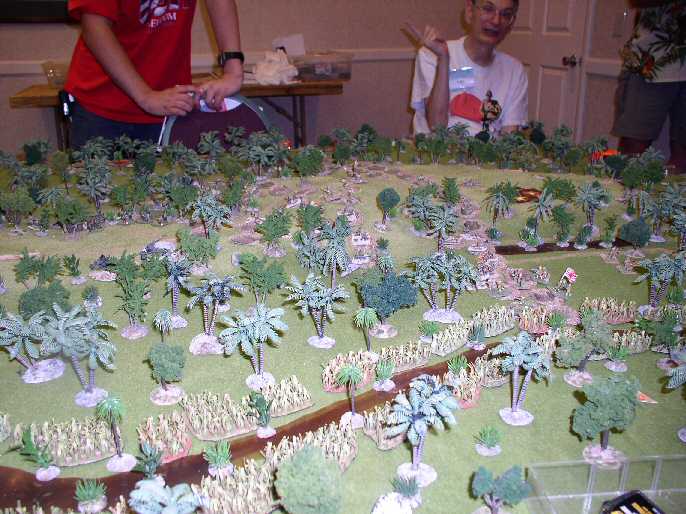
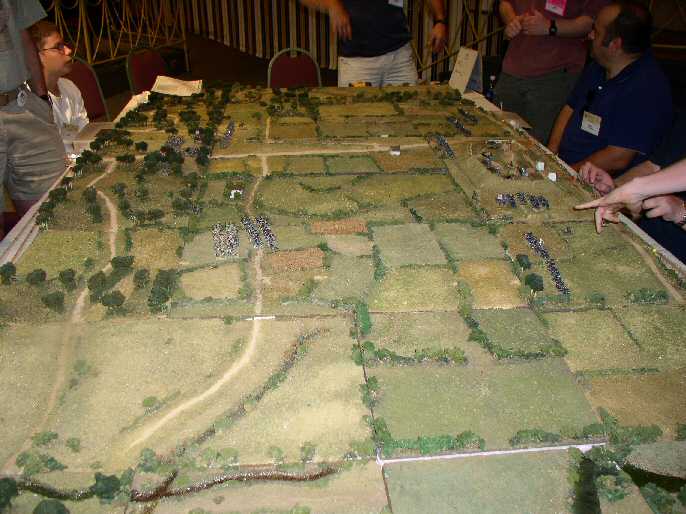
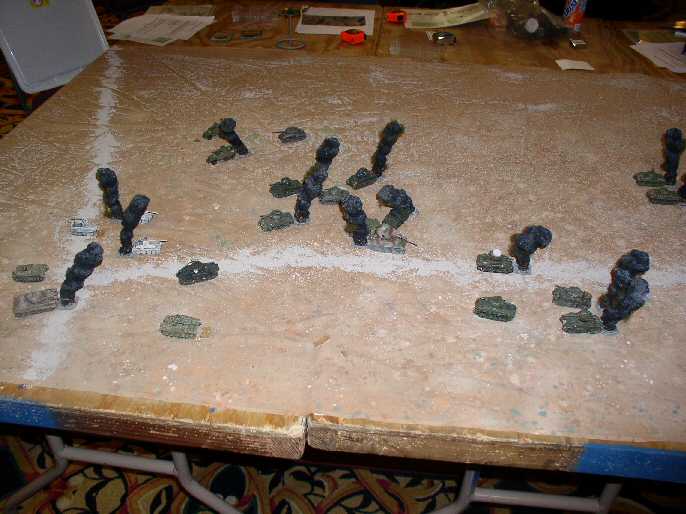
Marines reinforce
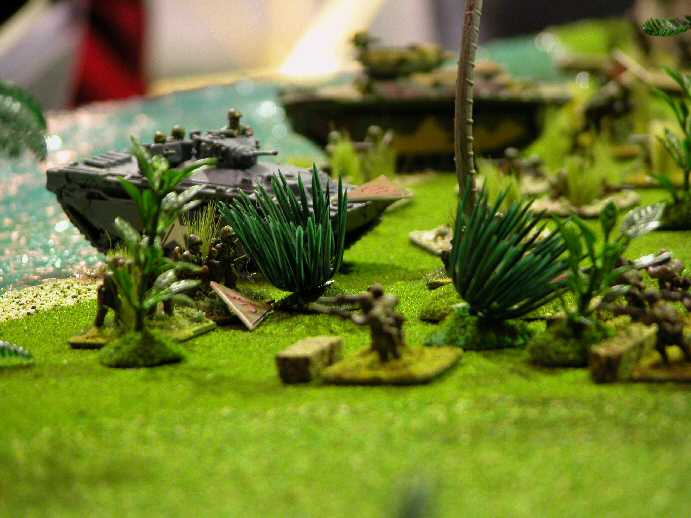
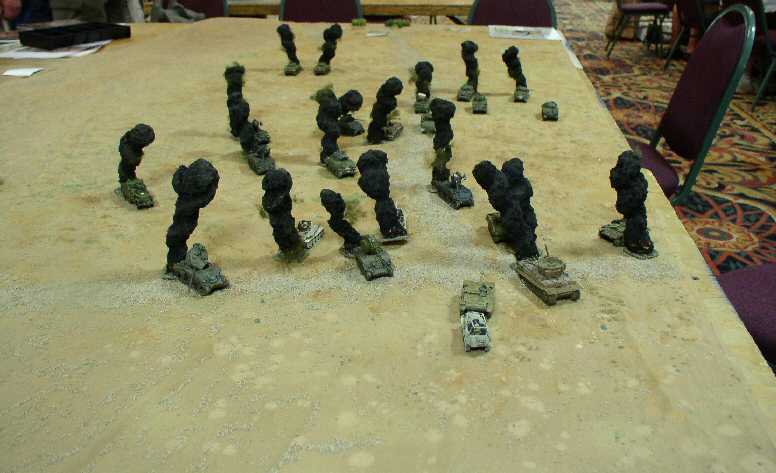
The 'Point'
| Click on the Thumbnail for a full-size photo | Description |
|---|---|
Marines invade |
Marines hit the beach at White Beach 1. |
Japanese wait |
The Japanese are waiting. |
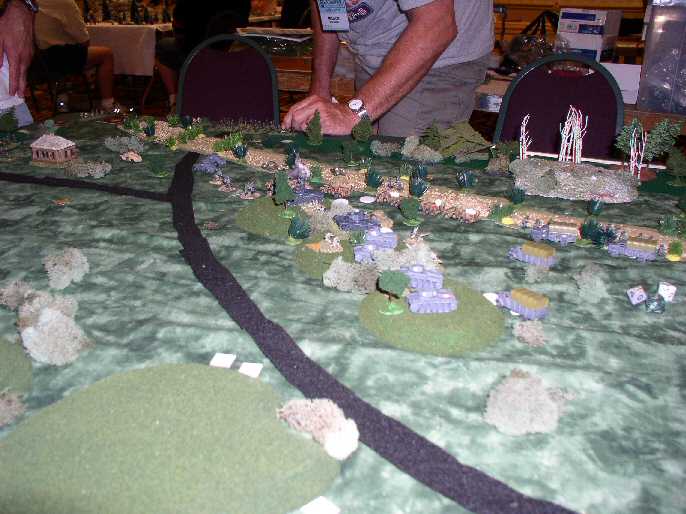
Marines reinforce |
A shallow advance by the Marines is reinforced by the 2nd wave. |
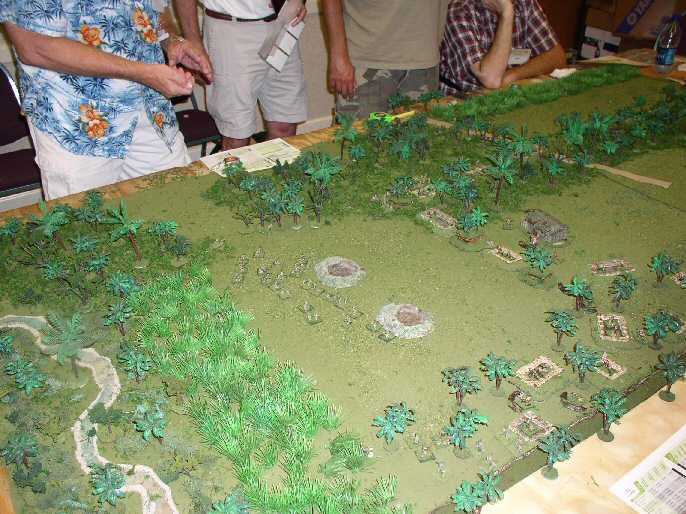
The 'Point' |
The Marines 1st look at the 'Point' |
| Click on the Thumbnail for a full-size photo | Description |
|---|---|
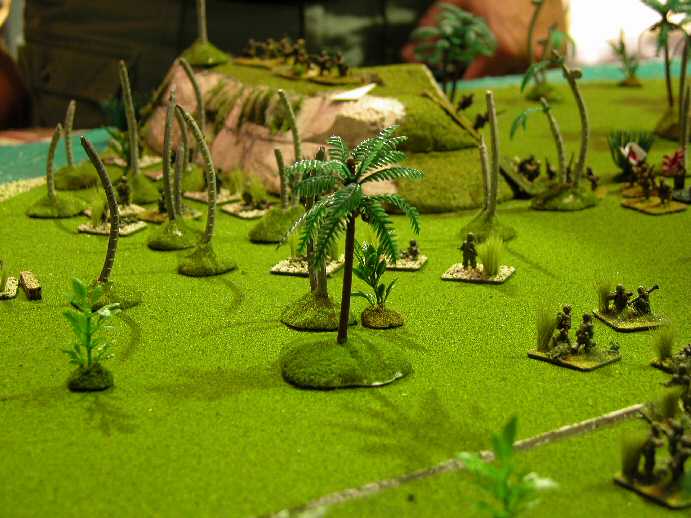
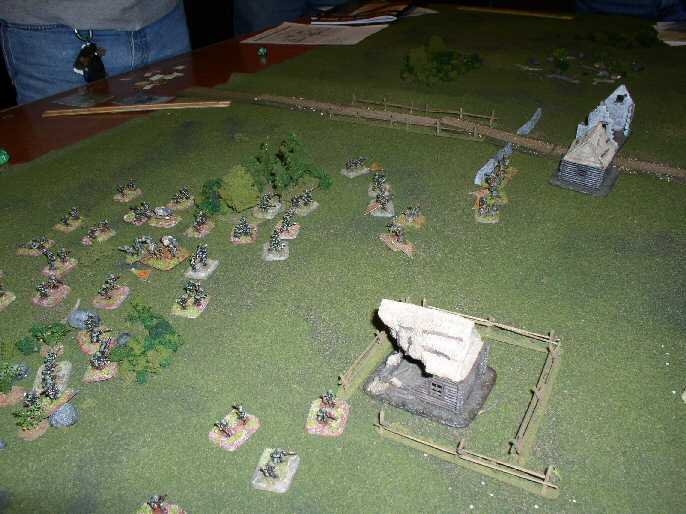
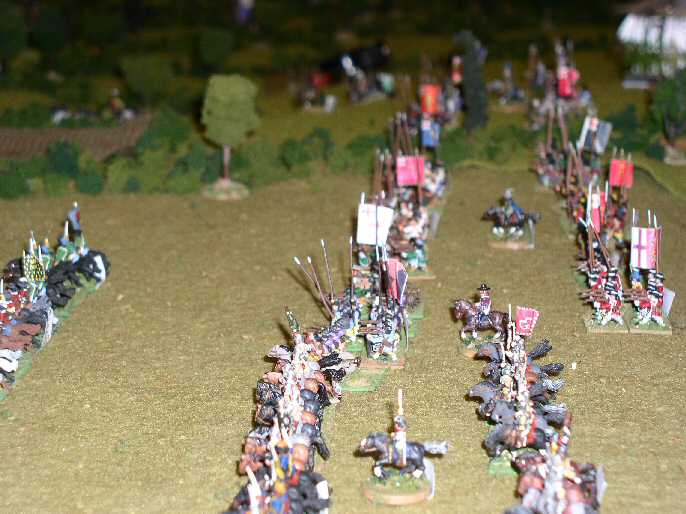
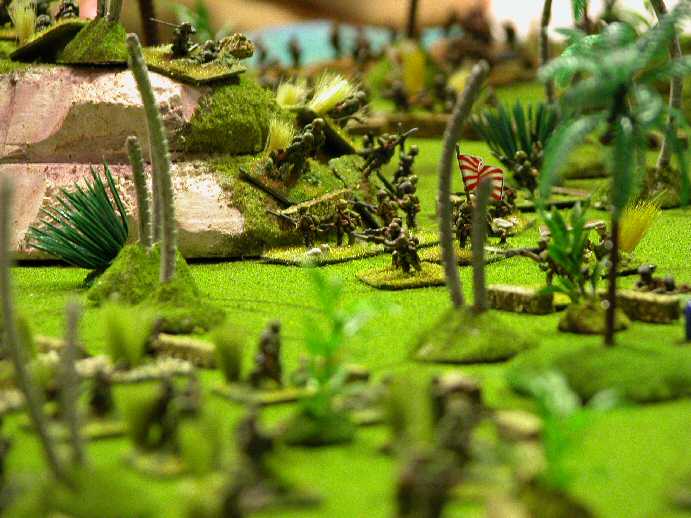 Japanese counterattack |
The Japanese initial attack at the eastern end of the 'Point' |
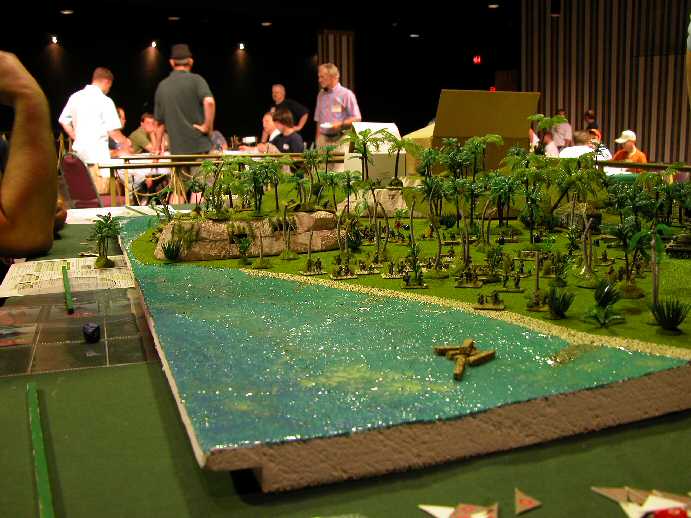 View of the 'Point' |
A view of the 'Point' showing how it enfilades the invasion beaches |
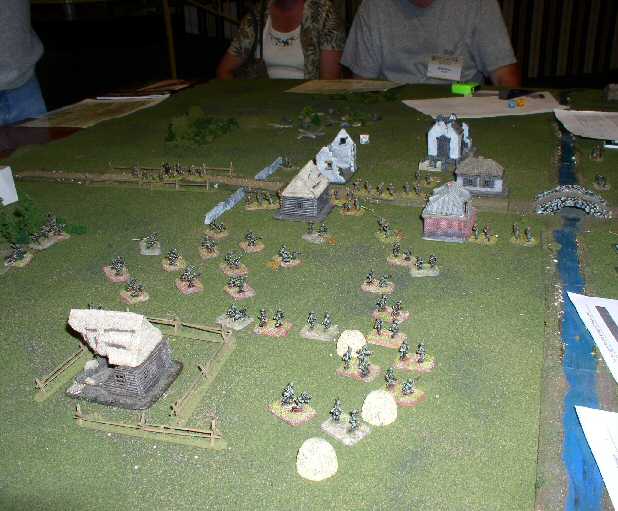
 Southeast of the 'Point' |
No man's land southeast of the 'Point' |
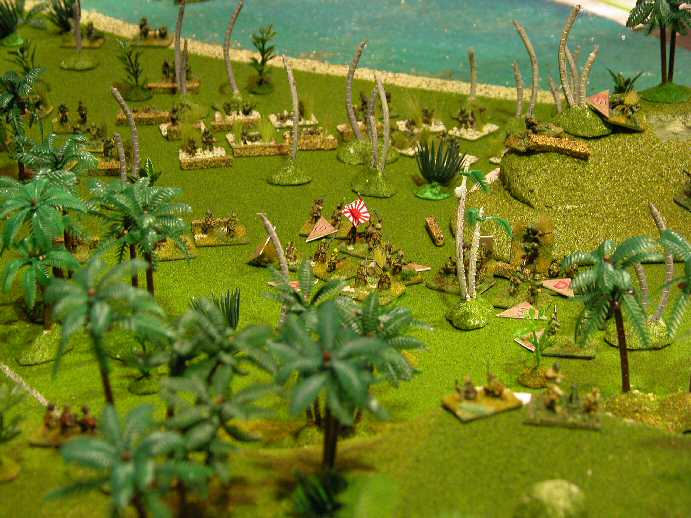
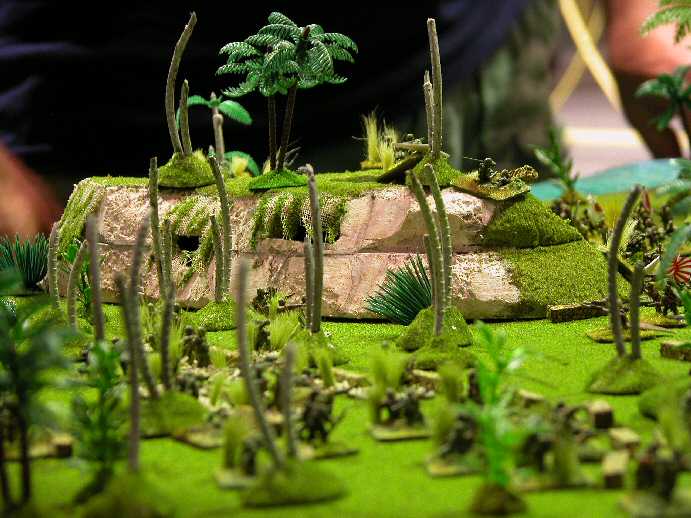 Another look at the 'Point' |
The 'Point' |
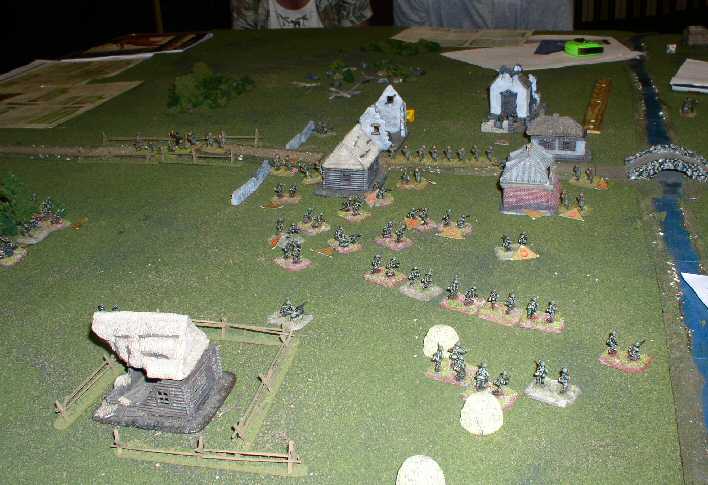
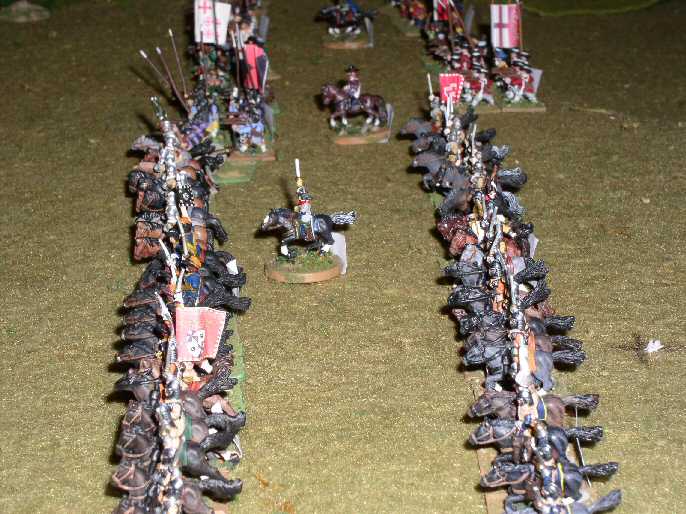
 Marines hold on |
The isolated Marines desperately fighting to hold the 'Point' |
 Marines can't break through |
2 Marine companies can't get to the 'Point' in time to save it |
 Another angle |
View from the mountains |
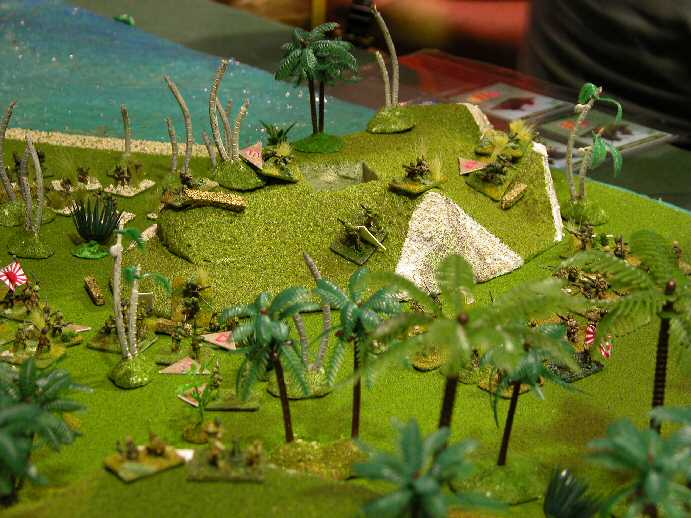
 Japanese slow down |
The Japanese have taken the 'Point' but have run out of steam |
| Click on the Thumbnail for a full-size photo | Description |
|---|---|
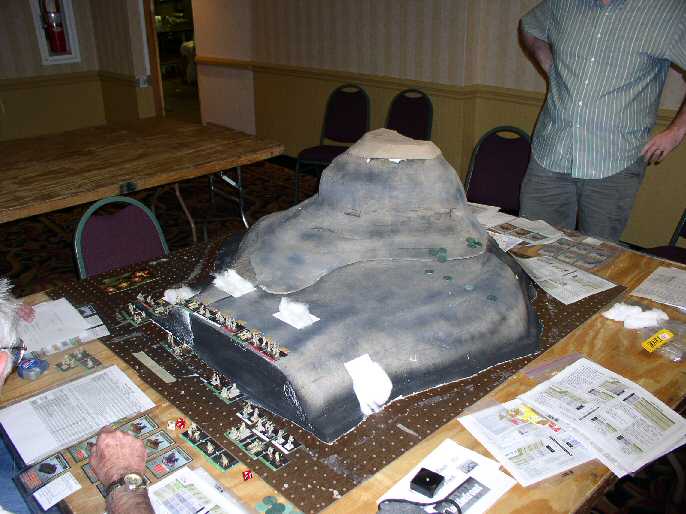 Mt. Suribachi 1 |
One angle on Mt. Suribachi |
 Mt. Suribachi 2 |
Another view of Mt. Suribachi |
| Click on the Thumbnail for a full-size photo | Description |
|---|---|
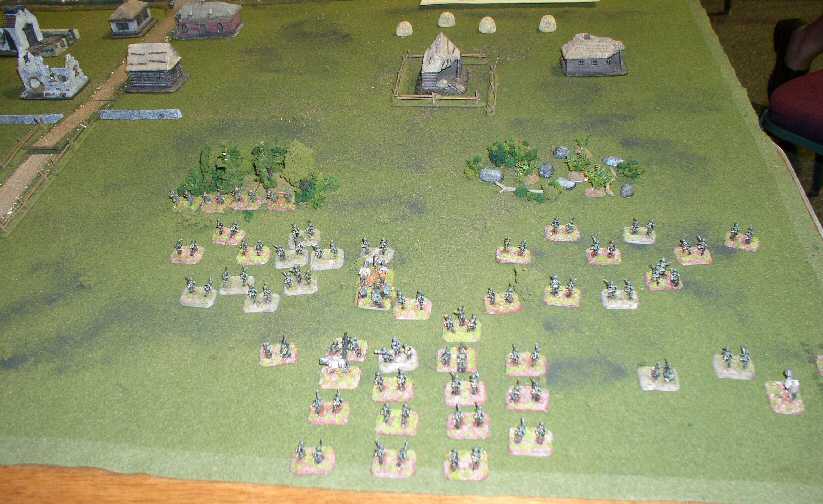
 Bloody Ridge 01 |
Japanese emerge from the forest. This is not as dangerous as it looks, because at nighttime, the U.S. is restricted to random shelling until something is suspected. |
 Bloody Ridge 02 |
Another view of the initial situation |
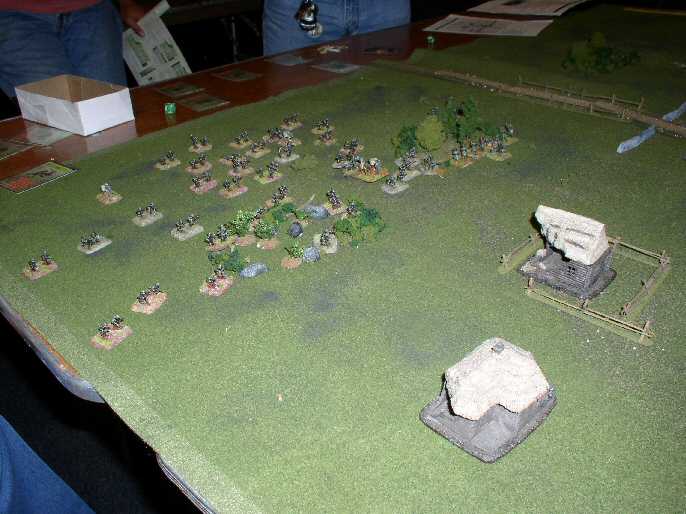
 Bloody Ridge 03 |
The first wave hits all across the line. They are repulsed, but cause casualties. |
 Bloody Ridge 04 |
The second wave of Japanese prepare to assault. |
 Bloody Ridge 05 |
Japanese break through in the center, and their right, but the Americans hold on the near flank. Greg expounds on the game in the background. |
| Click on the Thumbnail for a full-size photo | Description |
|---|---|
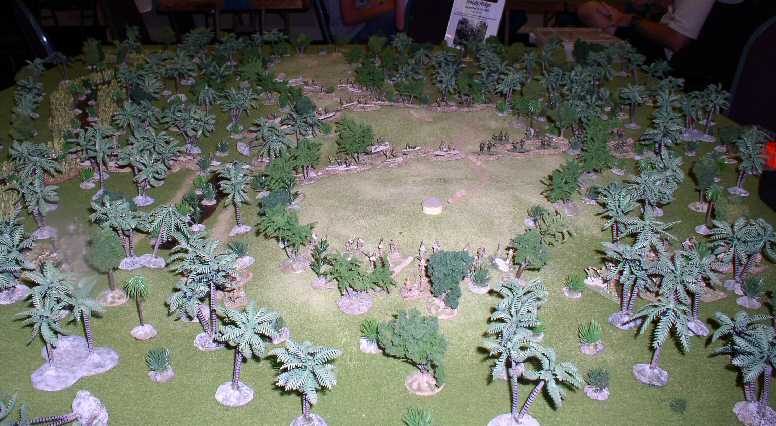
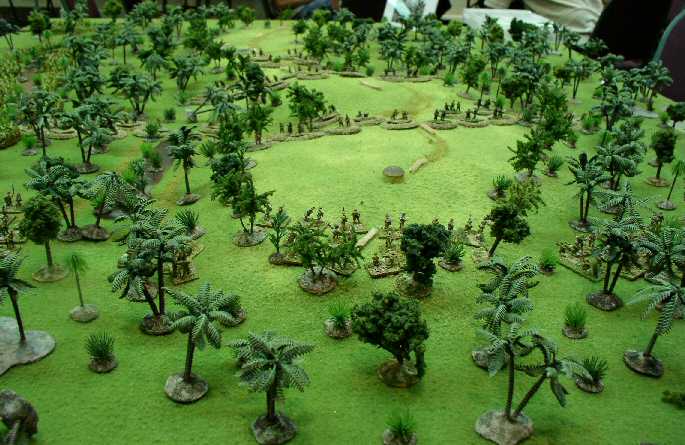
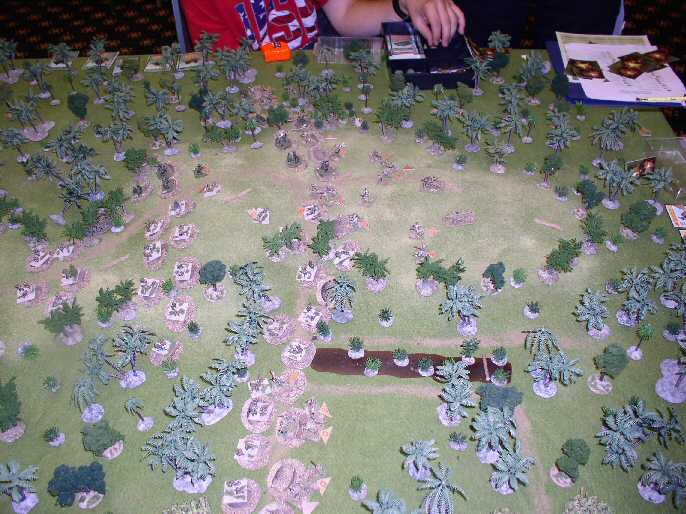
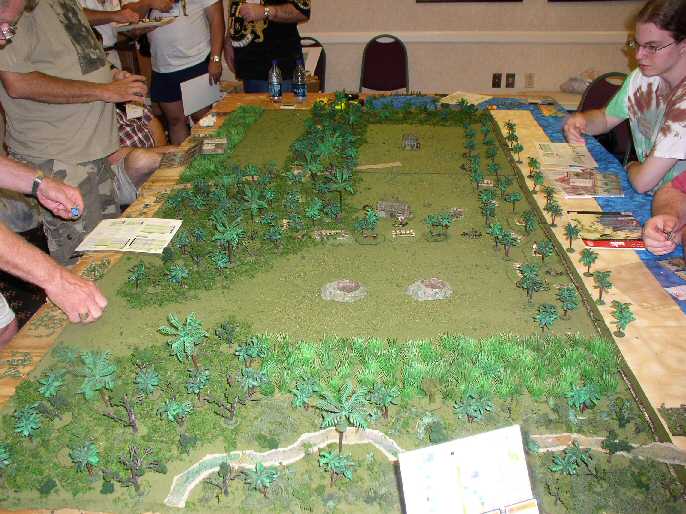 Kokoda 01 |
The terrain - the Japanese sit behind their entrenchments. |
 Kokoda 02 |
Another view of the initial situation - from the Japanese side |
 Kokoda 03 |
Australians move out across the open terrain. |
 Kokoda 04 |
Japanese lie in wait. |
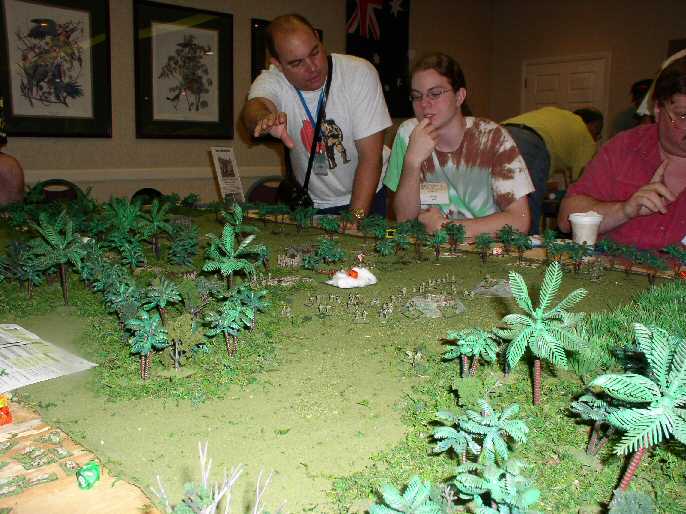 Kokoda 05 |
Steve coaches a new player. |
| Click on the Thumbnail for a full-size photo | Description |
|---|---|
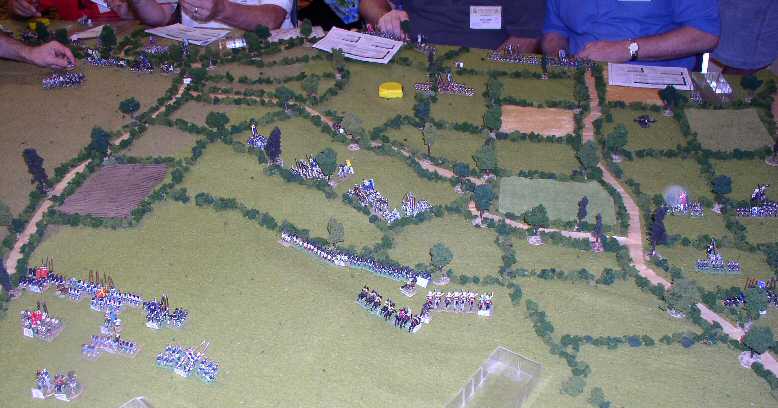
 Italians come on the table |
The Italians decided to try a sweep around the Greek Right flank |
 Greeks Delay |
The Greeks had set an ambush in the woods. They shot, caused some casualties and then fell back. The wave of Italians continued forward. |
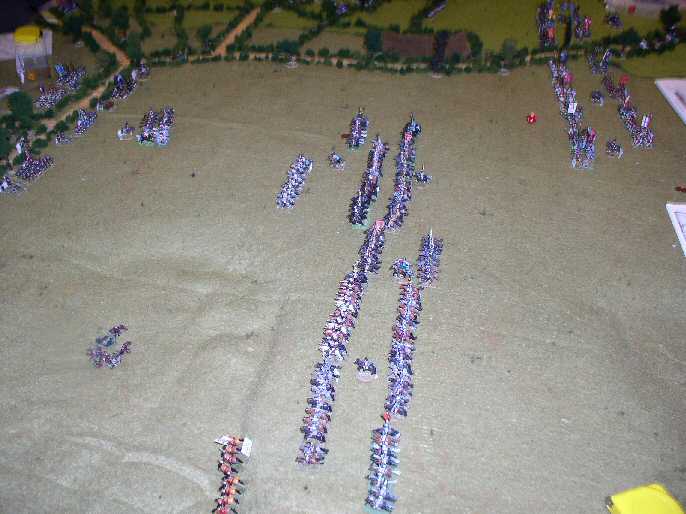
 Other Greeks appear |
The Italian wave catches up with the Greek delaying force, but other Greek forces appear behind the stone wall. The Italians move unopposed over the farmhouse on their extreme right, as the Greeks had decided to defend the town instead (having read the victory conditions). |
 Change of Front |
The Italians wheel their right flank to face the town. The Greeks commit their reserve. |
 Firefight for the town |
As the Italians advance on the town, a sharp firefight ensues. |
| Click on the Thumbnail for a full-size photo | Description |
|---|---|
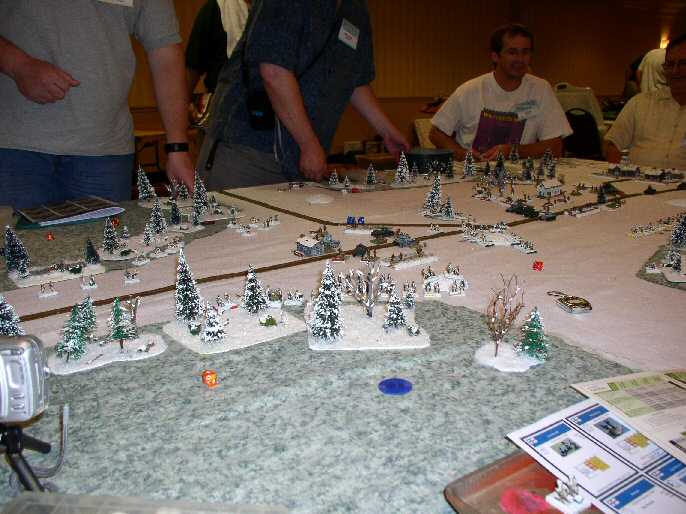
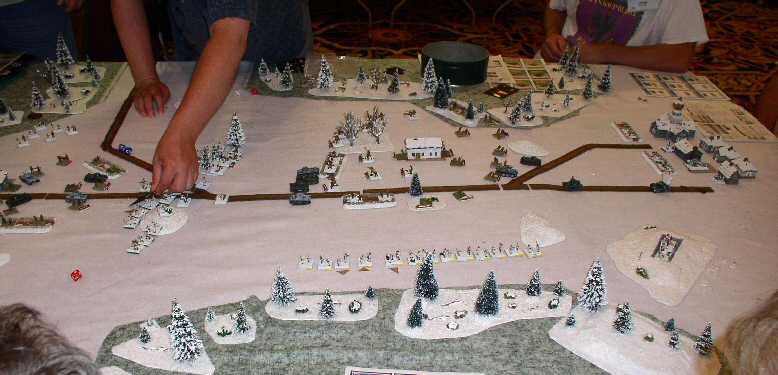 Winter War 01 |
Winter War 1 |
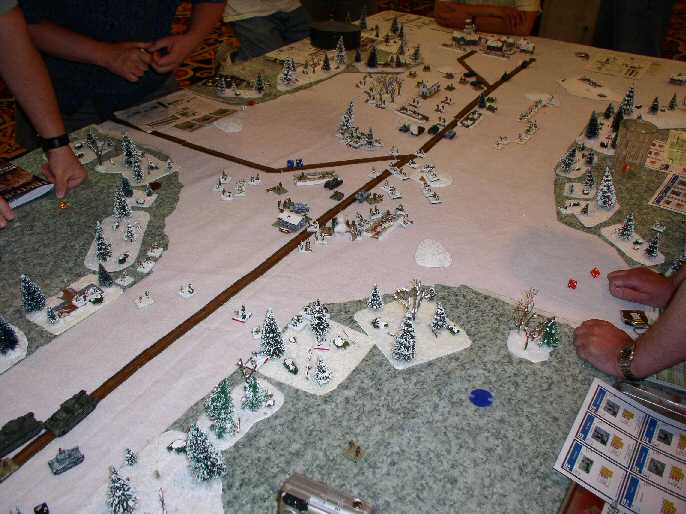
 Winter War 02 |
Winter War 2 |
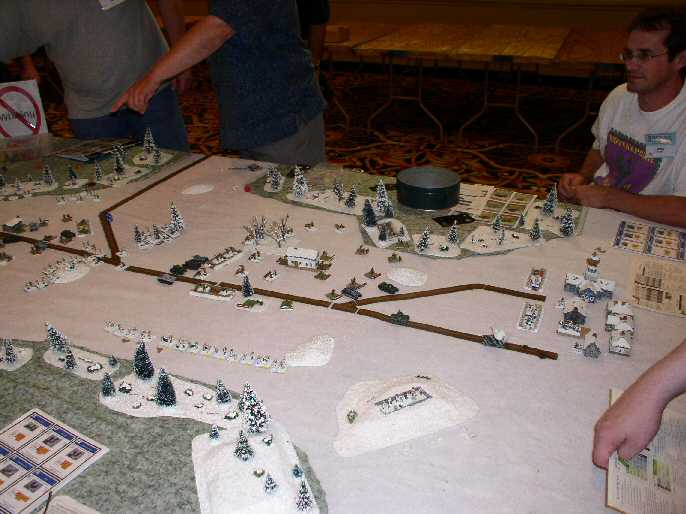
 Winter War 03 |
Winter War 3 |
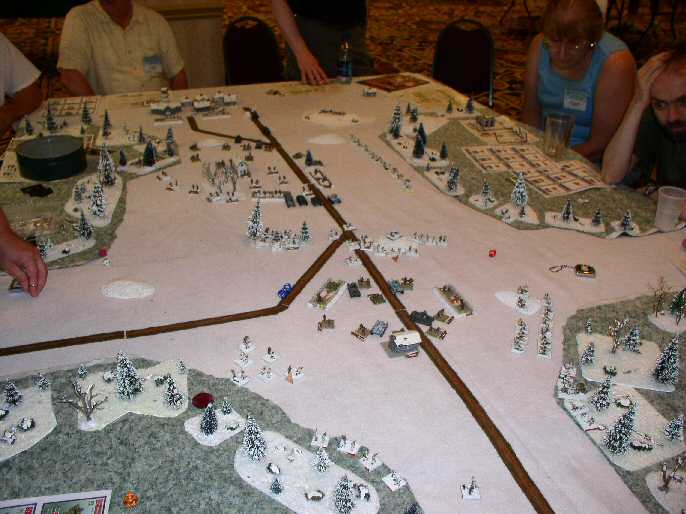
 Winter War 04 |
Winter War 4 |
 Winter War 05 |
Winter War 5 |
| Click on the Thumbnail for a full-size photo | Description |
|---|---|
 Poland 01 |
Poland 1 |
 Poland 02 |
Poland 2 |
 Poland 03 |
Poland 3 |
 Poland 04 |
Poland 4 |
 Poland 05 |
Poland 5 |
| Click on the Thumbnail for a full-size photo | Description |
|---|---|
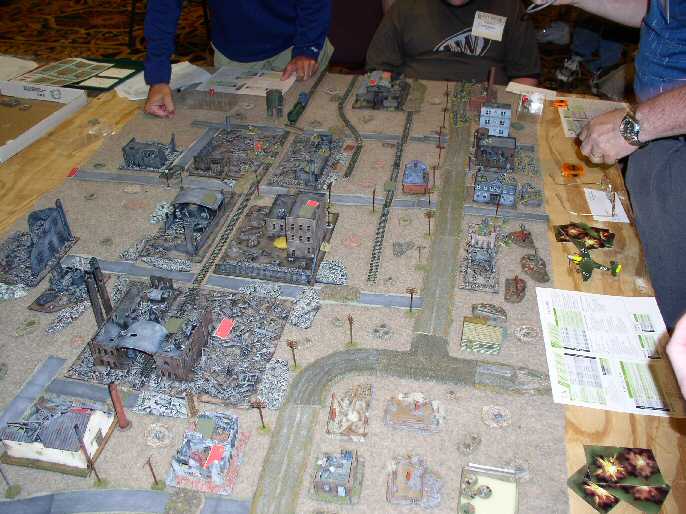 Tractor Factory 01 |
The terrain |
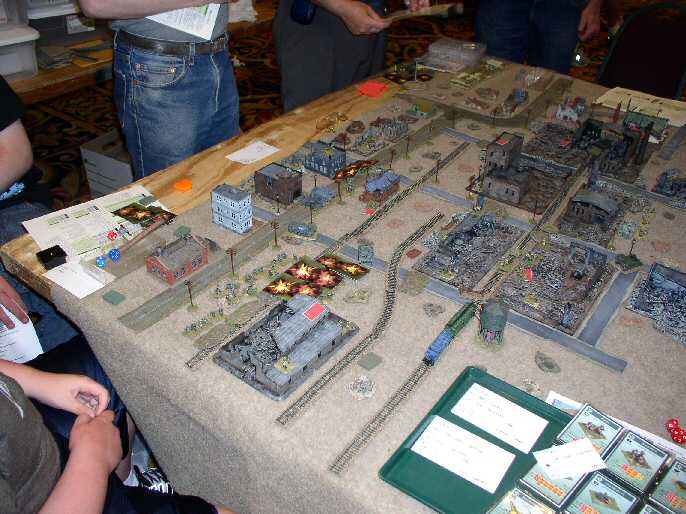 Tractor Factory 02 |
Artillery placed but ineffective (about 8-9 German stands are under the pattern |
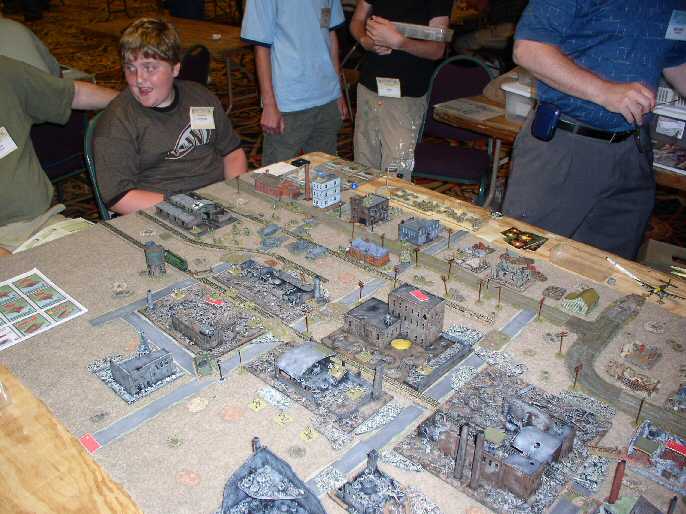 Tractor Factory 03 |
The next turn - more German infantry clumps in the open, but the artillery which was called fails to come in again. FO sent to Gulag. |
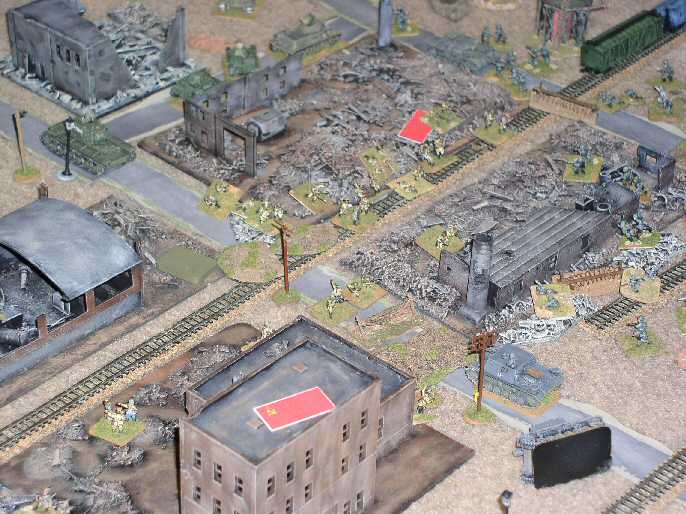 Tractor Factory 04 |
Infantry Fight |
 Tractor Factory 05 |
Another Infantry Fight |
| Click on the Thumbnail for a full-size photo | Description |
|---|---|
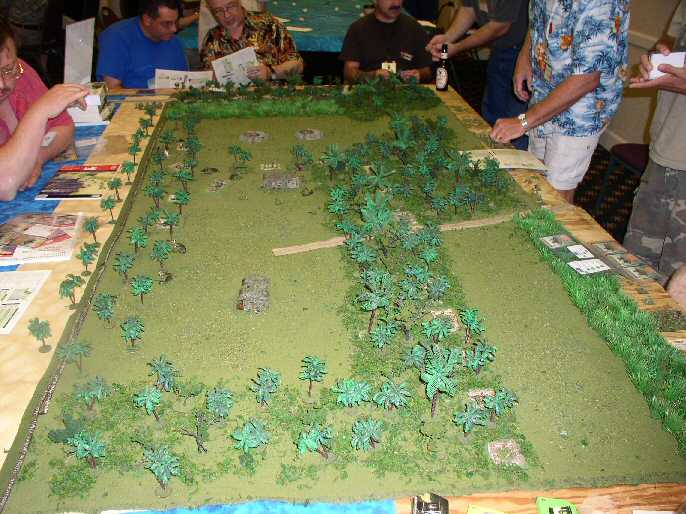
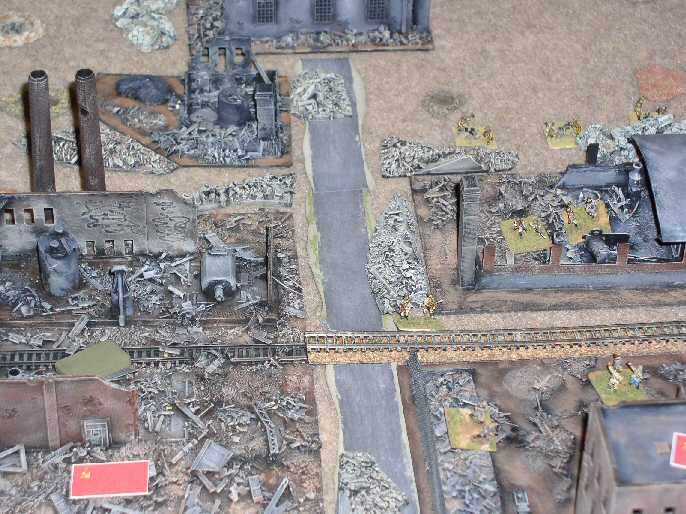
 Kursk 01 |
Trench Lines |
 Kursk 02 |
Different angle |
 Kursk 03 |
Yet another angle |
| Click on the Thumbnail for a full-size photo | Description |
|---|---|
 ACW 01 |
One view |
 ACW 02 |
Different angle |
| Click on the Thumbnail for a full-size photo | Description |
|---|---|
 Newbury 01 |
The terrain - webmaster fools around with his light filter |
 Newbury 02 |
Battle Lines approach |
 Newbury 03 |
Cavalry Units. |
 Newbury 04 |
The battle lines move through the hedgerows |
 Newbury 05 |
Cavalry maneuvers in the open |
| Click on the Thumbnail for a full-size photo | Description |
|---|---|
 Ft. Stevens 01 |
Ft. Stevens View 1. |
 Ft. Stevens 02 |
Ft. Stevens View 2. |
 Ft. Stevens 03 |
Ft. Stevens View 3. |
 Ft. Stevens 04 |
Ft. Stevens View 4. |
| Click on the Thumbnail for a full-size photo | Description |
|---|---|
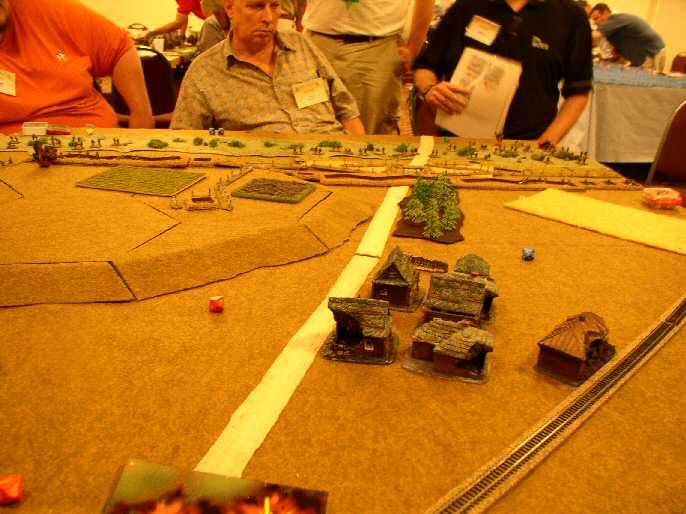
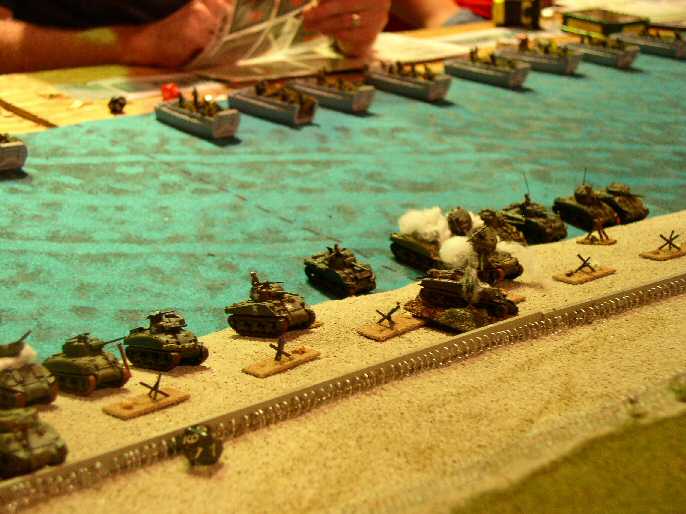
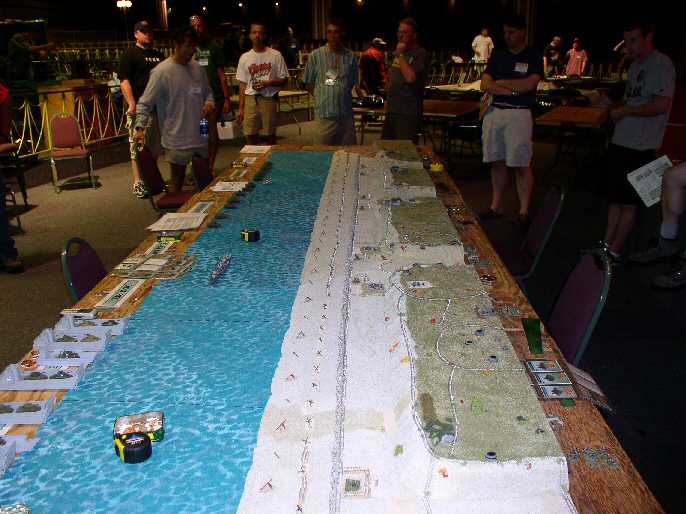 The terrain |
A view from one end of the invasion beach |
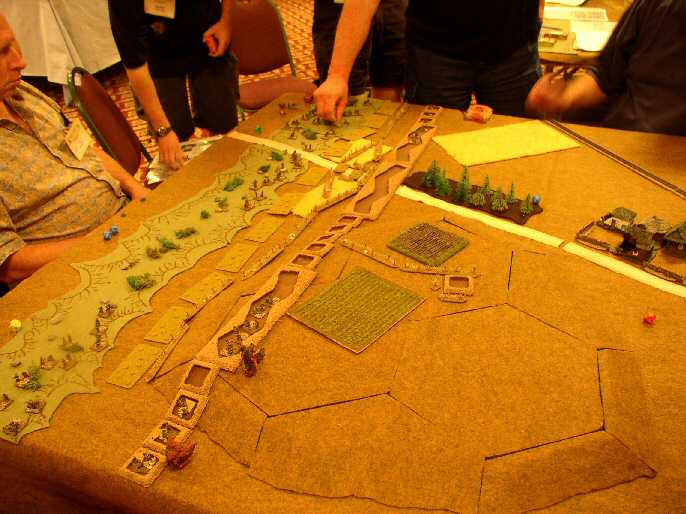
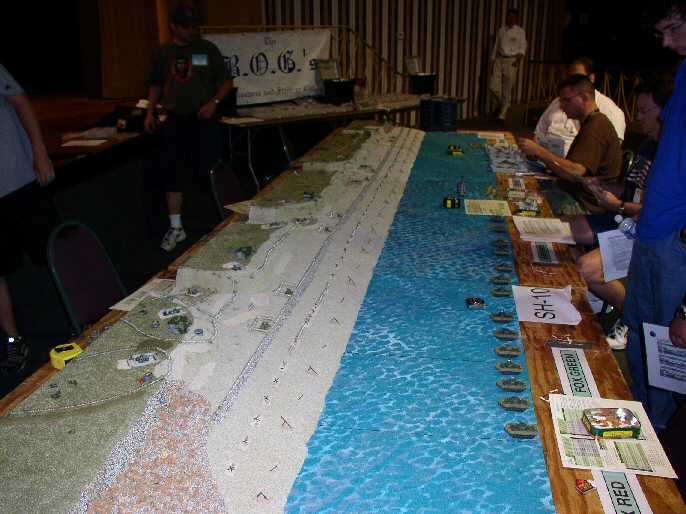 The tanks get ready |
DD tanks and landing craft prepare their approach. As happened in history, few of the DD tanks made it to shore. |
 The tanks land |
Tanks land |
 Tanks move up to the sea wall |
The tanks that made it to shore move up, suffering casualties along the way. Landing craft filled with infantry await their turn. |
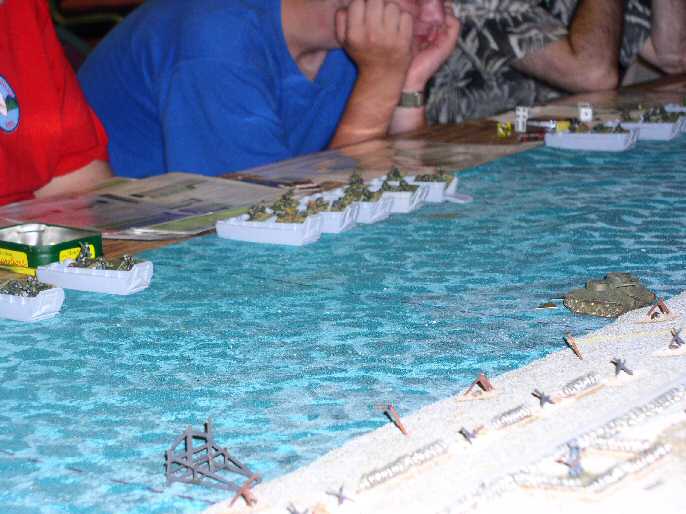 second wave |
The second wave approaches |
| Click on the Thumbnail for a full-size photo | Description |
|---|---|
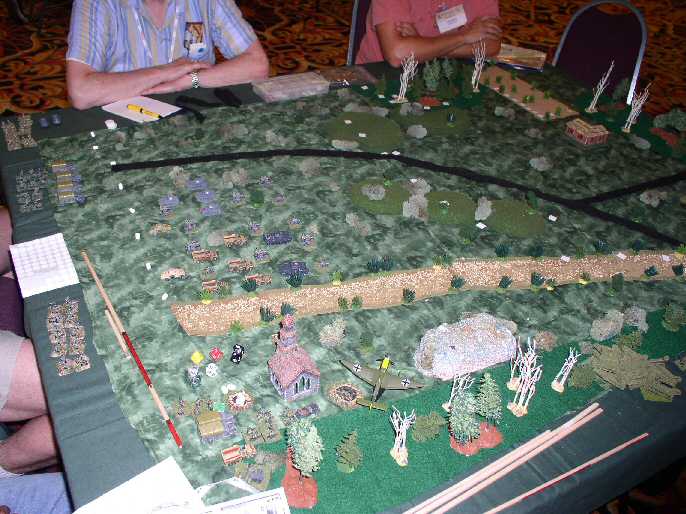
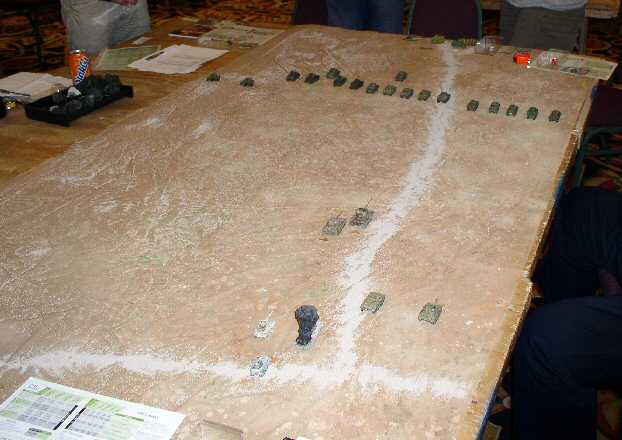 Charge! |
Several turns into the game the U.S. charge begins. A German Marder got a little frisky and was eliminated by the combined fire of about 7 Shermans. |
 Close Assault |
The first of the Tigers comes under a close assault by several Shermans, one of the few ways the big cats can be taken out by Shermans. |
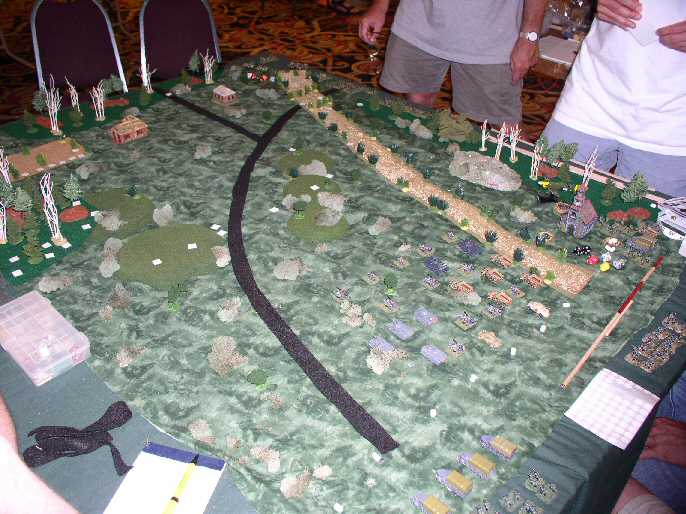
 Flanking |
The Tigers are gone and the weakened Americans move into position to flank the remaining Germans. |
 Last Stand |
Several turns later the only Germans left are the Sturmis, but the U.S. has taken heavy losses. |
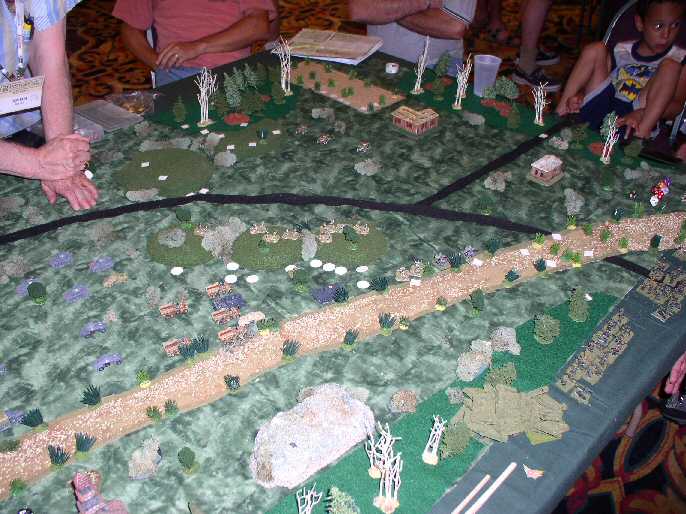
 The End |
The last Sturmgeschutz and the German HQ face down the 2-3 remaining Shermans. Everyone is of low morale and closing and missing morale would be a good way to lose the final unit. A draw, but the U.S. scores a moral victory by destroying the Tigers. |
Copyright 2000-2019 Fire and Fury Games, all rights reserved
Web page maintained by
Webmaster@FireAndFury.com.