Assaye
Aliwal 01
Aliwal 02
| Click on the Thumbnail for a full-size photo | Description |
|---|---|
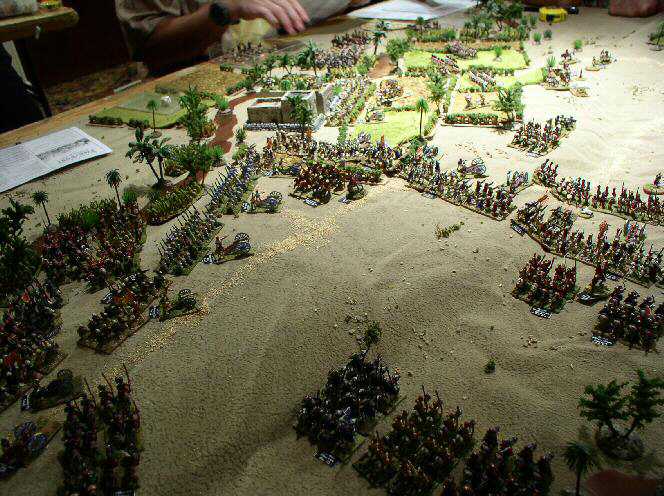
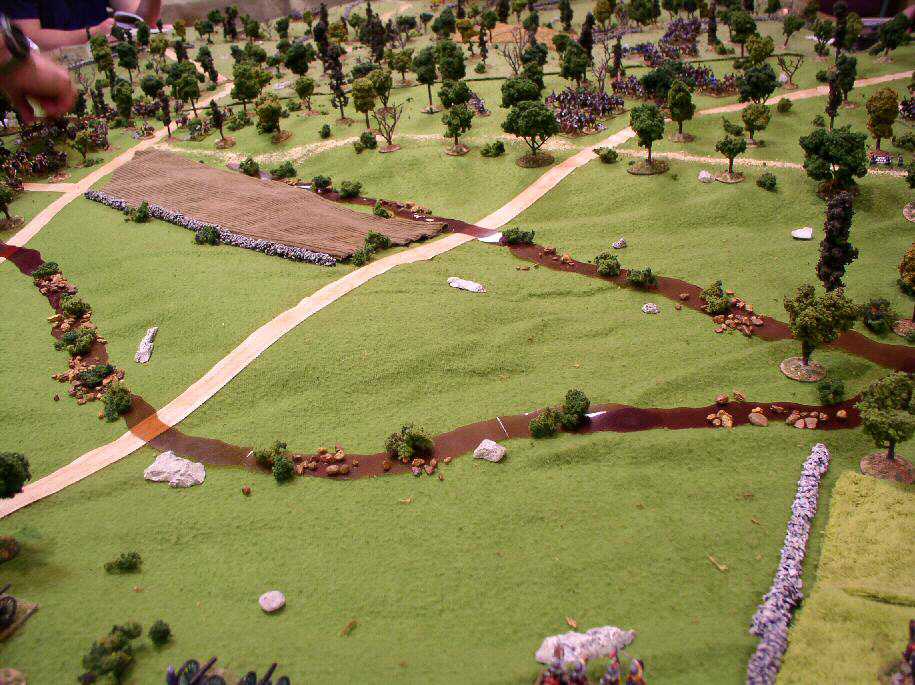
Assaye |
Forces line up around the fortified village of Assaye |
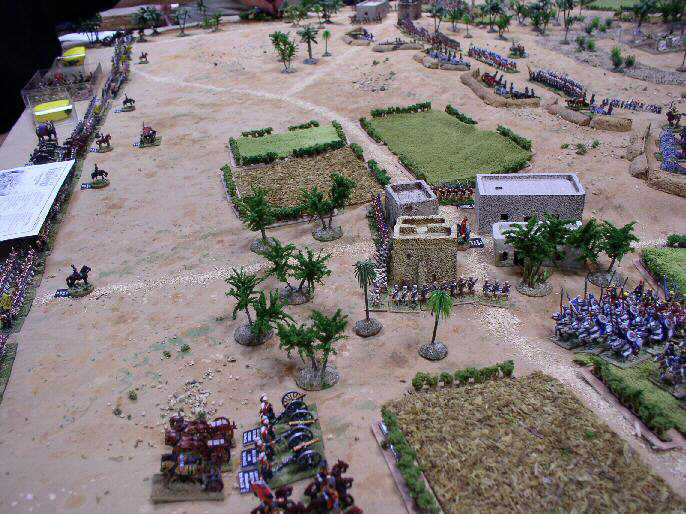
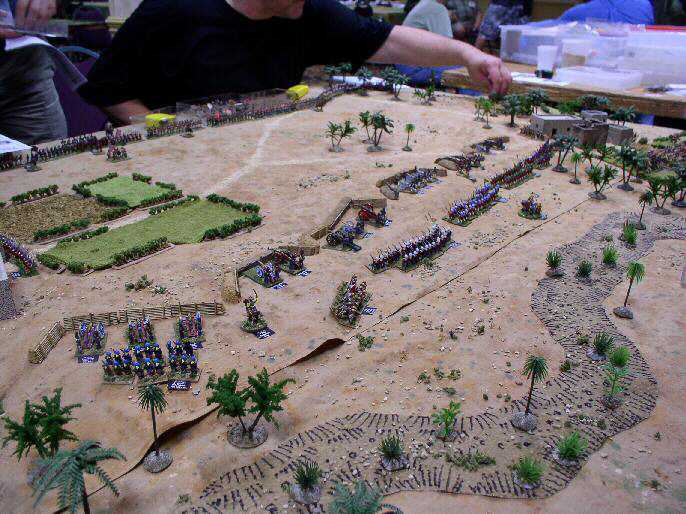
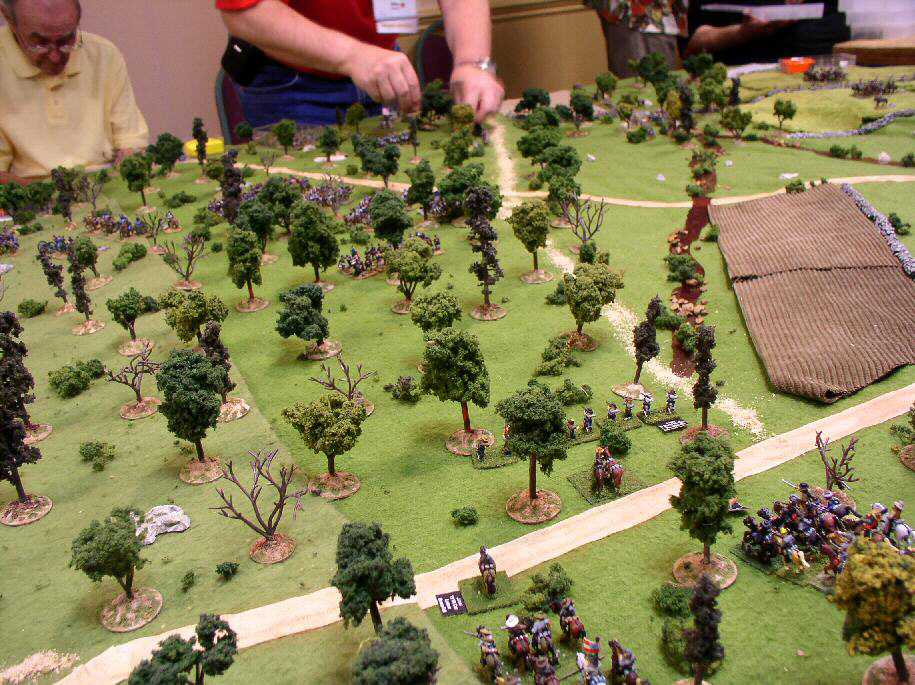
Aliwal 01 |
One view of Aliwal |
Aliwal 02 |
Another view of Aliwal. |
| Click on the Thumbnail for a full-size photo | Description |
|---|---|
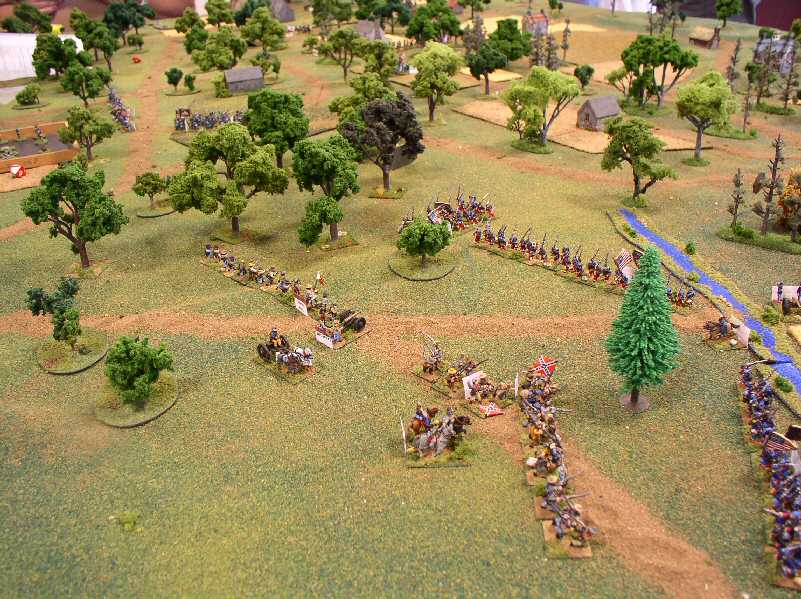
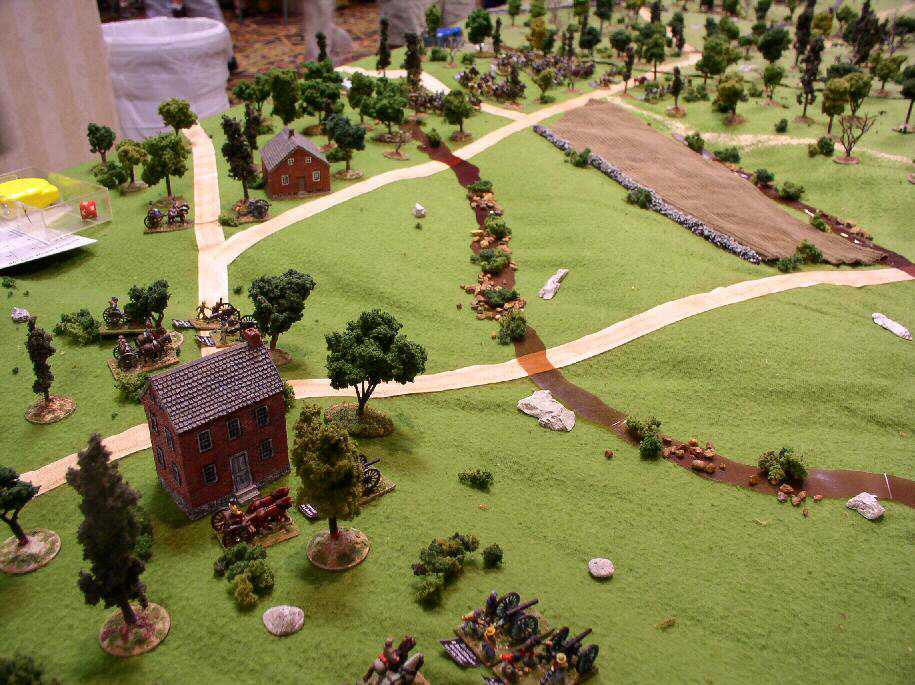 Confederate Artillery |
Confederate Artillery overlooks an open field. |
 Forces Mass in the Woods |
The opposing sides deploy. The Union to the right and the Confederate to the left. |
 Another view |
The opposing sides from behind the Confederate Lines. |
| Click on the Thumbnail for a full-size photo | Description |
|---|---|
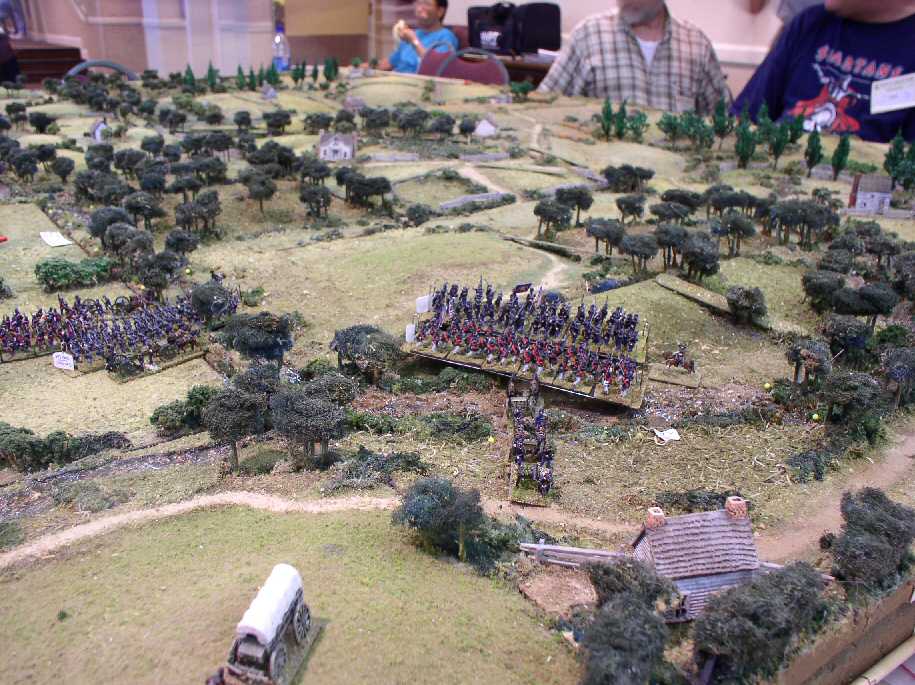
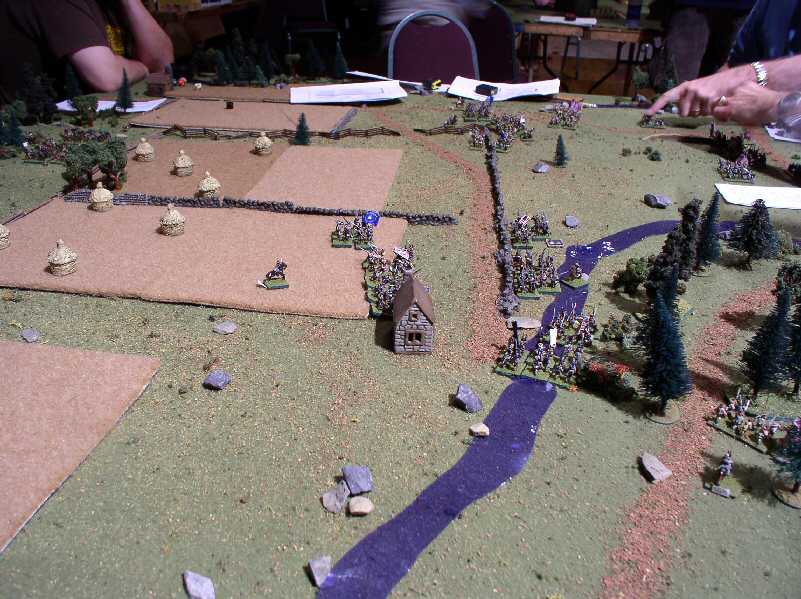 Confederates force a crossing |
Early was confronted with a defended river line. The bridge was well defended, but there were fords to the west of the bridge that allowed the Confederates to cross and outflank the defenders. Here the Confederates force a crossing. |
| Click on the Thumbnail for a full-size photo | Description |
|---|---|
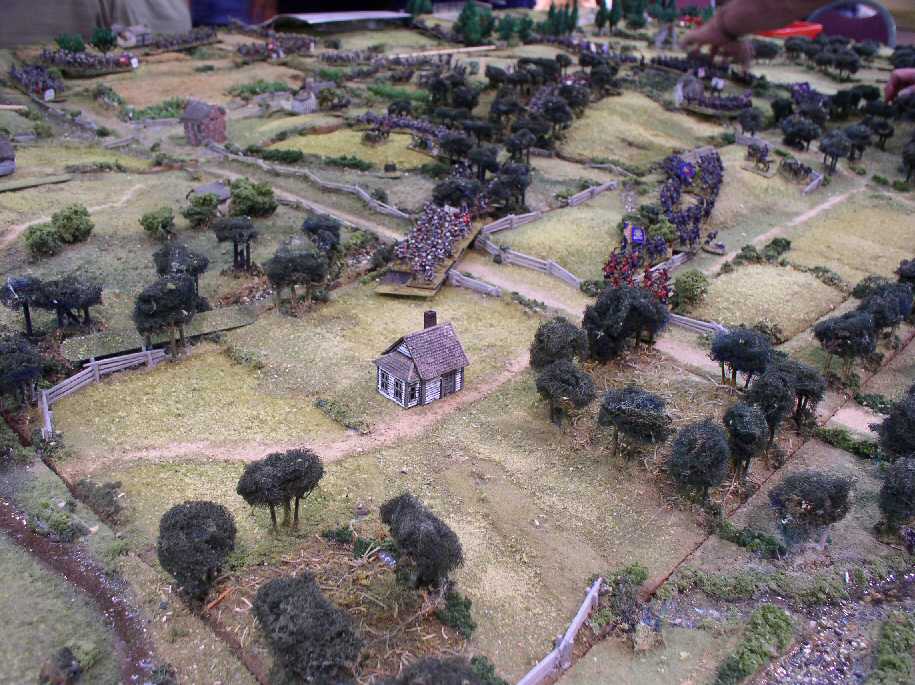
 Chickamauga |
View of the Chickamauga Battlefield |
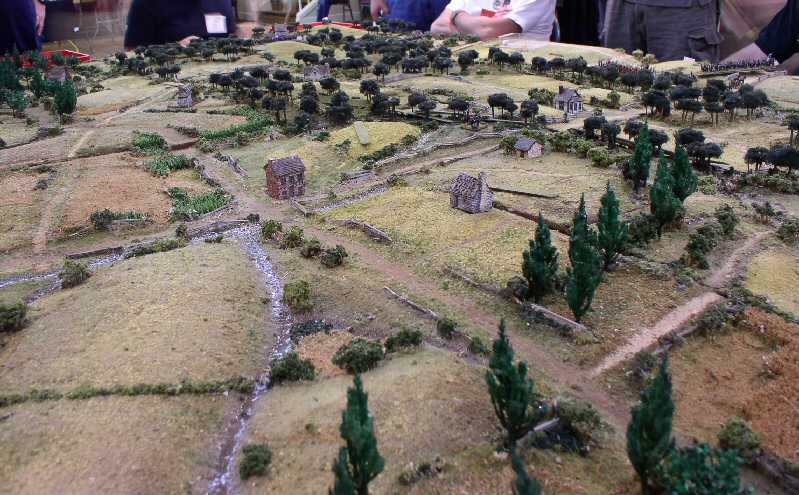
 Bull Run 01 |
Al Gaspar's Bull Run Battlefield-1 |
 Bull Run 02 |
Al Gaspar's Bull Run Battlefield-2 |
 Bull Run 03 |
Al Gaspar's Bull Run Battlefield-3 |
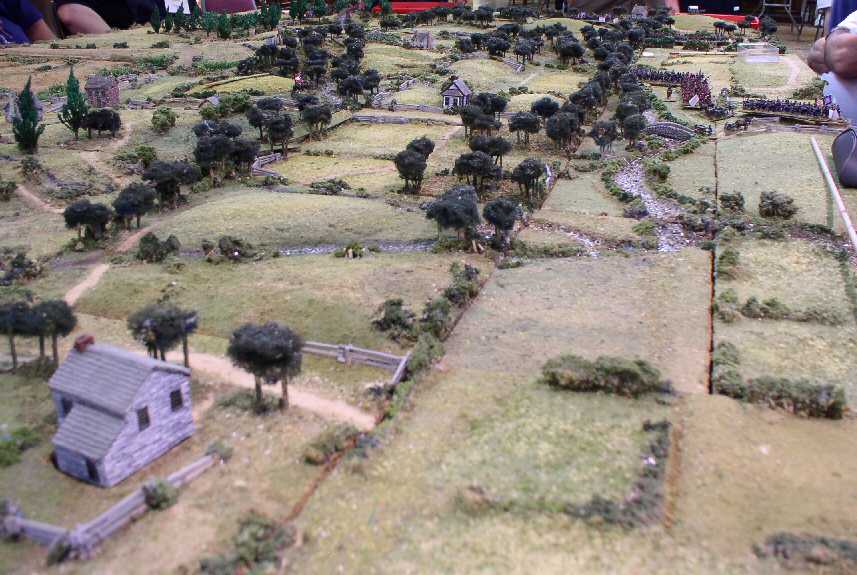 Bull Run 04 |
Al Gaspar's Bull Run Battlefield-4 |
| Click on the Thumbnail for a full-size photo | Description |
|---|---|
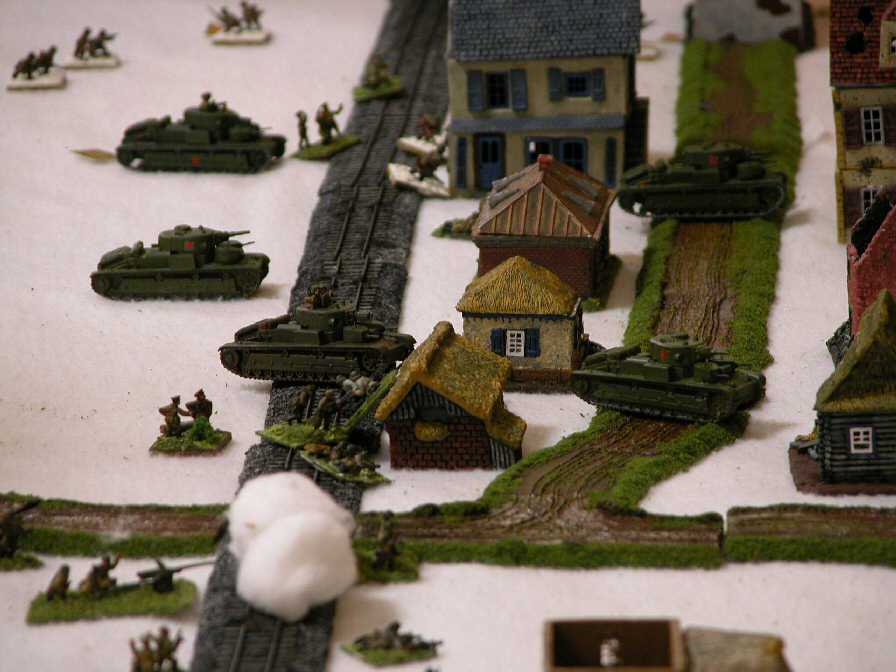
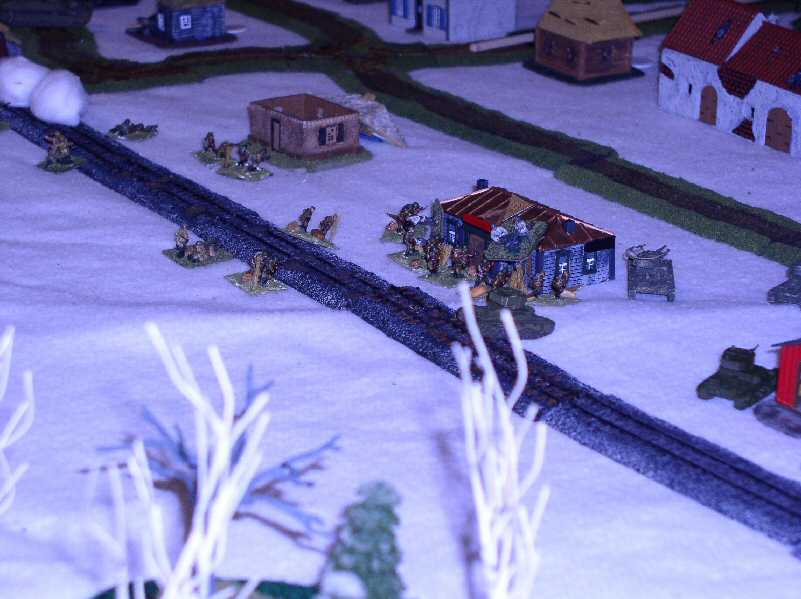
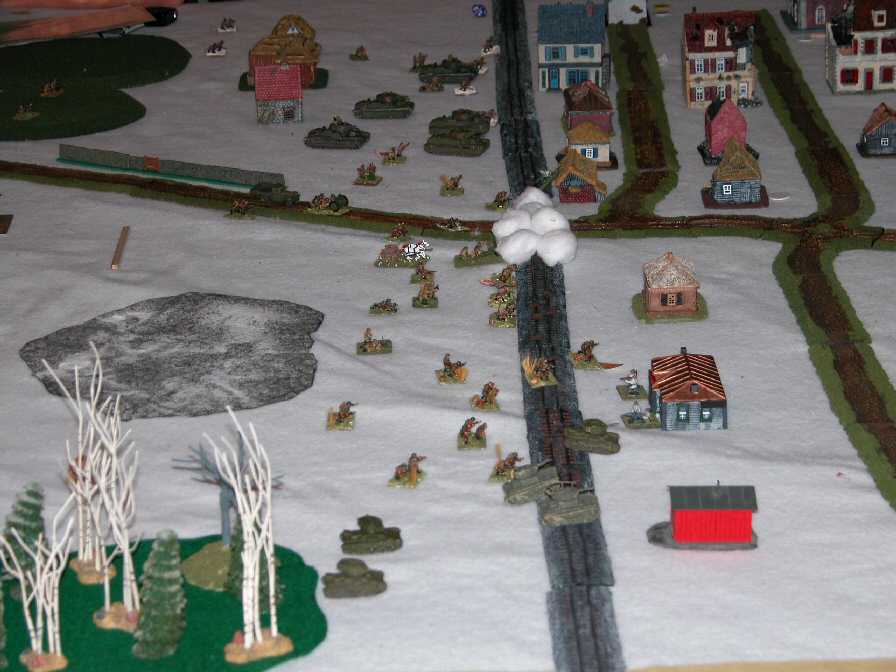 Russians Advance |
Russians crossing the tracks advancing towards the Finns. |
 Russians Advance 2 |
A view from a different angle. |
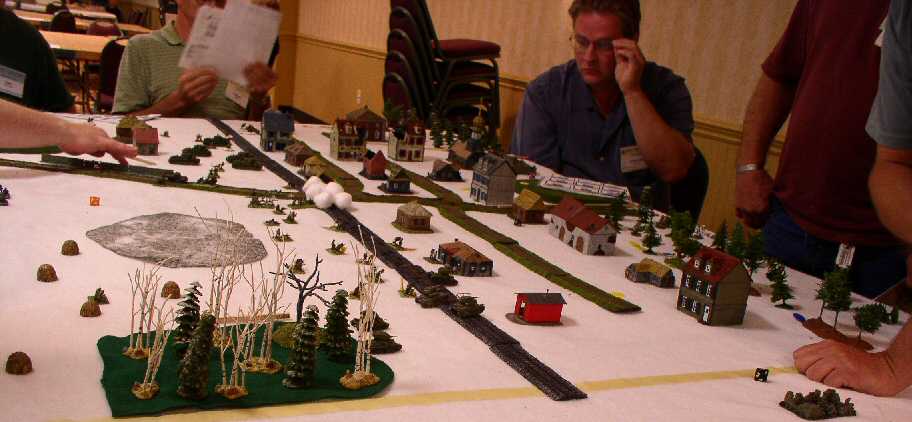 Russians Advance 3 |
And from the other side |
 Russians Advance 3 |
And from the other side |
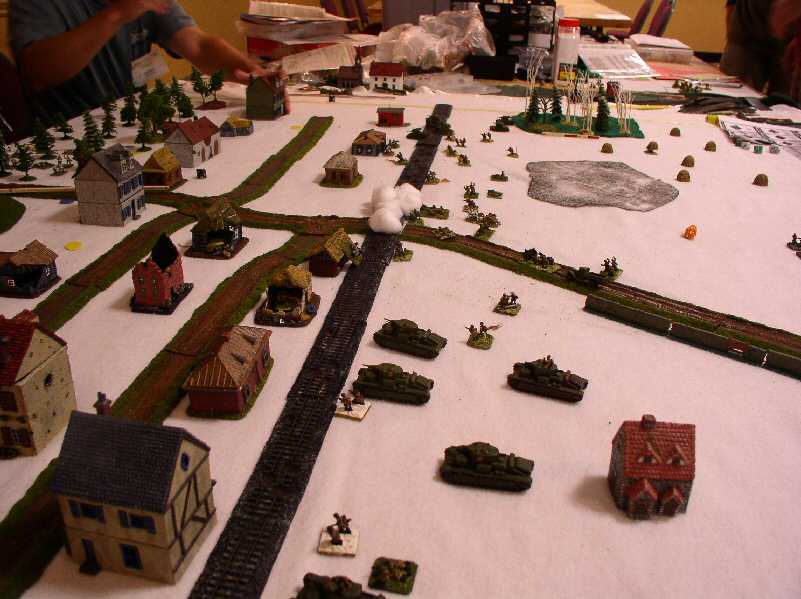
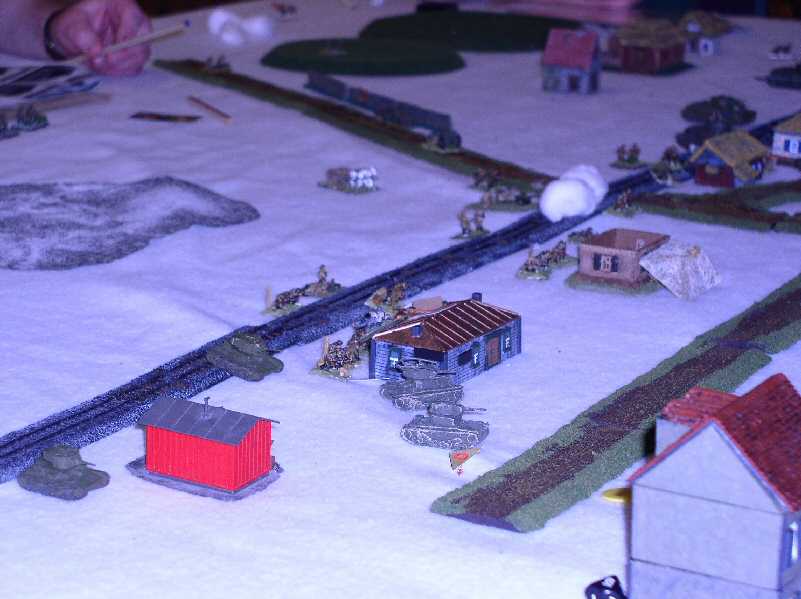
 Russians break into town |
On the Russian left flank, the T28s push past the Finn delaying units. |
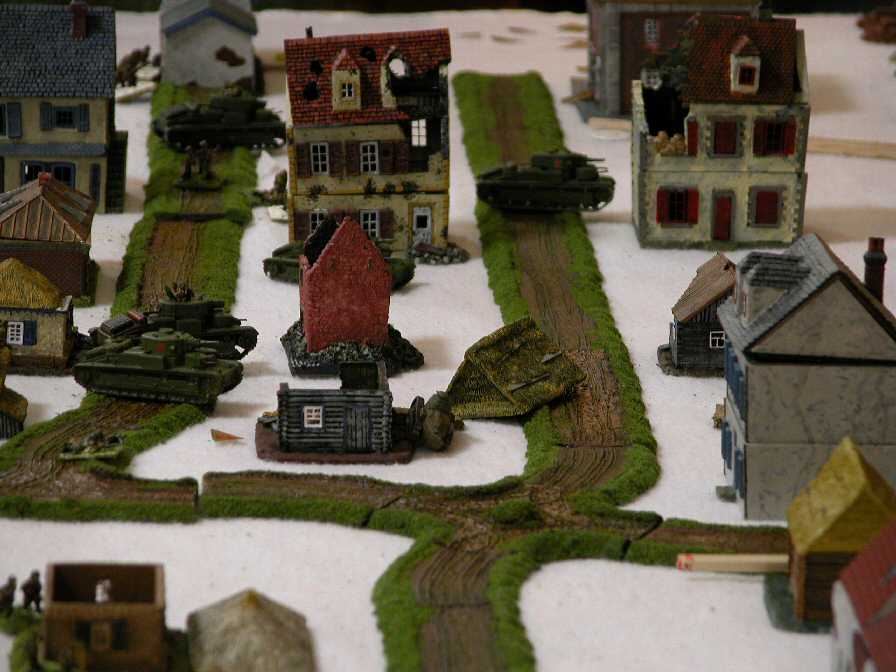 T28s |
Town fighting with T 28s |
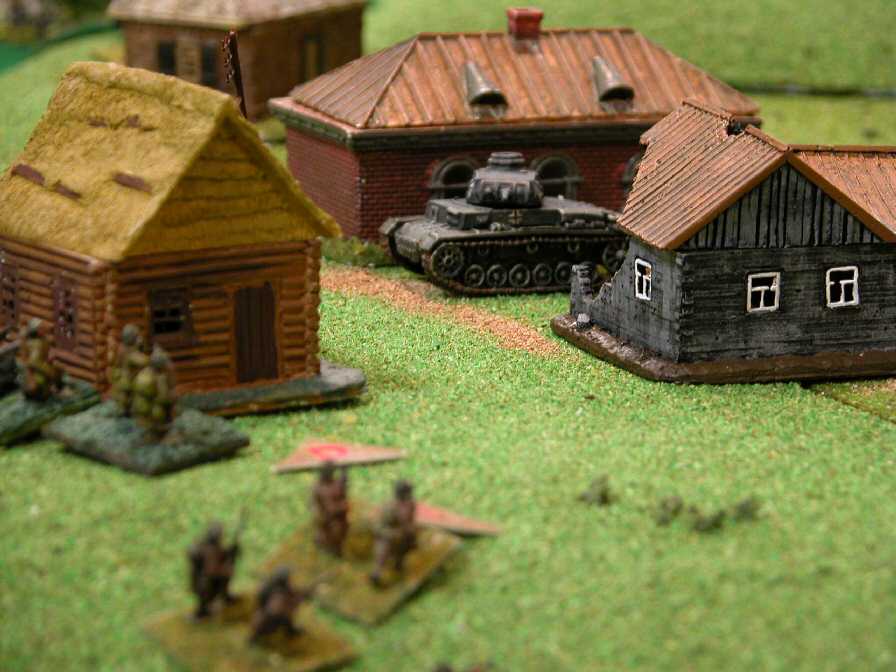
 Russians Encounter Finns |
Russians hit the a house in the first line of resistance opposing their right flank. |
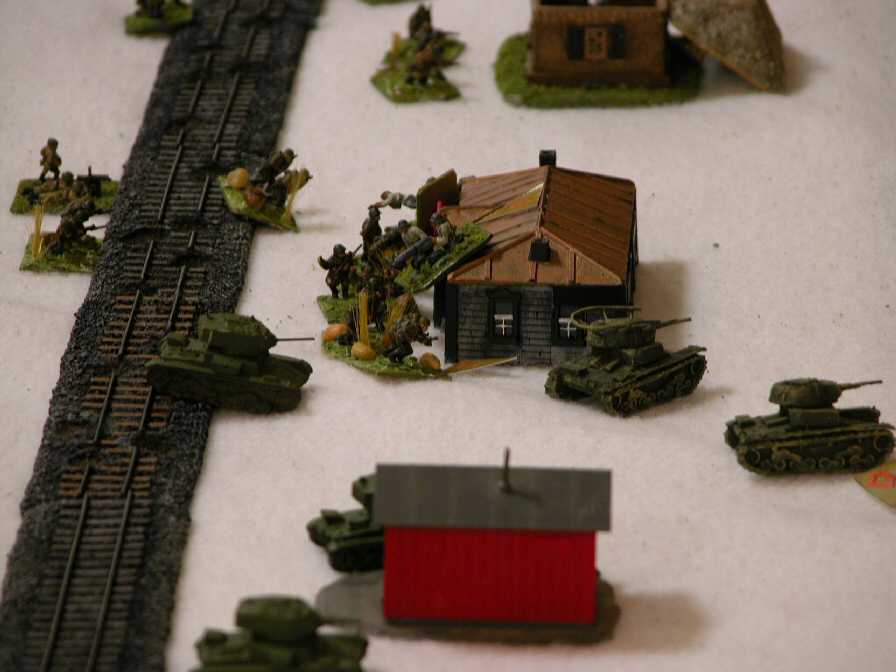 Russians Assault the Finns |
Russians assault the house. While it eventually fell, the units inside inflicted heavy losses. |
 Russians Assault the Finns 2 |
Russians continue to assault the house. |
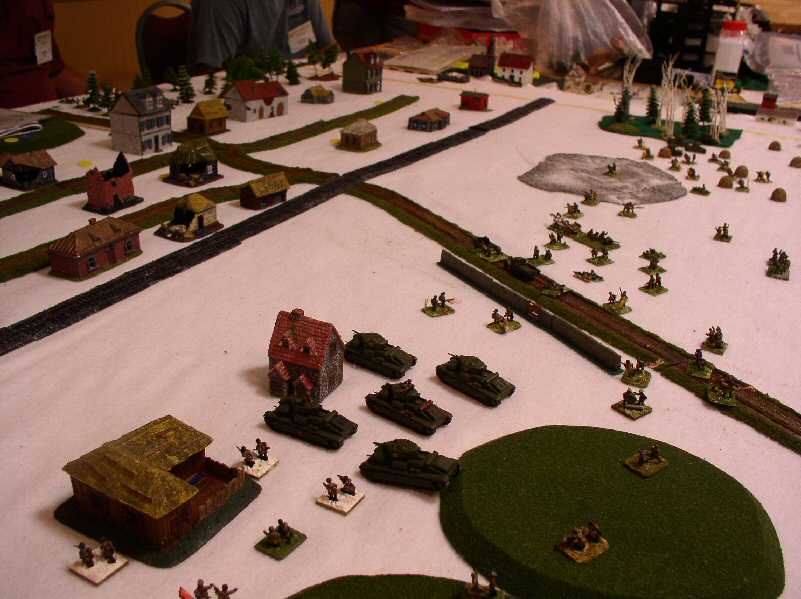
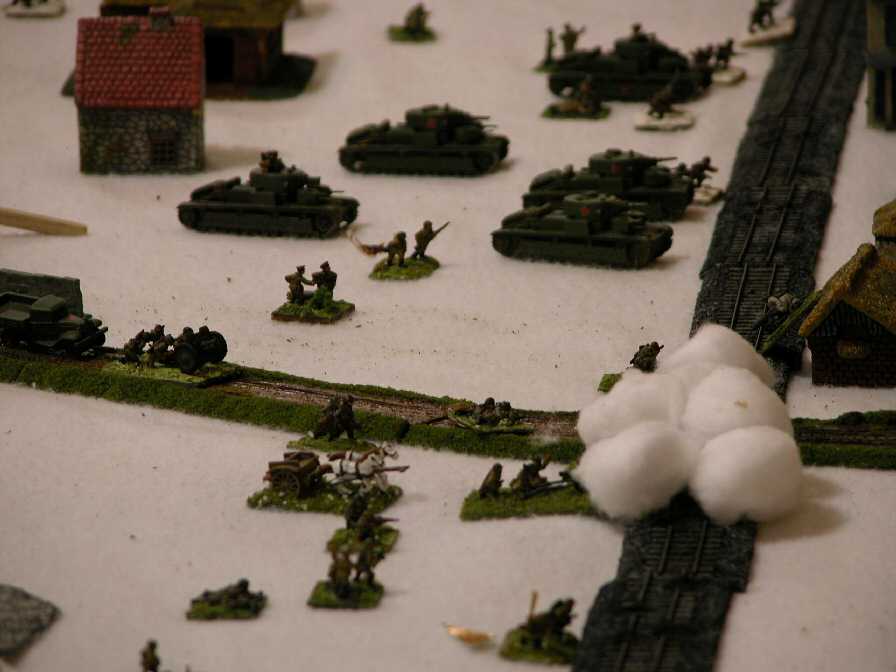
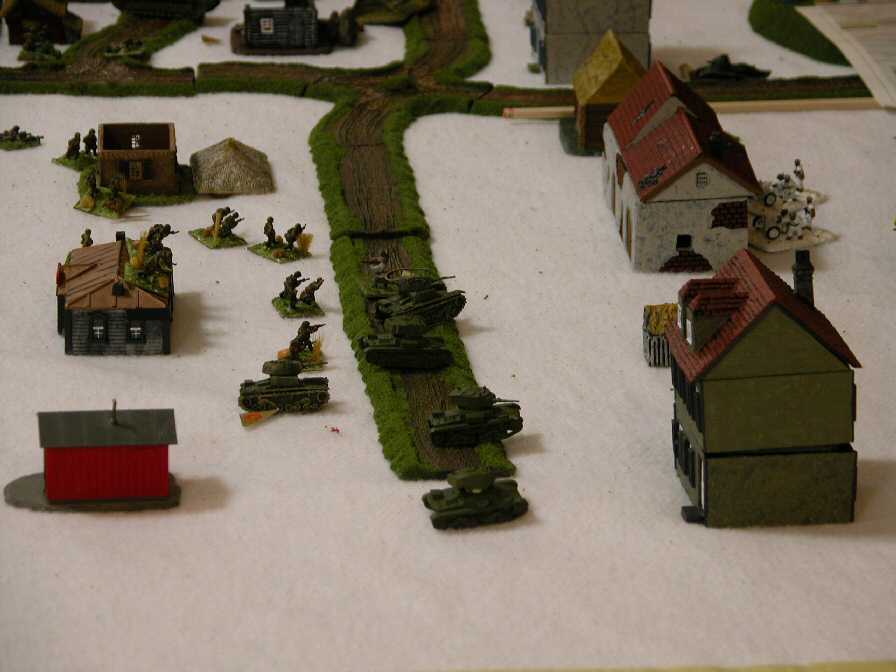
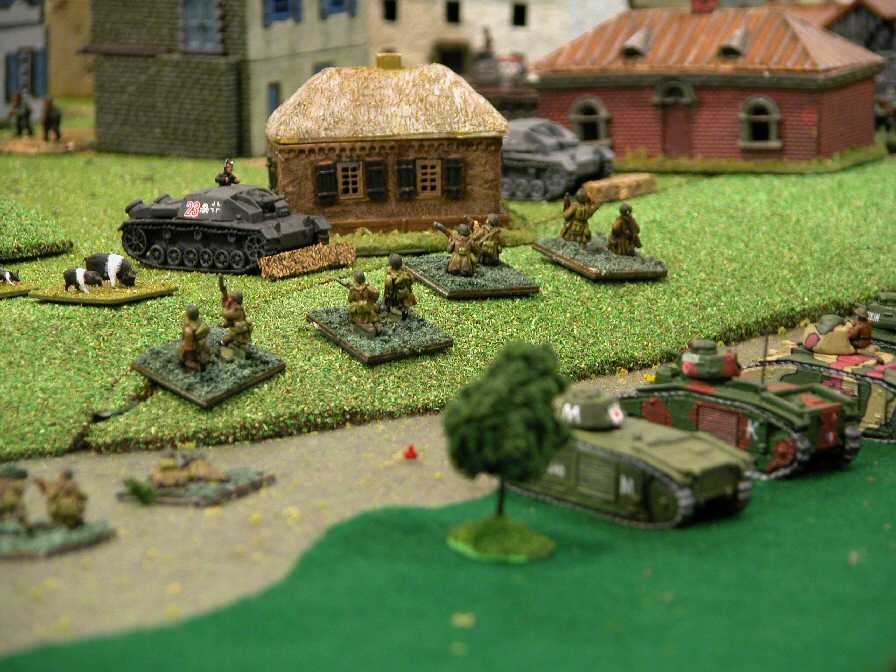
 Russians Push On |
T26s bypass the house, which is still offering resistance. |
 Russians Push On 2 |
T26s moving forward - note the lack of infantry support for the near tanks. |
 Finn ATGs |
Finn ATGs waiting to ambush the T 26s. |
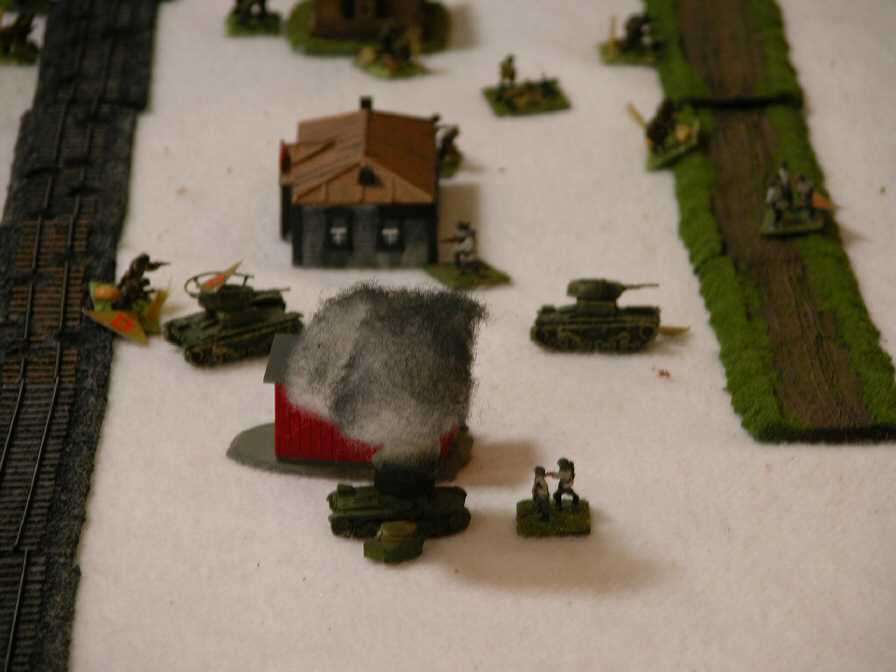 Finn Infantry drive back T26s |
A Finn 'Bomber' takes out a T 26, and the tanks disordered partners are sent scurrying back. The bomber units are special units that are trained to close assault tanks and these can be quite deadly in the proper context. In this situation, the ATG suppressed and disordered the T26s and the bomber units followed up with great effect, as the T26s had outrun their infantry support. These losses, and the subsequent stalling of the right flank of the Russian attack, were the margin of victory for the Finns. |
 Finn Infantry drive back T26s 2 |
A wider view of the previous situation. Note the lack of Russian infantry around the nearest tanks, where the Finn 'Bomber' units are prevailing. |
| Click on the Thumbnail for a full-size photo | Description |
|---|---|
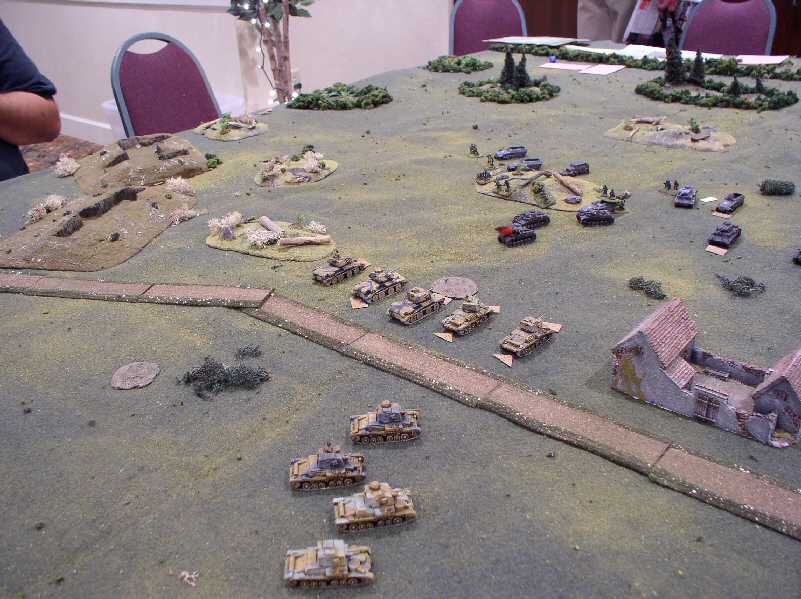
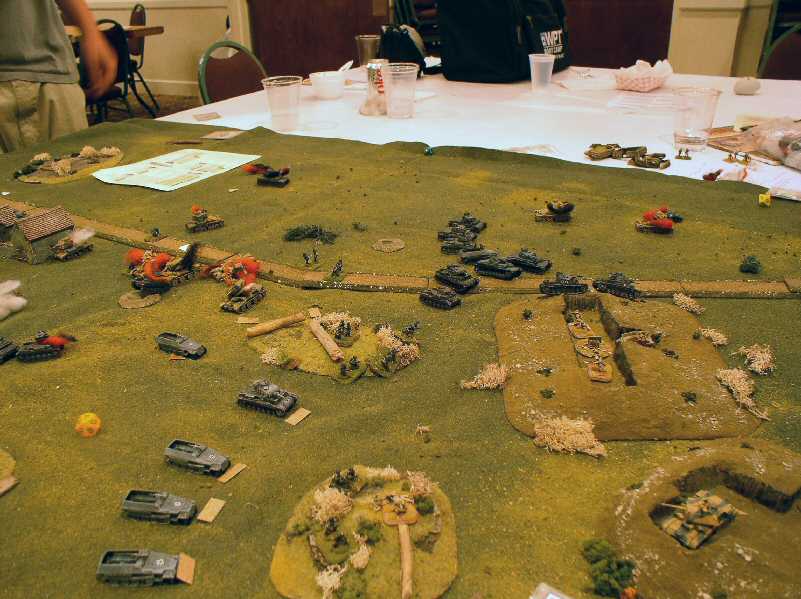
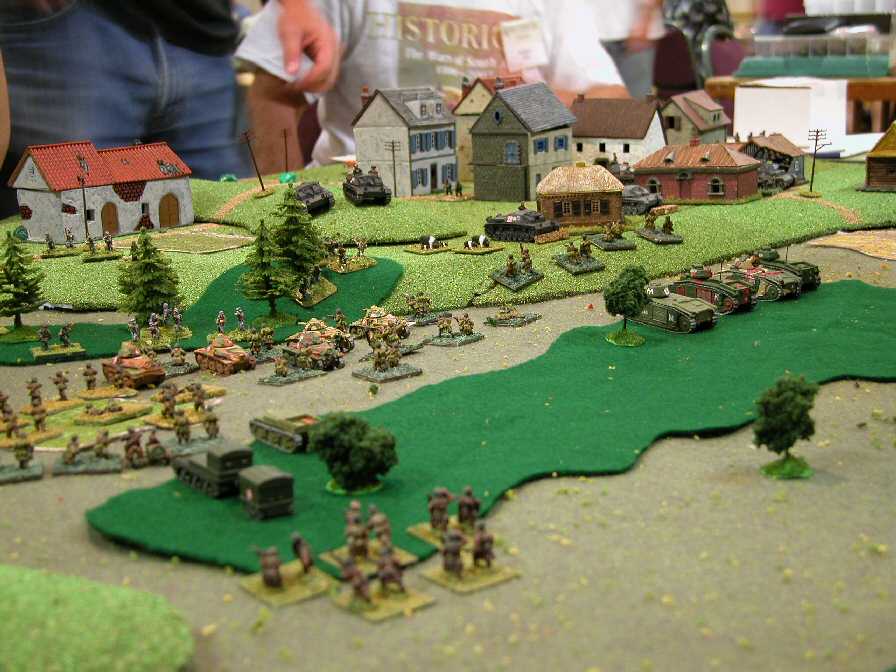
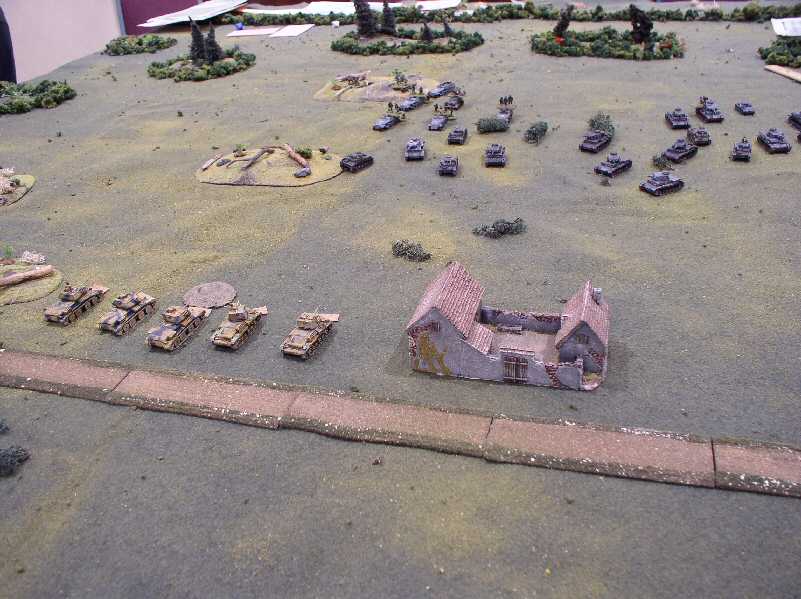 German Panzers Approach |
The Germans were under a slight misunderstanding of the victory conditions, which we thought were just to cut the road and inflict losses. Instead, we were to cut the road where it exited the table, which is to the left of the picture. The British had lined up their tanks in a position where they could flank an attack on the entrenchments and instead the Germans moved right at them. This had the unexpected effect of keeping a significant part of the British force out of the fight, at the expense of extreme time pressure near the end of the game. |
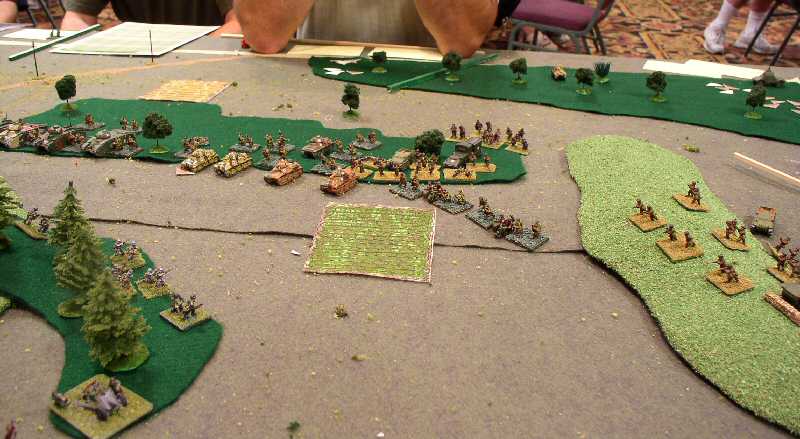
 German Panzers Approach 2 |
Another angle on the advancing Huns. |
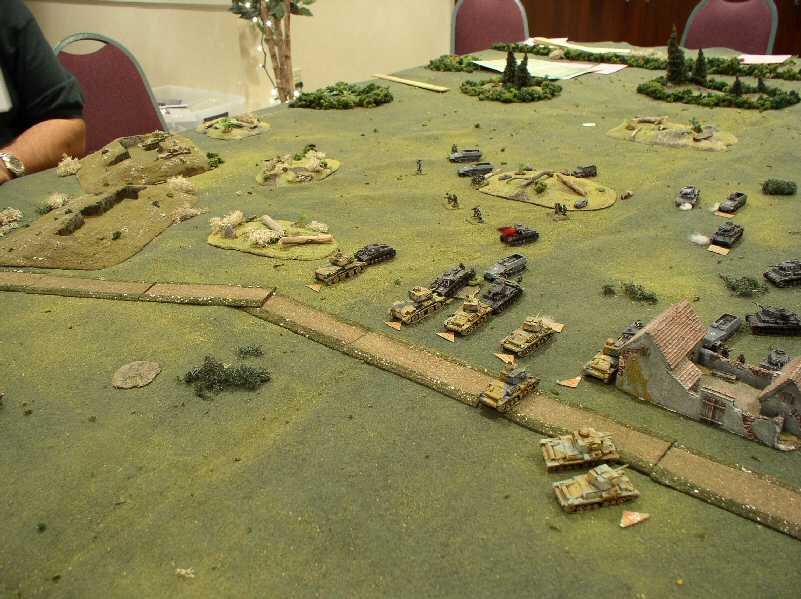
 British draw first blood |
Two PzIs bite the dust when they stick their noses out a bit too far, showing that the 2 pounder is not quite as ineffective as it could be. |
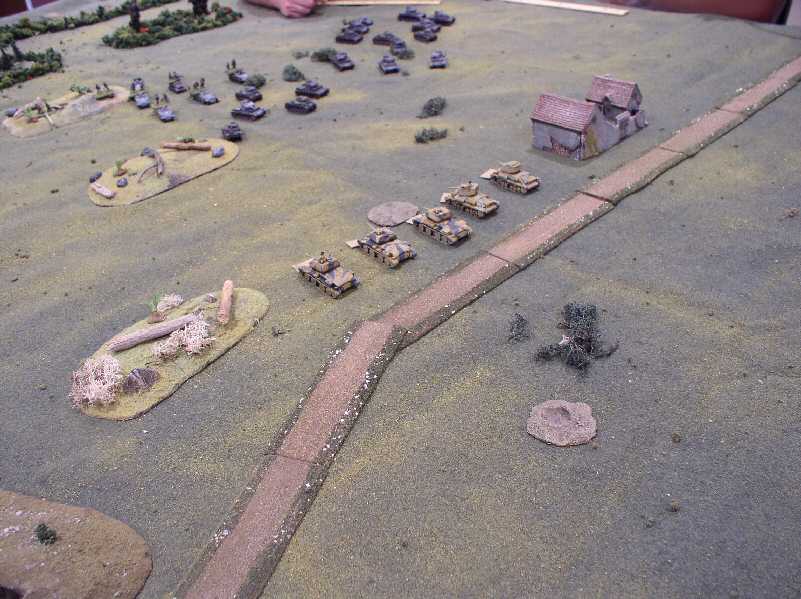
 The Germans draw closer |
The Germans prepare for the big charge. |
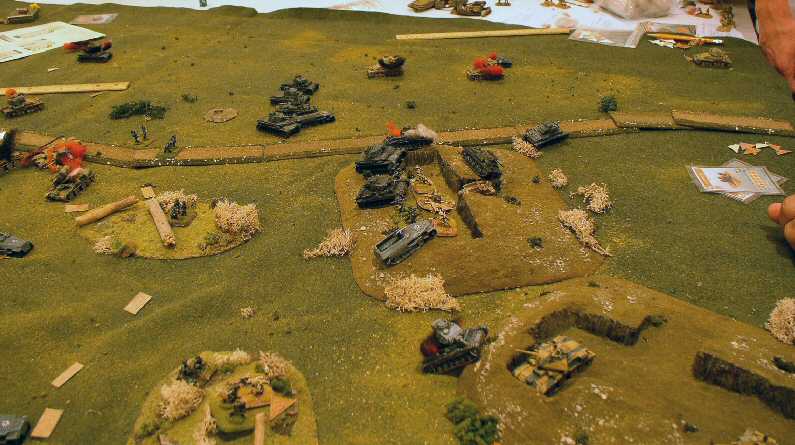
 Smash! |
One of the German commanders jumped the gun and charged into close combat. Rather than let him get defeated in detail, the rest of us followed, including the infantry. |
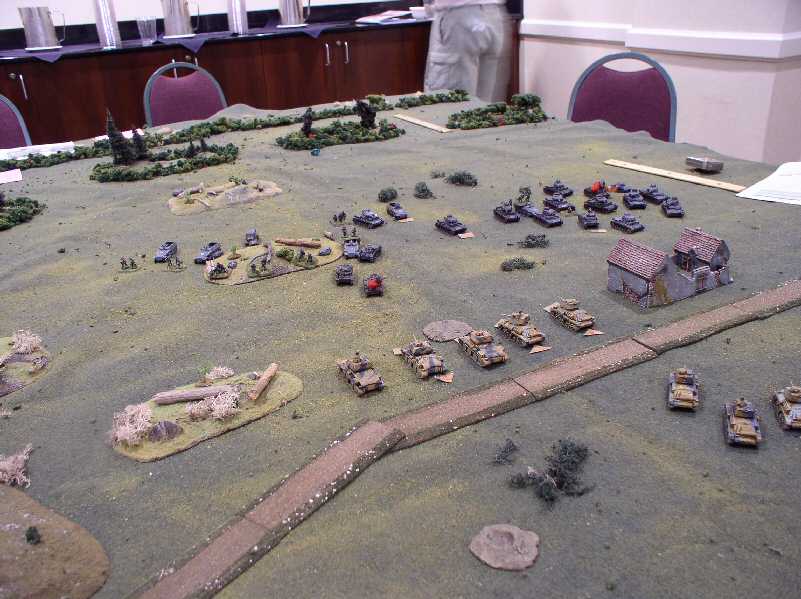
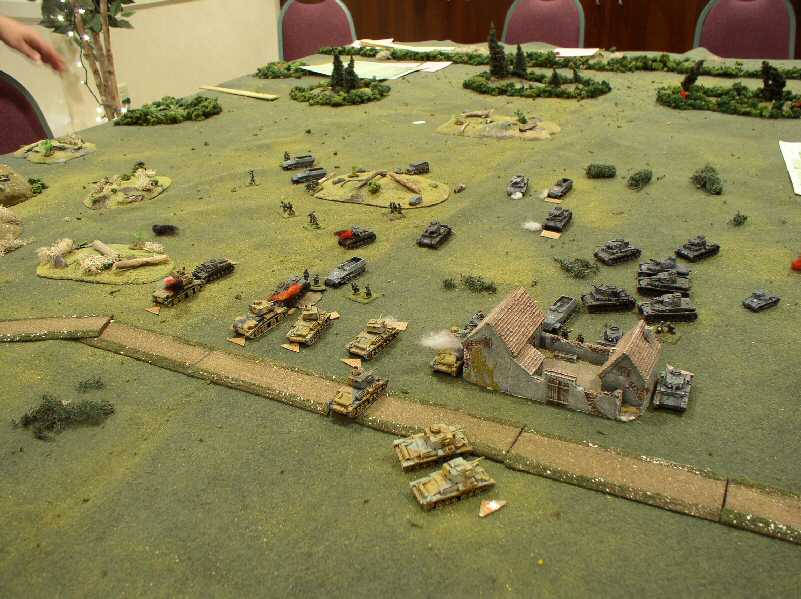 Surprise Victory |
The result was surprising, as the multiple Close Combats managed to knock out several British tanks.One of the German commanders jumped the gun and charged into close combat. Rather than let him get defeated in detail, the rest of us followed, including the infantry. |
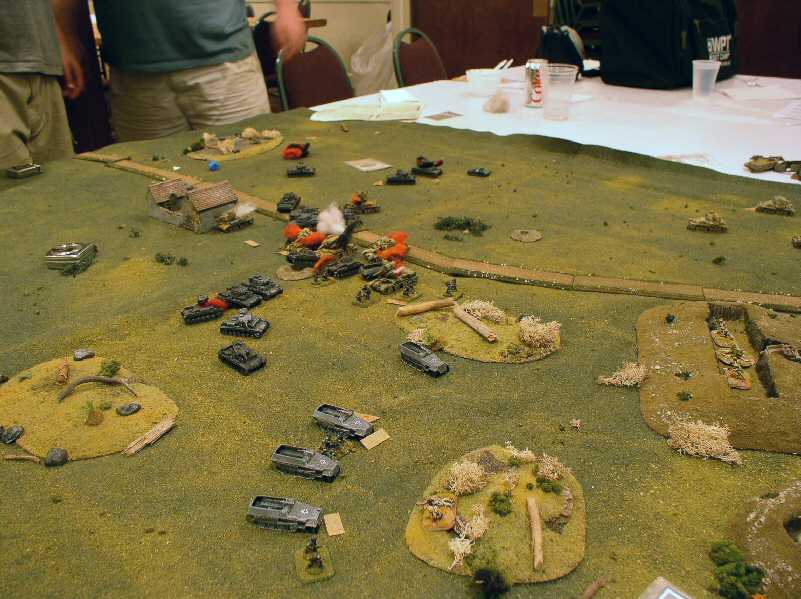 Forward! |
The British tanks are routed, but the real victory conditions are the entrenchments. The Germans redirect their assault in the correct direction, with the flaming wrecks of the British armor surrounding them. |
 Maybe not that far forward! |
The Germans charge toward the defending entrenchment. One German tank gets out ahead and gets adjacent to the trench, exposing its flank. A hidden AT gun will take it out. |
 Final Charge |
In a final attempt to dislodge the defenders, multiple German tanks assault the trenches. They succeed in driving out the defenders, but the losses they have taken give the day to the Brits by a hair. |
| Click on the Thumbnail for a full-size photo | Description |
|---|---|
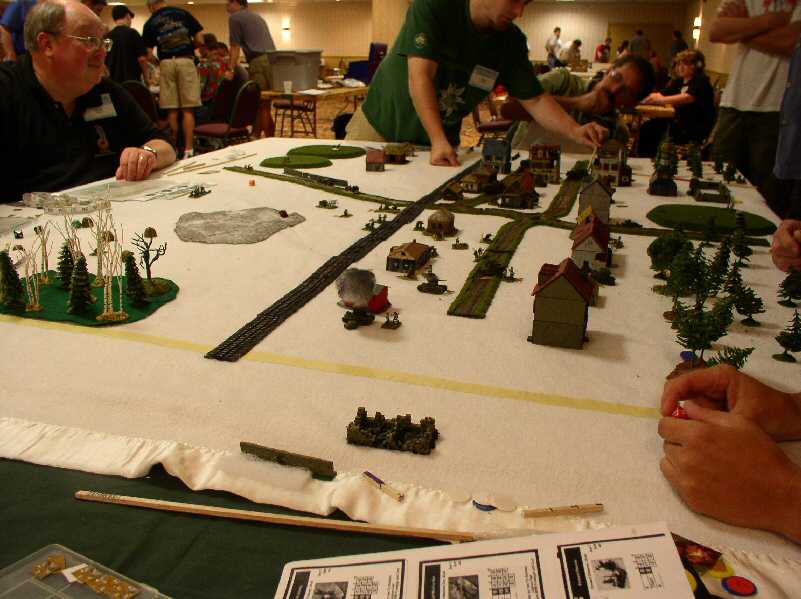
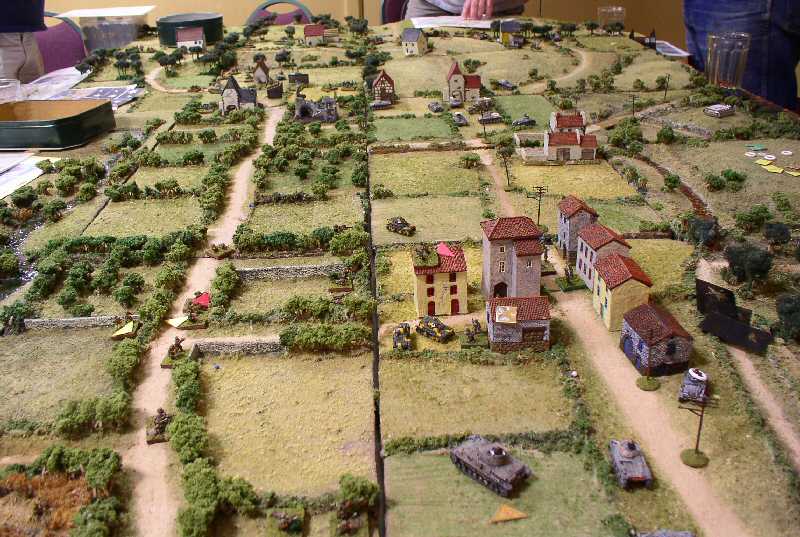
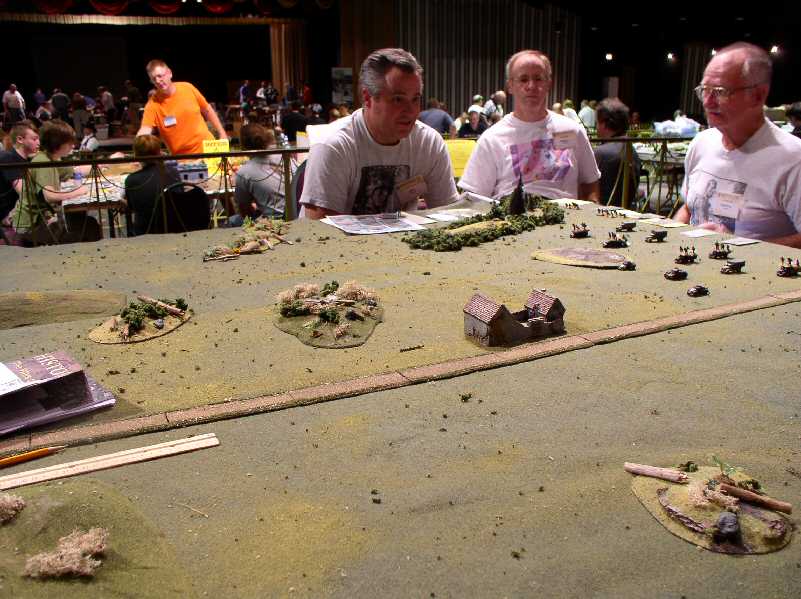 SS Get ready |
SS mounted on trucks and led by light armor move out |
 Assault on the town begins |
They first need to clear the defended village |
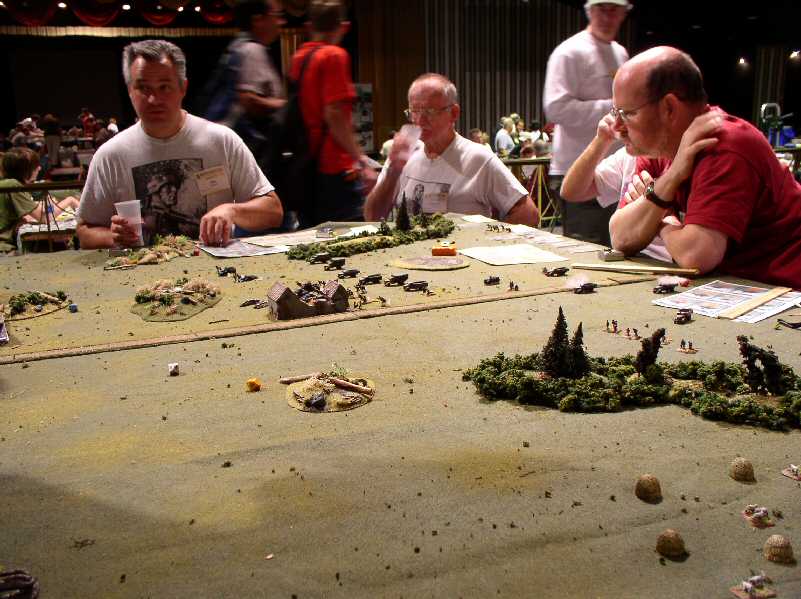
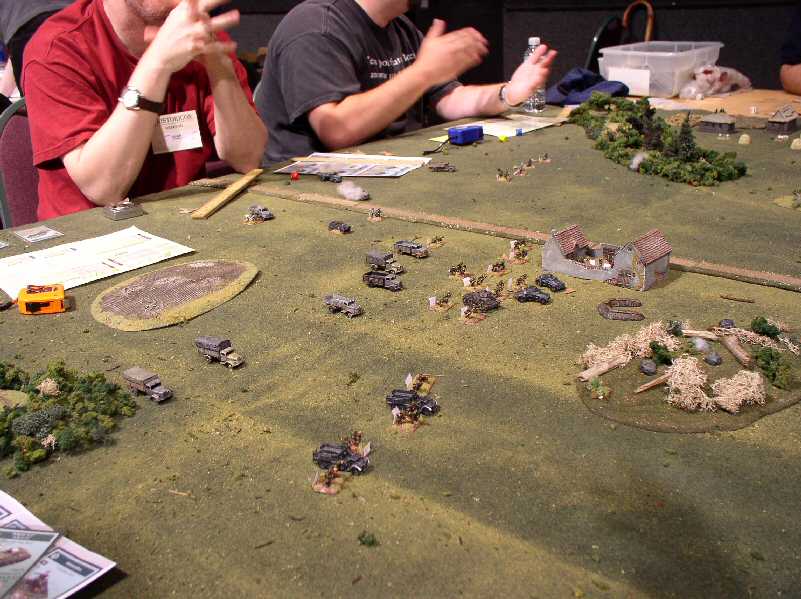 A different angle |
A different angle on the town. Note the puff of smoke on the woodline. This is the position of a single infantry gun that did much to disrupt the SS advance, surviving close assaults, disrupting trucks, and generally wreaking havoc out of proportion to its size. |
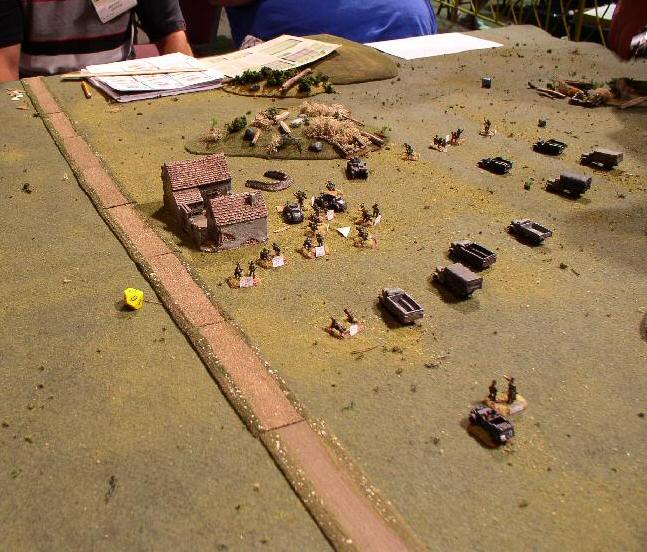
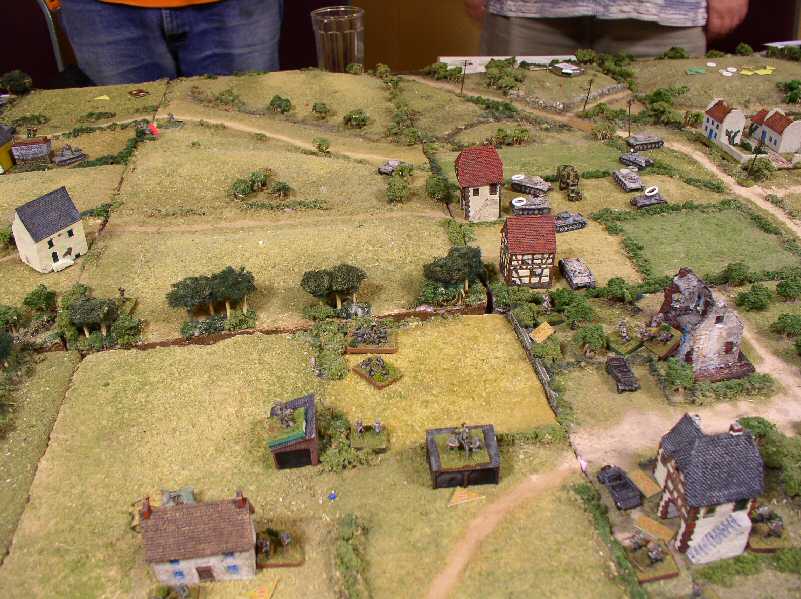
 Clearing the town |
The fight for the town continues. The brave gun fights on in the background - note the disordered infantry in front of it. |
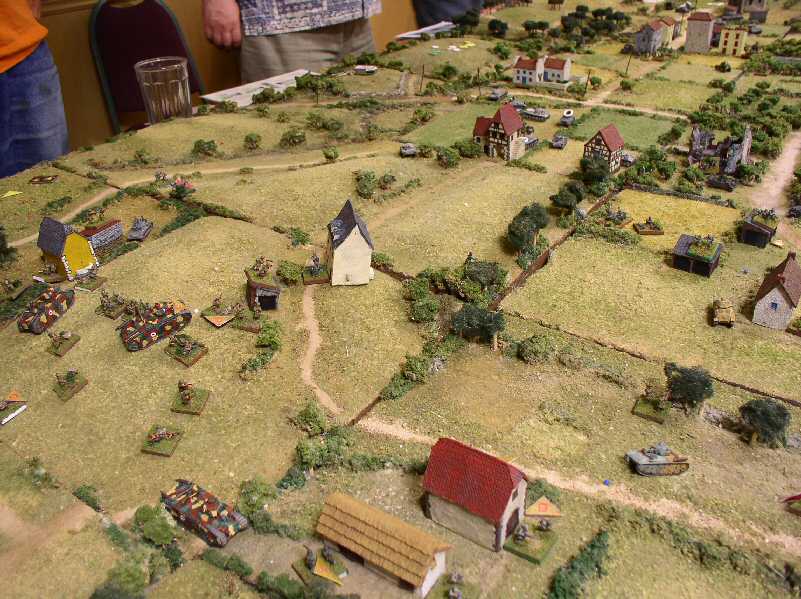
 To the hills beyond |
The fight for the town is about over, so the Germans prepare to move on. |
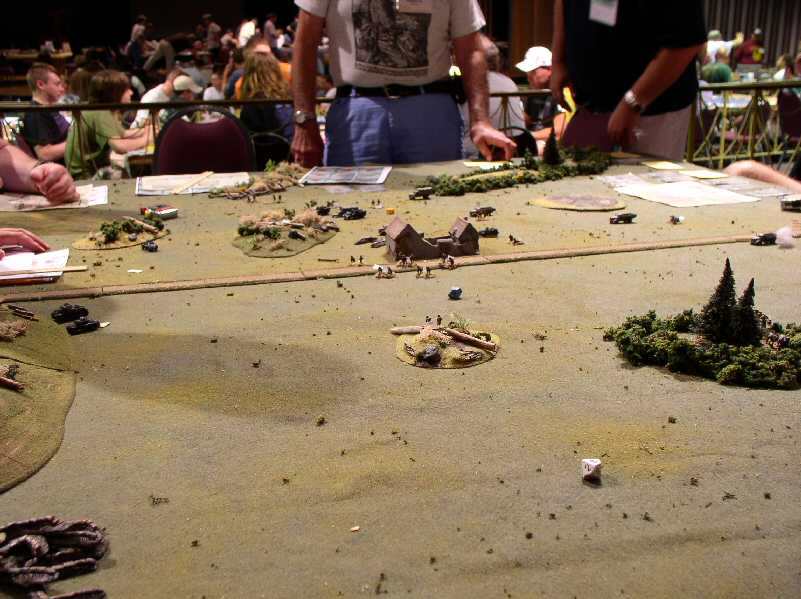 The attack peters out |
The light armor makes it to the final position but the Germans don't have the time to win. |
| Click on the Thumbnail for a full-size photo | Description |
|---|---|
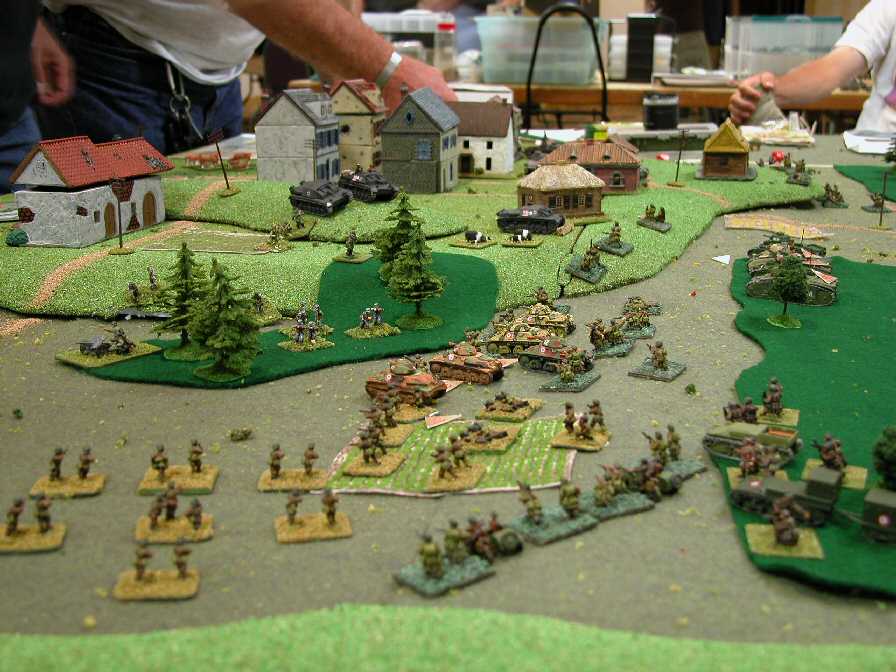
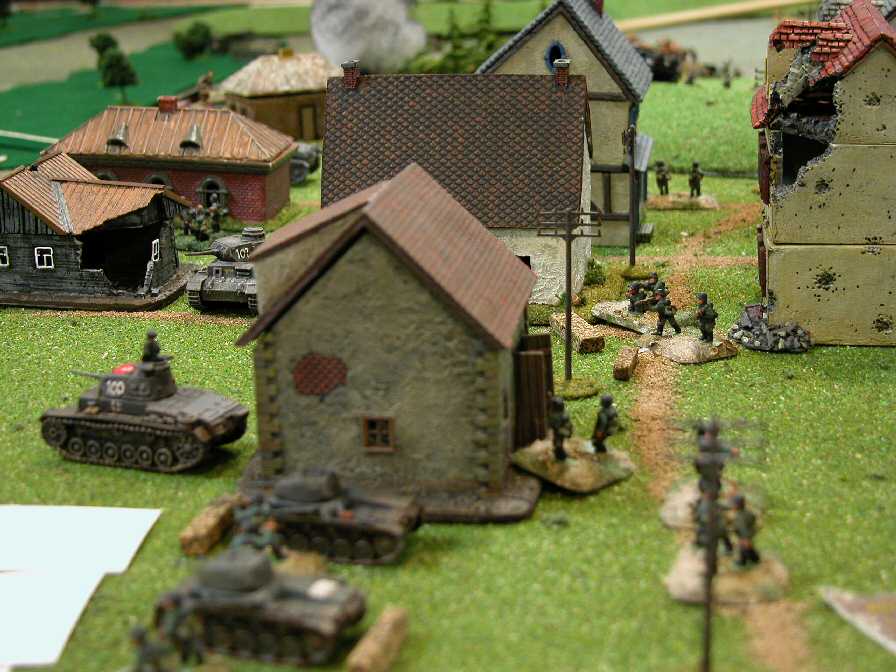
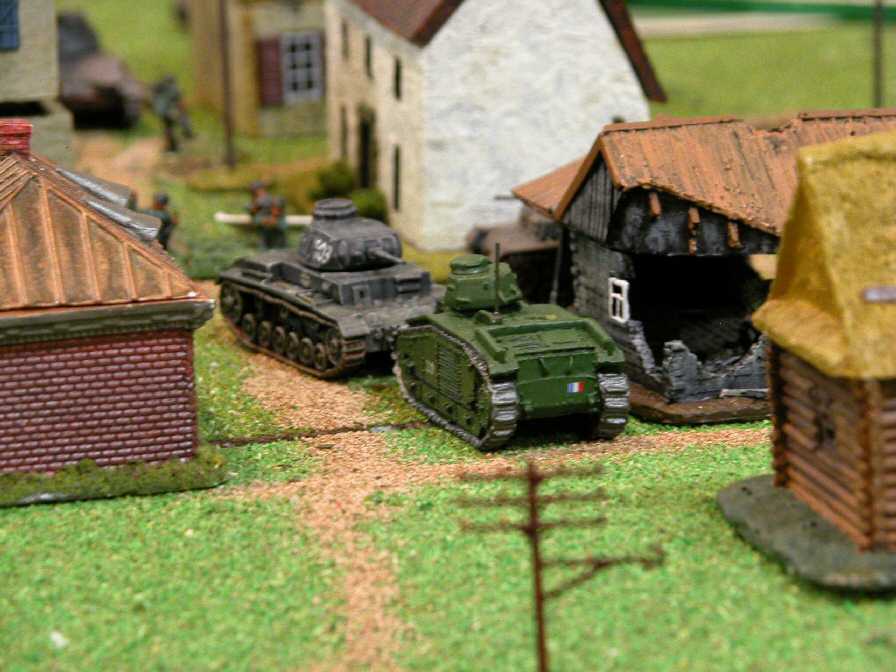
 Stonne 1 Photo 1 |
Panzers spar with French Light Tanks |
 Stonne 1 Photo 2 |
Wider view of the Battlefield |
 Stonne 1 Photo 3 |
German Infantry and Light Tanks |
 Stonne 1 Photo 4 |
French Heavy Armor |
| Click on the Thumbnail for a full-size photo | Description |
|---|---|
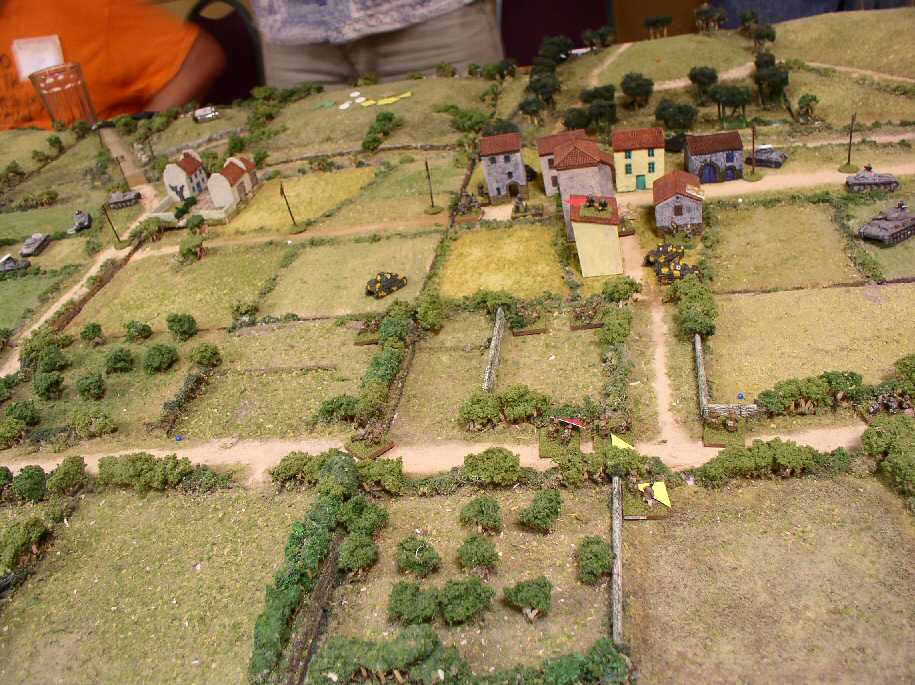
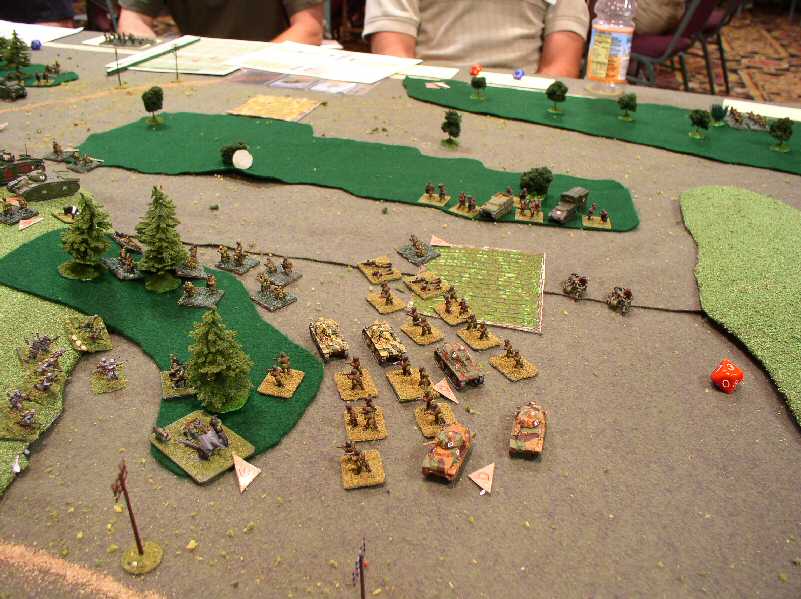
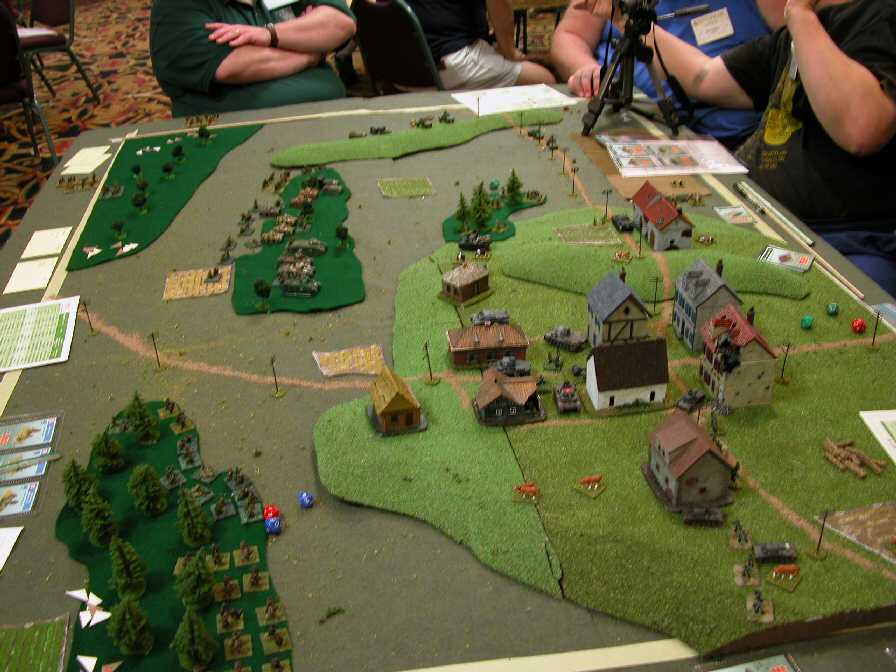 French initial positions |
French 1st turn positions. They were going to assault on the left and right and pin in the middle. |
 German Tank Awaits |
French infantry enter the soon to be 'Dead Zone' on the right flank. 5 squads consecutively were KIA in the same location. Germans must have bore sighted that little piece of real estate. The Panzer looks like it means business. |
 The Right Flank Attack |
A larger view of the French Right Flank Assault. The Germans are waiting for them. |
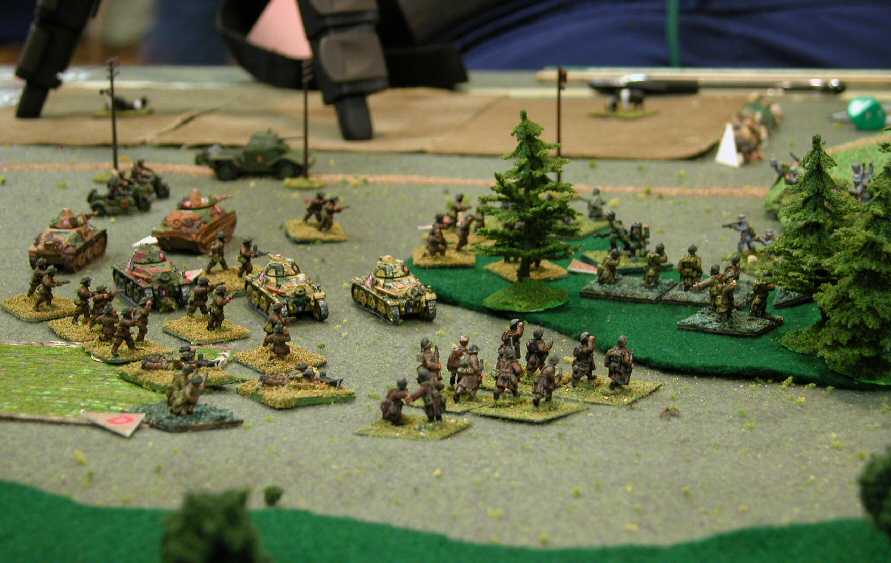
 The Left Flank moves out |
French infantry, supported by light tanks, starts moving up against Germans in the forest. |
 From the German side |
A look at the left flank attack from the other side. |
 Hey, diddle, diddle... |
Up the middle go the French infantry, into the waiting guns of the Stugs. |
 The Left presses forward |
The French flank assault develops. |
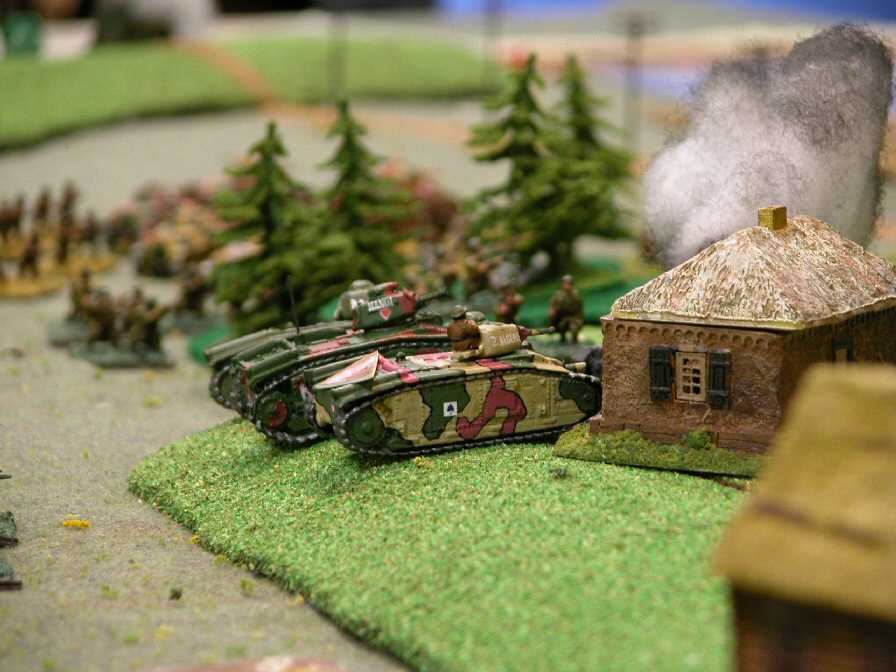 Char Bs win one |
Char B1s defeat an impotent StugIII, This Stug could not get a kill even with many shots with + drms. |
 Char Bs fall back |
After knocking out the Stug 2 Char Bs fall back to admire their victory from the safety of the woods. |
 The French Left moves forward. |
The French great flanking maneuver begins. |
 Another view. |
The French infantry and light armor start to move toward the rear of the German Right flank. Your humble webmaster was running 3 remaining Stugs, an ATG, and some stray infantry and starting to feel very nervous. |
 German Left holds |
The Germans easily hold the French right flank infantry attack off...but Jim on the opposite flank keeps calling for support to no avail. |
 Germans Win an exchange |
A PzIIIE close assaults a Char B and both are killed. Given the relative value of the tanks, and the fact that only one Char B was left, the Germans were happy to make the trade. |
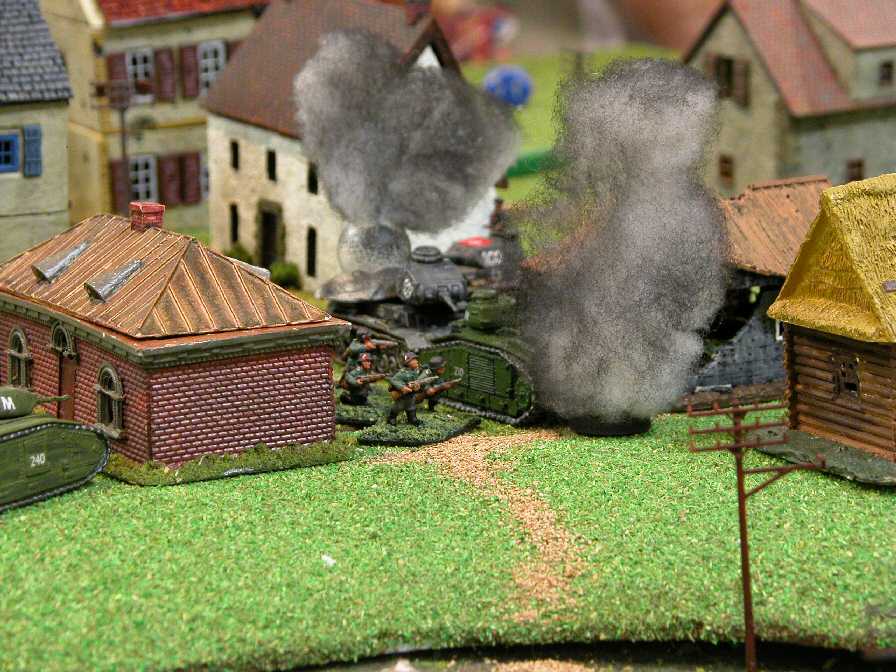 Smoking wrecks |
The result of the previous close combat. |
 Nick of time |
The French left flank has pushed forward, but the defeat of the right flank and the demise of the Char Bs as an effective force has allowed the Germans to pull their forces back into to the town and establish a defence. In addition to the Stugs, the buildings are now full of German infantry, and the German light tanks are engaging the fast moving French light armor. Stonne was held by the Germans as the French commander called off the attack to avoid expected high losses with the outcome not looking good. |
| Click on the Thumbnail for a full-size photo | Description |
|---|---|
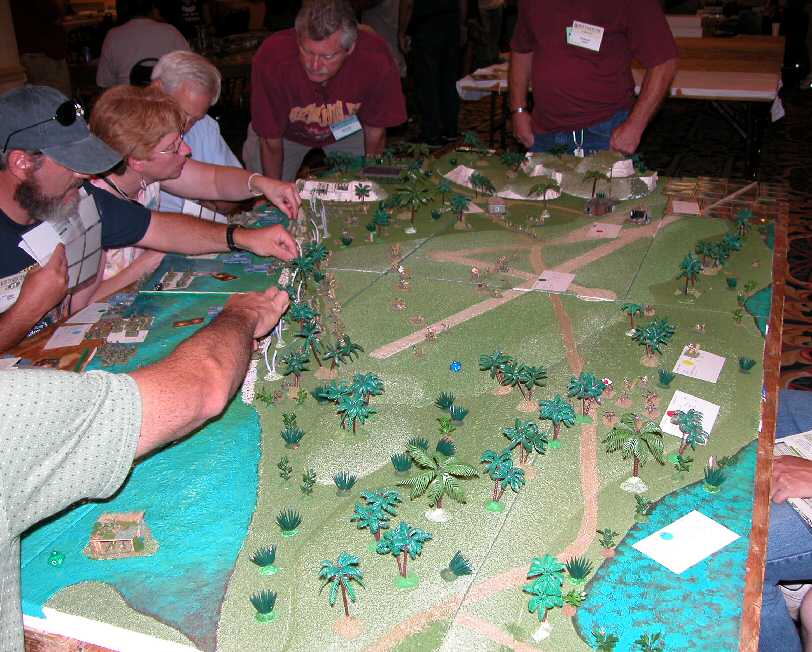 Marines Landing |
Marines landing on Peleliu |
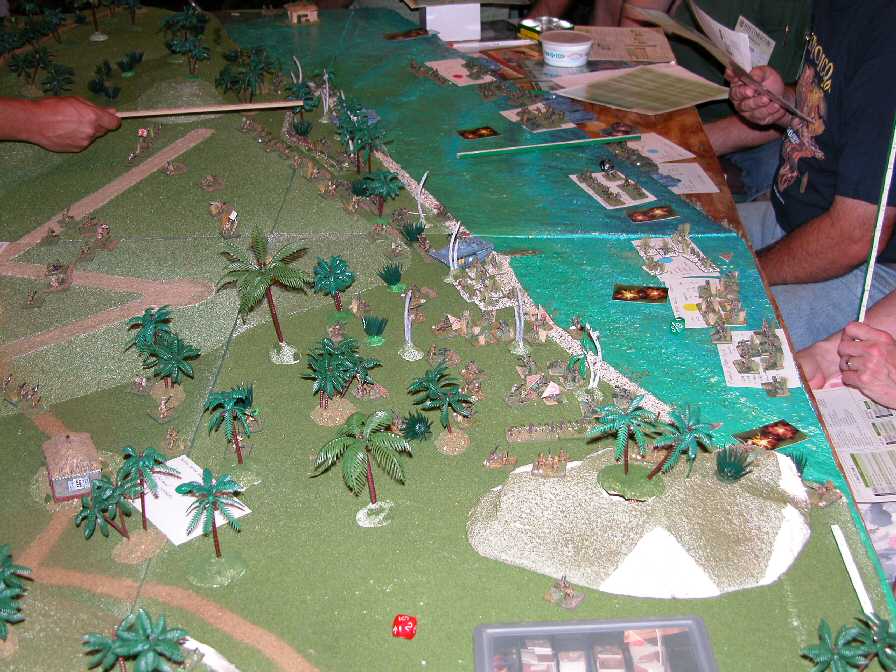 Marines Push Inland |
Marines desperately trying to push inland off of the beach |
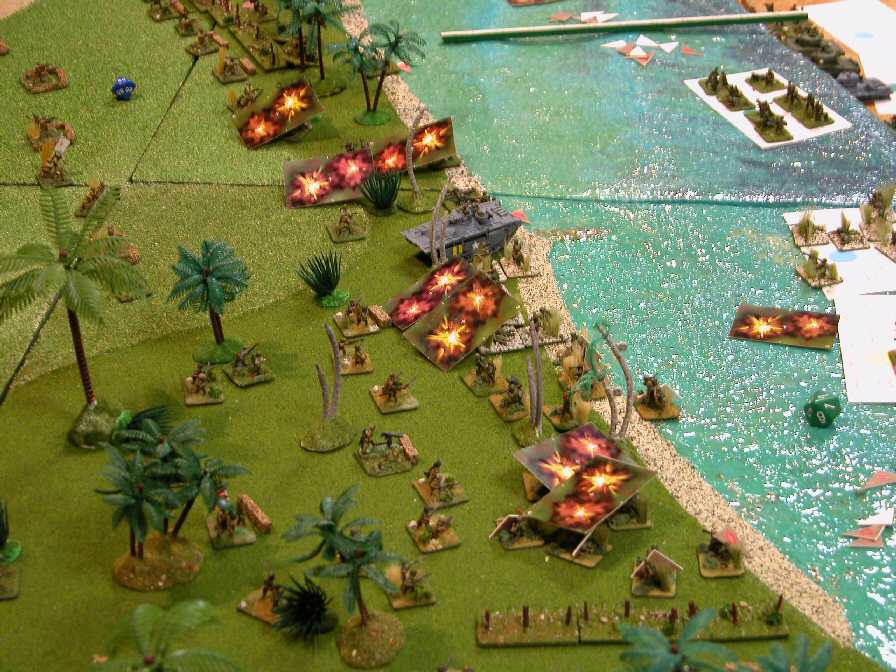 Japanese shell ineffectively |
One of the many Japanese barrages that made a lot of noise but did little damage. |
 Japanese at water's edge 1 |
Marines badly needed reinforcements on the way as the Japanese fight at the waters edge in the center. |
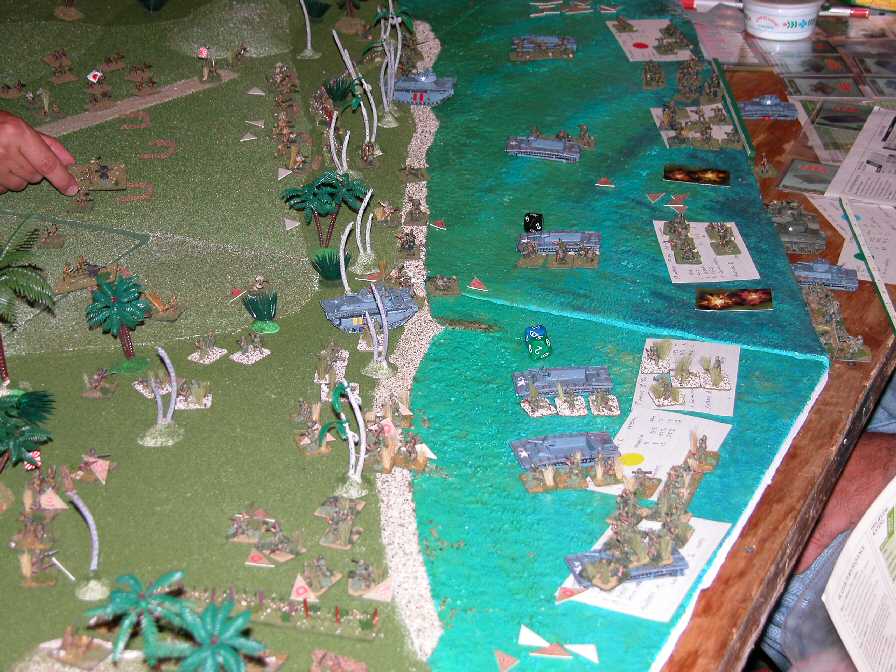
 Japanese at water's edge 2 |
Another view of the previous situation. |
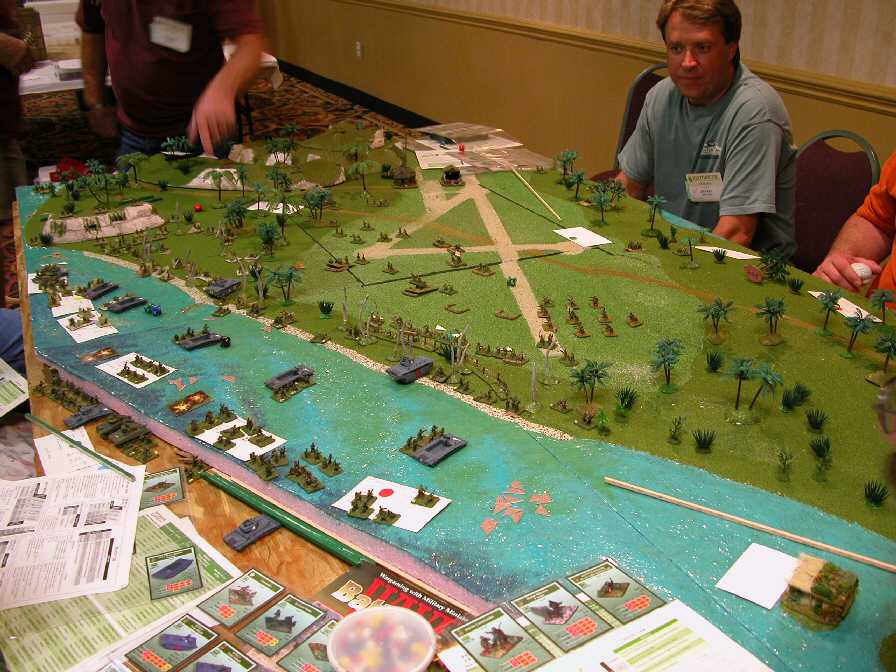
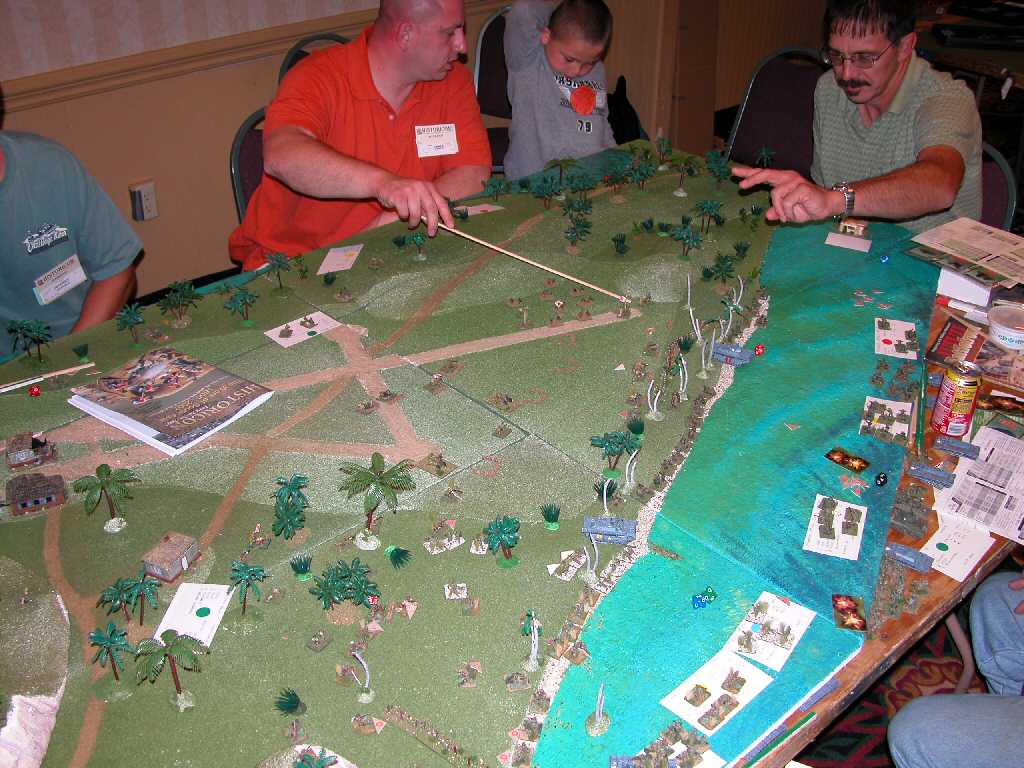 Watch out for the kid |
Scott had his hands full facing the 'die rolling kid machine'. |
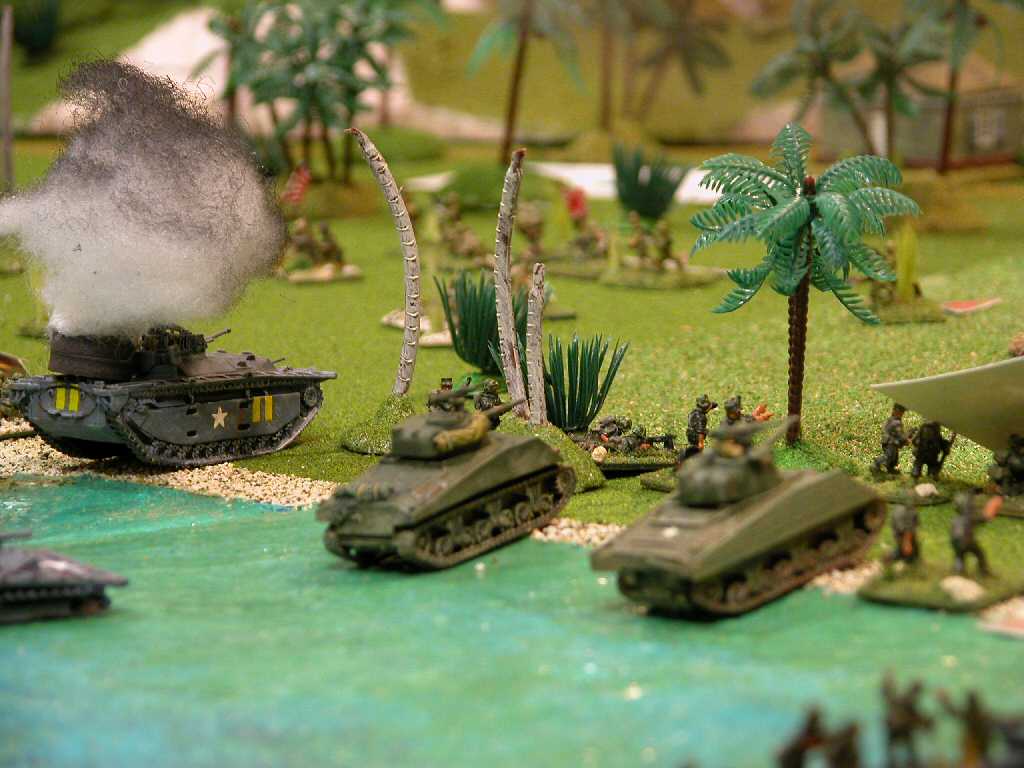 Tanks arrive in the nick of time |
Shermans arrive on the beach in the midst of chaos to stabilize the situation. |
| Click on the Thumbnail for a full-size photo | Description |
|---|---|
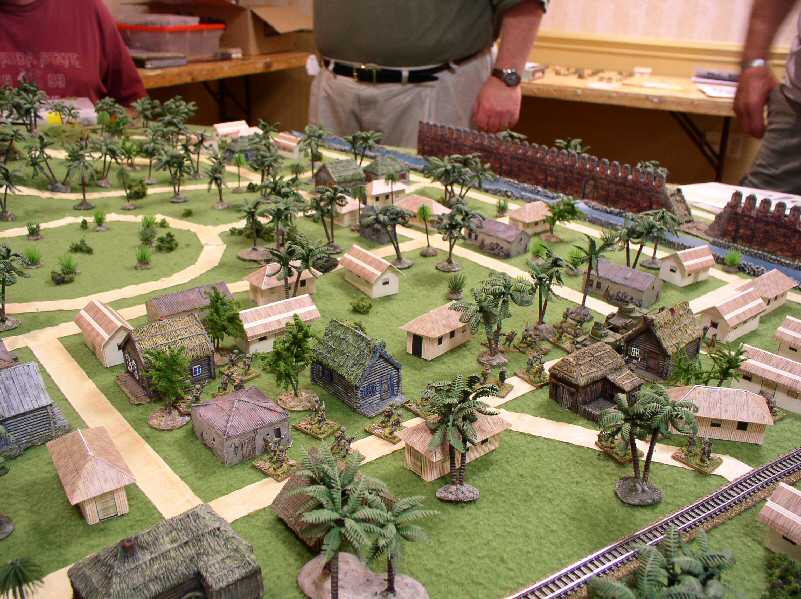
 Wetlet 01 |
One view of the battlefield |
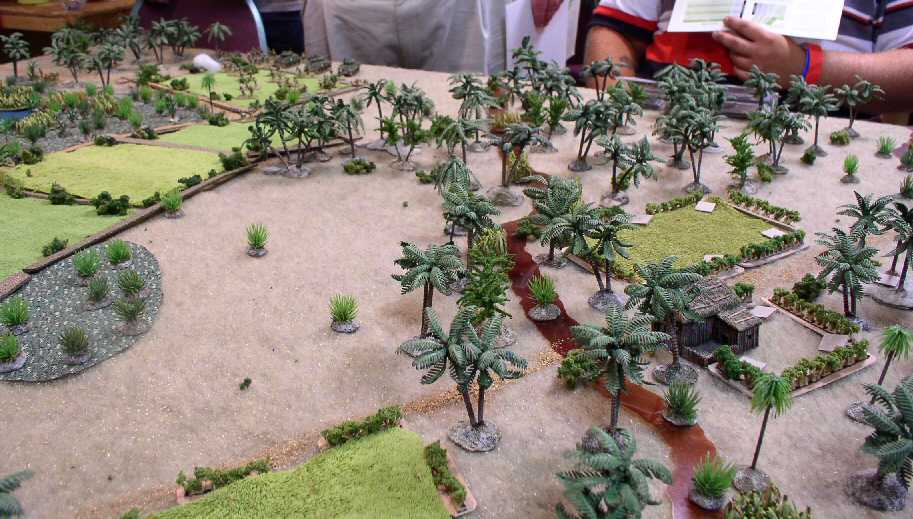 Wetlet 02 |
British tanks can be seen in the background. |
| Click on the Thumbnail for a full-size photo | Description |
|---|---|
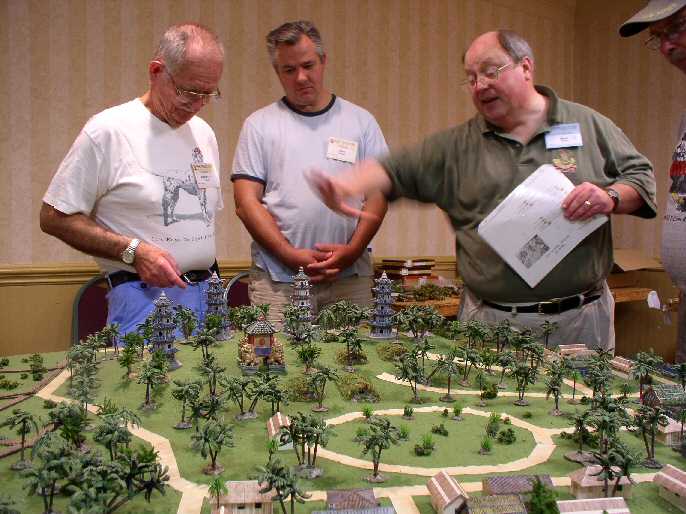 Pagoda 01 |
Mark explains the situation. |
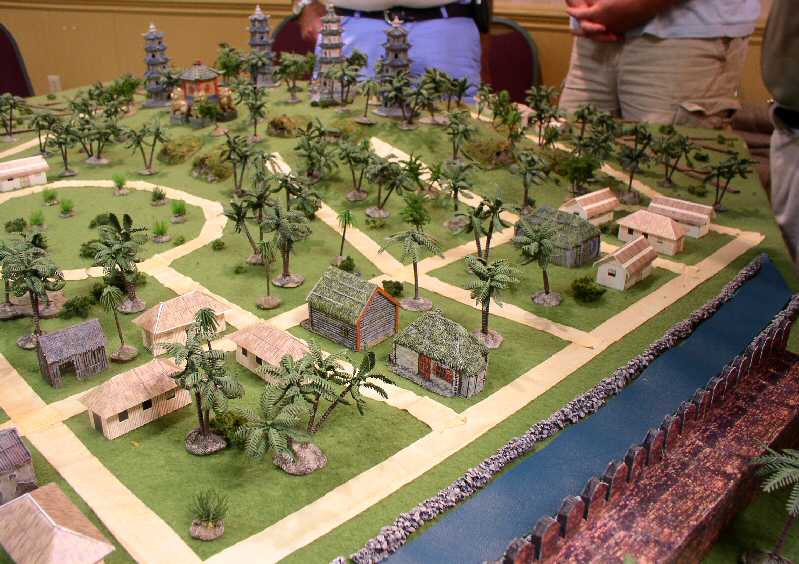 Pagoda 02 |
A view of the city. |
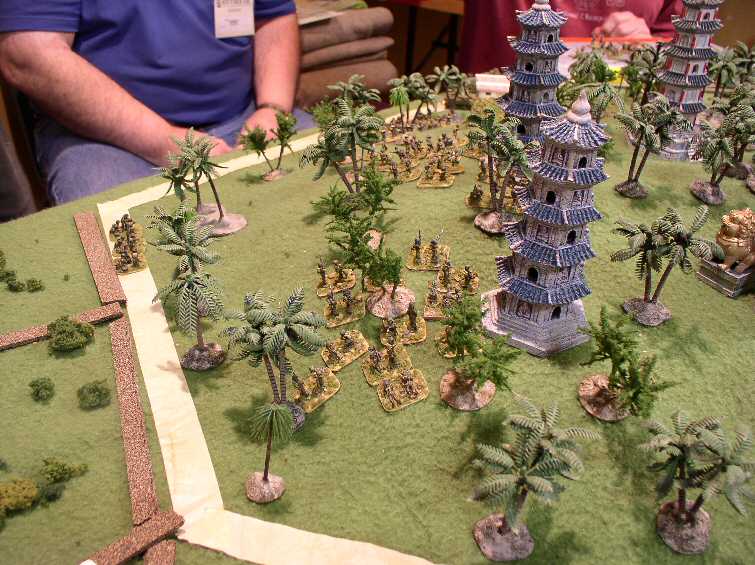 Pagoda 03 |
One prong of the British attack goes up the hill. |
 Pagoda 04 |
The other prong prepares to attack across the river. |
Copyright 2000-2019 Fire and Fury Games, all rights reserved
Web page maintained by
Webmaster@FireAndFury.com.