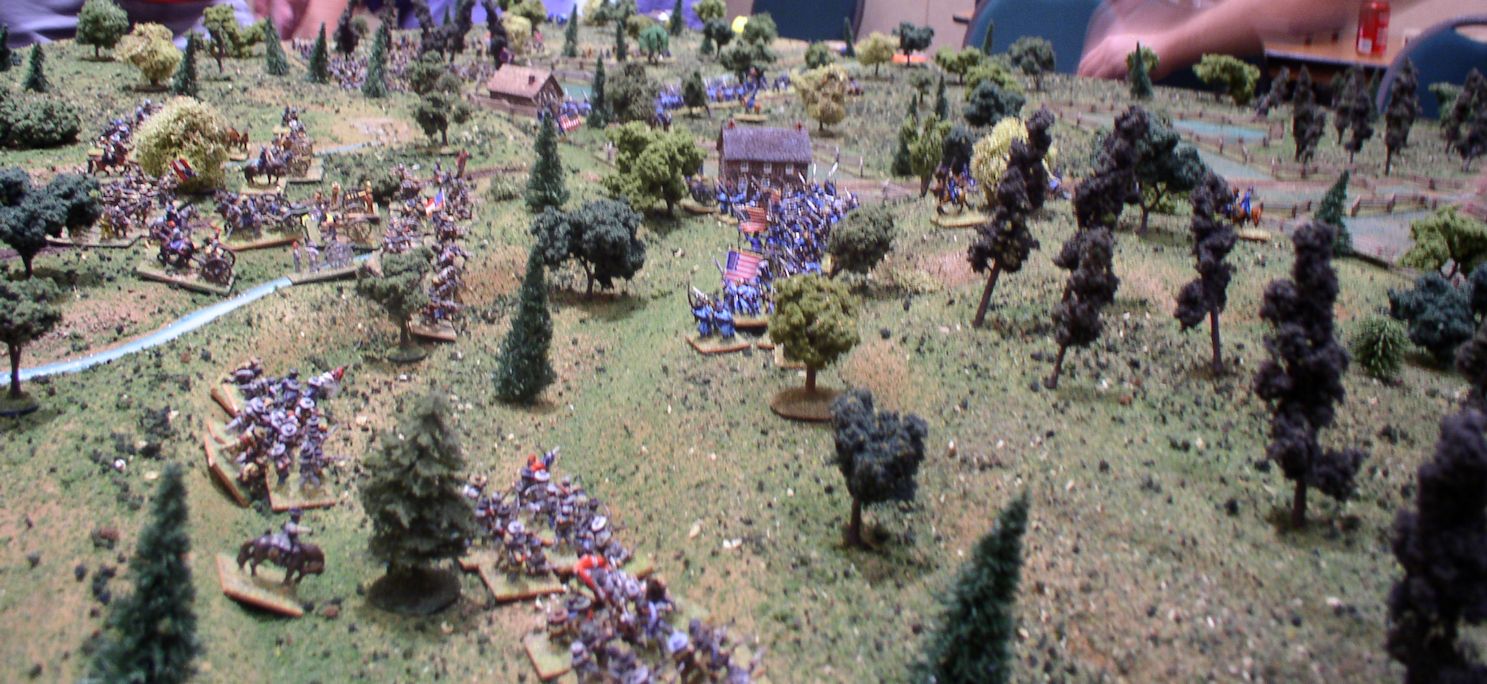
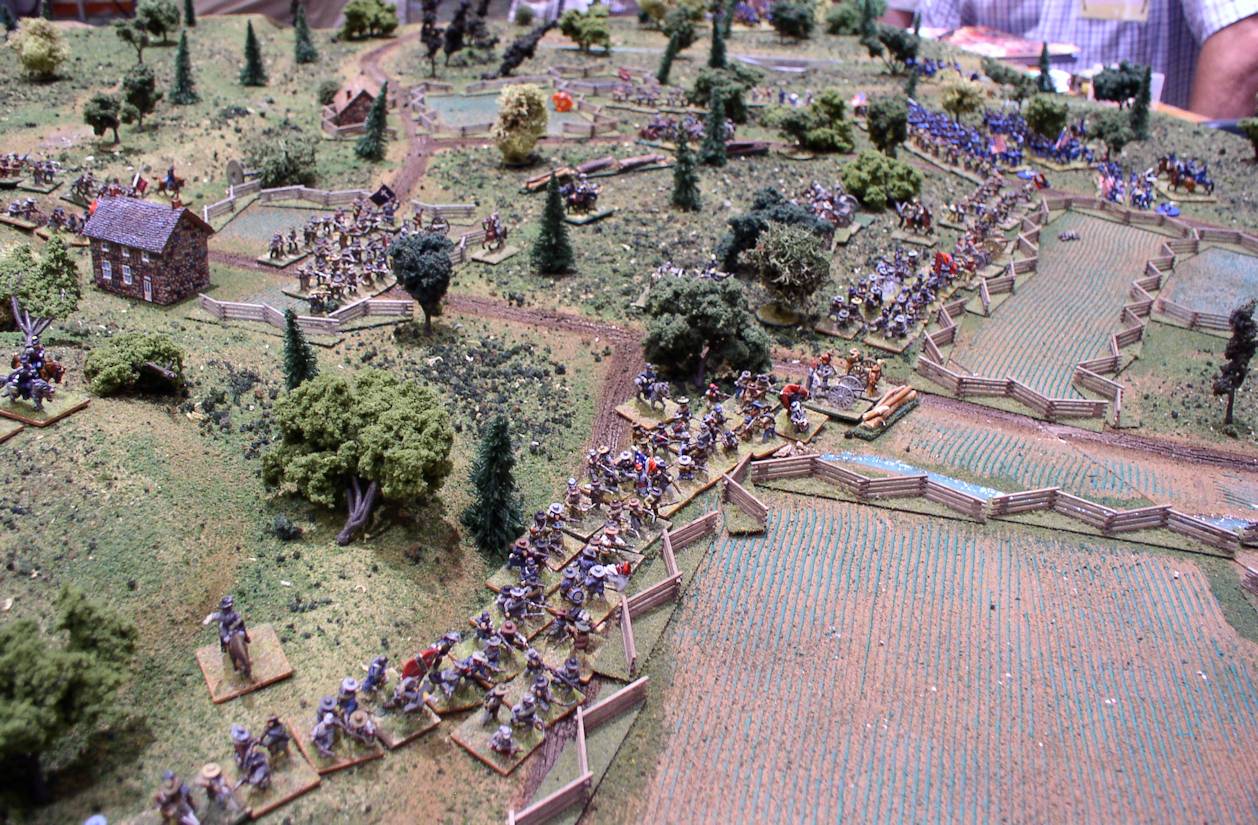
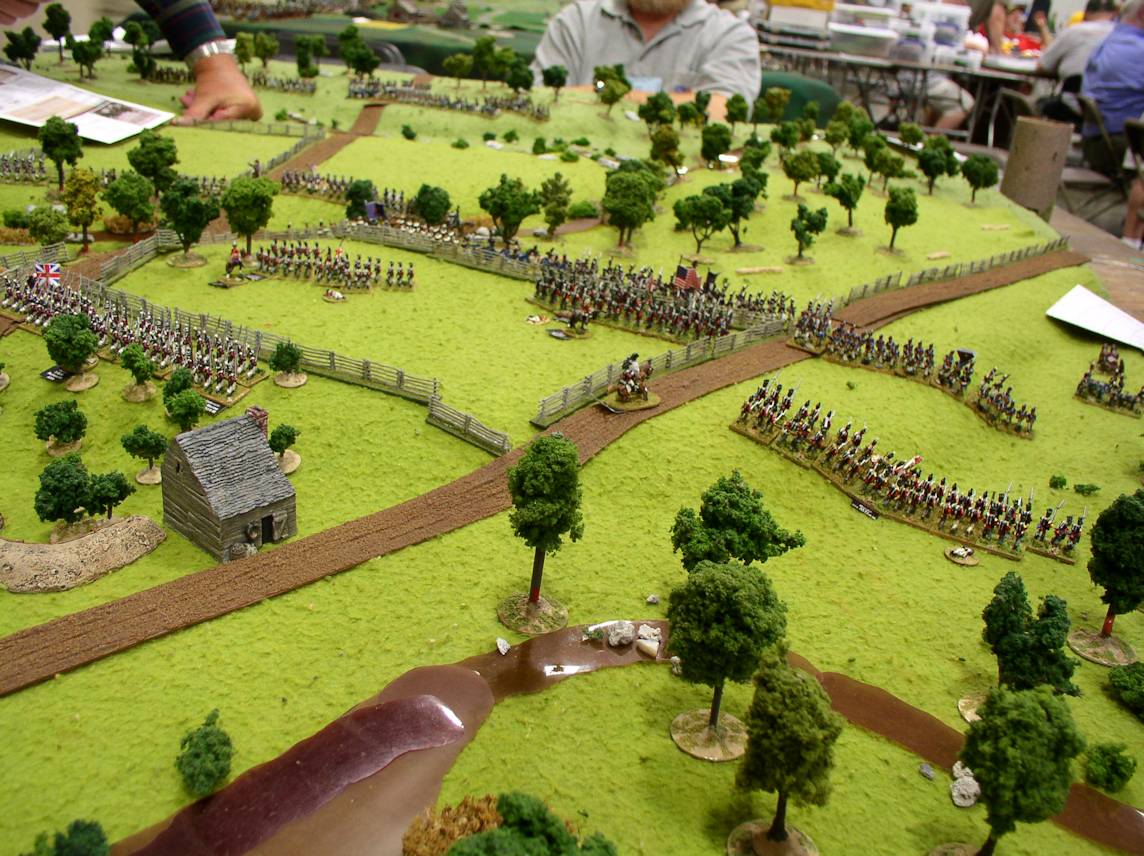
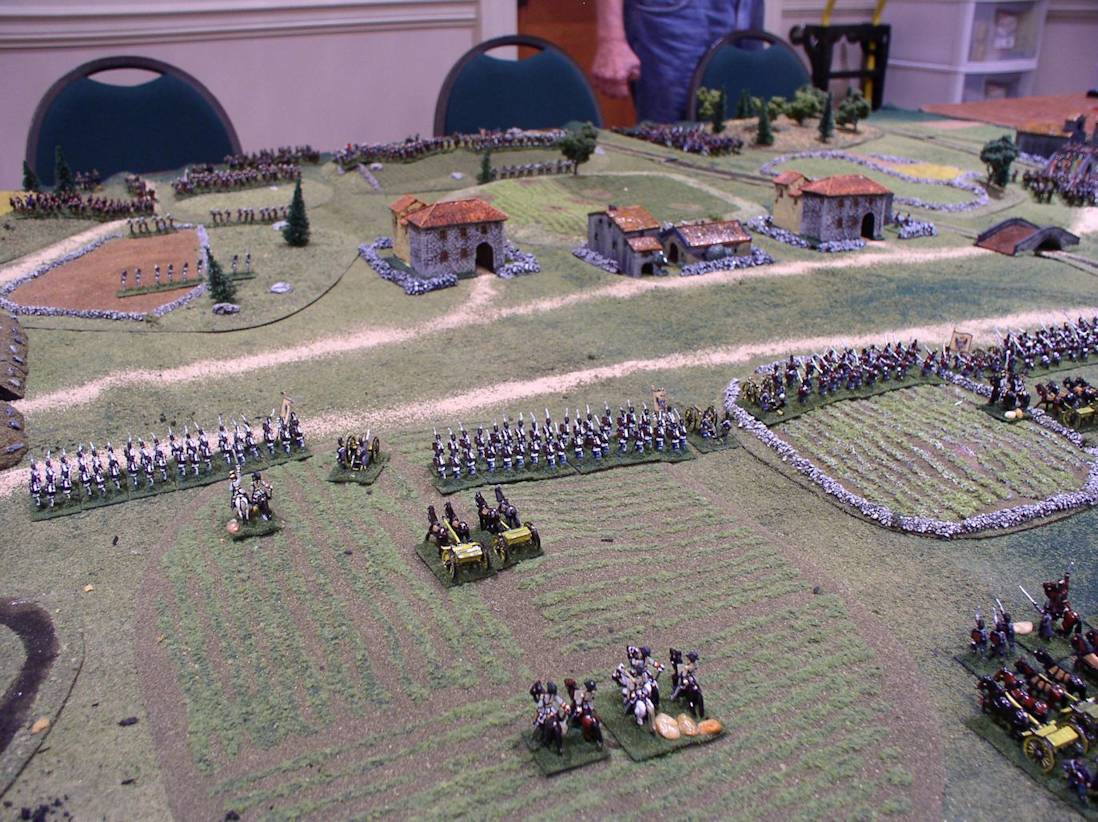
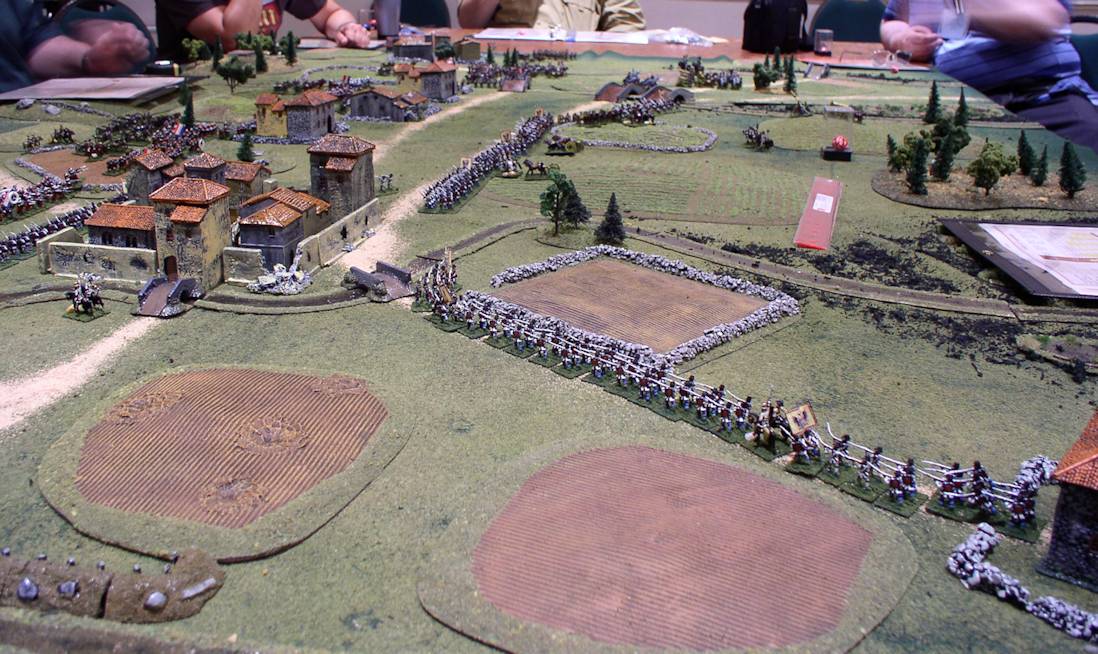
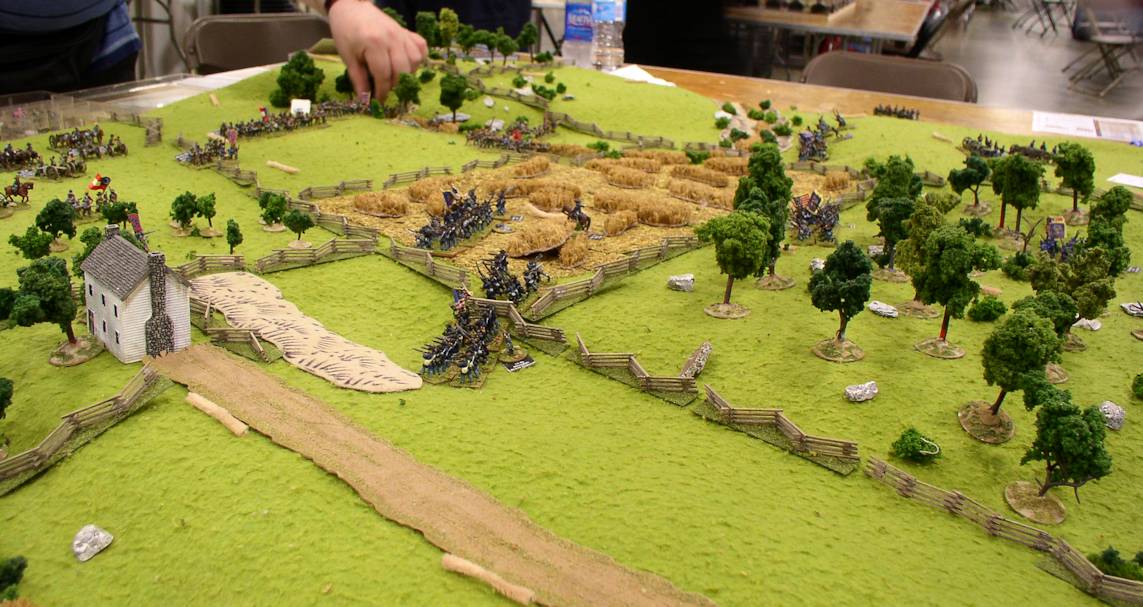
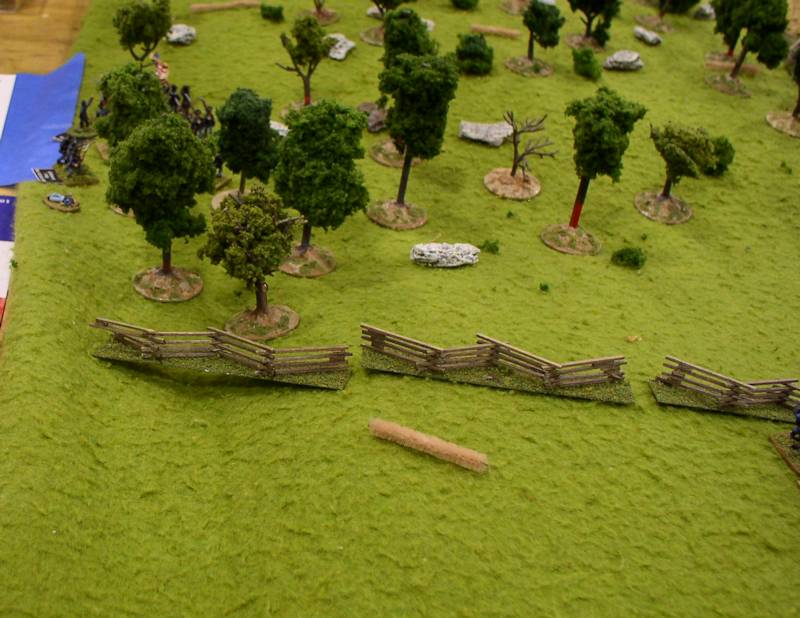
Elkhorn Tavern 1
Elkhorn Tavern 2
Elkhorn Tavern 3

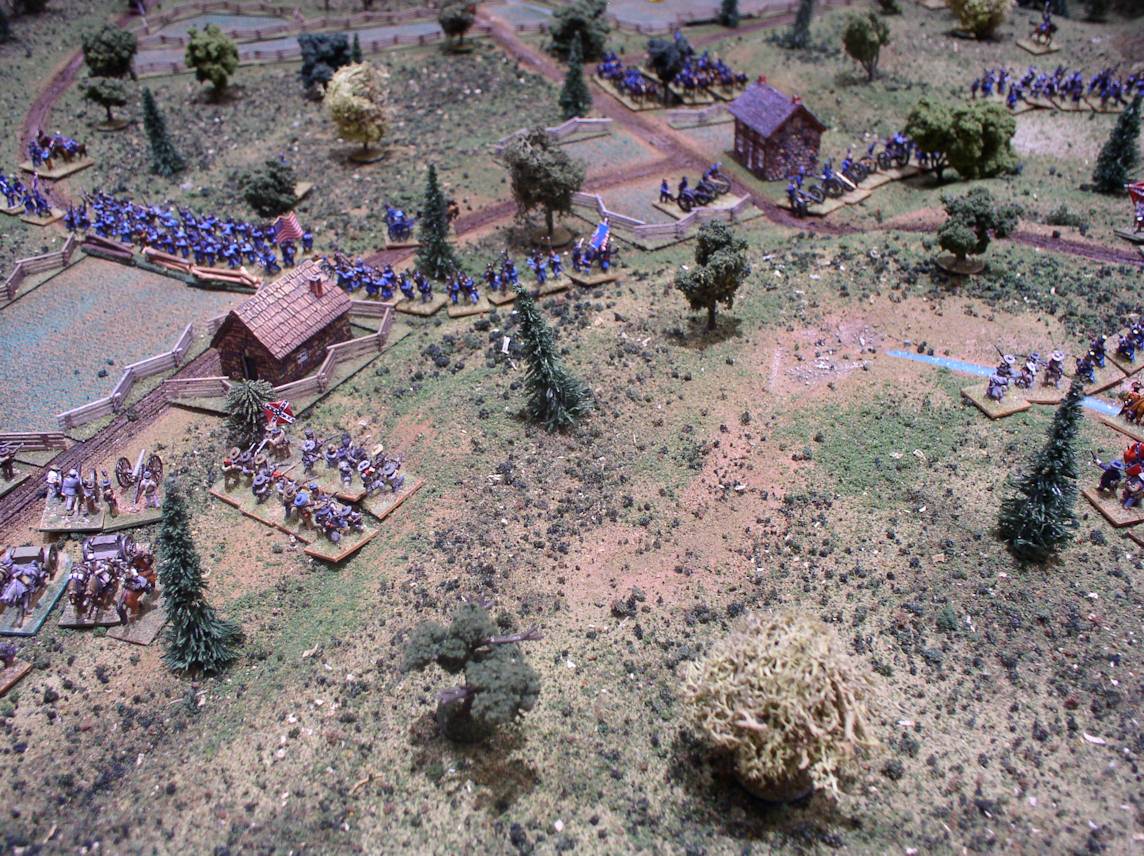
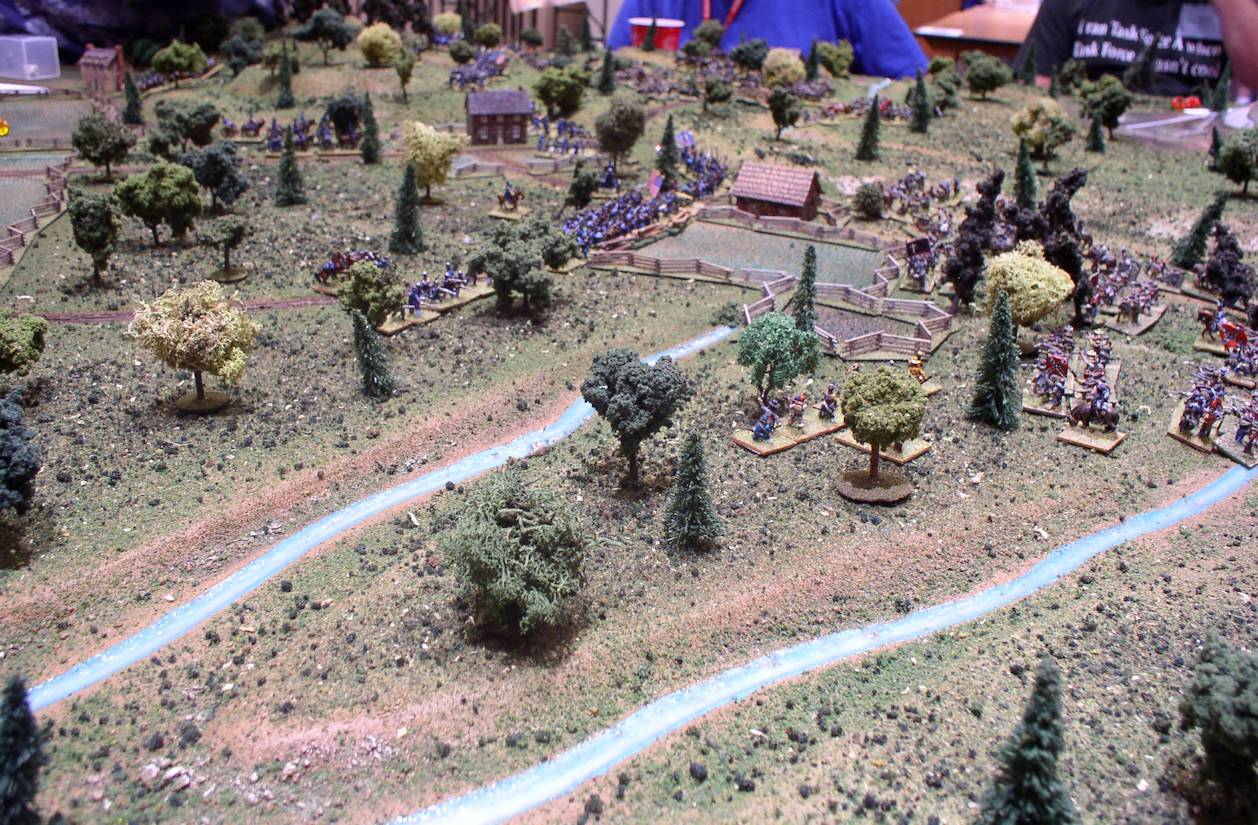
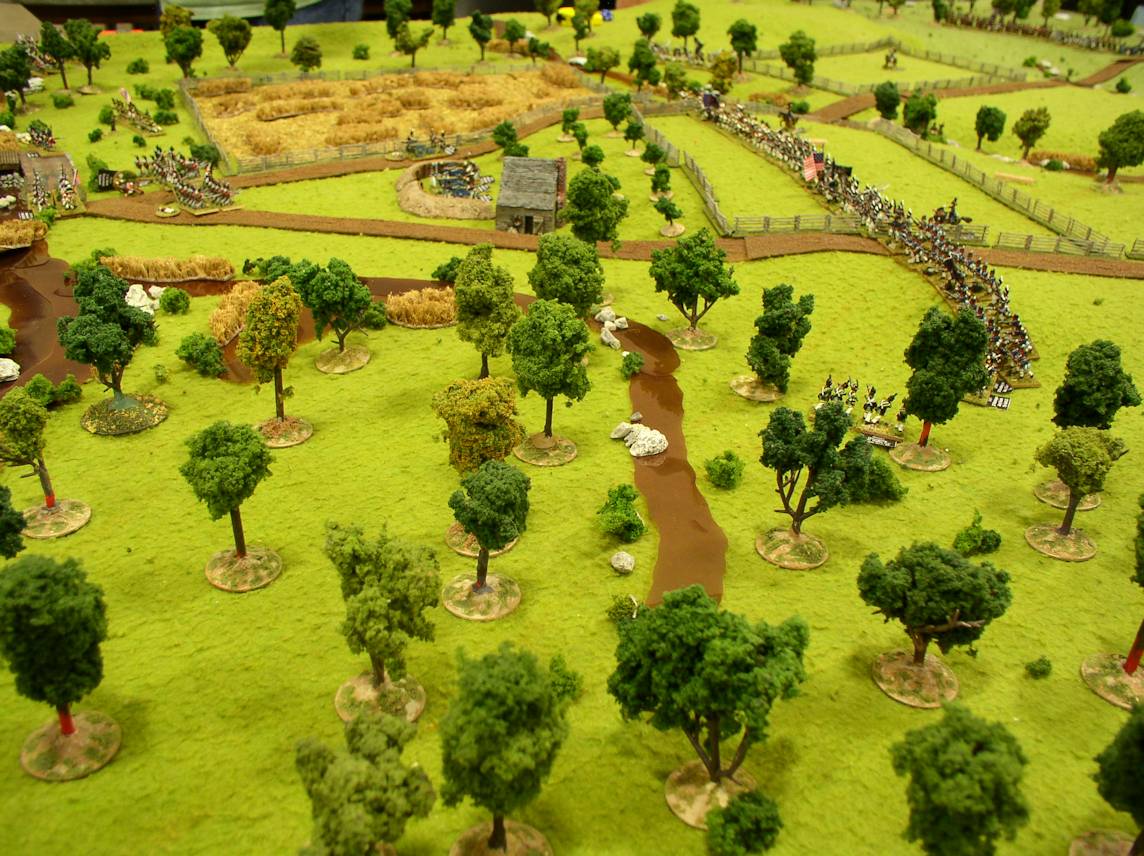
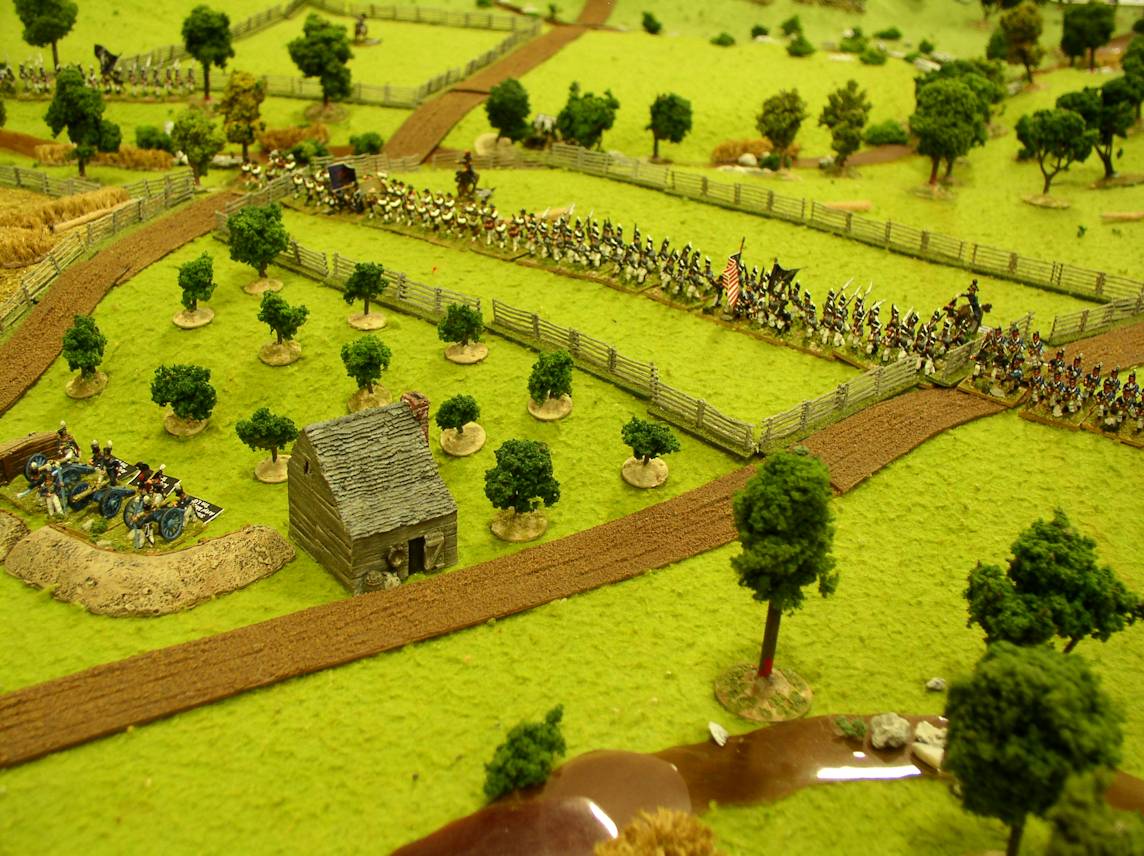
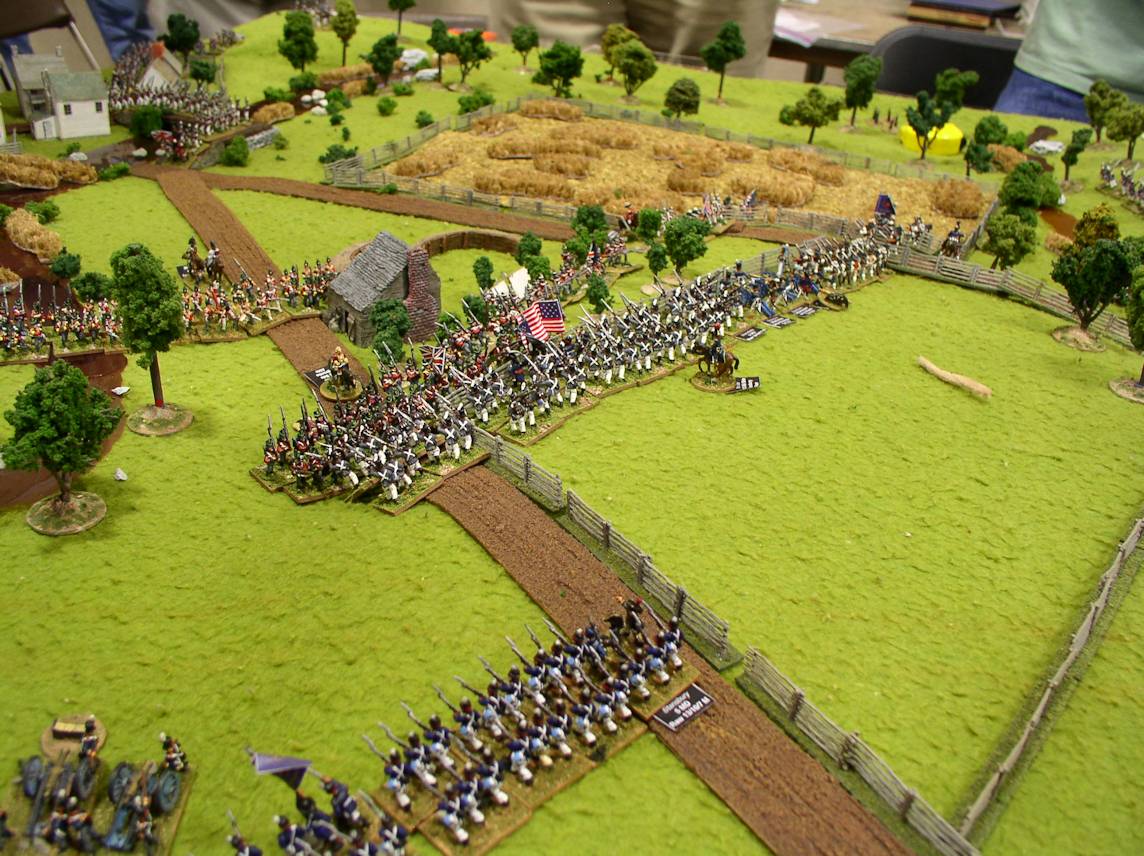
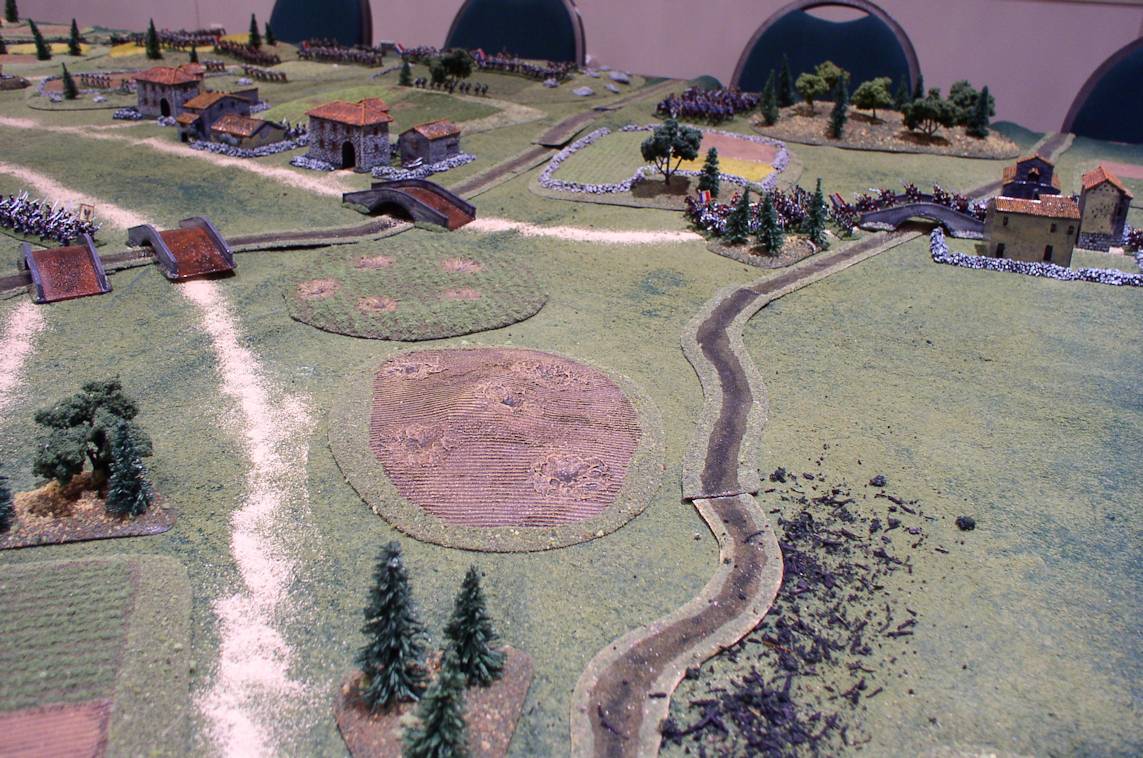
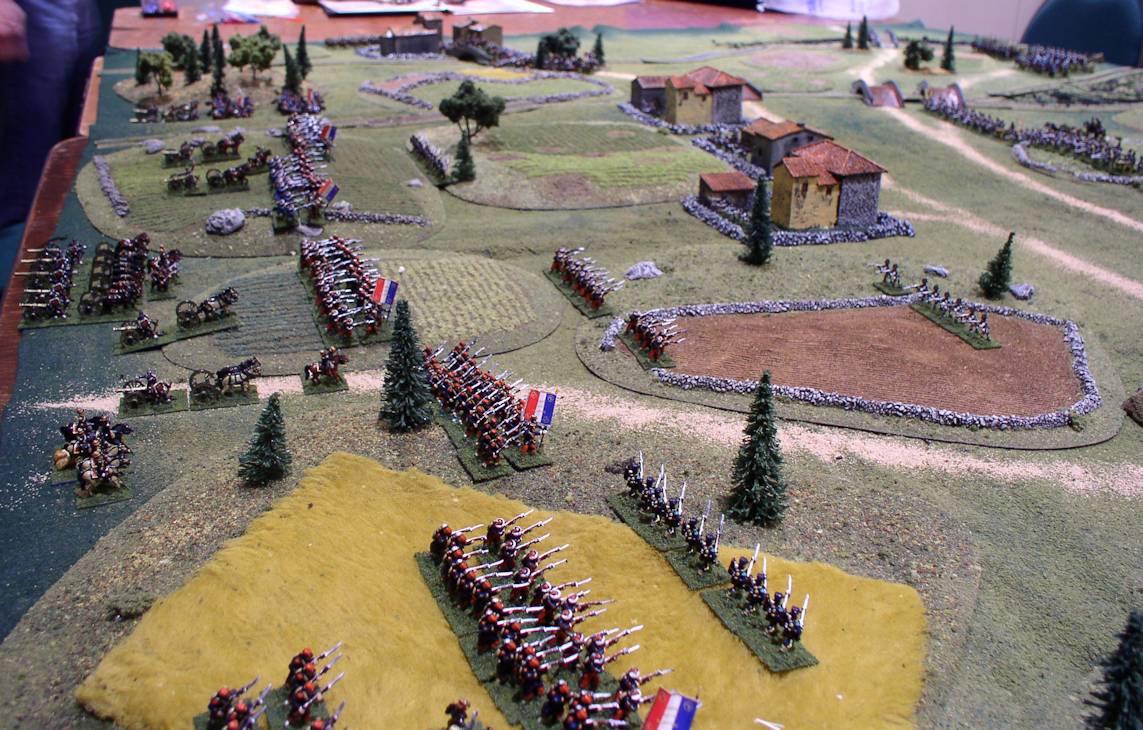
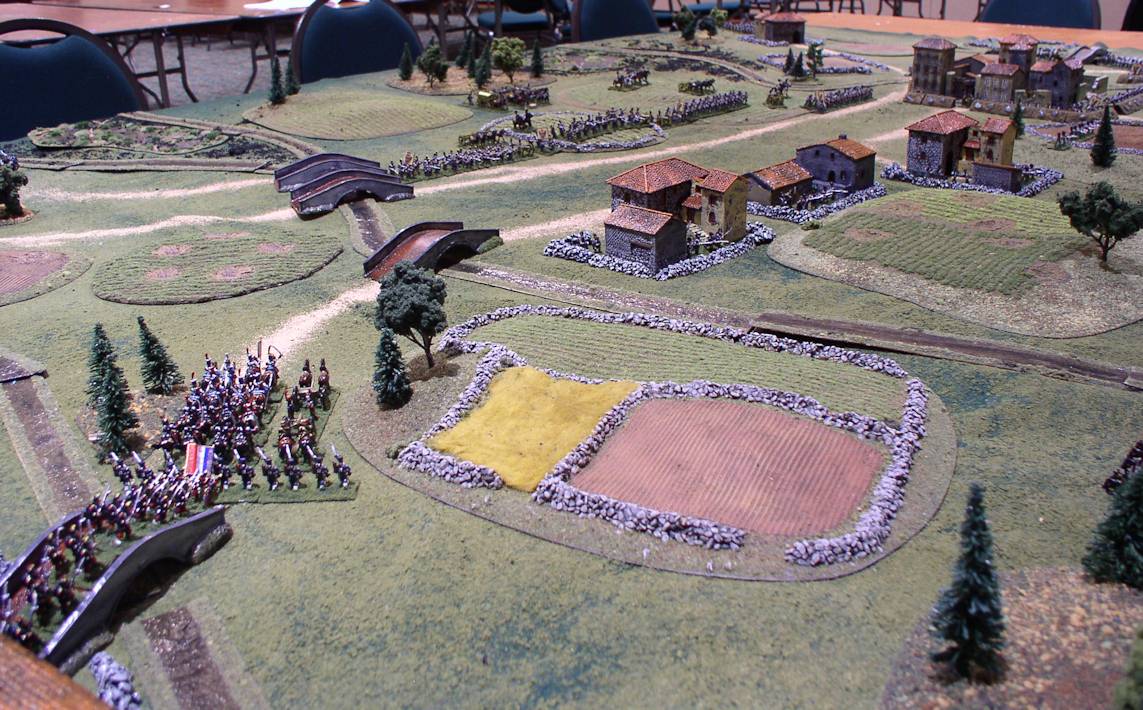
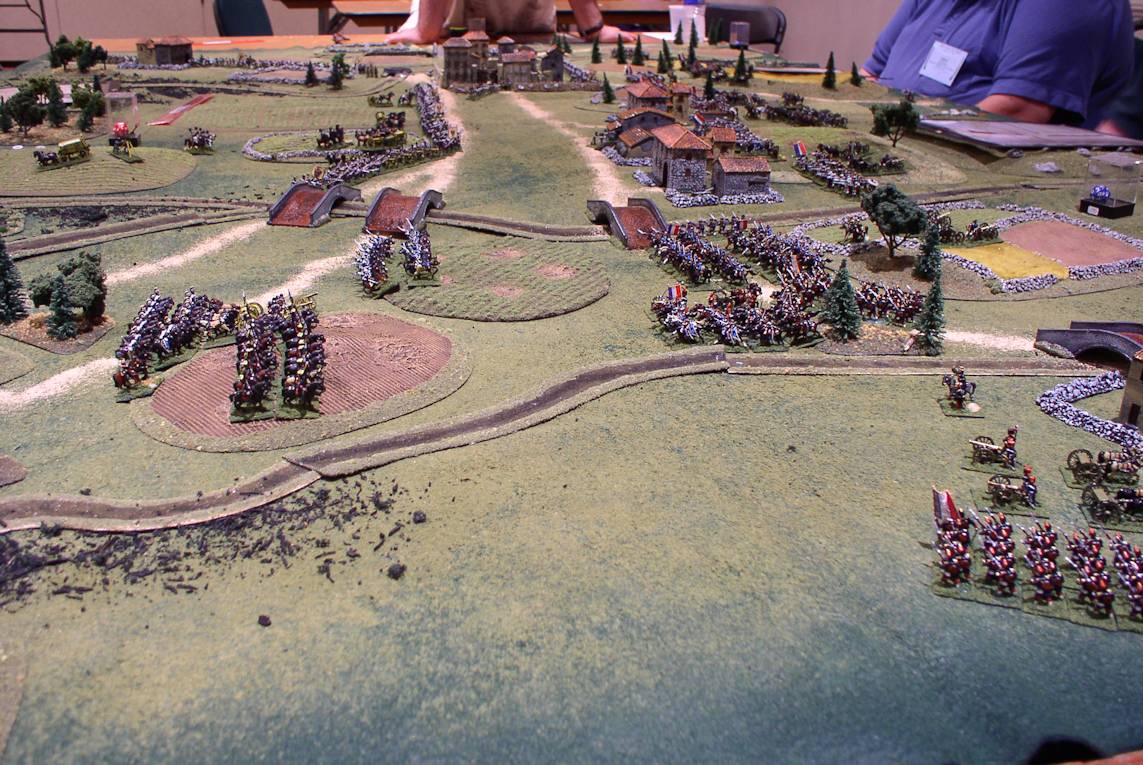
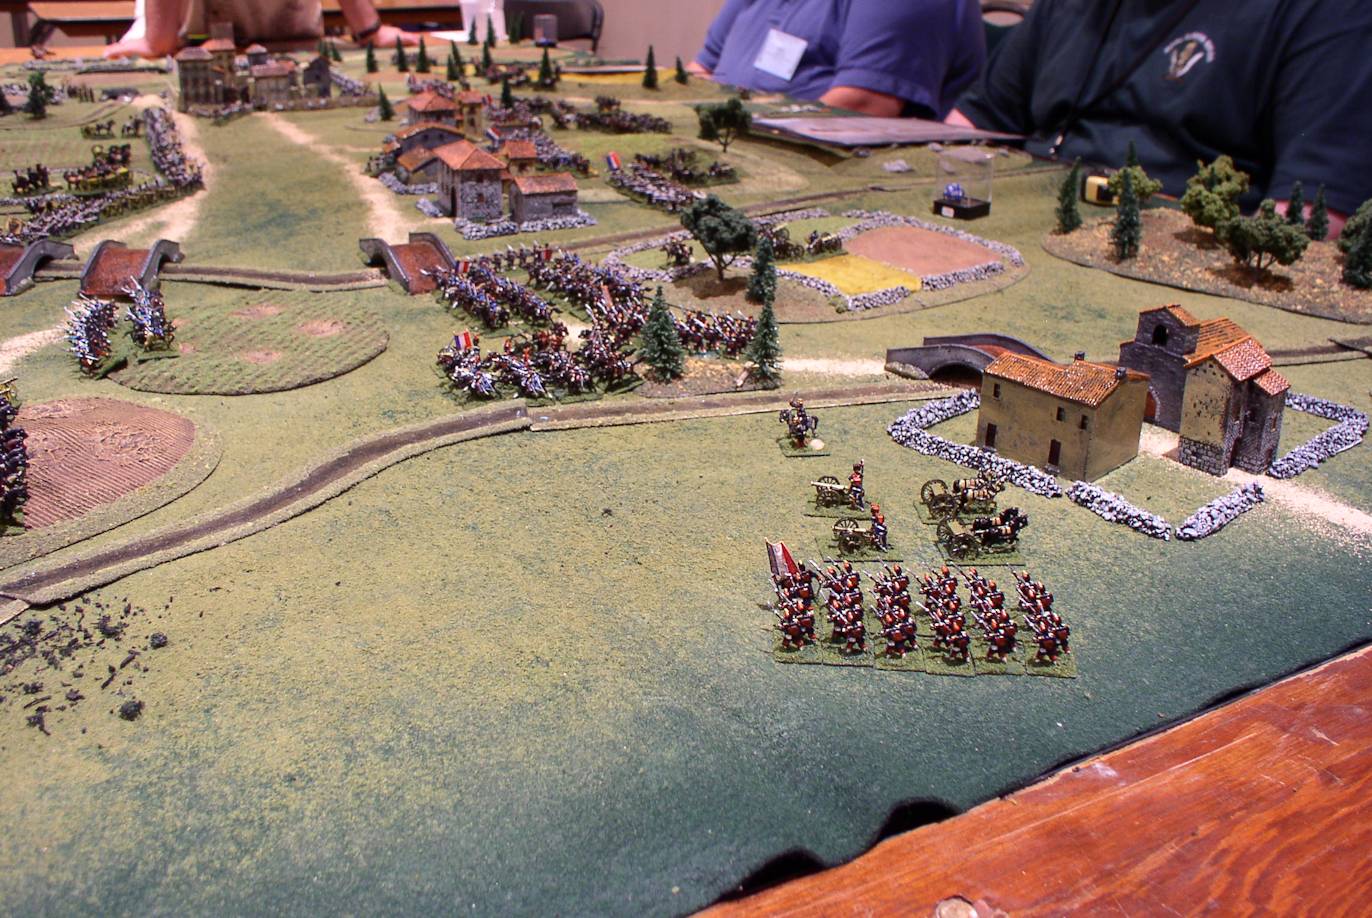
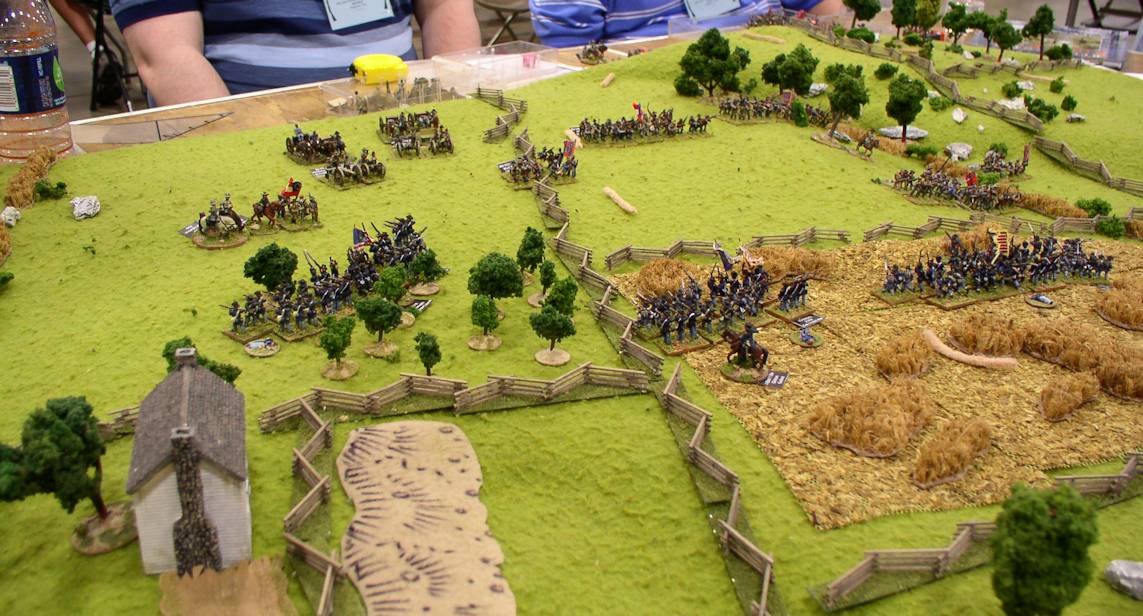
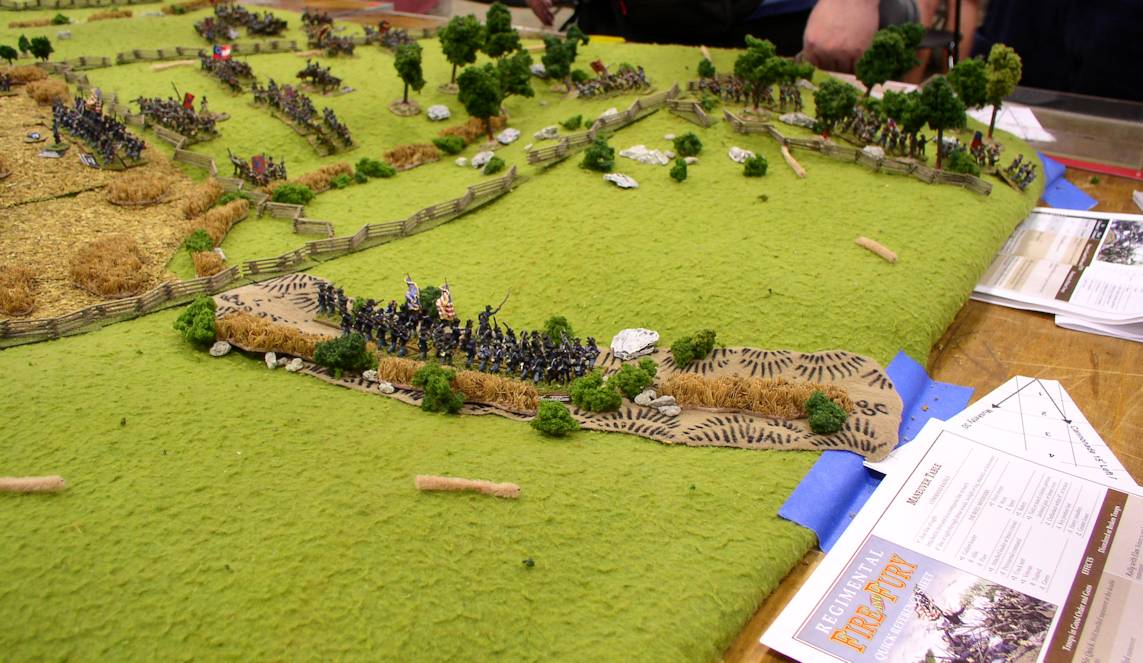
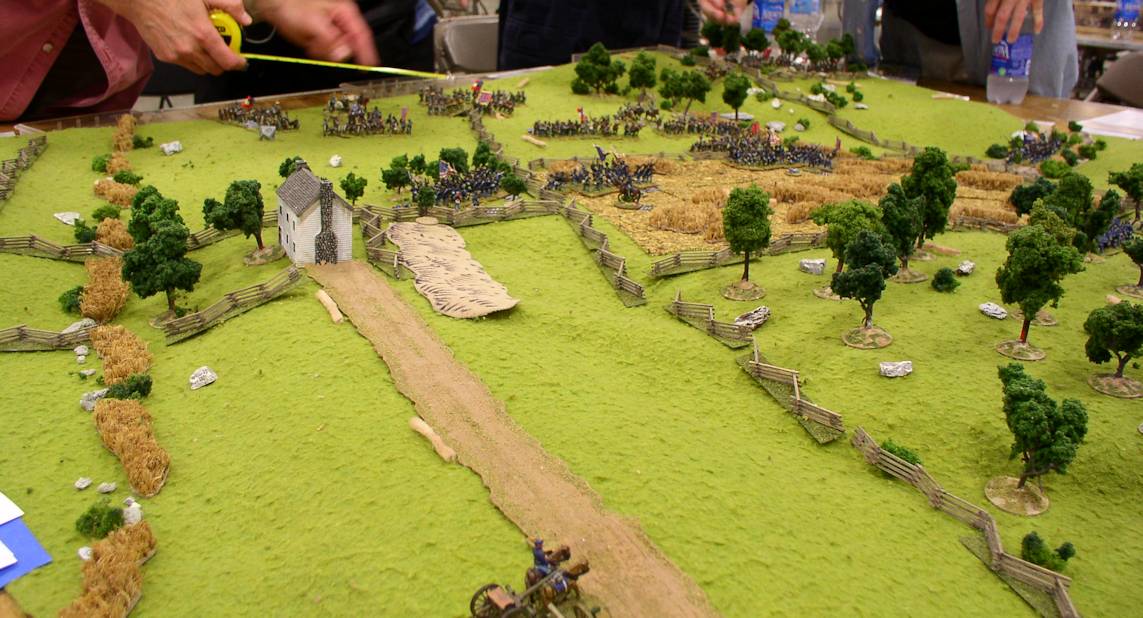
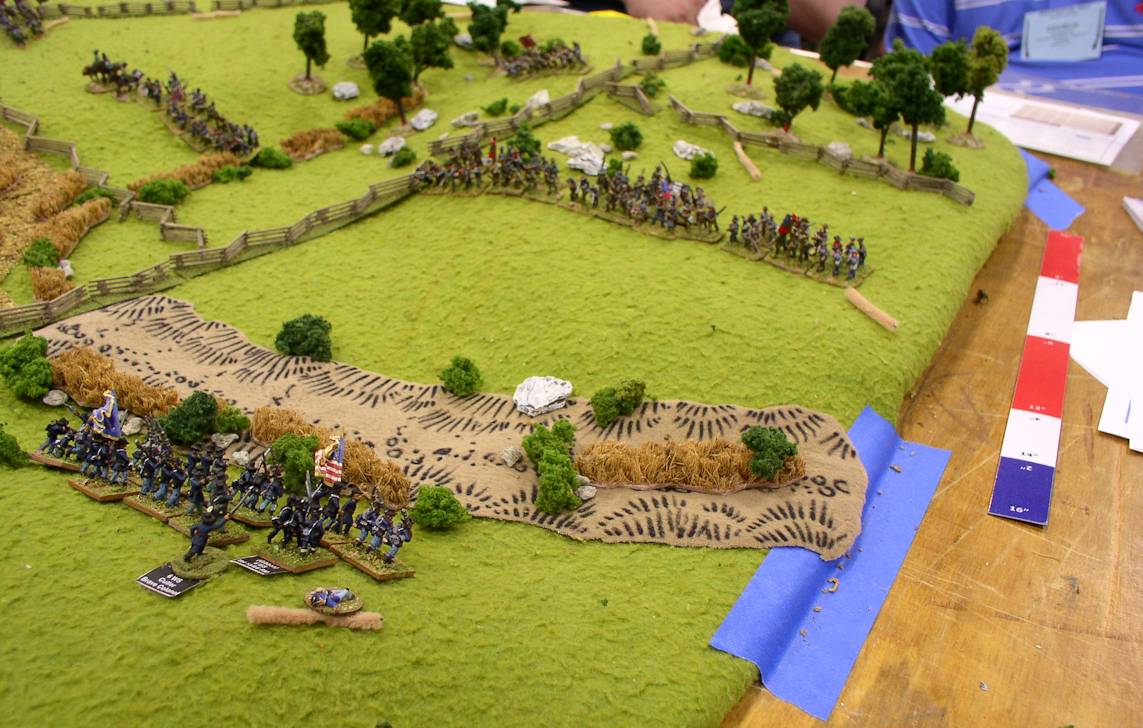
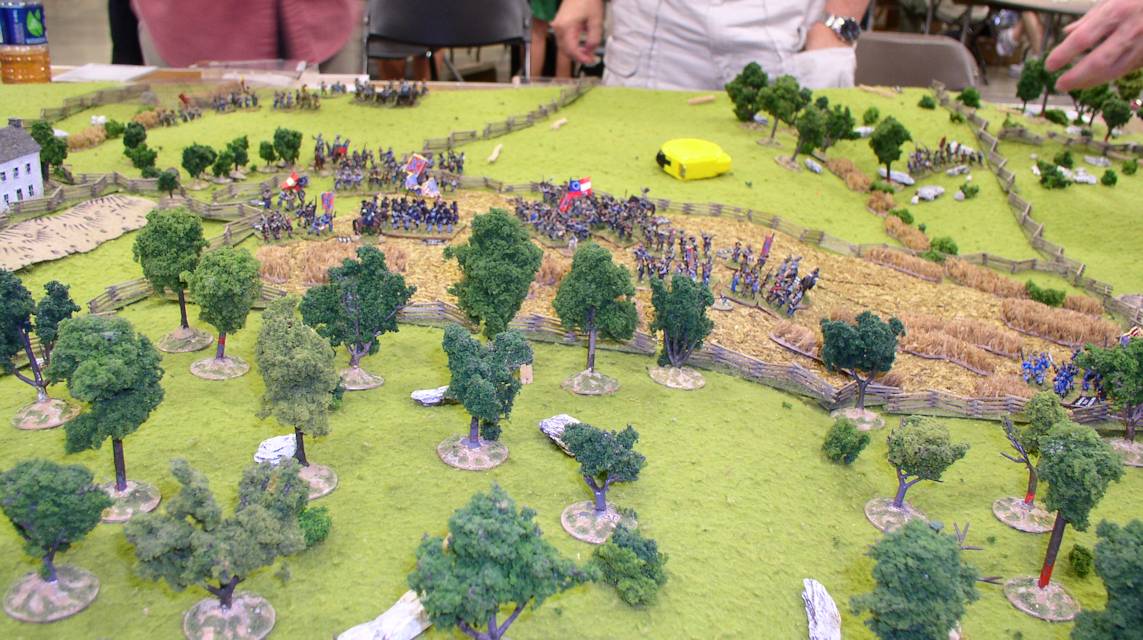
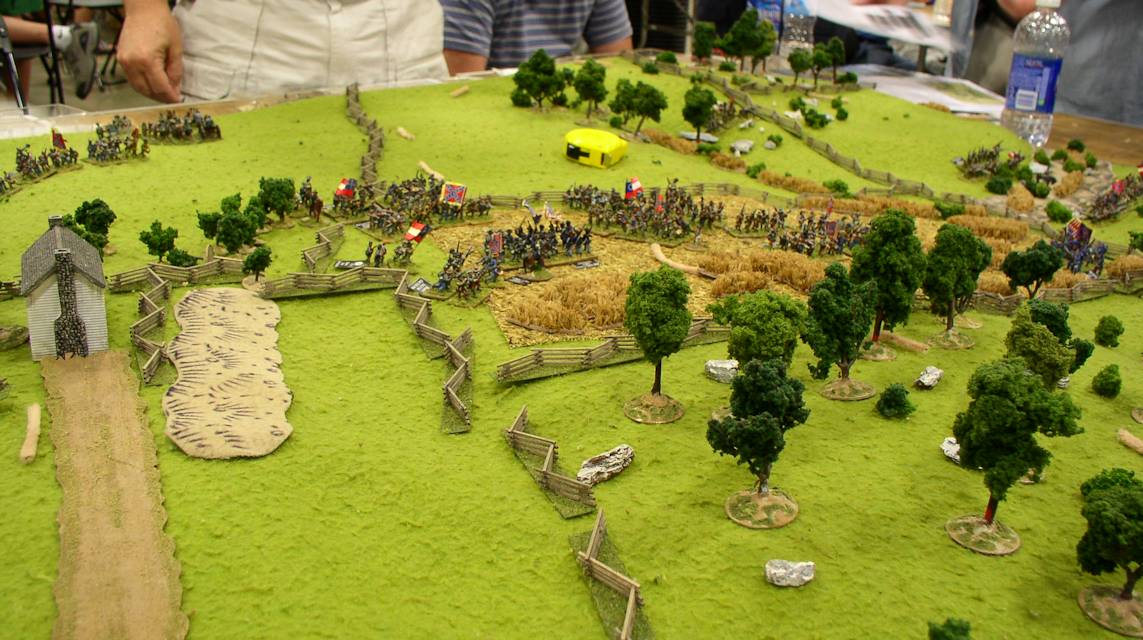
Prairie Grove 1

Prairie Grove 2
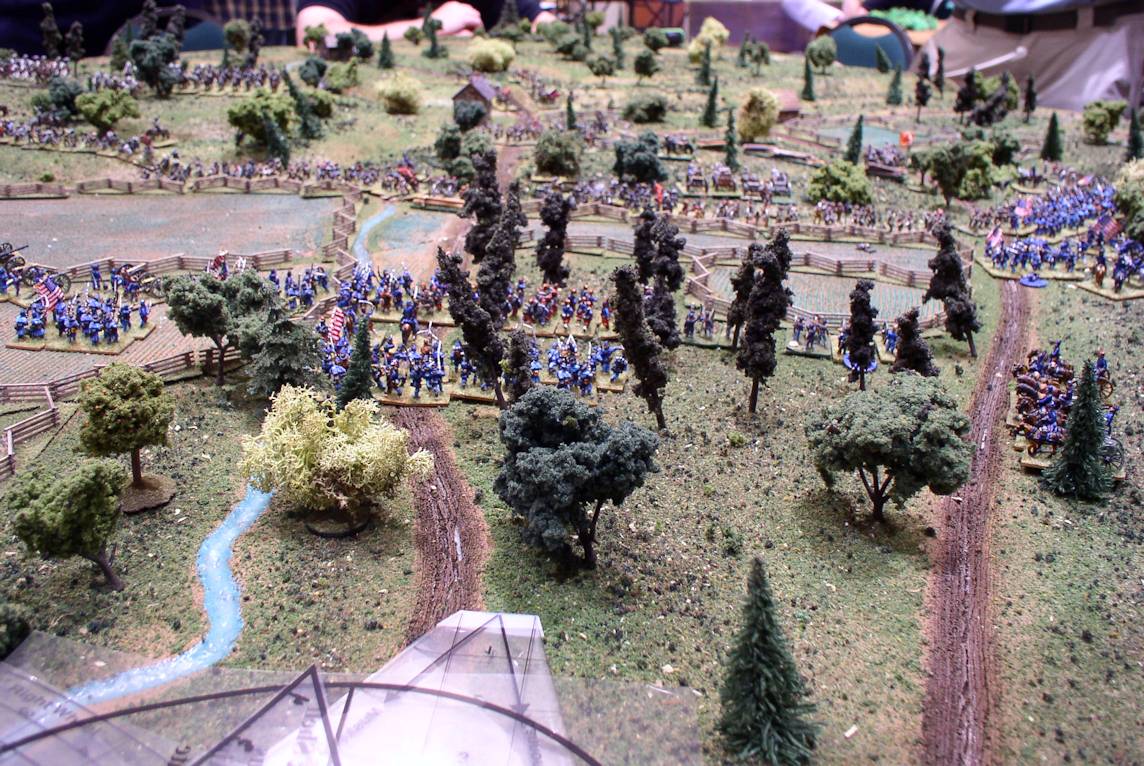
Prairie Grove 3
Prairie Grove 4
| Click on the Thumbnail for a full-size photo | Description |
|---|---|
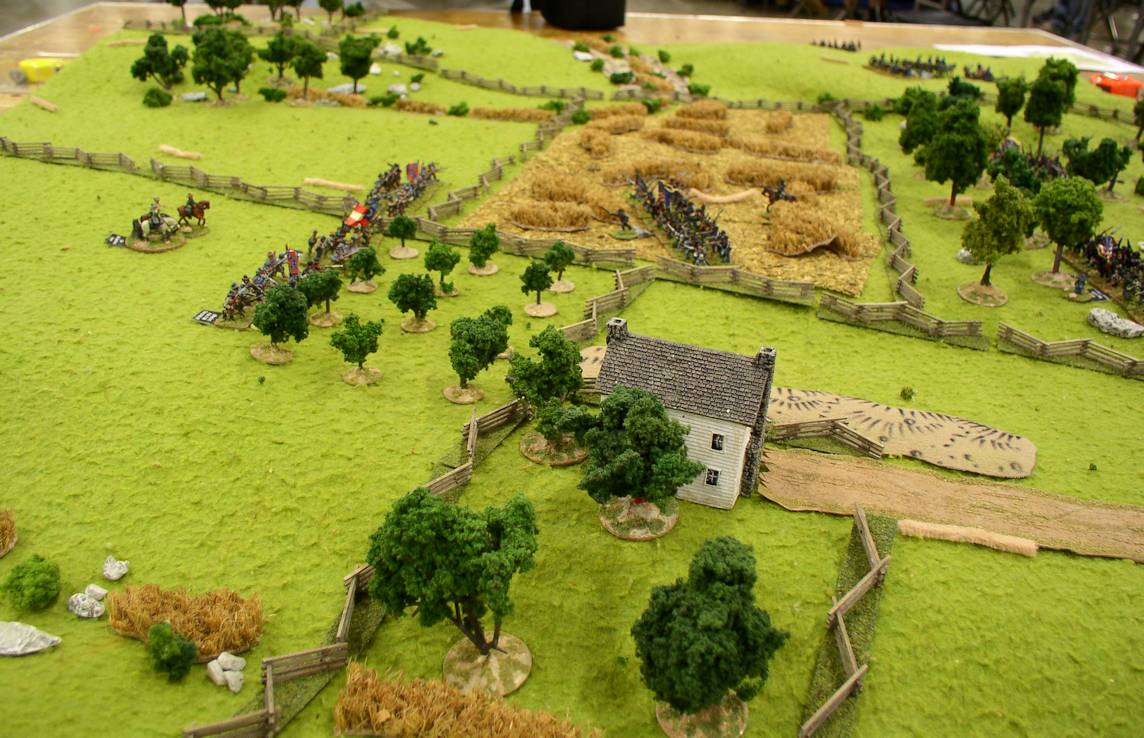
Elkhorn Tavern 1 |
Elkhorn Tavern 1 |
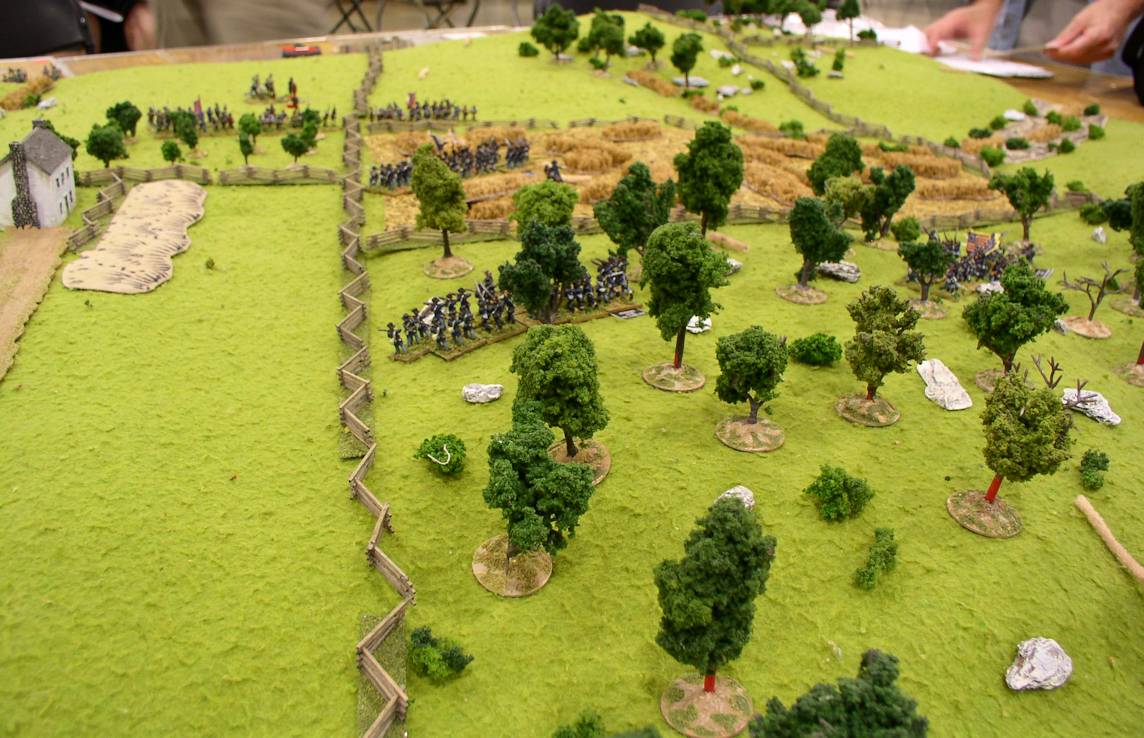
Elkhorn Tavern 2 |
Elkhorn Tavern 2 |
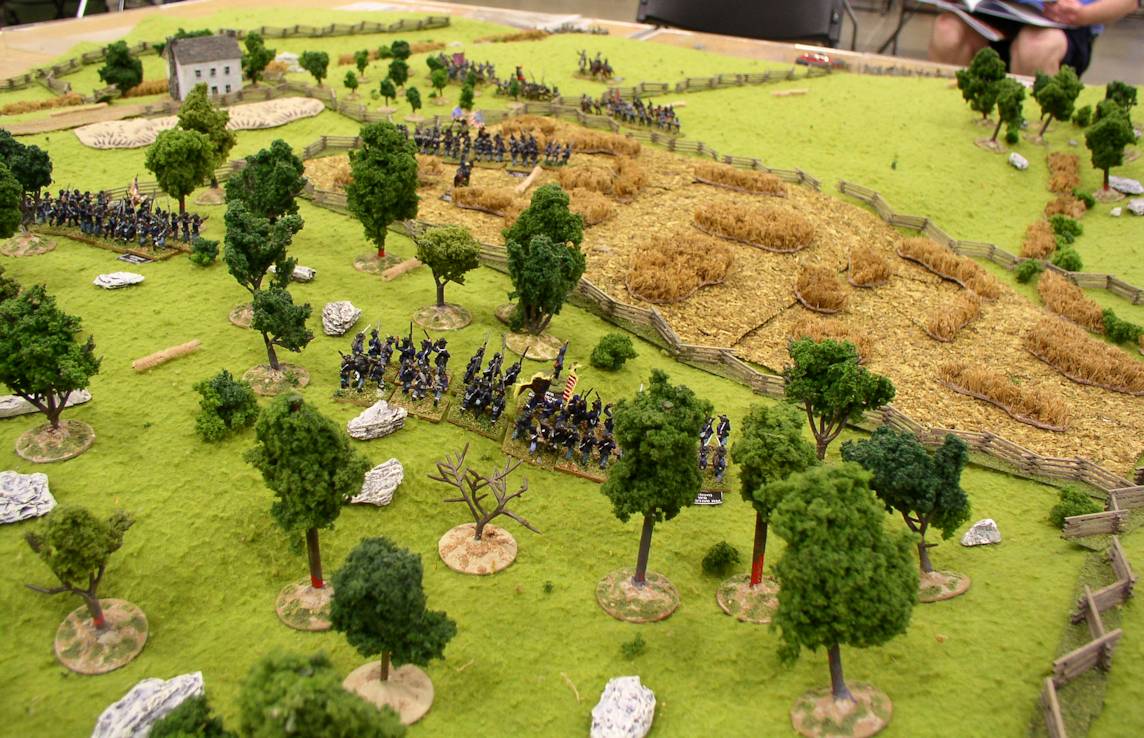
Elkhorn Tavern 3 |
Elkhorn Tavern 3 |
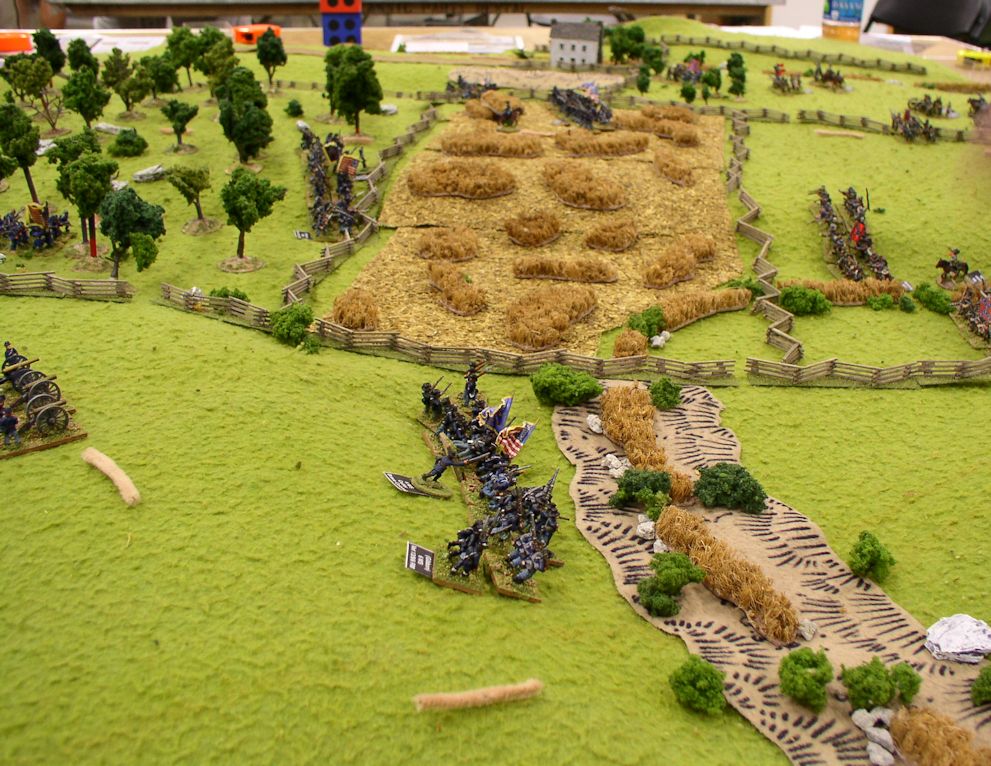
Prairie Grove 1 |
Prairie Grove 1 |
Prairie Grove 2 |
Prairie Grove 2 |
Prairie Grove 3 |
Prairie Grove 3 |
Prairie Grove 4 |
Prairie Grove 4 |
| Click on the Thumbnail for a full-size photo | Description |
|---|---|
 Bladensburg Picture 1 |
Having disposed of the U.S. first line, the British advance. |
 Bladensburg Picture 2 |
The American Line. |
 Bladensburg Picture 3 |
The British Attack. |
 Bladensburg Picture 4 |
British attack all along the line. |
| Click on the Thumbnail for a full-size photo | Description |
|---|---|
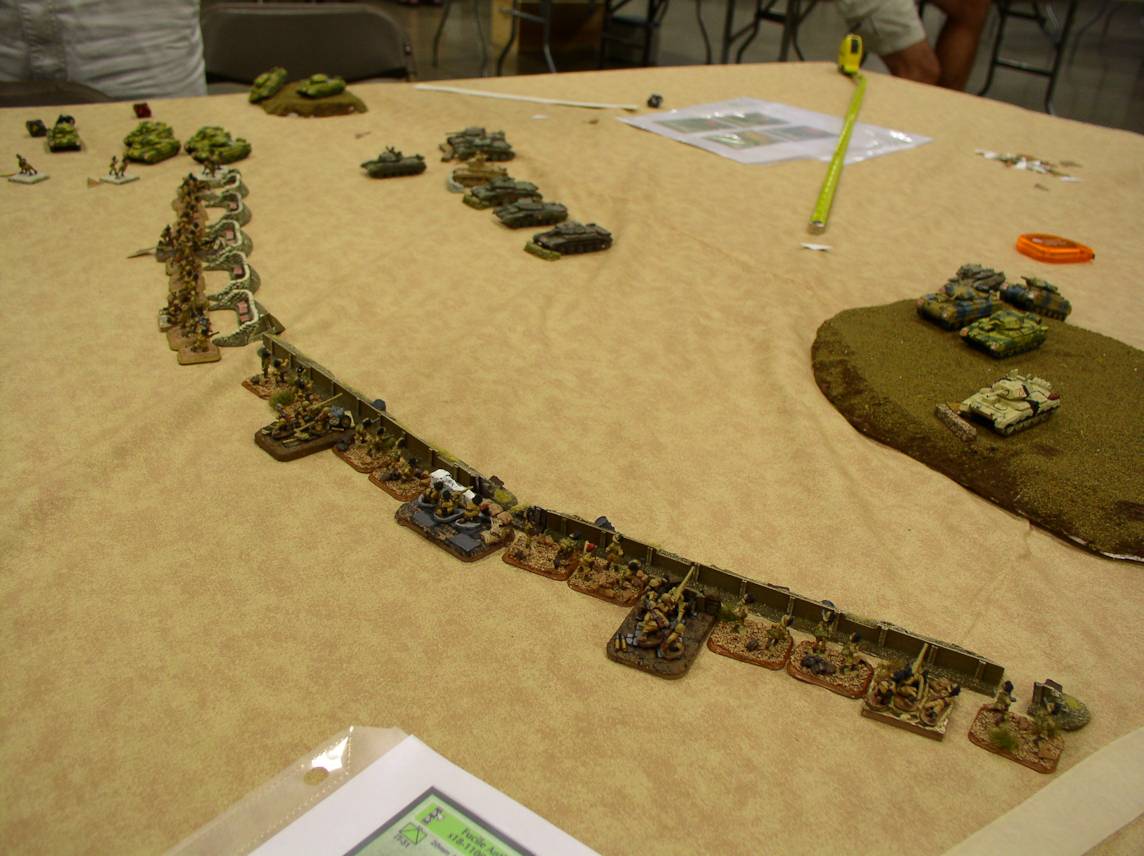
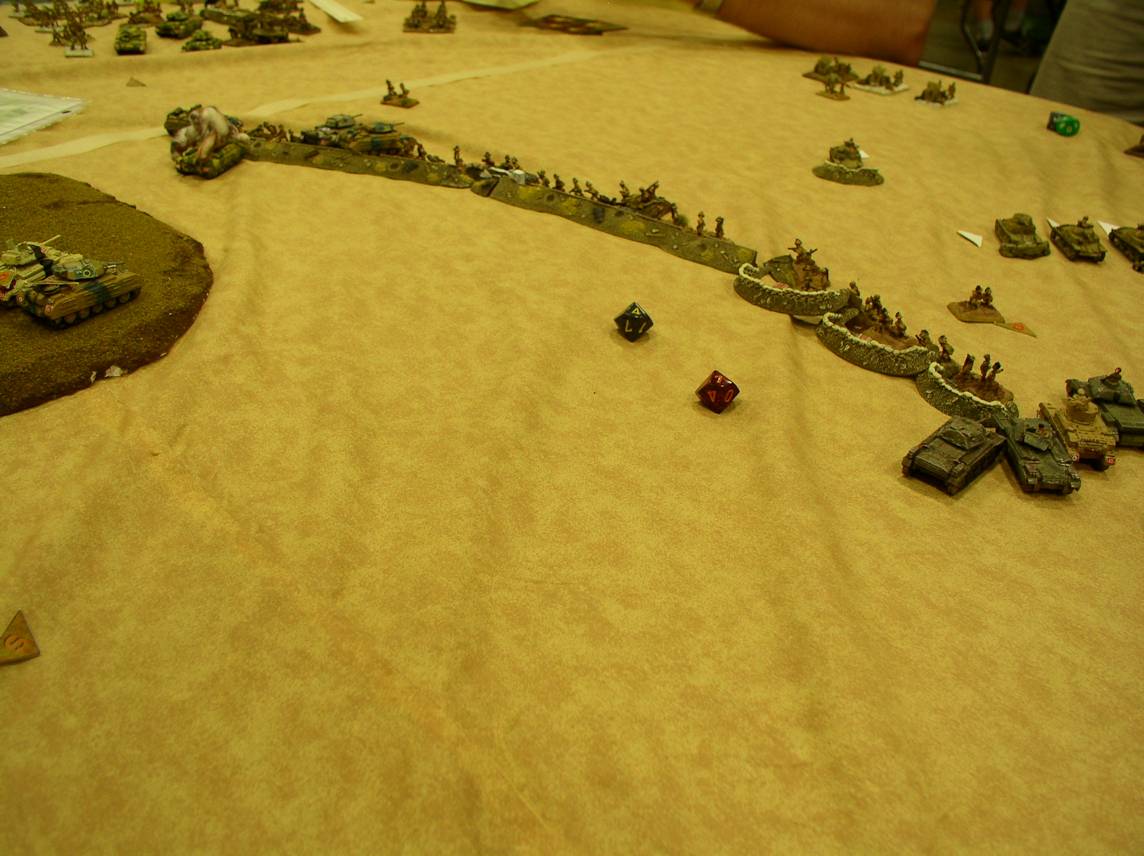
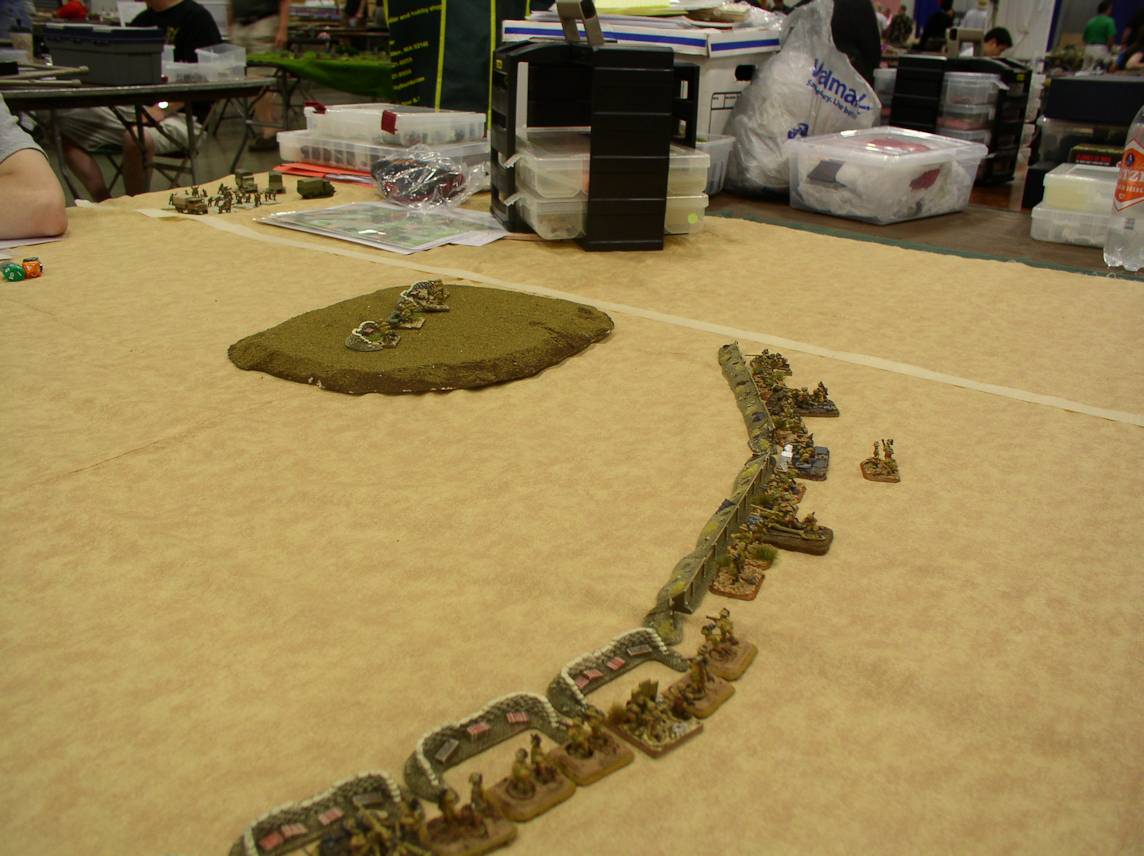 Italian Starting Positions |
The Italians were set up in a line across the board. The right of the Italian Position, shown here, was dug-in, while the left had only improved positions. |
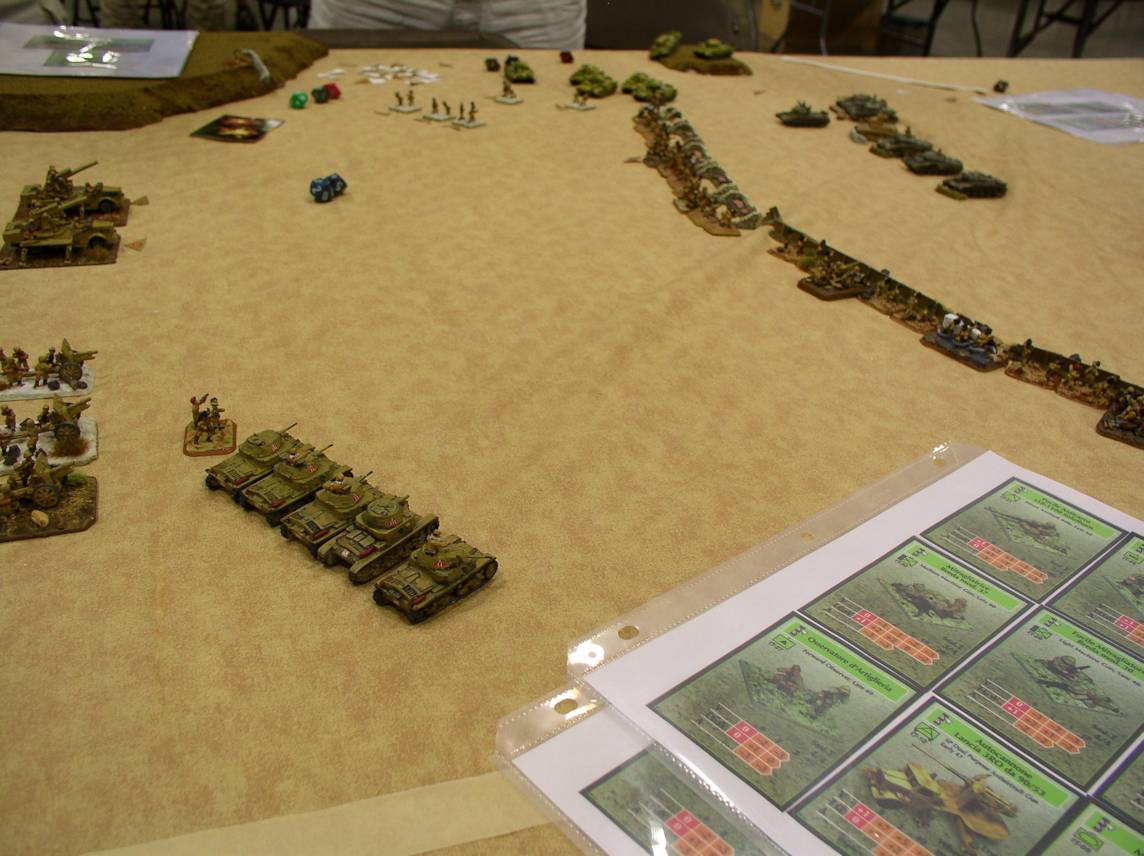
 End of the First Game |
With two of the British tank MEs embroiled with the Italian infantry (the third had run away and was regrouping), the heavy guns appear. As the scenario victory conditions are for the British to clear the Italian infantry position, and they will have difficulty even surviving, we went back to the start. |
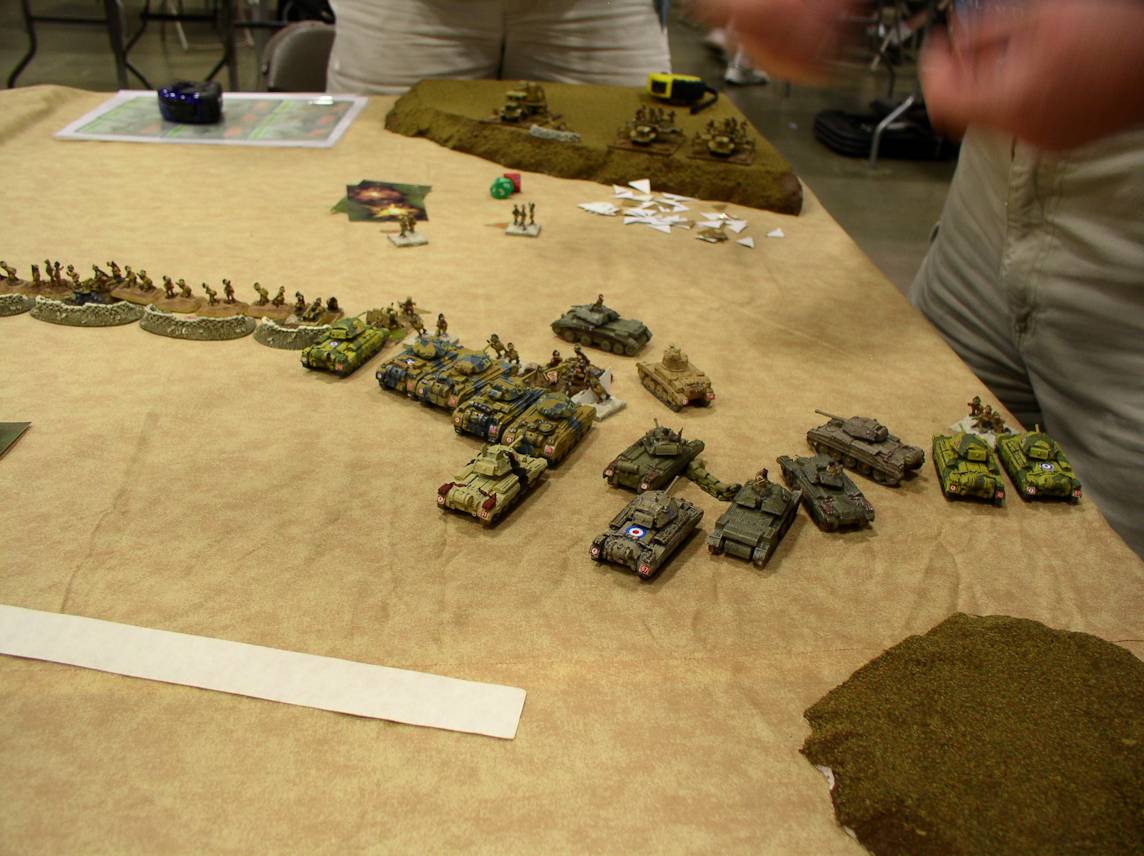
 The Second Game |
The second game started with the same basic plan, an attack on the Italian left, but the close support tanks were kept back and immediately engaged the big Italian guns. This is several turns in where the British have essentially cleared the left, but Italian M13/40 tanks from Ariete appear. Don't snicker, because the Crusaders aren't much better, and the Italians only have to defend. |
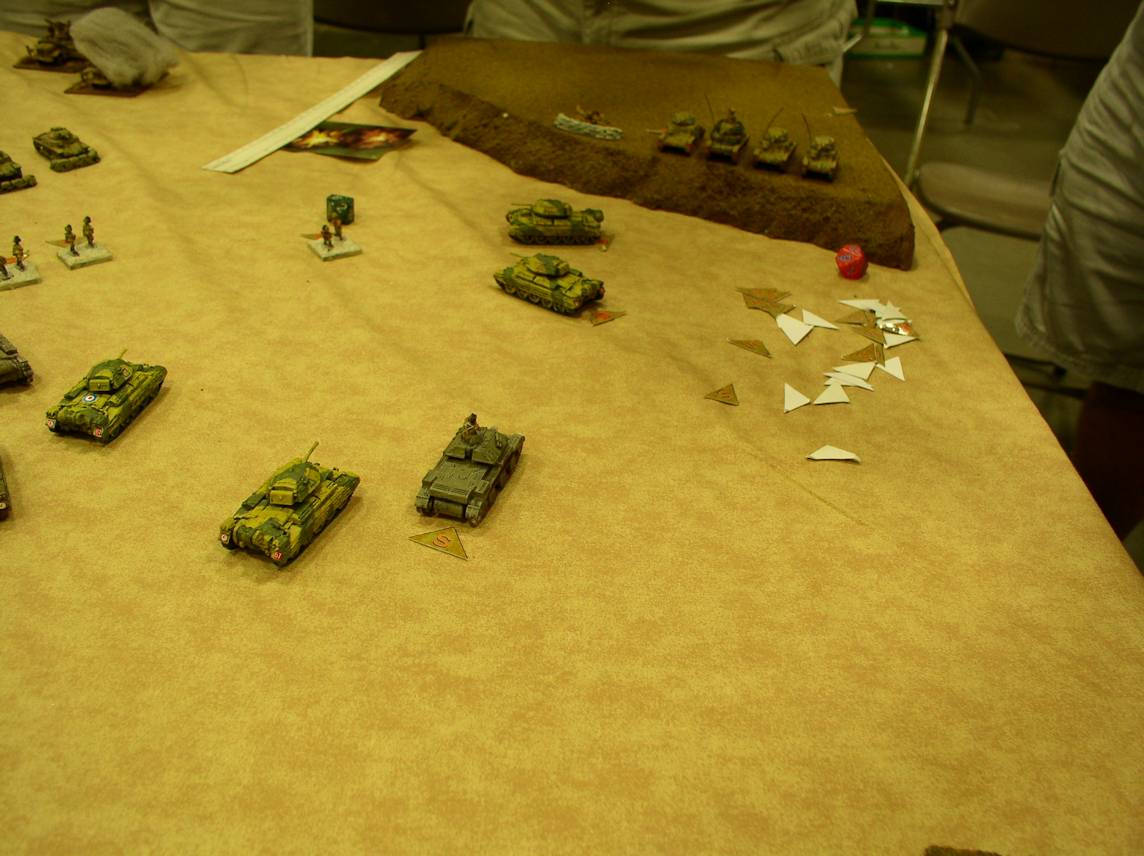
 Face-off |
The Italian left and one of the British tank MEs stare at each other. The British tanks are not well suited for digging entrenched infantry out of positions, especially when there are guns in support. |
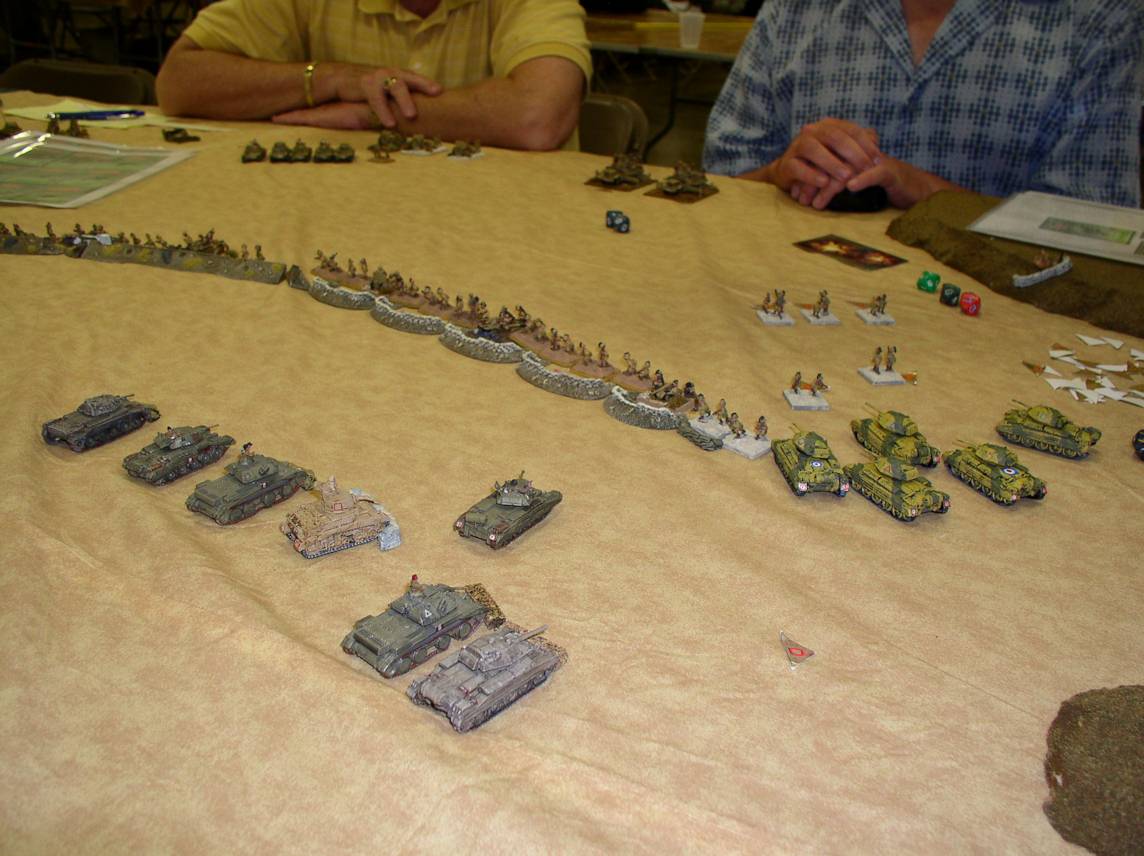
 Ariete to the rescue |
Italian Tanks move up. |
 Dual Tasking |
British tanks grind away at the trenches while keeping a wary eye on the Italian Tanks. |
 More Italians |
Another ME of Italians appears. Fortunately, they were M13/40s. |
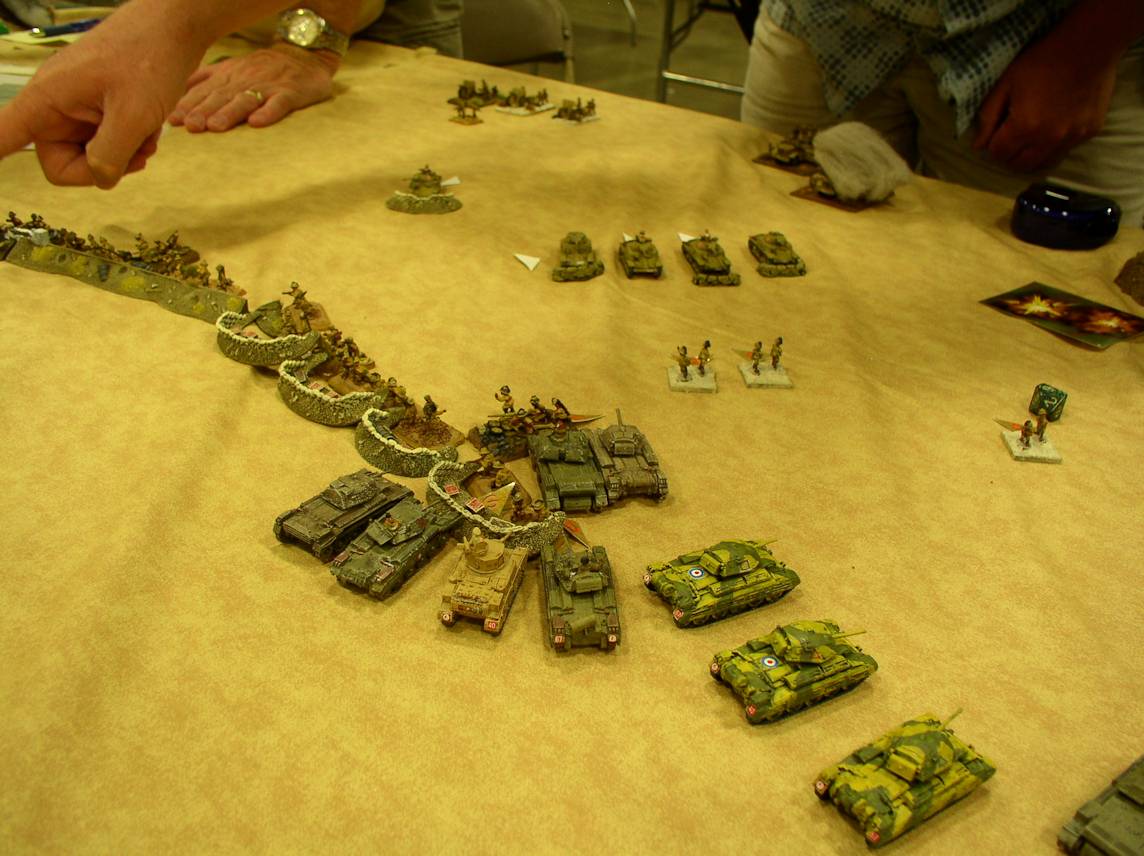
 Charge! |
The British left flank charges and overruns the Italian trenches, but takes losses and doesn't inflict many casualties. However, just behind them is an ME of British infantry (mounted in trucks), the will actually be able to follow up. |
| Click on the Thumbnail for a full-size photo | Description |
|---|---|
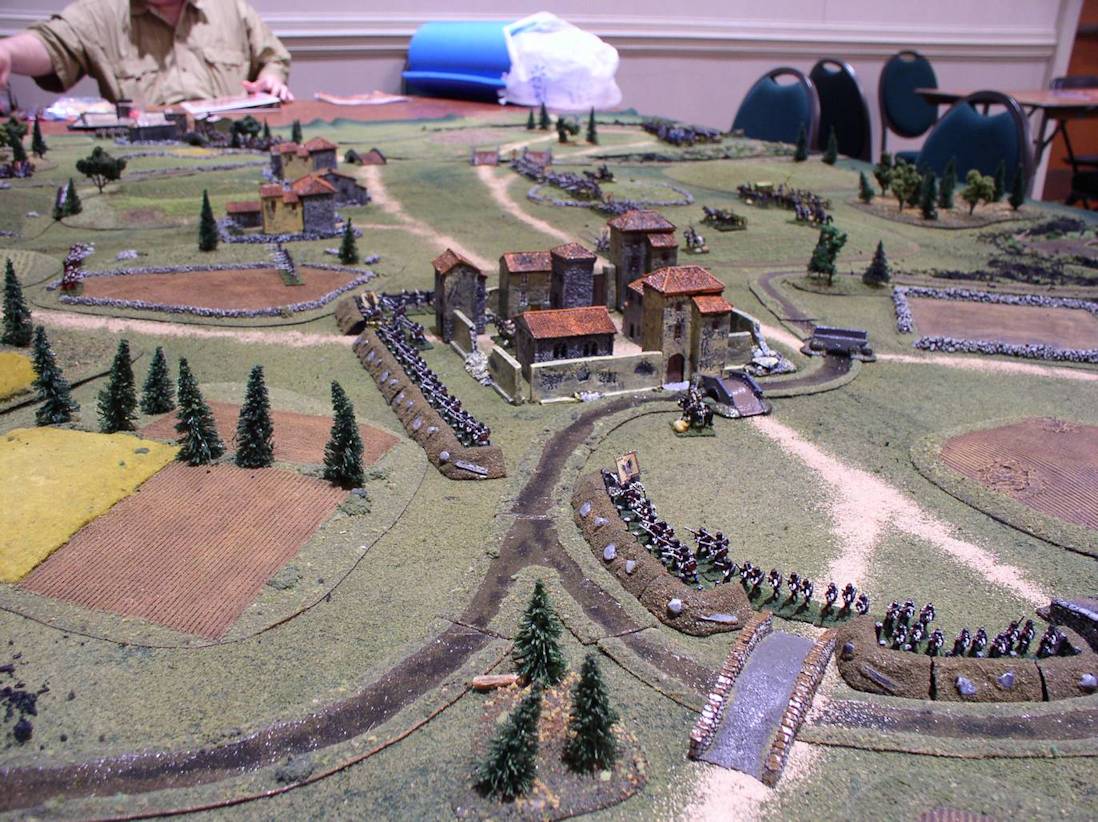 Austrians Entrenched |
The Austrian left Flank was anchored by a well foritified town. |
 Looking down the line |
Looking down the Austrian Line from their left. The French can be seen at the left of the table. The Austrians had outposts in the towns in front of their main line which did an heroic job of slowing down the French offensives. |
 Austrian Reinforcements |
Austrian reinforcements come in from behind the left flank. |
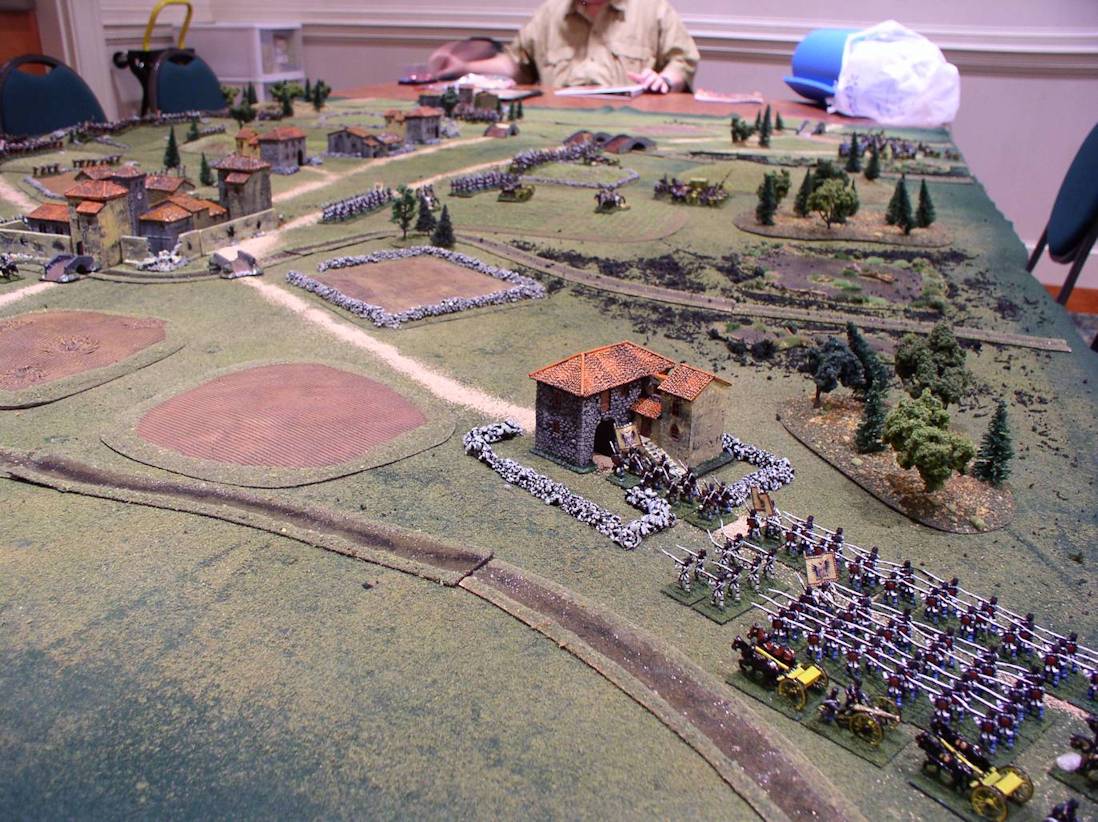
 Austrian Center |
The center of the Austrian line faces down the French. Some of the Jaeger troops can be seen near the villages. |
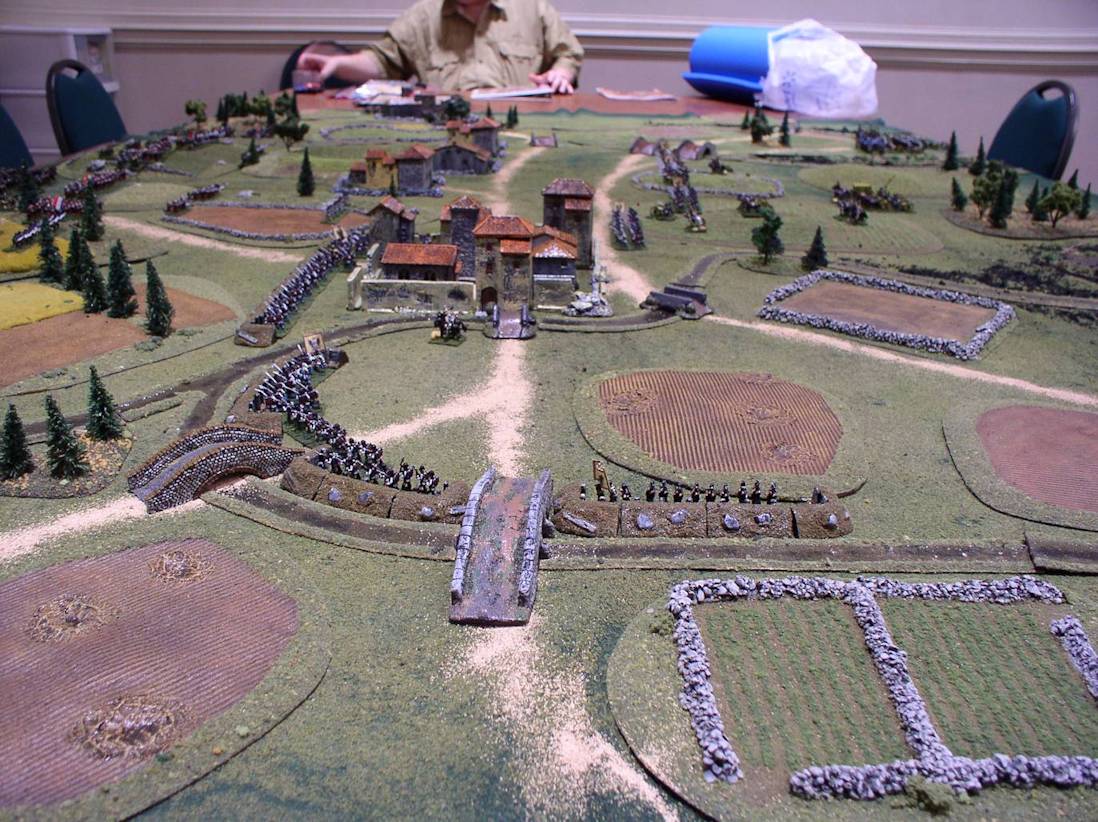
 French Left vs Austrian Right |
The French Left approaches over a Bridge. |
 French Line of Battle |
The French Main Body. |
 From the French Left |
Looking at the battle from the behind the French lines. The pesky Austrian outposts can be seen defending the town. |
 Several turns In |
The Austrian reinforcements approach while the French fight for the towns. |
 Cavalry Melee |
One end of the table turned into a back-and-forth cavalry battle between about evenly matched forces, with artillery battering the disordered winners. |
 Flank Face off |
The cavalry face off went back and forth for several turns. |
| Click on the Thumbnail for a full-size photo | Description |
|---|---|
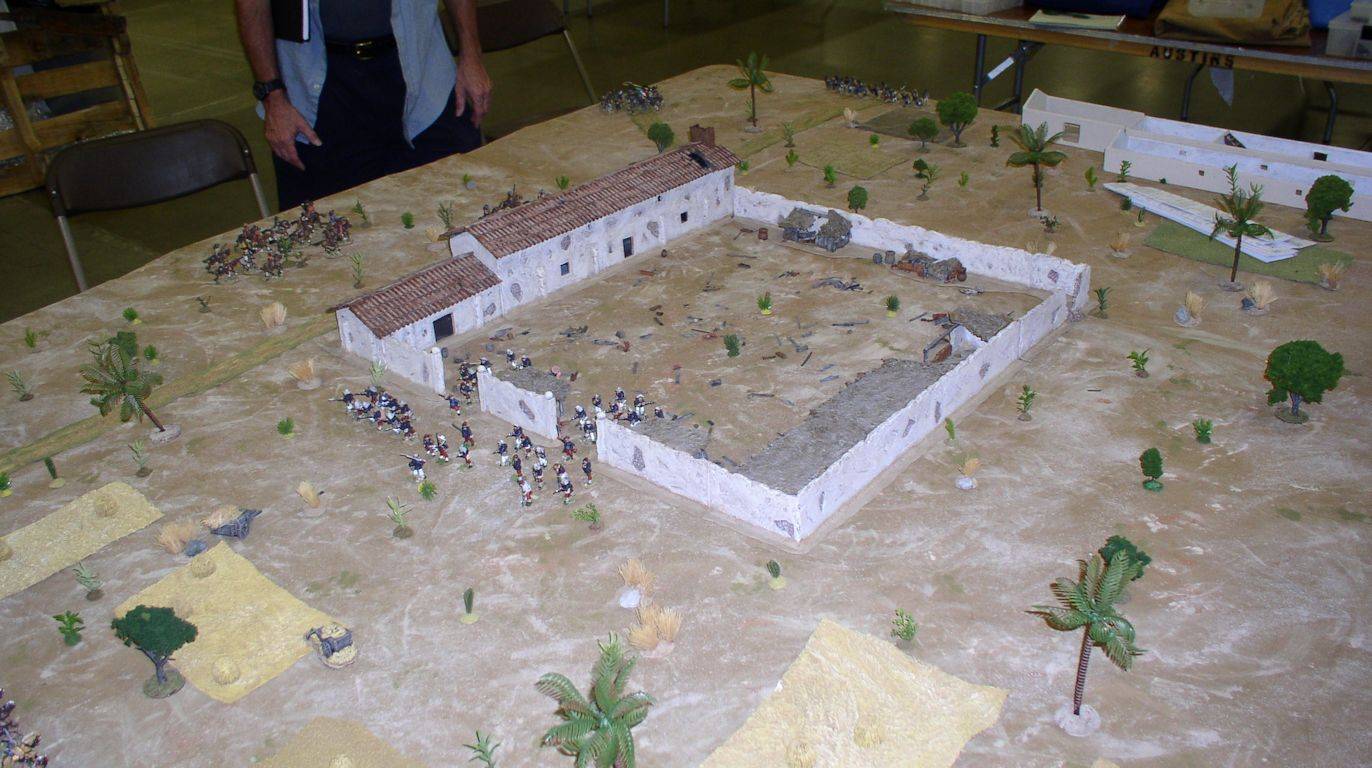 At the Gates |
The FFL troops are gathered outside the gates when hordes of Mexicans come from every direction. |
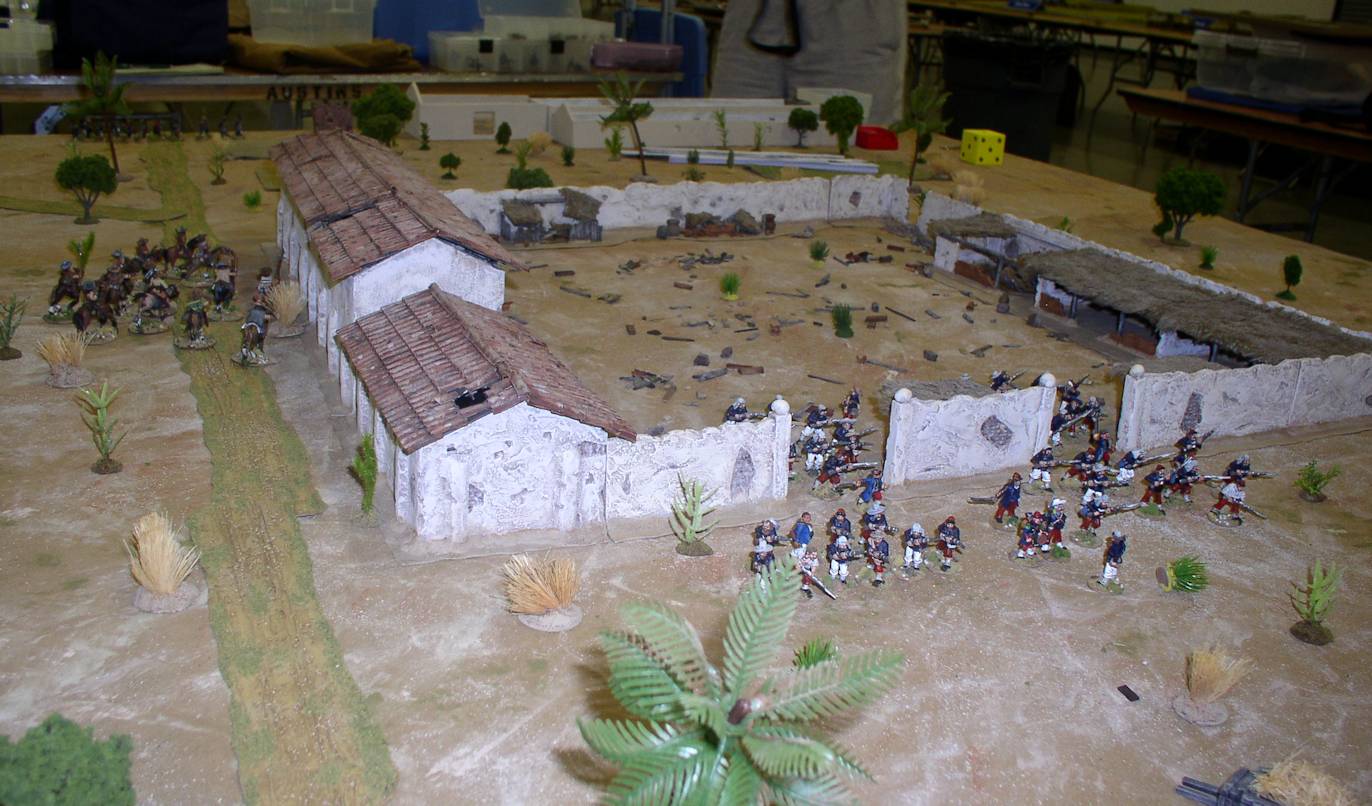 Another Angle |
Another angle of the game start. One of the interesting things about the skirmish rules is that all the junk lying about the courtyard actually was used during the play of the game, as the defenders could build barricades and the attackers knock them down. |
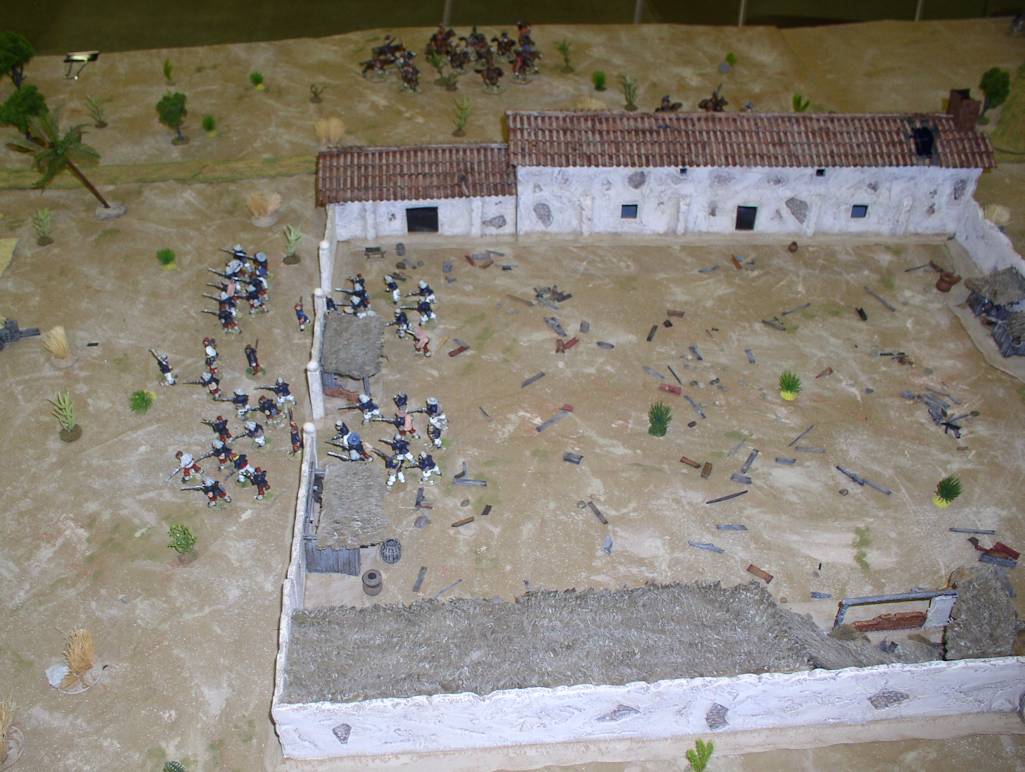 Yet Another Angle |
This view shows the inner courtyard face of Michael's hacienda. |
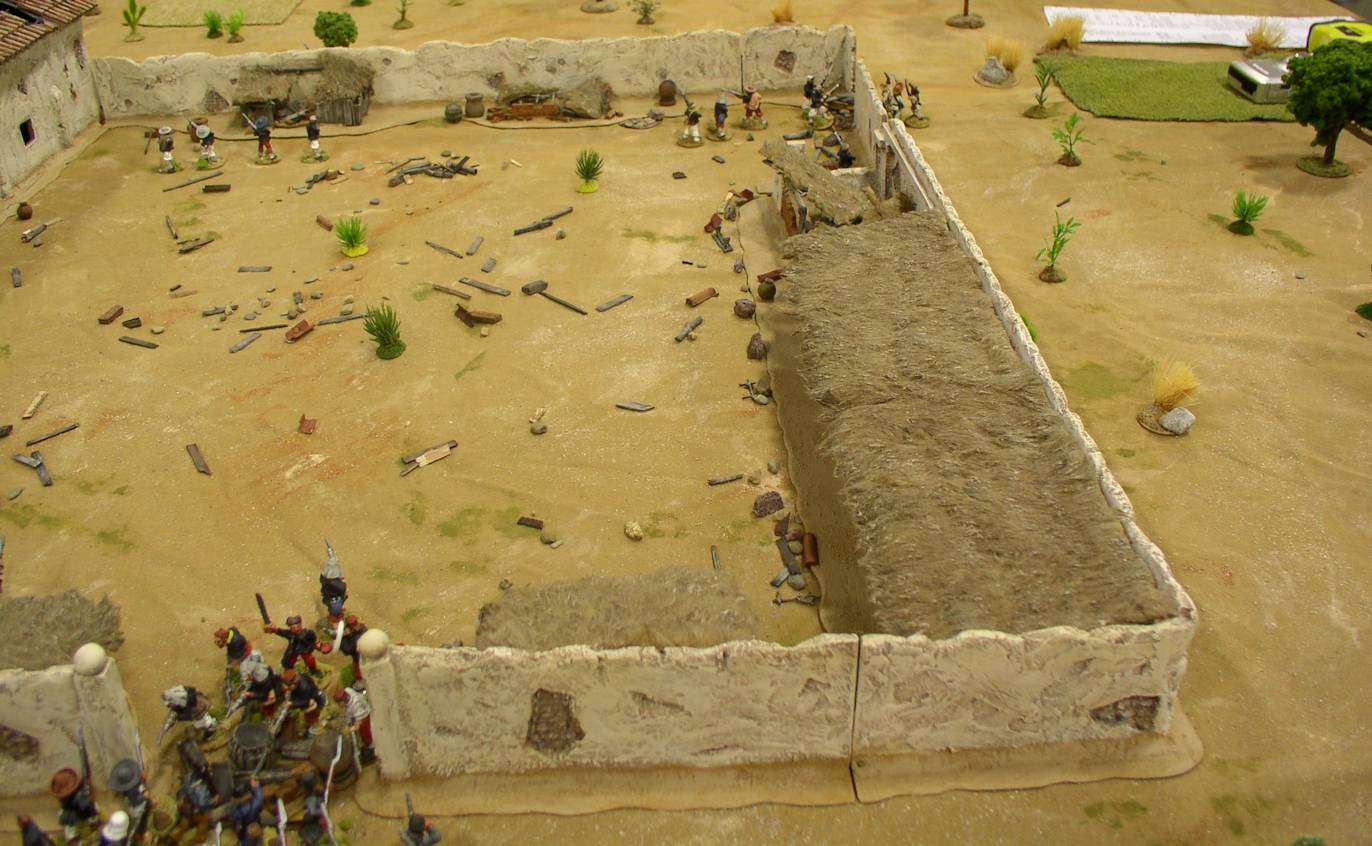 Defending the barricades |
Later in the game, the FFL troops have used the junk to build several barricades at the gates and in a gap in the walls. Fighting rages. |
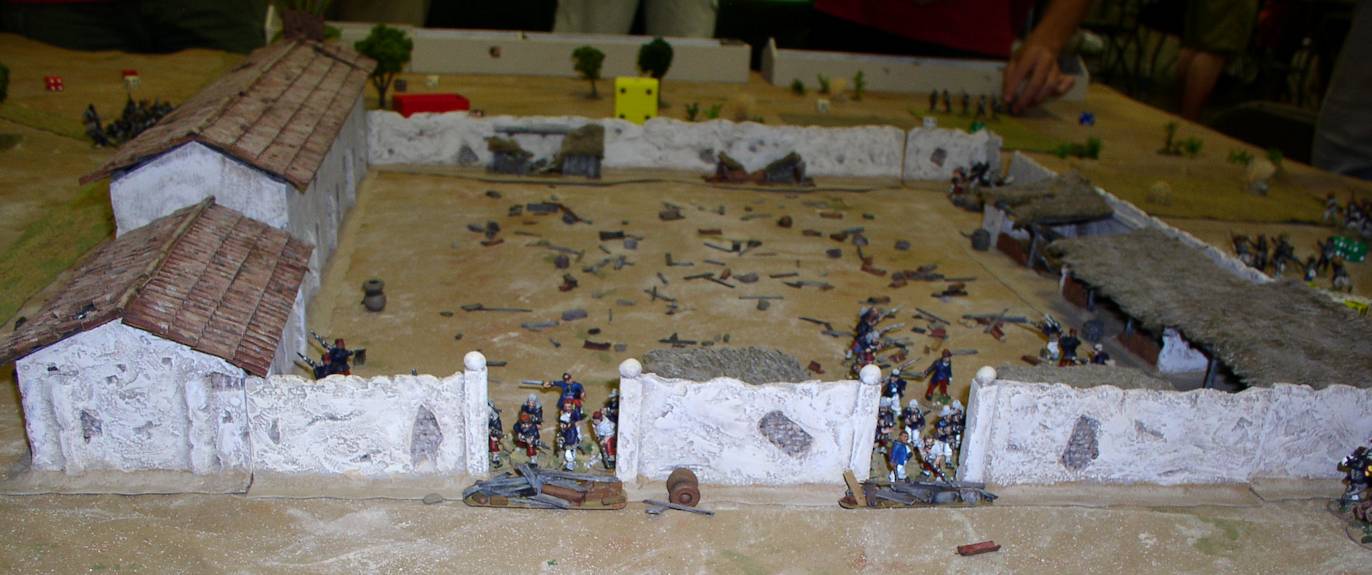 Defending the barricades 2 |
Similar fighting occurred in a replay of the game later in the convention. |
| Click on the Thumbnail for a full-size photo | Description |
|---|---|
 At the Start |
A view from behind the Union right Flank. The 4 big regiments of the Iron Brigade confront a small but excellent Confederate force. The objective field is in the center. There is another battery of Union Artillery just off the bottom of the picture. On the very first turn of the game, I (commanding the Union artillery), rolled a 10 against the Stonewall Brigade, inflicting heavy casualties. In retrospect, this was actually bad, because the Union left flank commander thought that he could smash the Stonewall Brigade quickly and attacked. |
 At the Start 2 |
A view from behind the Union left Flank. |
 At the Start 3 |
From behind the Union Position, center left. |
 At the Start 3 |
From behind the Union Position, center right. |
 Confederate Reinforcements |
The first of (MANY!) Confederates arrive. |
 Yet More |
More Confederates. Note the gap between the Union Regiments. Each will be fighting a separate battle against massive odds. |
 Attack succeeded, but... |
The left flank Union regiment managed to savage the Stonewall Brigade, but now finds itself the subject of large numbers of Confederate guns and is completely out of position to stop the waves of Confederates heading up the middle. |
 Union Right Flank |
The right flank Union regiment takes a position in some covered ground to confront a Brigade coming its way. Note the center of the position, where one Union Regiment is confronted by an entire brigade of confederates. |
 Waves of Confederates |
The Union center is in jeopardy. |
 Center Breaks |
The Union regiment routs under the combined assault of a Confederate brigade. It runs for the edge of the table, leaving a gaping hole that can be filled only by some Union troops which are just trained as opposed to the veteran Iron Brigade. |
 Right Flank Falls Back |
The Union regiment on the right falls back under pressure to the gun line (off the picture just to the rear). Night was falling, which restricted the maximum visibility, so the Union artillery, which was inflicting casualties and delay across the battlefield, is rapidly becoming ineffective. |
 Rolling up the Line |
Having sent their immediate opponents running to the rear, the Confederates in the center execute a right turn into the flank of the remaining Union defenders. |
 The End |
The Union Left flank finds itself surrounded and outnumbered. |
Copyright 2000-2019 Fire and Fury Games, all rights reserved
Web page maintained by
Webmaster@FireAndFury.com.