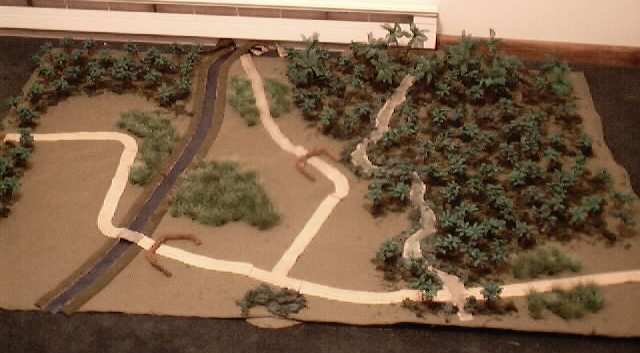
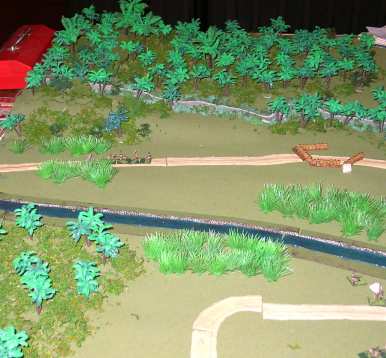
The Battlefield
Japanese Move Out
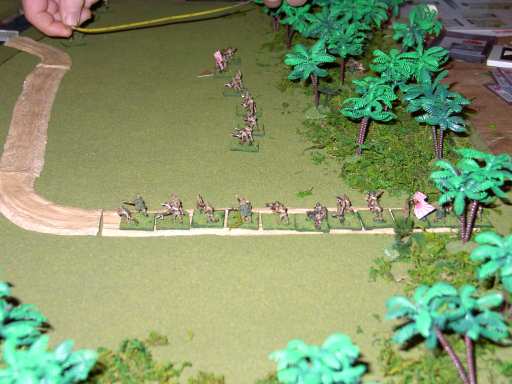
The Australian Position
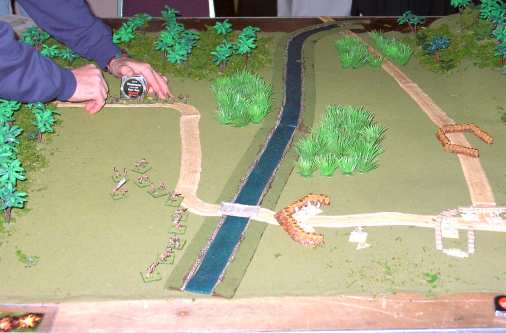
Hurrying towards the river
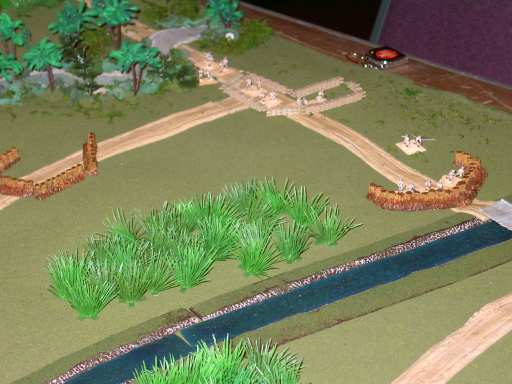
The Assault commences
Another View of the Assault
The Flank Attack
| Click on the Thumbnail for a full-size photo | Description |
|---|---|
The Battlefield |
This is a photo (looking from West to East) of the terrain used in the Assault on Gorari scenario. |
Japanese Move Out |
The Japanese move up on the first turn. |
The Australian Position |
The Australians start out in the Northern Defensive position and the entrenchments. |
Hurrying towards the river |
The Japanese forces reach the river and prepare their assault. |
The Assault commences |
The Japanese cross the river and assault. Some of them get bogged down while trying to cross the defensive positions. |
Another View of the Assault |
The attack on the defensive position from the another angle. |
The Flank Attack |
The two platoons of the Japanese third company move toward the defenses. The Australians managed to occupy them just before the flank attack arrived and a sharp fight ensued. |
Copyright 2000-2019 Fire and Fury Games, all rights reserved
Web page maintained by
Webmaster@FireAndFury.com.