Rich at Work
| Click on the Thumbnail for a full-size photo | Description |
|---|---|
Rich at Work |
Bob Connor (English Bob) took this photo of our fearless leader contemplating the meaning of life at Historicon. If you can't read the sign, it says "Will Game For Food". |
| Click on the Thumbnail for a full-size photo | Description |
|---|---|
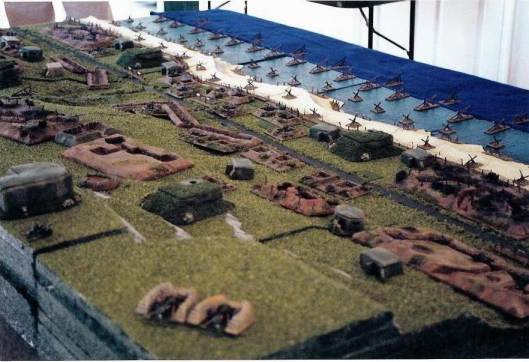
From the sea |
A rather imposing looking Normandy invasion setup! |
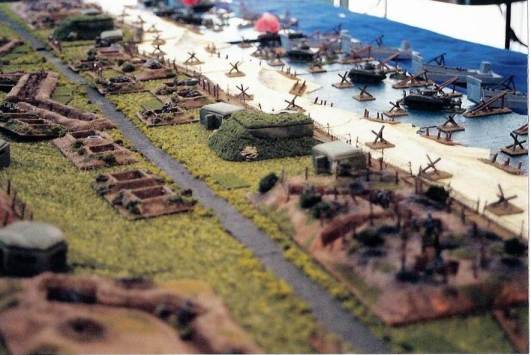
 From the land |
Looking from the German positions out over the beach. |
 Here they come |
The first wave makes its appearance. |
| Click on the Thumbnail for a full-size photo | Description |
|---|---|
 Overview 1 |
One look at the battlefield at the height of the assault. |
 57mm AT |
US withdrawal covered by a 57mm AT. |
Overview 2 |
Another overview of the Assault. |
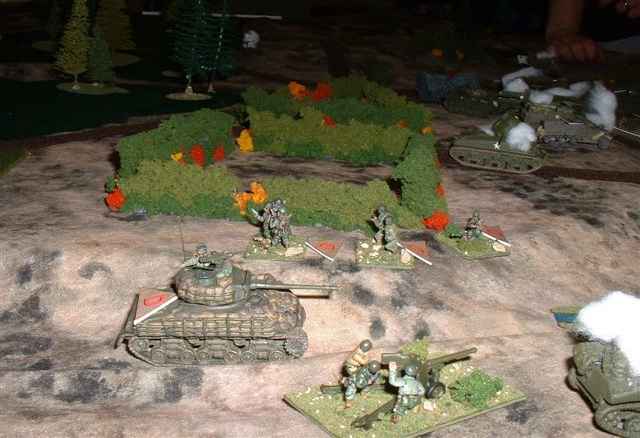
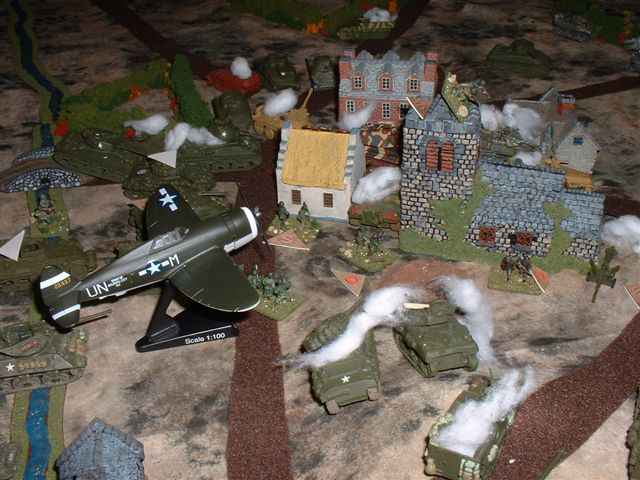
 US Attack |
US Armored Infantry assaulting the town amid lots of smoking 1/2 tracks and Shermans. |
 IX Tactical Luftwaffe |
U.S. air support mistakenly targets American ground troops. |
| Click on the Thumbnail for a full-size photo | Description |
|---|---|
Battle Is Joined |
Germans start their assault from a Gully to the South. Russians await on the Northern ridge. |
Germans Advance |
Initial German assault smokes the left and runs into combined artillery and MG grazing fire. |
Germans cower |
A lone German squad survives the left assault, and hunkers down in some protective rocky cover. |
If at First you don't succeed... |
Germans redeploy for an assault up the right. |
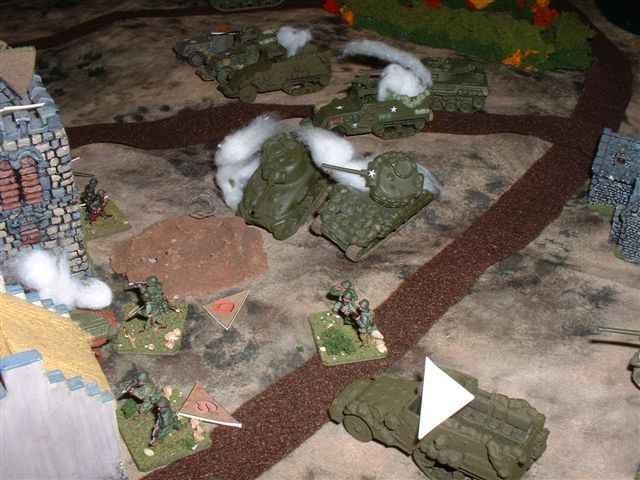
Tanks a lot!? |
German right assault breaches through some barbed wire, while supporting Russian and German armor arrives. |
Attack |
German armor moves up the slope to support the attack. |
Tank Duel |
Russian armor moves up, a duel ensues, both tanks are disordered. |
Run Away!! |
The dreaded failed morale roll, and the German tanks turn tail and run. One Pz IV is killed by a rear shot from the Russian tanks. |
| Click on the Thumbnail for a full-size photo | Description |
|---|---|
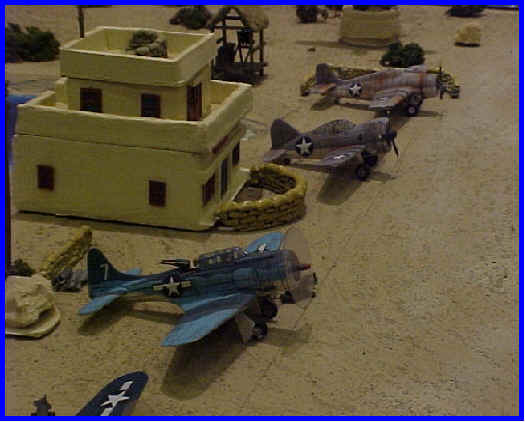 Wake Island Photo 1 |
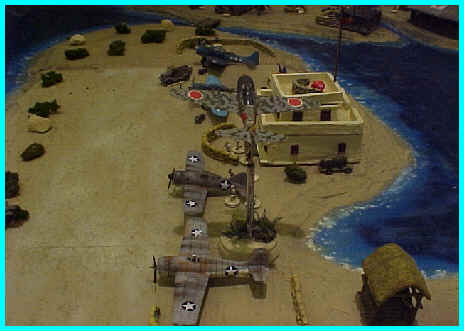 Wake Island Photo 2 |
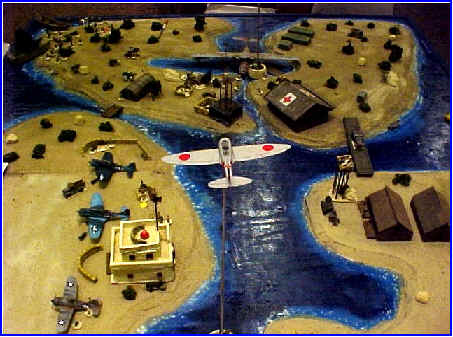
Wake Island Photo 3 |
Wake Island Photo 3 |
Wake Island Photo 4 |
Wake Island Photo 4 |
Wake Island Photo 5 |
Wake Island Photo 5 |
Wake Island Photo 6 |
Wake Island Photo 6 |
 Wake Island Photo 7 |
Wake Island Photo 8 |
Wake Island Photo 8 |
Copyright 2000-2019 Fire and Fury Games, all rights reserved
Web page maintained by
Webmaster@FireAndFury.com.