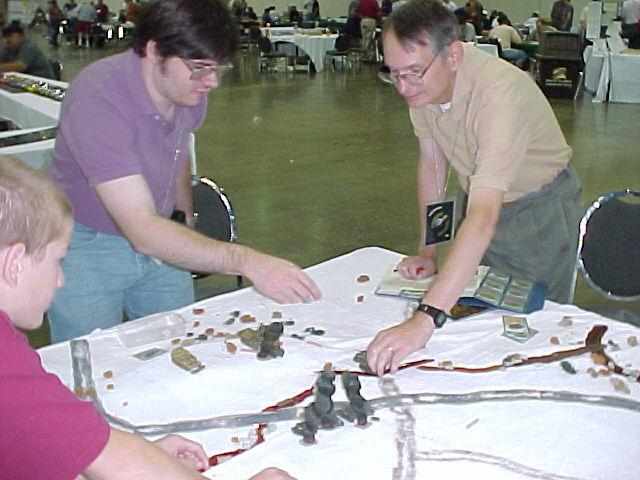
Greg shows the rules
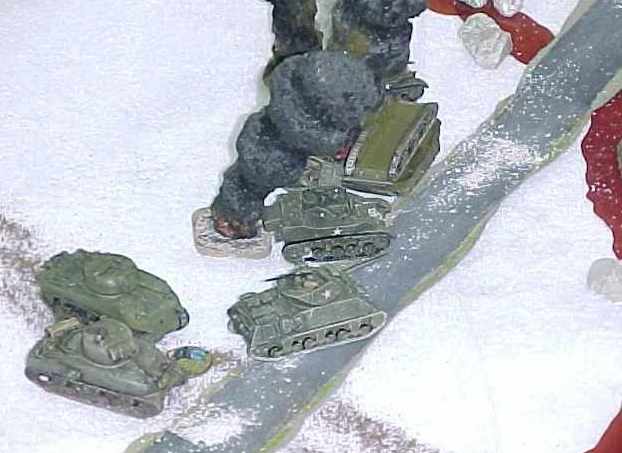
The U.S. finds out about 88s
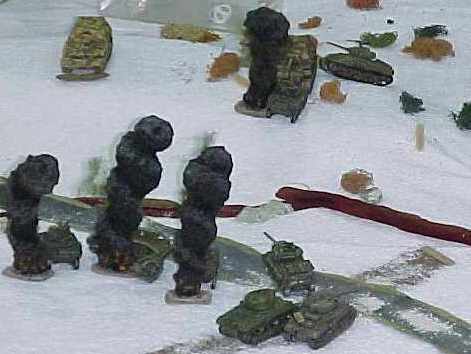
Close combat is the way.
What-Me Worry?
| Click on the Thumbnail for a full-size photo | Description |
|---|---|
Greg shows the rules |
Greg demonstrates the rules by having a Battalion of U.S. Armor assault a couple of Elefants. |
The U.S. finds out about 88s |
Engaging in gun combat with Elefants is not a good idea, as is shown here. |
Close combat is the way. |
As is shown here, if the U.S. can maneuver into a close combat situation, it is possible to take on the powerful German units with a good chance of success. |
What-Me Worry? |
An Elefant in all its glory |
| Click on the Thumbnail for a full-size photo | Description |
|---|---|
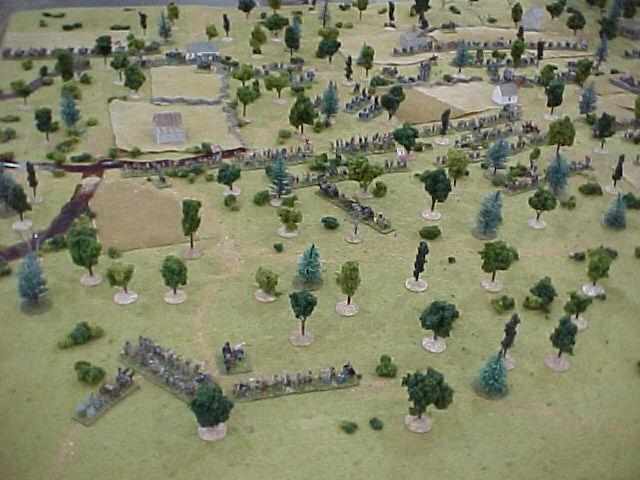 Photo 1 |
Chickamauga Photo 1 |
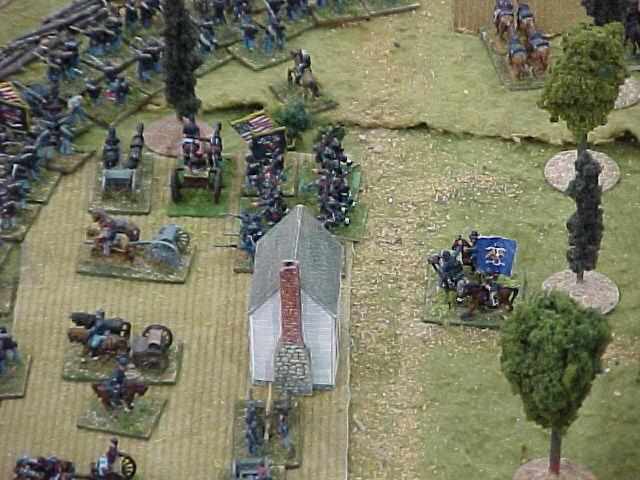 Photo 2 |
Chickamauga Photo 2 |
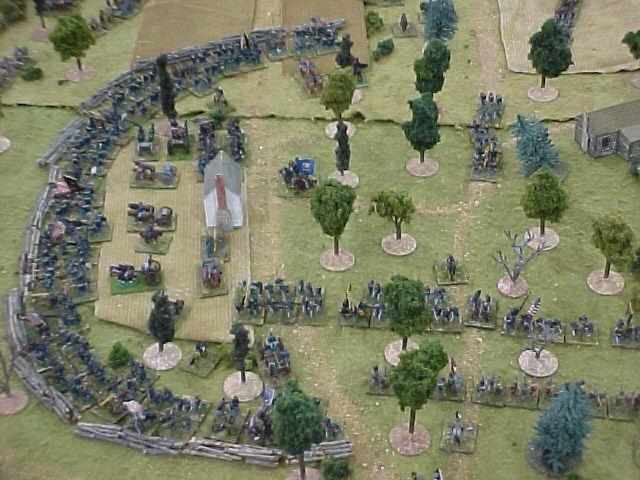 Photo 3 |
Chickamauga Photo 3 |
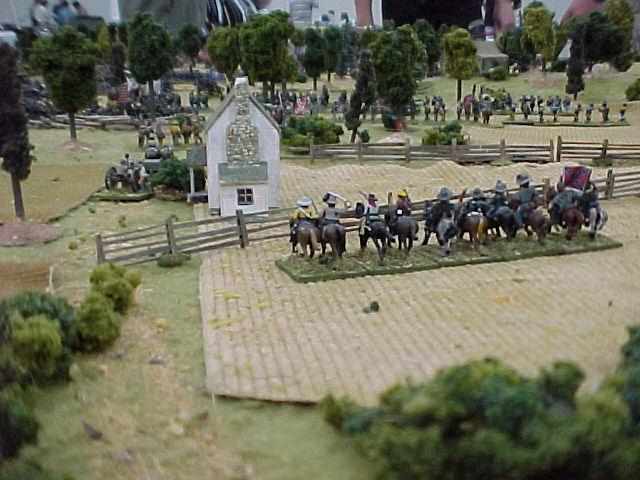 Photo 4 |
Chickamauga Photo 4 |
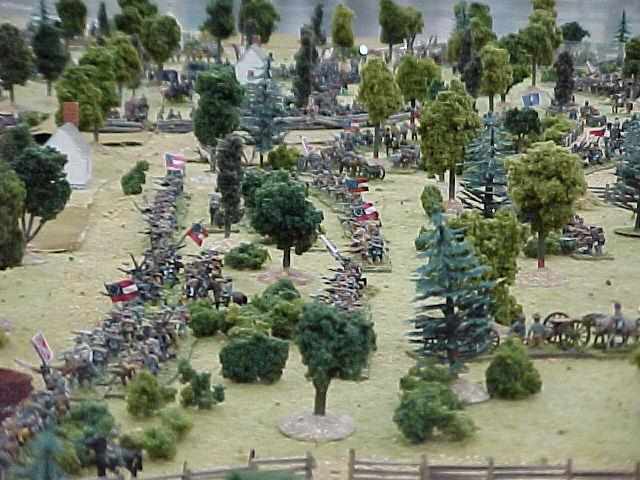 Photo 5 |
Chickamauga Photo 5 |
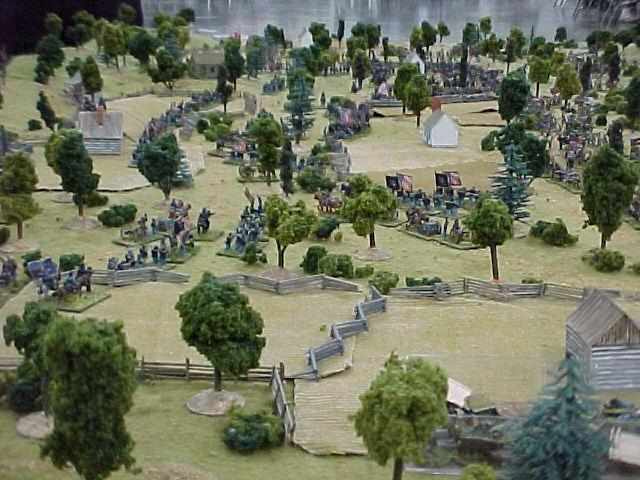 Photo 6 |
Chickamauga Photo 6 |
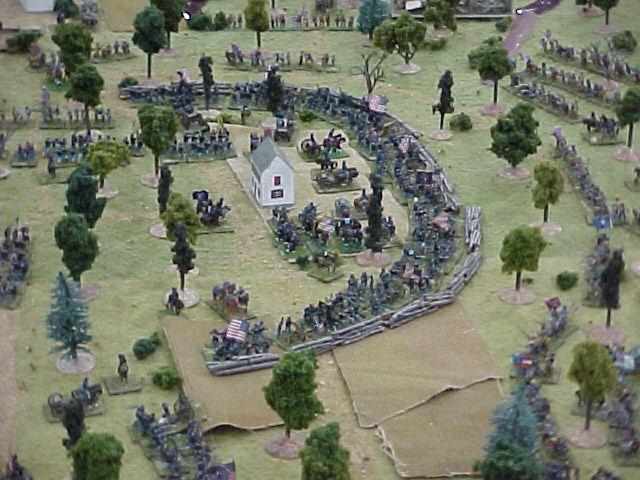 Photo 7 |
Chickamauga Photo 7 |
| Click on the Thumbnail for a full-size photo | Description |
|---|---|
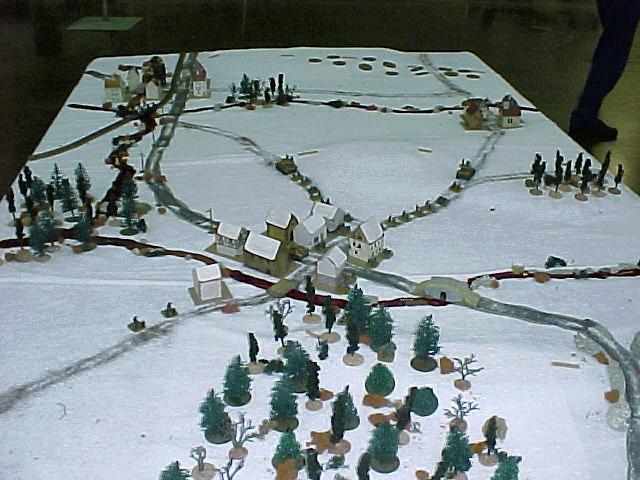
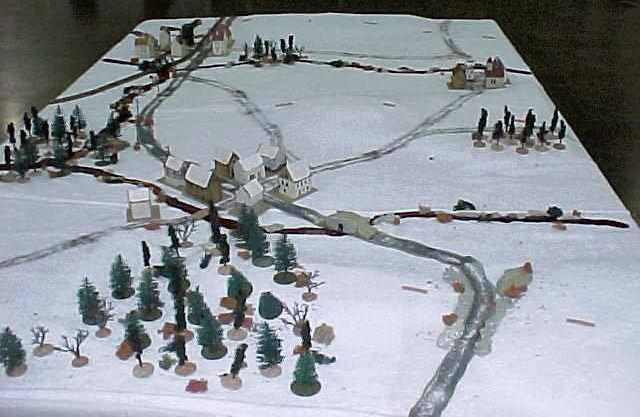 Bare Battlefield |
Team Cherry Battlefield |
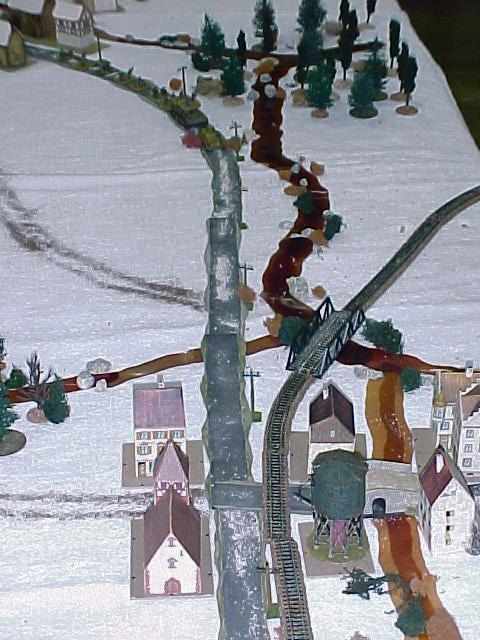
 Town to the East |
The town at the East End of the Map |
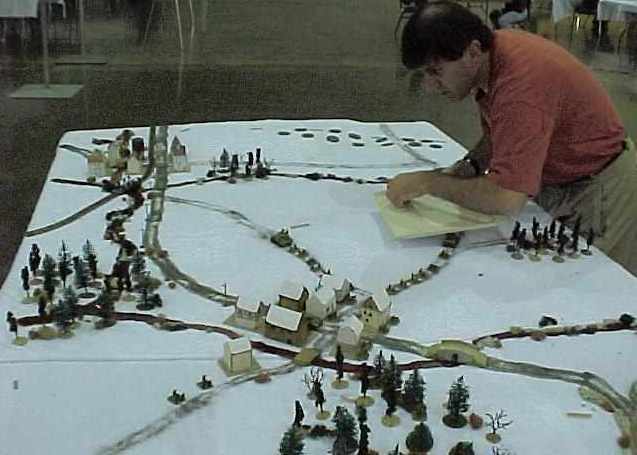 Rich sets up |
Richard H. lays out the attacking German Columns |
 Germans ready for battle |
The attacking forces prepare to advance |
Germans ready for battle |
The attacking forces prepare to advance |
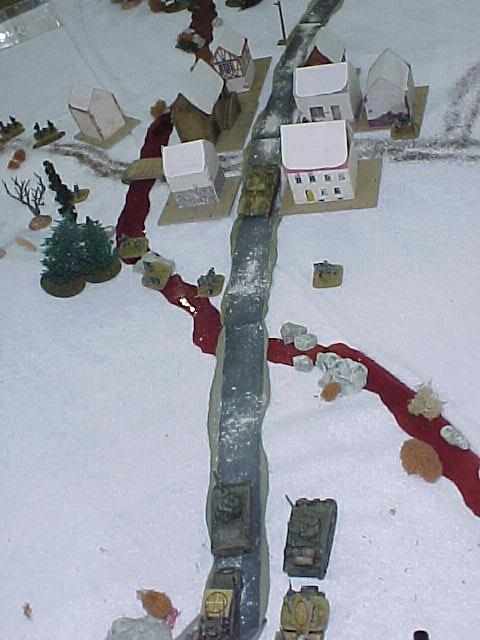
 The Southern Column |
The Southern Attacking Column from the American positions. |
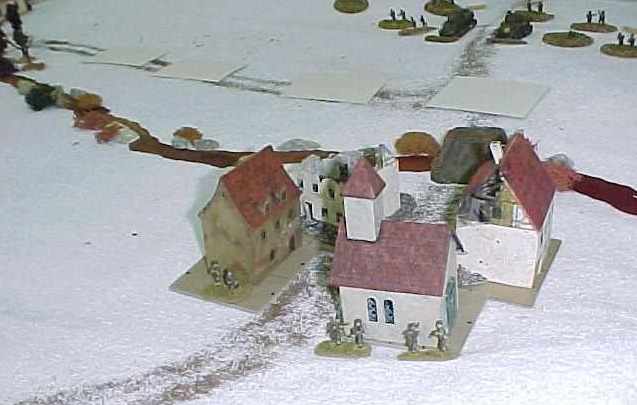
 The German Rearguard |
In this scenario, the Germans not only must advance against the Americans to the West, but defend against Americans coming from the East. The Eastern town is strongly held. |
 U.S. Forces await the Northern Column |
The German Northern column must try to push through and Infantry/Engineer force defending the town. |
 A Panther is discovered |
The Americans coming from the East encounter the German Rearguard. |
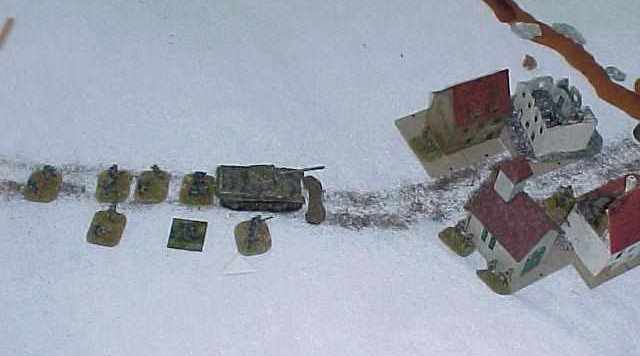 The Northern Column encounters resistance |
The Northern column hits the Americans defending in the town. |
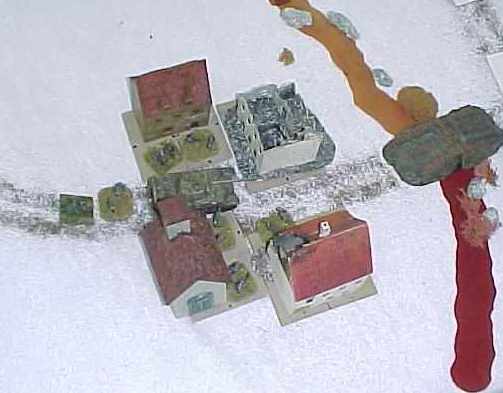 A Panther Attacks |
The Northern Column pushes into the town, spearheaded by a Panther. This may not be a good idea, as infantry are at their best in this situation. |
 Town Fight |
A continuation of the previous situation, the U.S. attacks the armored vehicle in the town. |
Copyright 2000-2019 Fire and Fury Games, all rights reserved
Web page maintained by
Webmaster@FireAndFury.com.