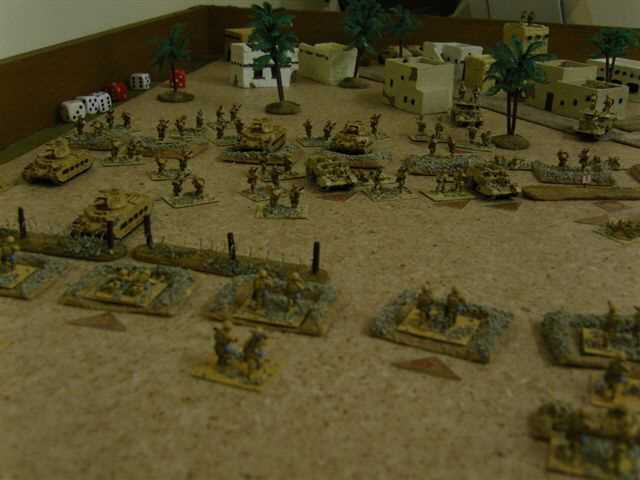
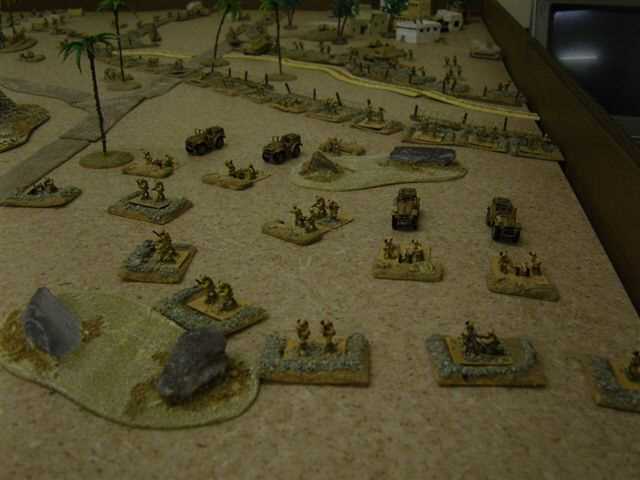
DAK HQ bunker
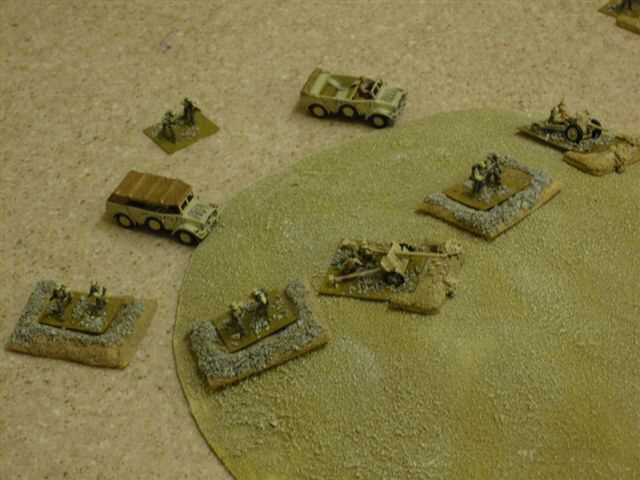
DAK anti-tank guns wait
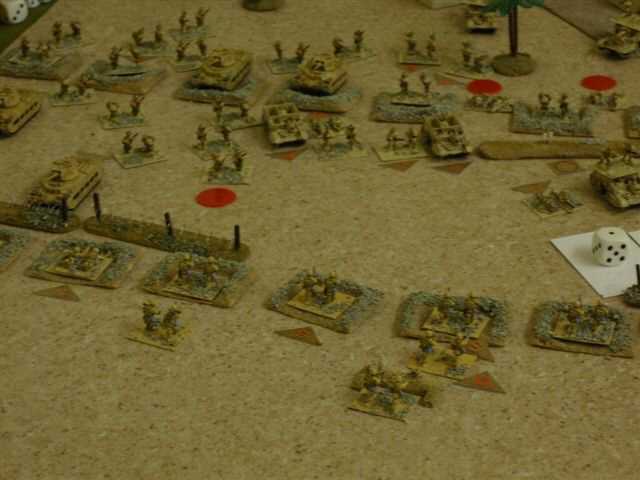
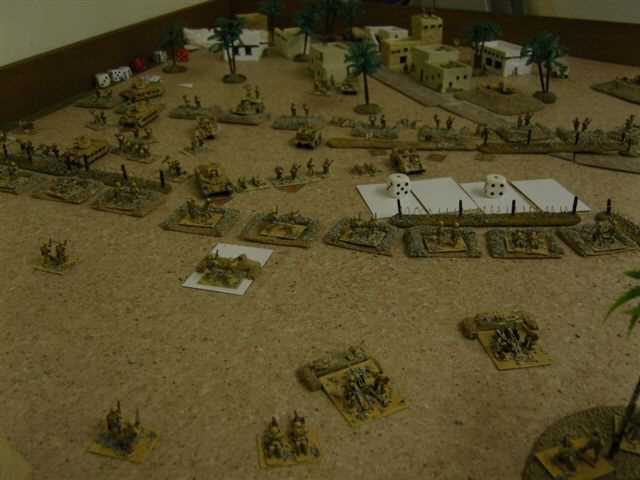
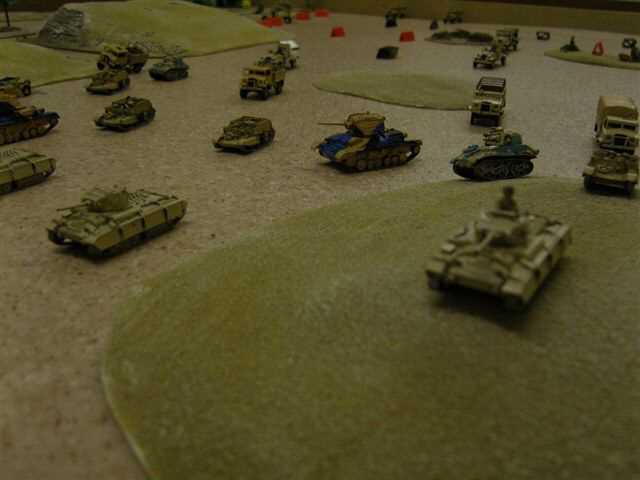
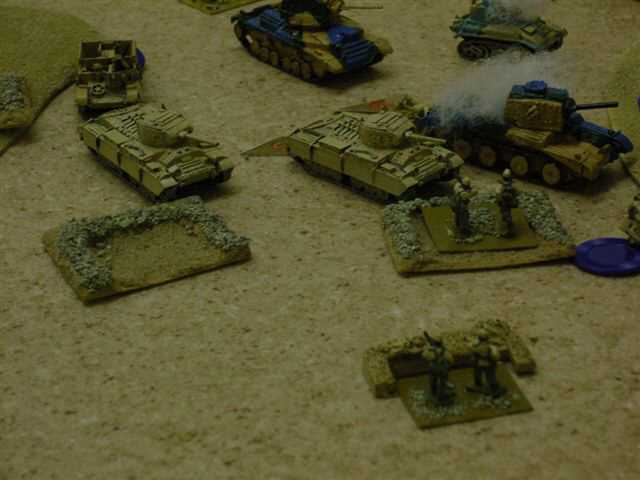
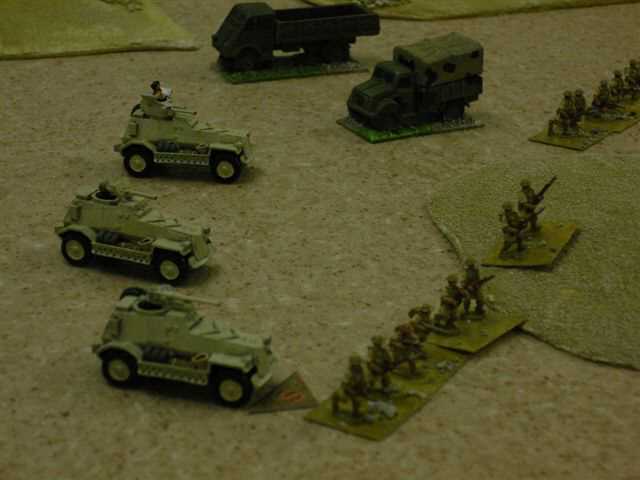
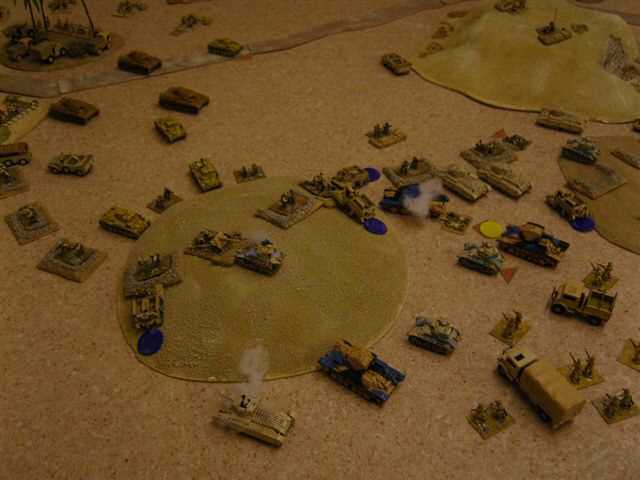
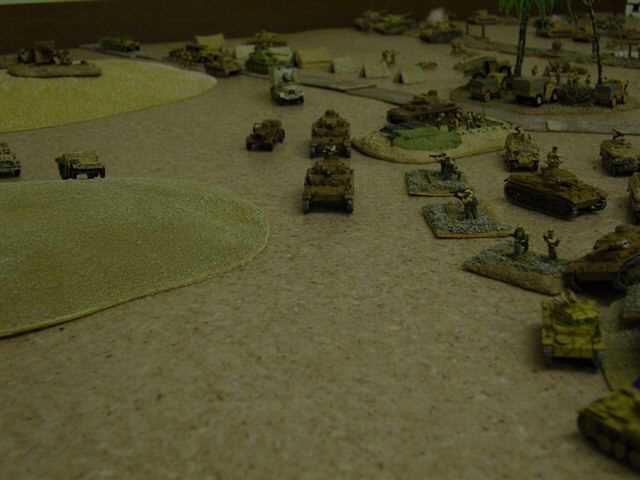
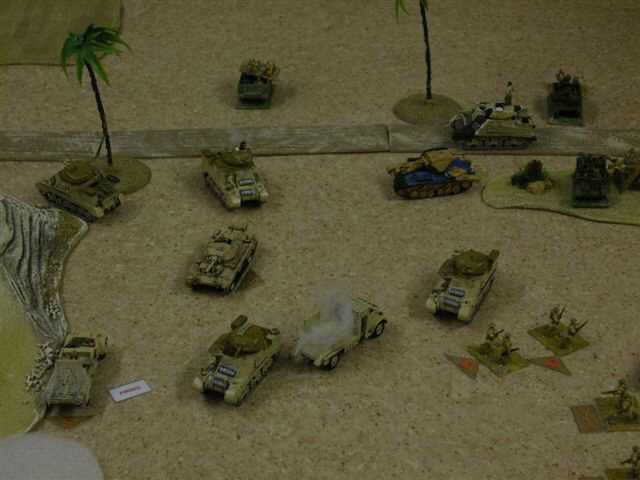
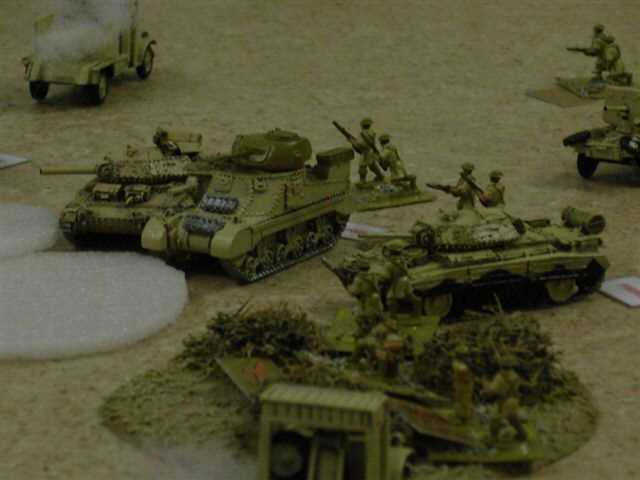
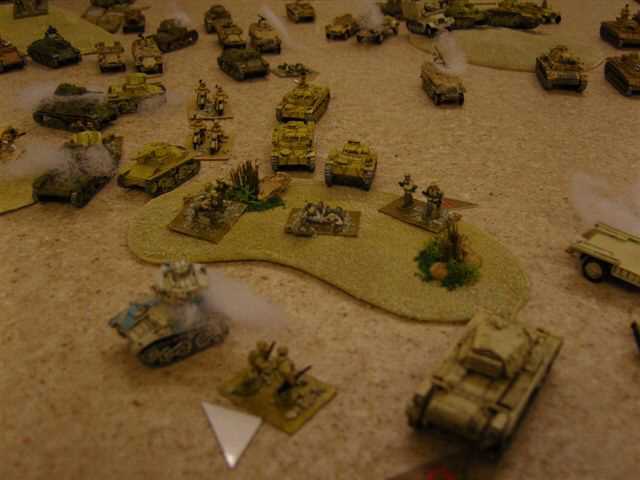
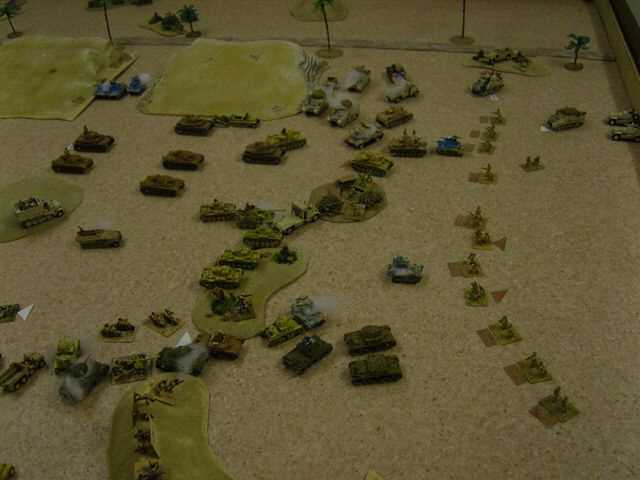
Assault on Italians
Aussie assault

Aussie assault 2
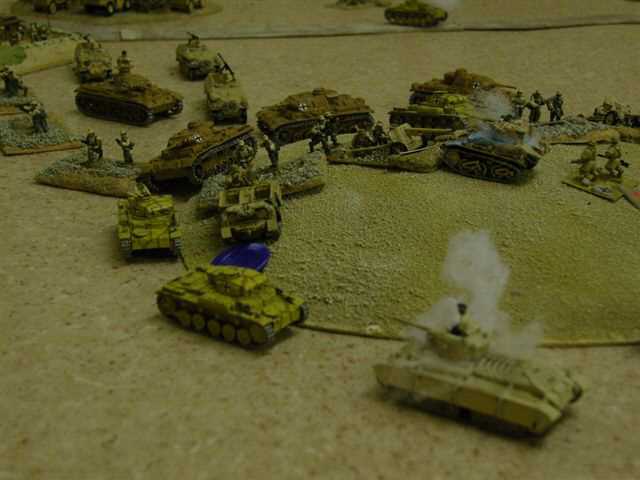
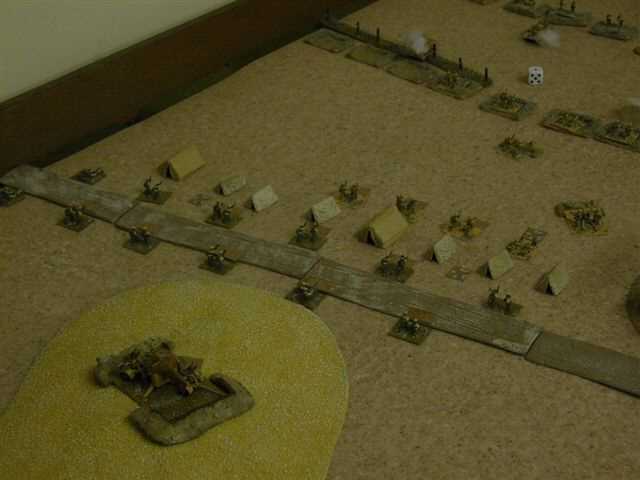
Italians continue to hold

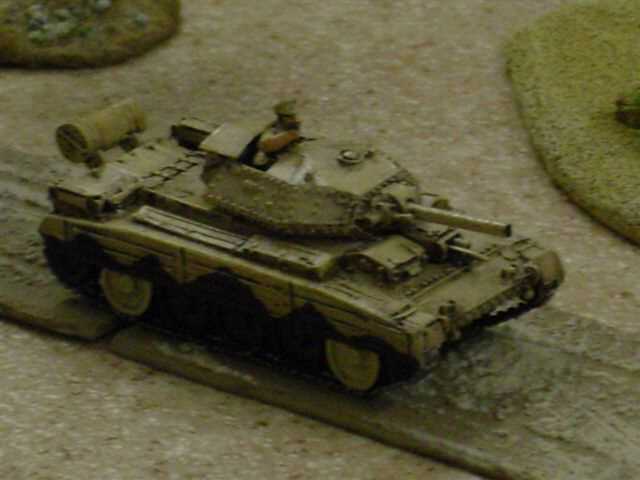
Matilda brewed up by Italians!
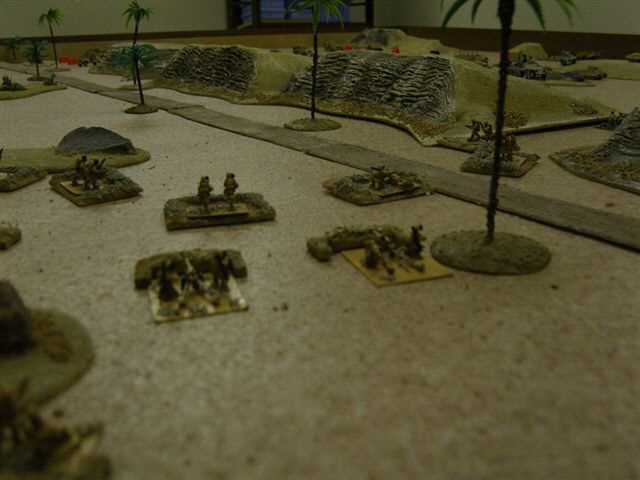
Nothing this way comes
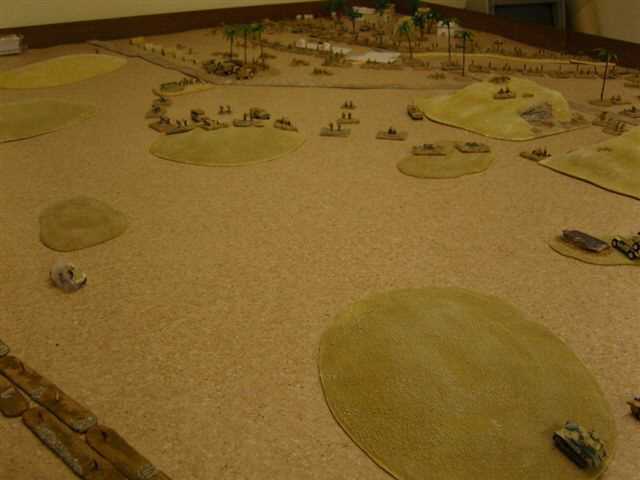
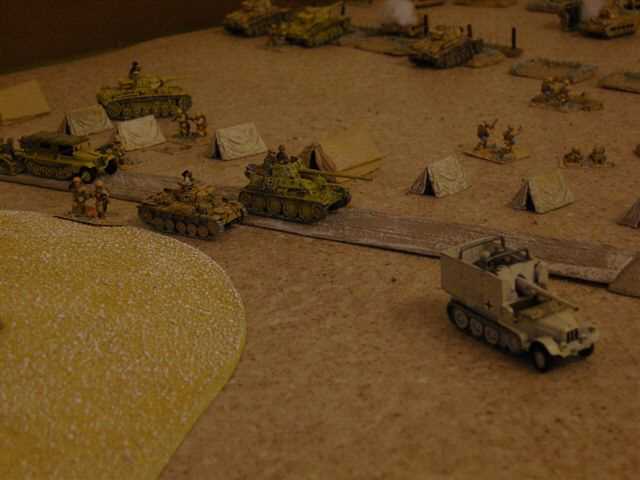
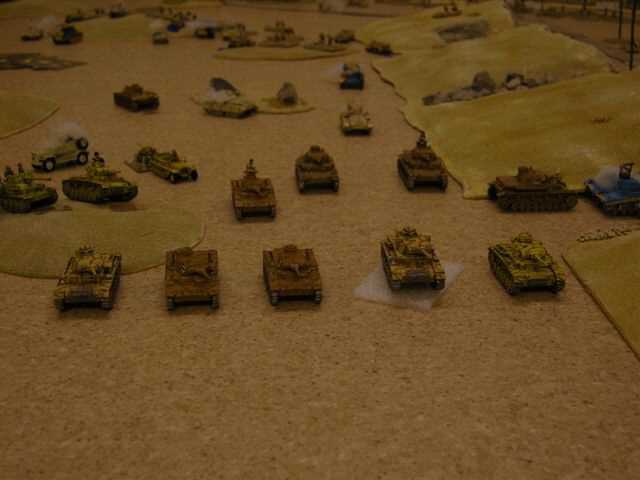
The German line

View from a Storch
| Click on the Thumbnail for a full-size photo | Description |
|---|---|
DAK HQ bunker |
DAK HQ bunker |
DAK anti-tank guns wait |
DAK anti-tank guns wait |
Assault on Italians |
Assault on Italians |
Aussie assault |
Aussie assault |
Aussie assault 2 |
Aussie assault 2 |
Italians continue to hold |
Italians continue to hold |
Matilda brewed up by Italians! |
Matilda brewed up by Italians! |
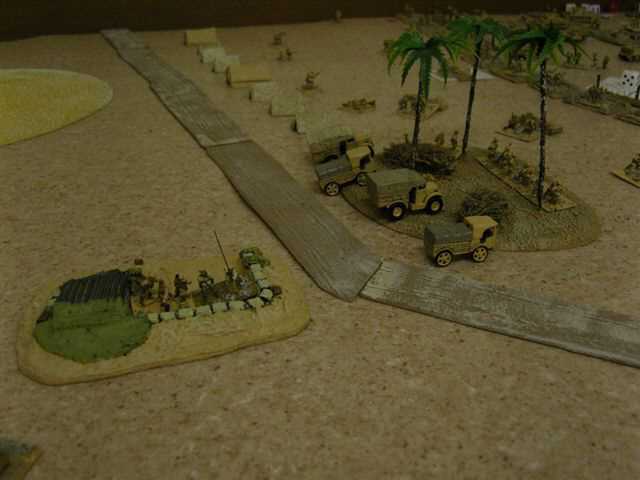
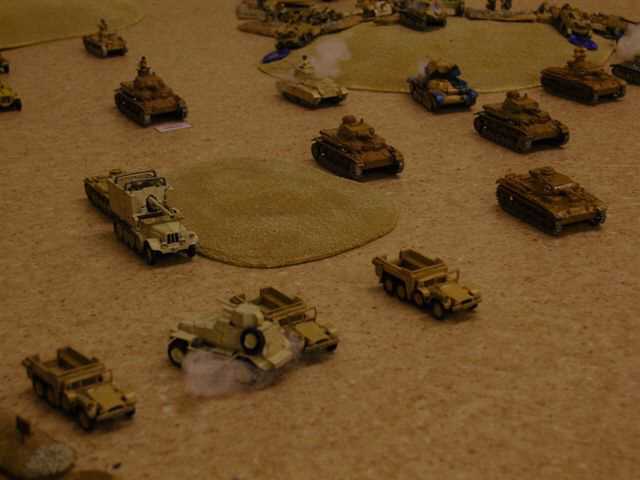
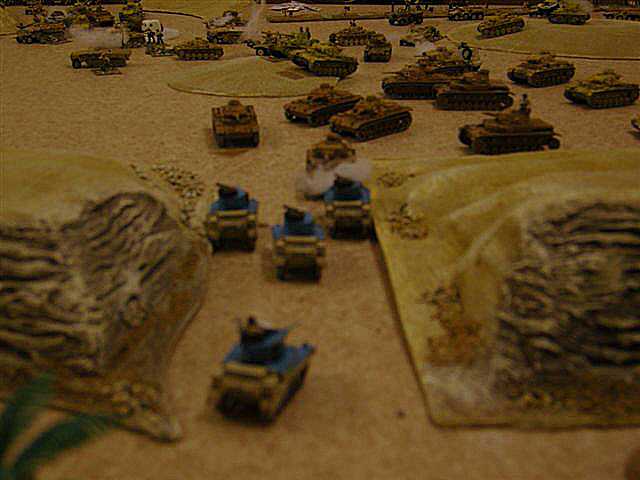
Nothing this way comes |
Nothing this way comes |
The German line |
The German line |
View from a Storch |
View from a Storch |
| Click on the Thumbnail for a full-size photo | Description |
|---|---|
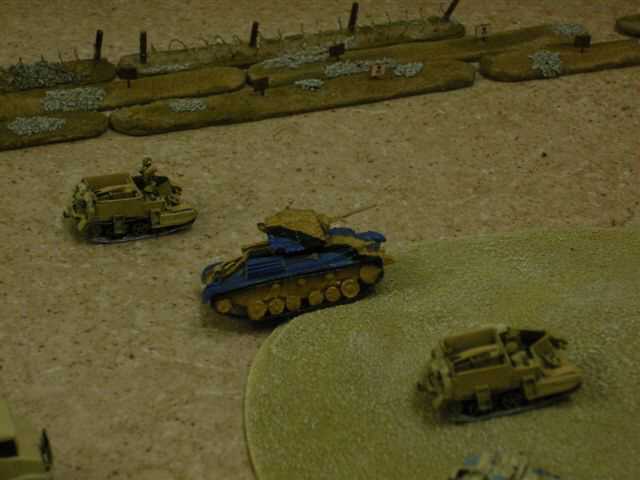
 British cruisers with Valentines in support |
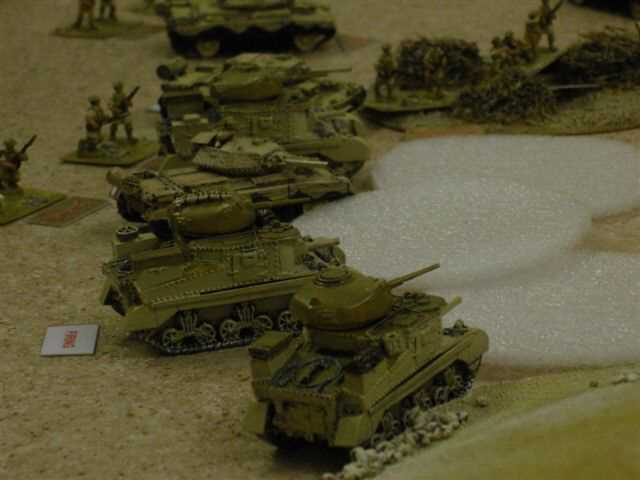
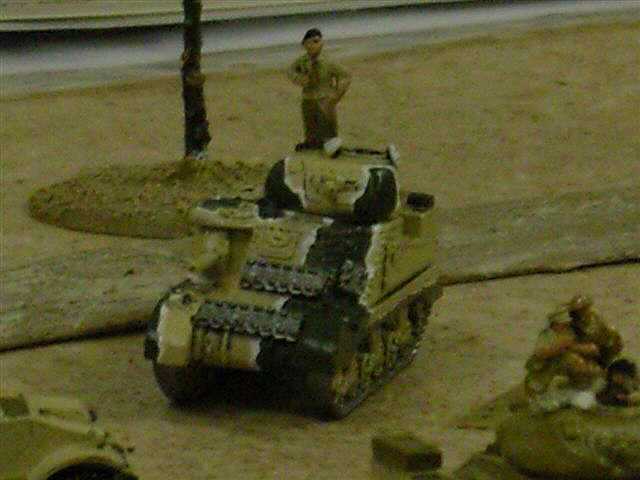
 British I tanks |
 Skirting the minefield |
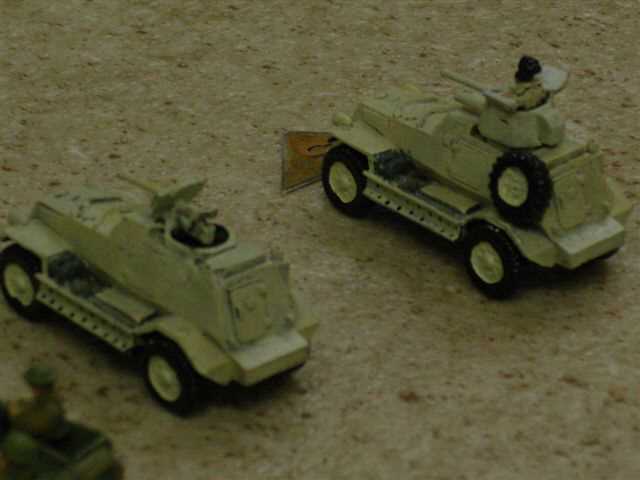
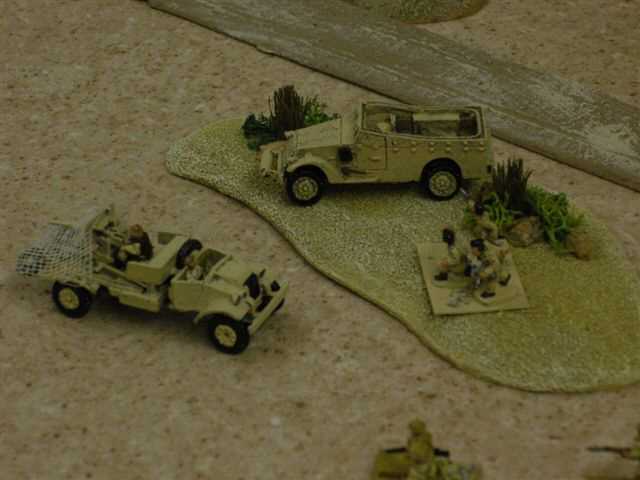
 Behind the British |
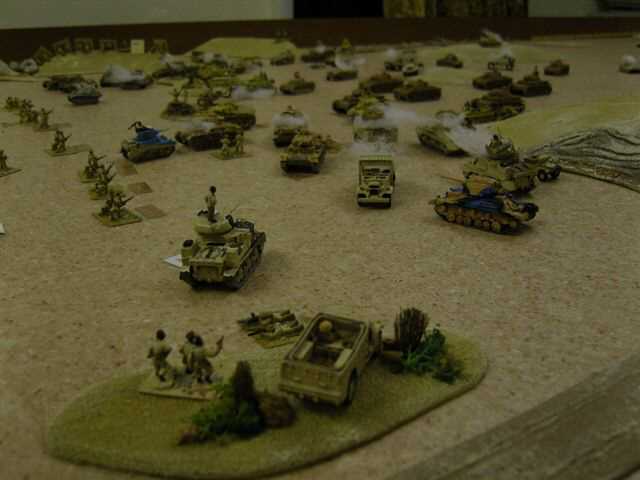
 British armour takes it |
 Valentines get in close |
| Click on the Thumbnail for a full-size photo | Description |
|---|---|
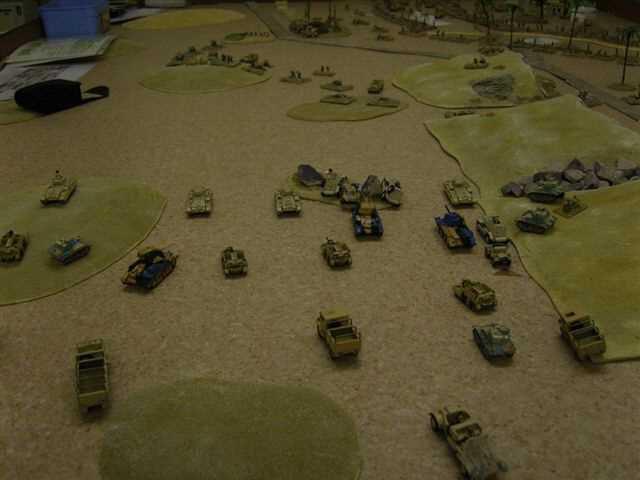
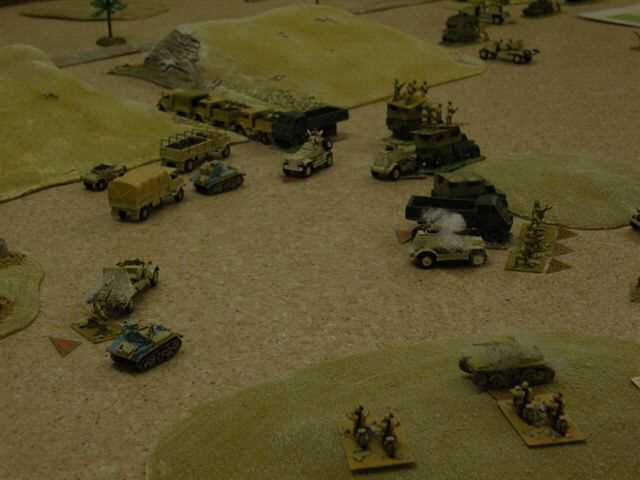
 From above |
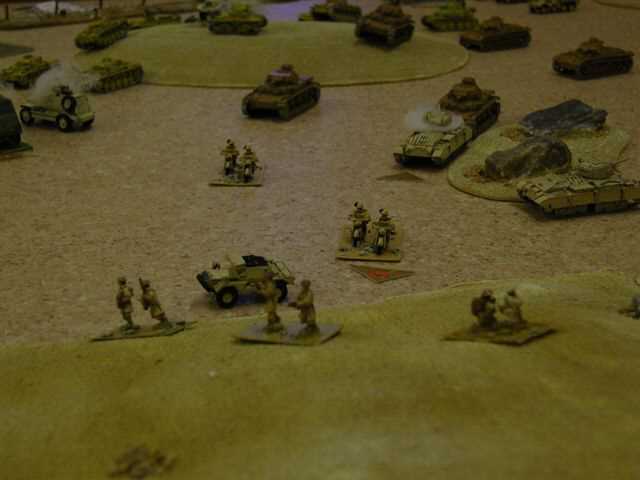
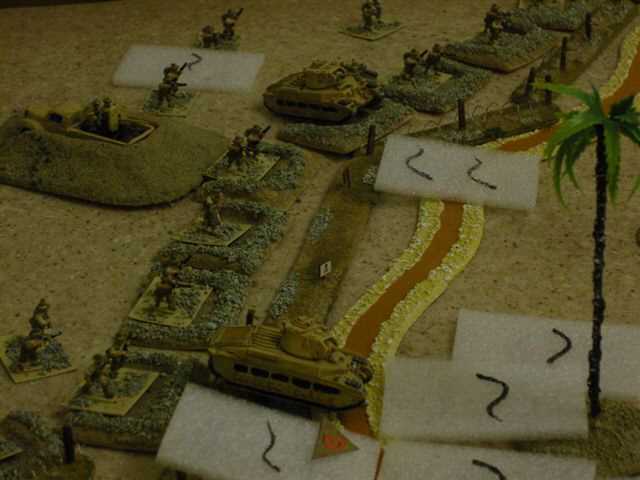
 Into a defile |
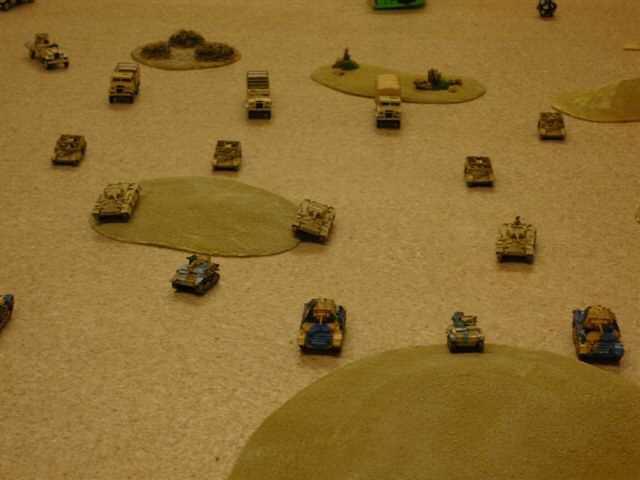
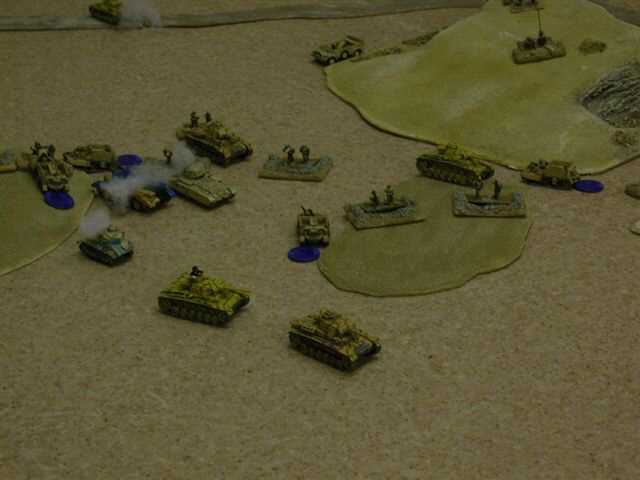
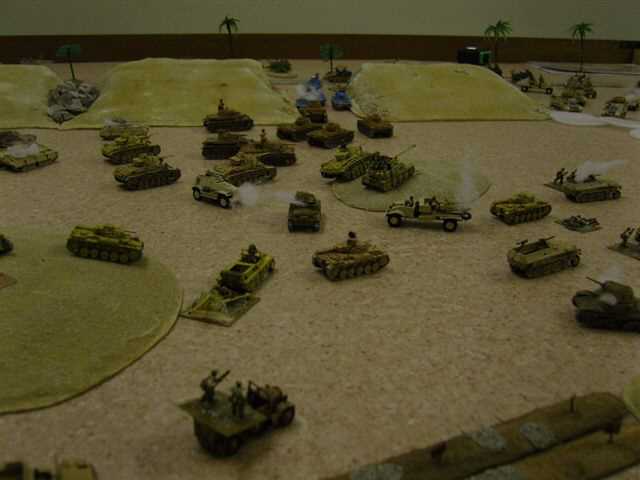
 Ariete arrive! |
 The thin khaki line |
| Click on the Thumbnail for a full-size photo | Description |
|---|---|
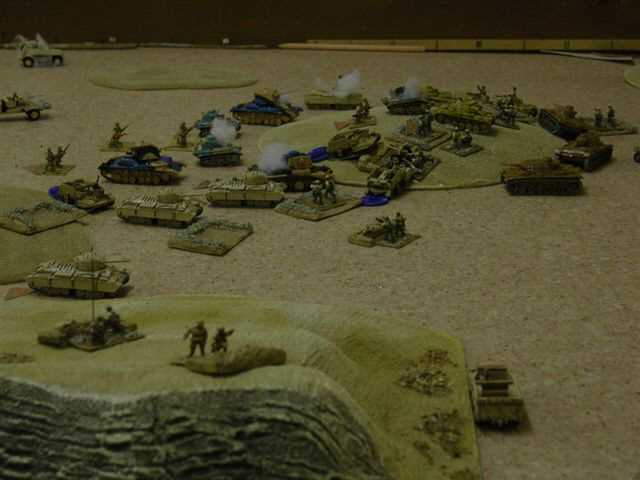
 This will hurt |
 2pdr portee burns |
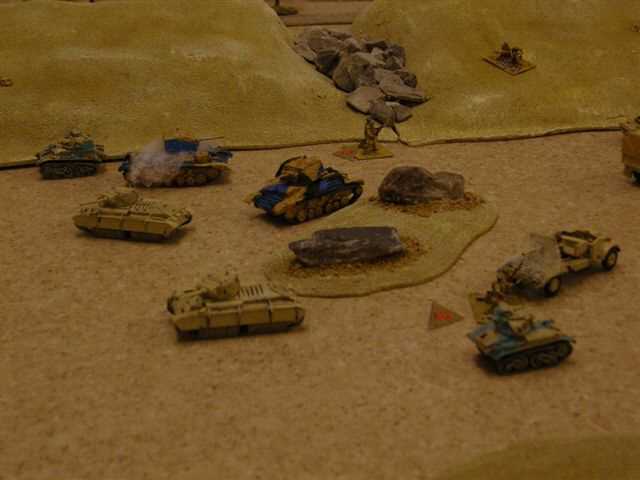
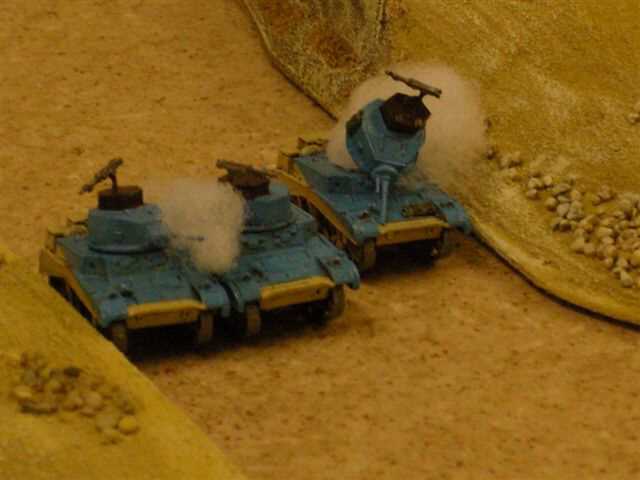
 Ariete stall |
| Click on the Thumbnail for a full-size photo | Description |
|---|---|
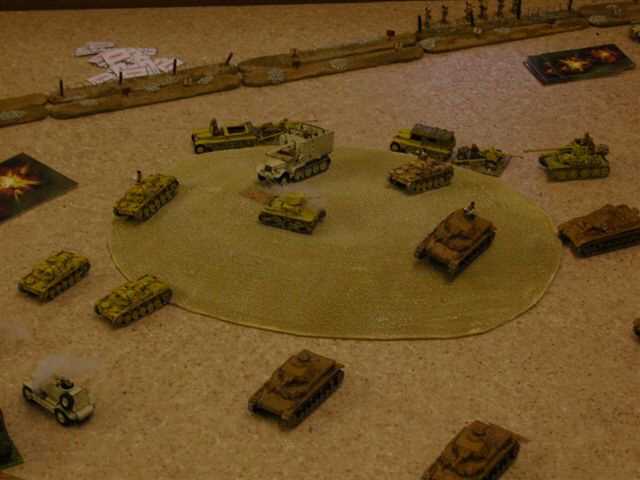
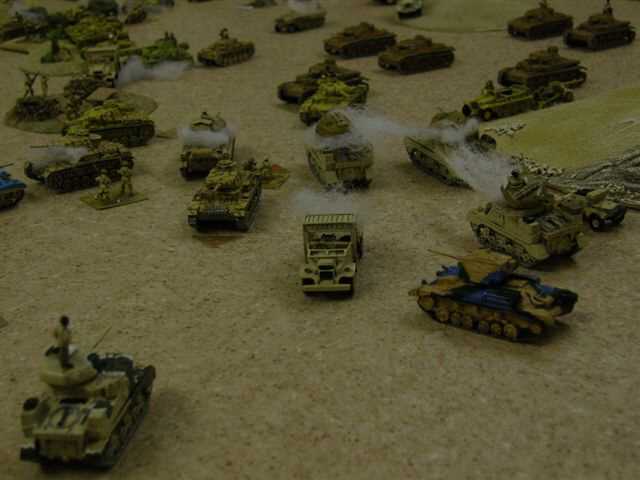
 Panzers arriving! |
 Panzers! |
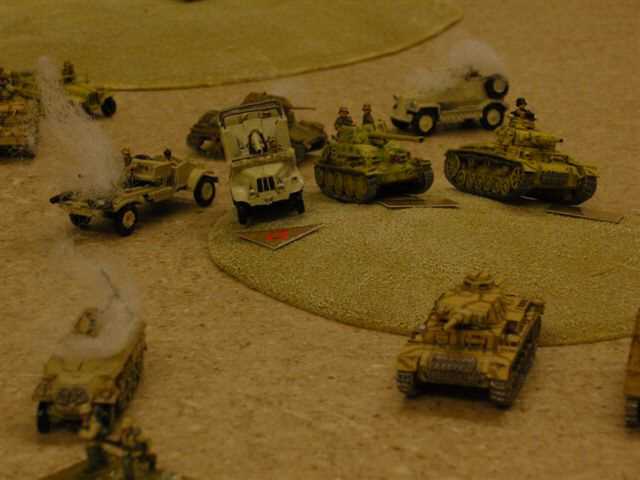
 Panzerjager move up |
 British flanked |
 Pz IV move up |
 British fall back |
 Portee burns |
 Pz III specials |
| Click on the Thumbnail for a full-size photo | Description |
|---|---|
 Panzers breakout |
 Run for it! |
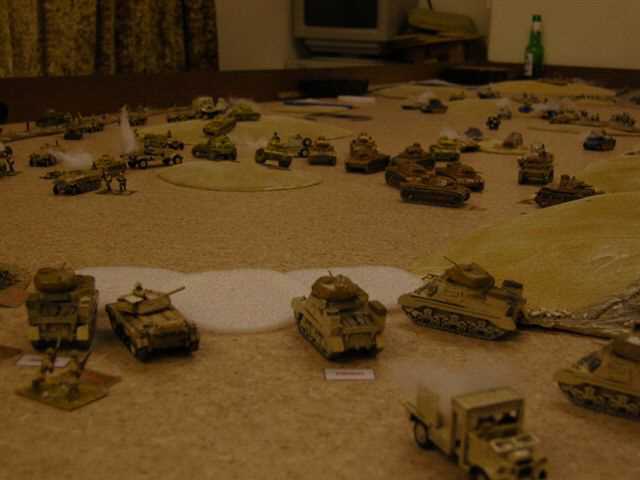
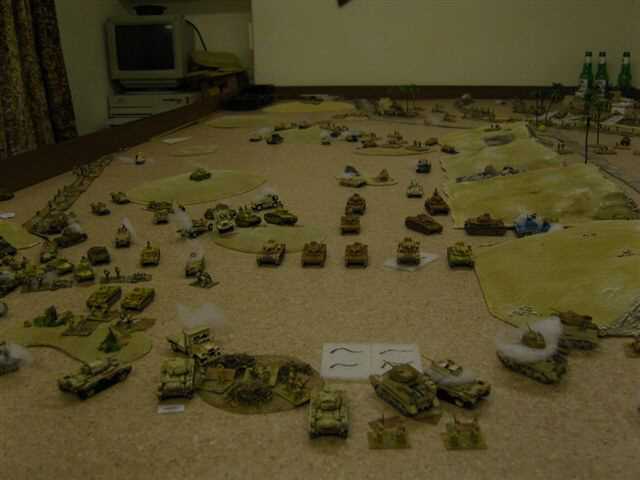
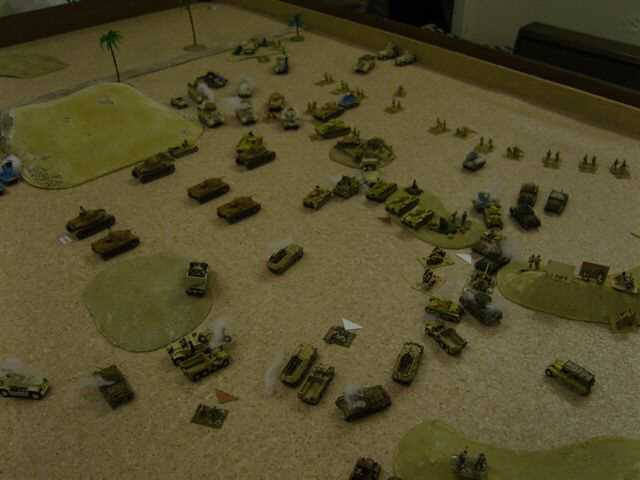
 The gathering storm |
 British reinforcements |
 Crusader MkI CS |
| Click on the Thumbnail for a full-size photo | Description |
|---|---|
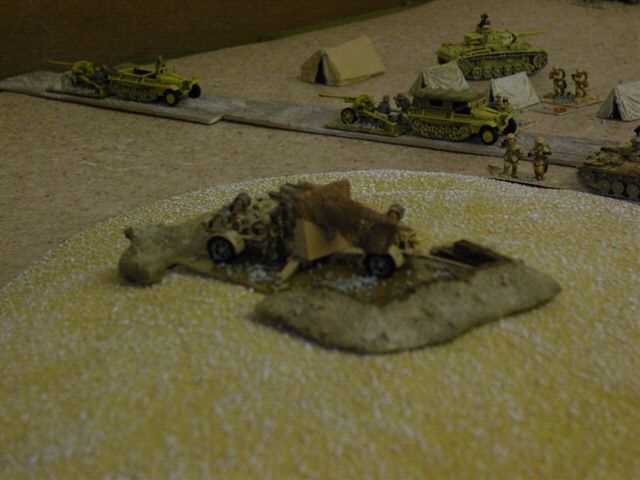
 Italian FOO |
 Jerry reorganises |
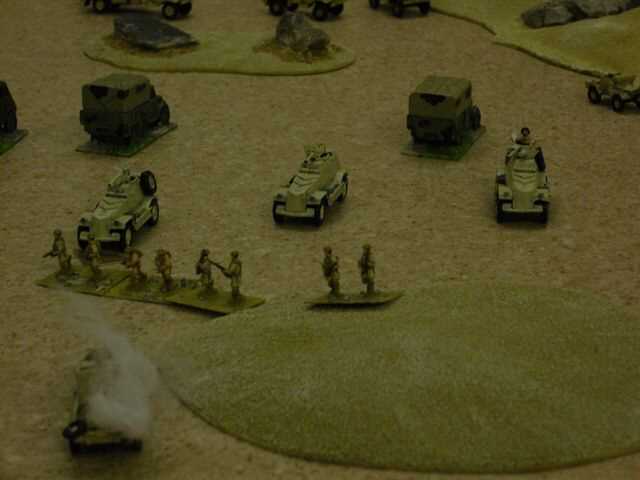
 Brits reorganise |
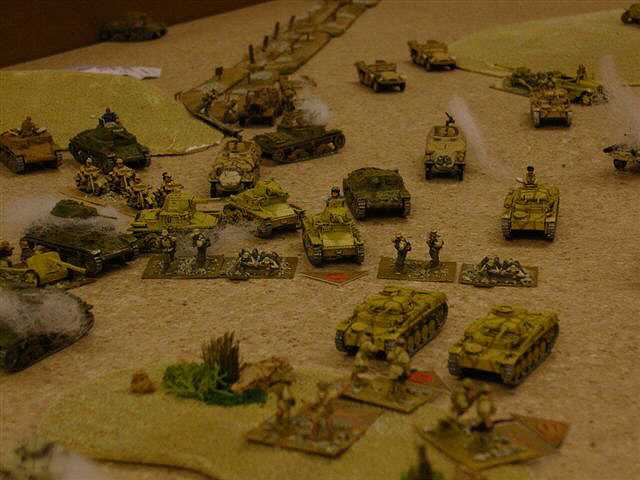
 Panzers advance |
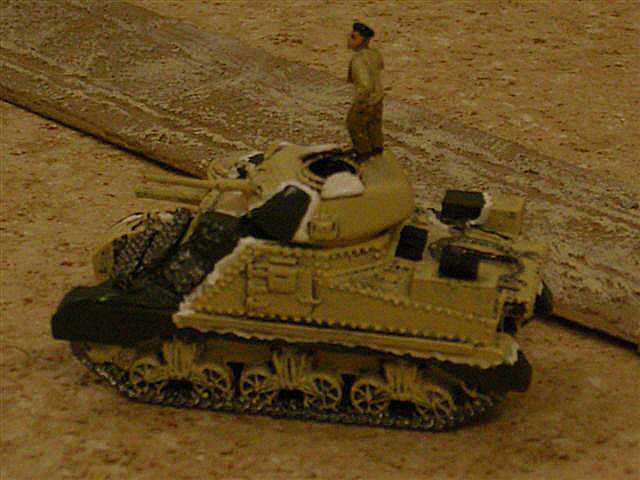
 Grants |
| Click on the Thumbnail for a full-size photo | Description |
|---|---|
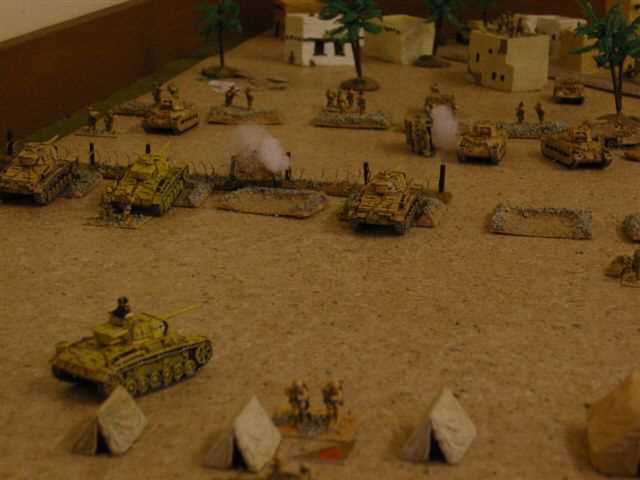
 Germans dig in with 88 in support |
 Second wave |
| Click on the Thumbnail for a full-size photo | Description |
|---|---|
 Here comes Jerry! |
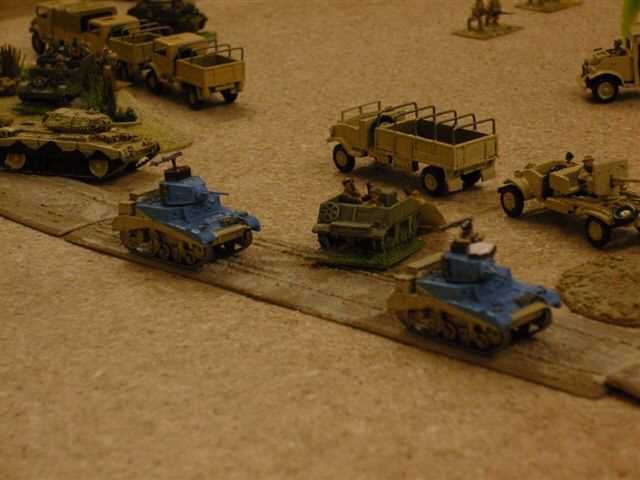
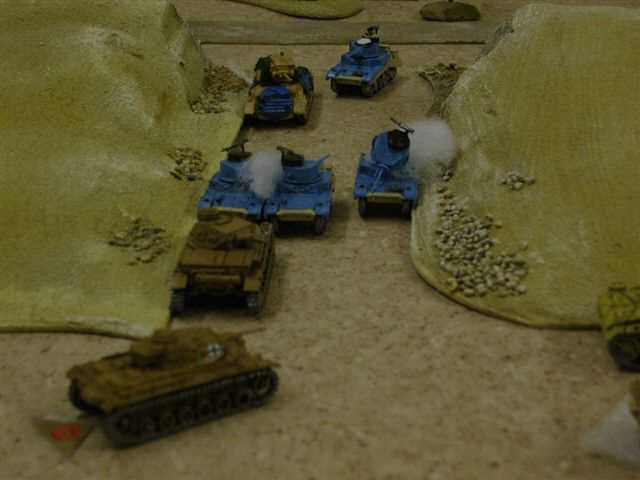
 Stuarts vs Pv mk IVs |
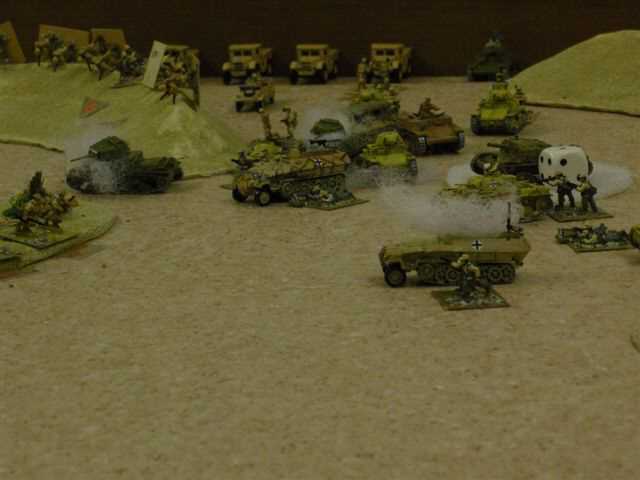 Panzer Grenadiers debus under fire |
 Standfast |
 The storm approaches |
| Click on the Thumbnail for a full-size photo | Description |
|---|---|
 Holding |
 A good view! |
 The storm breaks |
 Stuarts suffer |
 Ariete joins in |
| Click on the Thumbnail for a full-size photo | Description |
|---|---|
 76.2 mm of trouble |
 Looks bad |
 Exposed and forlorn |
 Close assault |
 Firing line |
 Taking hits |
 Command is a lonely place |
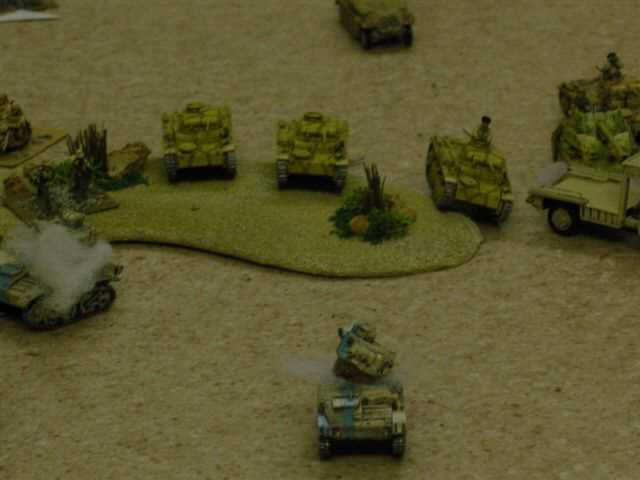
 Surviving Matildas create diversion |
Back in the town the Matildas change face and attempt an assault across the wadi. |
| Click on the Thumbnail for a full-size photo | Description |
|---|---|
 Assaults go in |
 Starting to crumble |
 Crumbling |
 Bogged and abandoned |
Bogged down and disordered, this Matilda is abandoned by it's crew and the diversion is abandoned. |
 Just spectators |
Some people never fired a shot all game! |
| Click on the Thumbnail for a full-size photo | Description |
|---|---|
 Nearly the end |
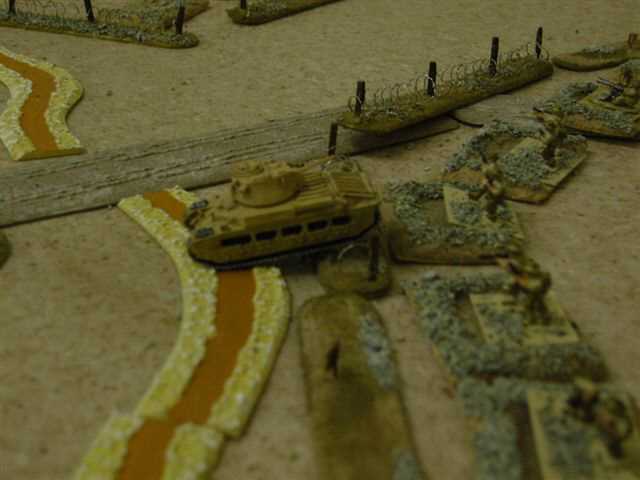
 One way to close off access |
 Grants burn around breakthrough |
 More losses |
| Click on the Thumbnail for a full-size photo | Description |
|---|---|
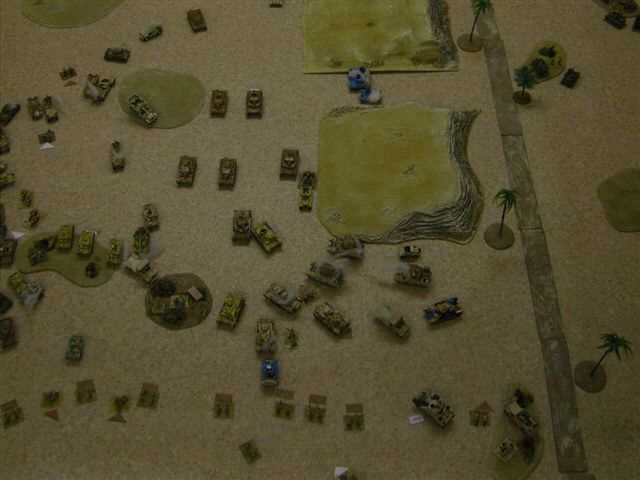 End game |
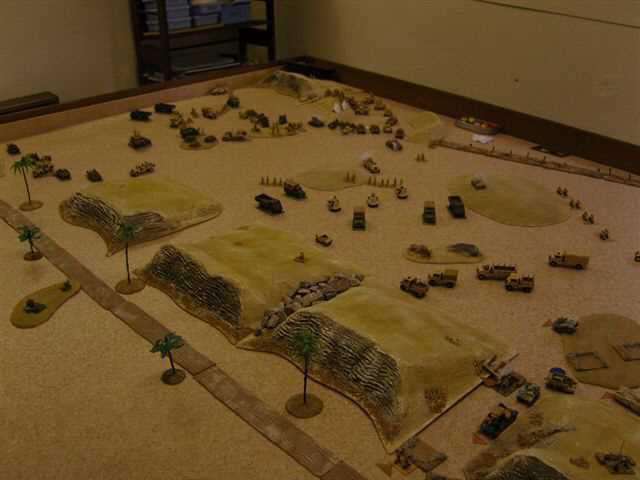
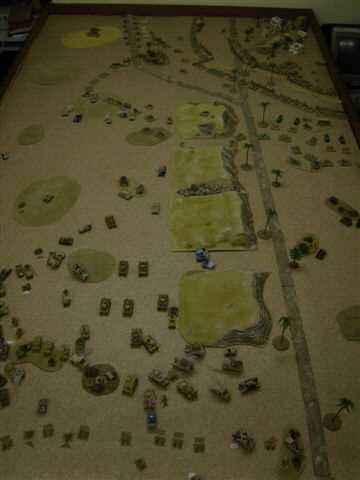 End game overview |
End Game overview |
Copyright 2000-2019 Fire and Fury Games, all rights reserved
Web page maintained by
Webmaster@FireAndFury.com.