| Click on the Thumbnail for a full-size photo |
Description |
|---|

In the Beginning...
|
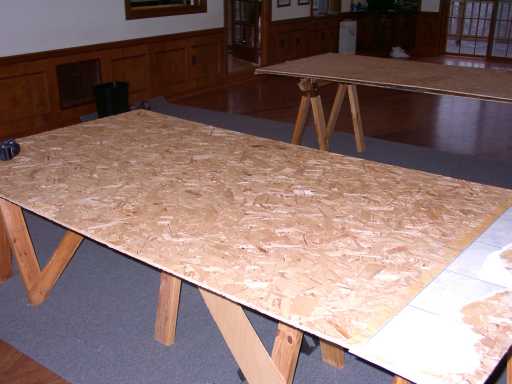
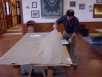
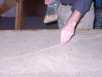
You need to start with a solid gaming surface. Dave provided us with some sawhorses to support some
building material. |

Base Terrain
|
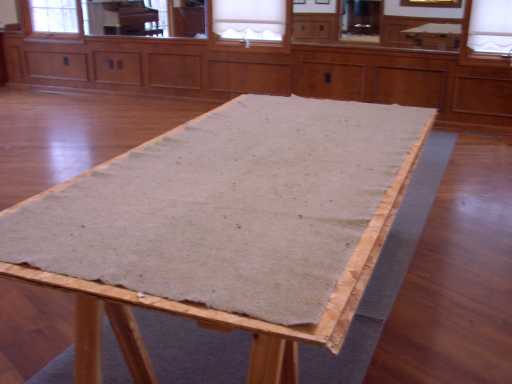
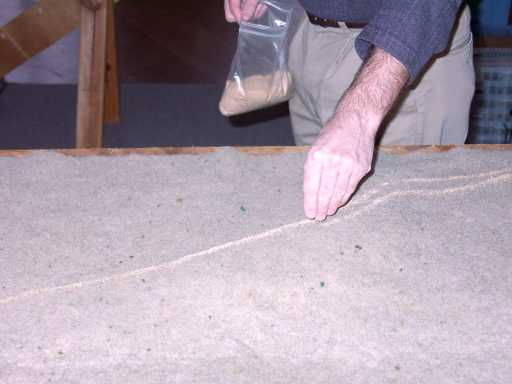
The first step in building an attractive table is to provide a base covering to cover up the
bare surface. This provides a general ground cover of the proper hue. Rich is partial to blankets, not only
because they give a uniform color, but also because they conform to the hill shapes underneath them better
than some stiffer materials. Here
a light brown blanket simulates the sun-blasted steppes. As the covering tends to get dirty, it is best
not to use blankets that are in active use as bed coverings :-) You can also use commercially wargame
terrain coverings for this purpose. |

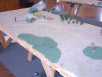
Laying out the hills
|
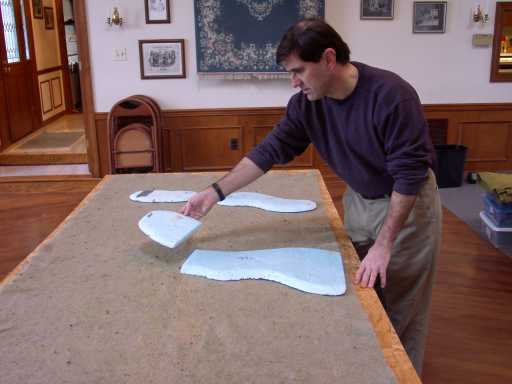
Here Rich is using some cut insulation materials for his hills. He lays the
hills out on top of the blanket to get the general feel for the terrain. |
Setting up the hills
|
After figuring out where the hills will go, they are put under the blanket to make rolling terrain.
We prefer to put our hills under the terrain because it the rolling terrain look more realistic. |
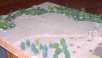
Swampy Material
|
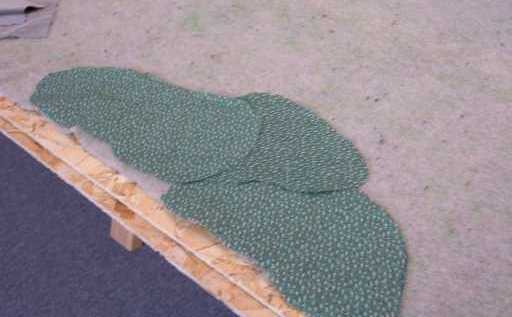
Rich found this fabric pattern at a local fabric store. It is almost perfect for swamps (men and women
go to the same stores but for different purposes :-) |
Dirt Roads
|
We lay out tracks of railroad sand for our dirt roads. You can pick it up at the end of the gaming
session with a dust buster. |

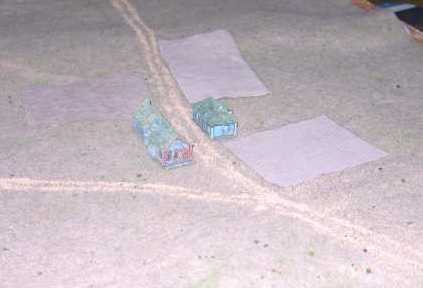
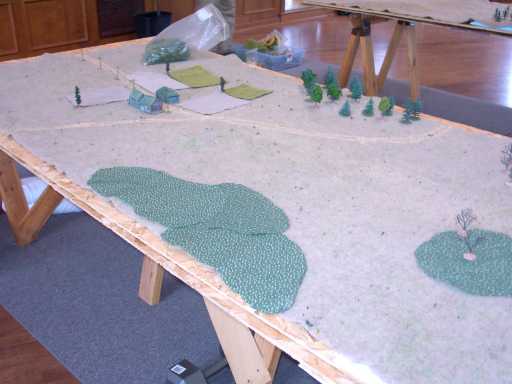
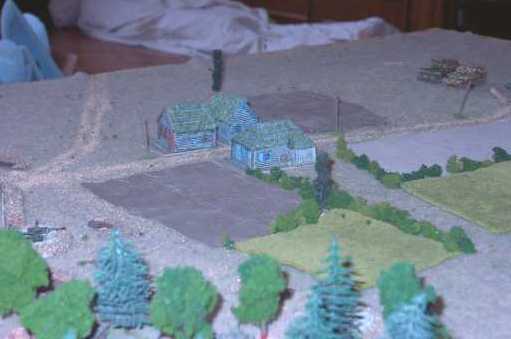
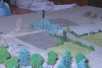
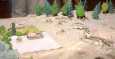
Towns and Fields
|
Squares of courderoy are placed to simulate plowed fields. Commercially available buildings are put
on top of town sector layouts. |
Trees
|
We place model trees to deliniate wooded areas and fill in the swamps. Some RR model telephone poles
add color. One good source of trees and modeling equipment is your local Railroad Hobby shop. Much
of the terrain and modeling equipment they use are useful in wargaming as well. |
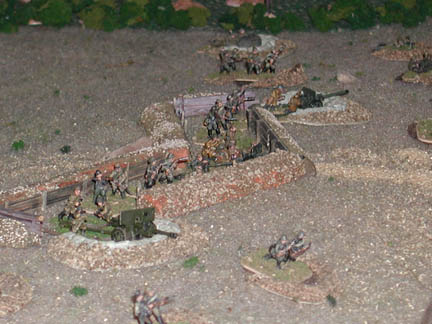
Entrenchments
|
We made some models of entrenchments to show our dug-in and entrenched positions. |
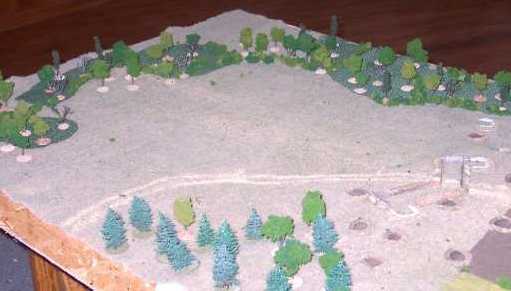
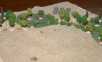
Lichen Hedgerows
|
Lichen (also obtained at Railroad Hobby shops) is used around the edges of our fields to show
hedgerows. |
More Lichen
|
Lichen is also used to fill in the edges of the woodlines. Russian reserves lurk menacingly. |
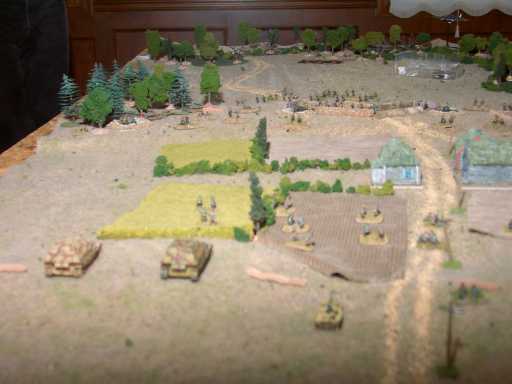
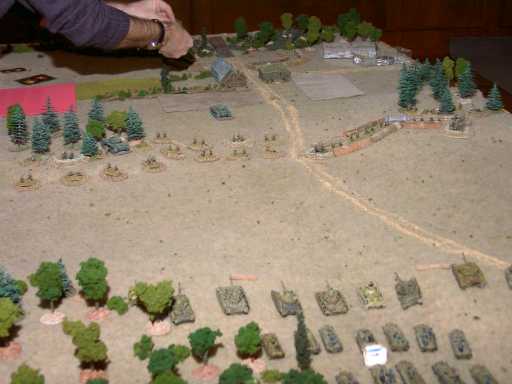
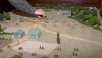
Battle Begins
|
The Germans are in their jump-off positions. |
Russian Position
|
The Russians await the onslaught on table 1. |

Russian Position on table 2
|
Other Russians await the onslaught on table 2. |

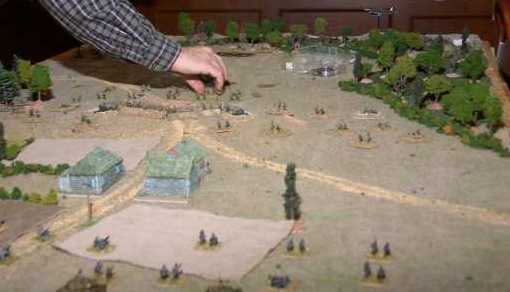
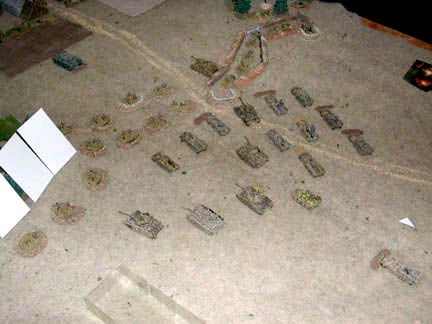
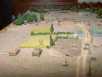
Aerial view of table 2
|
The start of the German Assault on table 2 |
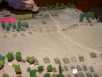
Table 2 Again
|
Another view of the German assault on table 2. |

Table 2 Turn 2
|
The Germans close with the trenchline. |

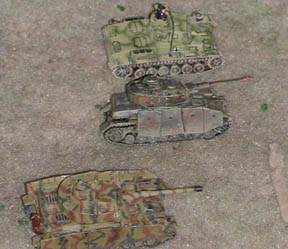
Three German Tanks
|
A closer view of some of the assaulting Germans. |
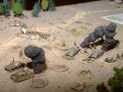
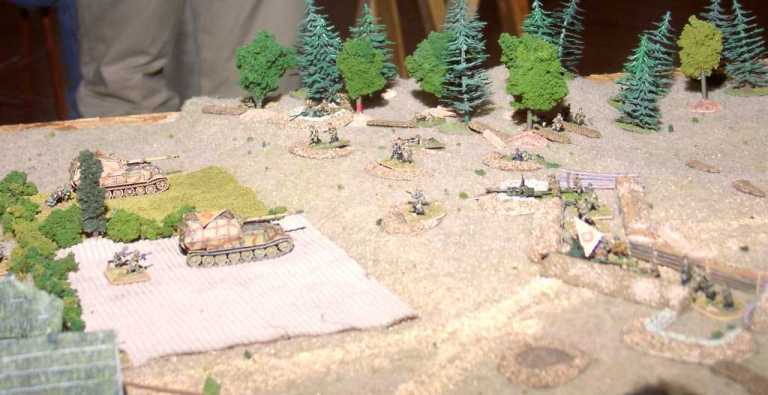
Table 1 Crucial Moment
|
The initial German assault suffered a bad roll, and almost was beaten off, but the Russian SU-85s came
too close and were destroyed in a sudden turnaround. |
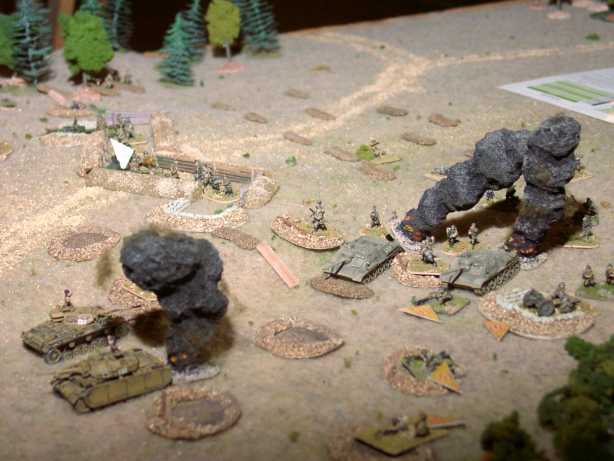
Ferdinands stalled
|
On the other side the early Ferdinands were impervious to fire, but couldn't force their way
through the Russian positions. At one point the Russian infantry assaulted them and had a reasonable
chance of getting an "Exchange" result in close combat. |
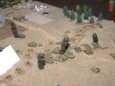
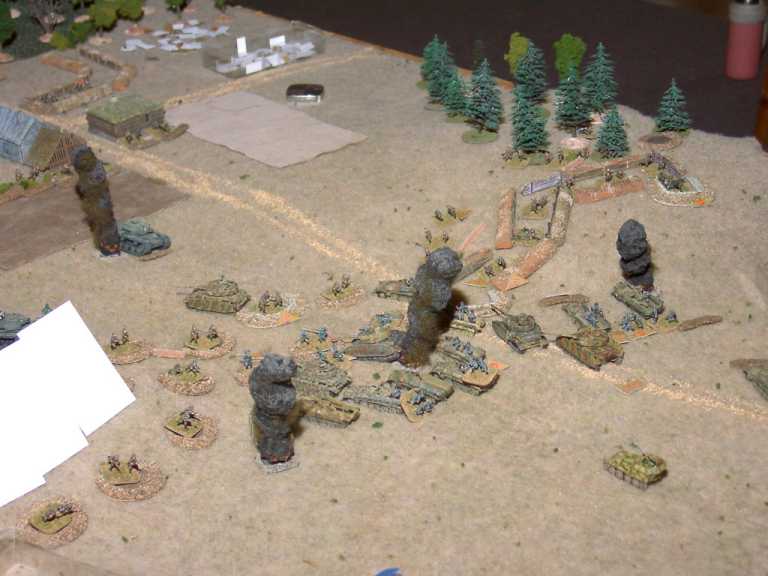
Table 2 Breakthrough
|
The Germans break through on the other table. |