| Click on the Thumbnail for a full-size photo |
Description |
|---|
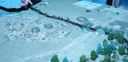
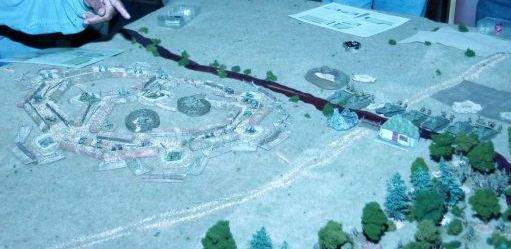
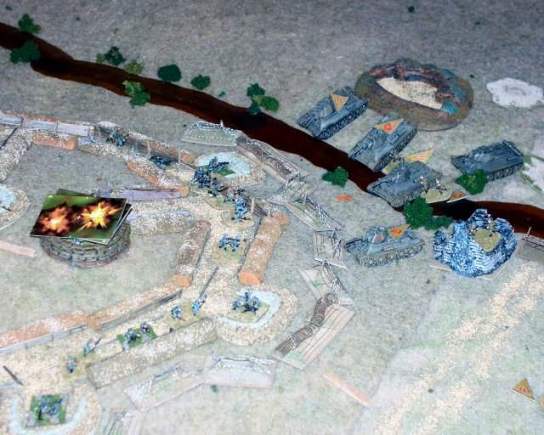
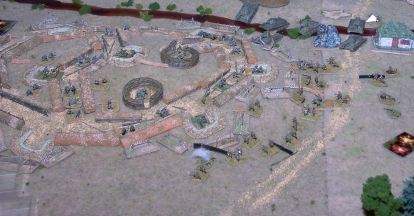
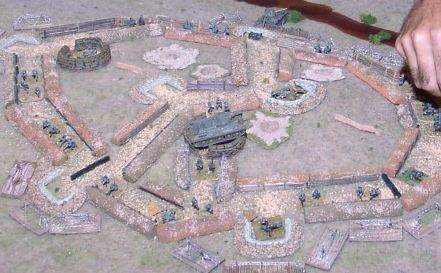
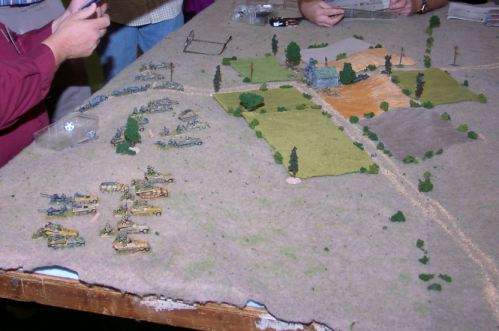
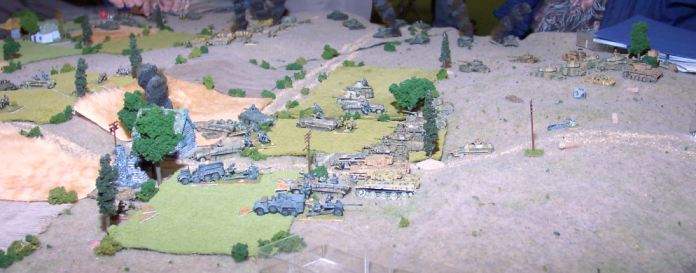
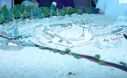
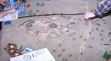
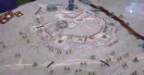
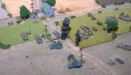
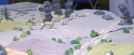
The revised battlefield
|
This was the first replay of the Take the Hill strongpoint scenario.
For this battle, we extended the battlefield to include the full fortified hill and give the Russians some extra
room to maneuver. We also included special sapper rules as described in the modified scenario, and allowed the Russians
to fire concentration missions on the premise that they had time to set up their attack. We had not yet given
the Russians the preparatory barrage. With the agreement of the players, we were using the MG beaten zones described in the
playtest rules. |
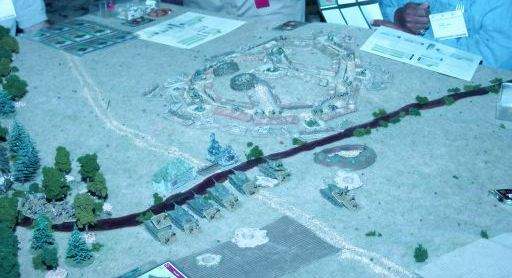
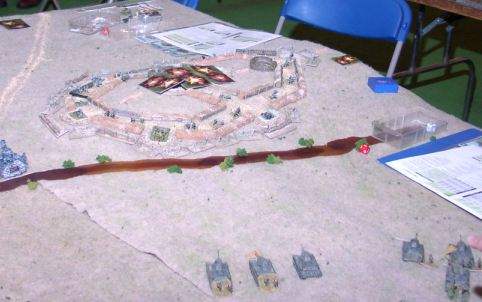
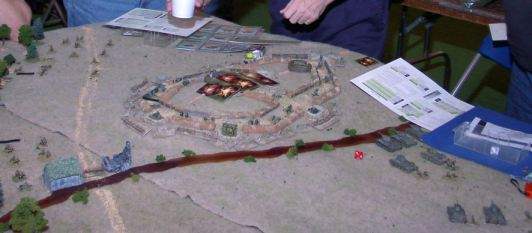
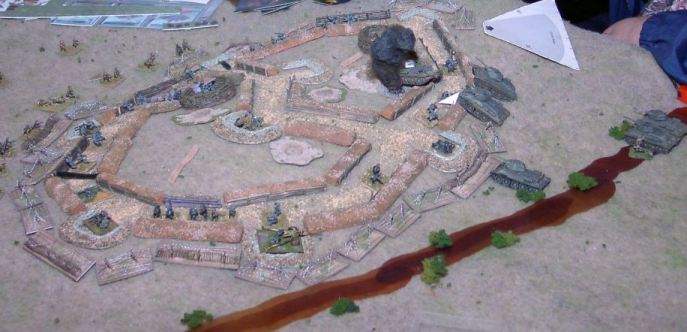
Another angle
|
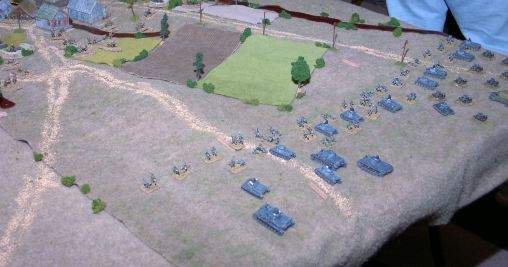
A look at the battlefield from a different angle. Note that the Russians are moving
straight up the road and are not using the extra room behind the hill. |
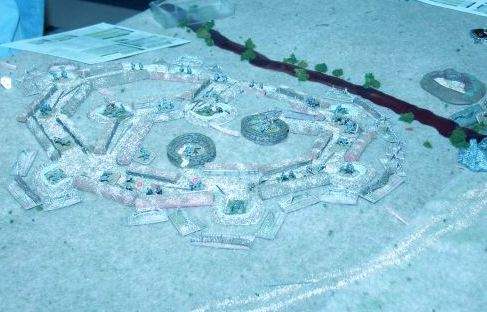
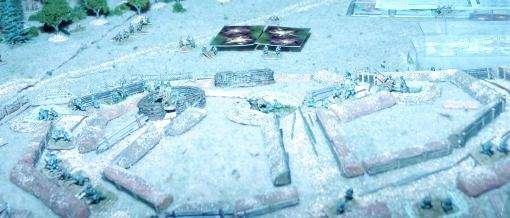
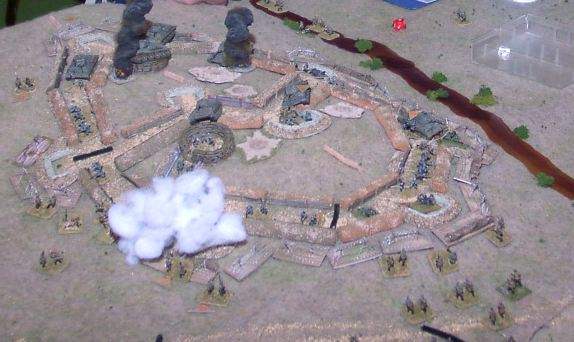
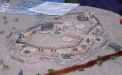
The hill itself
|
A look at the German defenses. |
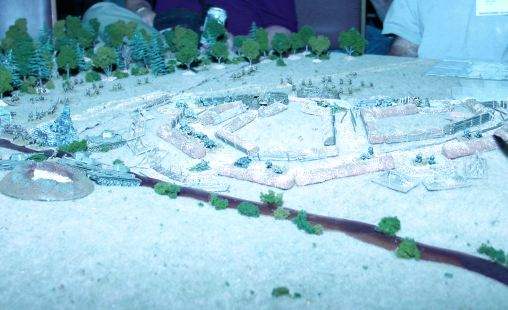
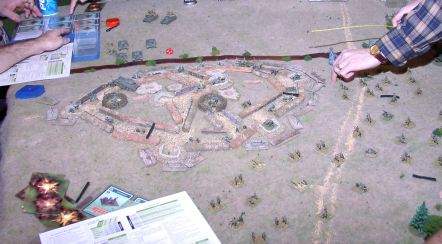
The left flank company moves out
|
The Russian infantry company farthest from the Germans moves into the open. |
More Russians
|
The rest of the Russians emerge from the forests and the tanks stall in the stream. |

Tanks in the stream
|
Another view of the tanks in the stream taken by Bill Rutherford. |
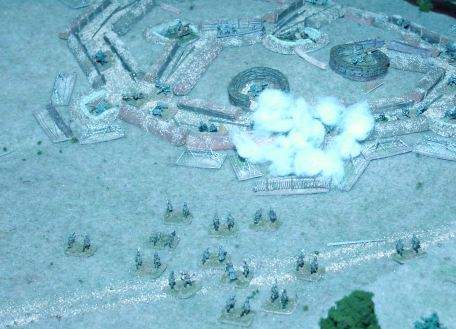
Boom!
|
The Germans are able to drop an artillery pattern on almost the entire left flank company.
This drives them back and allows the Germans to concentrate on the other Russians in turn. |
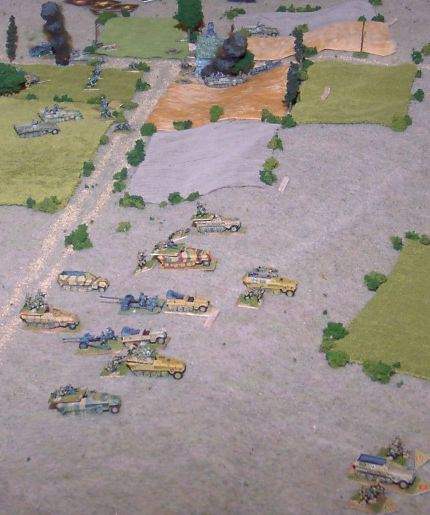
Center company moves up!
|
Using smoke, the center Russian company moves forward. This is a good use of smoke, but the
attack is still not coordinated. |

Urrah!
|
As the smoke dissipates, the center and right flank companies move up. The tanks are still stalled. |

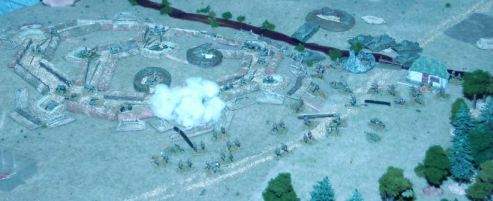
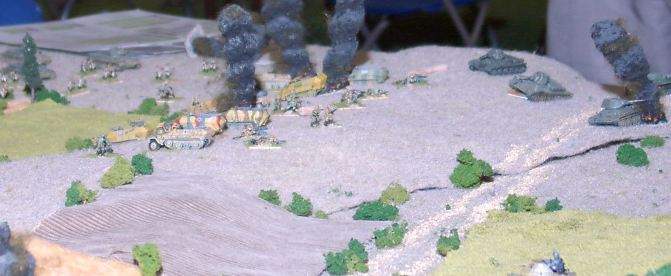
The high water mark!
|
Another view. Note the tanks stalled in the river outside the wire. |

The smoke is gone!
|
The smoke goes and the Russians still are not in the wire (and your humble webmaster learns a setting on his new
camera that compensates for the lighting). |
The Russian attack came in piecemeal and was stopped cold. The MG beaten zones worked fairly well and did not unduly slow
or unbalance the game. Still, we felt that the Russians were really outmatched. So for the next game, we added a 2 turn standing barrage
(three templates of 122mm artillery) that the Russians can use at the beginning of the game in addition to their normal artillery.
This change, in addition to those described in the first scenario, made the contest much more event. Also, the
Russian player decided to take his tanks on an end run into the German position...
| Click on the Thumbnail for a full-size photo |
Description |
|---|

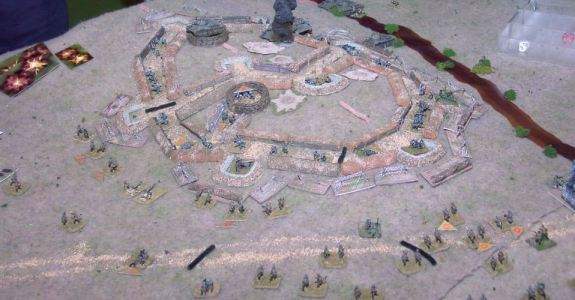
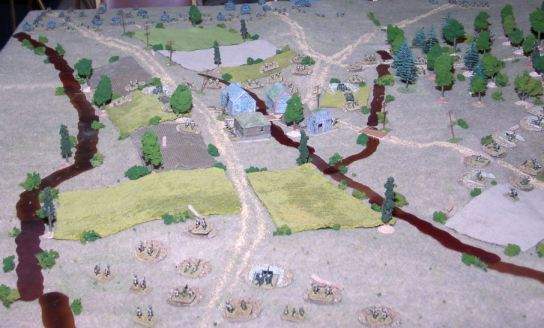
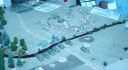
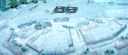
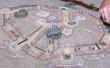
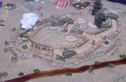
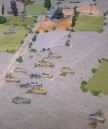
The start of the second strongpoint scenario
|
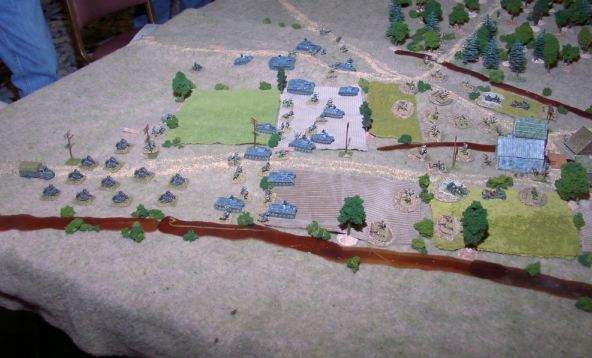
The initial barrage took out the AA gun and suppressed the big gun. Note that the Russian tanks are moving
to their right. |
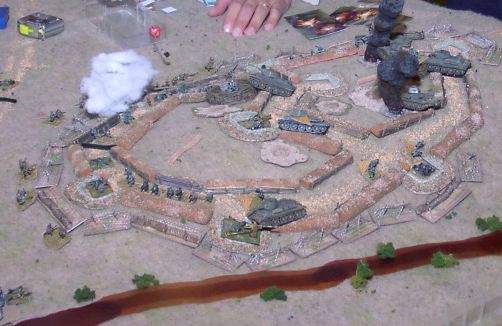
The Russians reach the stream
|
With the tanks moving as rapidly as possible, the Russians reach the stream while continuing to bombard the
hilltop. The left flank infantry company starts its long march. |
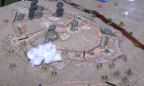
Enemy inside the wire!
|
A single tank rushes forward and breaches the wire, entering the fortified area. |
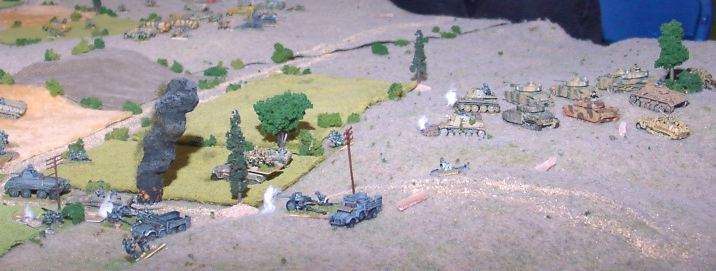
Bull in a china shop!
|
The forward tank crashes through the German position and destroys the mortar unit in a close combat. |
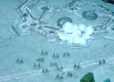
Iron Cross First class!
|
The only reserves at the top of the hill were the German battalion commander and a single infantry unit.
They close assault the tank and win!! It is forced to withdraw. |
Reinforcements on both sides
|
The rest of the tanks move up while the Germans rush in forces and swivel their AT gun. The gun claims a
victim with a flank shot. |
In the meantime
|
While the Germans deal with the melee on the hill, the Russian infantry moves
up on the other side of the hill. |
The tanks charge forward
|
The other tanks enter the wire without infantry support. Close combat and the AT gun cause casualties. |
The situation is doubt
|
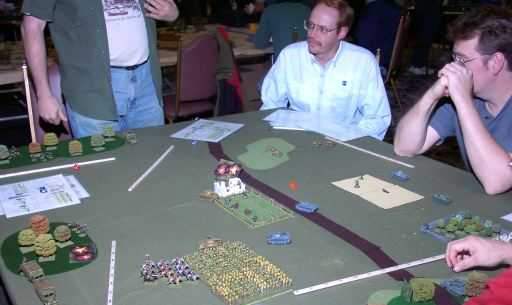
The tanks are in the wire but have taken heavy casualties. The infantry is about to breach the wire. Someone
else at the convention claims the table--ARGGH! |
Unfortunately we were forced to vacate the table before we could finish, but we felt that this scenario
was a major success. Having the German Battalion commander personally drive off the tank incursion
with repeated close combat while the rest of the force was holding on by its fingernails gave us
all that we could wish for in a scenario.
I suspect that the Russian attack would fail here, as the "trained" morale of the T-34s at
almost 50% losses requires only one bad maneuver roll to drive them off,
and the infantry has not yet broken in. However, the possibilities are quite interesting.
What would happen if the Russians could coordinate a break-in of all of their tanks at once?!
| Click on the Thumbnail for a full-size photo |
Description |
|---|
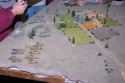
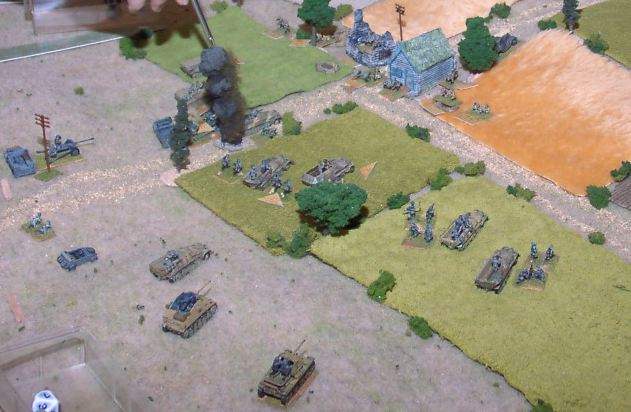
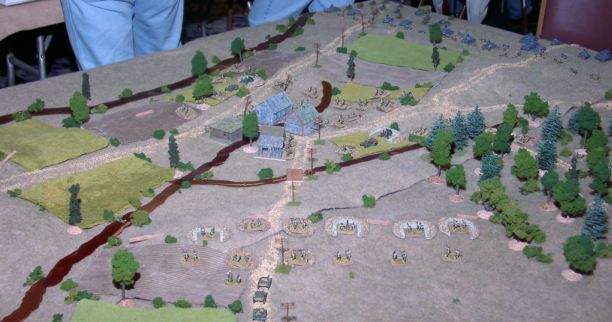
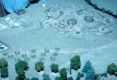
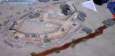
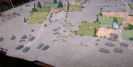
The attack starts
|
Two Panzer Grenadier companies lead off the attack. |

First contact
|
The left flank PzGr company runs into a Russian infantry unit with an AT gun. |
The Russians draw first blood !
|
The Germans deploy to attack the town and the Russian AT gun knocks out a vehicle. |
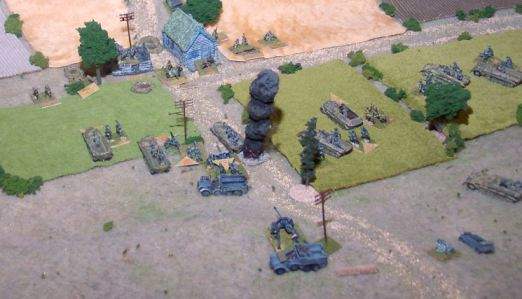
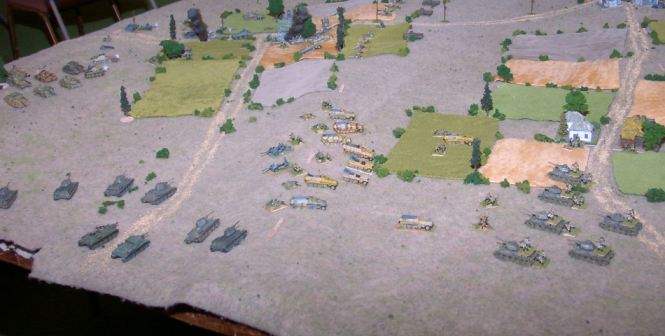
The assault continues
|
As the center slows down, the right flank advances. A lead halftrack discovers that the town in the rear
is also defended by an AT gun, but it does not score a kill. |

More German reinforcements
|
A mixed force of PzIVs and PzIIIs advances up the right flank as the fight for the town is almost over.
However, the Germans hear the clanking of tank treads on their right flank. |

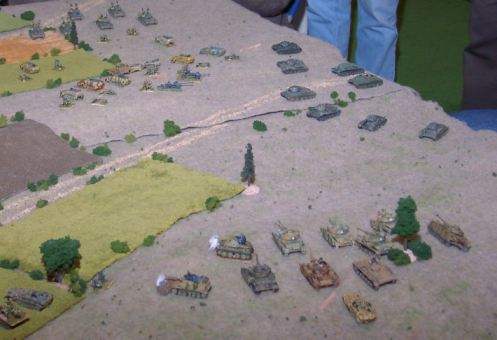
The first Russian tanks arrive
|
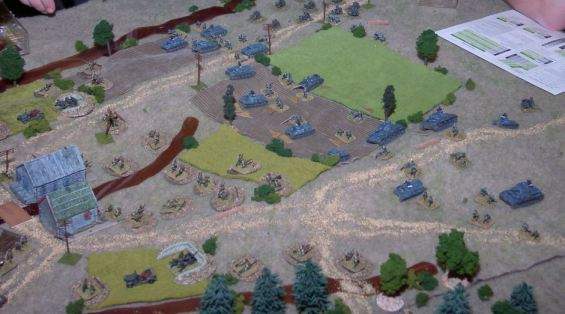
Two forces of T34s catch the lead PzGr company in the open, but the PzIVs are in support. |
Another view
|
Another view of the previous situation. |
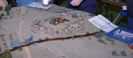
Tigers
|
The center force of German Tigers moves up. The Panzer IVs start to score on one of the Russian
tank forces. |
Melee
|
The Russians engage the Panzer Grenadiers. |
At this point I had to help Mark Hayes with his new Polish scenario (below). Mike said that the German attack
eventually stalled. I look forward to seeing his scenario. While it might be ambitious for a convention,
a group of experienced Battlefront WWII players who could leave it set up might find it a very enjoyable
exercise.